In a previous post entitled A Benchtable  (October, 2007), I showed photographs of a convertible bench/table that I had built in my workshop. Since then, Karl, Kostas, and Sylvia have requested plans for this indispensable piece of outdoor furniture. I have tweaked the design a little bit since the first prototype, and have built a few for testing in the field (literally, in a field).
Â
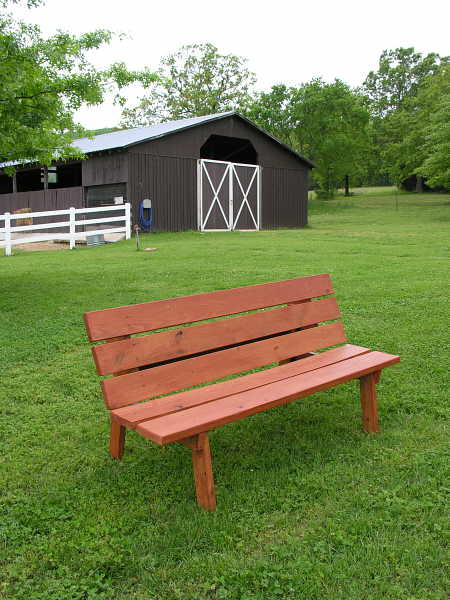
The photograph above shows a recently completed benchtable. From the front, the new design looks the same as the past iteration.
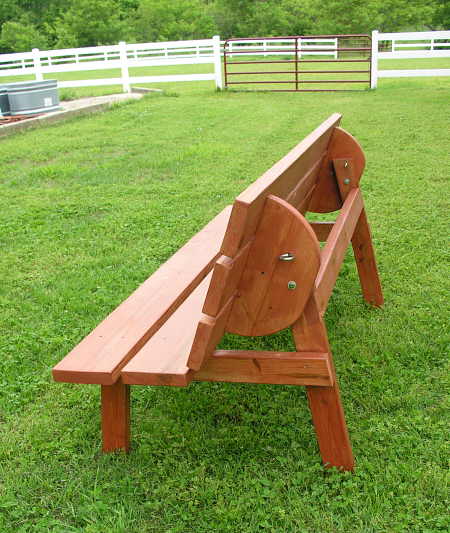
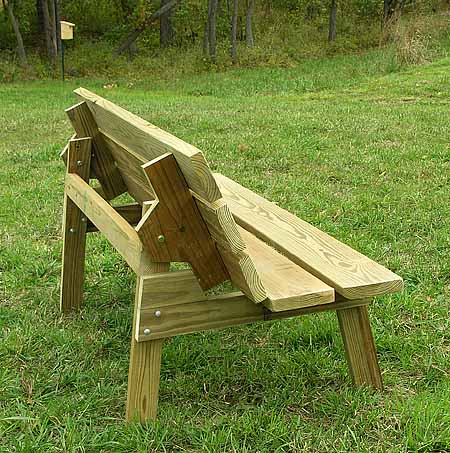
The change is visible when viewing the benchtable from the side or back. Compare the rounded seat back/table top supports in this new design to the old design in the following photograph:
In this old design, the supports were built with straight lines and sharp angles. The old design also employed the use of stop blocks on each side to lock the back support in it’s seating position. The new design provides a more pleasing look, and is locked in place by 5/16″ eye bolts (that also serve to lock the top into position when used as a picnic table).
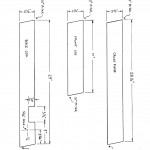
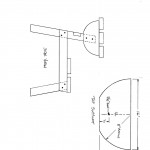
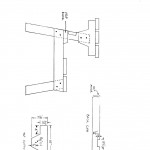
Click on each of the three thumbnails above for a full-sized mechanical drawing, which can then be printed for your use during construction.
Materials List
- Lumber            -  2″ x 4″ x 8’       (3 pieces)
- Lumber            -   2″ x 6″ x 8’       (3 pieces)
- Lumber            -  2″ x 8″ x 8’       (2 pieces)
- Carriage bolts  – 5/16″ x 3 1/2″   (8 pieces + nuts and washers)
- Hex bolt          -  5/16″ x 4″        (2 pieces + nuts and washers)
- Eye bolts         -   3/8″ x 6″         (2 pieces)
- Deck screws    - #8 x 2 1/2″       (32 pieces)
- Carpenters glue
- Sealer (or finish of choice)
Cutting List
- 1 each   -  leg stretcher    2″ x 4″ x 53″
- 2 each   -  seat slats         2″ x 8″ x 72″
- 3 each   -  table top slats  2″ x 6″ x 72″
- 2 each   -  top supports    (per drawing)
- 2 each   -  front legs         (per drawing)
- 2 each   -  back legs          (per drawing)
- 2 each   -   cross pieces     (per drawing)
Assembly Instructions
A)Â Â Cut all parts per cutting list.
B)   Place one rear leg in front of you.  Line up a front leg on top of the rear leg, aligning the bottoms of the legs.  Use the shorter front leg to scribe a mark onto the rear leg, along the top of the shorter leg. This mark will be used to locate the crosspiece in the next step.
C) Position a cross piece on top of the front and rear legs (as shown in drawing #2). When you are certain you have positioned the parts correctly, fasten the cross piece to the legs, using glue and carriage bolts.
D)Â Repeat step C for the opposite side, being careful to realize that the sides will NOT be identical, but are a mirror image of each other.
E)Â Attach the leg stretcher to the leg assemblies, using glue and deck screws.
F) Center the seat slats on the cross pieces. The front seat slat should be flush with the cross piece (as shown in the drawing), with a 1″ gap separating the two seat slats. Attach with glue and deck screws.
G) Attach top supports to the rear legs, using hex bolts. Use a carpenters level to level each support, and tighten the hex bolts.
H) Center the table top slats on the top supports, leaving a 3/4″ gap between the slats. Fasten with glue and deck screws.
I) Double check to be certain that the table top is still level. Using a 3/8″ drill, drill a hole through each top support, continuing to drill the hole though the rear leg, as well. These are the holes that the eye bolts will pass through to support the top in the picnic table position.
J) Now, move the table top to the bench position. Experiment until you find the back angle that feels comfortable for you, and use clamps to lock the seat back into this position. Using the upper 3/8″ hole in the rear legs that you drilled in the previous step as a guide, drill a 3/8″ hole into each back support. Place the 3/8″ eye bolts into these holes to lock the back into the bench position.
K)Â Apply a finish of your choosing, and enjoy your new benchtable!Â



Pingback: Woodworking Plans Breakfast Nook | Woodworking Projects
Pingback: wooden bench plans indoor | Woodworking Projects
Pingback: woodworking bench plans uk | Woodworking Projects
Pingback: wooden deck bench plans free | Woodworking Projects