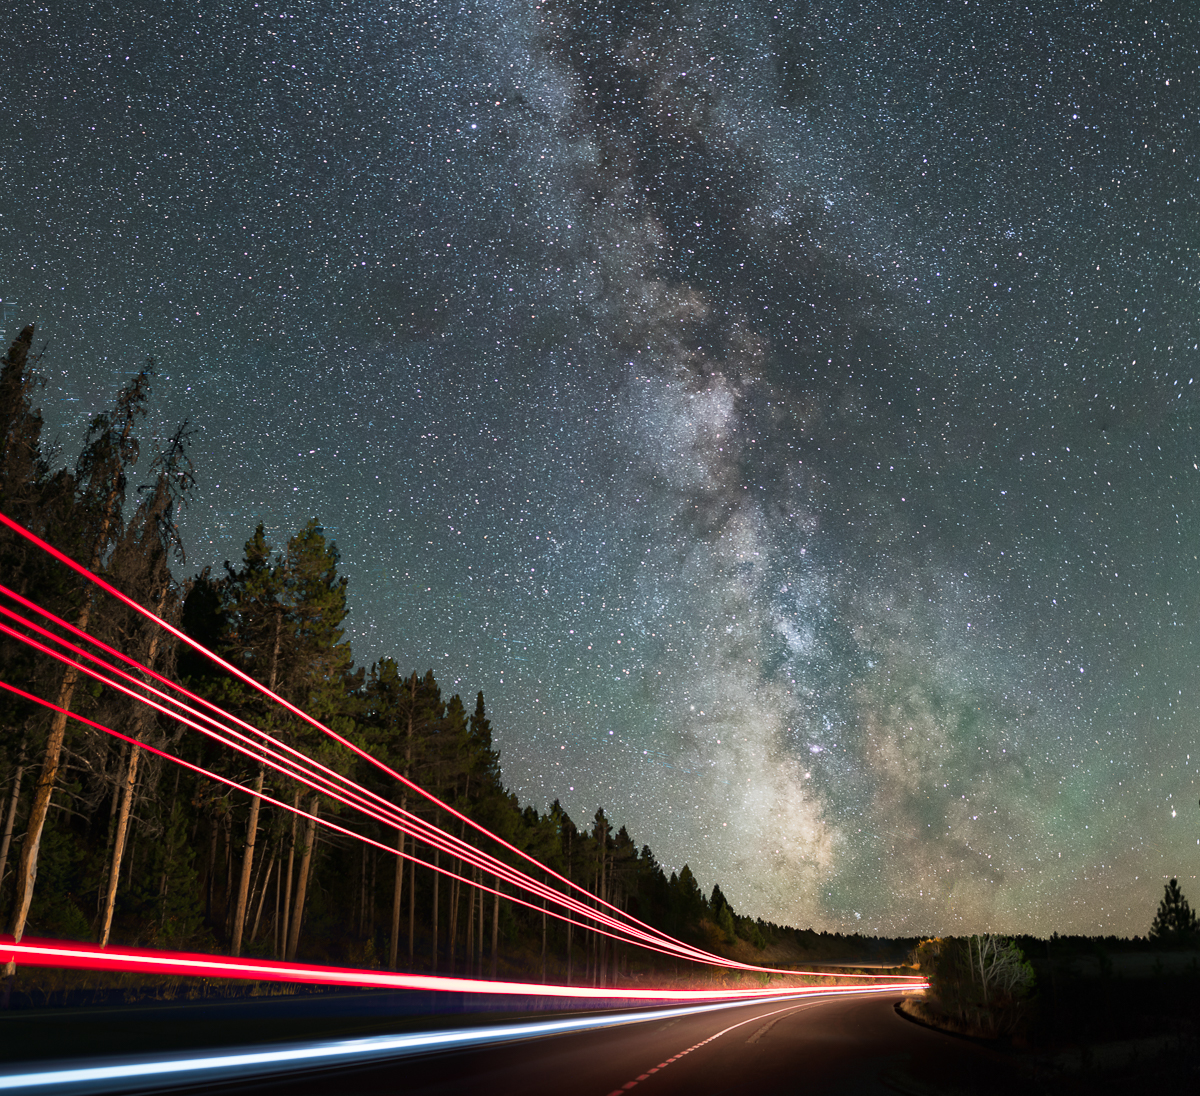
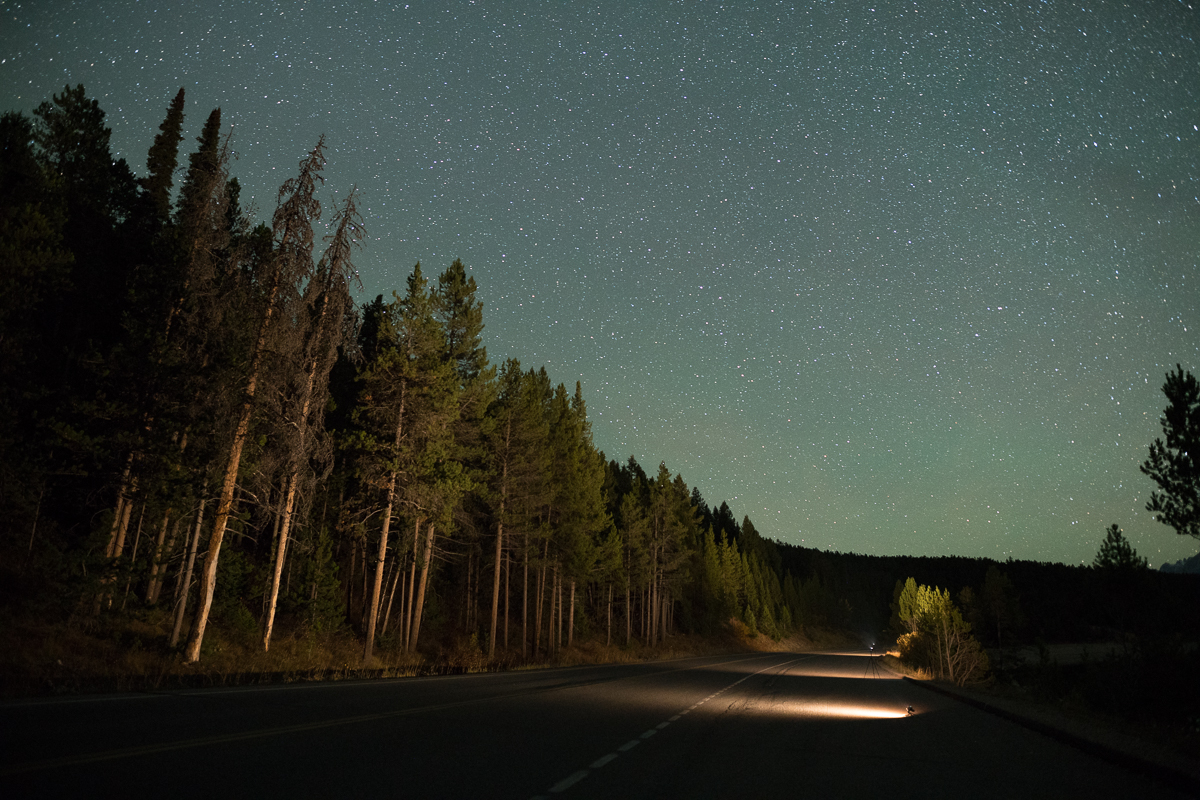
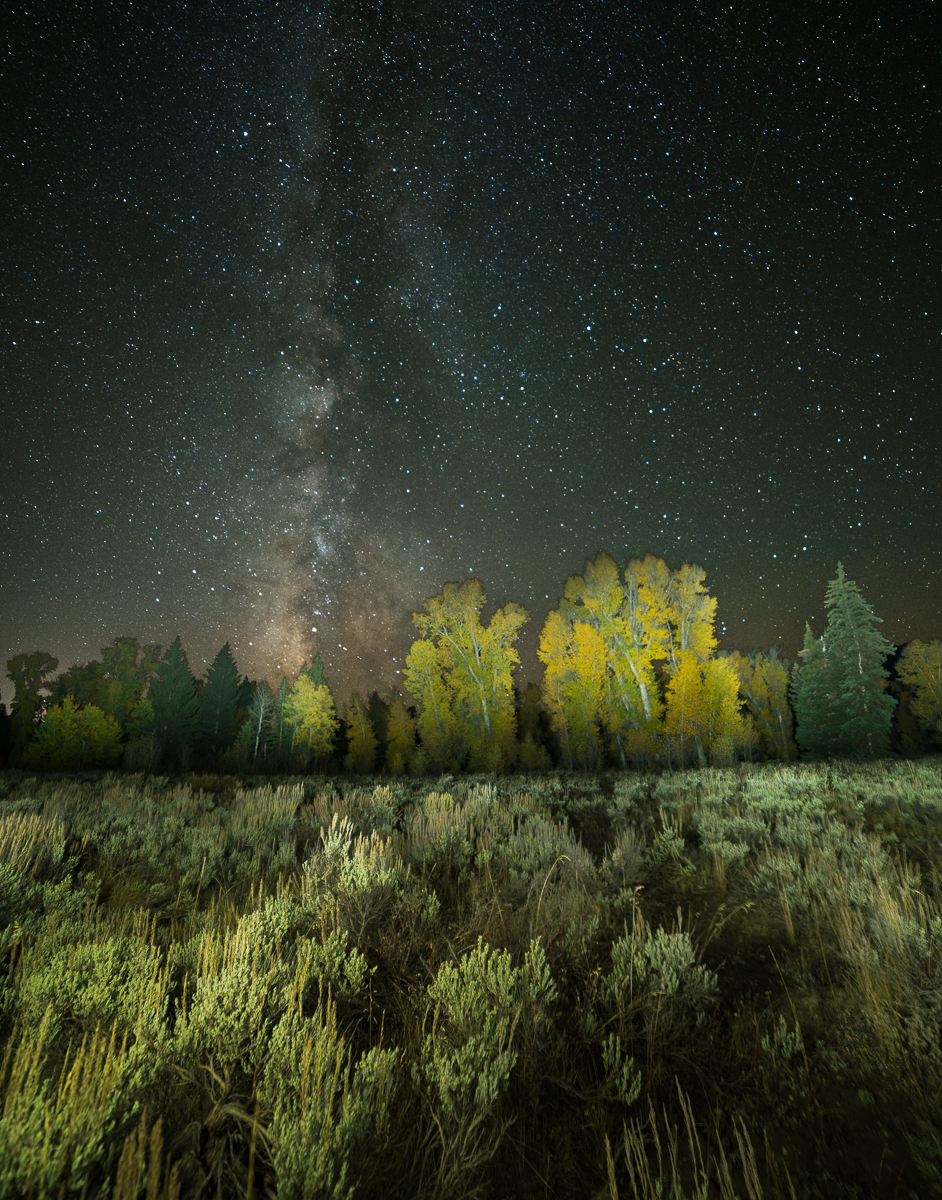
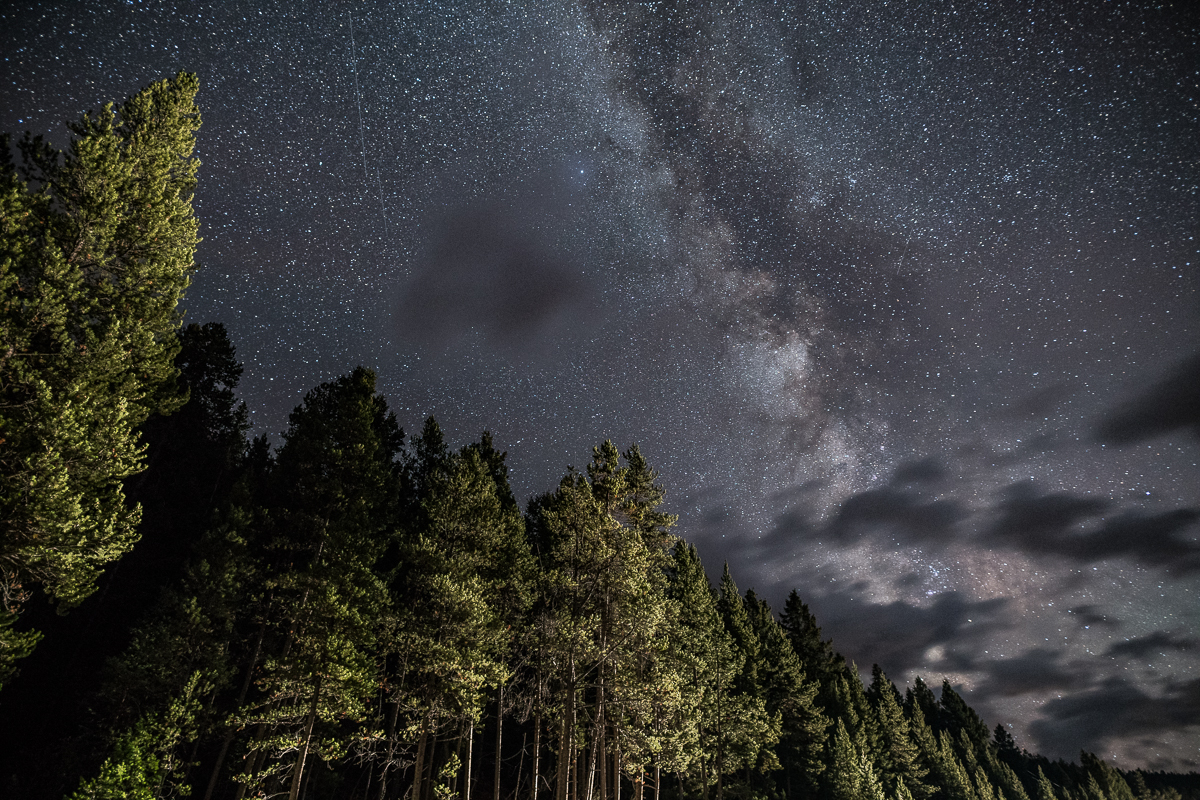
One of the things I find most interesting in my pursuit of nocturnal photographs is the challenge of incorporating varied light sources into a final, cohesive image. The image above, taken from the Jackson Lake turnout in Grand Teton National Park, is a blended image consisting of two exposures. The first exposure is a single capture of the Milky Way with the roadside trees lit using stationary low-level lighting (LLL). The second exposure (taken without altering the camera location) was the light trail caused by an RV passing on the road, which I blended into the first exposure to create the final image.
The issue of low-level lighting has recently come up in regards to the recent change in policy within Arches and Canyonlands National Parks towards night photography workshops in general, and light painting in particular. Royce Bair has a post explaining the issue thoroughly in his excellent blog, Into The Night Photography.  While these issues are being sorted out by the affected parties, I thought it would be useful for those not familiar with low-level landscape lighting to see what it is, and how it can be used.
What Is Low-Level Lighting?
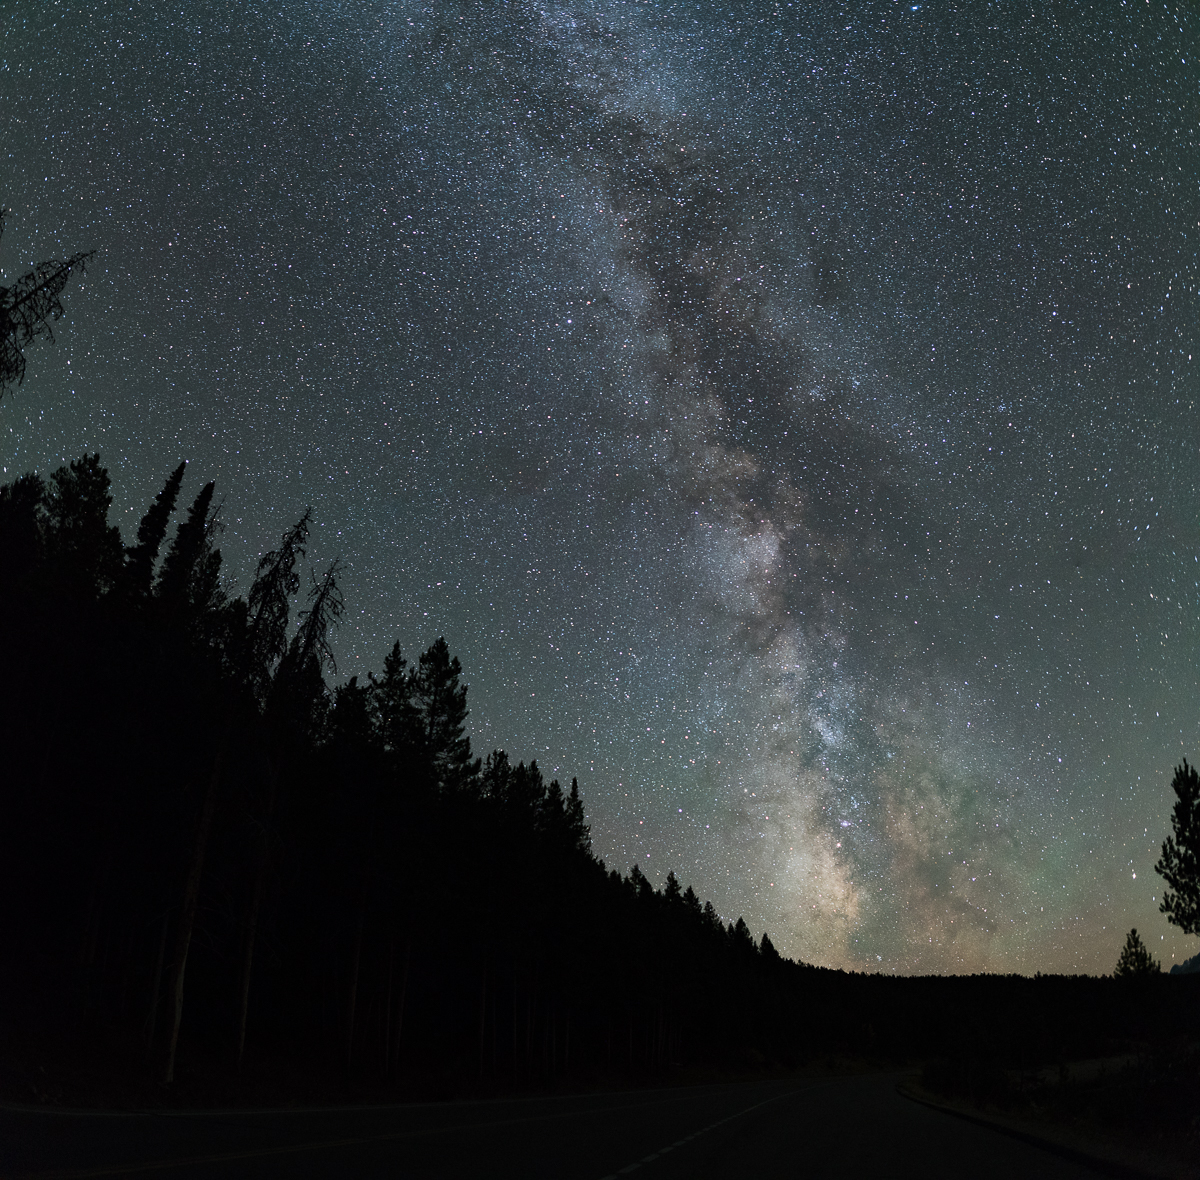
A common goal for astro-landscape photographers is to create an image that combines the beauty of the Milky Way with an interesting foreground subject. To capture an intense, dramatic Milky Way, one usually tries to find geographic locations away from sources of light-pollution, and typically around the time of the new moon. A proper exposure for the Milky Way under these conditions usually produces an image with a silhouetted foreground, as shown here:
What we want is a way to illuminate the foreground in a Milky Way image, to add interest, context and scale to the photograph. This can be accomplished in several ways, one of which is through the use of low-level lighting.
Low-level landscape lighting can be thought of as a foreground illumination technique that attempts to properly expose the foreground while the Milky Way is being photographed, using a dim, stationary, artificial light source that is kept on for the entire duration of the exposure. For those interested, a new informative website devoted entirely to the topic is lowlevellighting.org.
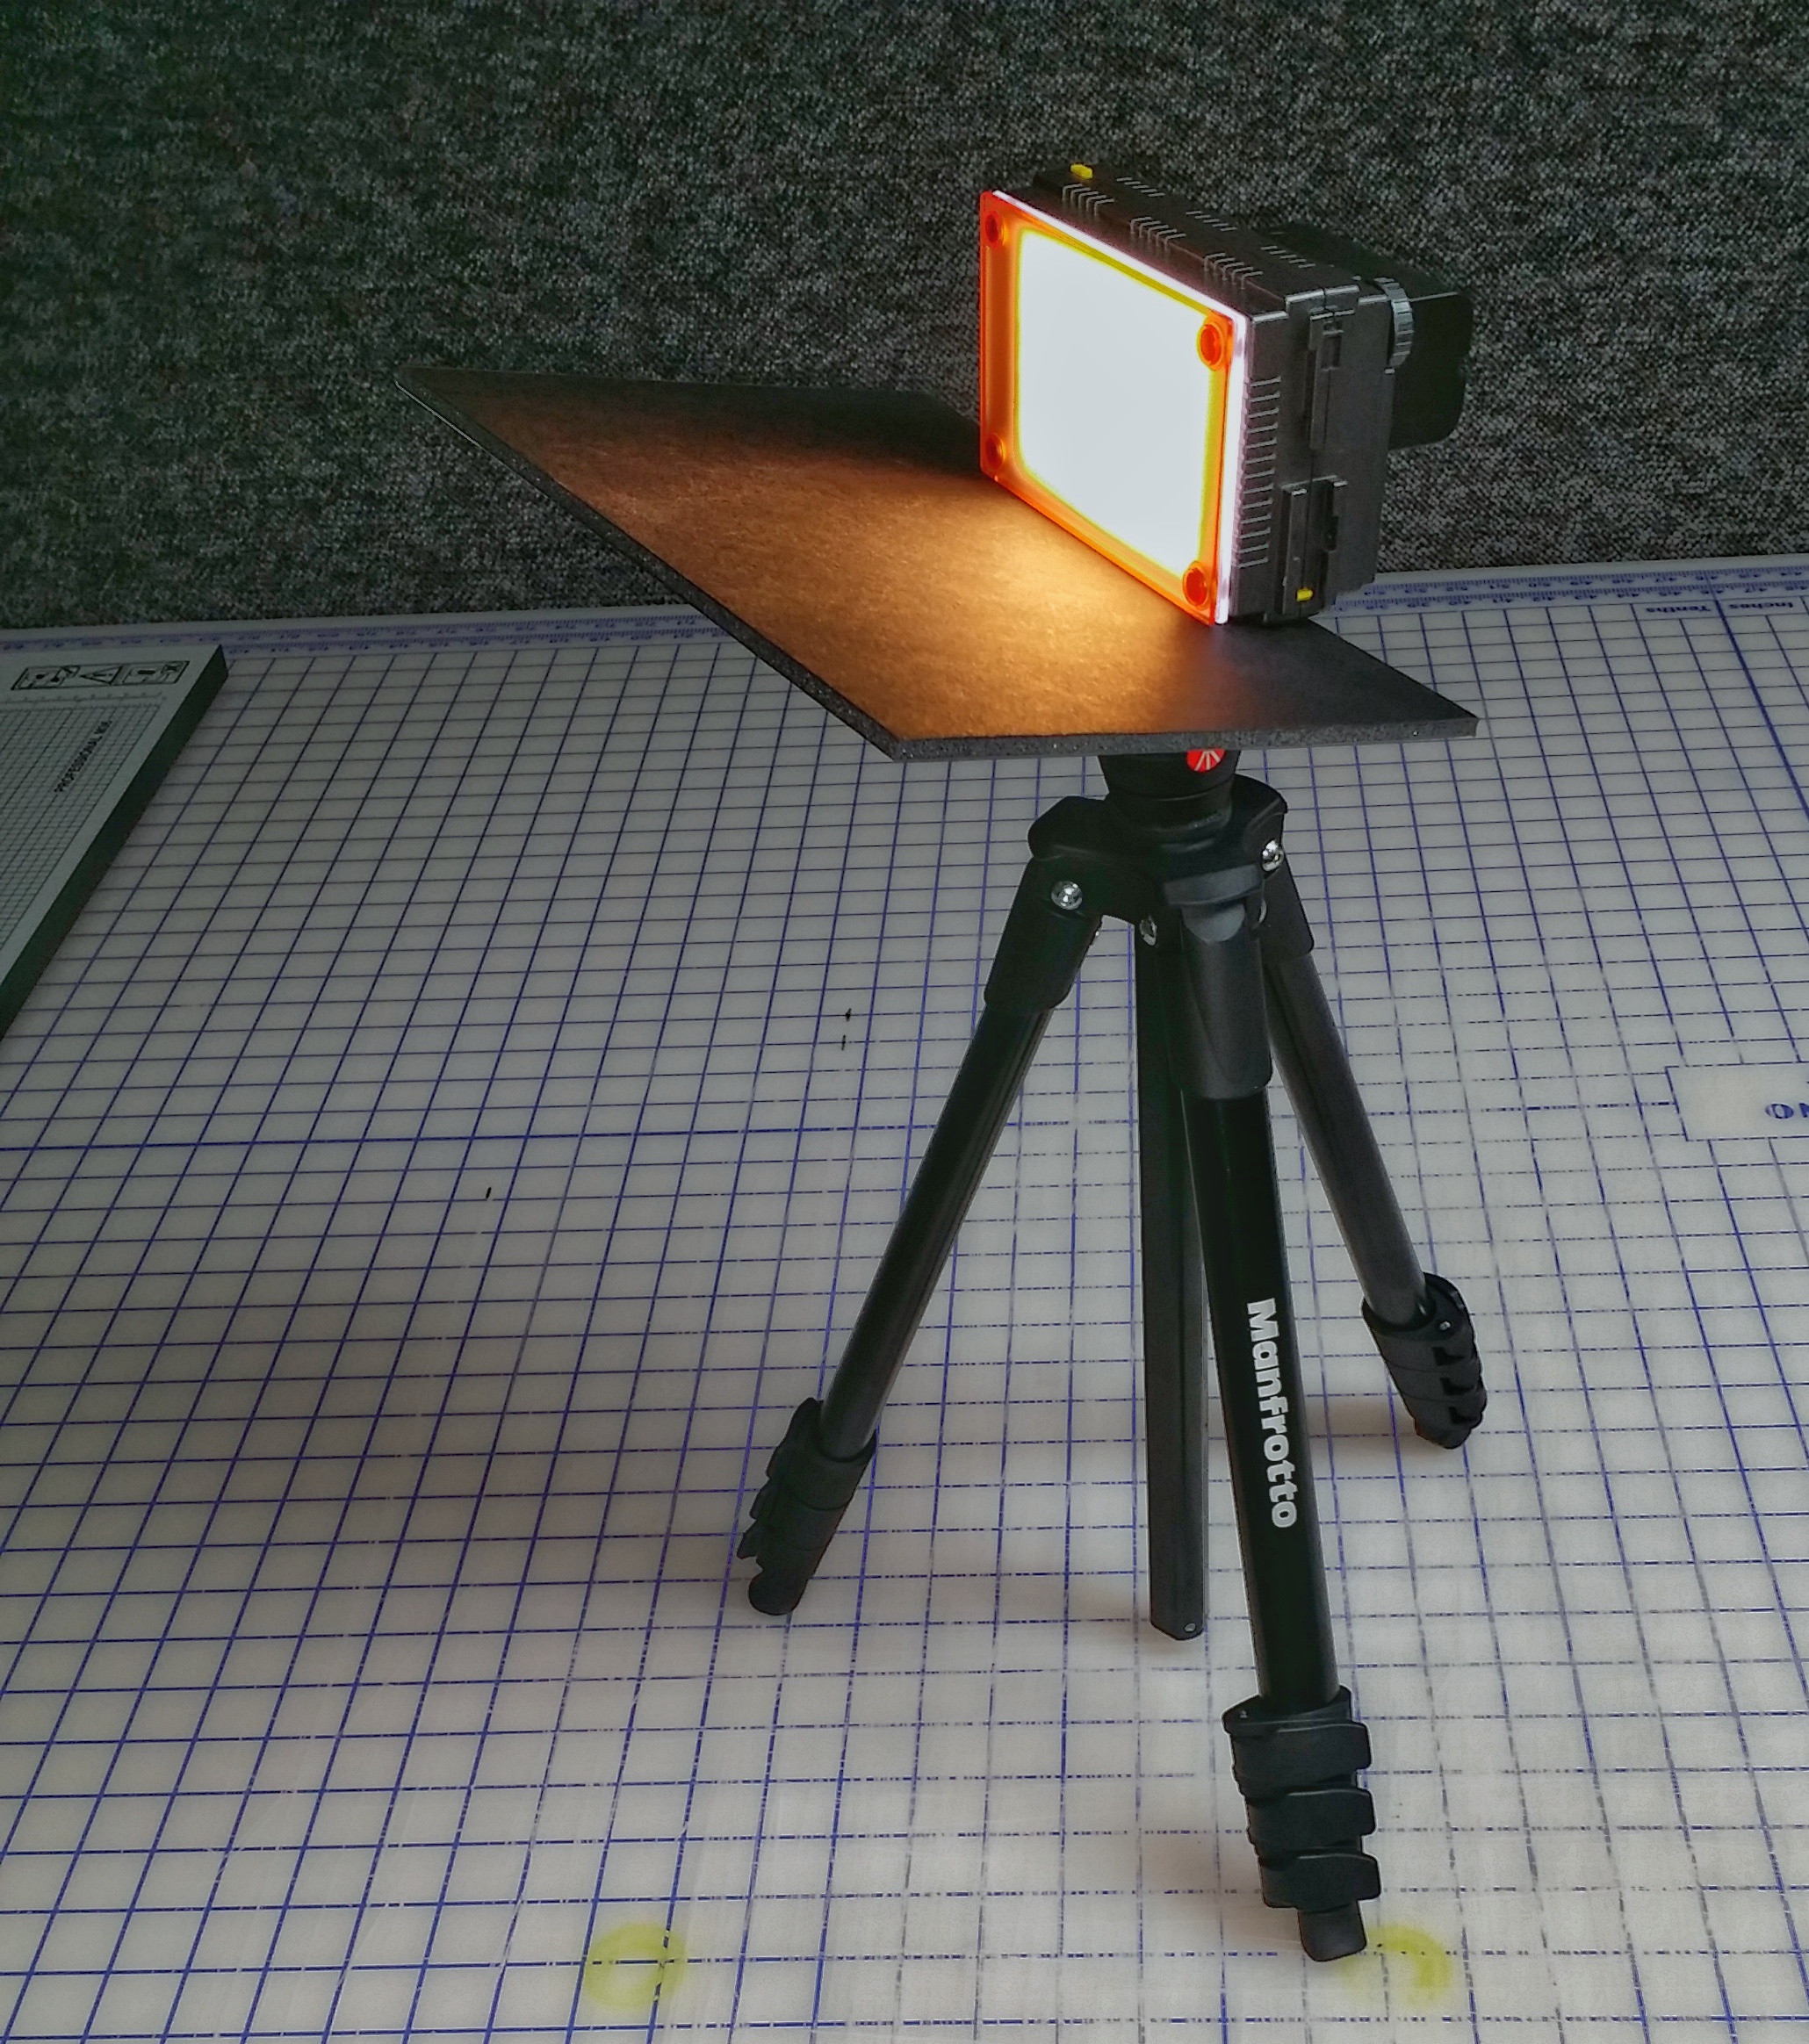
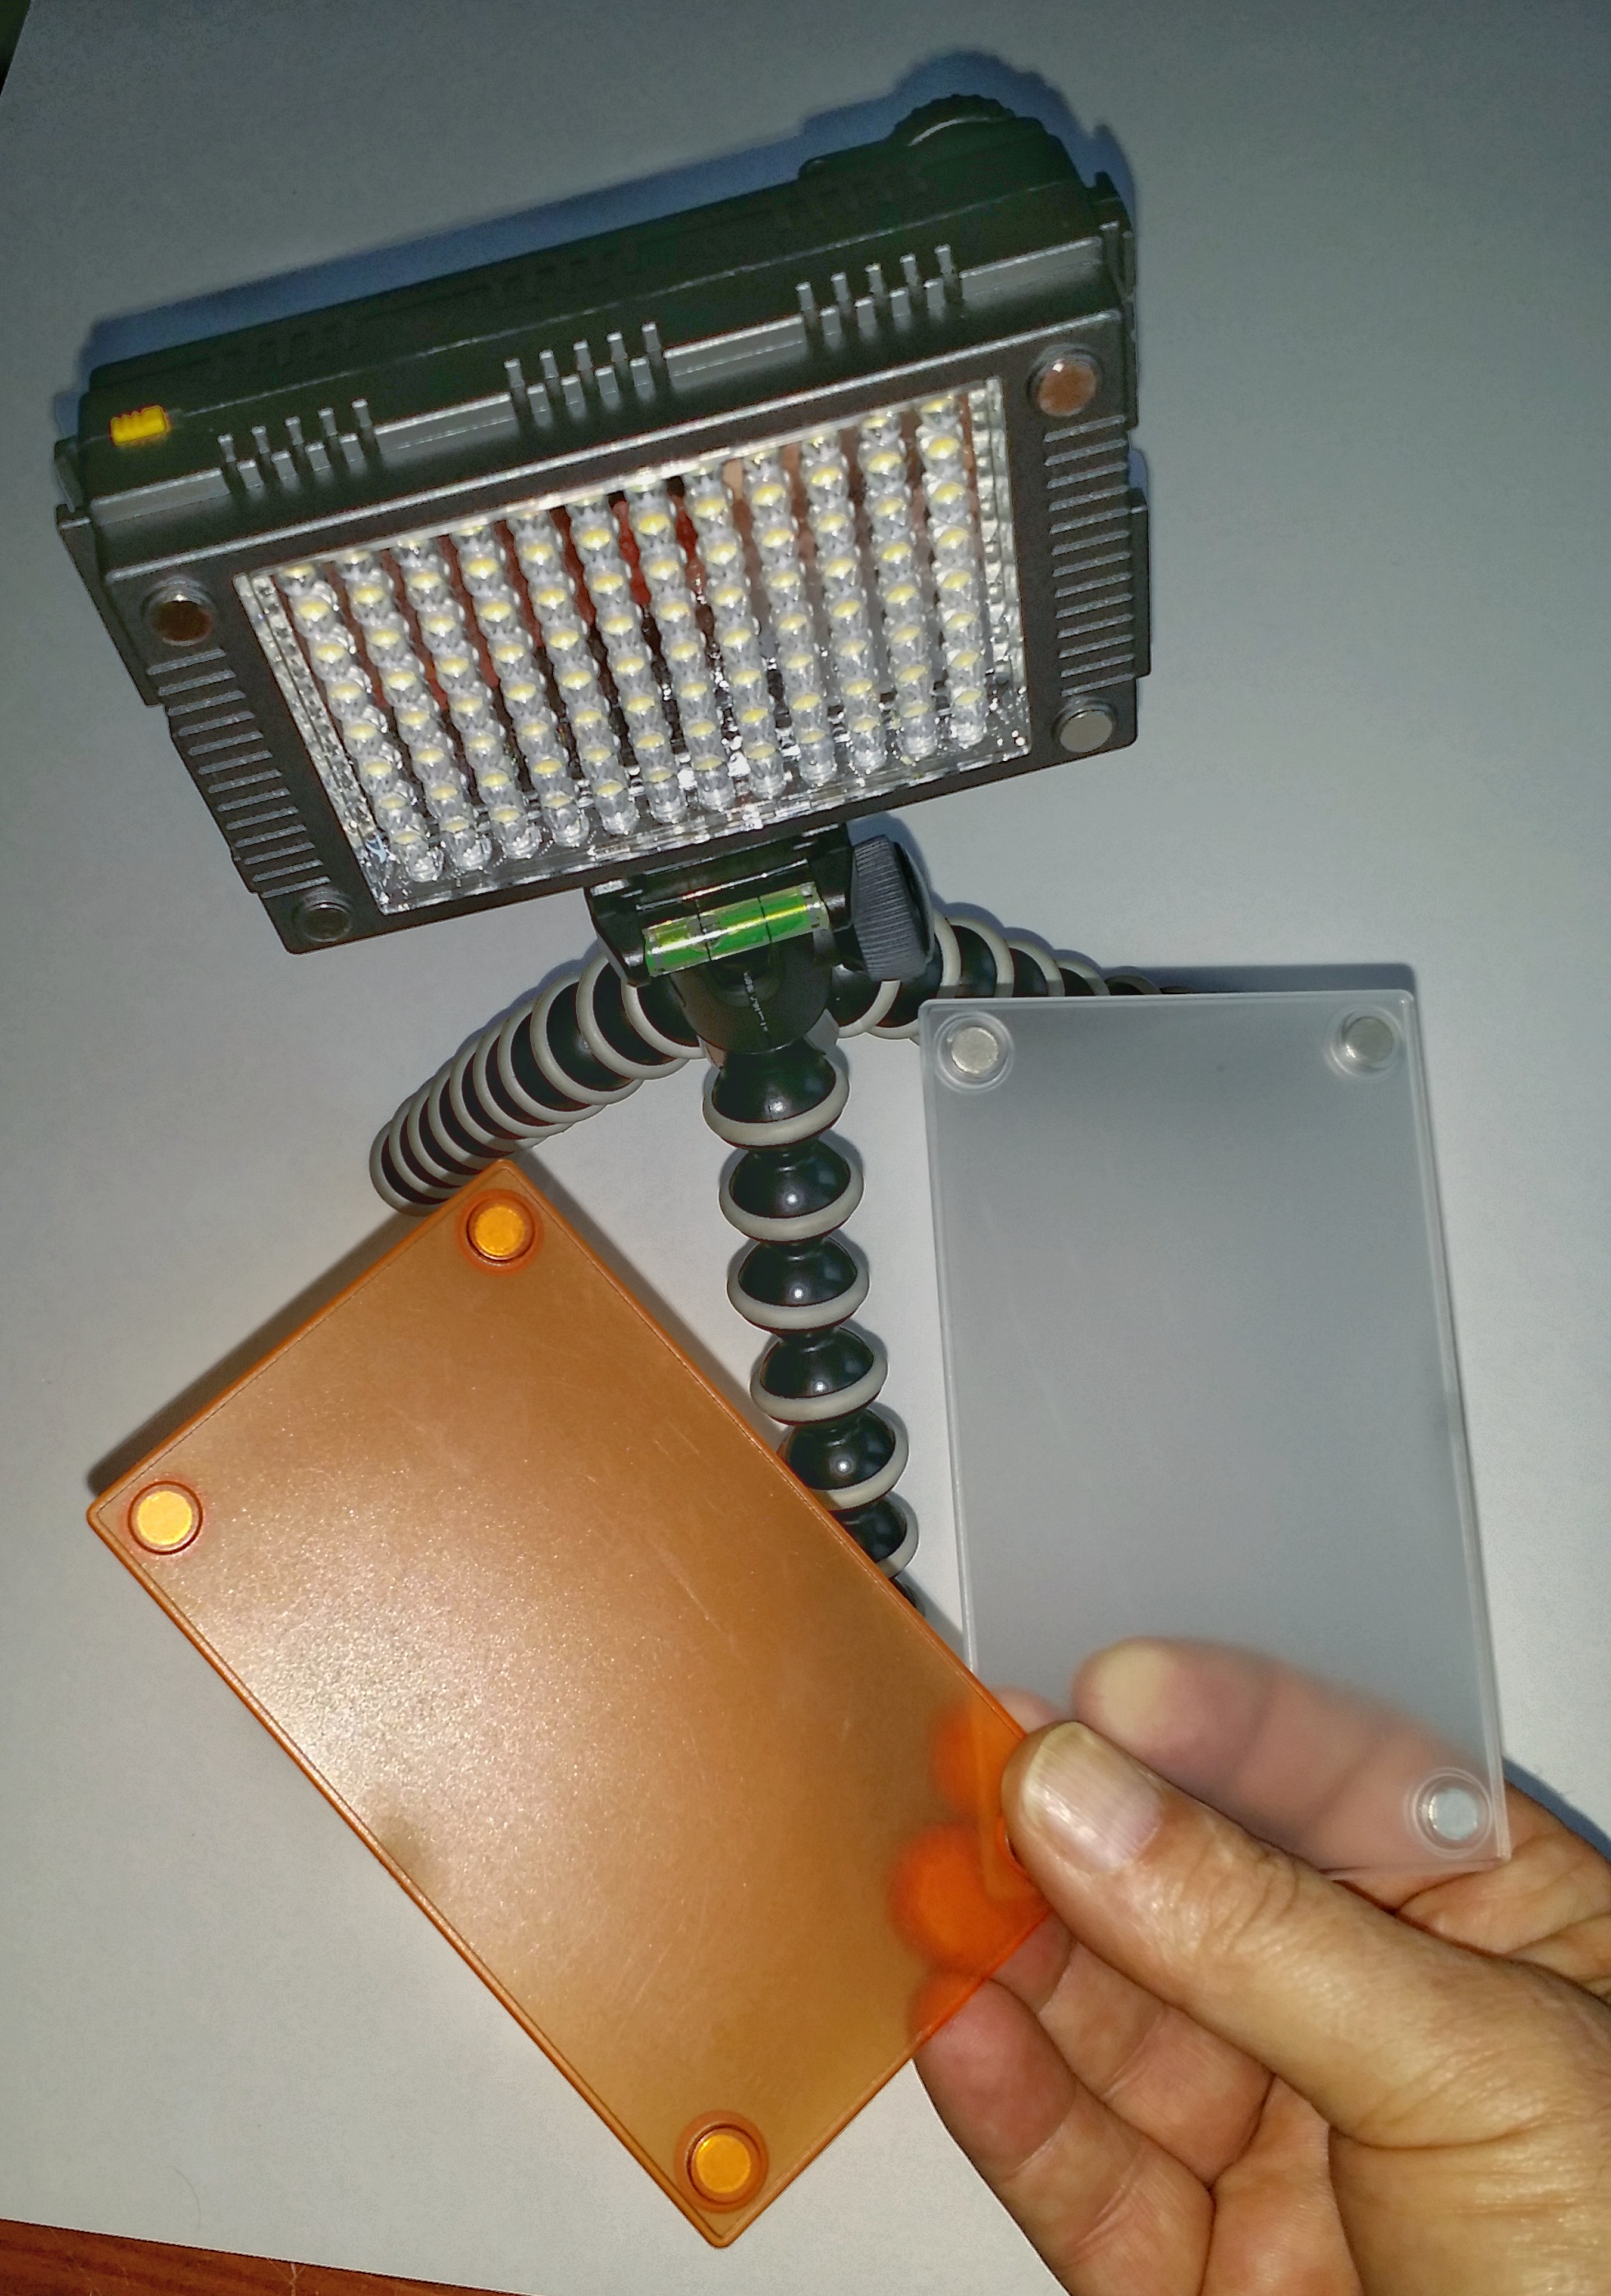 Here is an example of one such light source that I use. It is a knock-off version of the F&V HDV-Z96 LED Light Panel.  I have been using three of them without problem for two years. Included with the panel is a clear diffuser and 3200K warming filter. The filters pop on and off easily with embedded magnets. While the specs claim the panel uses 800 LX @ 1-meter Super Bright LEDs, I always use them at their lowest power setting, with both filters attached. Even at that, I usually have to move the lights much further back from the subject than where I initially placed them, in order to balance the light intensity with the exposure required for the Milky Way.
Here is a test exposure I made when setting up the light panels for the image that headed up this post. While the lights may look bright in this image, this shot was taken at ISO6400 for 15 seconds. To my naked eye, the added lighting was barely perceptible. Notice in the test shot above light has “spilled” down onto the roadway below the LED panels. Knowing this would become an editing problem later on, I decided to walk back down the road and fit each of my three LED light panels with a DIY barn door to block the spill.
By sliding a piece of black foam core board between the LED light and the tripod, I created a barn door that allows me to cut out spill from the bottom of the panel.
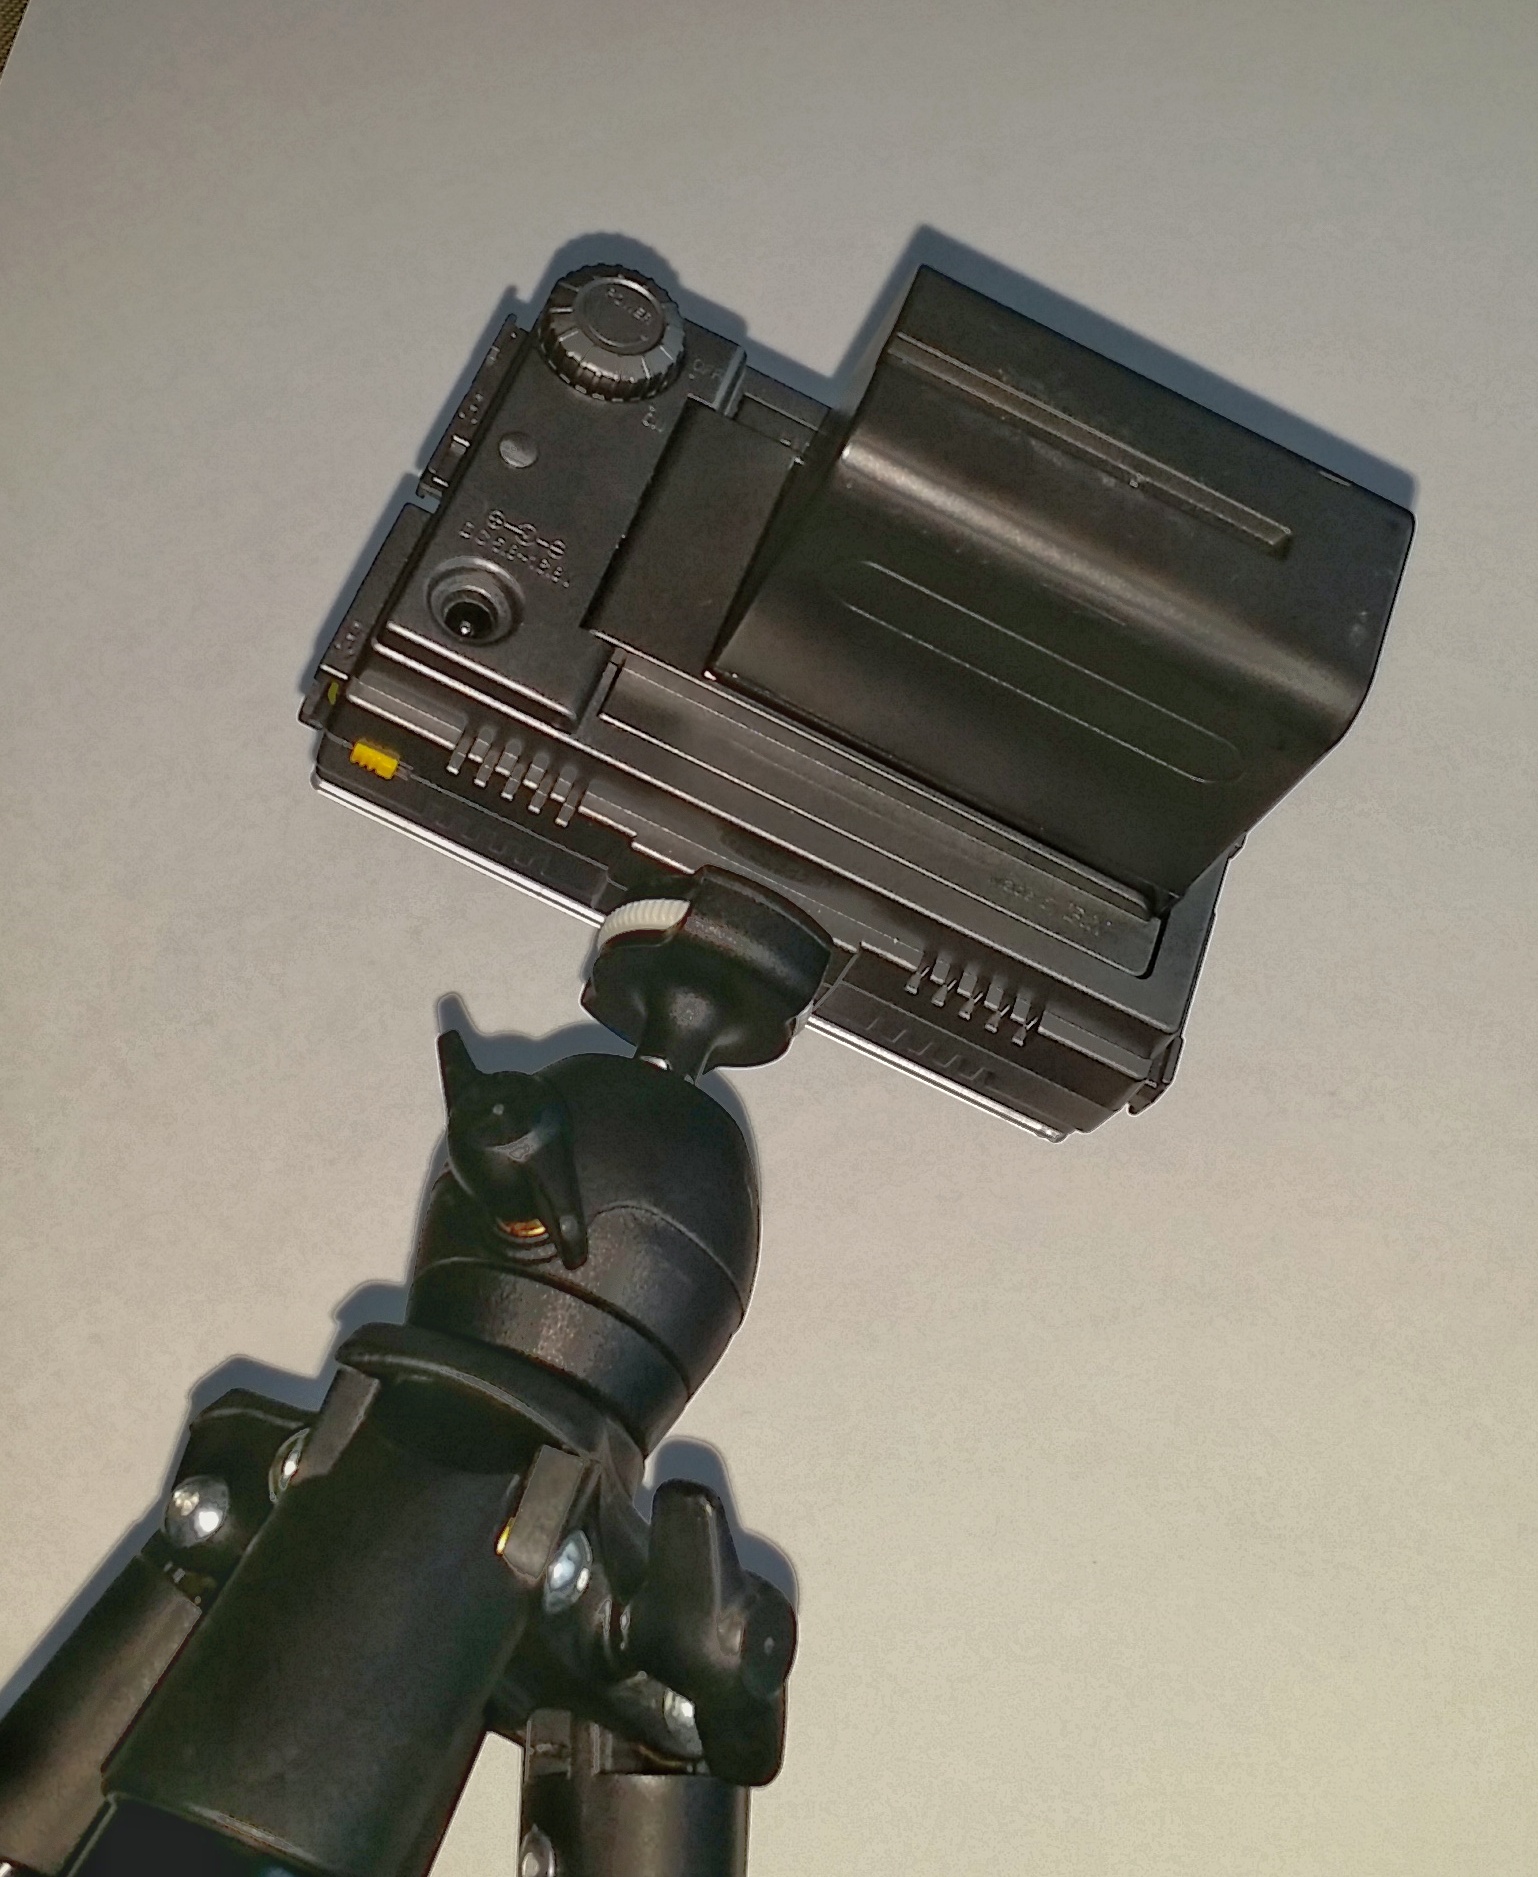
There are three ways to power this particular LED panel. There is a receptacle for a 12V power source, which I have no need for. I power my LED panels with these NPF970 Camcorder batteries, which usually allow me to utilize the lights for many long night sessions without having to bother with recharging.
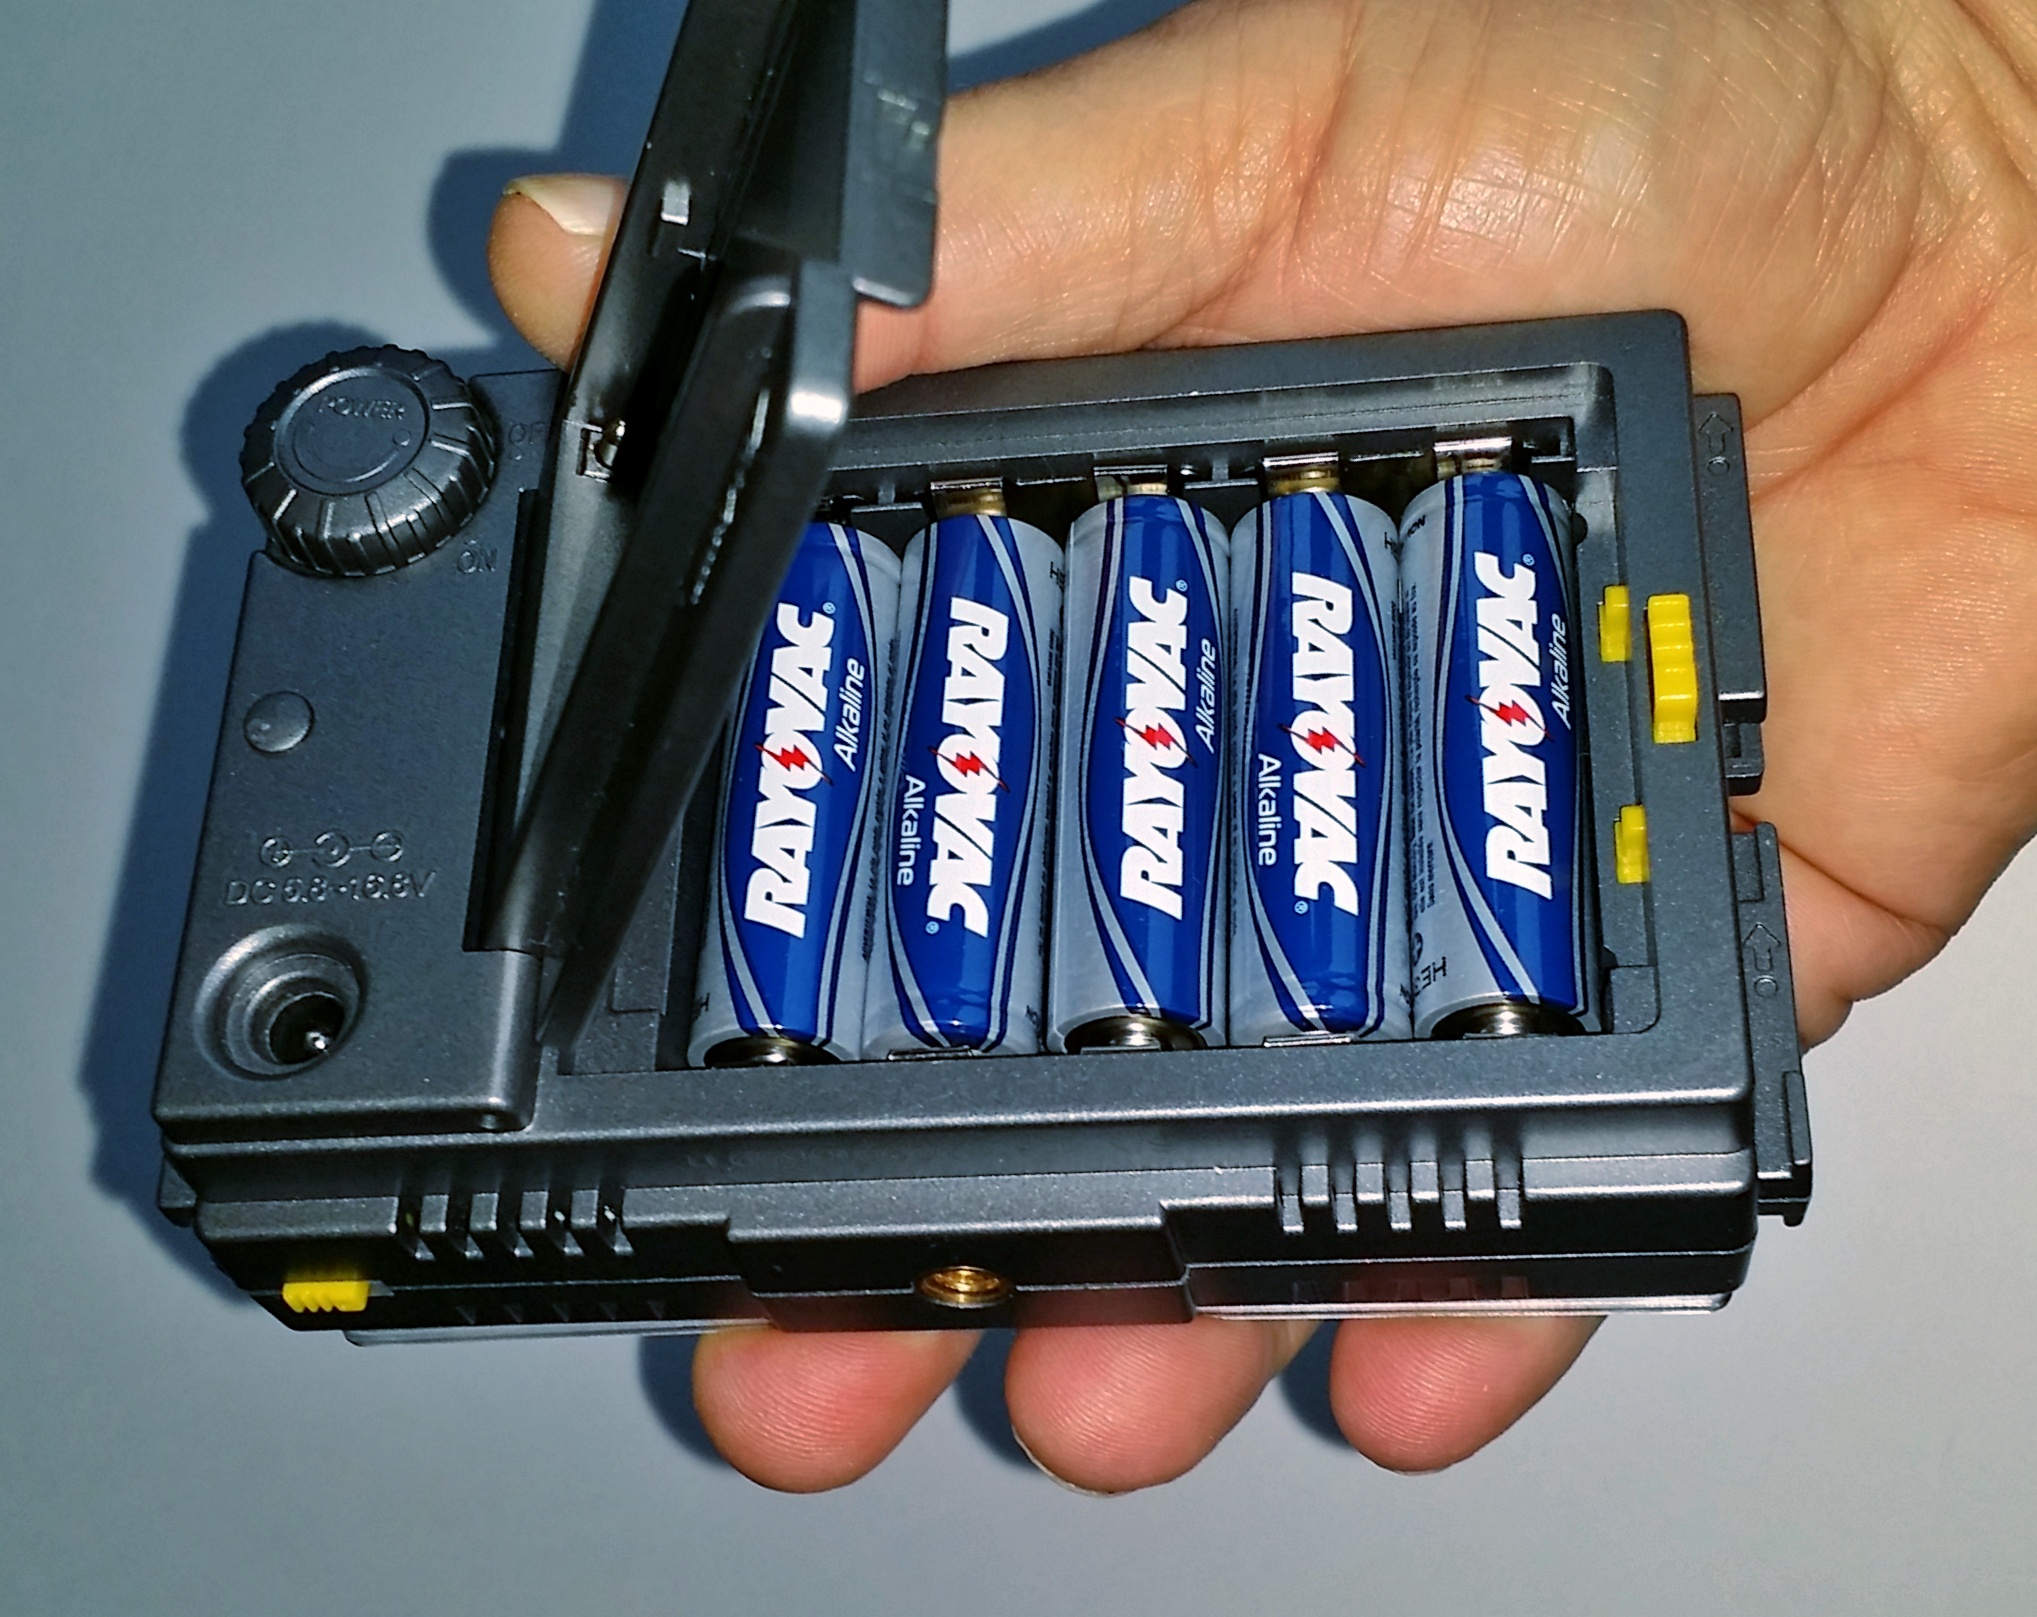
To save on space or weight, one can simply choose to use AA batteries instead of the camcorder style battery, at the expense of battery life.
Low-Level Lighting Is Not the Only Way to Illuminate the Foreground
Foreground Lit Only By The Moon
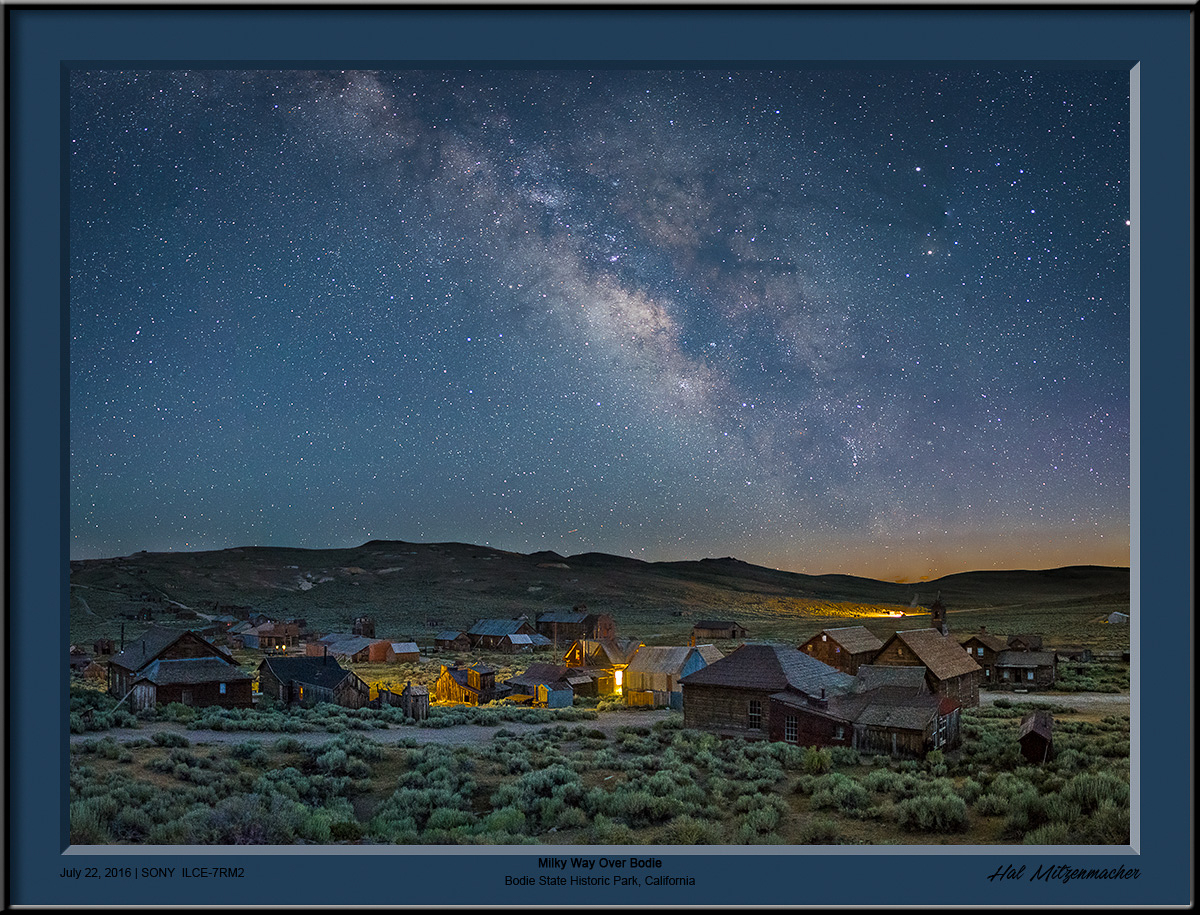 Low-level lighting is one way to illuminate the foreground, but not the only way, by any means. A great way to bring the foreground into prominence is to use moonlight to light the scene.  This image was taken overlooking the Bodie Ghost Town in the eastern Sierra of California. It was taken near the full moon, just as the moon was rising and beginning to cause the Milky Way to fade in intensity. In this case, the only artificial lights are the random fixtures located throughout the town.
Foreground Lit Exclusively By Flashlight
This image could be considered the exact opposite of LLL. A powerful hand-held flashlight was used Instead of a low-level LED light panel. Rather than using a low intensity light for a long duration, this image uses a high intensity hand-held flashlight to paint the scene, but only for a brief portion of the exposure. This gives the photographer the ability to create a high-contrast and visually textured image. The effect creates a totally different mood than the somewhat flat, low-contrast light produced with the LLL technique.
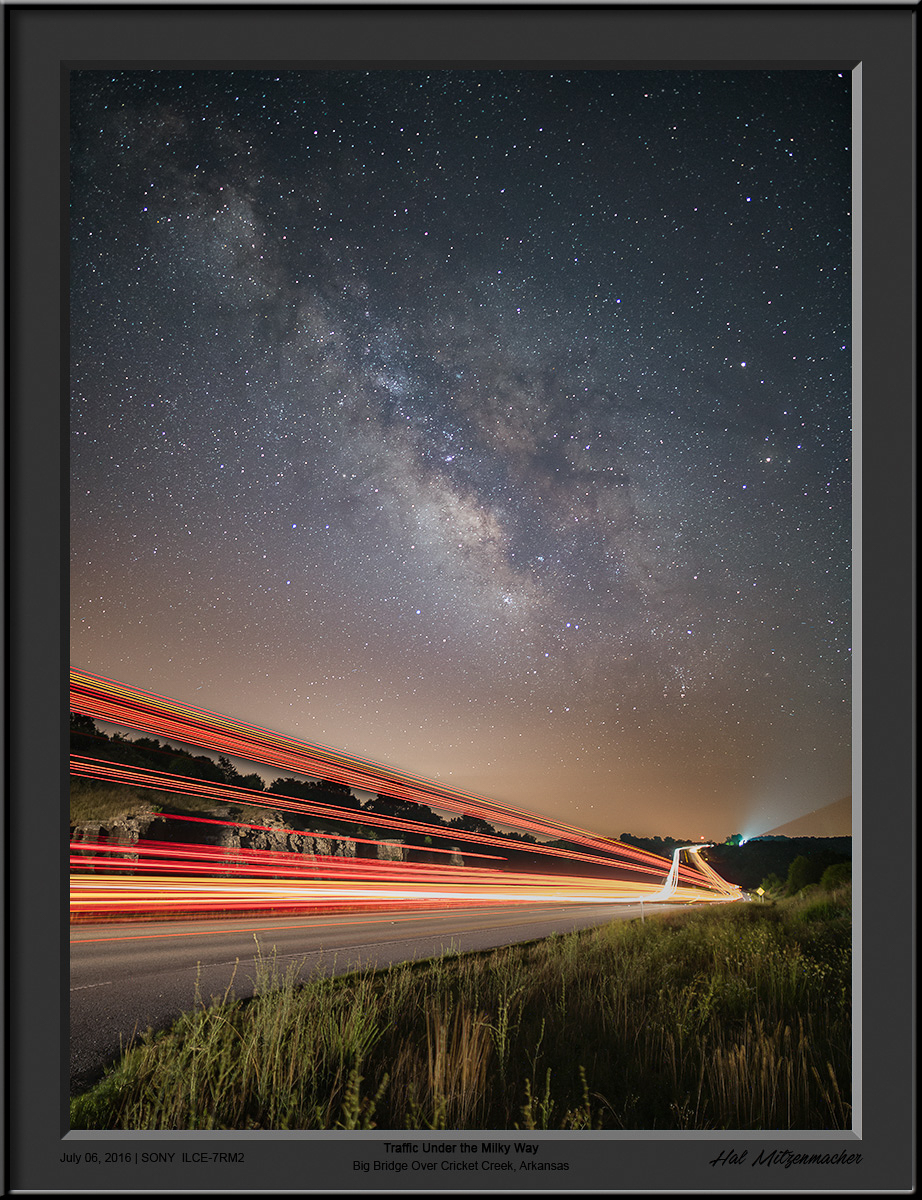
Foreground Lit Exclusively By Vehicle Headlights
Another way to light the foreground, and a technique I find exciting, is to use the headlights of random passing motorists to provide the lighting that brings the image to life. Â When I hear other photographers grumble about passing automobile headlights ruining their images, I begin looking for a way to capitalize on the situation. Many “happy accidents” in night photography are not accidents at all, but merely the by-product of a perseverant photographer. In the image above, when I realized that the deluge of passing automobiles would not abate for hours, I simply found a composition where the vehicle headlights would enhanced the image, rather than degrade it.
Foreground Lit With A Combination Of Moonlight and Flashlight
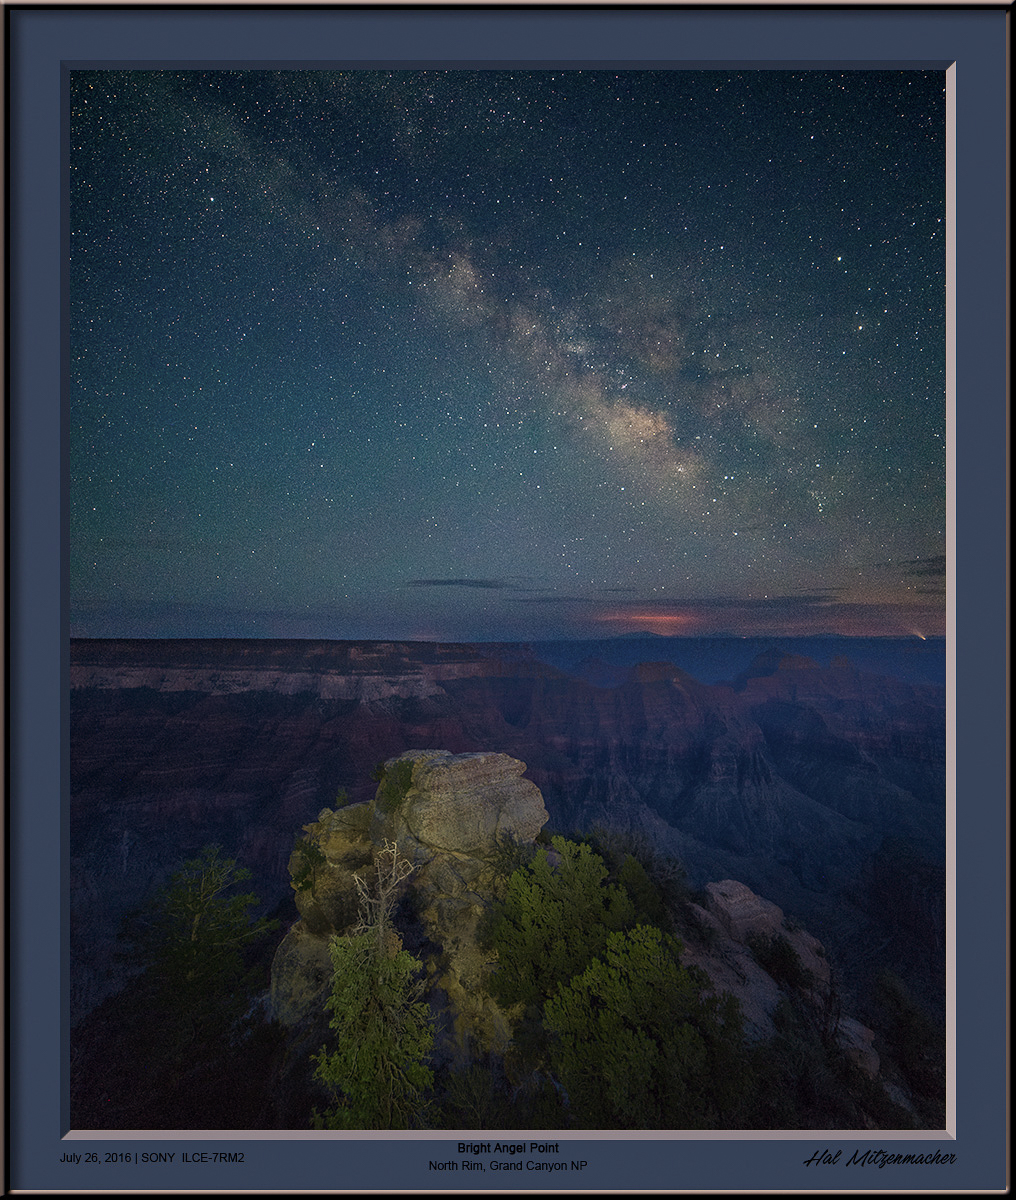
The image above shows the result of combining a just rising moon with a bit of hand-held light painting with a flashlight..  While the exposure settings of the camera were set with the background Milky Way in mind, the foreground was painted by a brief use of the flashlight, while the midground was illuminated by the just rising moon.
Foreground Lit With A Combination of Low Level LED Panel And Flashlight
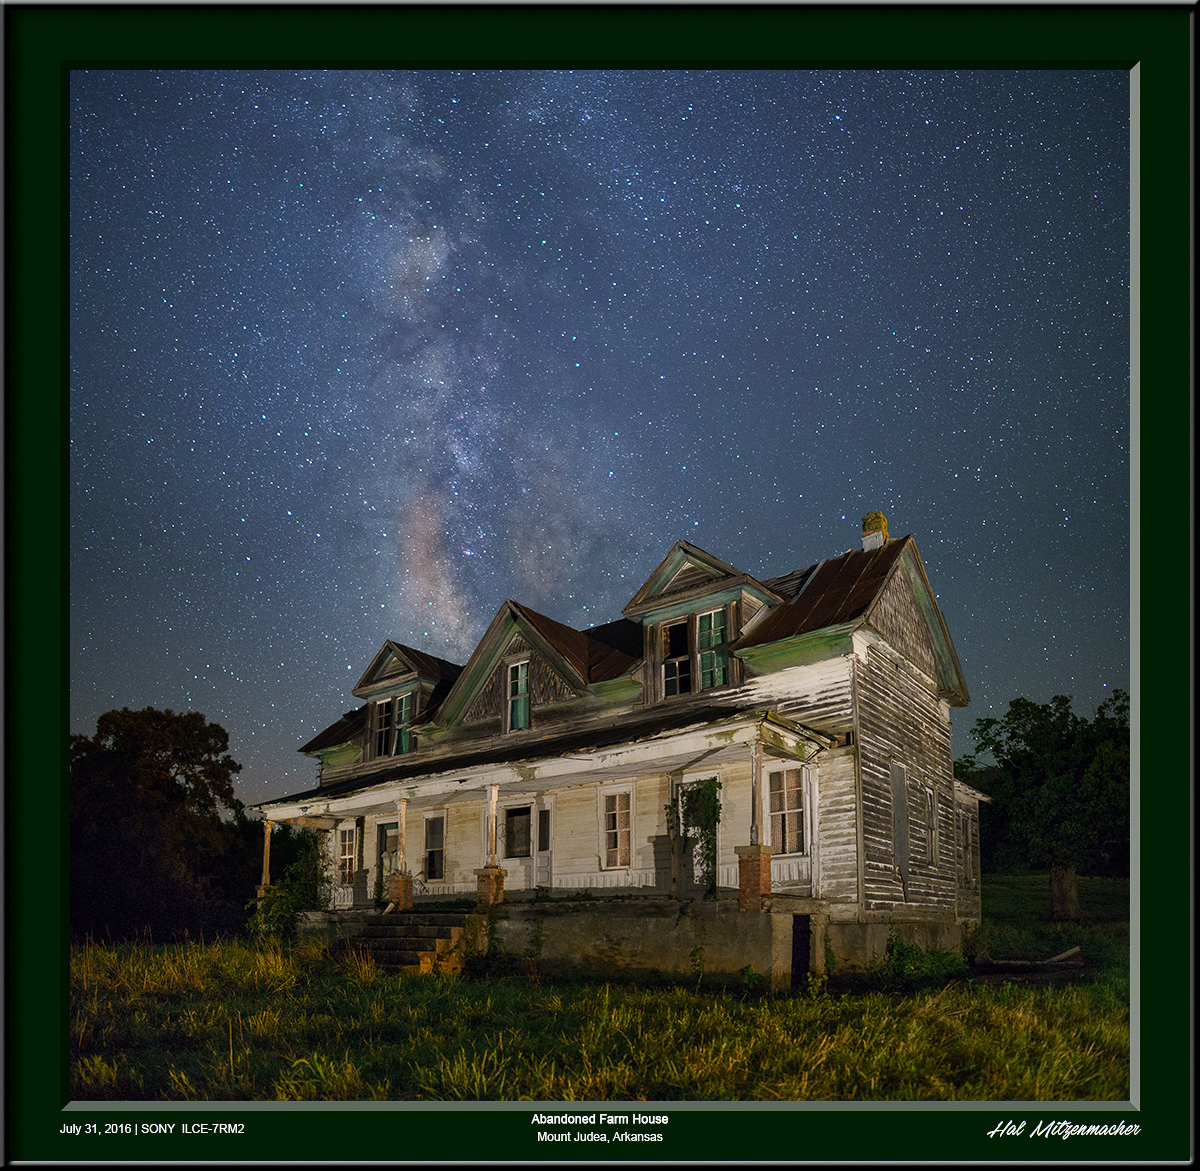
The image of the abandoned farmhouse and Milky Way above uses a LED light panel to provide a uniform low-level light for the farmhouse, balancing the exposure with that required for the Milky Way. As an addition however, to add interest and texture to the image, I used a high powered flashlight briefly during the exposure from off-camera right to add texture and depth to the grass.
Foreground Lit With Combination Of Vehicle Headlights and Flashlight
And finally, this image shows an exposure optimized for the Milky Way, with the use of automobile headlights to illuminate the bluff on the other side of the highway. A hand-held flashlight was used to add texture to the grass in the foreground.
Conclusion
Low-level lighting is a valuable tool in the arsenal of the night photographer. With changes to light painting policy that might be coming to public lands, it may become increasingly important to become proficient in various forms of nighttime landscape illumination.
In future posts I will expand on the pluses and minuses of various astro-landscape lighting techniques, and see how they each fit into a future where light painting may be severely or completely restricted in our National Parks. In the meanwhile, you now know what the concept of low-level lighting is, and can go from there.



Very nice, Hal! Thanks for all the information!
You are welcome Cindy!