
 Mount Gould Sojourn
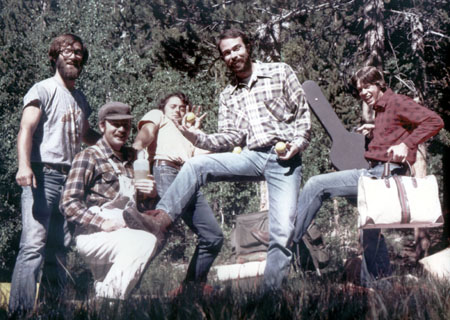
Would you be brave (or foolish) enough to take a journey with this motley crew? If so, than follow us on our journey to the top of Mount Gould, which occurred over thirty years ago. The humble author of this blog is the character on the extreme left, in his more *vibrant* days. Actually, these fellows turned out in later life to be a veterinarian, a physician, a respected music producer, an architect, and some fellow that I heard was last seen furiously writing blog posts somewhere in the Ozarks ;)
Mount Gould is a moderately high (13005′ elevation) peak in the John Muir Wilderness area of the Sierra Nevada mountain range. It lies within the bounds of Kings Canyon National Park in California. The route to the top of Mount Gould takes you from the trail head area in Onion Valley on the eastern flank of the Sierras, through beautiful mountain scenery on your way along the Kearsarge Pinnacles, and ultimately to the craggy peak called Mount Gould. Here is a photo of our group gathered around the campfire in Onion Valley as we acclimate to the elevation change and prepare for our climb to come.
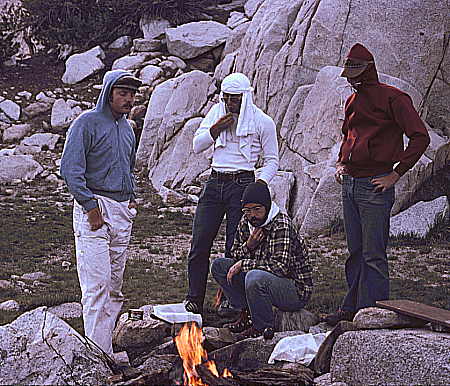
If you thought that we were huddled by the fire for warmth, you would be wrong. It turned out that the mosquitoes were extremely pesky that evening, and the only comfort was to cover up from head to toe and stay close to the smokey, sooty fire for protection. The next day we hiked along the rugged Kearsarge Pinnacles area on our way to the base of the ridge leading up to Mount Gould.Â
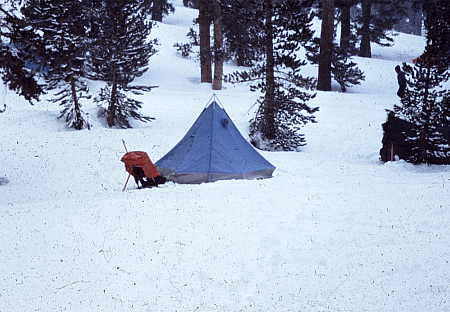
As we gained elevation and ventured further into the High Sierras, we began to encounter snow on the ground and in the trees. Finding a spot to set up camp was pretty easy – you certainly didn’t need to worry about where to pitch your tent, as the entire surrounding landscape was blanketed by a soft carpet of snow. As long as you stay out of any avalanche pathway you are safe and secure. It is off to bed early in the evening, as we have a strenuous hike awaiting us in the morning.
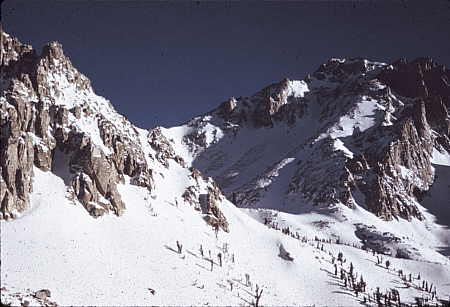
When we arise early the next morning, we assess the first leg of the hike.
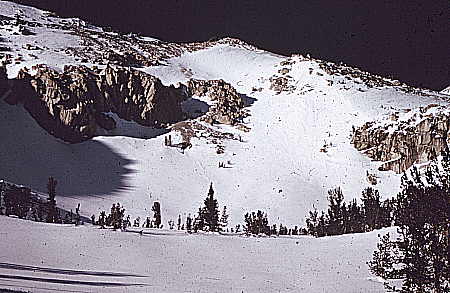
We will begin our ascent by following the ridge you see in the photo above. We plan to switchback across the snow-covered slope before us, ending up on the crest of the ridge at the far left in the photo above. From there the plan is to follow the ridge line as much as possible on our way up to Mount Gould.
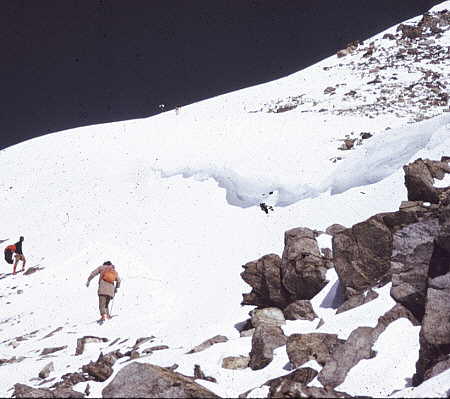
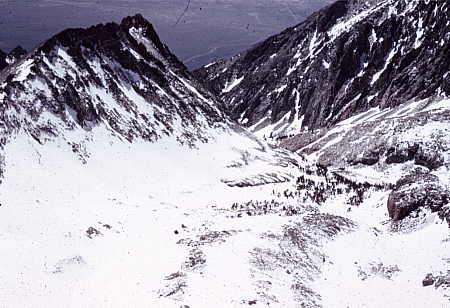
Here you can see what is involved in this trek. The climbing is not technical at all, just a slow but steady plodding up the snow covered slope toward the first goal we had set, which was the ridge line above us. Eventually, we arrived at the top of the ridge, and were greeted by the following sight – Â
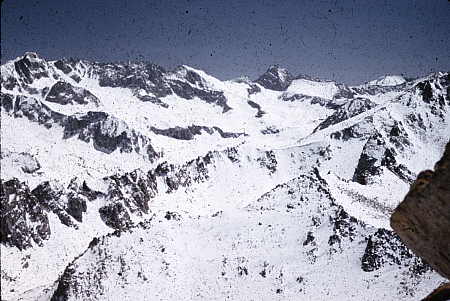
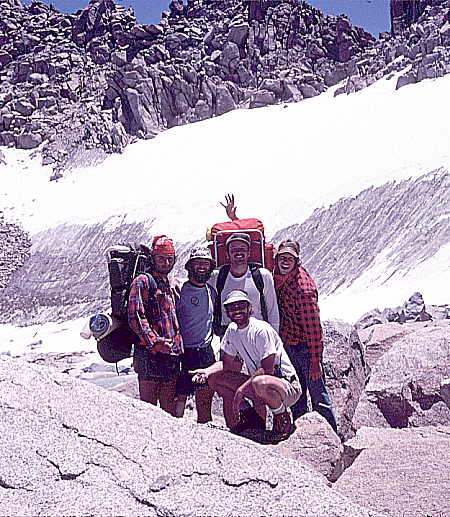
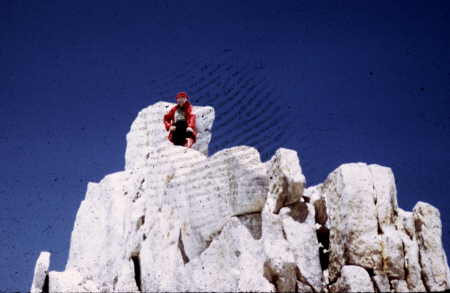
In this photo you can see Mount Gould, just to the right of center.  We are still quite a distance away from our goal, and we have lots of snow and rock to traverse before we arrive at our intended destination. It is a test of fortitude and desire more than skill or daring to climb this sort of peak in the winter, but if you plan properly, and stick to your plans, than you will eventually reach the top, as we did here –
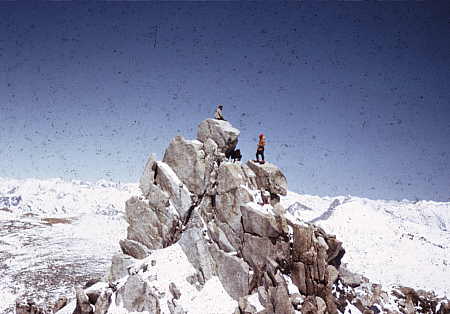
That is your humble (and tired) author you see at the top of Mount Gould. And how did he obtain this picture? By sending fellow mountaineer Chris up an adjacent rock to snap some photos, as seen here (hiding behind a nasty fingerprint) –
So now we have been successful in our attempt to scale Mount Gould, but the REAL fun is just about to begin. It has taken us well over 6 hours to make our ascent of Mount Gould, and now we plan to make it back to base camp in less than 1 hour. And just how do we intend to do this? By using a technique called the “Glissade”. The first step in a glissade descent is to don your trusty nylon rain suit. This will act as a slick surface for your body, which you are soon to propel down the snow-covered slopes as fast as you can, using only your ice axe as a rudder and your ice axe as your brakes (via a technique called an ice-axe arrest).
In this photo you can see the chute that we chose to glissade down the mountain crest. On the way up, this section might have taken 1-2 hours to climb. On the way down, thanks to the glissade technique, it took just a few fun and wild minutes. From this point we can turn around, and now looking down the mountain again, this is what we saw.
All that remained between us and our base camp was this long, steep, snowy section of mountain that was just ideal for a joyous glissade. We made it back to base camp, tired, a little wet, and very happy campers. After a good nights sleep, we hiked back down to Onion Valley where we encountered –
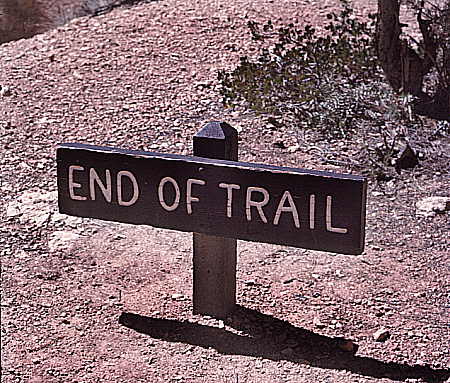
Â


A great story, and sounds like a great trip.
In my younger, more foolhardy days, I once tried to damn the Kaweah falls, routinely raced my mountain bike down frighteningly steep, boulder-ridden mountains, was a failly good gymnast, swam across a large lake, rode my skateboard up the walls of empty swimming pools, rode go-carts at 65mph, had a rental car sideways on its two right wheels, and performed many other adrenaline inducing feats and stunts.
But the very thought of sliding down a chute of ice and snow with what is essentially a relatively large and sharp ice pick by my side as my only means of slowing down or stopping makes me shiver with fear!
I think we’ve both finally paid heed to the saying “There are old men, and there are bold men, but there are no old, bold men!”
I see I’m not the only one to have storage problems with old photos.
Love the thumb print on the 9th slide!
Tjilpi,
What you see in the slides is the result of storing these particular slides in an old Bell & Howell slide cube (remember those?) at a public storage facility at the coast. I believe it is a mold of some sort. I tried using an emulsion cleaner on a test slide, but it did more harm than good.
Regarding the ninth slide – some people watermark their pictures, I’m experimenting with fingerprinting them for identification 😉
Late here, but I use rubbing alcohol on a clean cotton cloth…tighty whities work fine to clean my old K64 slides and the results are pretty good.
FC – Thanks for the tip on the rubbing alcohol. I will give it a try a soon as I have a few free moments. There are two categories of photos – “keepers” and “throwaways”. One of the unsung benefits of retaining both types is that now I have a good supply of old soiled or mildewed slides that I can experiment with, without running the risk of hopelessly damaging an irreplaceable image.