How To Determine Long-Exposure Settings For a Night Photograph

Although the noise performance of modern camera sensors at high ISO settings has improved dramatically over the past decade, photographers who demand clean, noise-free images must still wrestle with the problem of eliminating high ISO noise. One strategy is to simply avoid shooting at high ISO settings whenever possible by lowering the ISO and extending the exposure time. The question that is often raised is – “what settings should I use to obtain a proper exposure”? This is not a particularly difficult question to answer, however the answer becomes infinately more useful and valuable if one understands the reasoning behind the solution. This article is my take on solving this problem.

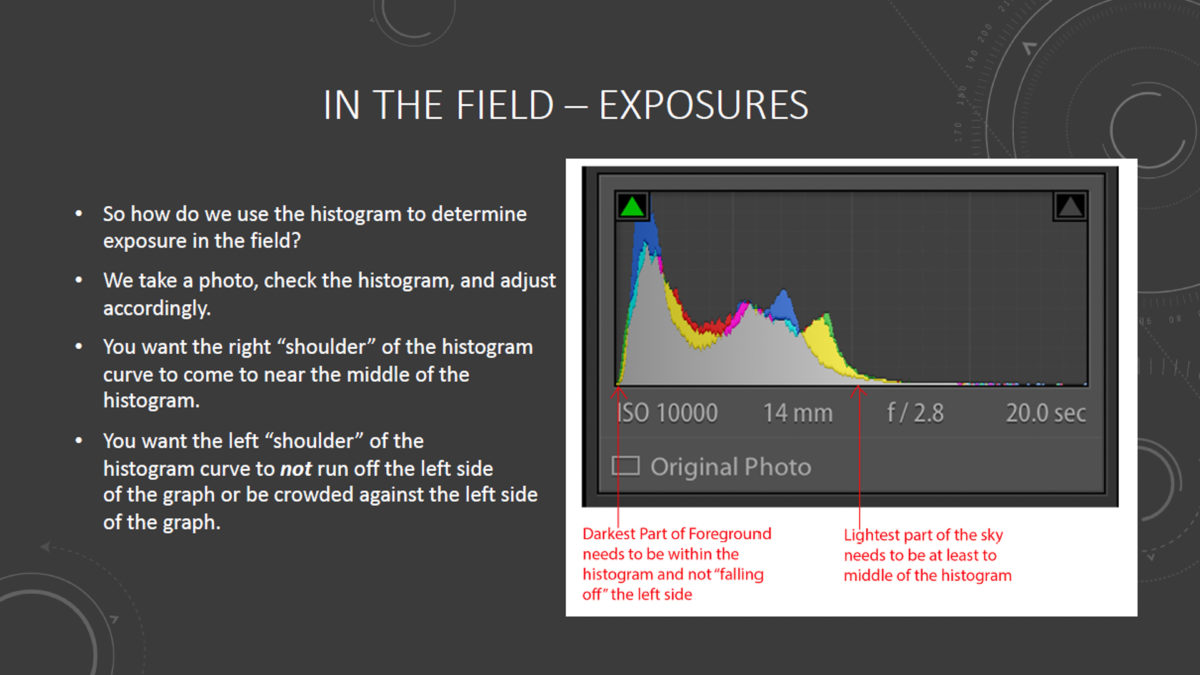
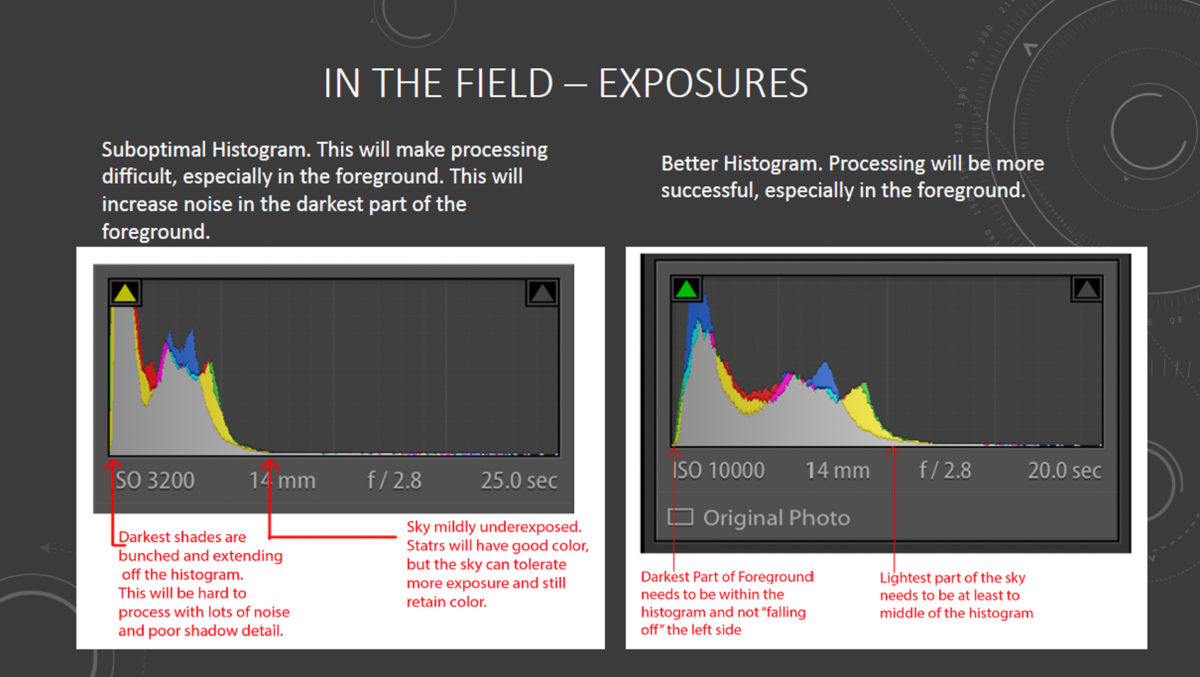
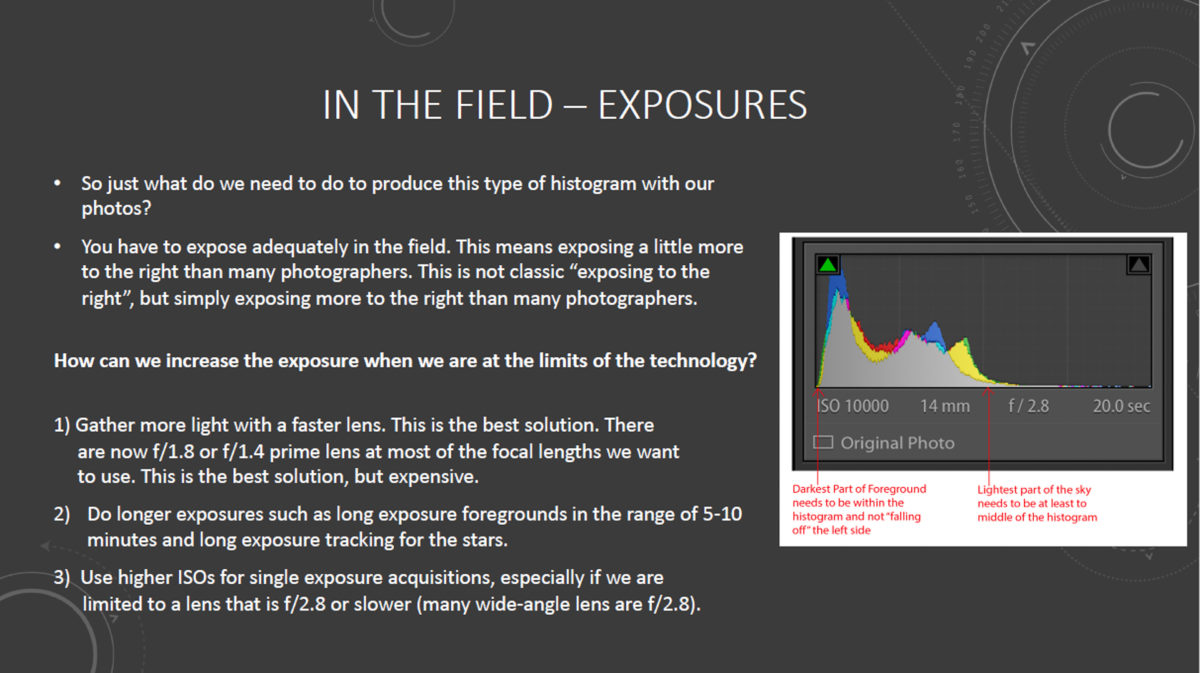
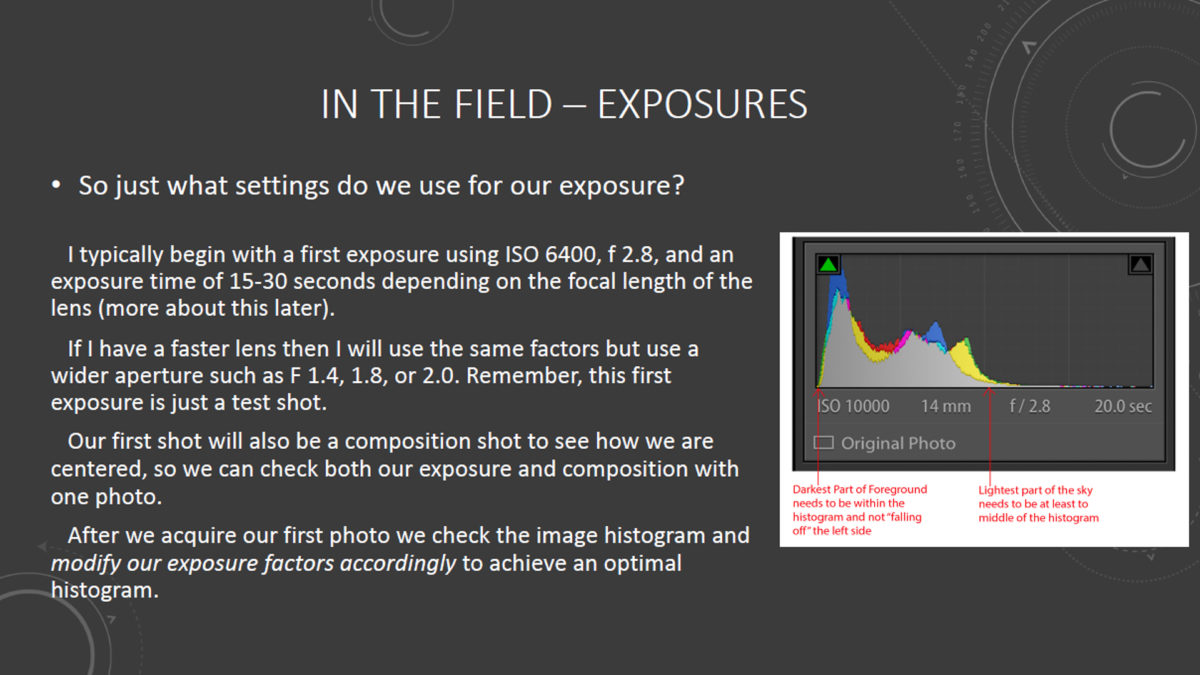
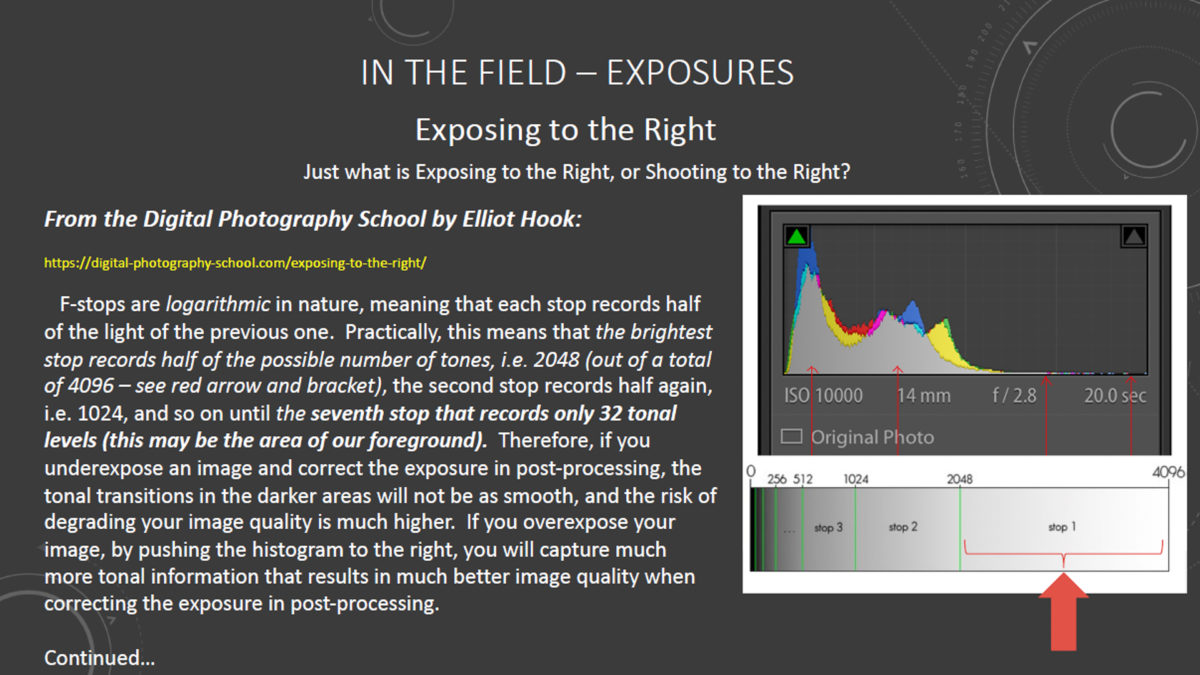
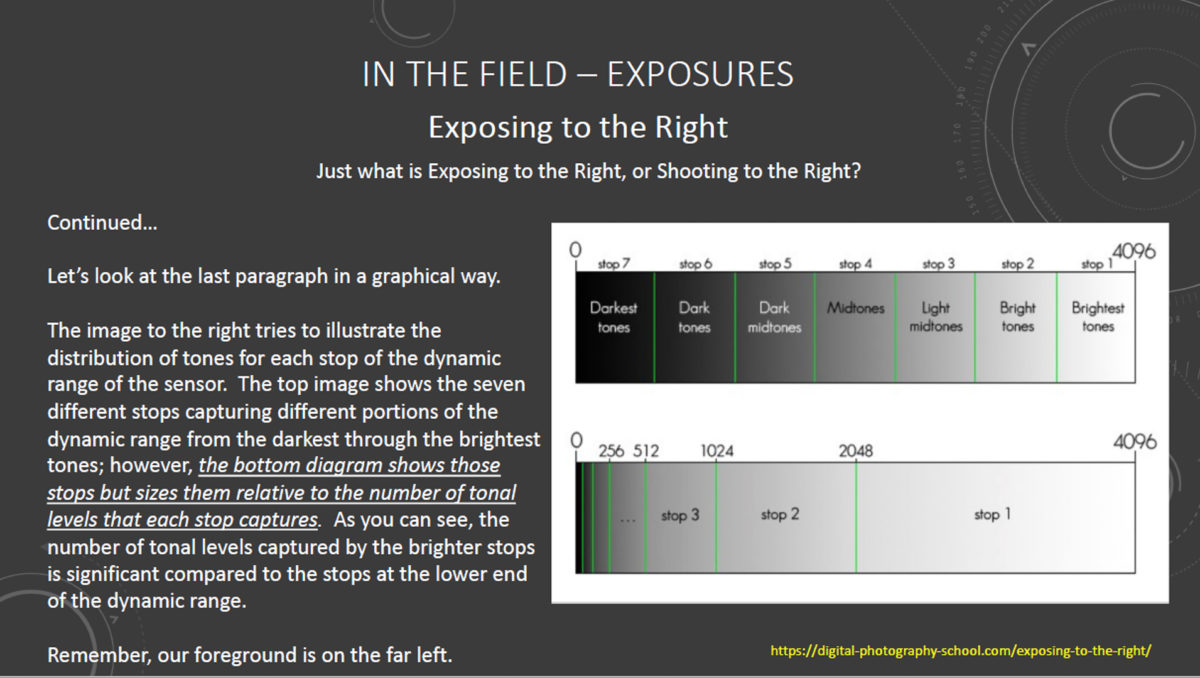
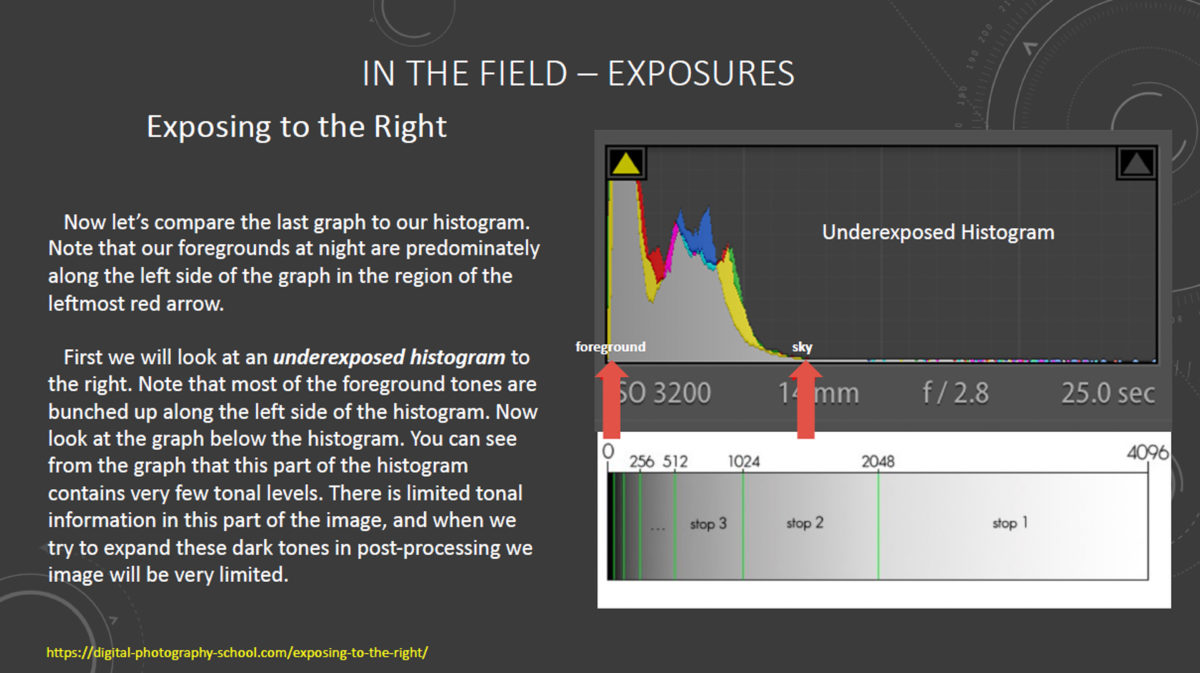
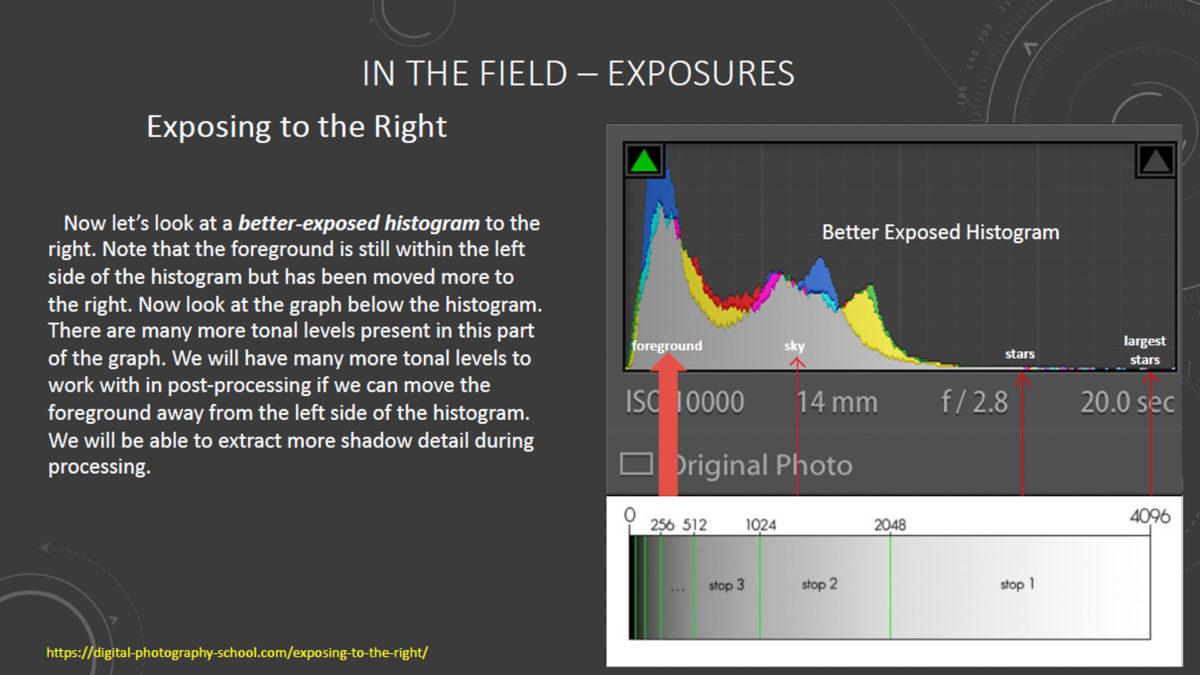
It is important to understand what a proper exposure actually is in the context of low-light or nighttime photography. A proper exposure is NOT determined by how the image looks when reviewed on your LCD screen after exposure. Your LCD display will fool you every time – it is not determinative of a proper exposure. What IS determinative is what is shown on your histogram, as this creates a graphic representation of the data actually captured and recorded by your camera sensor. So let us begin by learning what the histogram is, and how it can be effectively used in the context of our night photography. The following graphics explain the concepts we need to know in order to determine a proper exposure.

NOTE – Click images to view full size (Tablet or PC)
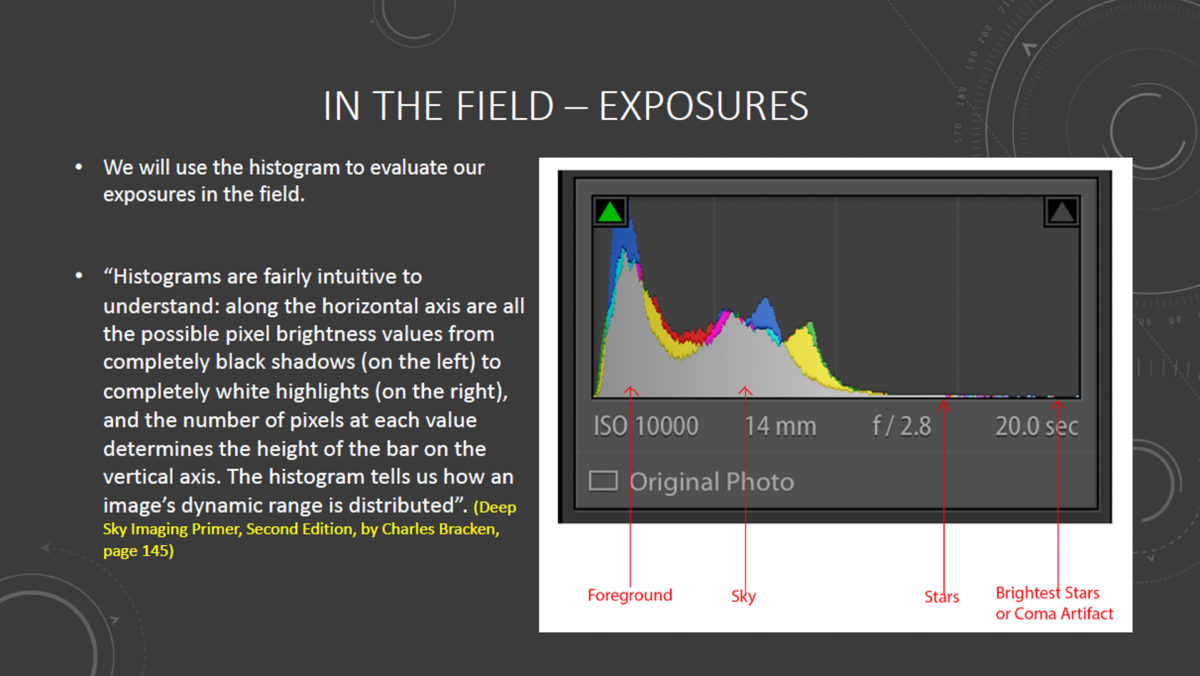
DETERMINING LENS APERTURE (f STOP)

So now that we know what a proper night exposure histogram looks like, how can we determine the settings to create an image with a good histogram, which also minimizes high ISO noise in our image?

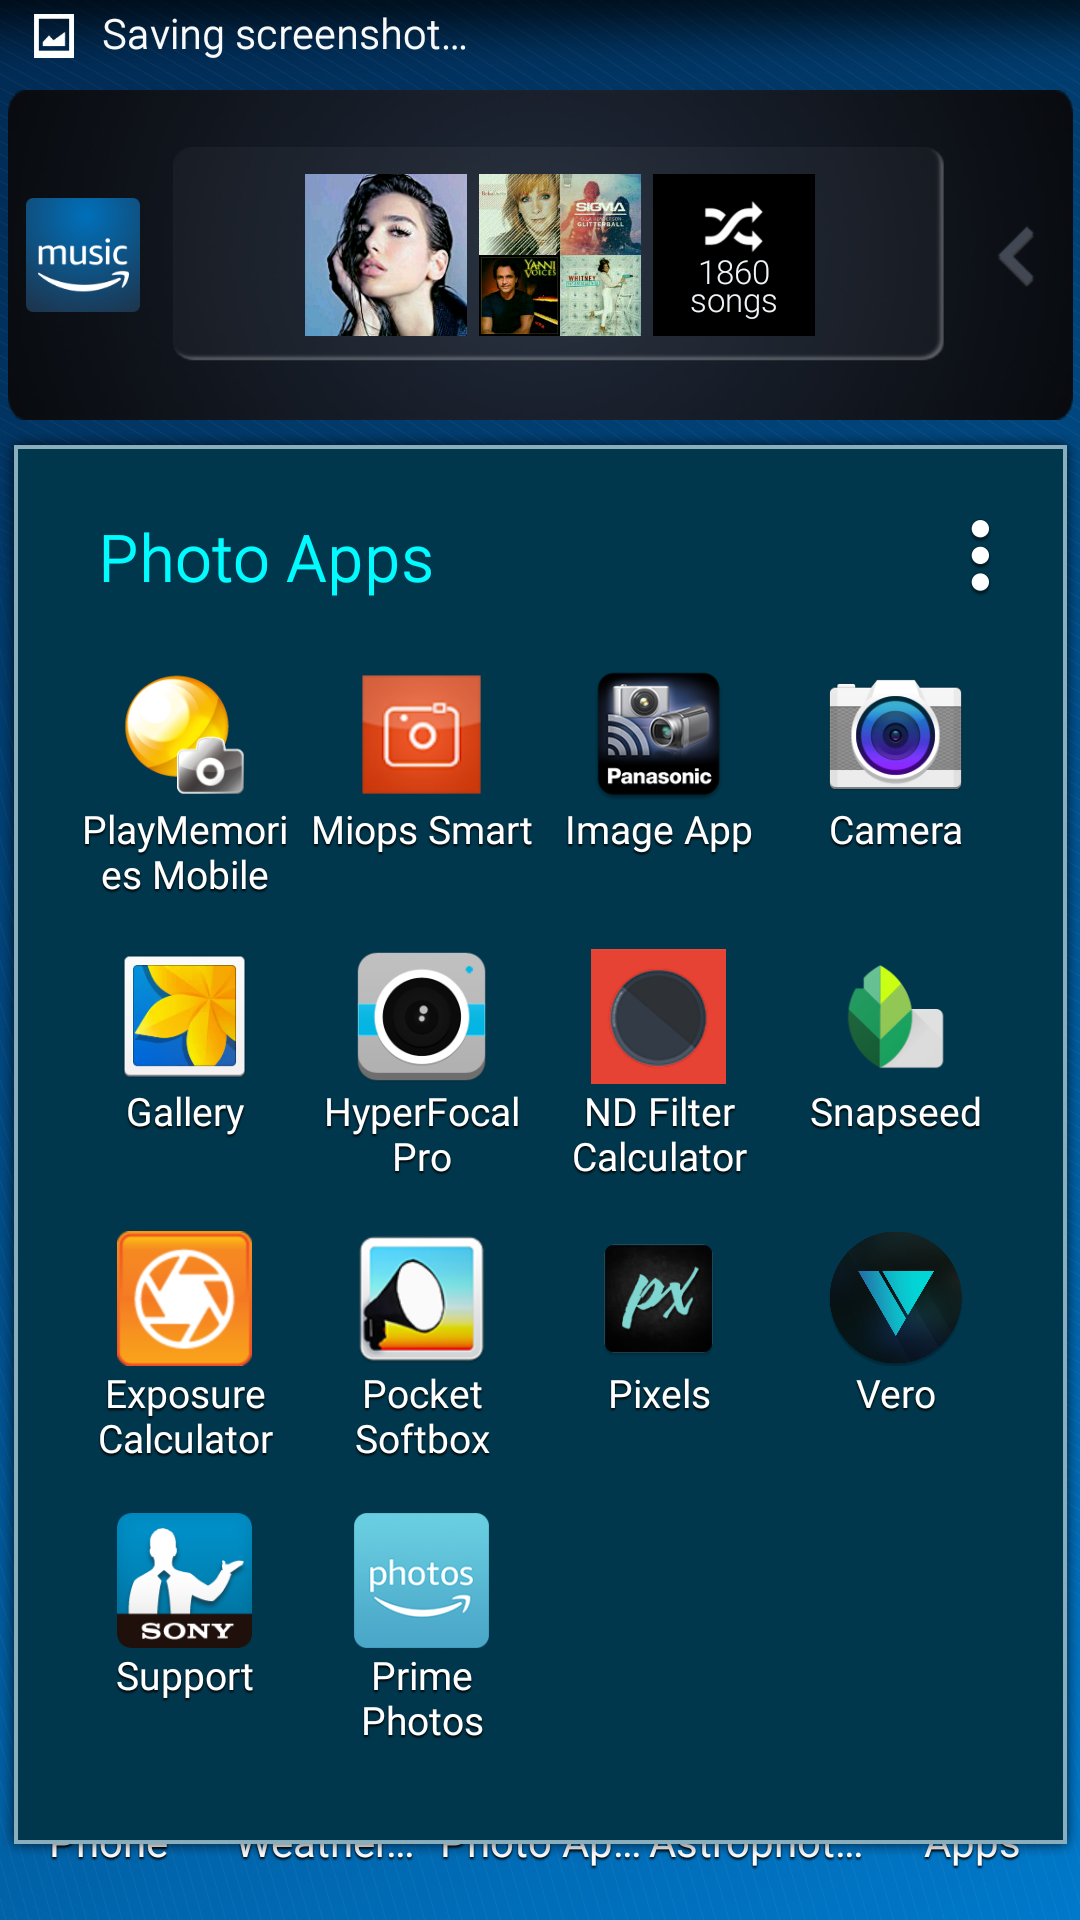
The first exposure setting I prefer to establish is the lens aperture. This is a balancing act- the wider the aperture, the shorter the exposure time needs to be, however, the wider the aperture, the shallower the depth-of-field (DoF) that is produced. My usual procedure is to select the widest aperture that still gives me the necessary DoF my composition requires. To do this, I refer to one of the readily-available Hyperfocal Distance Calculator apps that resides on my smartphone. A test shot taken with the lens focused at the calculated hyperfocal distance will allow me to review the exposure to be certain the my subject matter is entirely in focus. If not, I will reduce the aperture (thus increasing the depth-of-field), refocus at the new calculated hyperfocal distance, and try again. When I am satisfied with the focus at the selected aperture, I can then move on to determining ISO and exposure time.

DETERMINING ISO AND EXPOSURE TIME

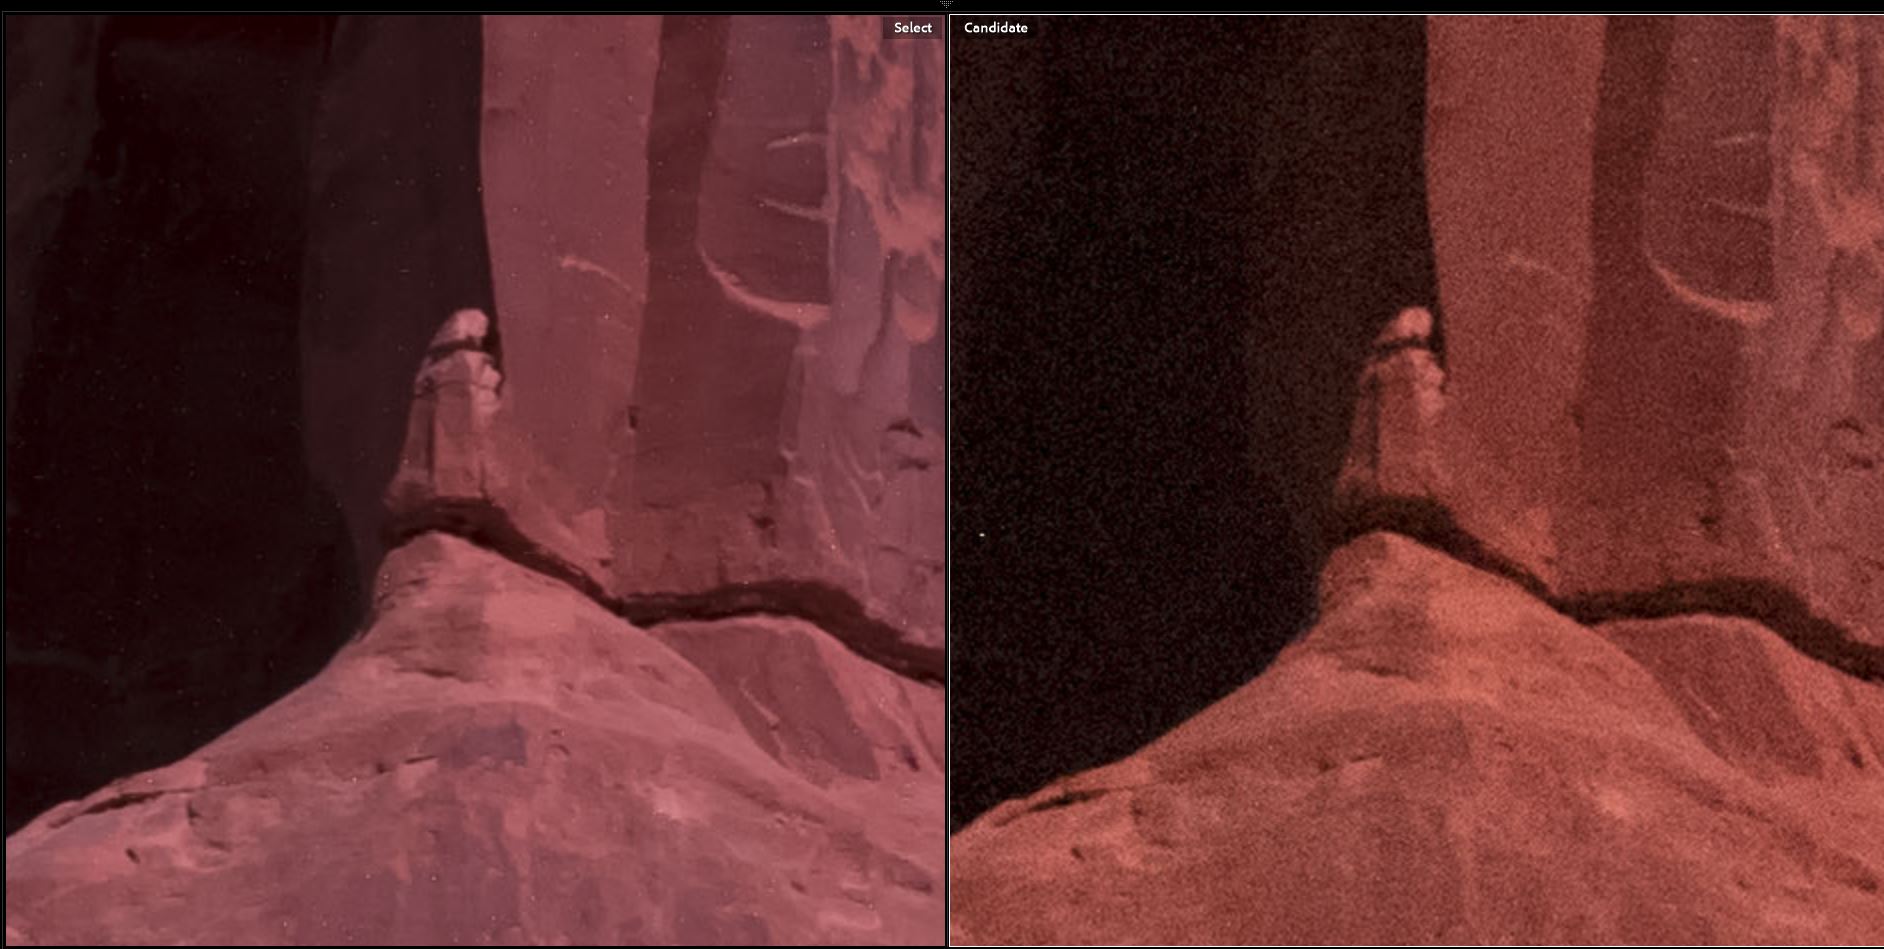
Ideally, I would like to shoot my long-exposure at my camera’s native ISO, which in the case of the Pentax K1 is ISO 100 (this is a common native ISO, however your camera may vary). Shooting at the native ISO will minimize random noise in the image. the following image comparison shows the extreme noise difference between an ISO 6400 shot and an ISO 100 shot, which is the whole point of doing a low ISO, long-exposure in the first place.
So let us figure out what exposure time we need in order to get a proper histogram if we were to shoot at ISO 100. We could do this with guesswork or trial and error, but that would be frustrating and wasteful of our precious shooting time. Fortunately, there is a quick, simple technique that can be employed to help us figure out our exposure.

Step 1

Set your ISO to 6400. Set your exposure time to 15 seconds. Take a test exposure and check the histogram in your image review. If the histogram is too far to the left, increase the exposure time. If the histogram is too far to the right (possible, but unlikely in most circumstances) decrease the exposure time. Take another test shot and evaluate the histogram. Continue adjusting the exposure time and taking test shots until you are satisfied that you have a proper histogram. Make note of these exposure settings.

Step 2

You will now use the previously noted exposure settings to calculate an equivalent long-exposure time at ISO 100. There are two ways to do this. One way relies on any of the readily-available smartphone Exposure Calculator apps. There are many available, you may already have one at your disposal. You just enter the test exposure information, enter the desired ISO, and the app tells you how long the new exposure should be at ISO 100 (or any other ISO you choose).

A second method utilizes the “Six Stop Rule.” Simply stated, this rule says that the number of SECONDS of exposure at ISO 6400 will equal the number of MINUTES of exposure at ISO 100. For example, if the test exposure that produced a good histogram was 15 seconds at ISO 6400, the equivalent exposure will be15 minutes at ISO 100.

FINAL THOUGHTS

While shooting a long-exposure at native ISO is the ultimate goal, it is not always absolutely necessary to shoot at that low an ISO. Perhaps, like me, you prefer to shoot long-exposures using the Long-Exposure Noise Reduction (LENR) function available with your camera. In that case, the total camera time will be double the exposure time (since the camera is taking a second exposure with the shutter closed in order to accomplish a dark frame subtraction, which cancels out hot-pixel noise). Therefore, a 15 minute exposure actually takes 30 minutes of field time, which may be unacceptable to you. Perhaps you are shooting a panorama or mosaic, in which case you may simply not have enough time to capture all of the long-exposures at ISO 100. Under these circumstances, you might well consider shooting your long exposures at ISO 200, ISO 400 or even higher. The choice is yours, and your decision will be informed by your knowledge of the characteristics of your camera and the circumstances you are faced with on any given night. but now you have a framework for quickly determining what exposure settings to use when shooting a long-exposure night photograph.

Pocket Softbox App For Night Photography

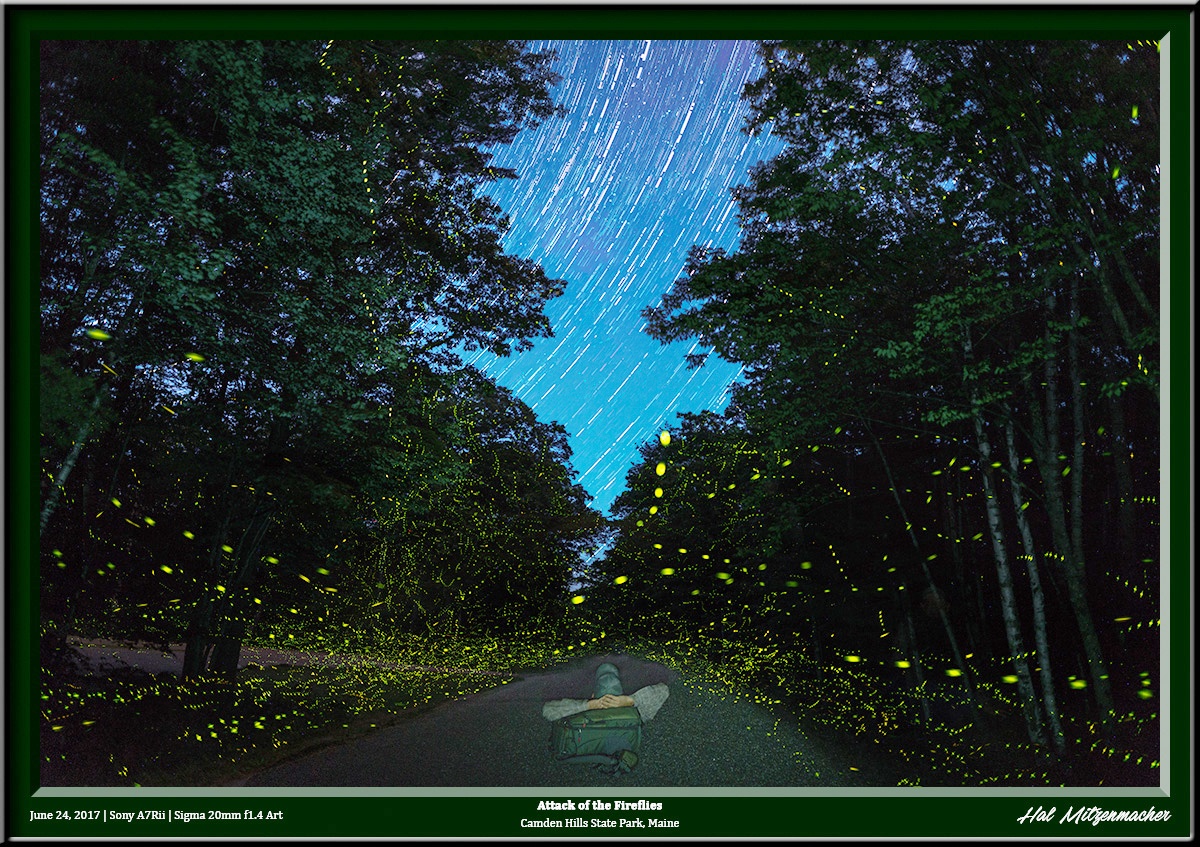
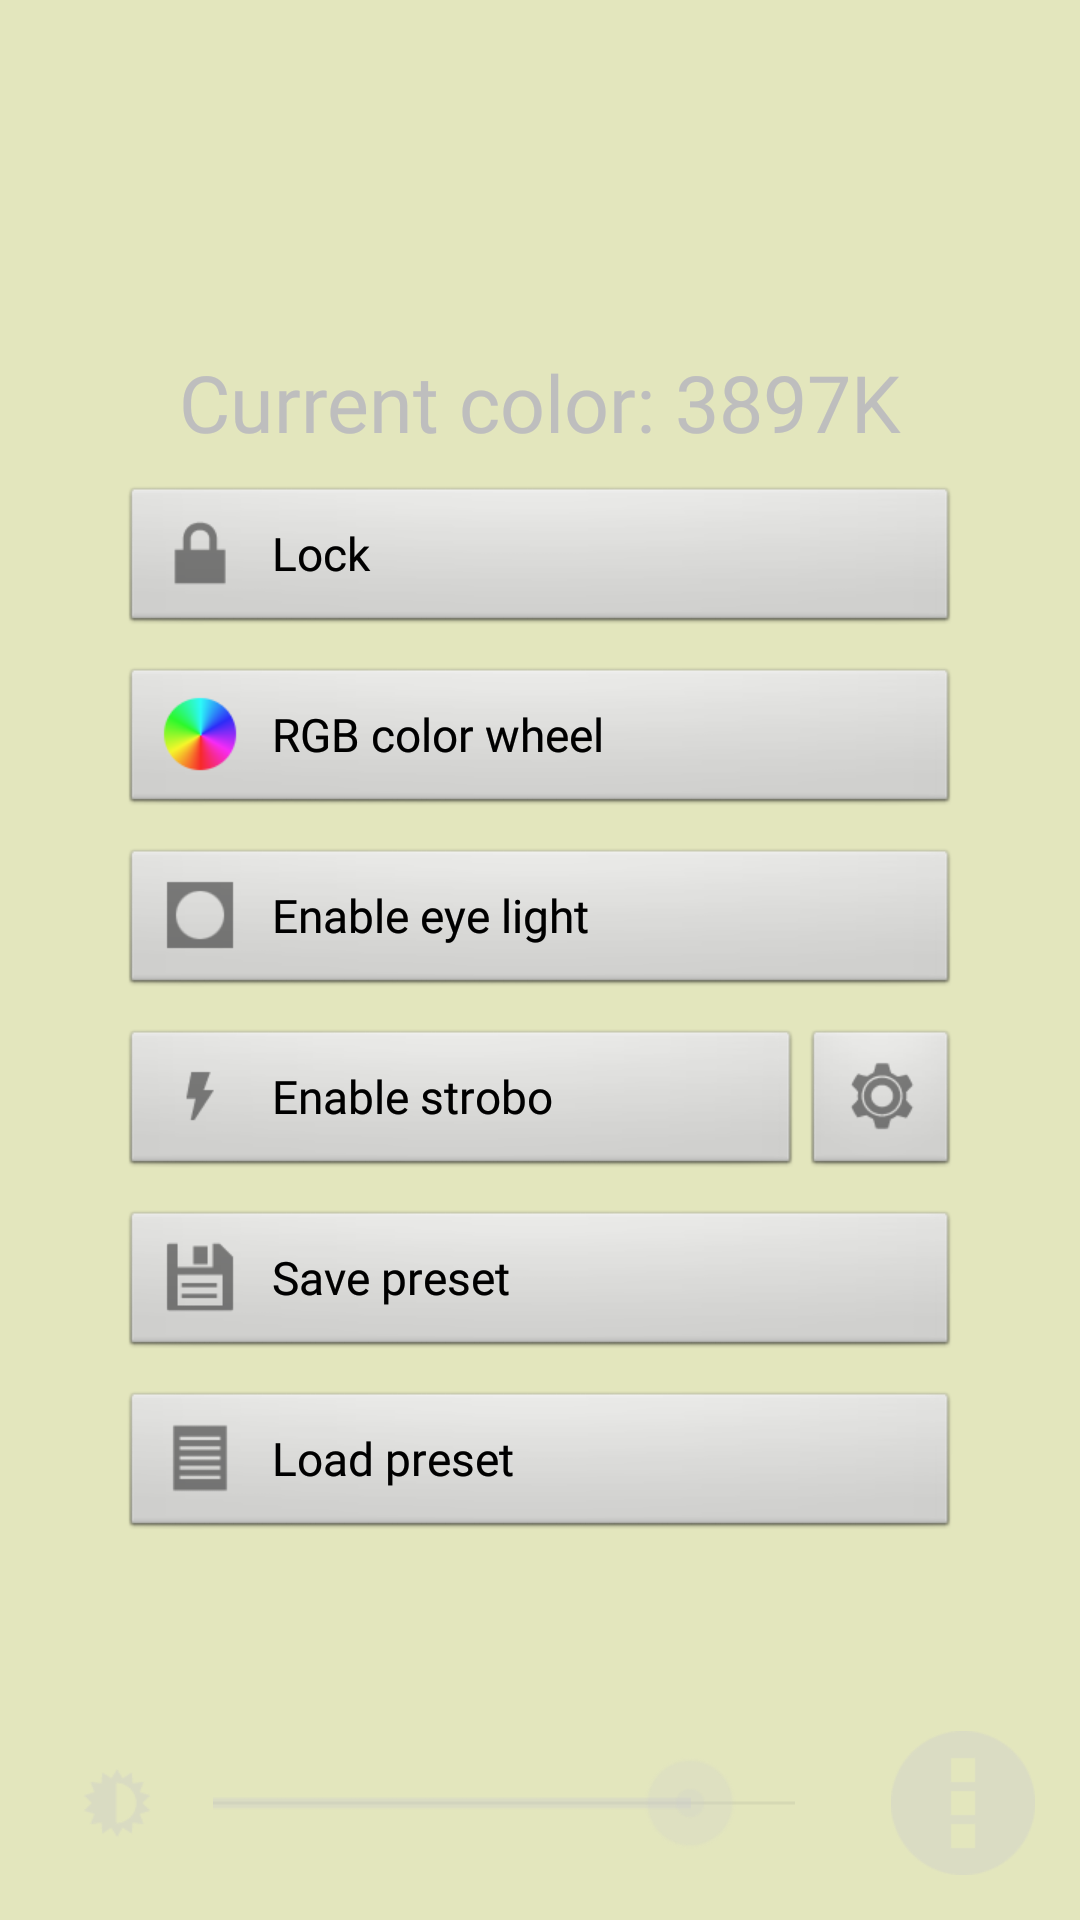
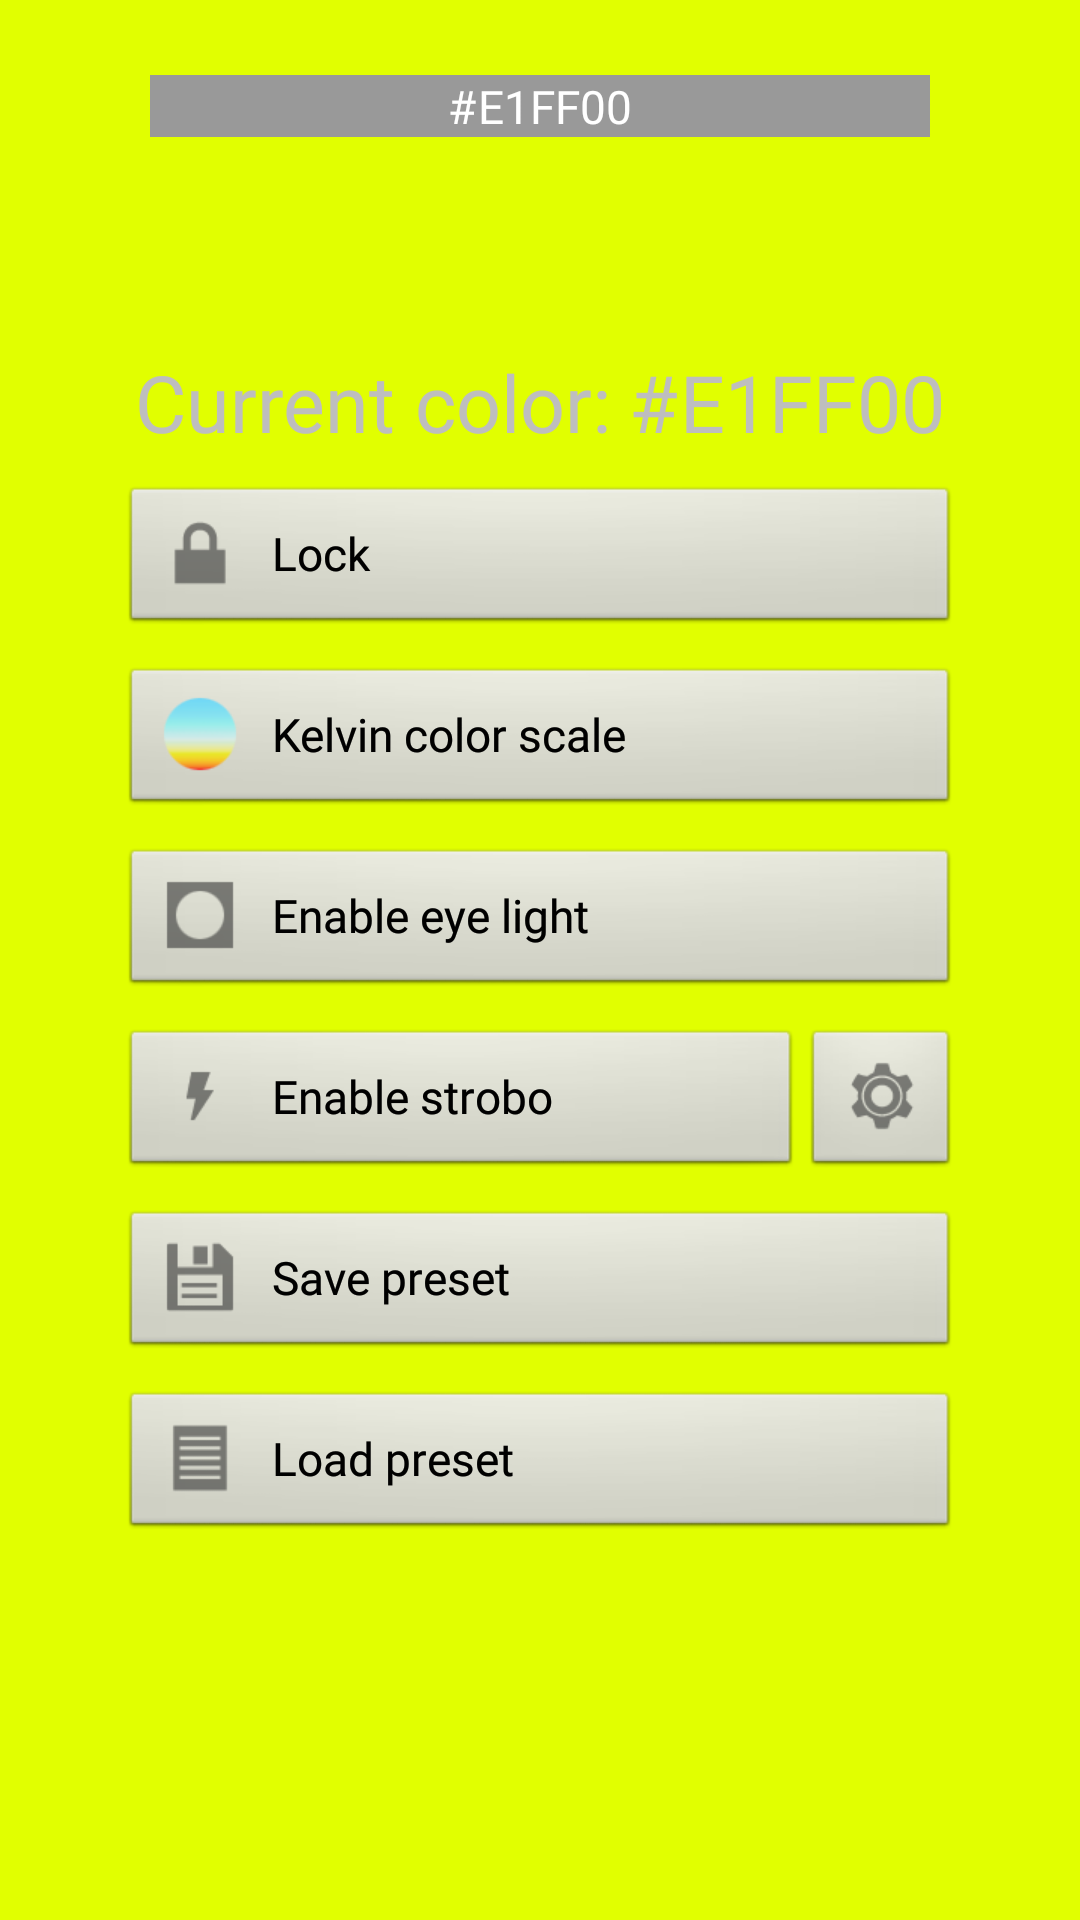
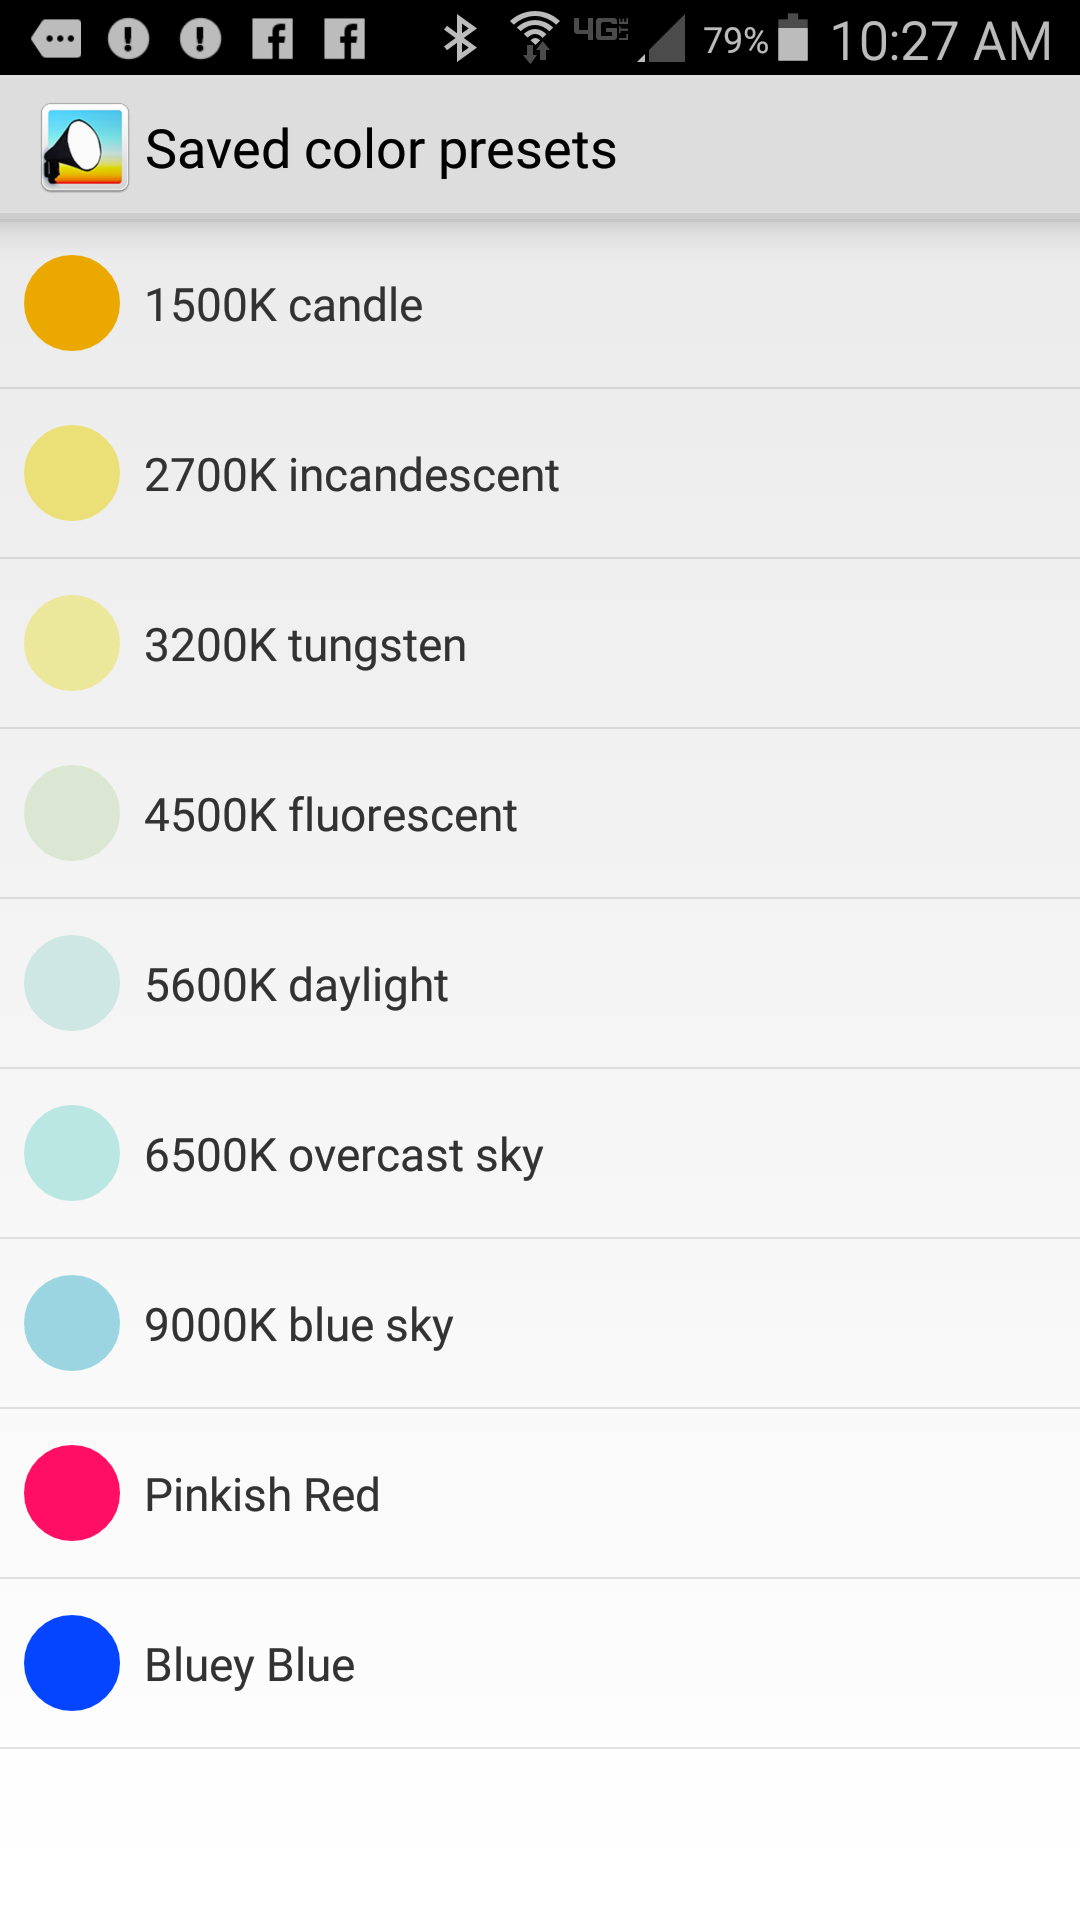
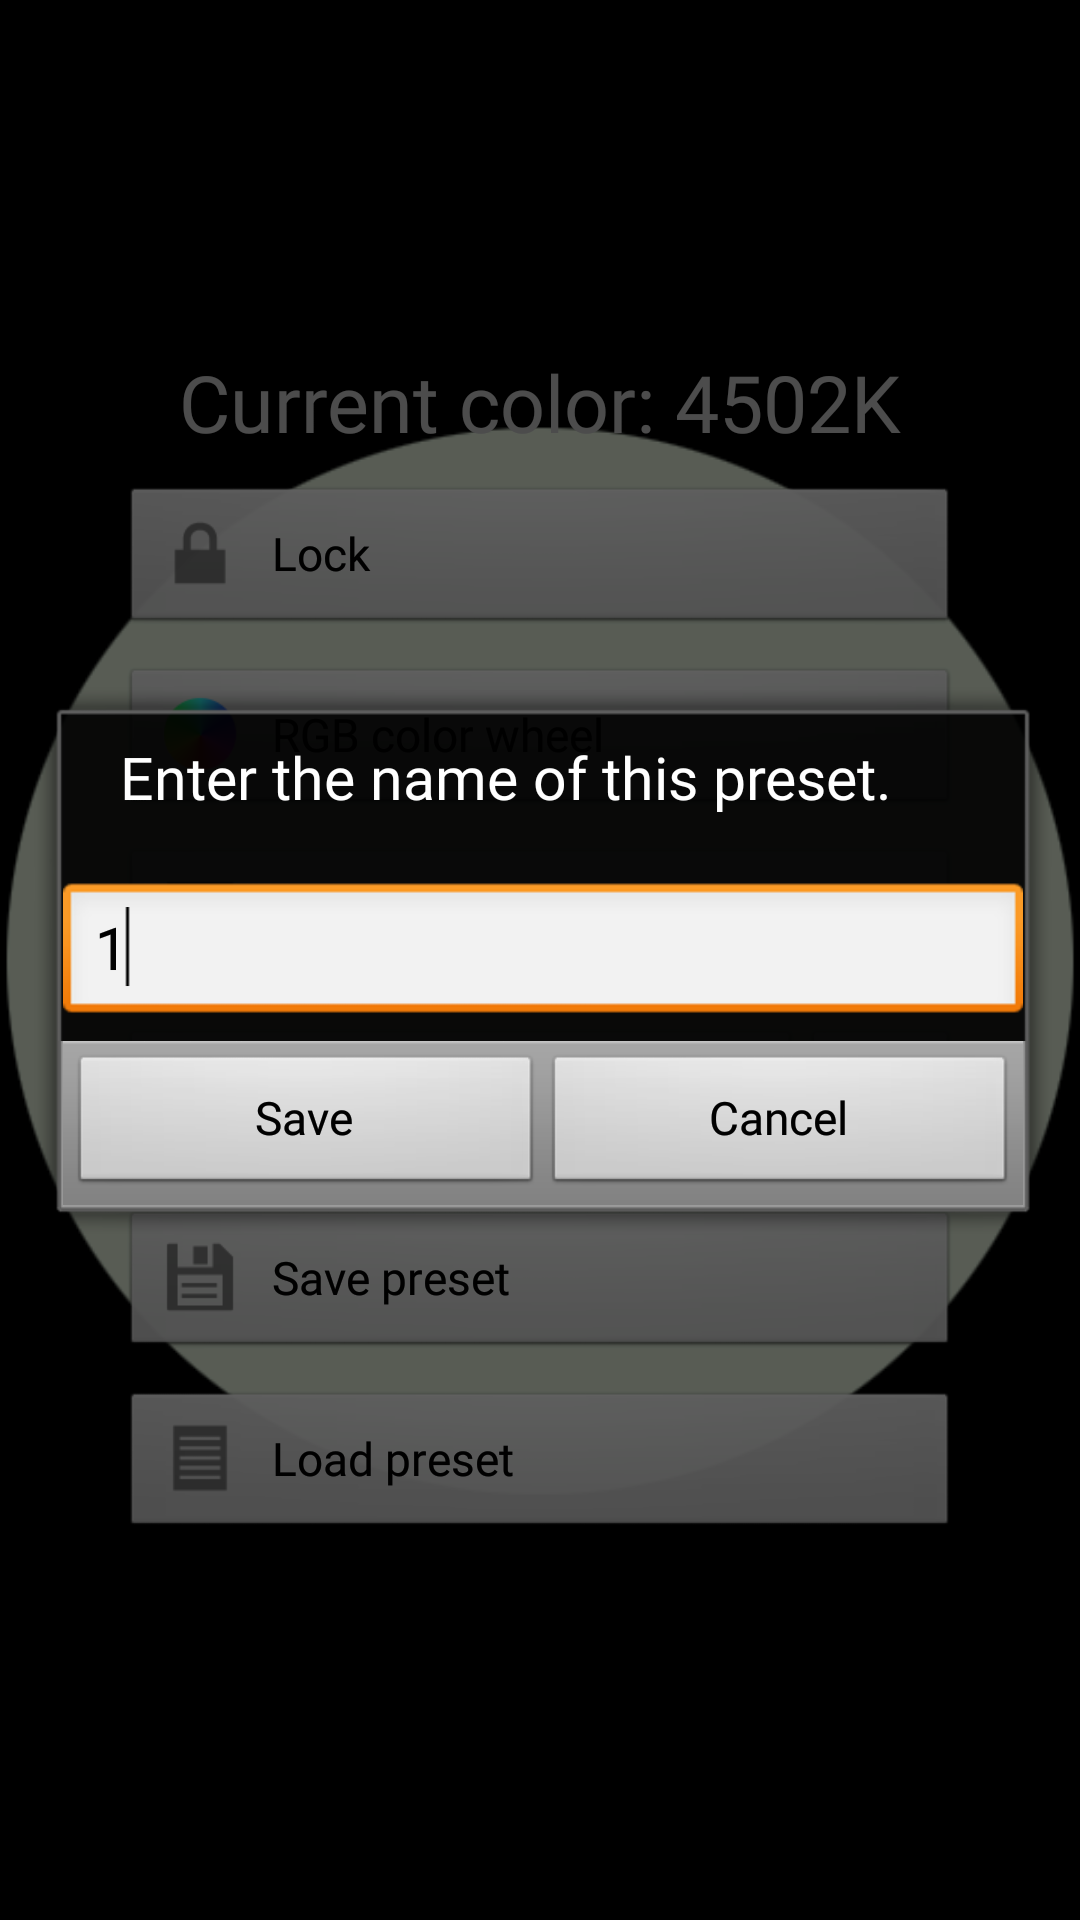
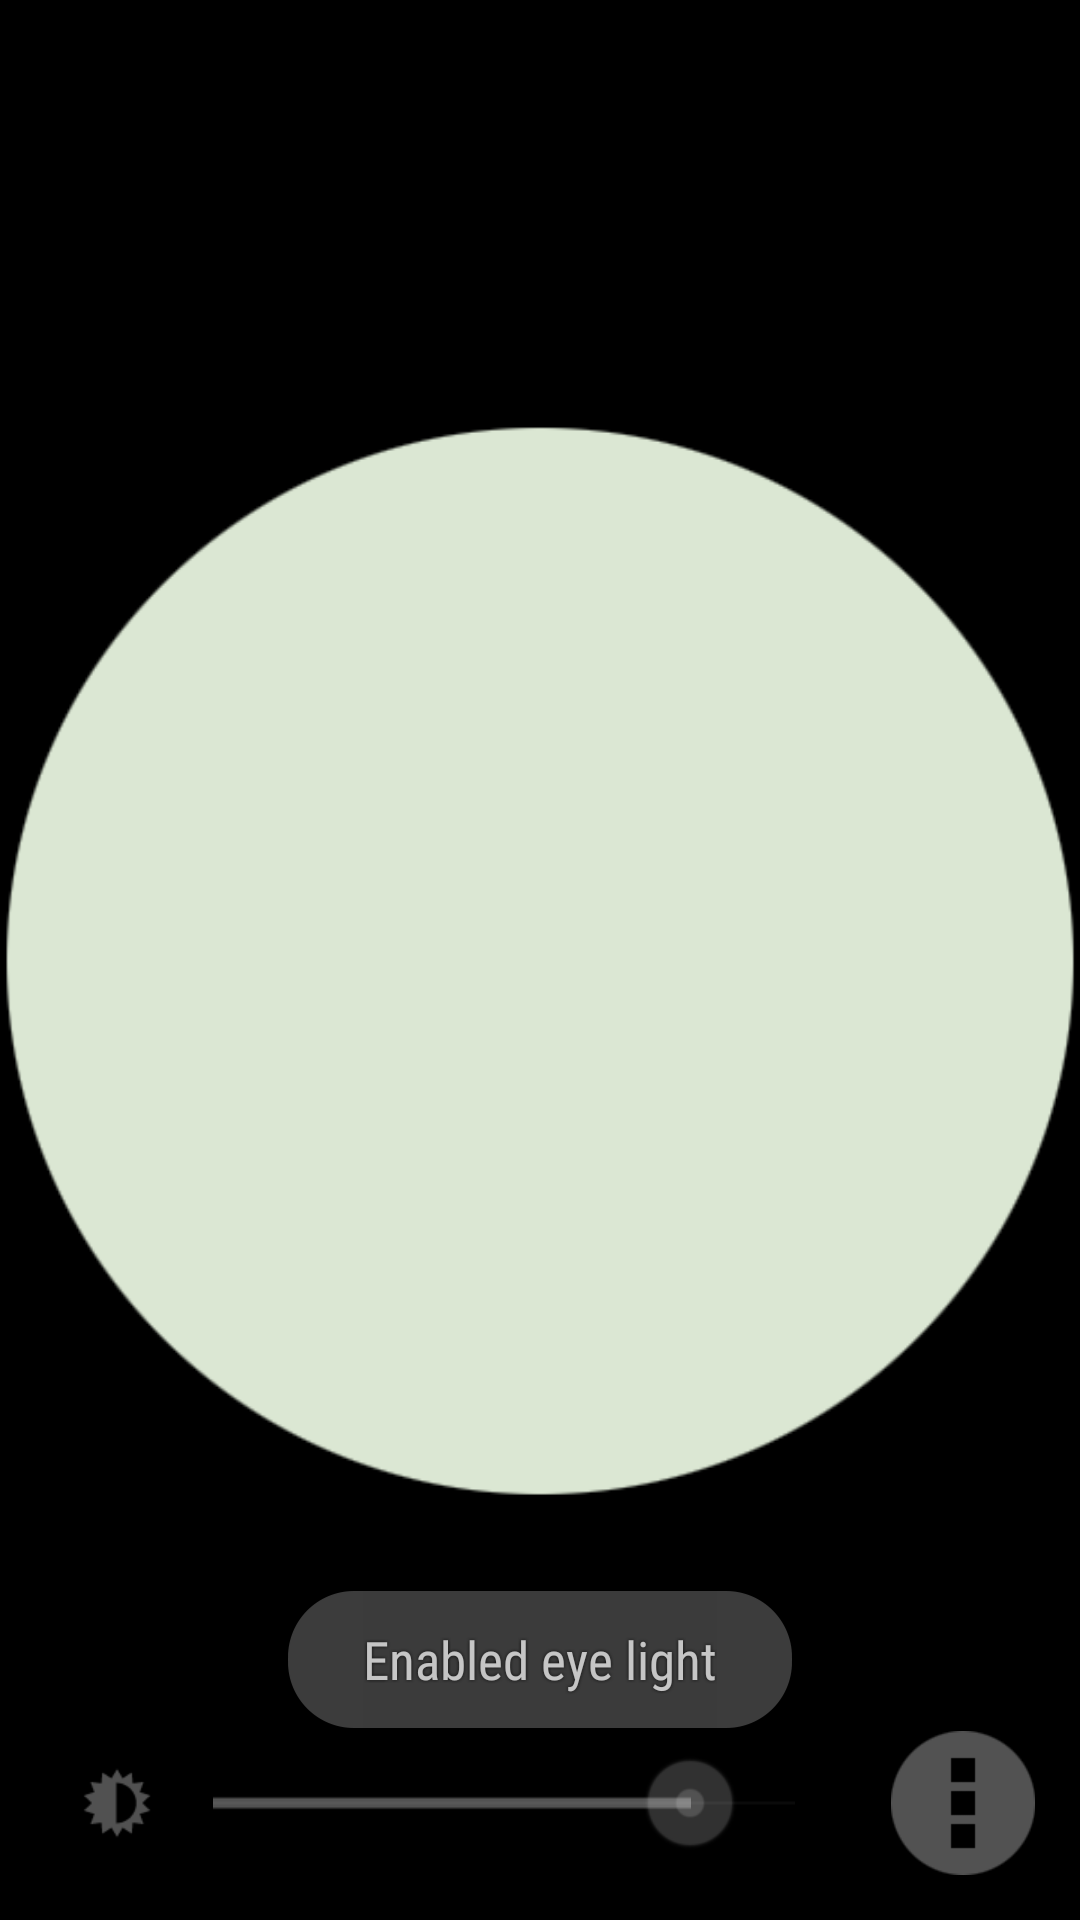
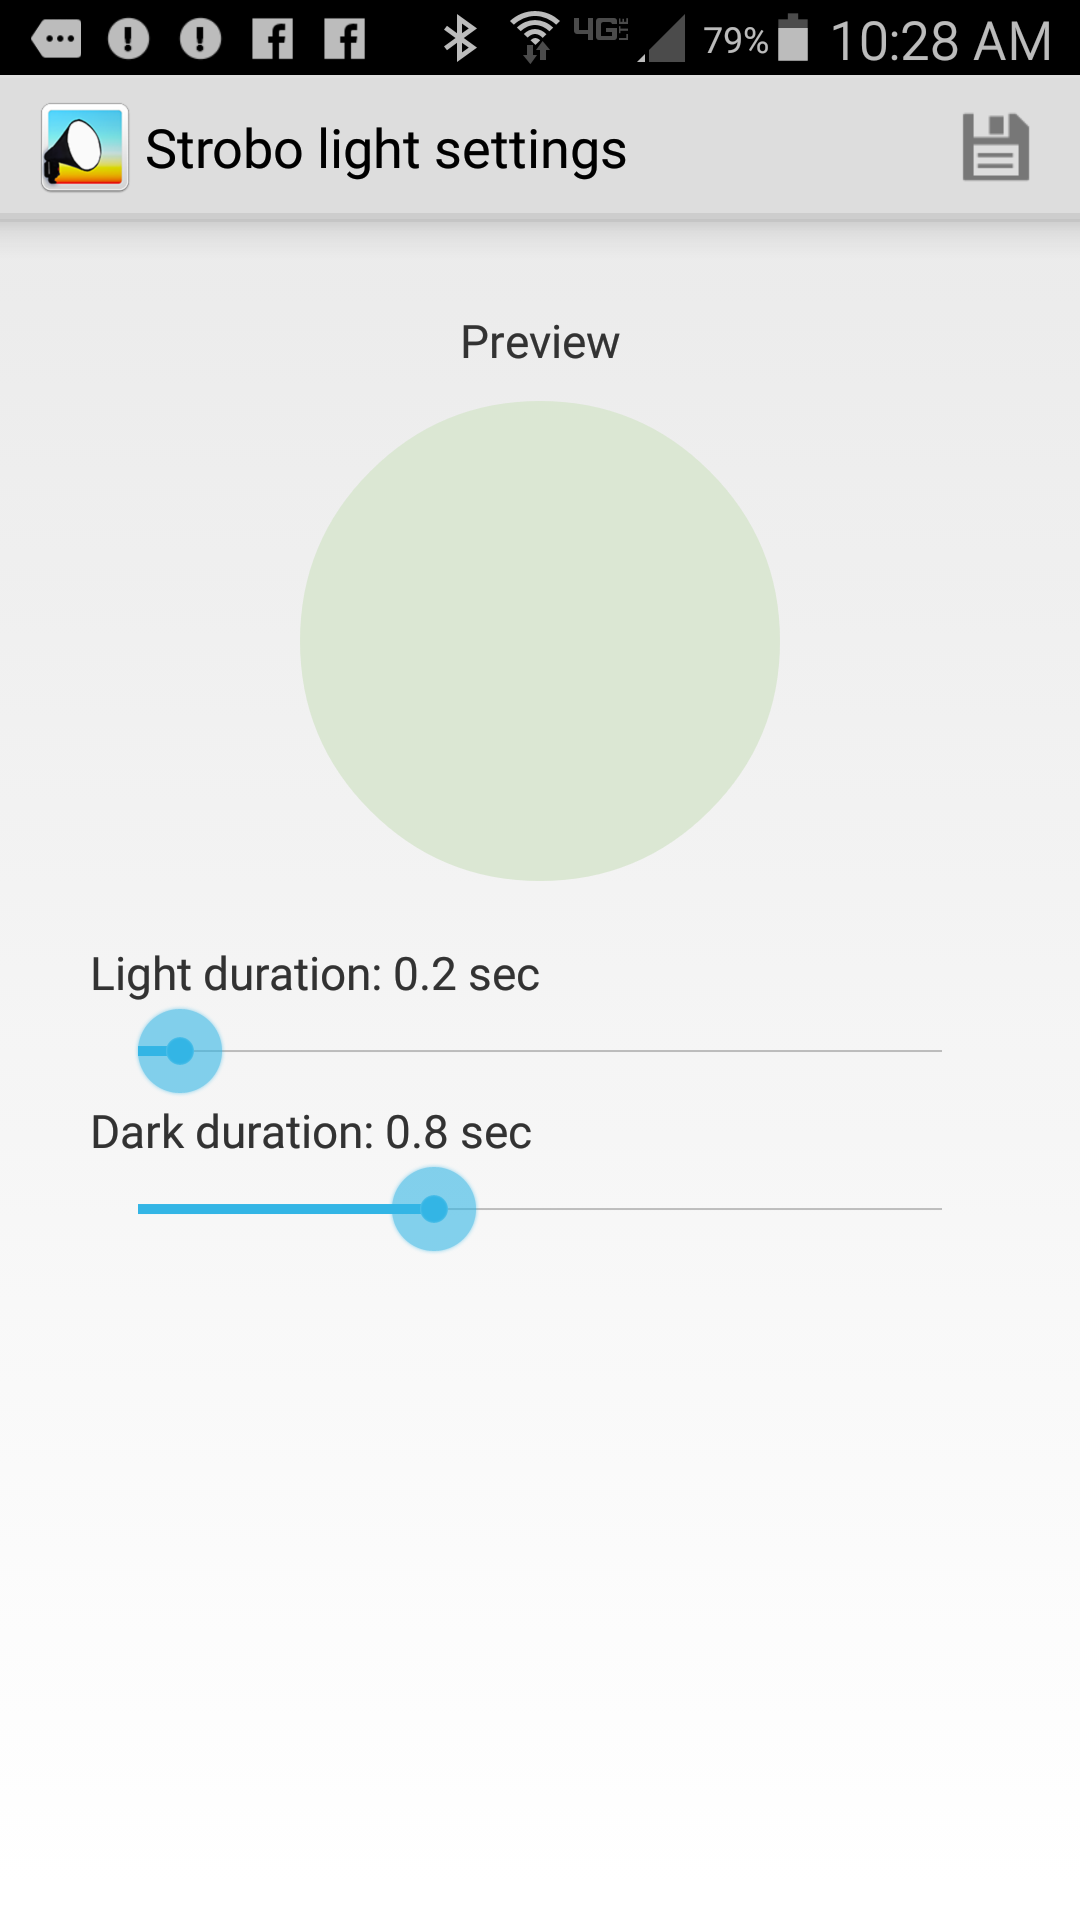
Pocket Softbox is an Android app (available from Google Play) that turns your smartphone or tablet into a nice low level lighting source when photographing at night. In the photograph shown above, I used Pocket Softbox for two purposes. First, I used the app to light the trees during the course of several long exposures by walking up and down the roadway, holding my phone in a manner that cast light up into the treetops. Second, whenever the ubiquitous fireflies settled down and ceased their display, I found that by walking around for a minute or two with the Pocket Softbox app set to 3200°K, the fireflies would resume their flashing display. Simply clicking on the Pocket Softbox icon (above) instantly brings up the app in the last mode that was used. This is what the app look like in use. I have selected a lime green color by sliding my finger in a vertical direction on the screen, and the brightness was selected by sliding my finger horizontally on the screen. The settings can be locked, which prevents inadvertent changes in color or intensity. In RGB color wheel mode, any possible color in the RGB color space can be selected, so if you want to light paint with color, this is the mode to use. If you select the Kelvin Color Scale mode, the app produces white light at the selected color temperature. The app comes with 7 commonly used Kelvin presets, as shown above, but you can save any number of your own commonly used settings as a preset. As an example, I named and saved two – Pinkish Red and Bluey Blue. Saving a preset is as easy as selecting Save Preset from the menu and entering the name you want to use in the dialog box. You can choose to use Eye Light mode from the menu, which produces a round shape as seen above. I have not found anything useful about Eye Light mode for my photography, with the exception that it is also used in Strobo mode. When Strobo mode is selected from the main menu, you are presented with the screen above, where you choose the duration of the light and dark cycles. The app will then flash your chosen color on and off through the Eye Light circle, using the parameters you have set on the screen above. This is useful for helping control the amount of light being added to the exposure by counting the number of times the light flashes. Not enough fill light? Up the number of flashes. Too much fill light? Reduce the number of flashes. This makes your light painting controllable and repeatable. I recommend this app without reservation. It is free, has no advertising, is small, and requires no special permissions. A very nice simple light painting tool to have in your bag of tricks!
[Sold Quickly] FOR SALE – Ocean Kayak Frenzy & Seaquel Oar – $150.00

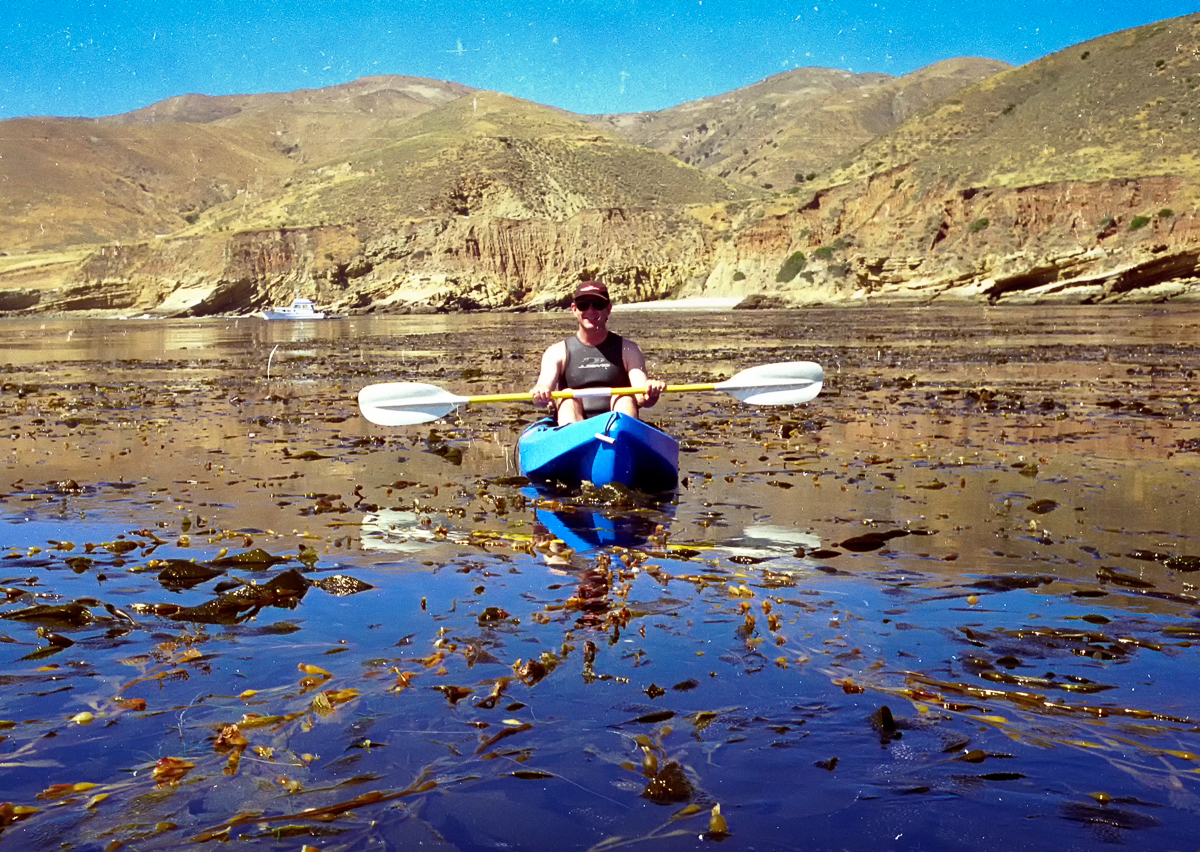
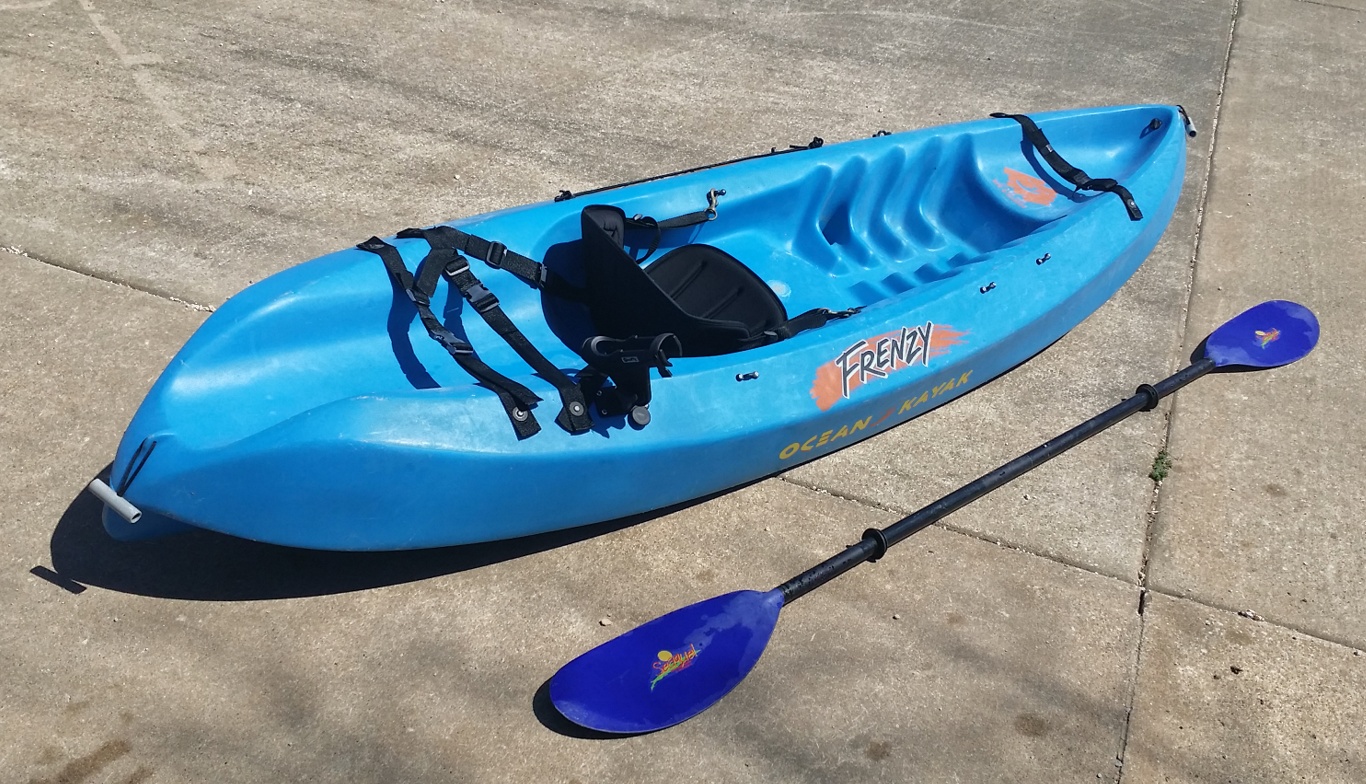
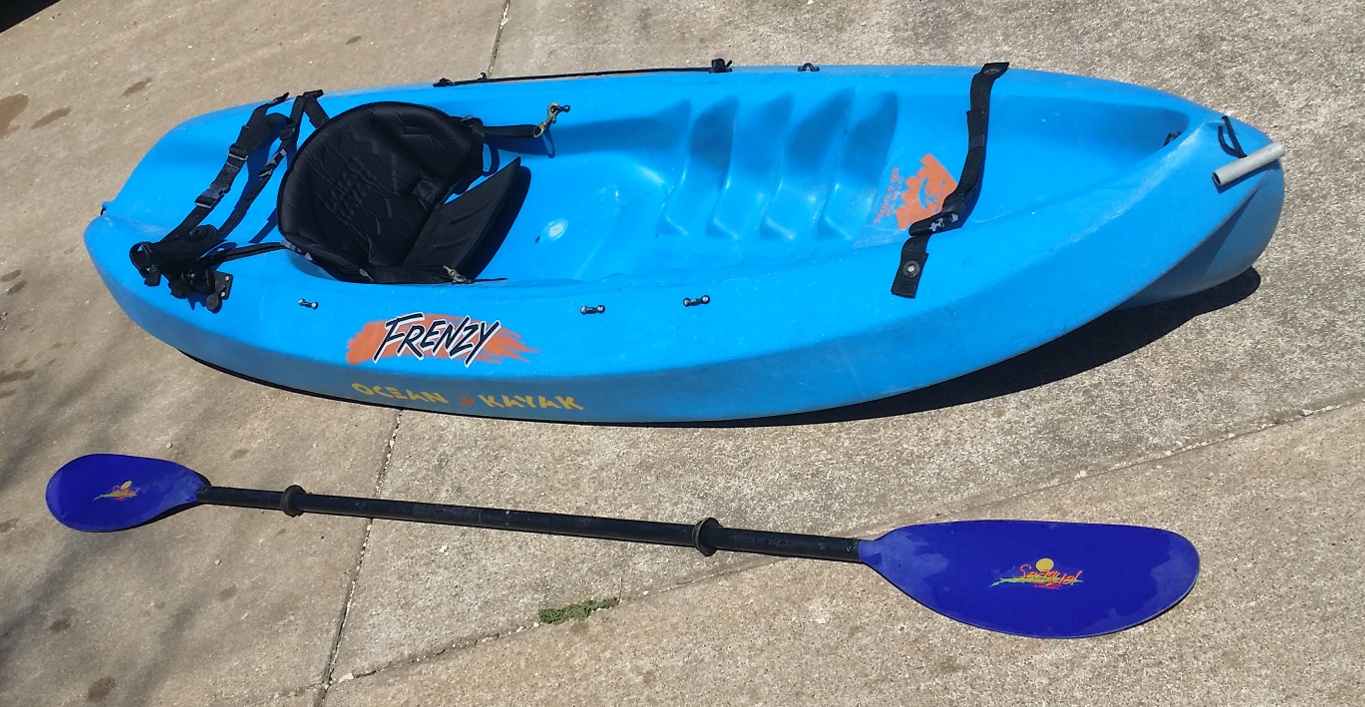
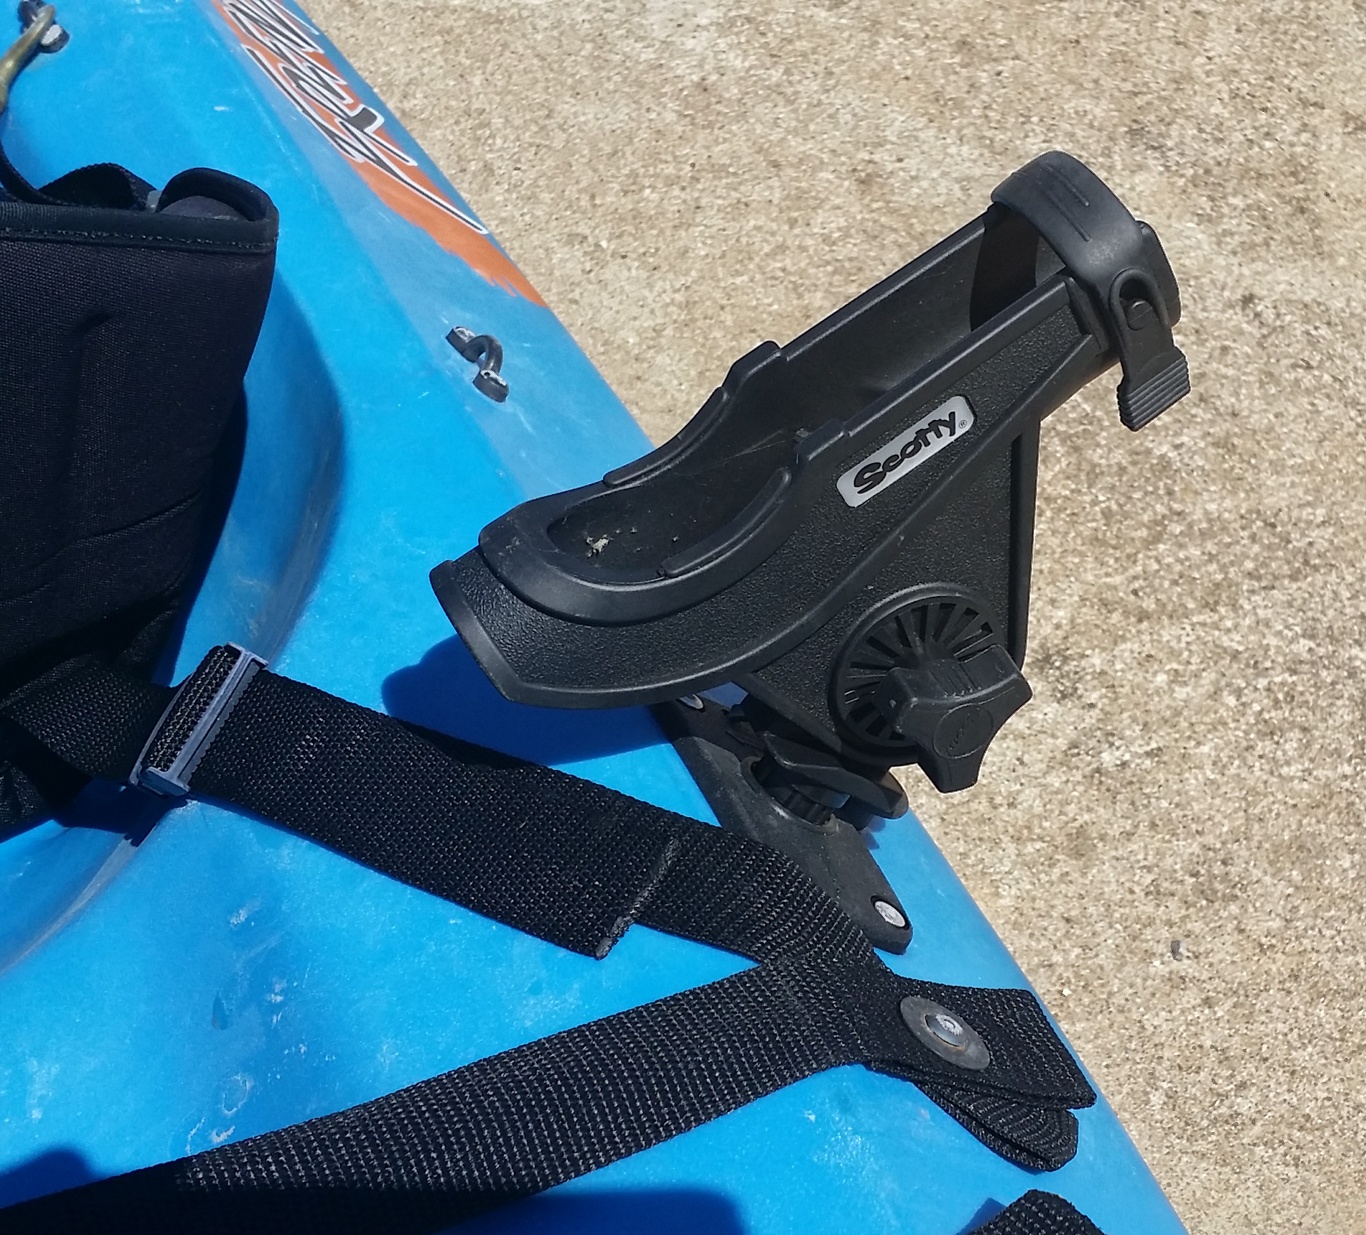
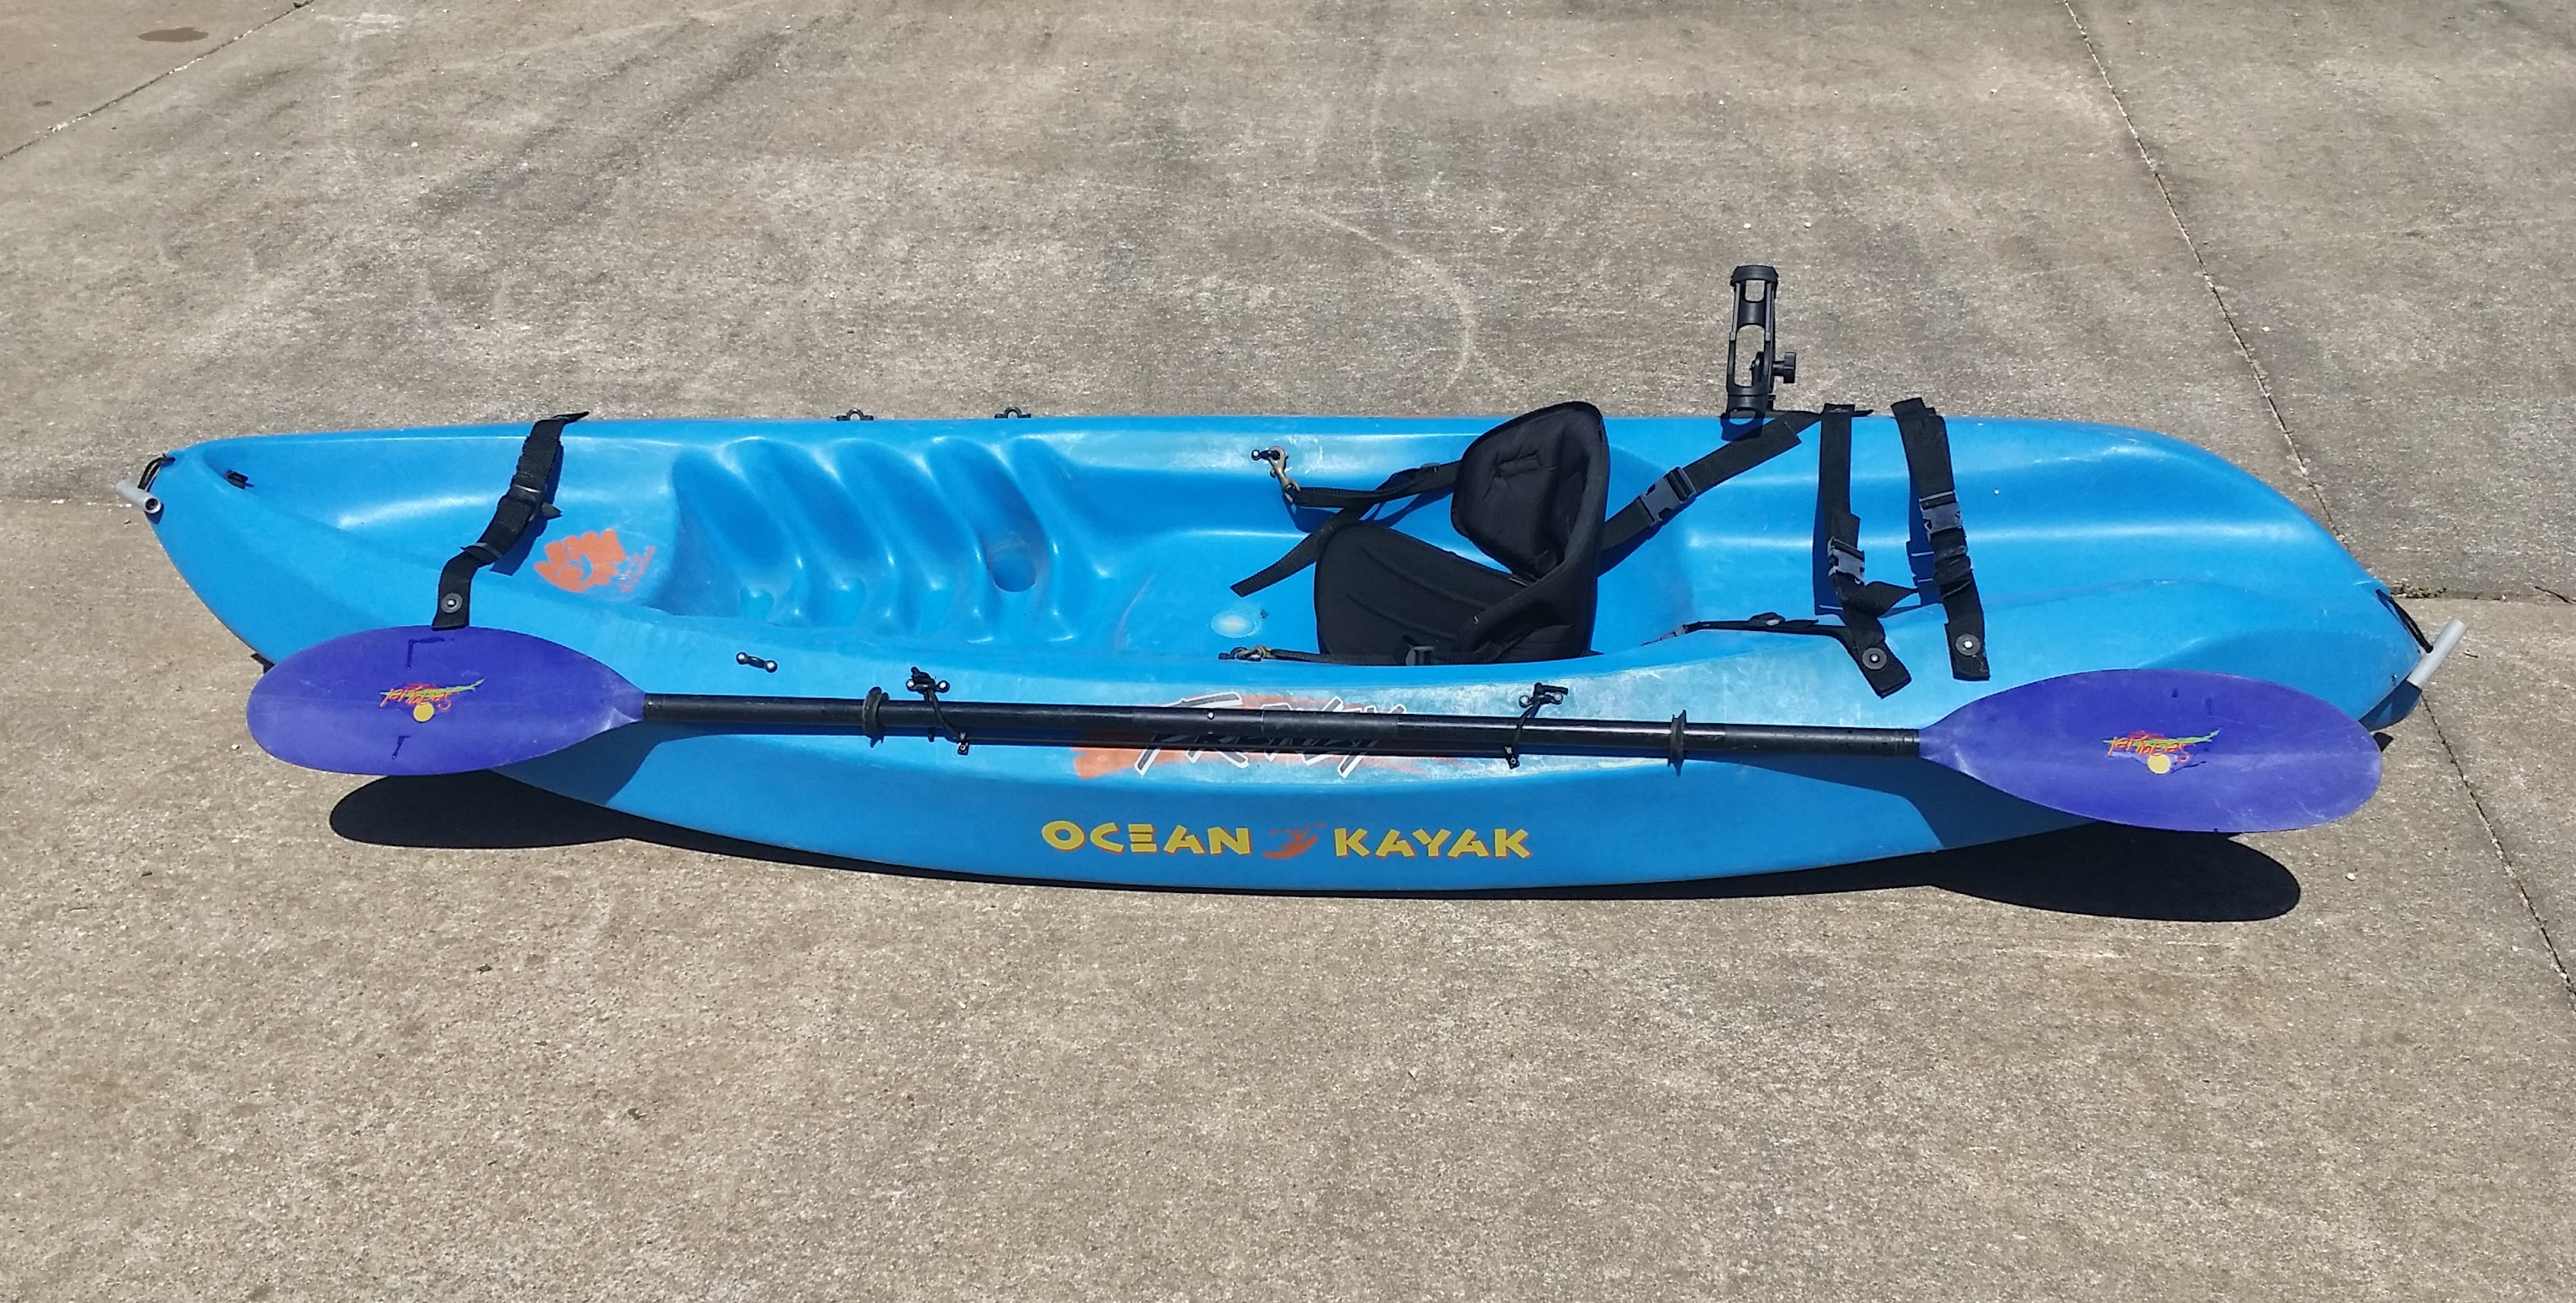
This heavy-duty Ocean Kayak Frenzy solo sit-on-top model is an ideal blend of design concepts that make it well suited for various kayaking conditions. From ocean kayaking, surf riding, river floating and moderate white water, the Frenzy does it all. The shorter length of the Frenzy compared to other models allows for excellent maneuverability, while the tri-form hull and keel design creates a kayak that tracks in a straight line without undo fuss on the paddler’s part. The wide stance of this kayak makes for a very stable kayaking experience. It is easy to board from in the water, and actually takes an effort to capsize this boat. This is a particularly fine kayak to scuba dive from due to its outstanding stability. There is a tank holder molded into the stern of the kayak, and heavy duty straps to hold all your gear. Here are additional views of this kayak. It is an older design than is produced today, lacking a molded-in cup holder and side handles, otherwise, the design is essentially the same as the current Frenzy model from Ocean Kayak. I have added on the Scotty Bait Caster/Spinning Rod Holder pictured above. I have also added a bungie cord style oar holder on the side opposite the rod holder, so fishing off this kayak is a breeze, especially with the stable, wide stance this kayak provides. Also included in the sale is a fine quality Aqua-Bound Seaquel oar. This oar separates into two sections for easy storage and transport. This is an aluminum oar, which Aqua-Bound has discontinued, but I paid approximately $70.00 for it when new. This is truly an ocean worthy kayak. I used it with much enjoyment at California’s Channel Islands National Park while living aboard my trawler in Southern California. You can’t go wrong buying this kayak and oar for the bargain basement price of $150.00. You will have to come pick it up in the Omaha, Arkansas area. Cash only – first-come, first-serve! E-mail me at hal@mitzenmacher.net if interested.

The Big Bridge Over Cricket Creek

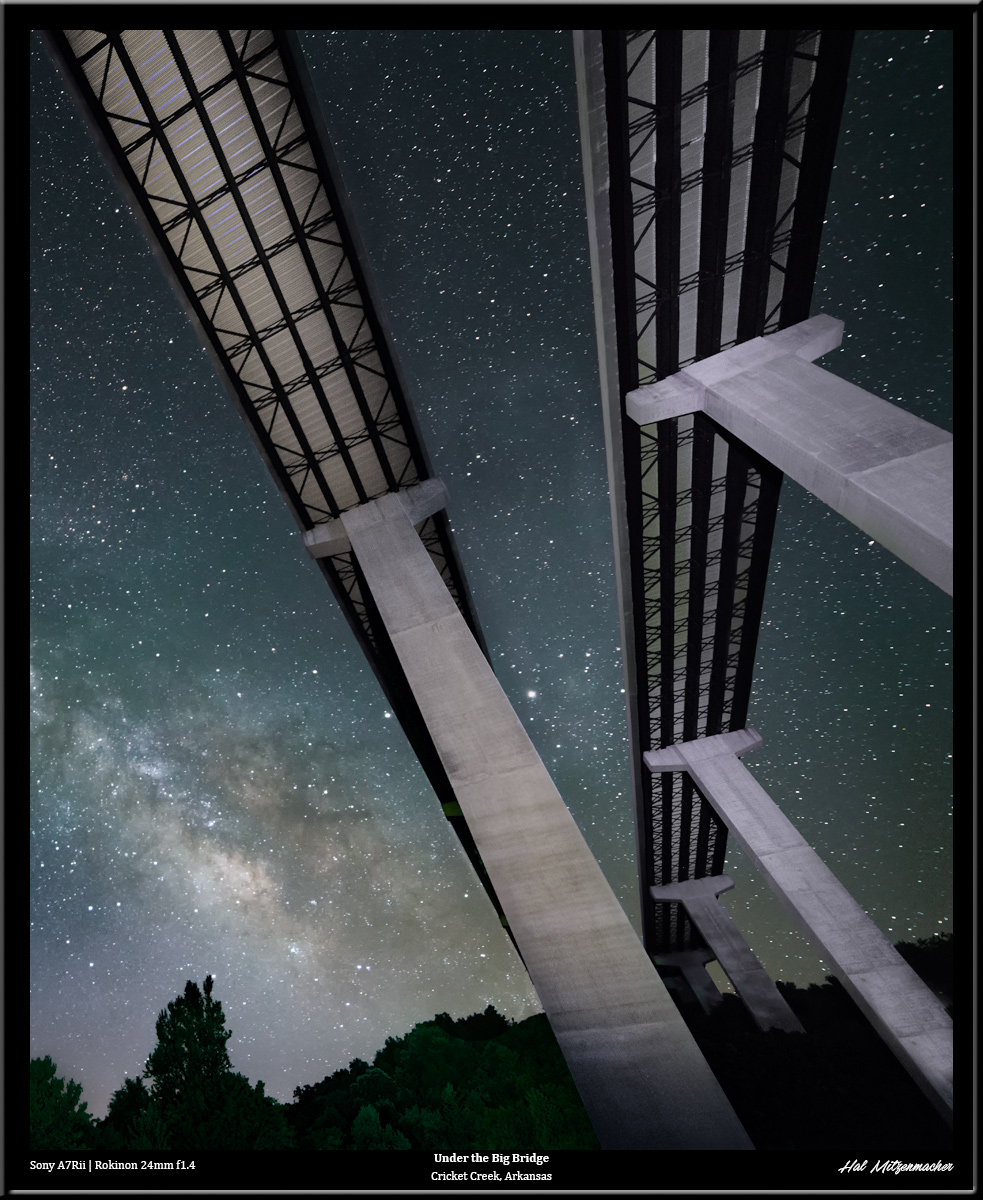
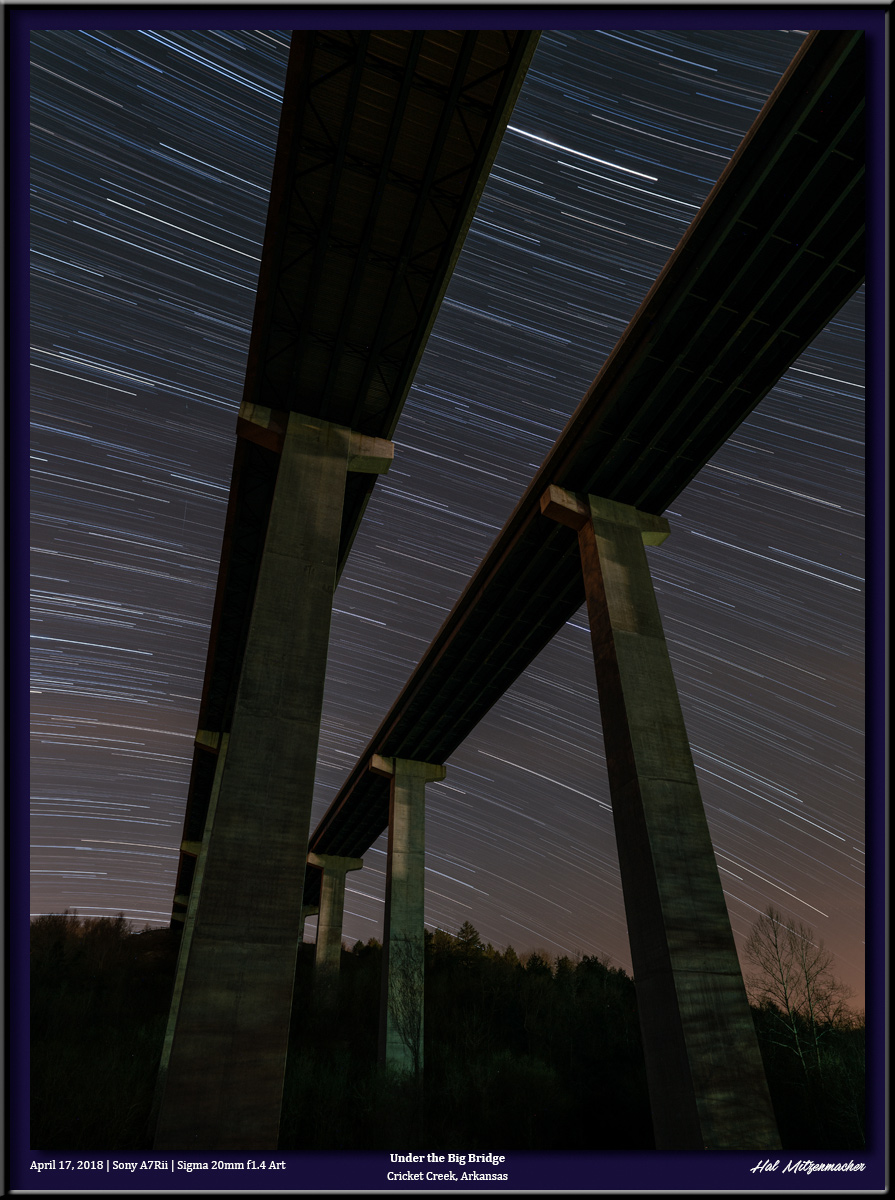
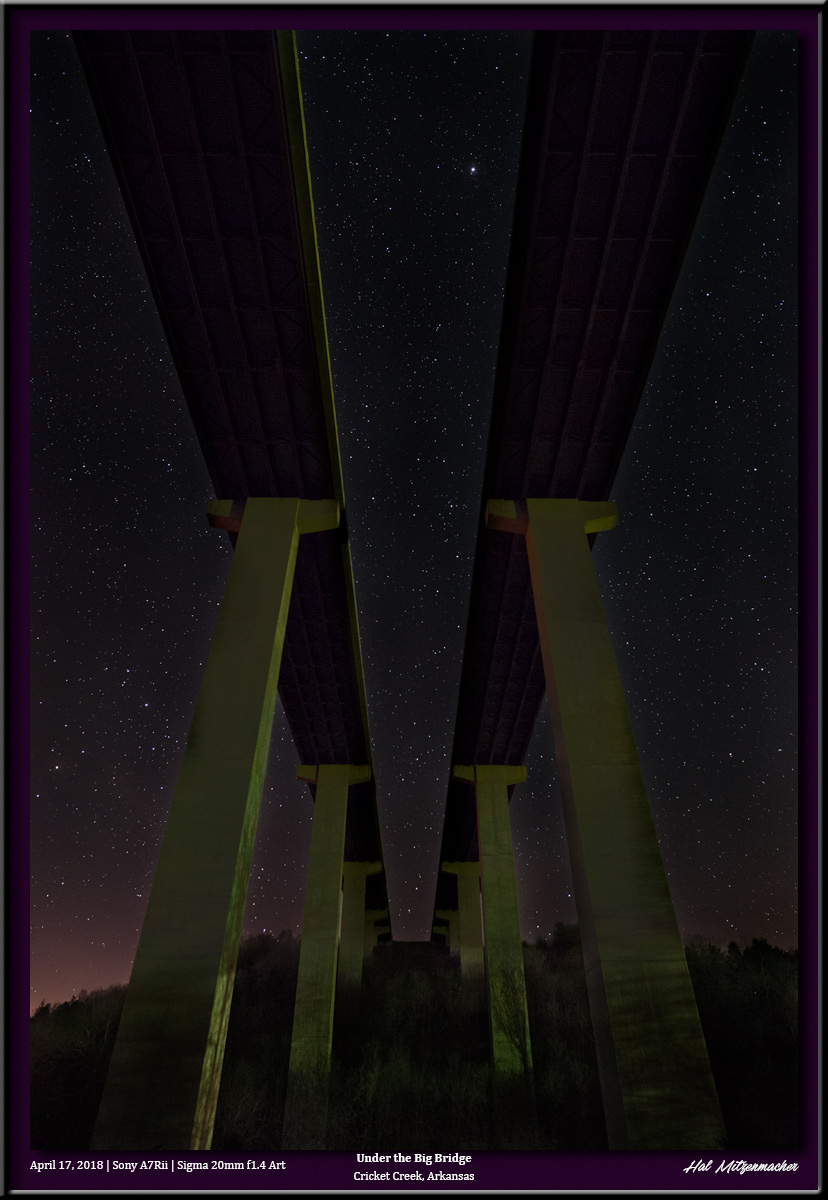
Here are a few variations of the view from underneath the Big Bridge that passes over Cricket Creek in Boone County, Arkansas. This one features the Milky Way with some extreme light painting of the bridge structure using a ProtoMachine LED2 flashlight. This image was taken using available light and consists of 12 exposures, each at 4 minutes/ f4 / ISO 400, for a total of 48 minutes of star trailing. And finally, this is a single 10 second exposure at f2.0 / ISO 6400 to capture pinpoint stars, using only available light. The Big Bridge is located near my home, so I often go there to capture images to test new equipment or techniques. Its interesting that the same subject can capture a different feeling each time I go and shoot it.

[SOLD QUICKLY] FOR SALE – Canvas Print Mounting Supplies $100.00

Because I am downsizing to a smaller house, I am once again offering some photographic printing supplies at a tremendous discount. I paid more than $700.00 for everything listed here, but you can have it all for the LOW, LOW price of $100. The only catch is that you must pay cash and pick these items up within two weeks from my home located near Omaha, Arkansas. First come, first serve. Hurry, I will be listing this on Craig’s List, Harrison On-Line Yard Sale, and the Branson Ultimate Yard Sale tomorrow afternoon, Thursday 4/19/18. If interested, email me at hal@mitzenmacher.net

Stretcher Bars

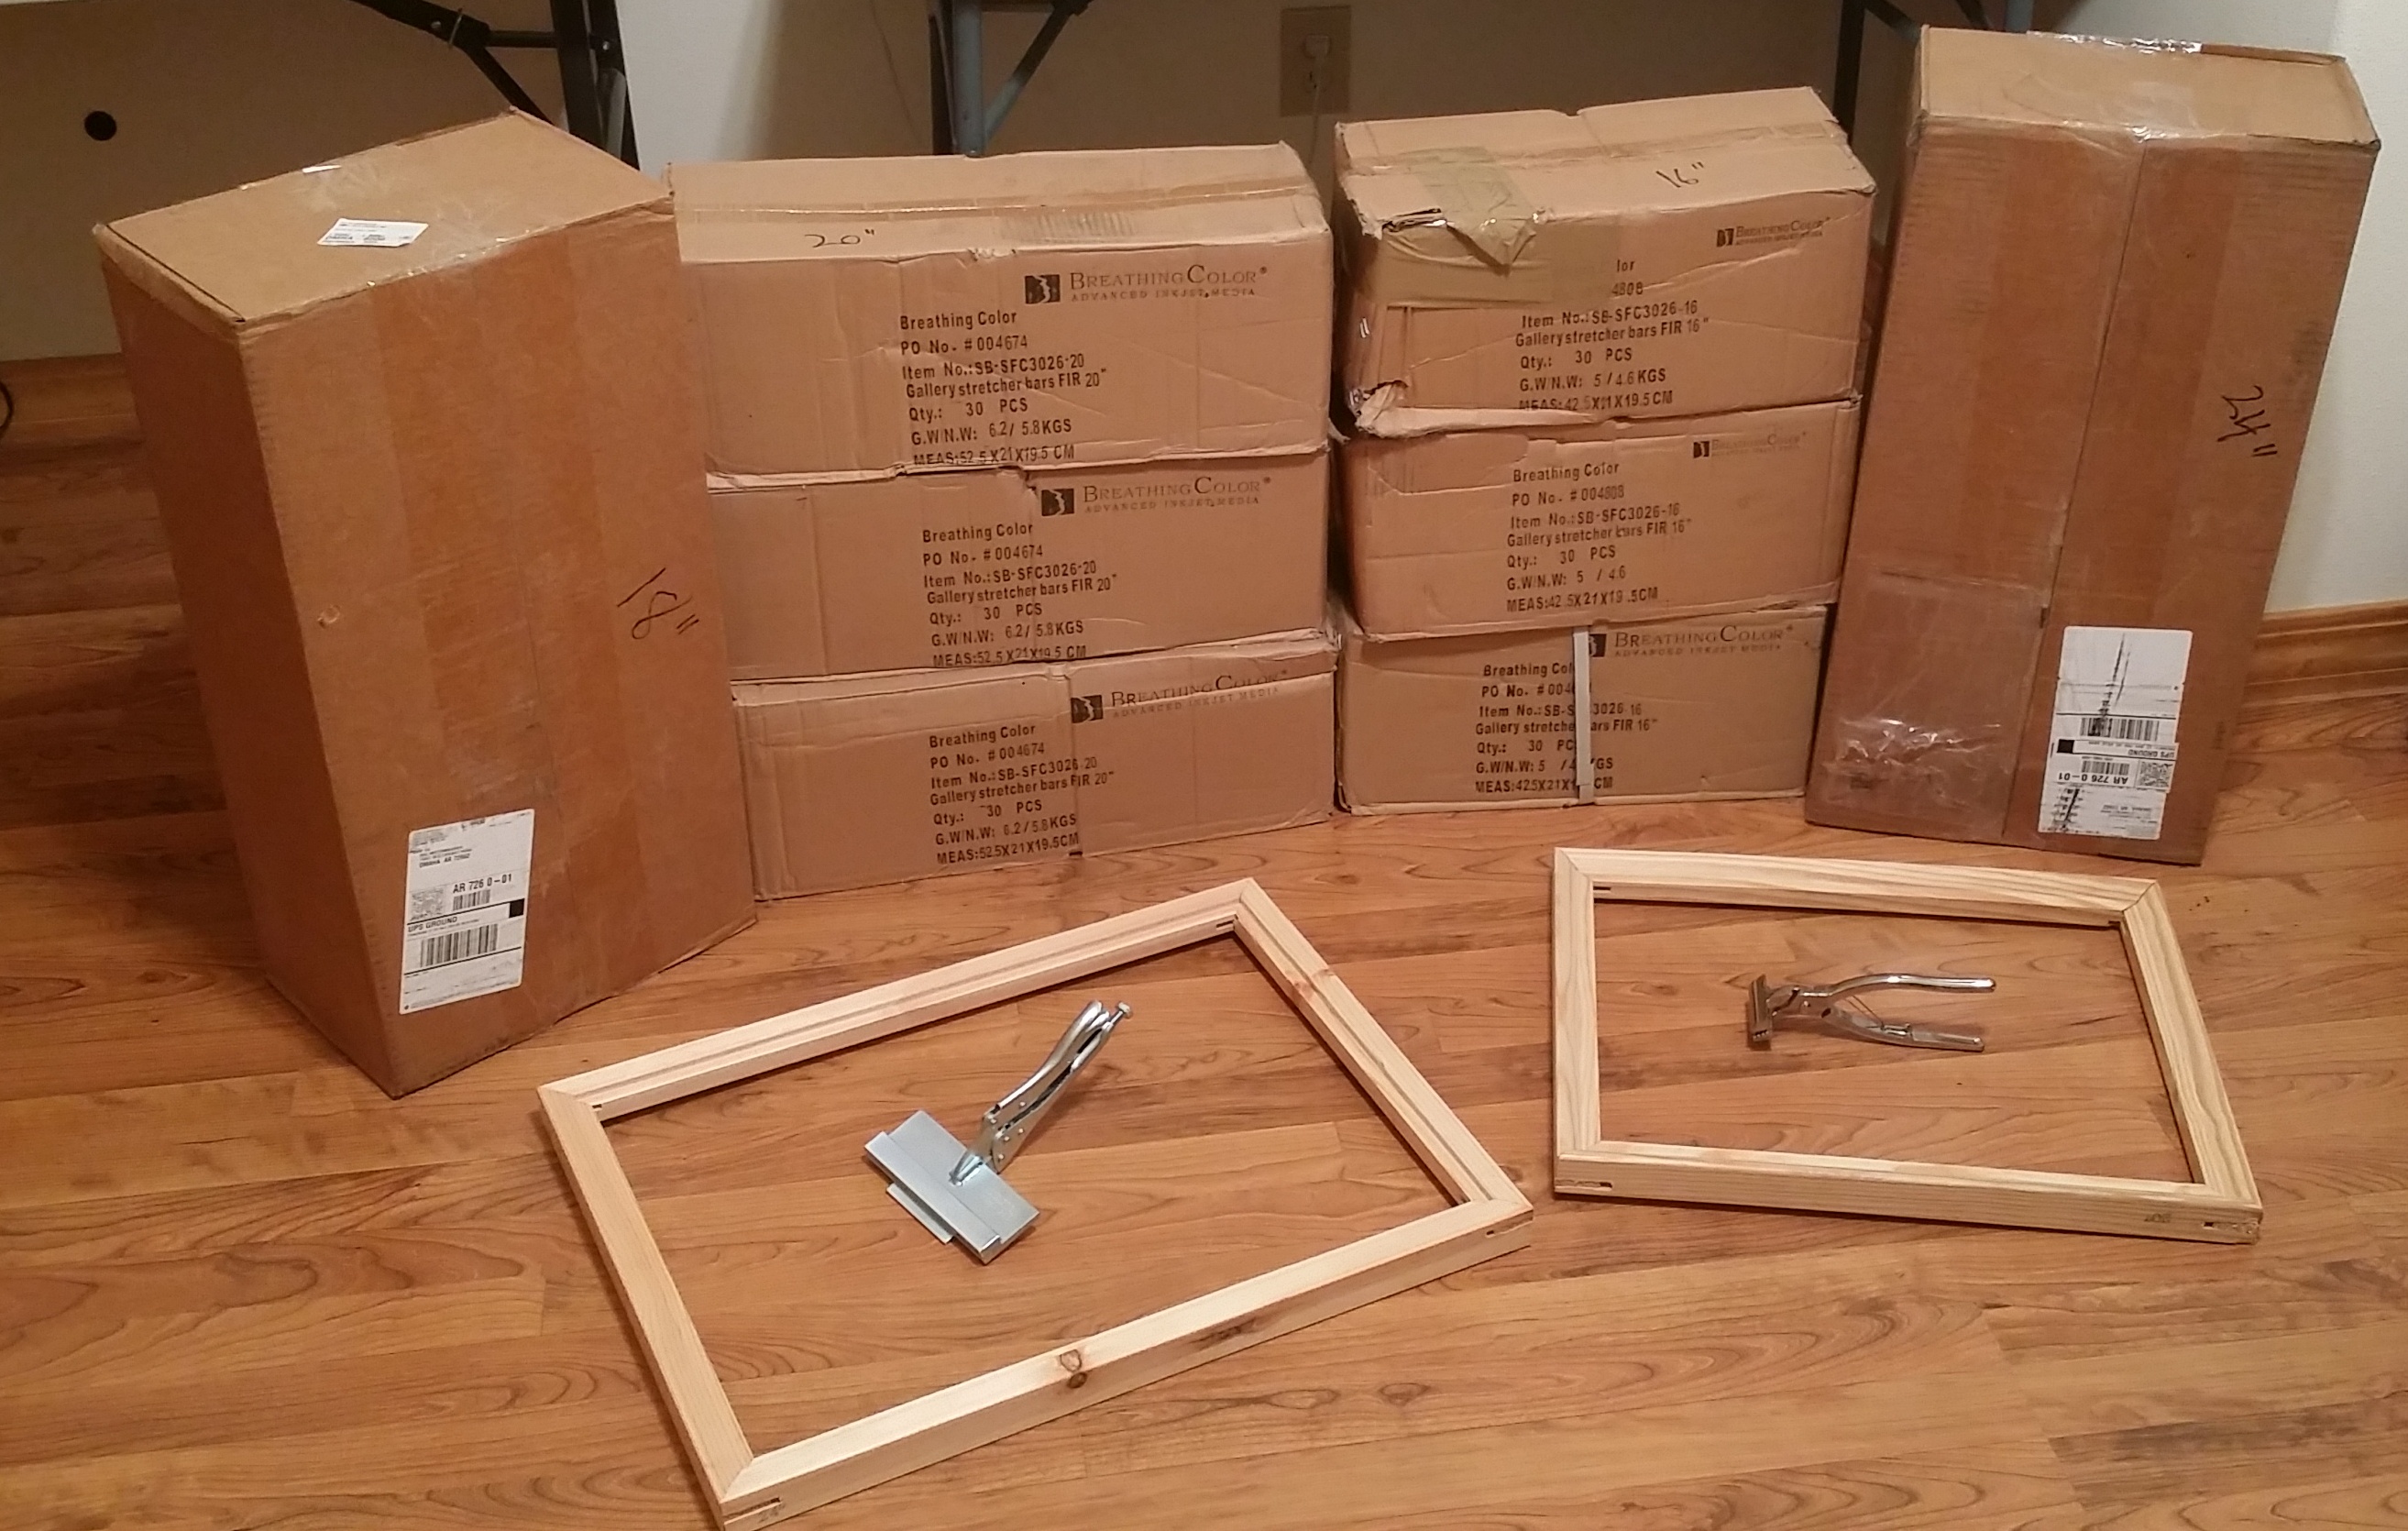
Breathing Color Gallery Fir Pre-Notched Stretcher Bars (1 1/2″ Depth x 1 3/8″ Width) 18″ Length – 40 Pieces – Paid $62.04 24″ Length – 40 Pieces – Paid $84.92 16″ Length – 90 Pieces – Paid $130.68 20″ Length – 90 Pieces – Paid $159.39  

Canvas Stretching Pliers

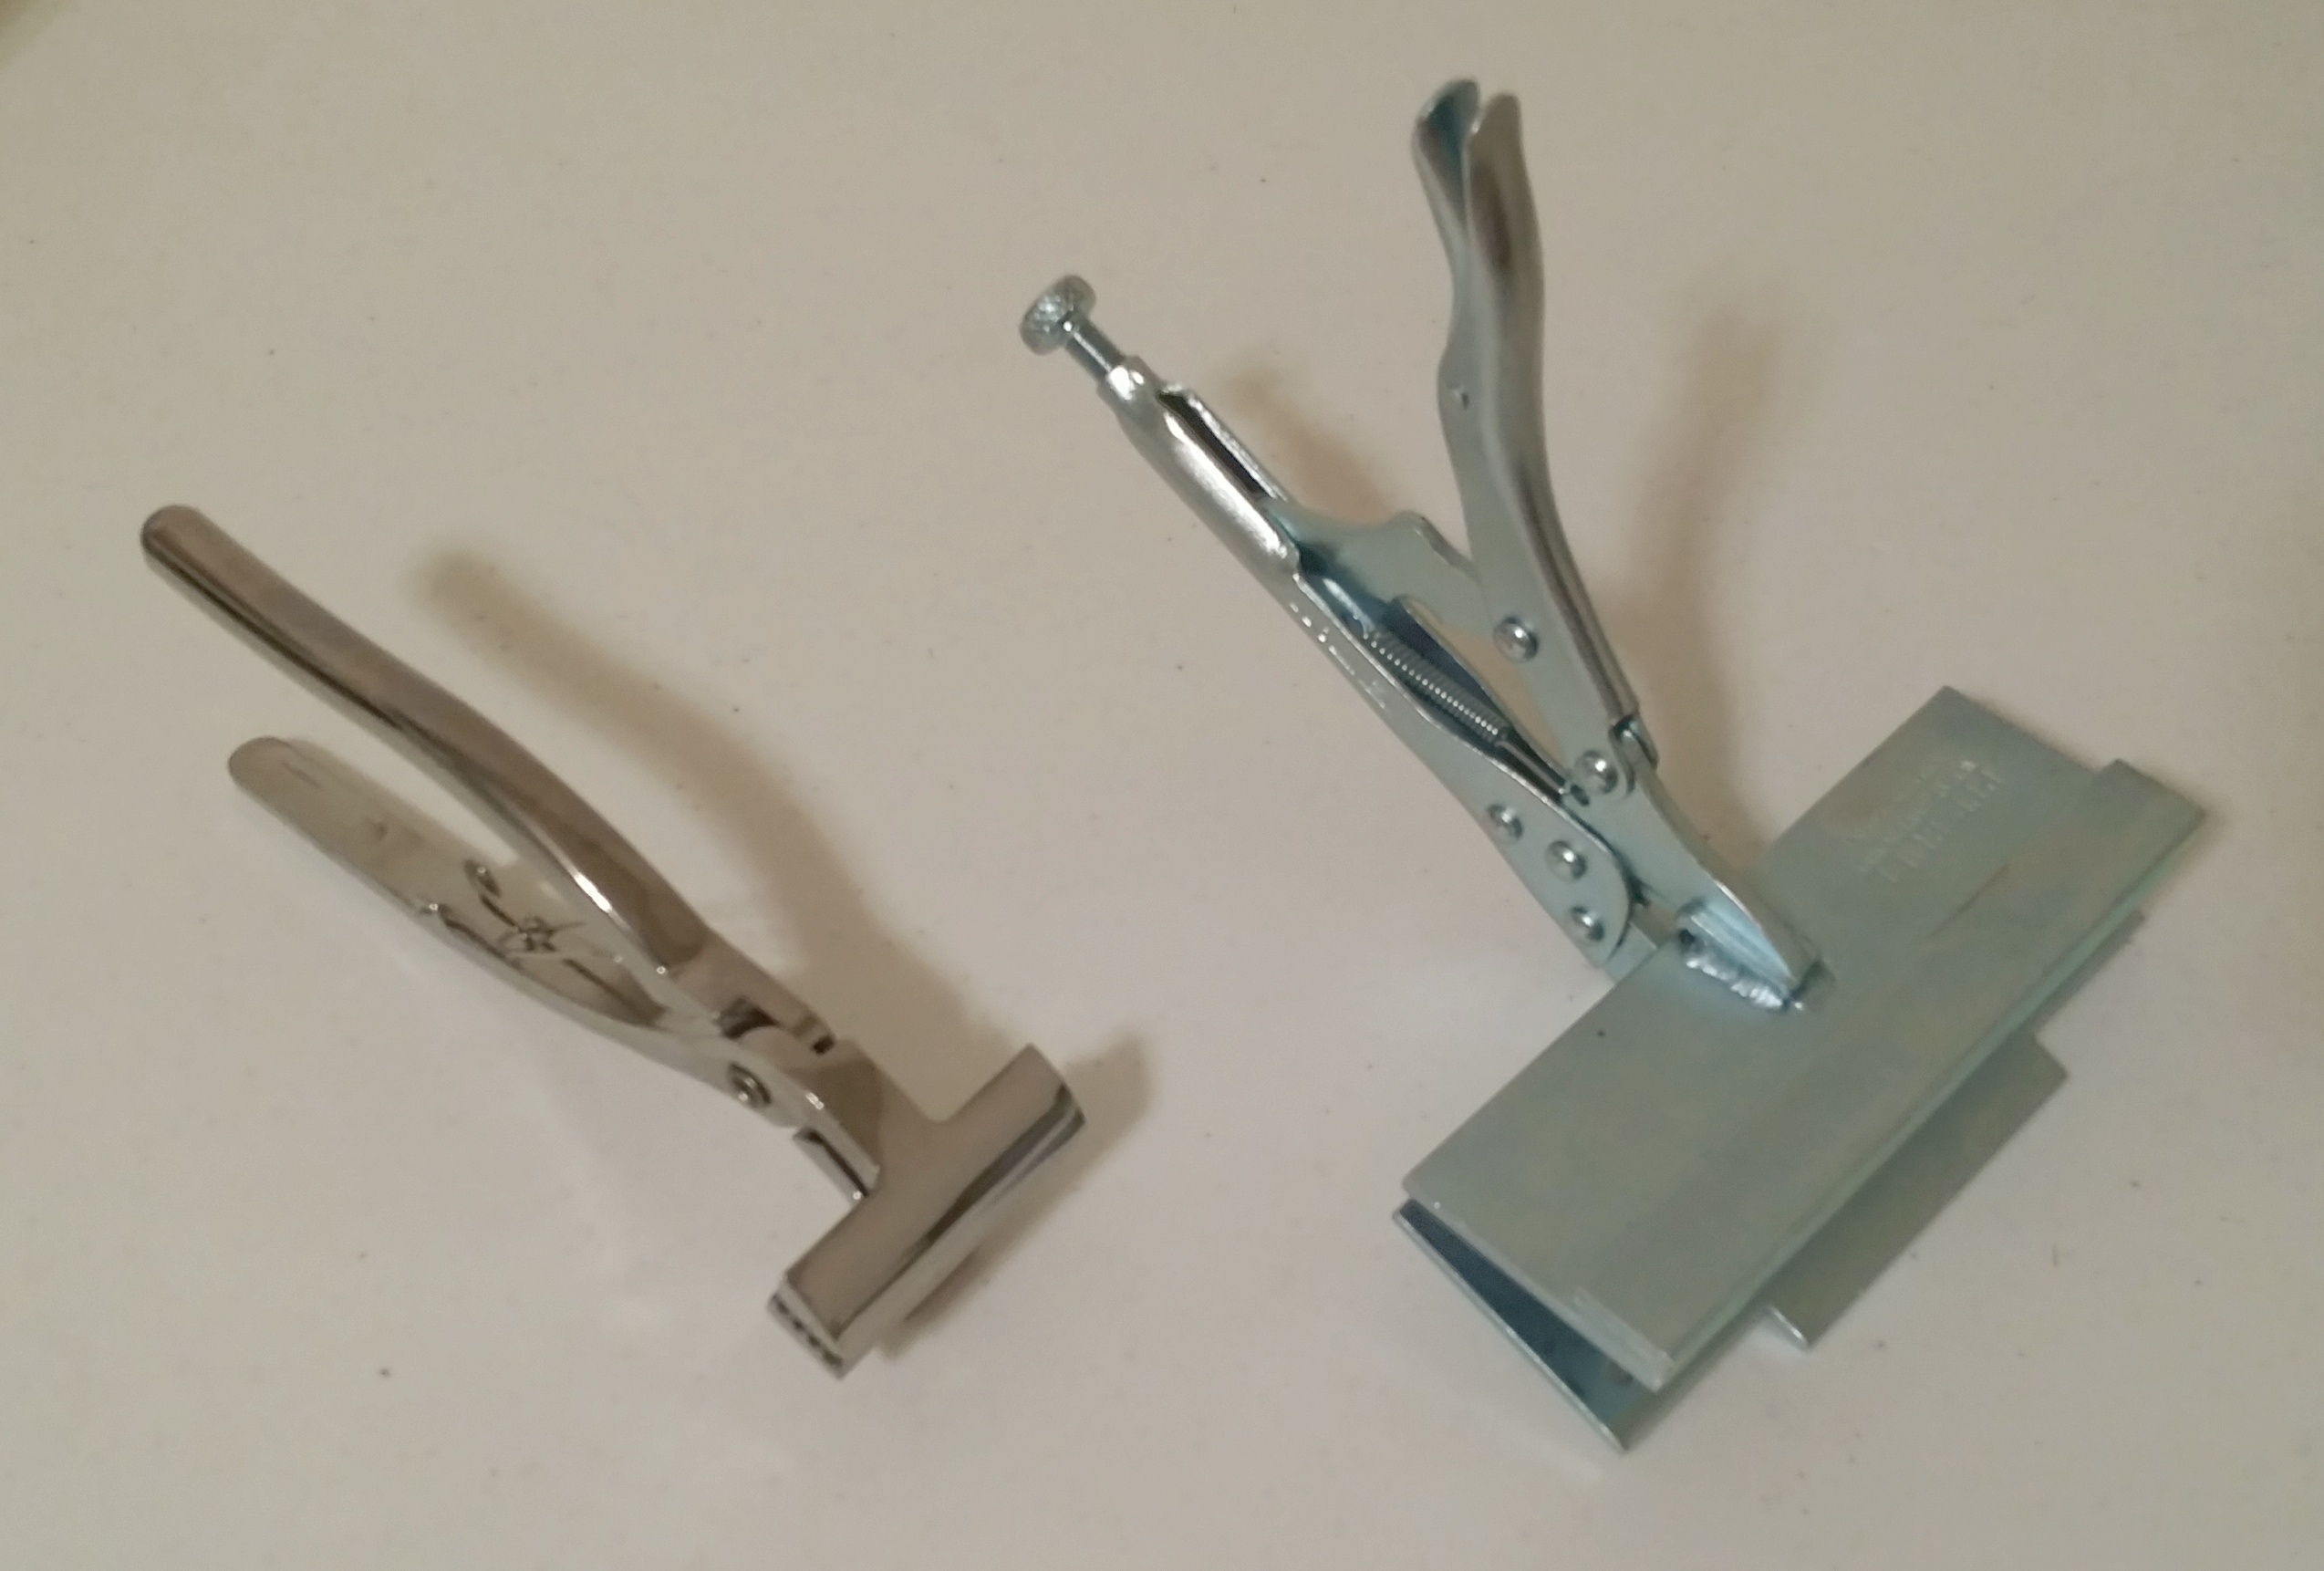
Generic Chrome Stretching Pliers (left) – Paid approx. $15.00 Pit Bull Canvas Wrap Stretcher (right) – Paid $170.00

Canvas Print Varnish & Supplies

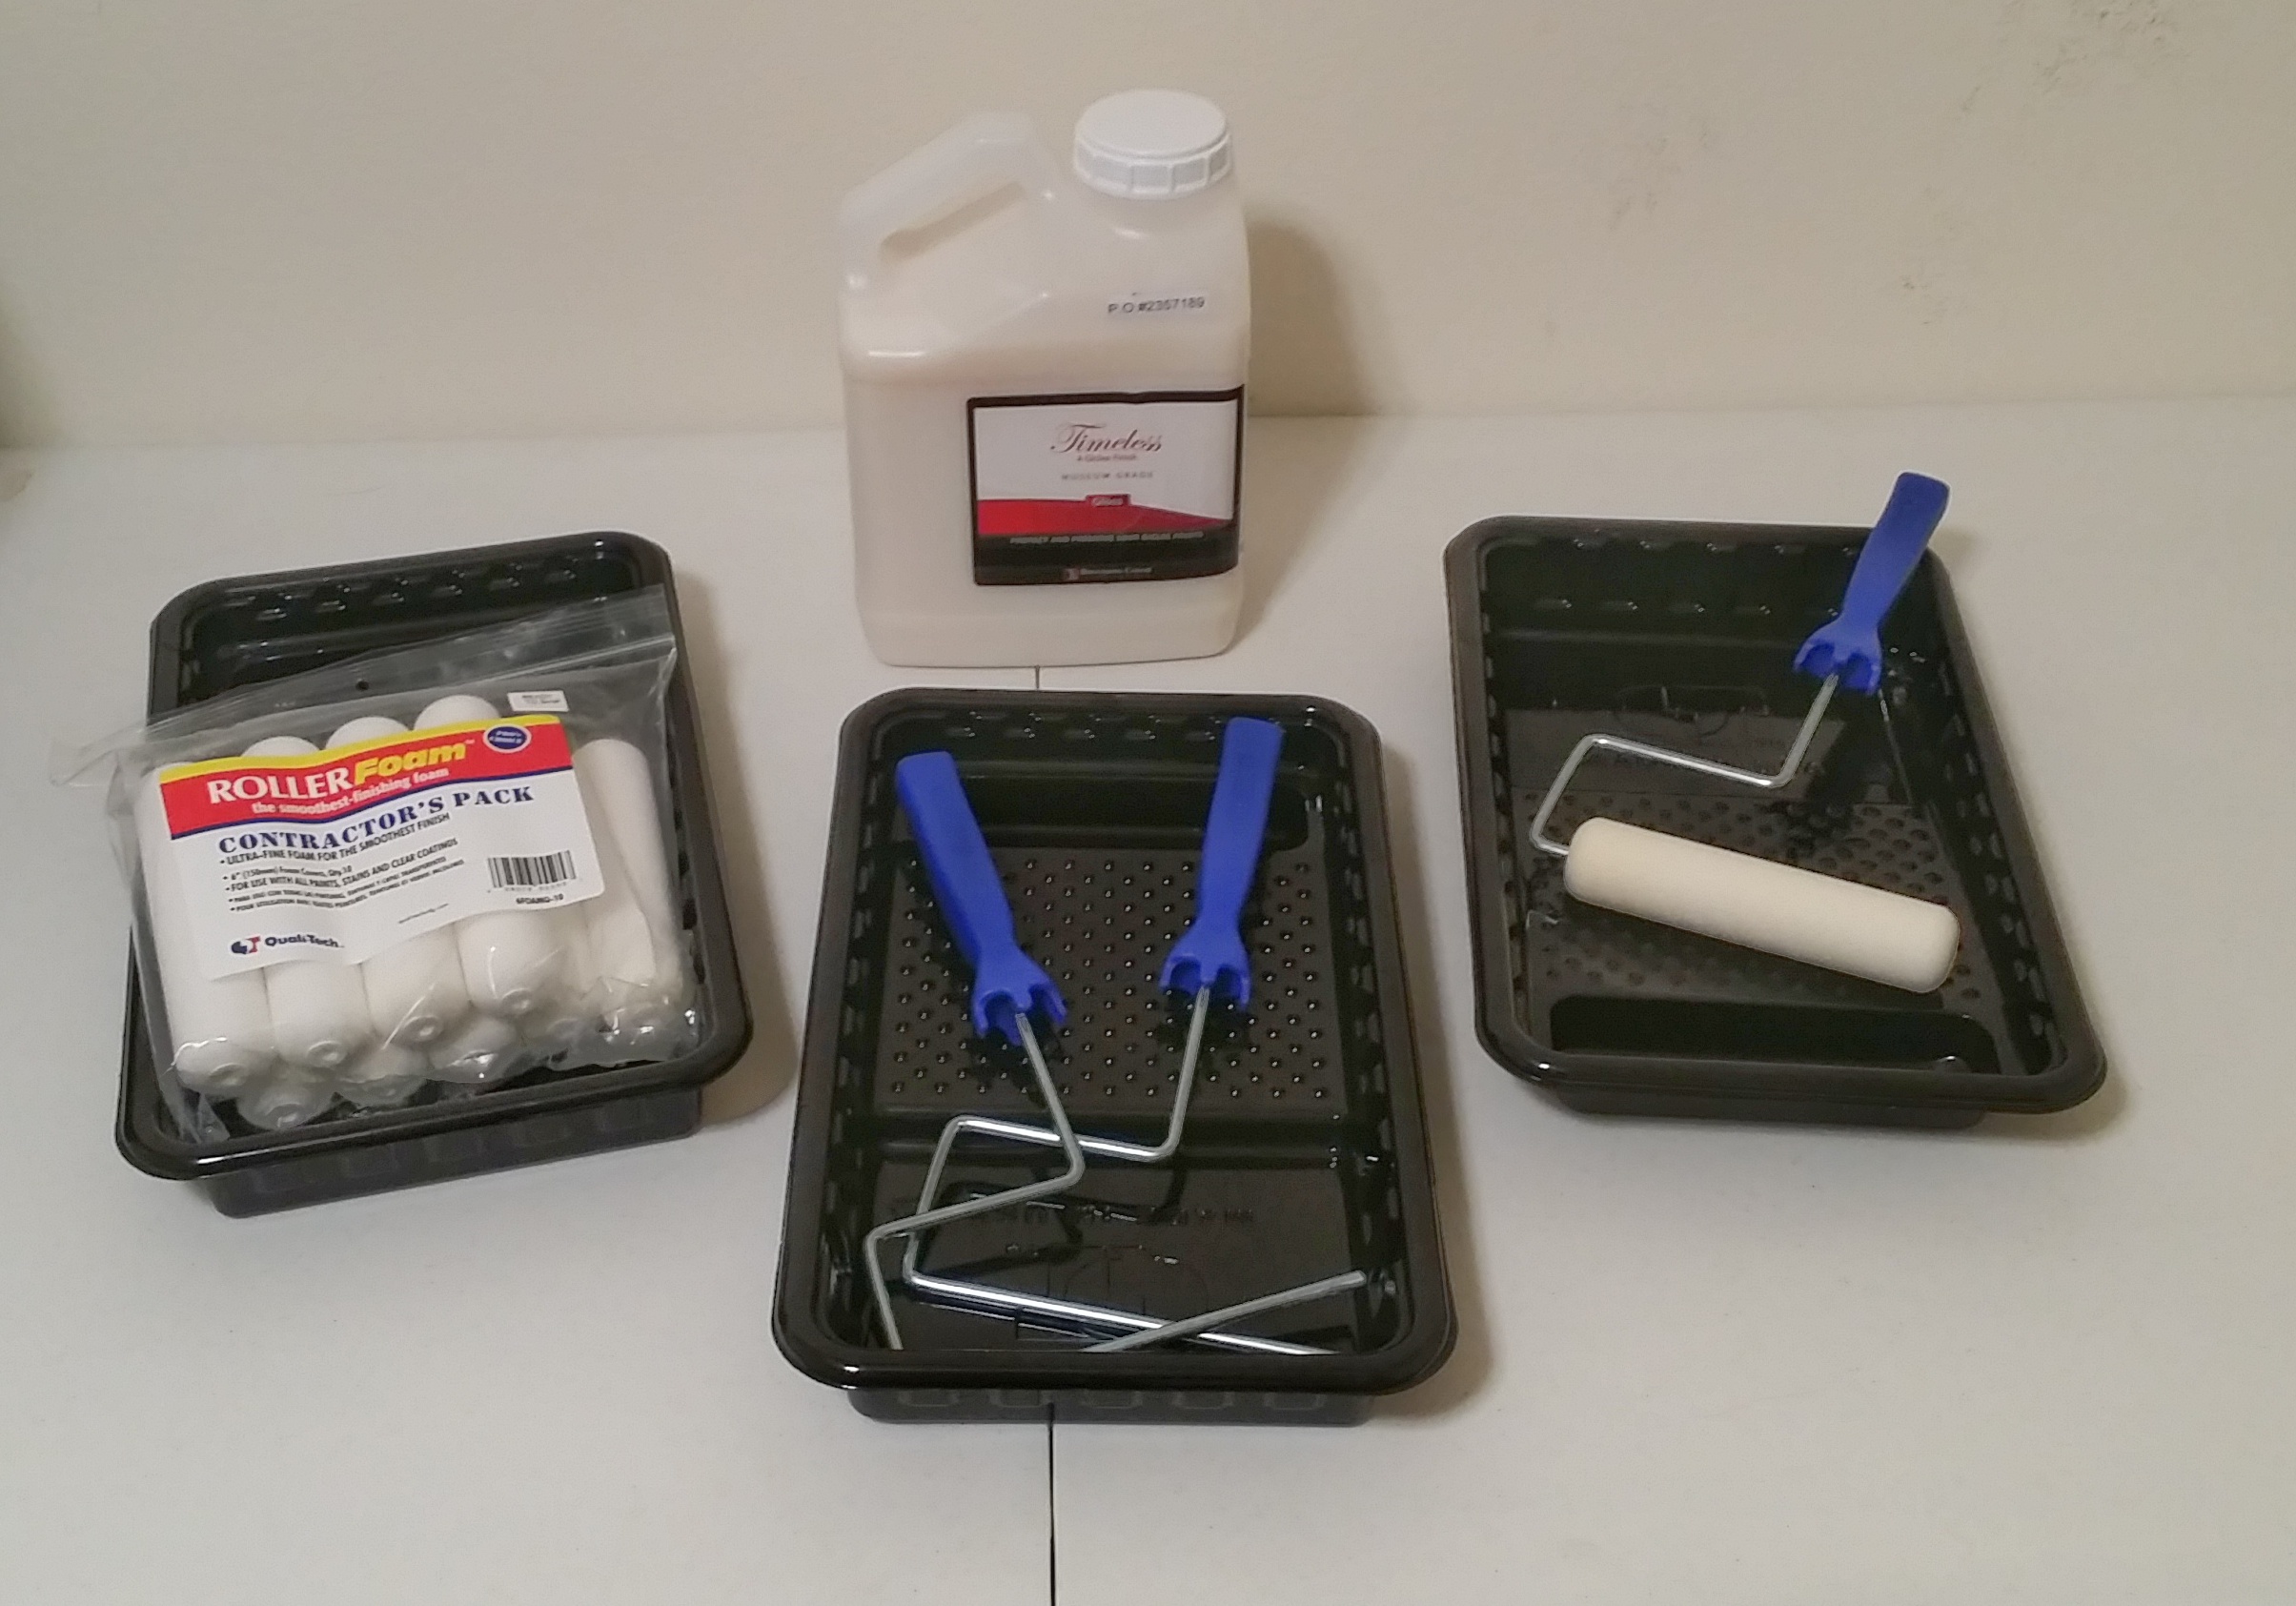
1 Gallon – Breathing Color Timeless Print Varnish – Gloss Finish – Paid $89.95 10 each – Contractors Foam Rollers – paid approx. $8.00 3 each – Roller Handles – paid approx. $6.00 3 each – Roller Pans – paid approx. $3.00  

Marshall Point Lighthouse, Maine

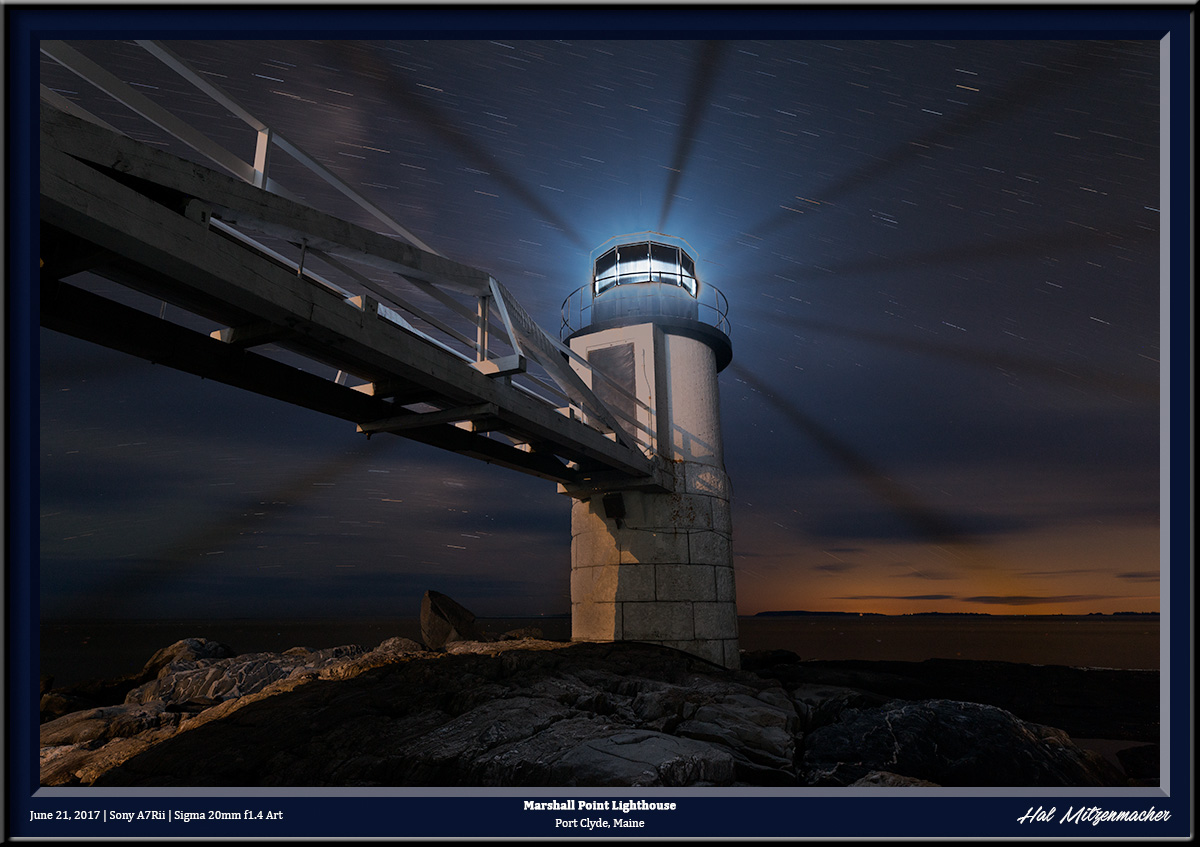
The Marshall Point Lighthouse is located near Port Clyde in the state of Maine. Although the grounds are usually closed at night, I was able to photograph the light while attending a workshop led by Lance Keimig who runs the Night Skye Workshops. The workshop was a part of the highly respected Maine Media Workshops and College, based out of Camden, Maine. I was recently asked about the techniques used to create this image, so I thought I would post the answer here. This was created using a blend of two exposures. The first was a very long exposure of 8 minutes/f8/ISO 800. This exposure yielded the clean, noise-free overall image that also produced the star trails of a length I find pleasing to the eye. While an exposure of 8 minutes produced a nice clean image, it also grossly overexposed the actual light at the fresnal itself. To correct this deficiency, I took a series of shorter exposures, this time judging the exposure of the fresnal itself. After several tries, I determined that an exposure of 30 seconds/f8/ISO 100 produced a good likeness of the fresnel portion of the light. When it came time to construct the final image, I placed both the long, 8 minute exposure and the short, 30 second exposure into layers using Photoshop. From there it was a simple matter to blend the properly exposed fresnel into the overexposed fresnel of the long exposure. Once the blending was accomplished, I used the power of Lumenzia (a luminosity masking plugin for Photoshop developed by Greg Benz) to do the final editing of the image until I achieved results that I felt was satisfactory. The equipment used for this image: Sony A7Rii | Sigma 20mm f1.4 Art Series lens | MIOPS Smart Trigger | Benro Tripod | Flare Buster lens shade

Shop Equipment – Cost $4590 – Selling for $1100 Firm [SOLD QUICKLY]

Bulk Sale – It’s All or Nothing!  [SOLD]


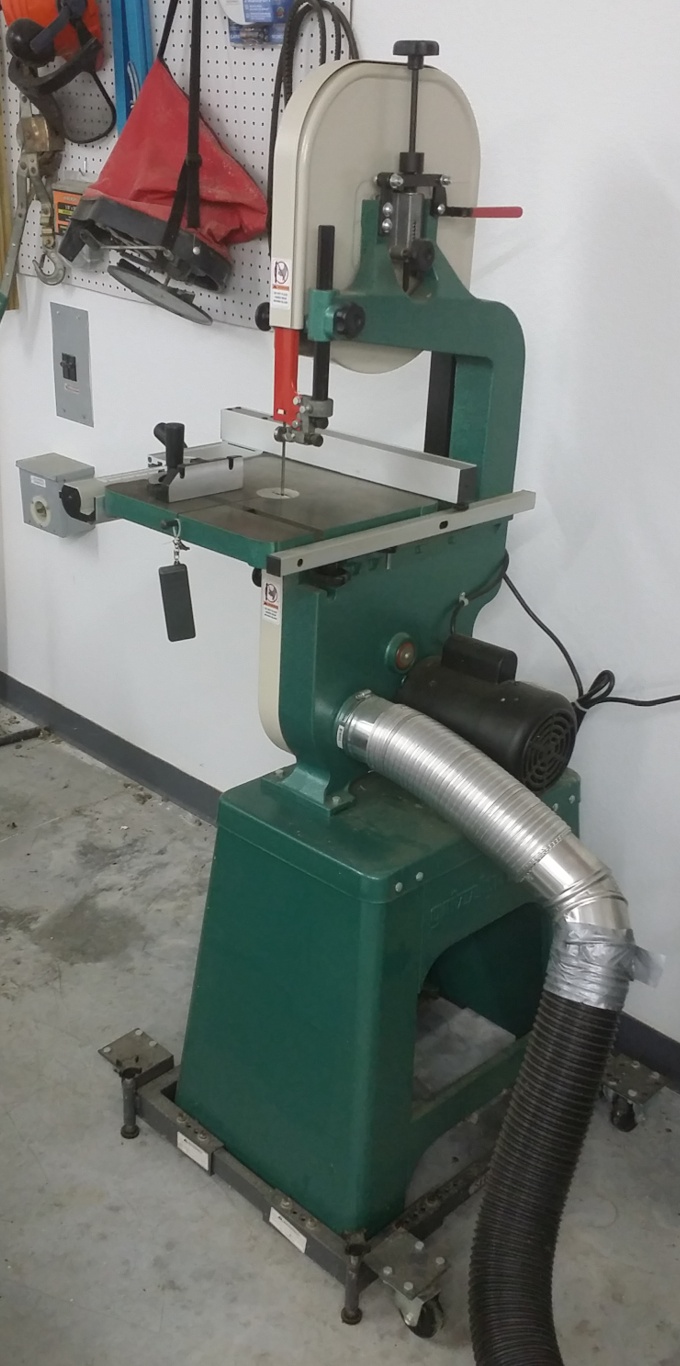
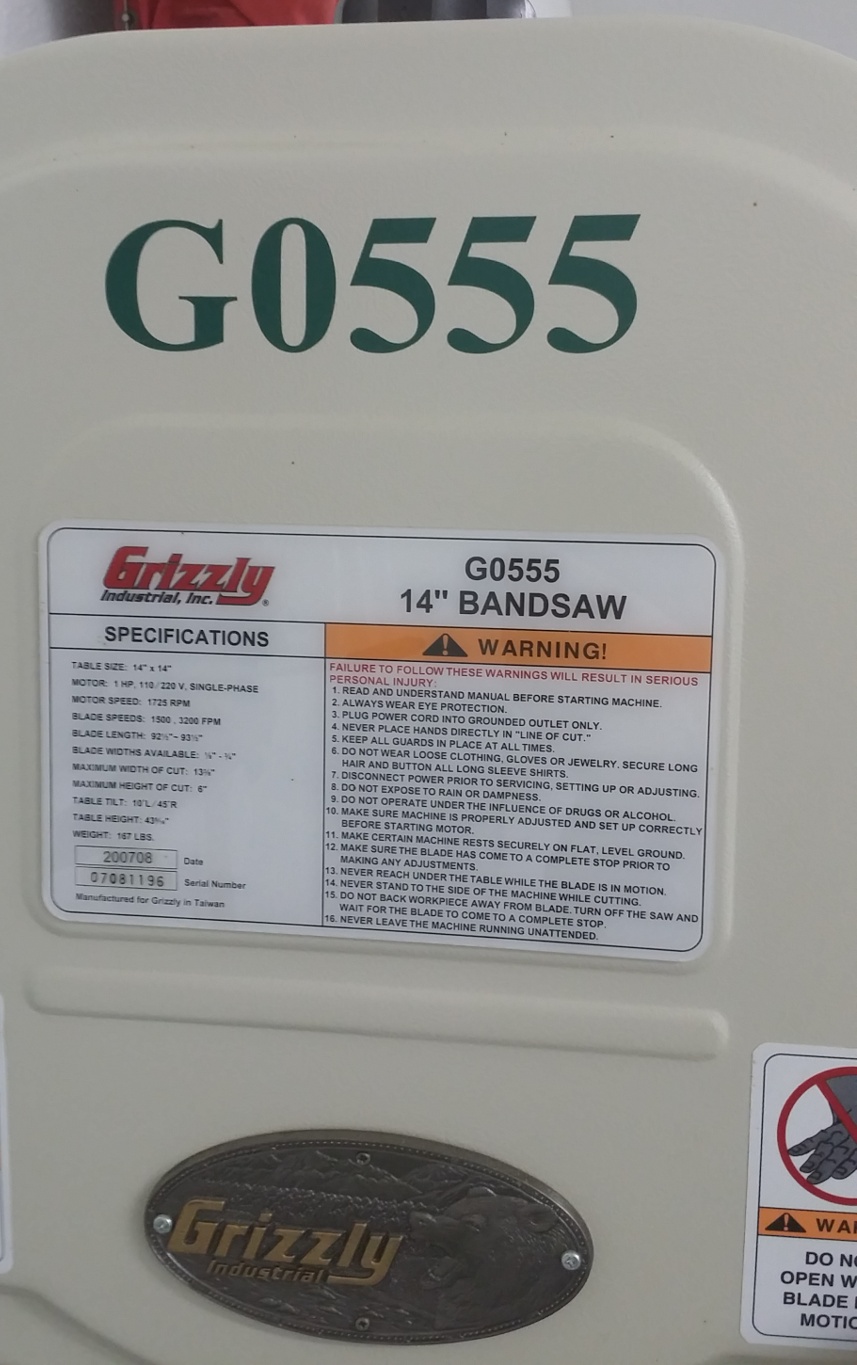
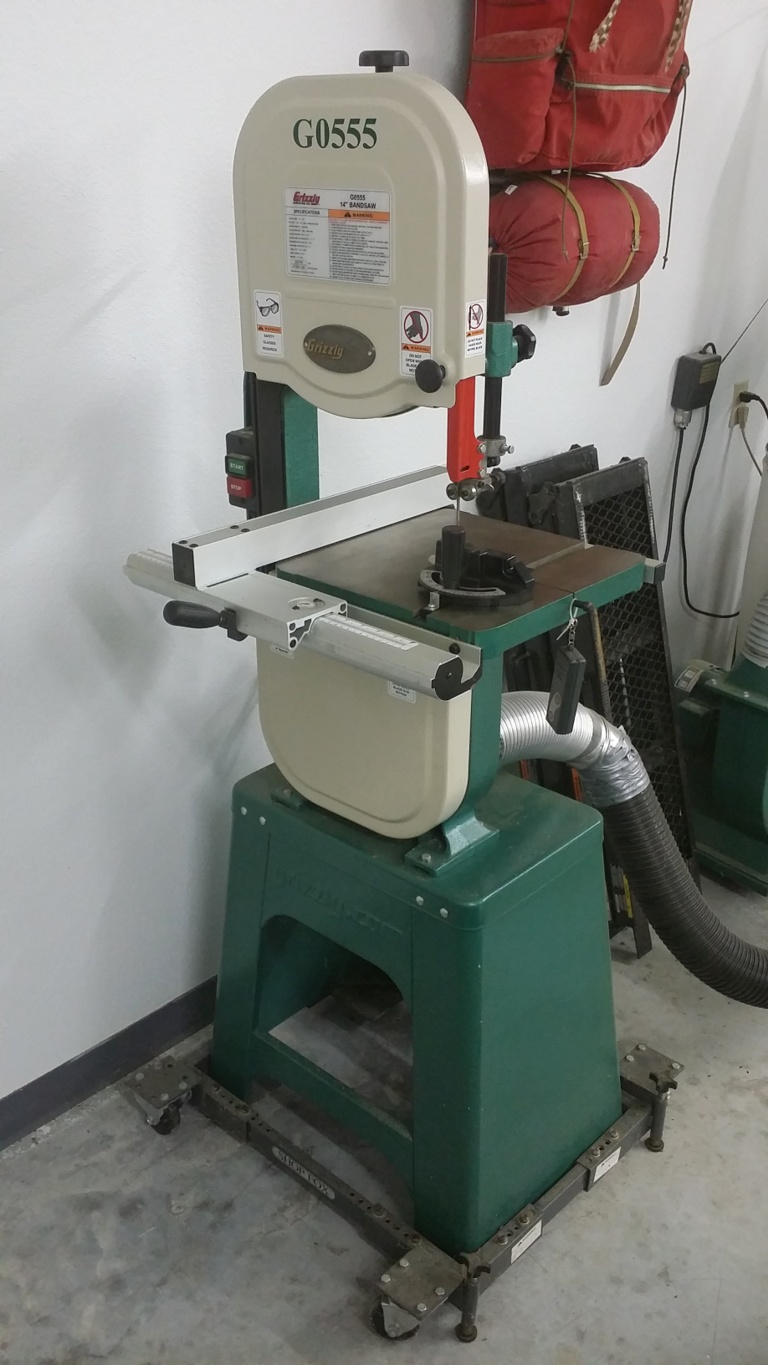
BAND SAW

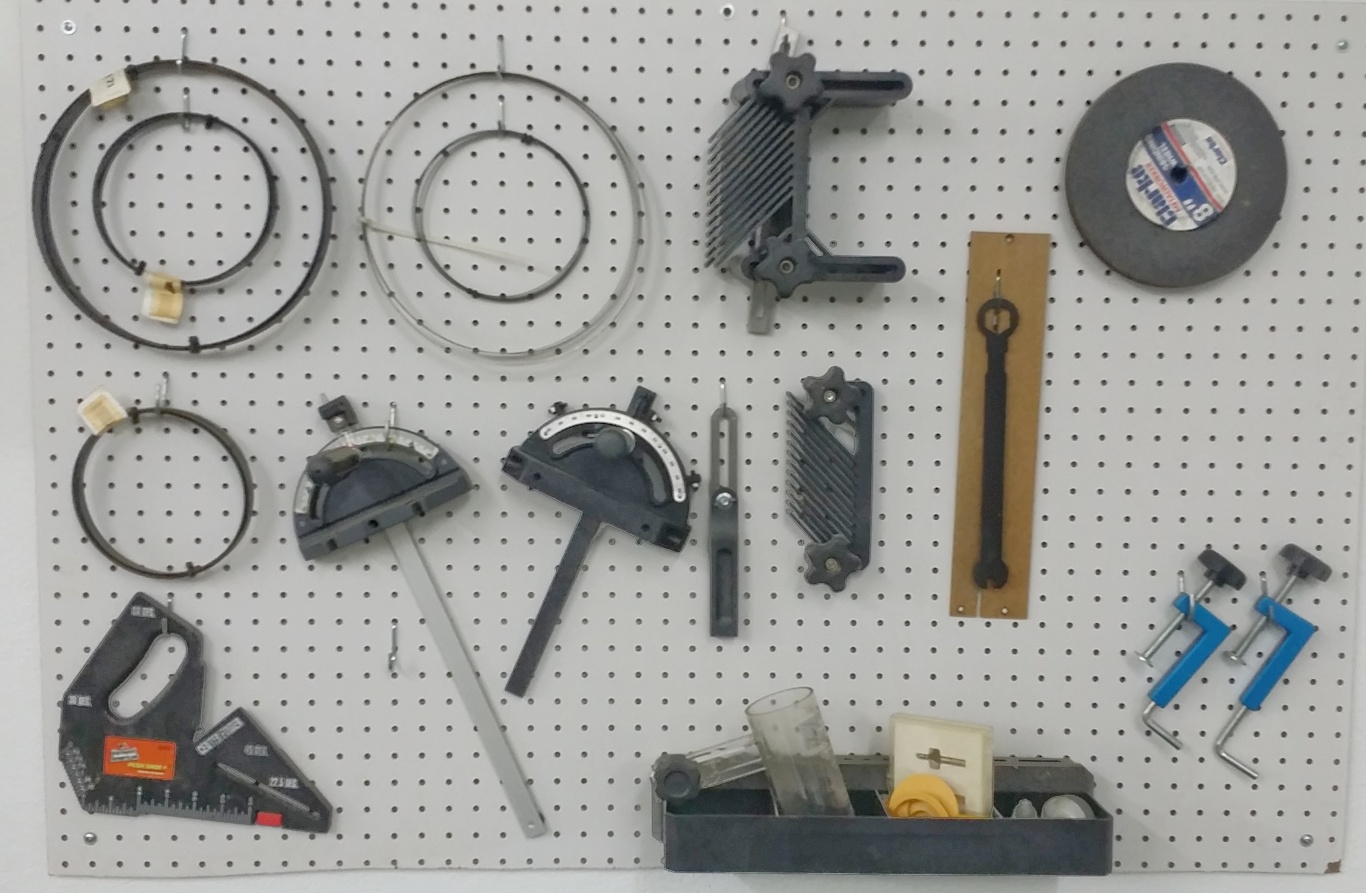
Grizzly Industrial 14″ Band Saw Model G0555 – Paid $625.00 Shop Fox Heavy Duty Mobile Base D2057A – Paid $69.95 Assorted band saw blades, guides, squares, etc. – Paid approx $200.00

SHAPER

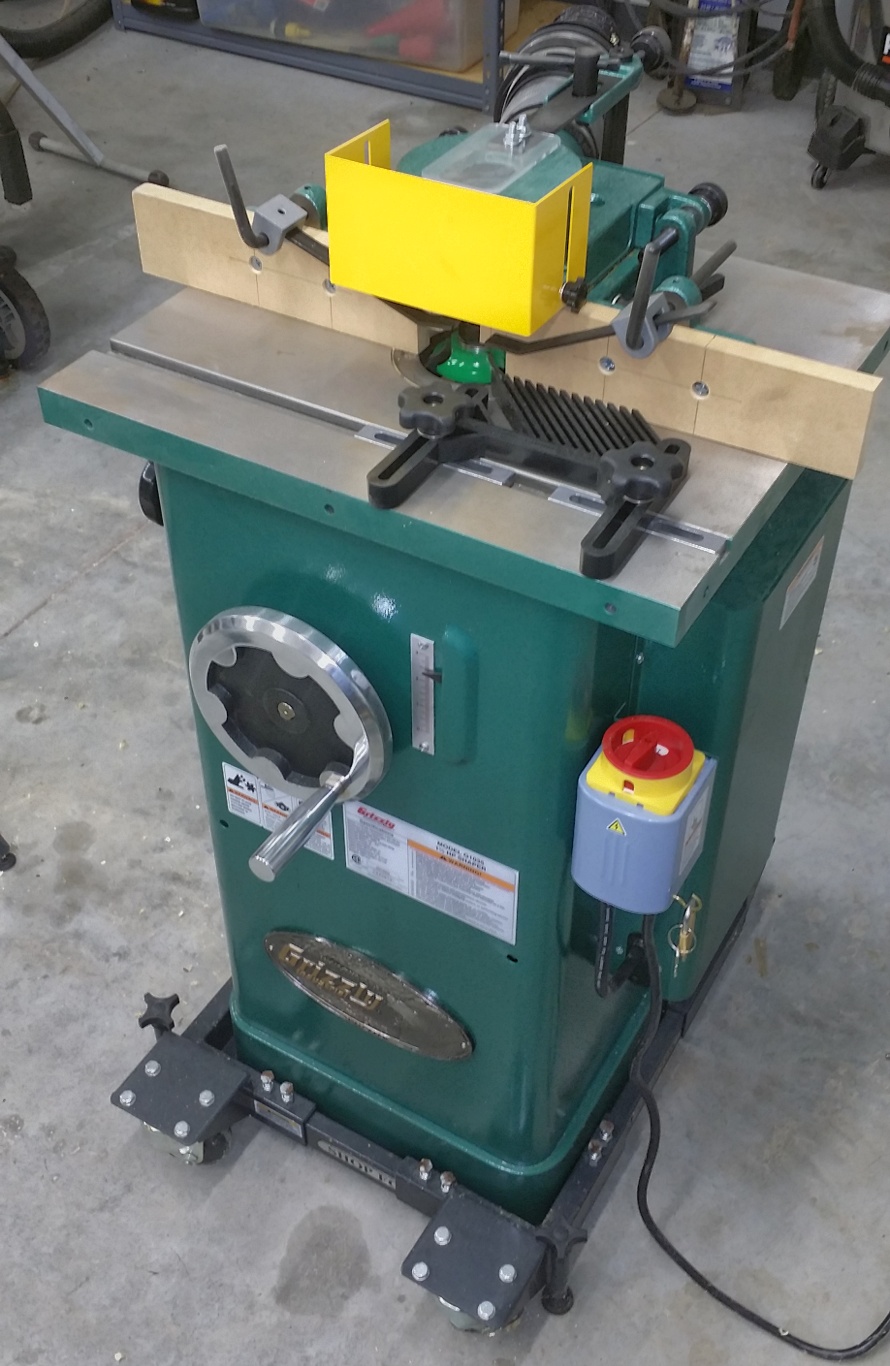
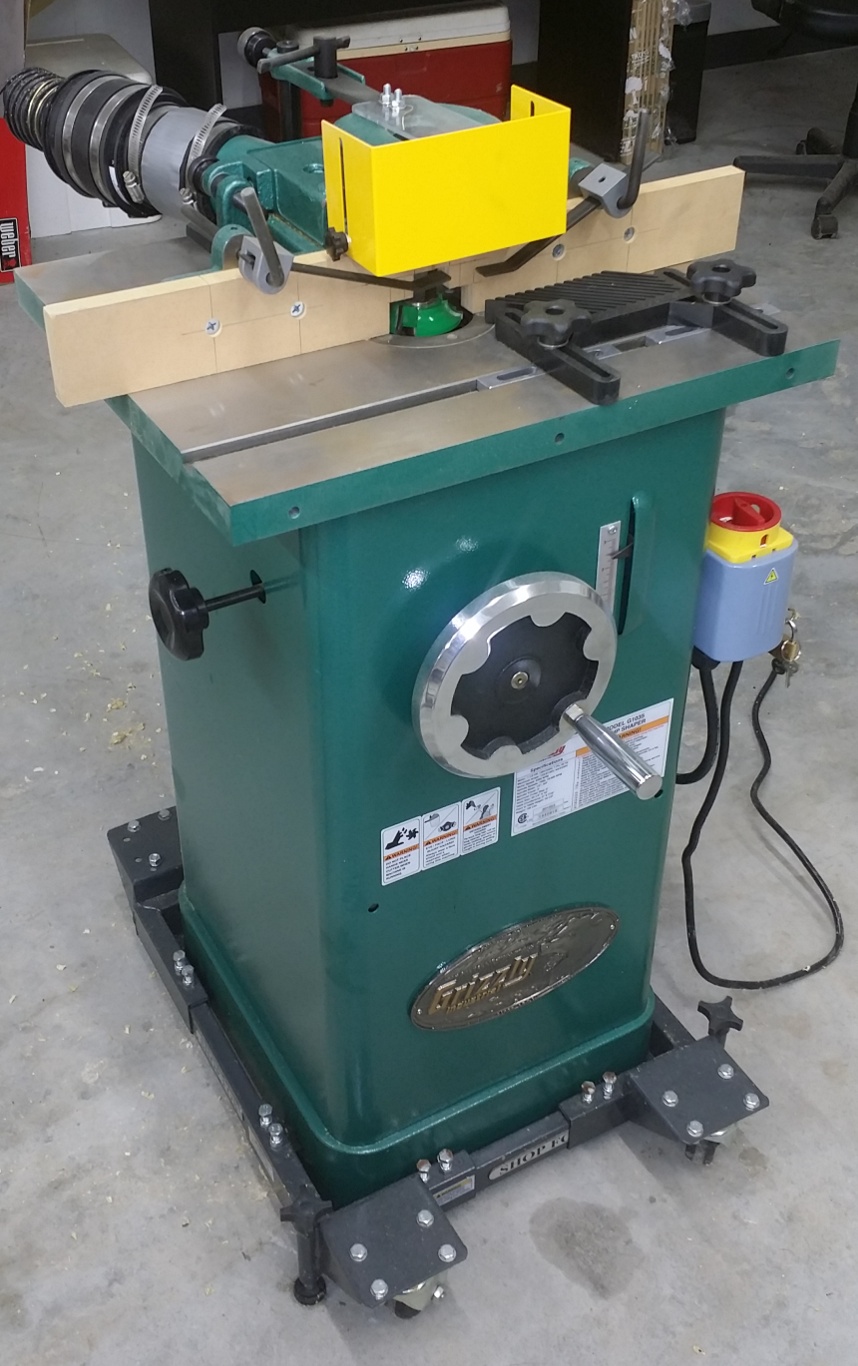
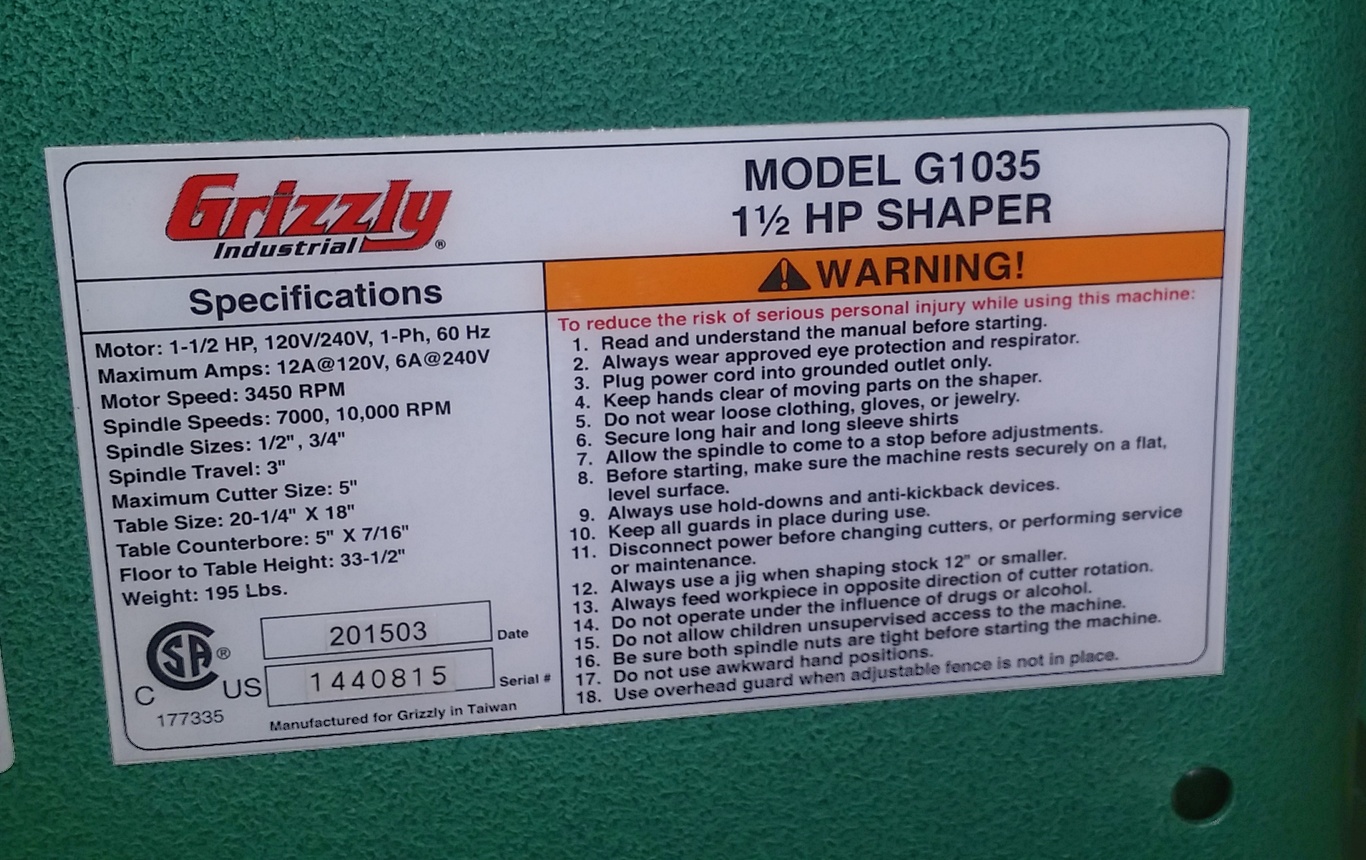
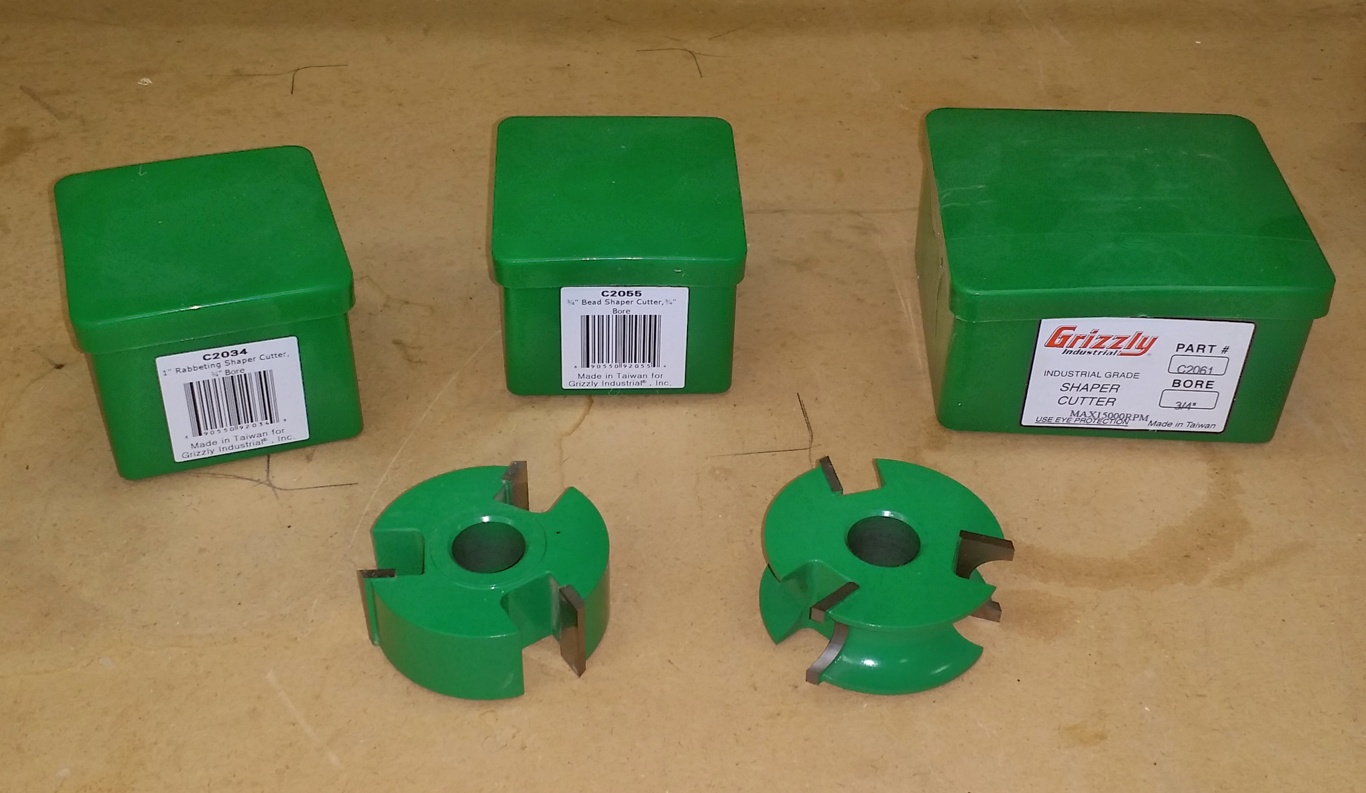
Grizzly Industrial 1 1/2 HP Shaper Model G1035 – Paid $639.95 Shop Fox Mini Mobile Base D2260A – Paid $59.95 Grizzly Industrial 1″ Rabbeting Shaper Cutter, 3/4″ Bore Part C2034 Paid $39.95 Grizzly Industrial 3/4″ Bead Shaper Cutter, 3/4″ Bore Part C2055 – Paid $39.95 Grizzly Industrial 1/2″ Radius Quarter Round, 3/4″ Bore Part C2061 – Paid $38.95 Pro Fence Featherboard – Part T20853 – Paid $64.95 Grizzly Industrial 3″ Dust Hood Part G4840 – Paid $22.95

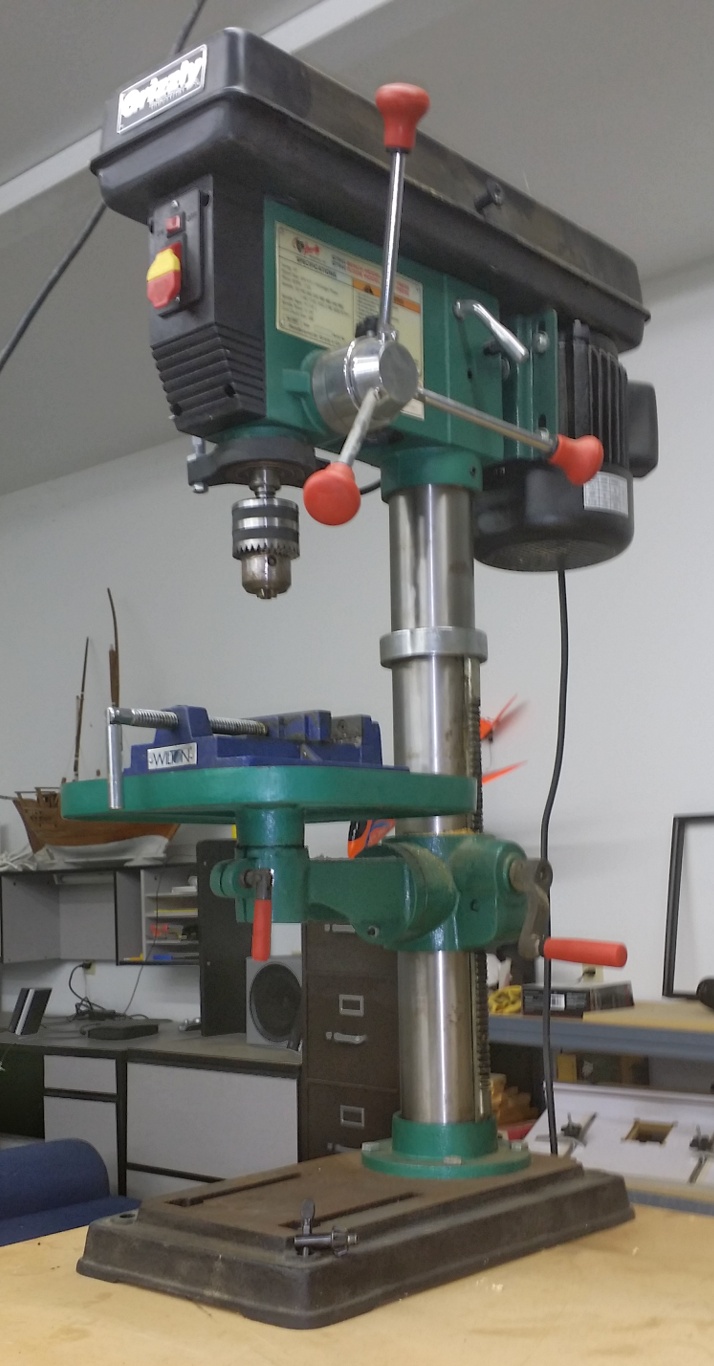
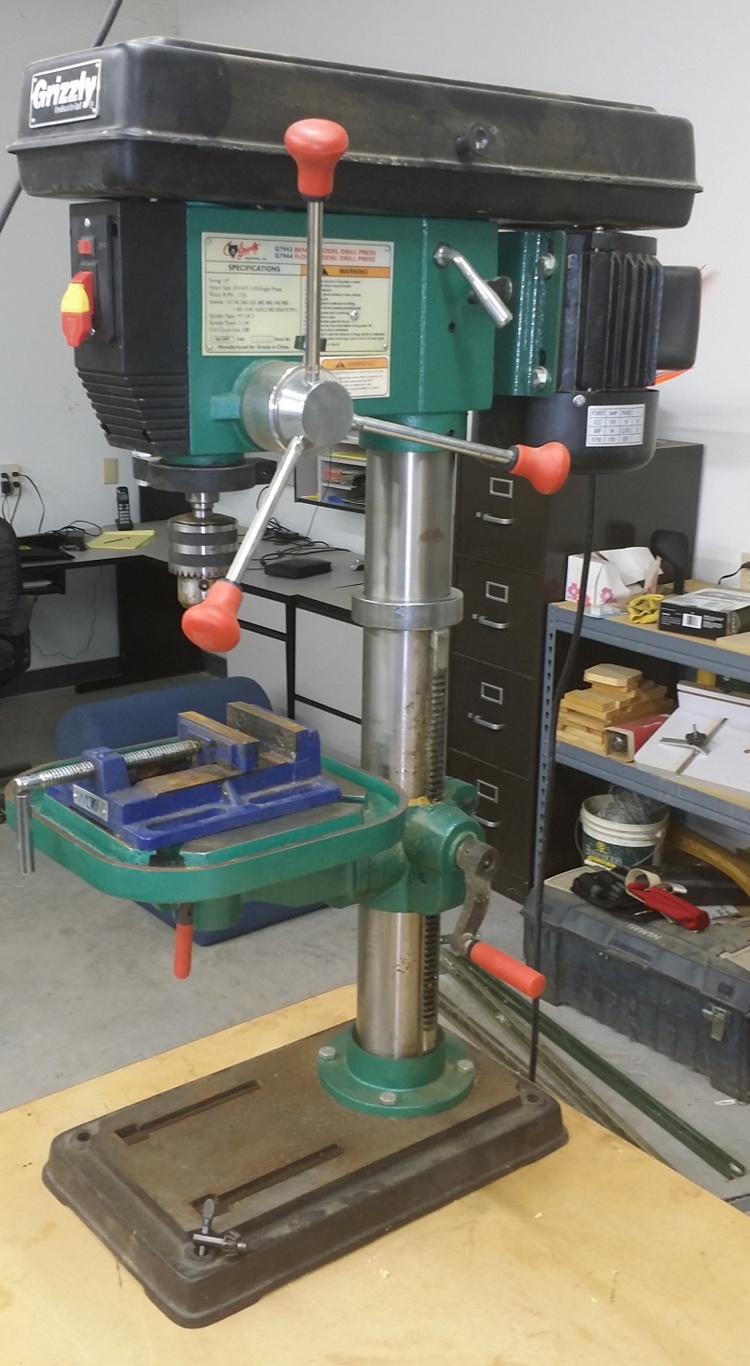
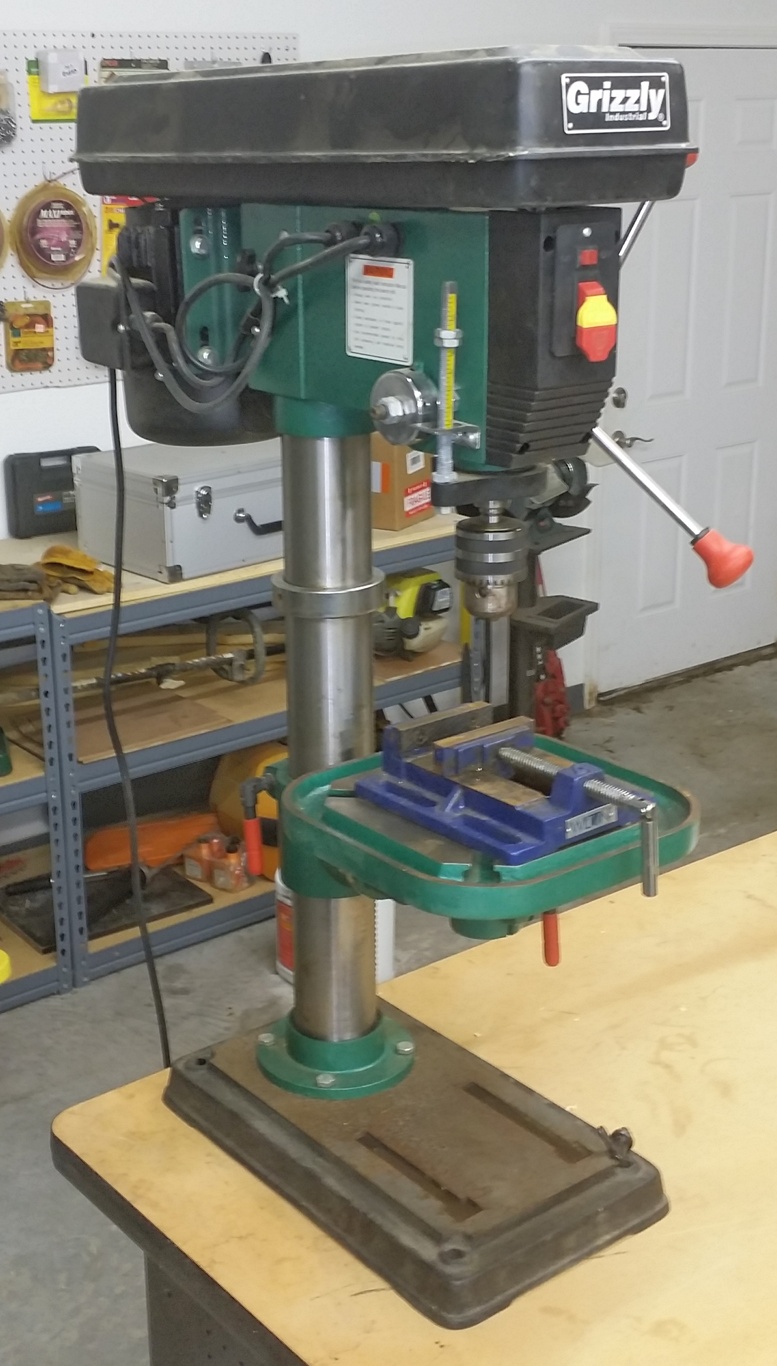
DRILL PRESS

Grizzly 12 Speed Heavy-Duty Bench-Top Drill Press Model G7943 – Paid $365.00 Wilton 4″ Drill Press Vice Model 69997 – Paid $36.98

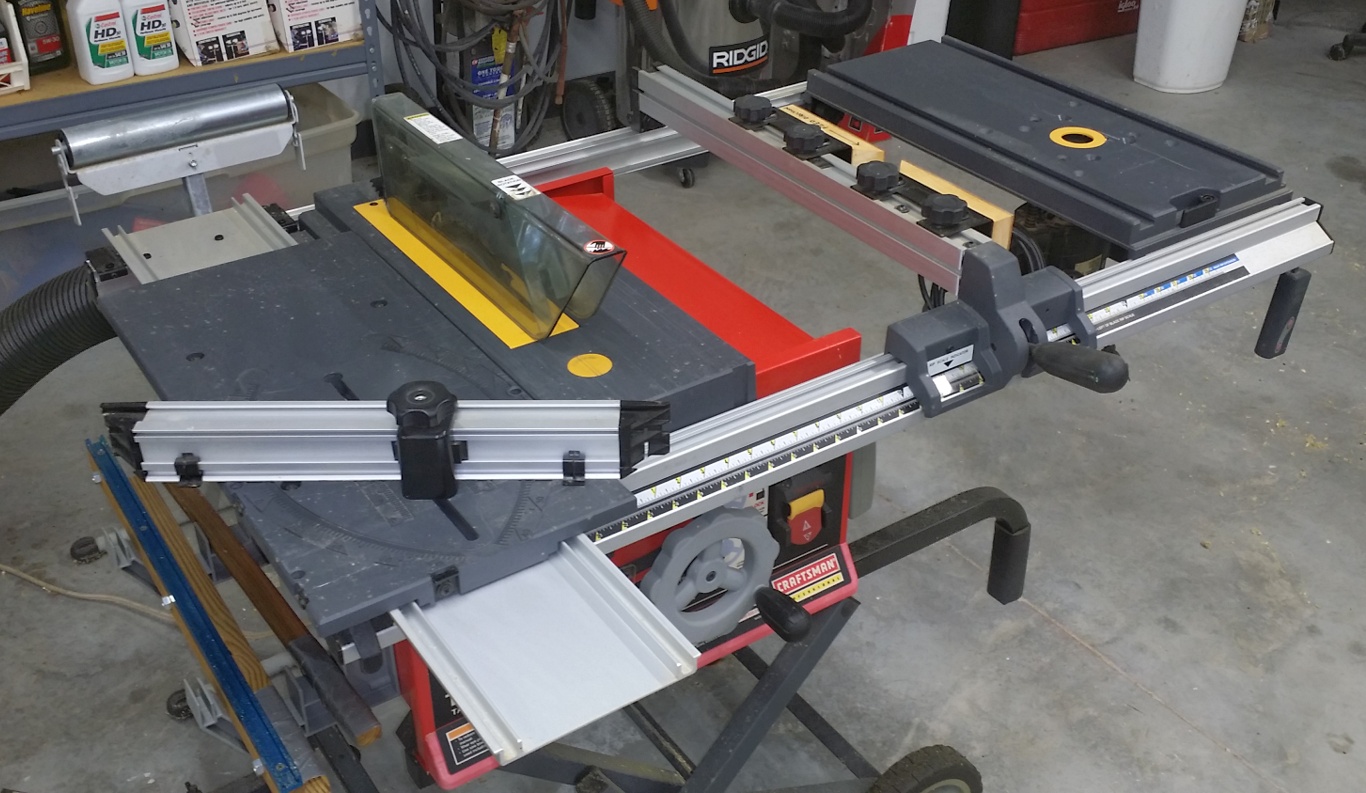
TABLE SAW

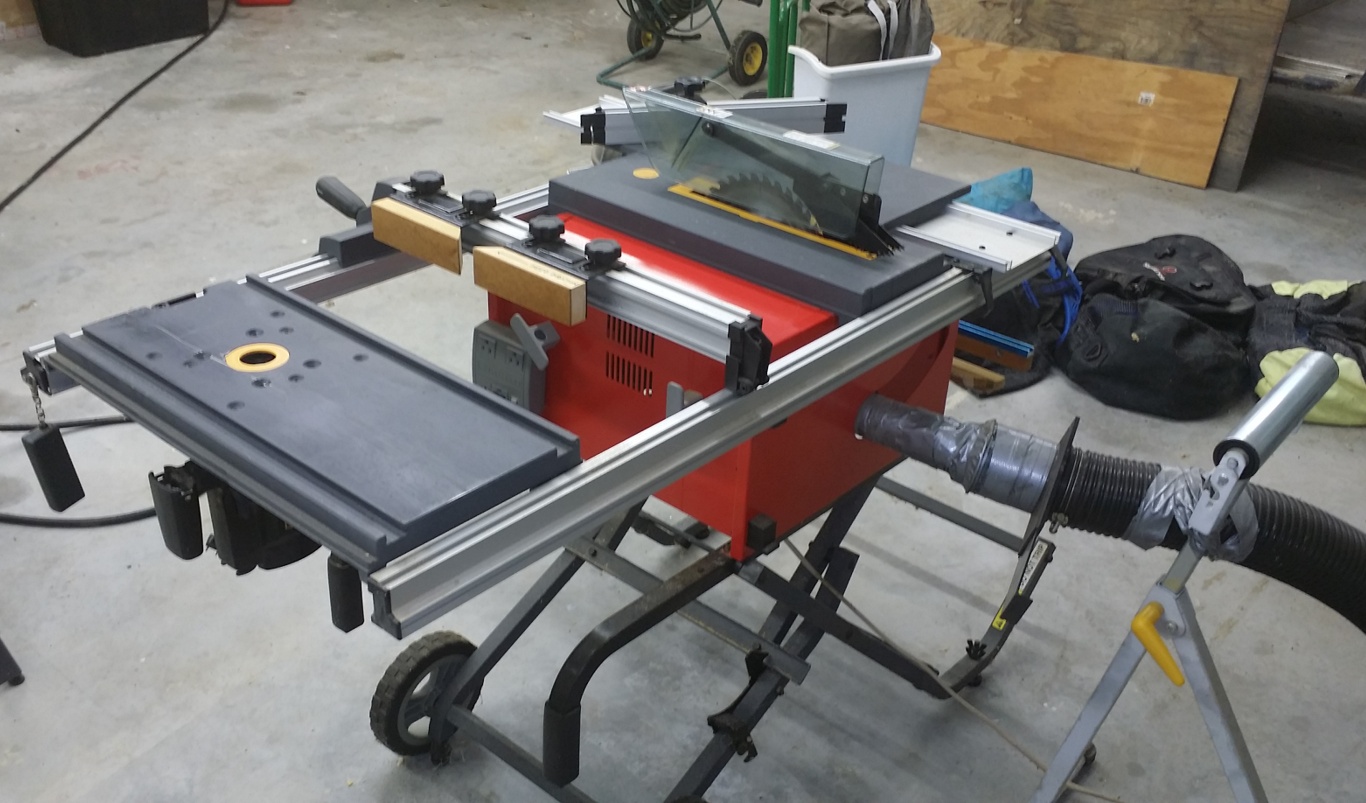
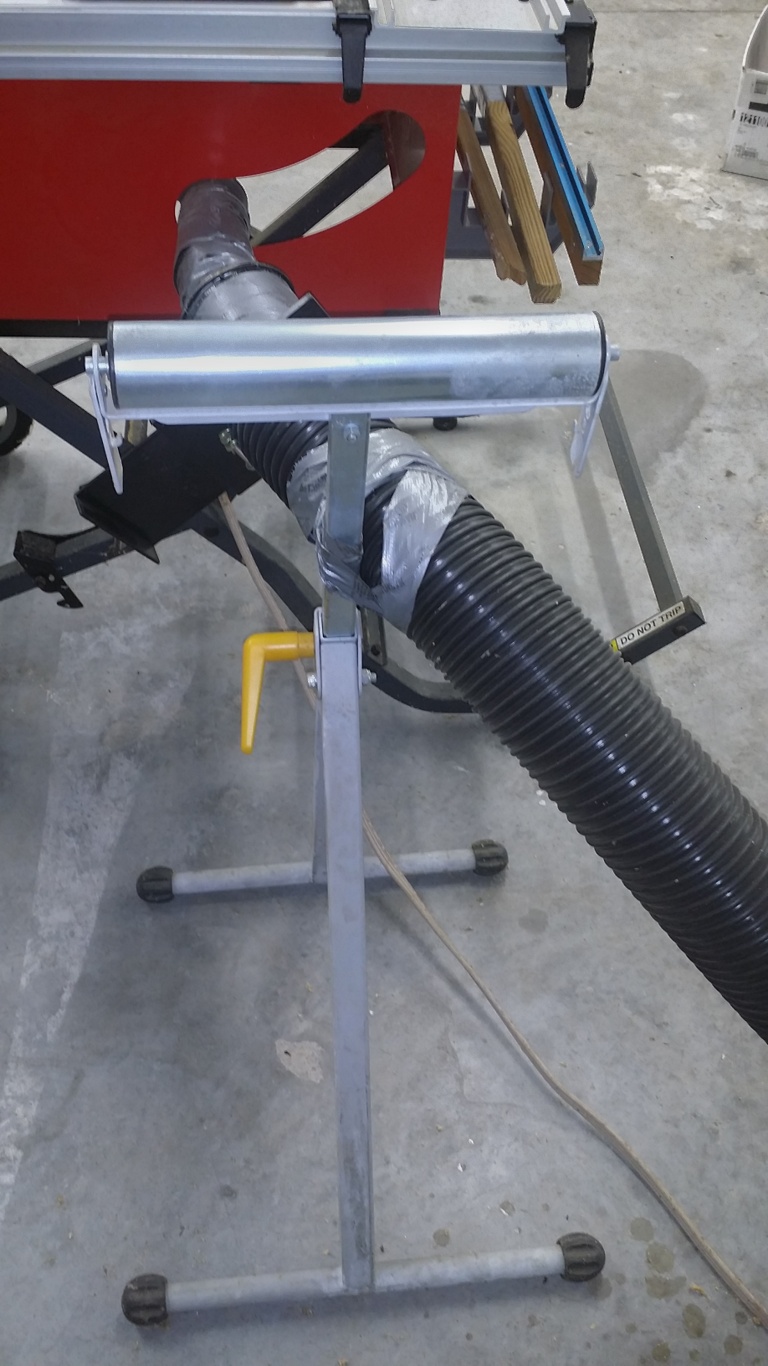
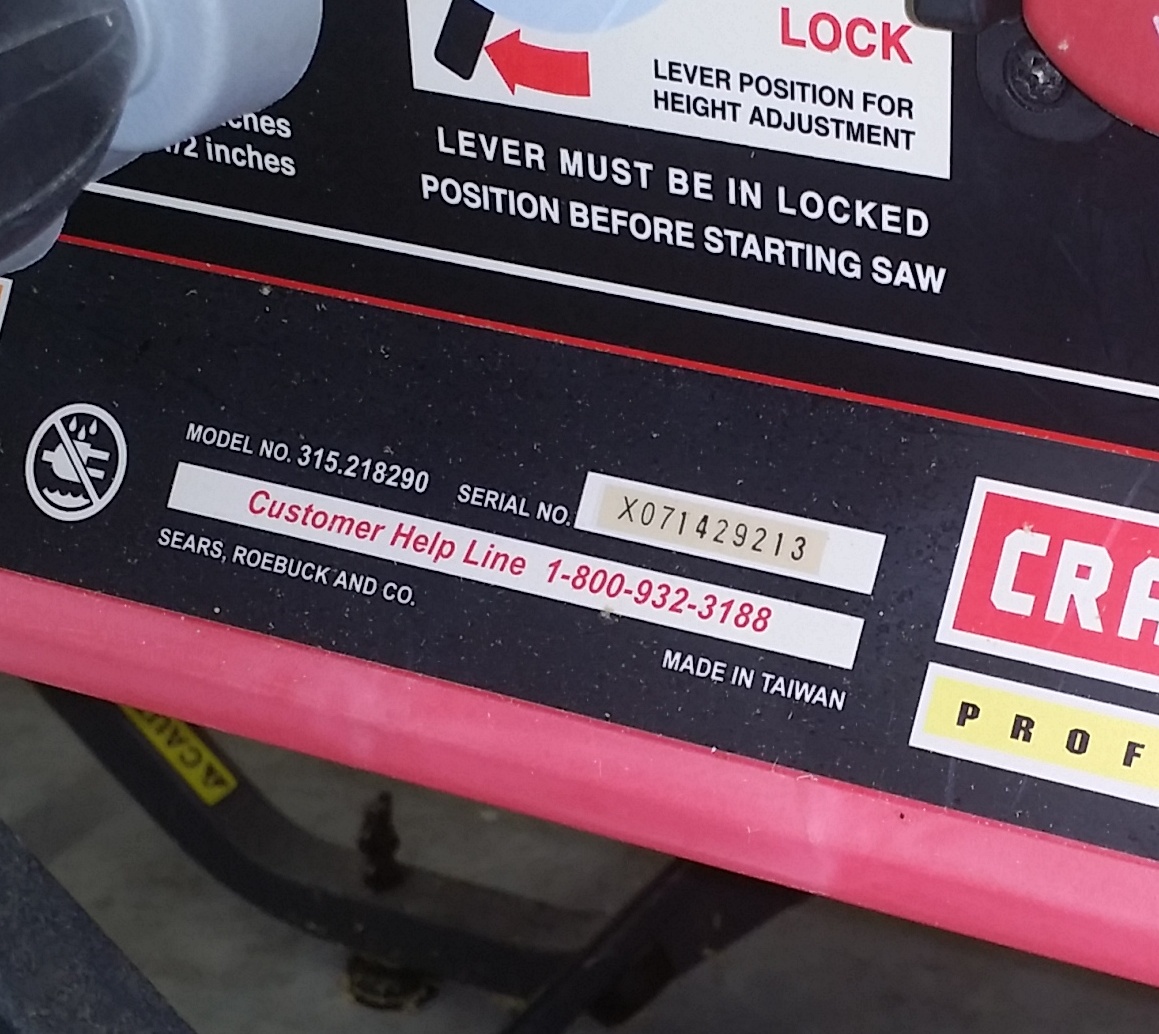
Craftsman Professional 15 Amp 10″ Portable Table Saw w/ Router Table Extension Model 21829 – Paid approximately $400.00 Shop Fox Single Roller Stand Model D2273 – Paid $51.95

COMPOUND MITER SAW

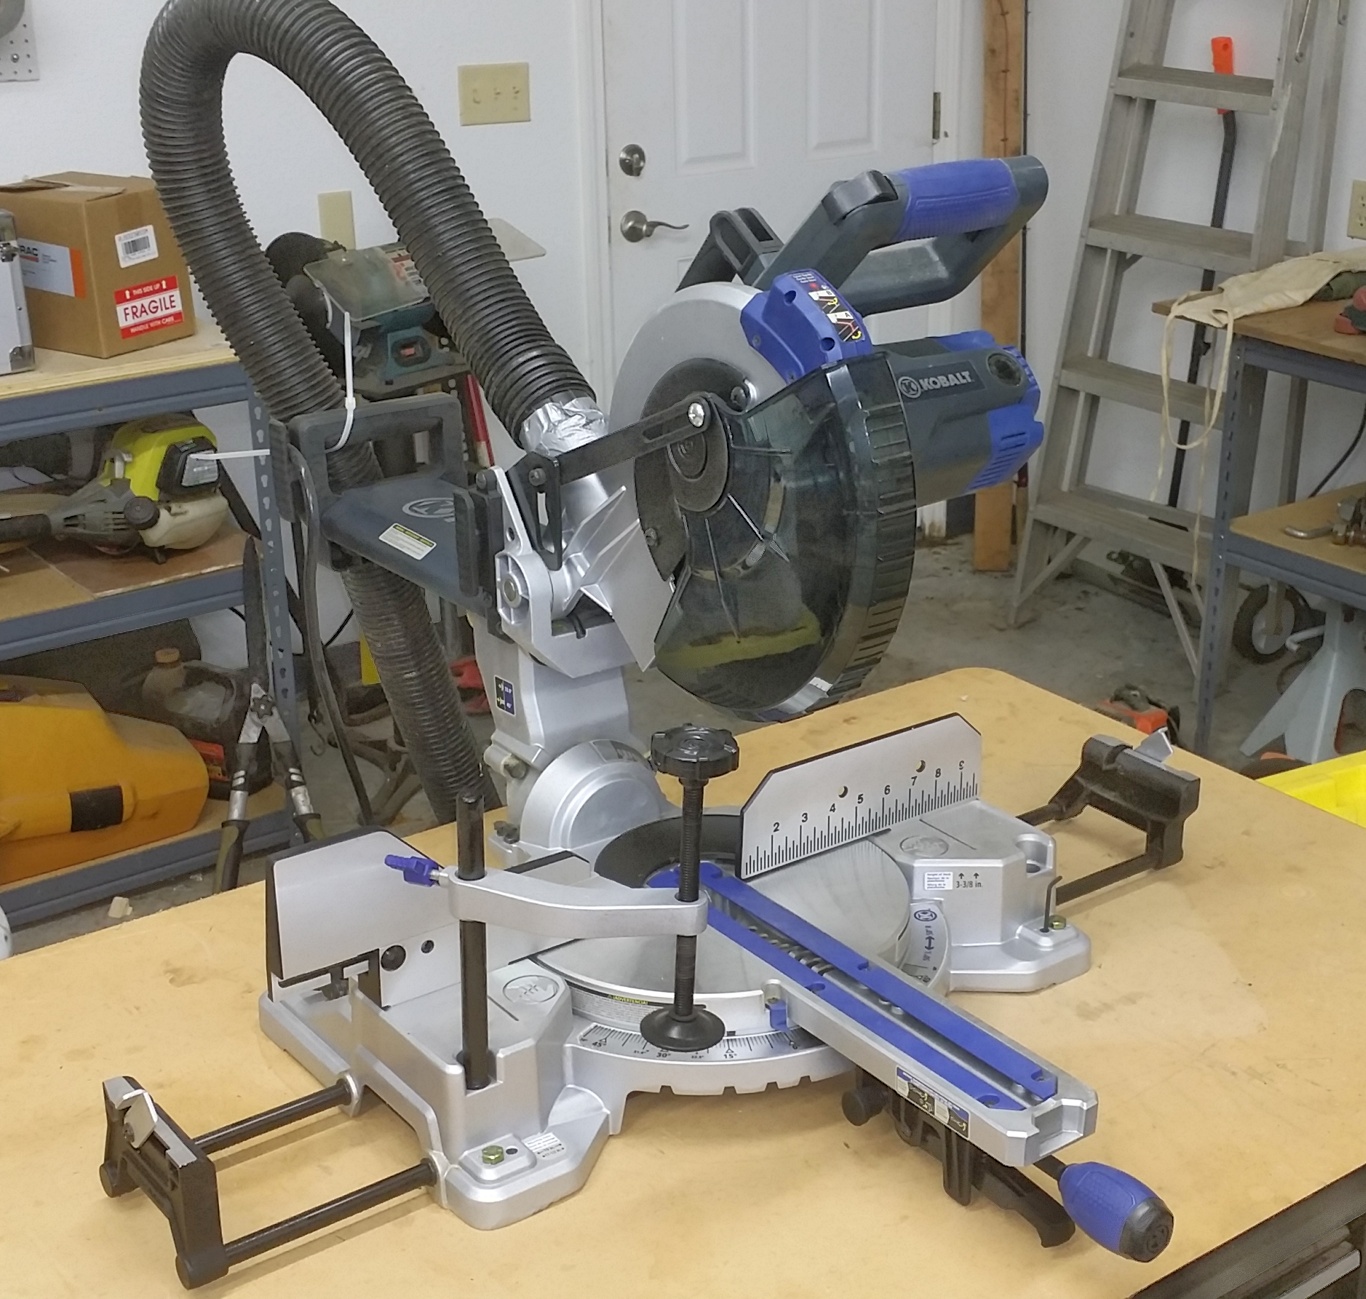
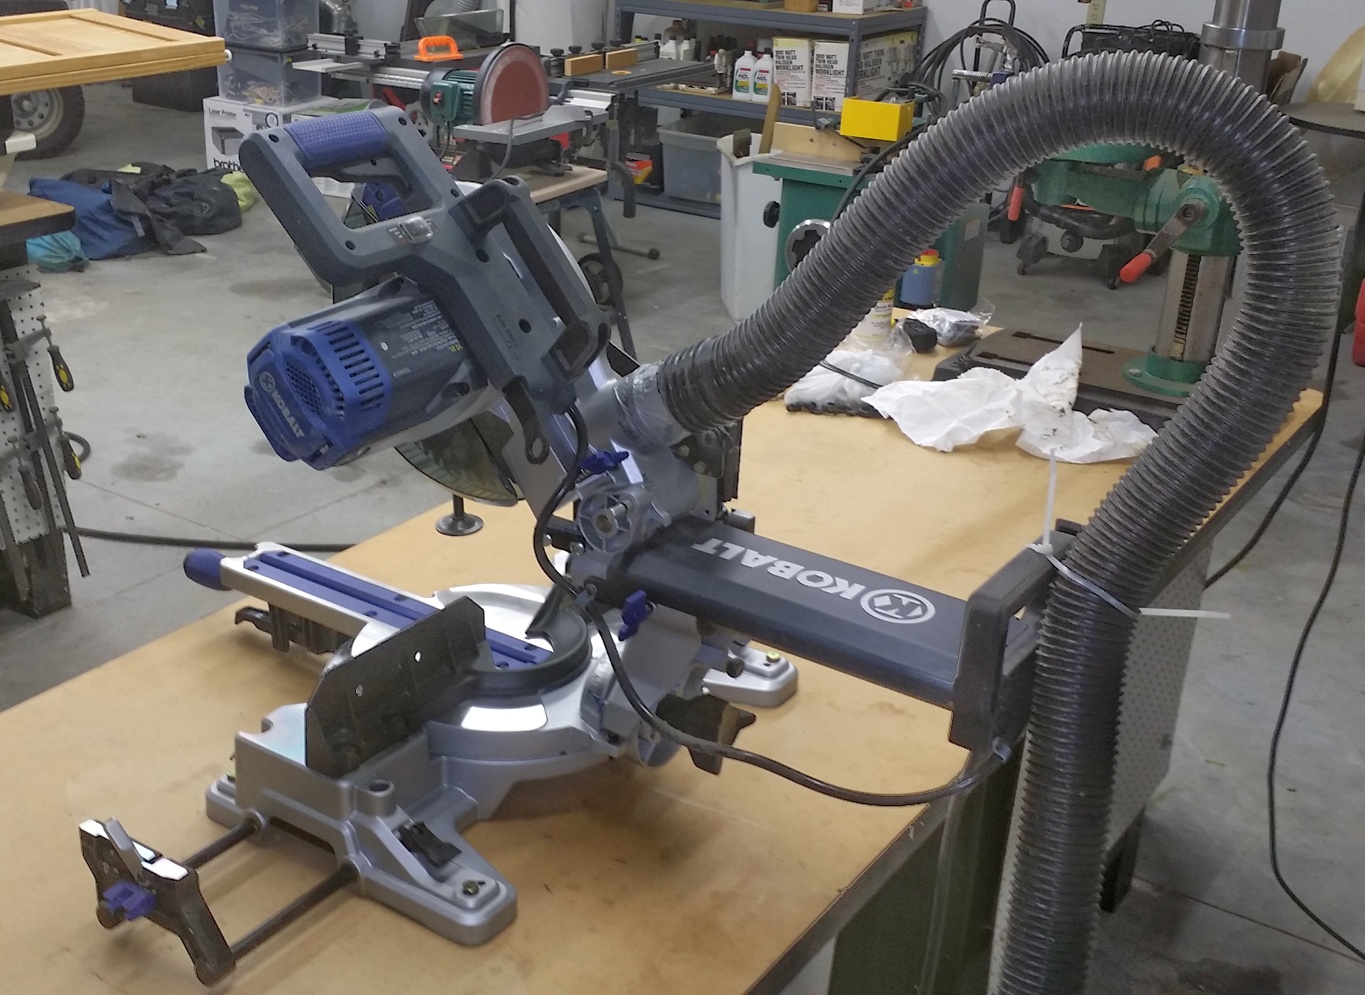
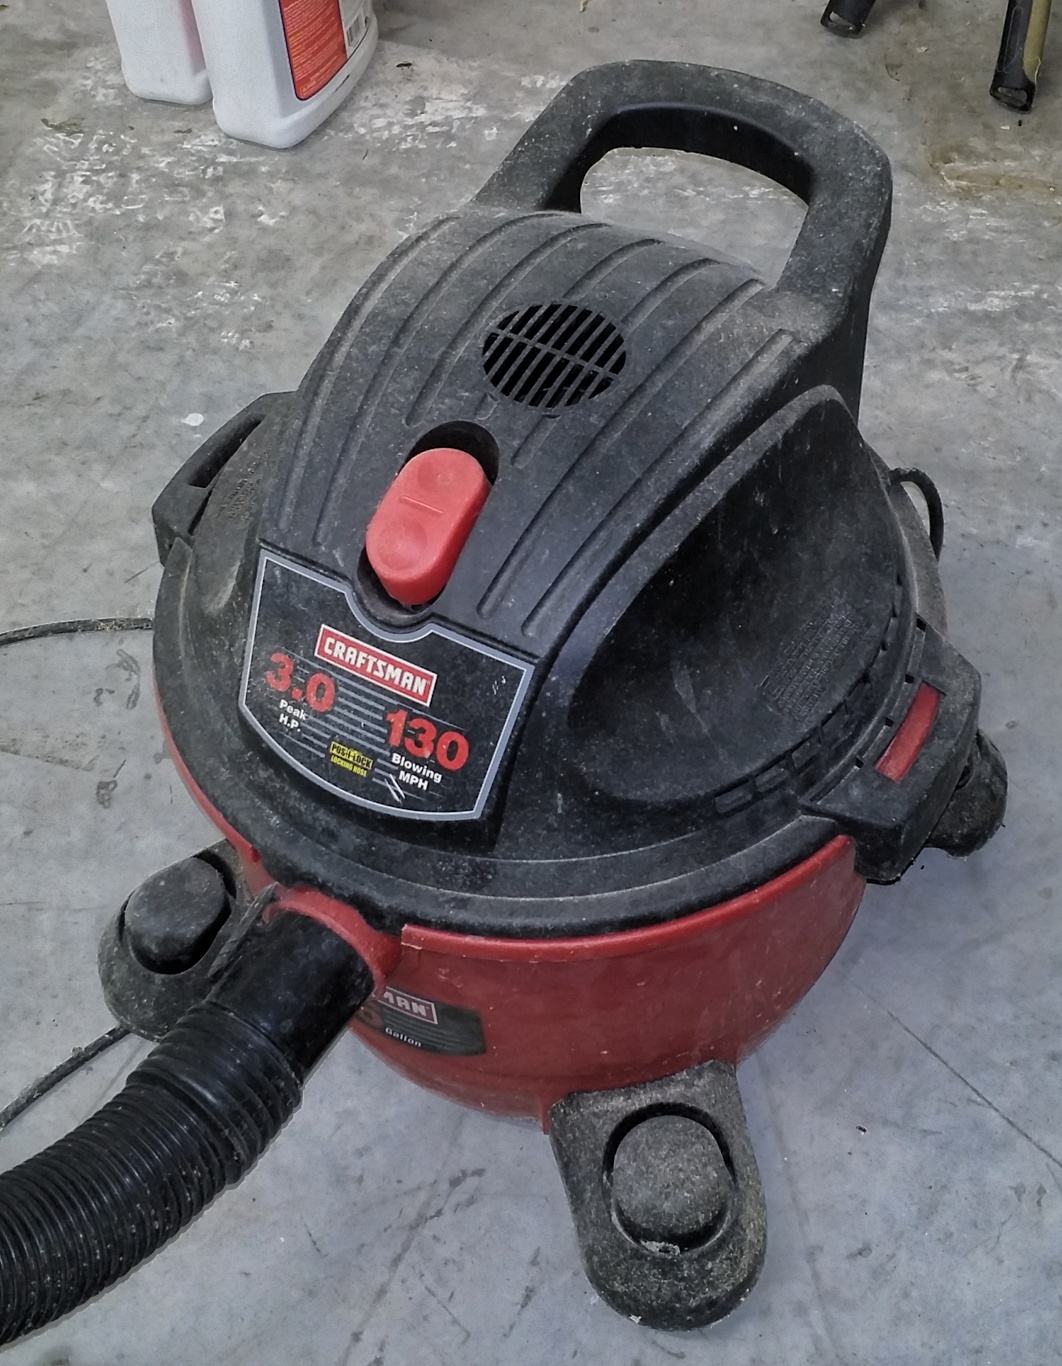
Kobalt 12″ 15 Amp Dual Bevel Sliding Laser Compound Miter Saw – Paid $299.00 Craftsman 3 HP Shop Vacuum for dust collection – Paid $58.40  

COMBINATION DISK/BELT SANDER

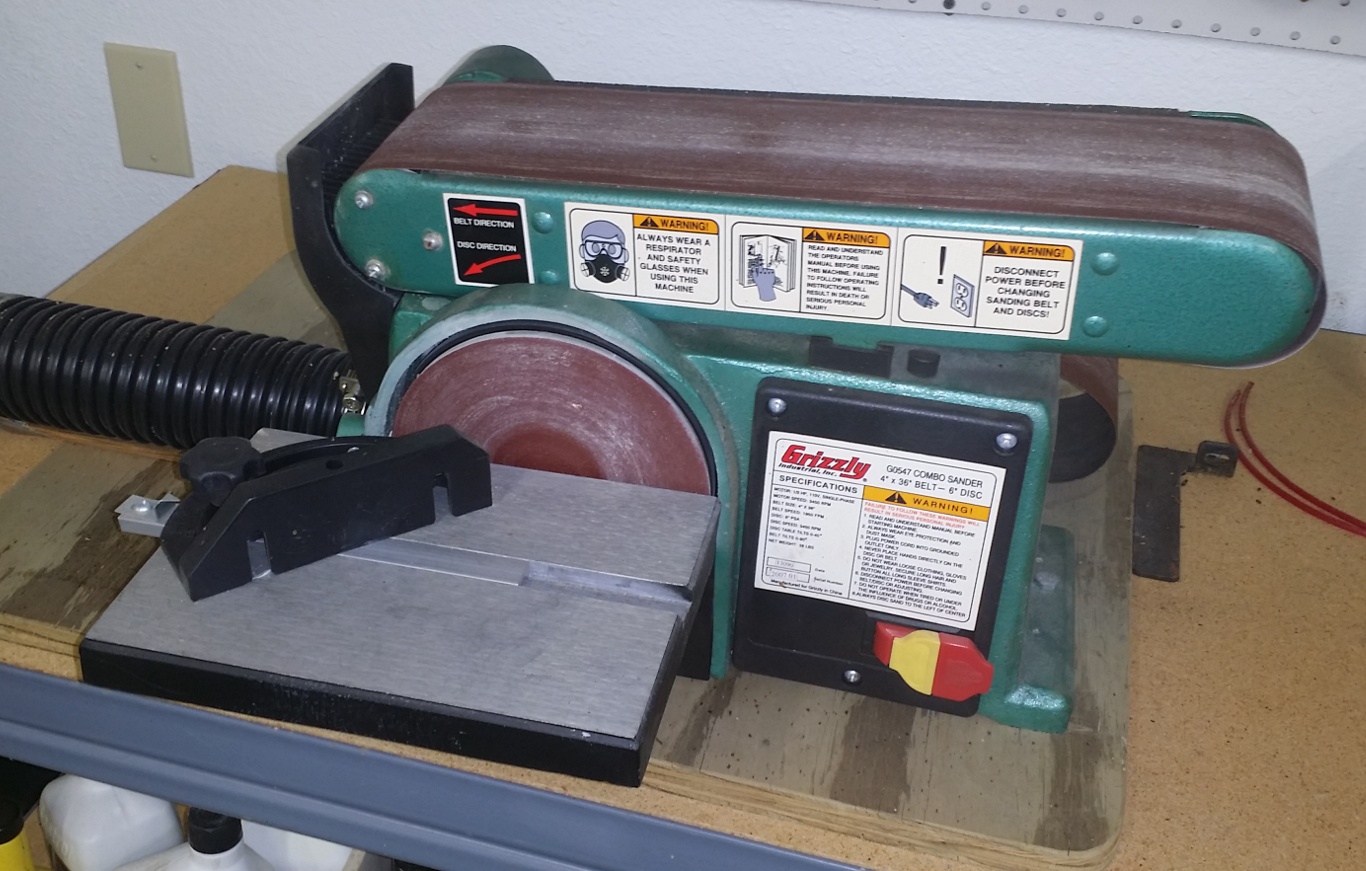
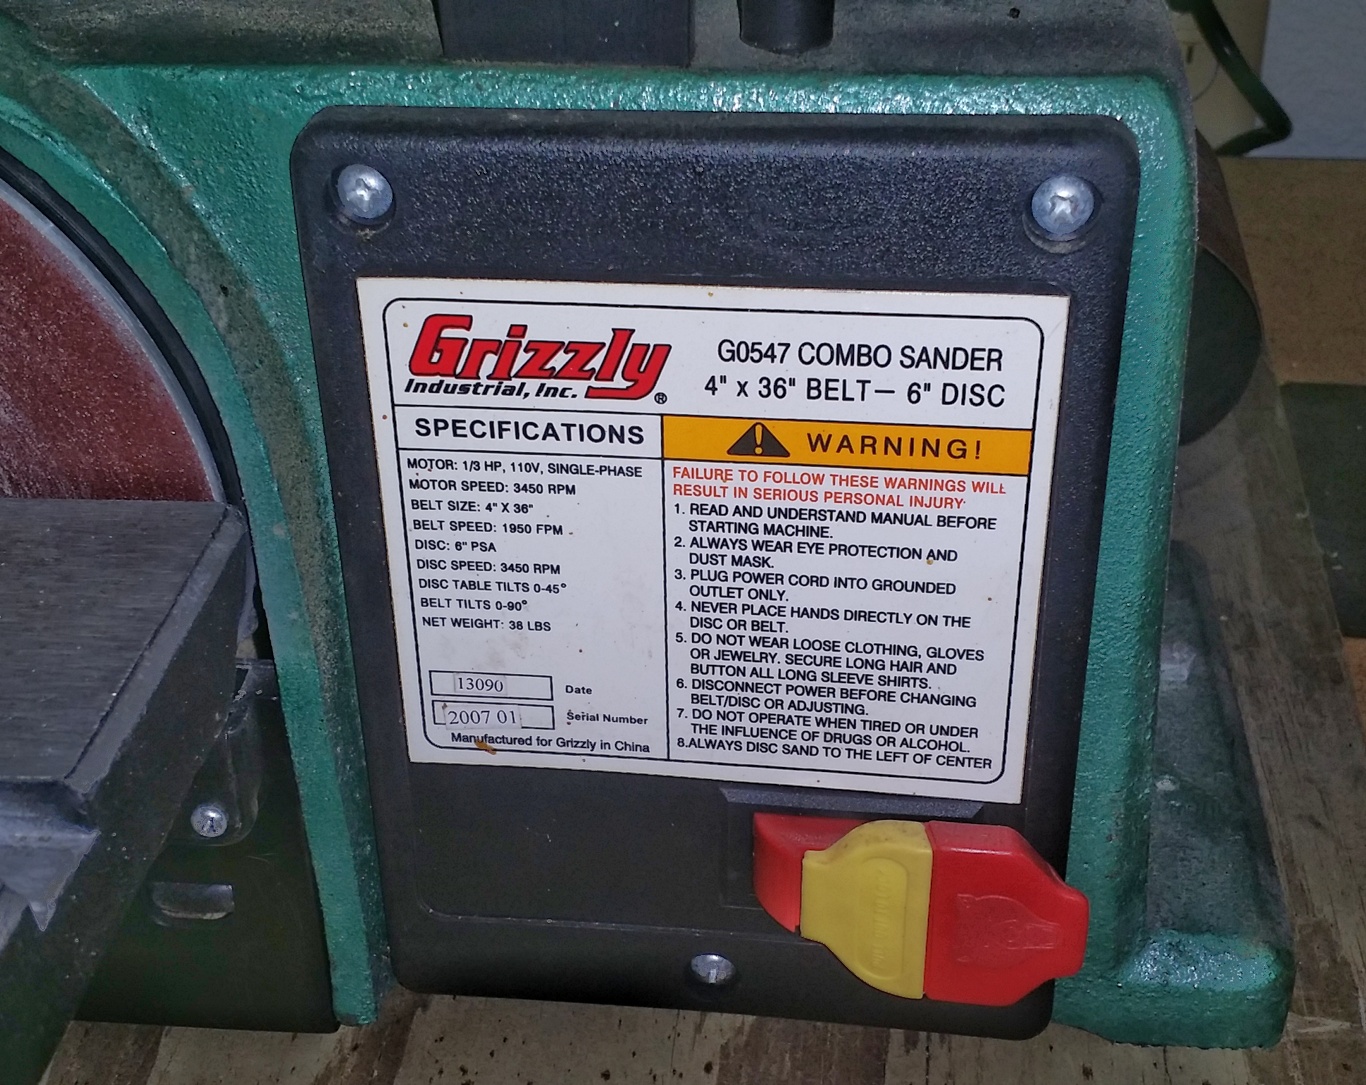
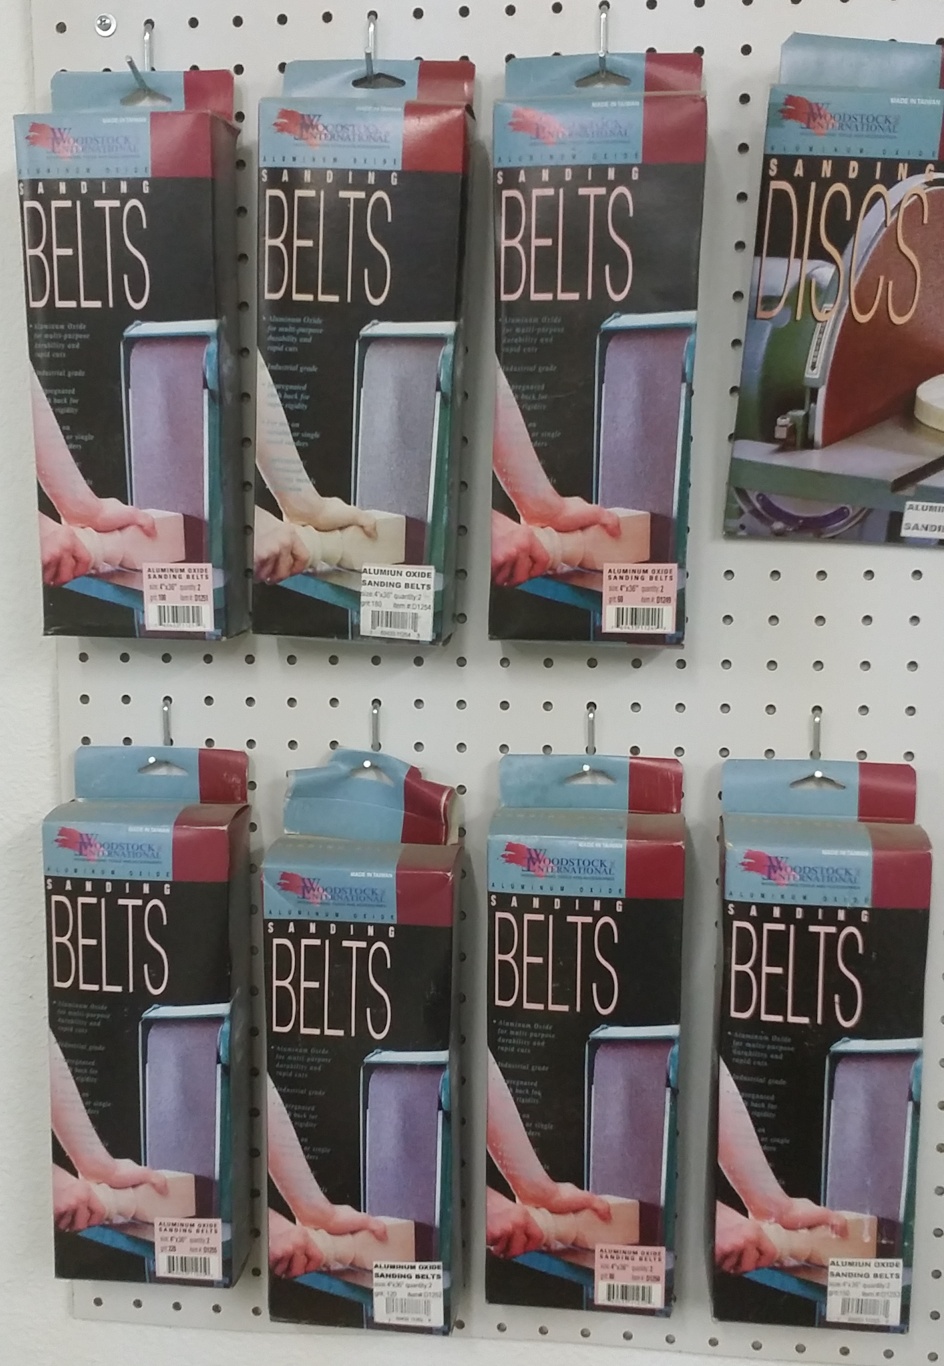
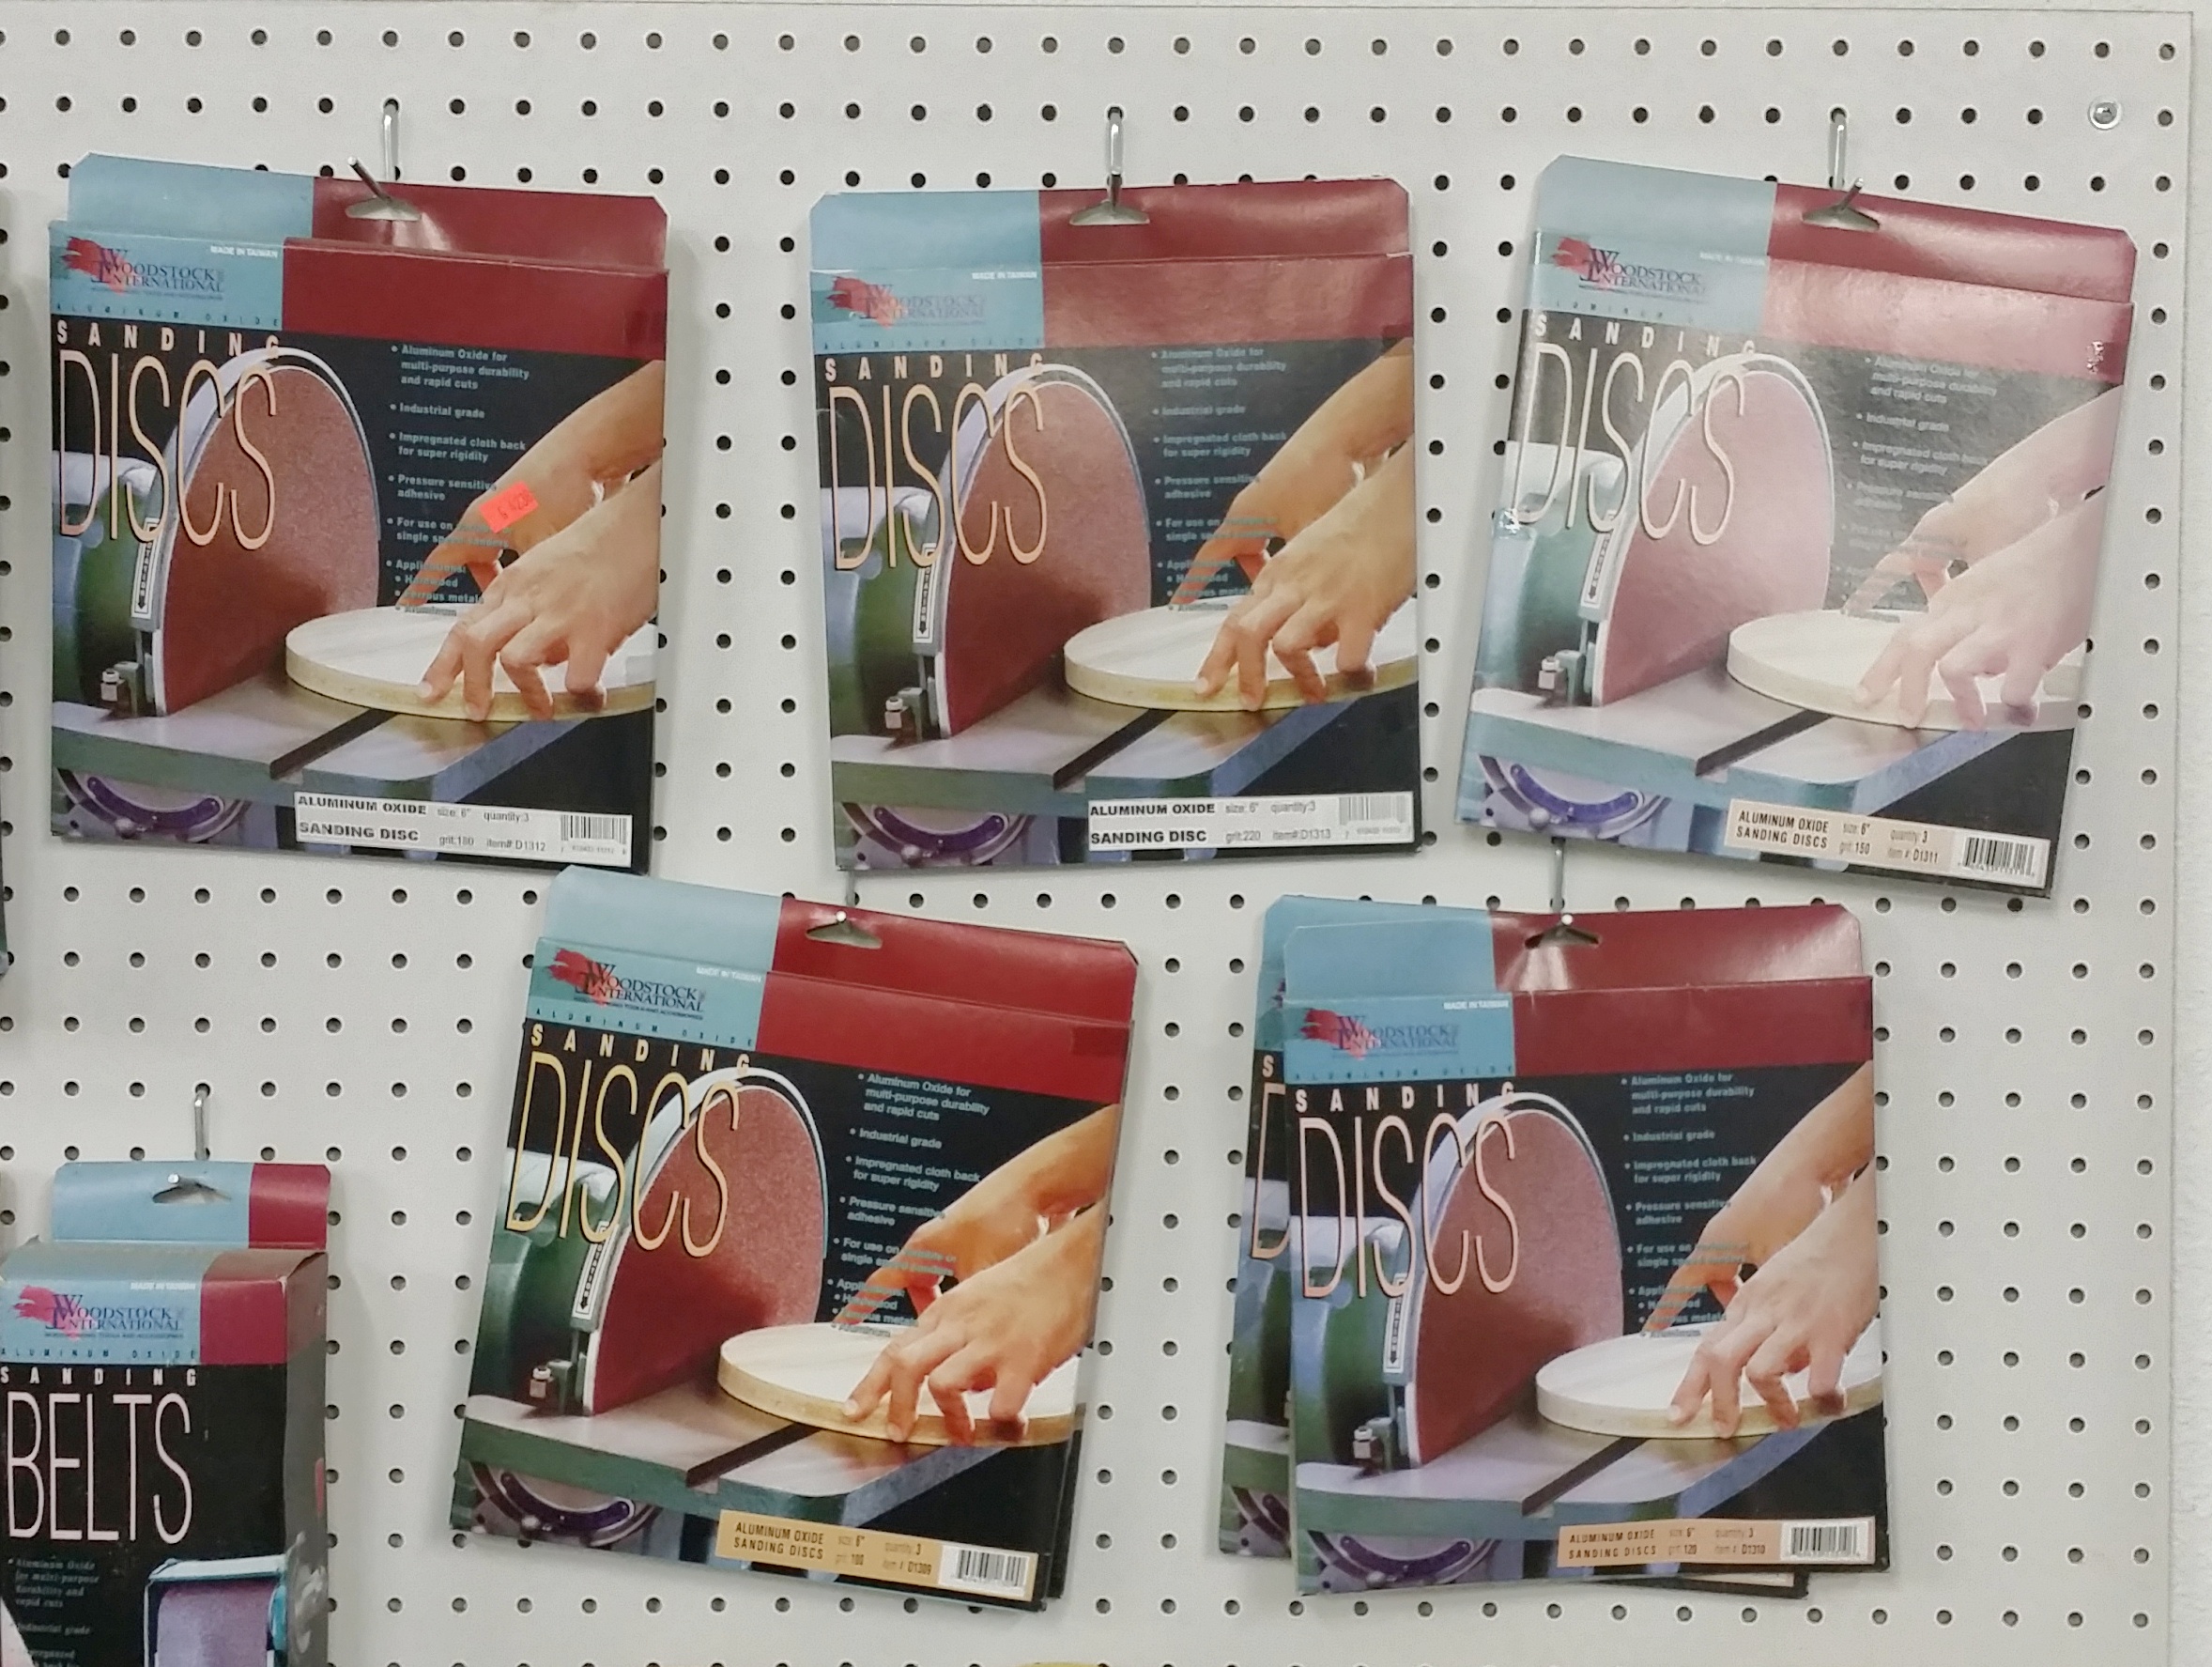
Grizzly Industrial Combo Sander Moder G0547 4″ x 36″ Belt – 6″ Disk – Paid $149.95 (7) Boxes of Woodstock International Assorted Grit Belts – Paid approx. $70.00 (7) Boxes of Woodstock International Assorted Grit 6″ Disks – Paid approx. $35.00

DISK SANDER

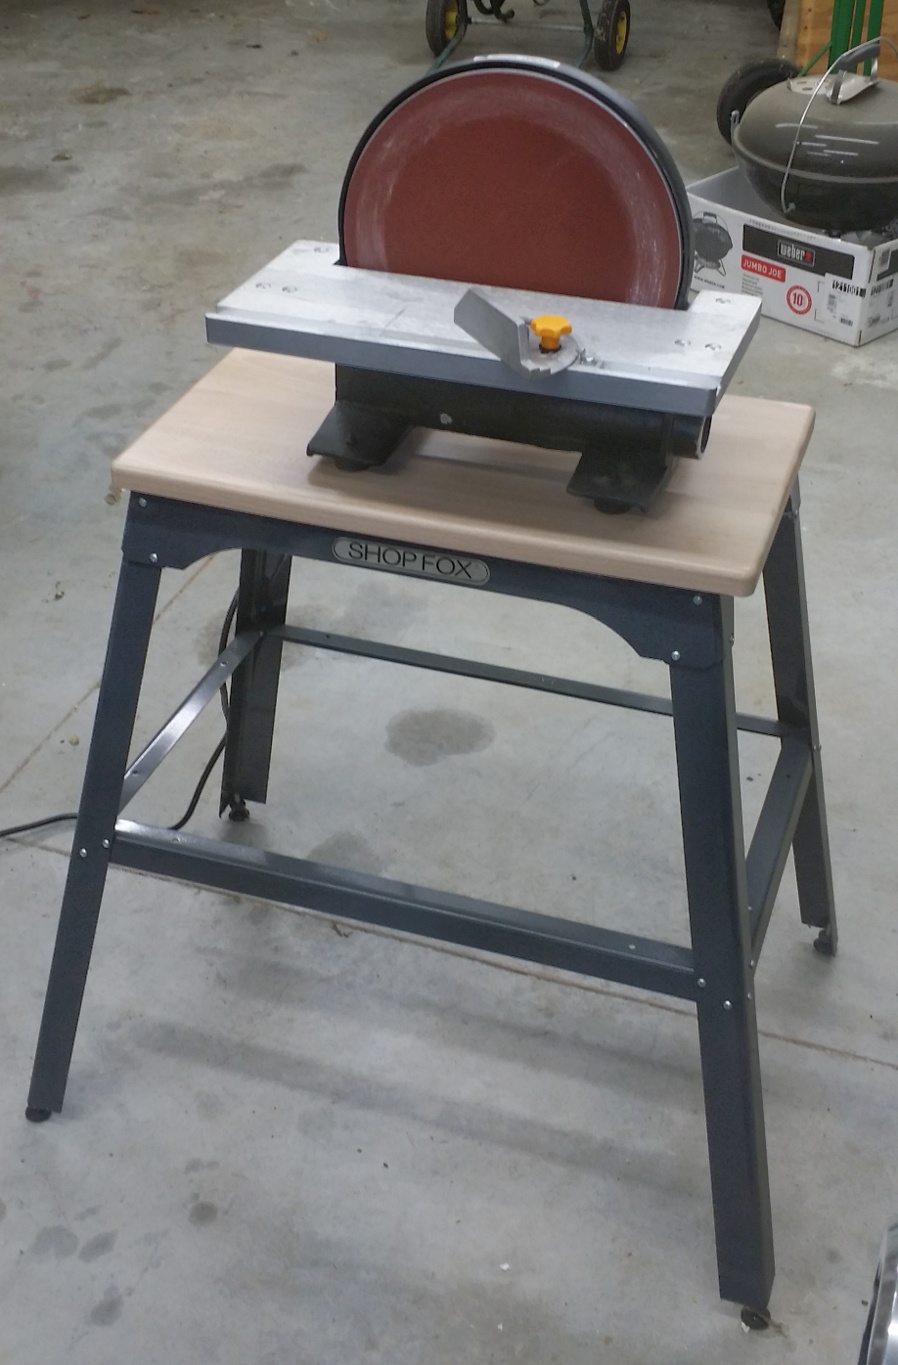
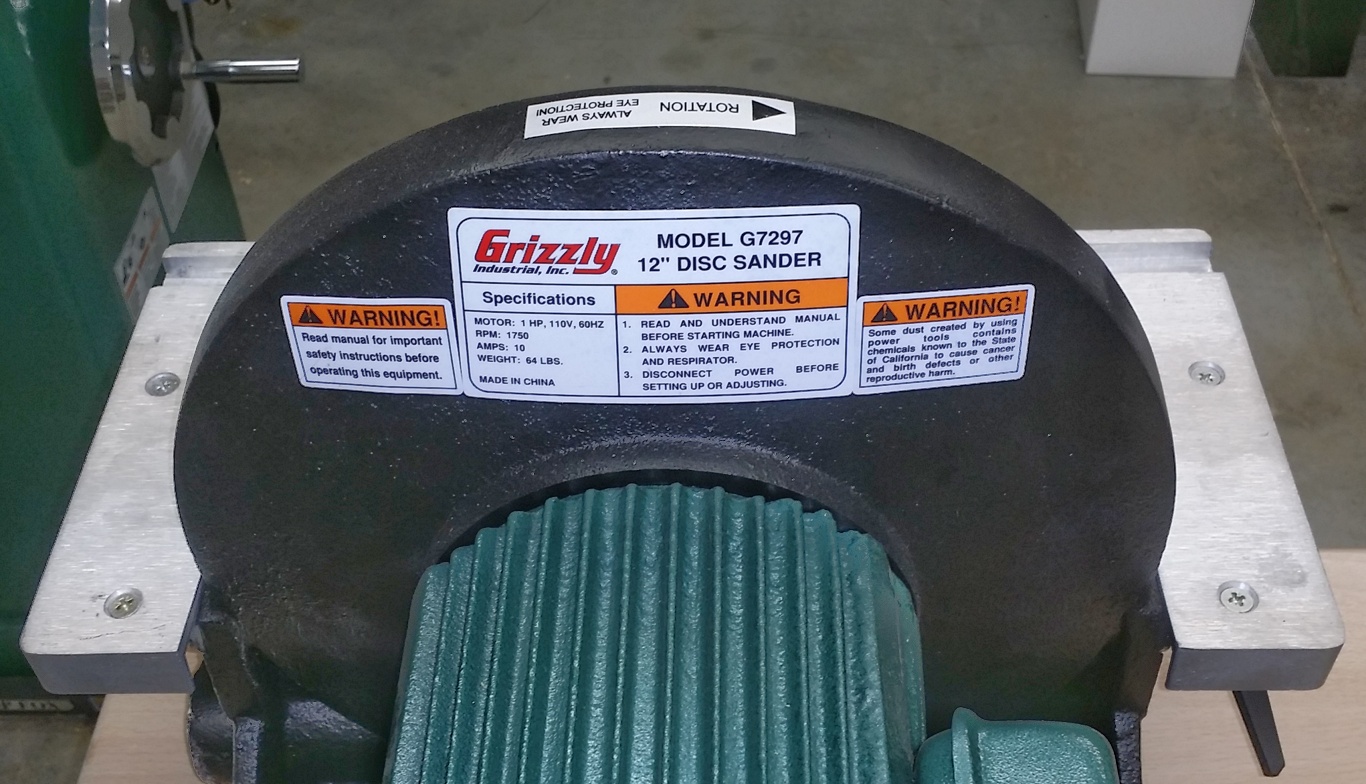
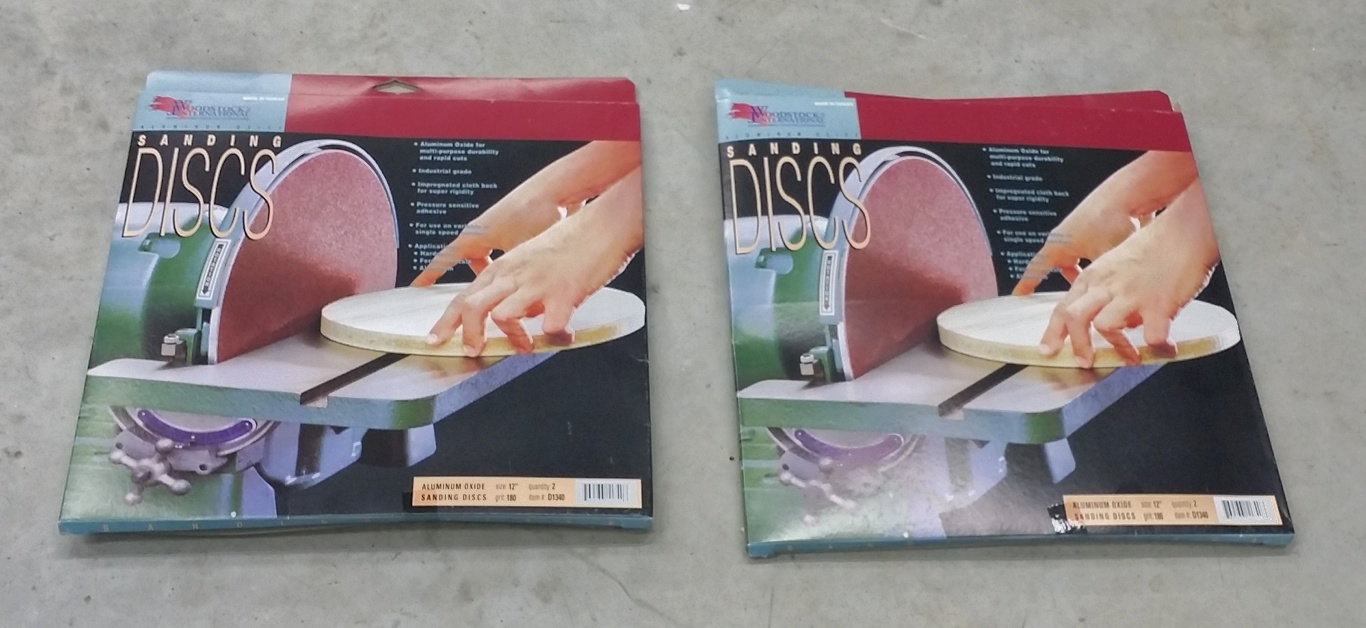
Grizzly Industrial 12″ Disk Sander Model G7297 – Paid $189.95 Shop Fox Tool Stand Model D2275 – Paid $56.95 Grizzly Industrial Solid Maple Top – Paid approx. $35.00 (2) Boxes 12″ Sanding Disks Model D1340 – Paid approx. $20.00

Sanding Table

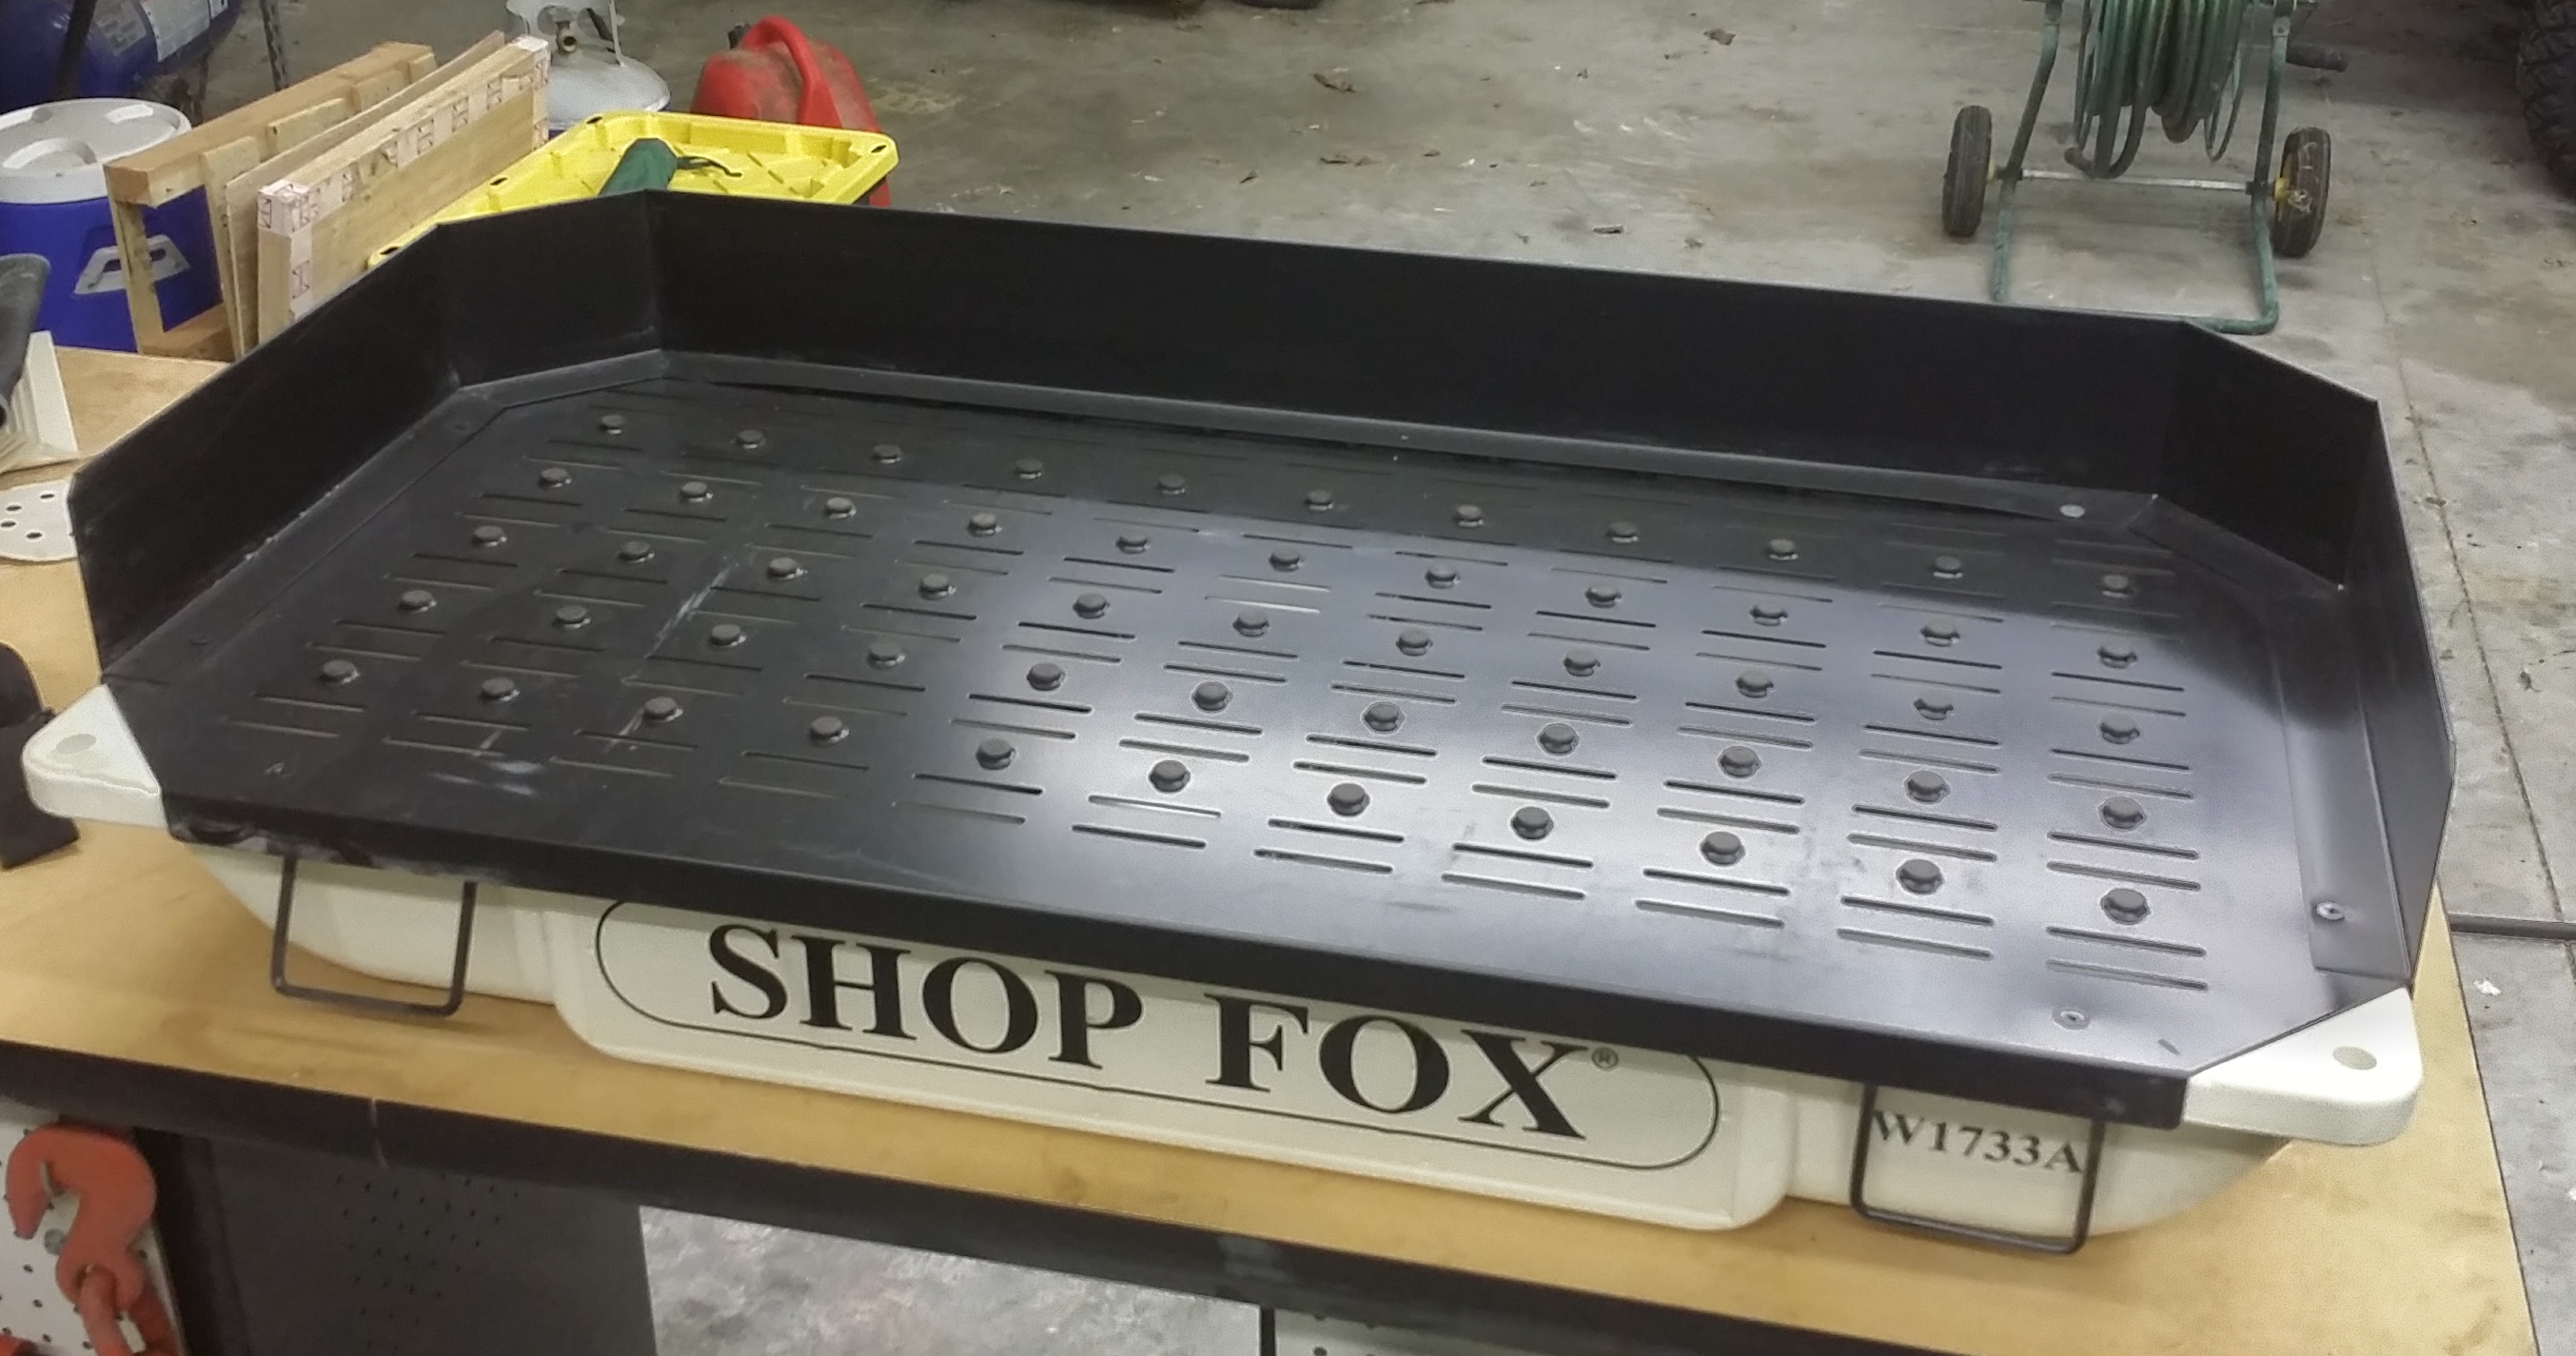
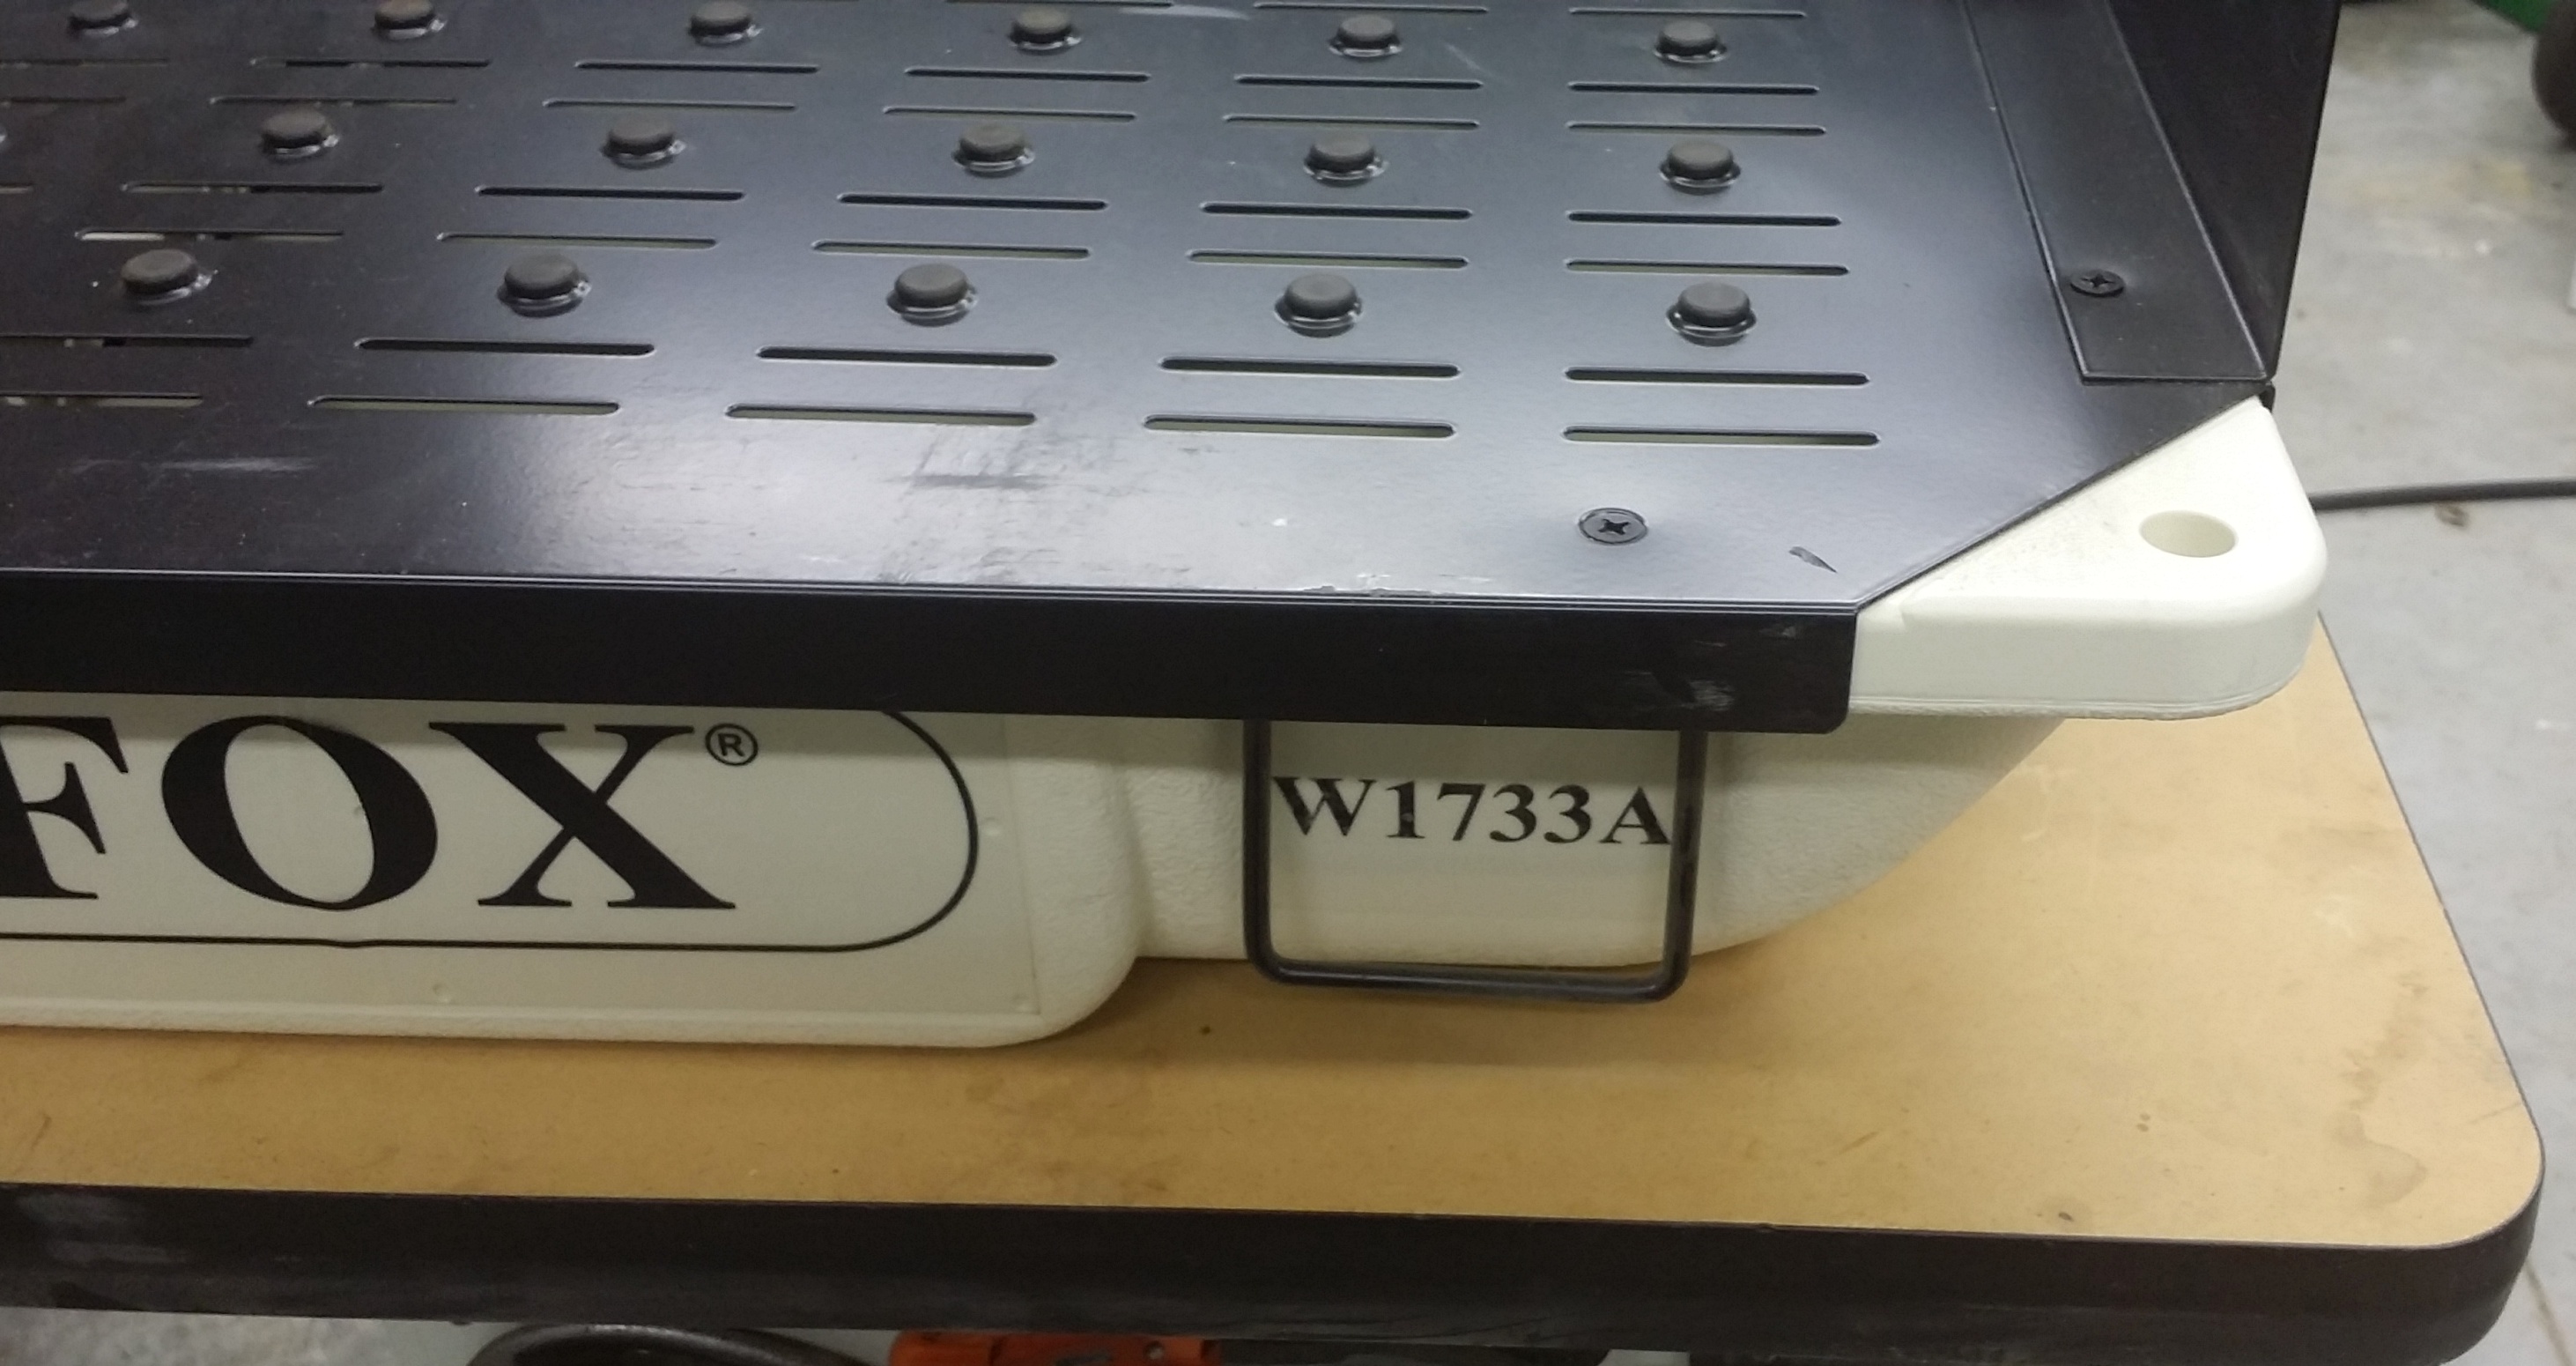
Shop Fox Sanding Table Model W1733A – Paid $184.99  

DUST COLLECTION SYSTEM

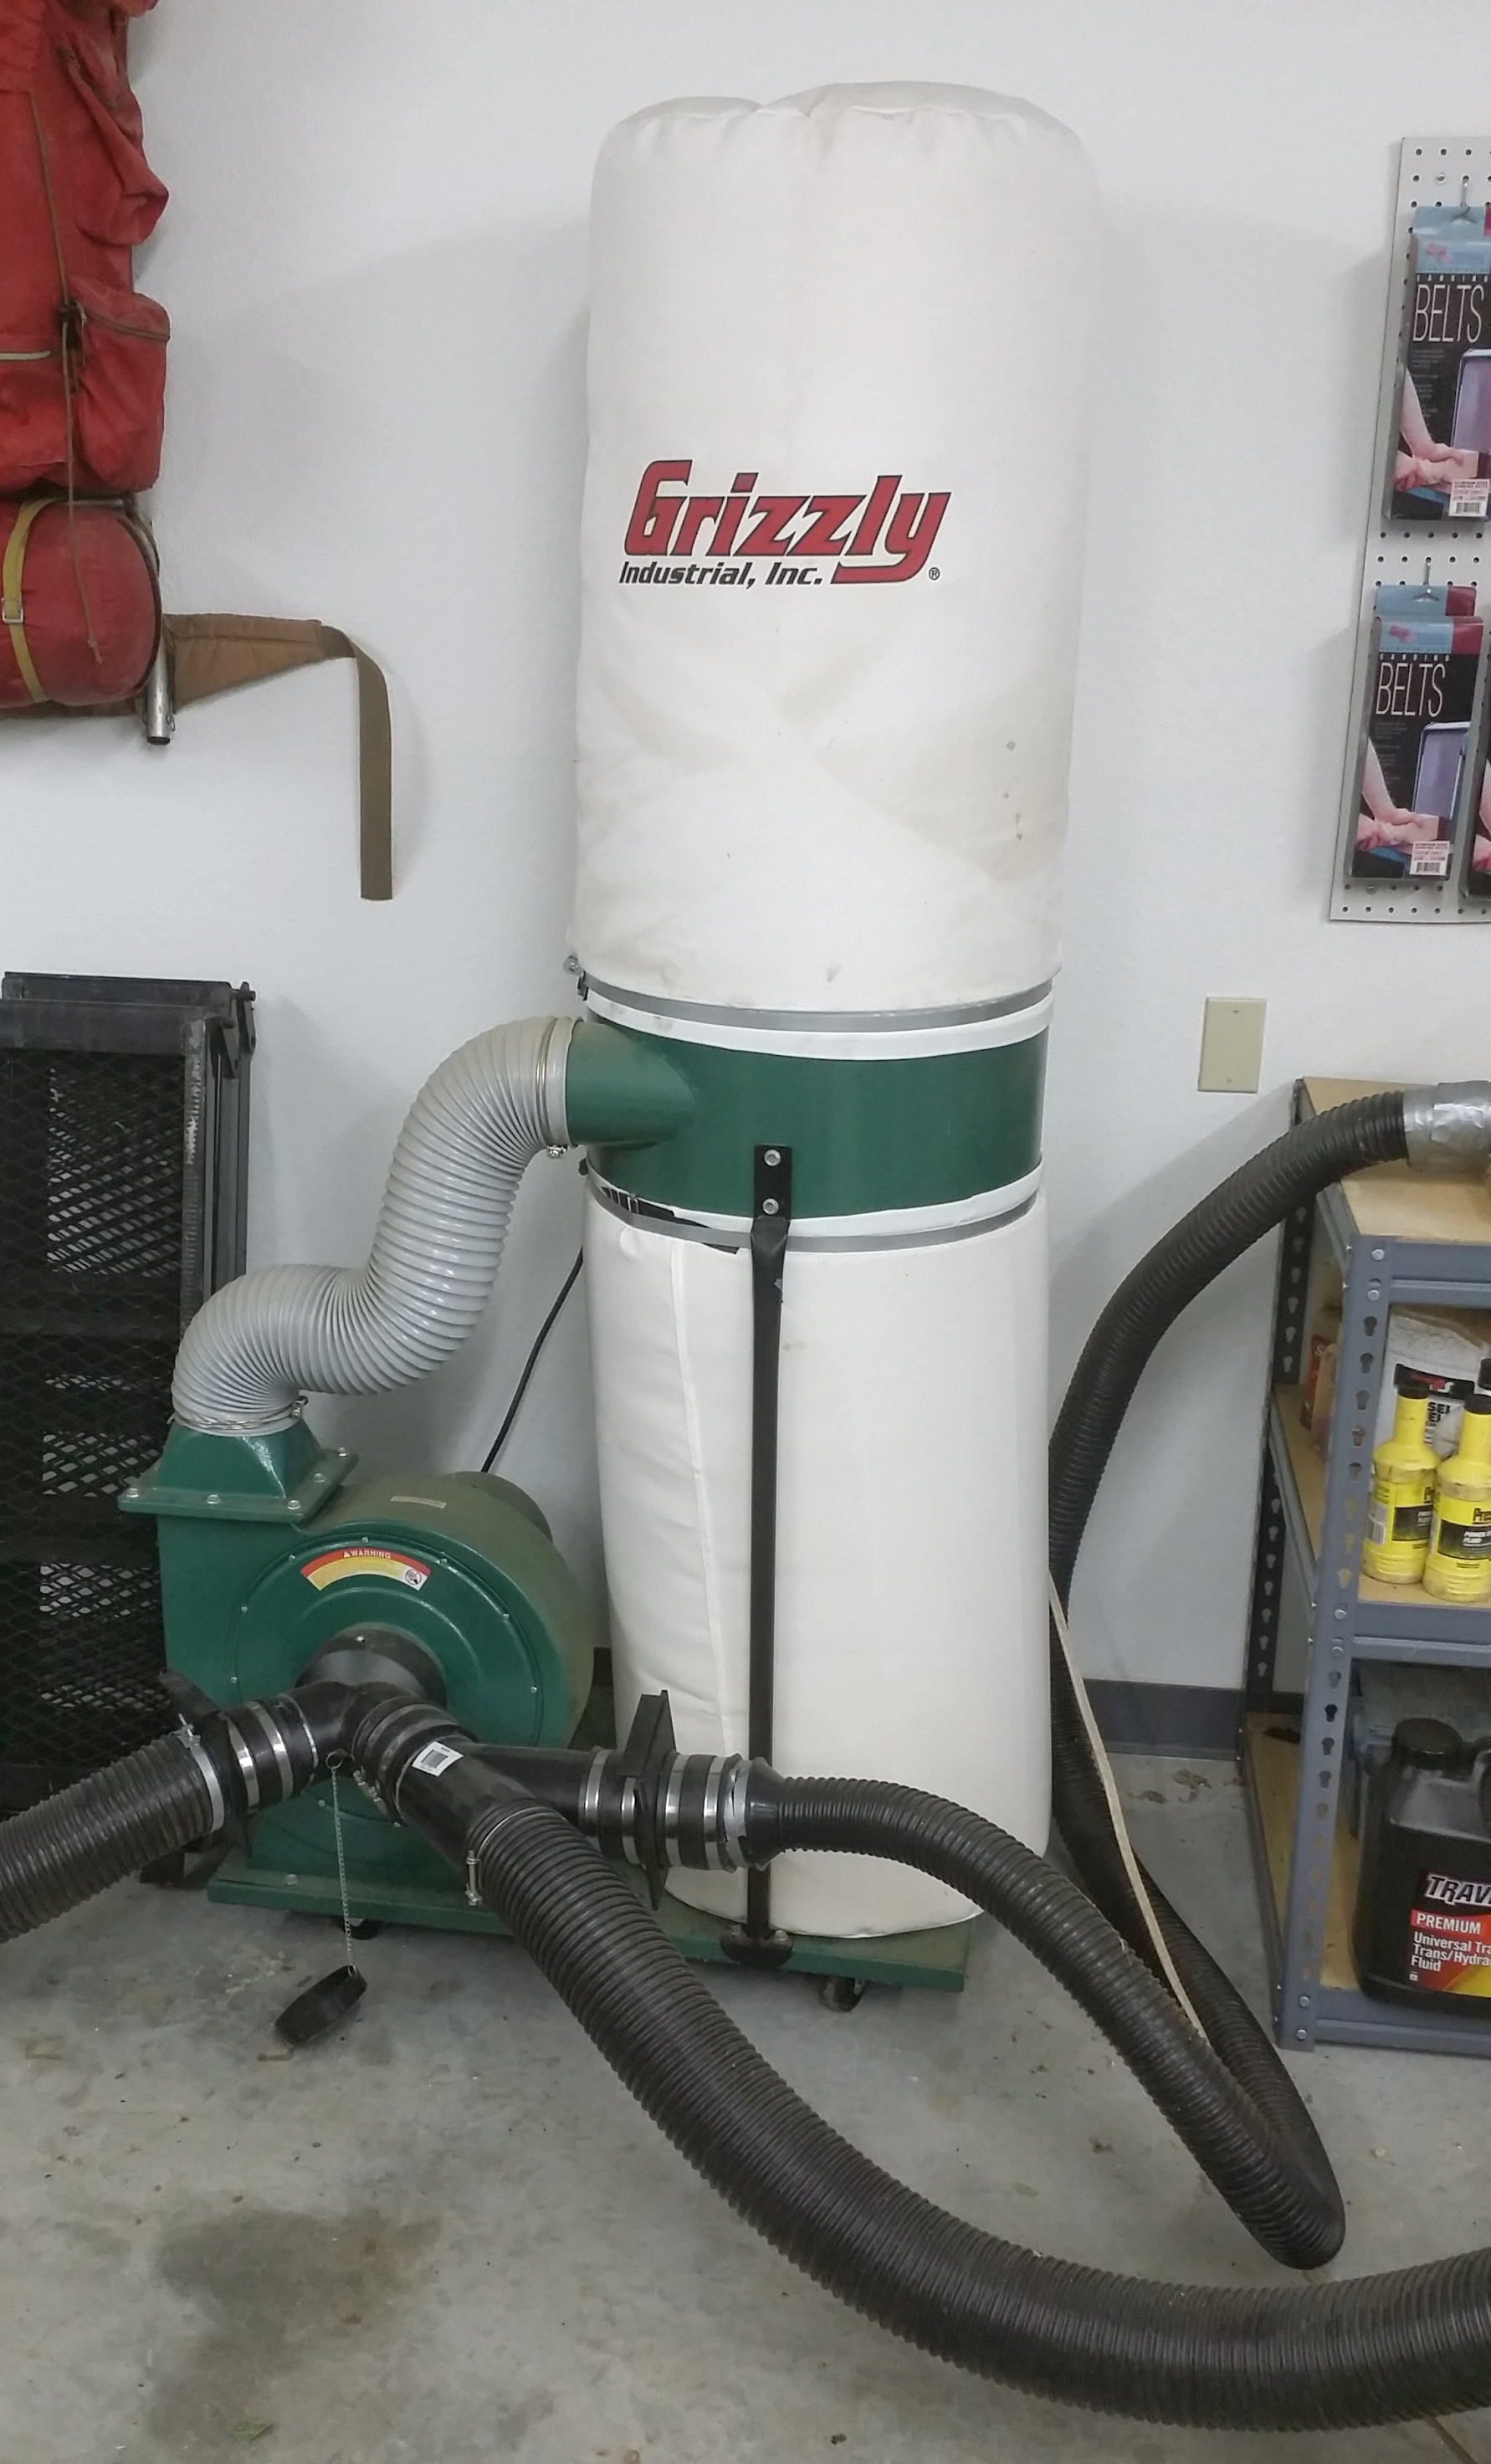
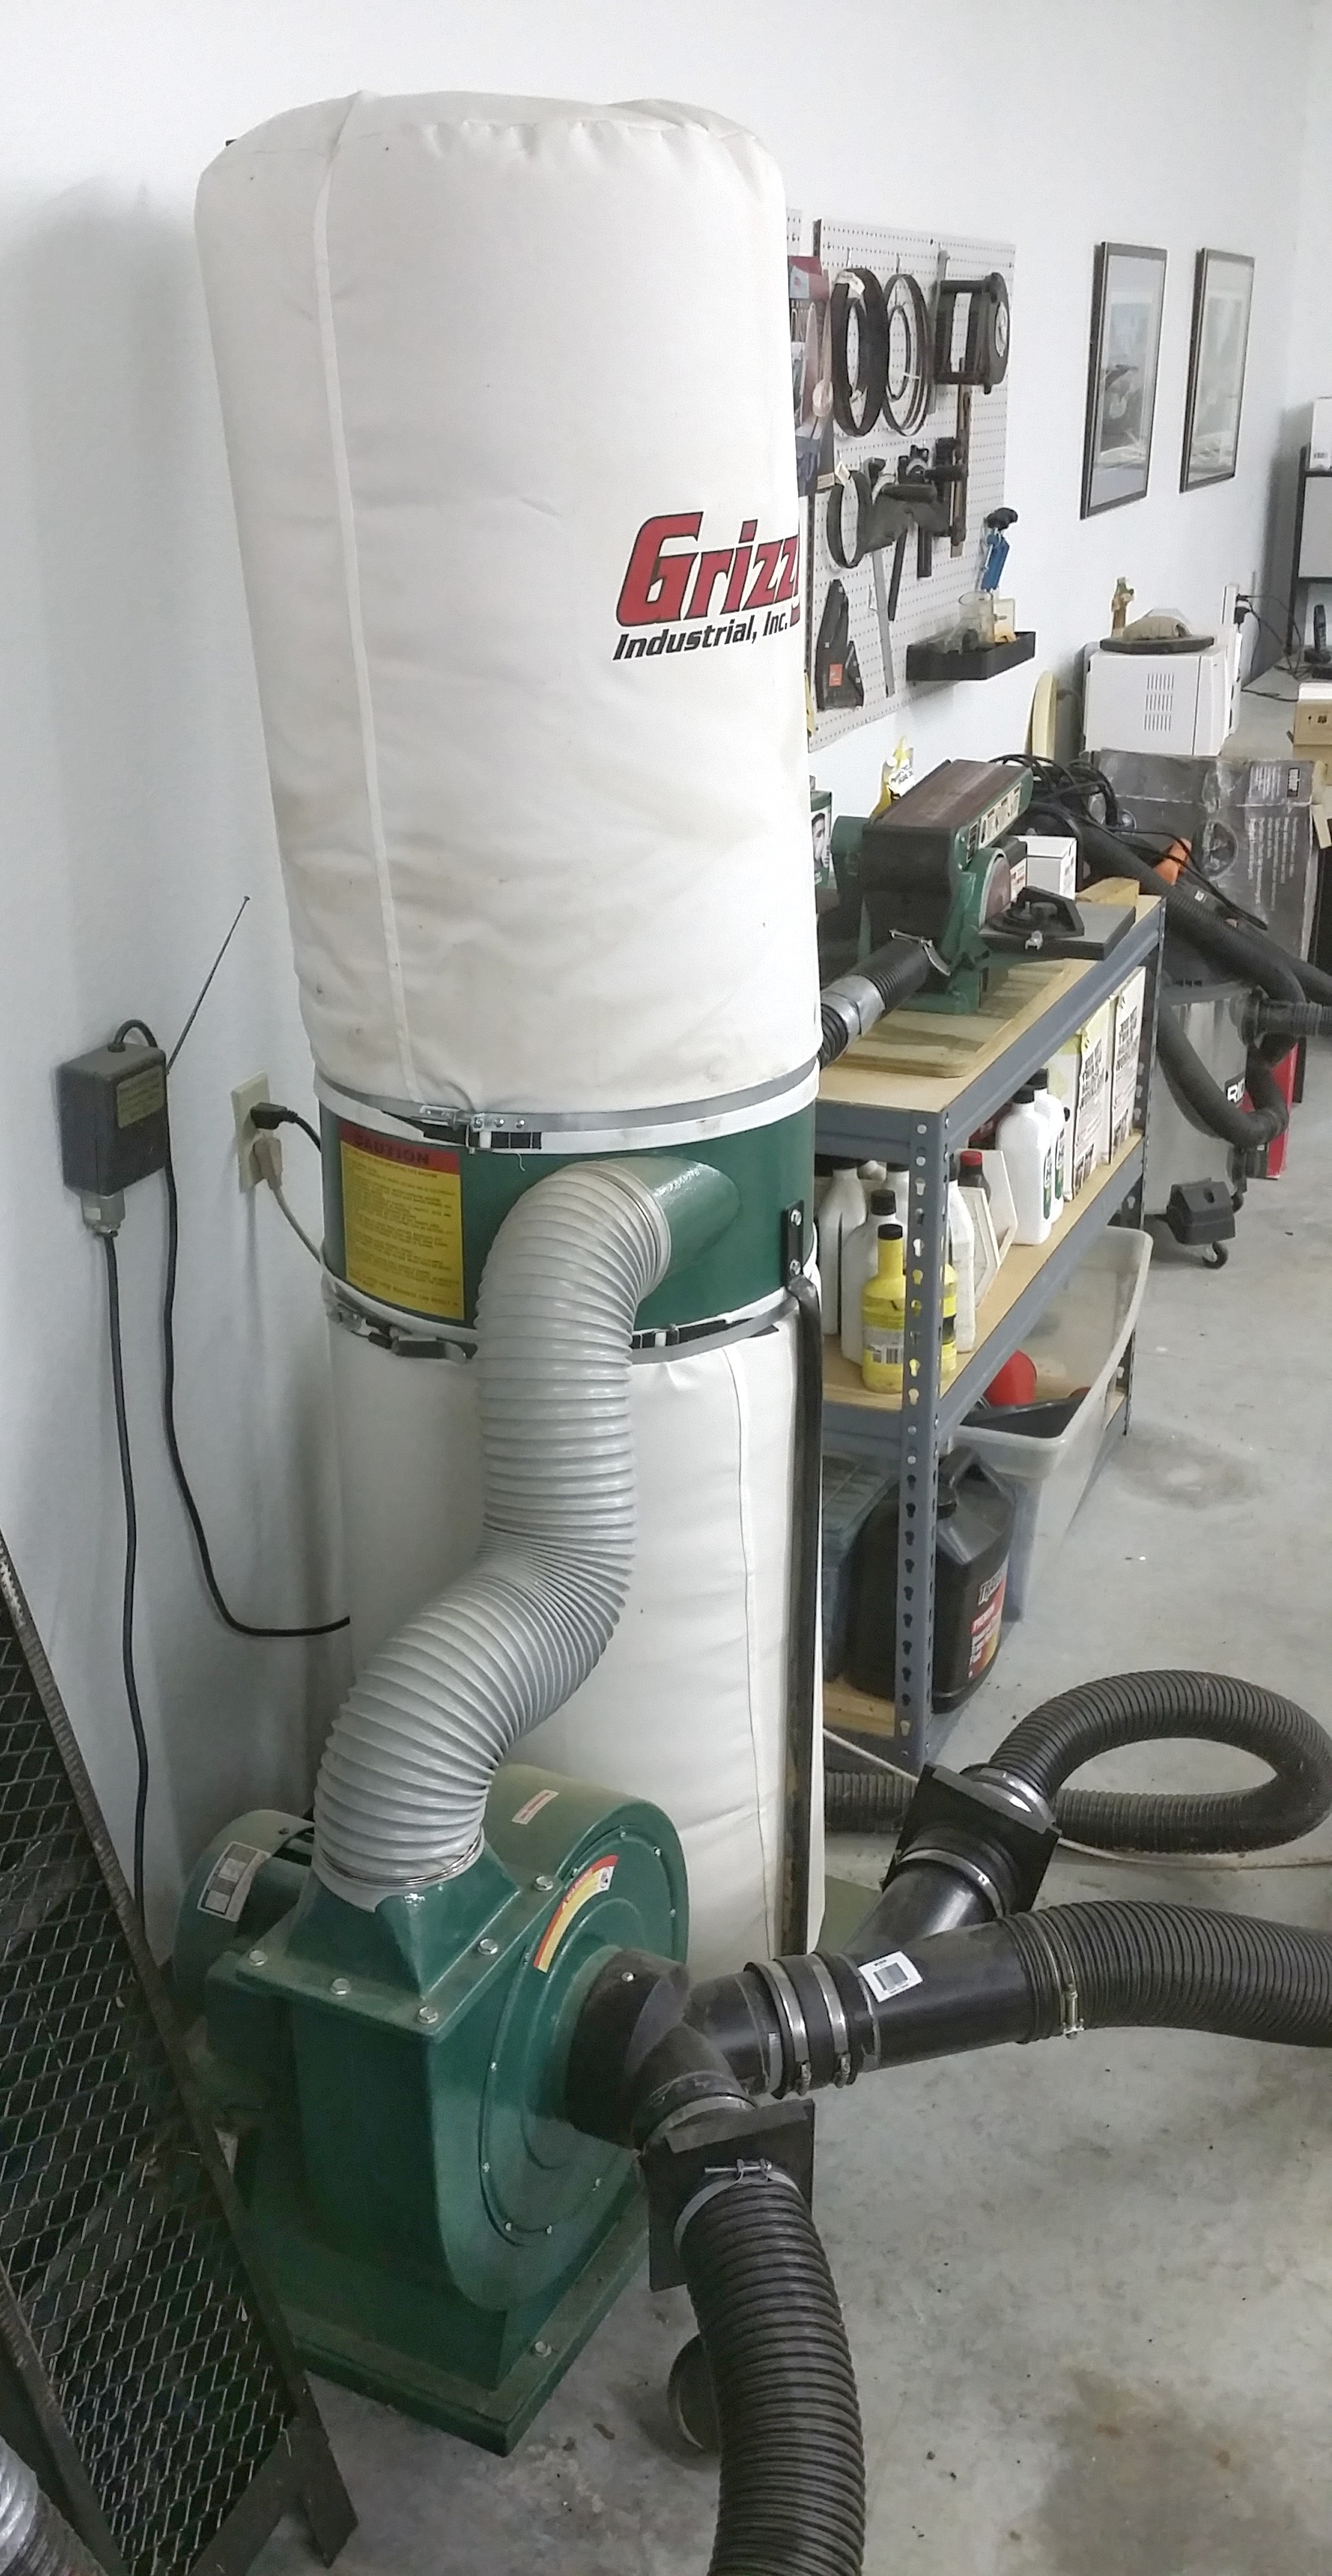
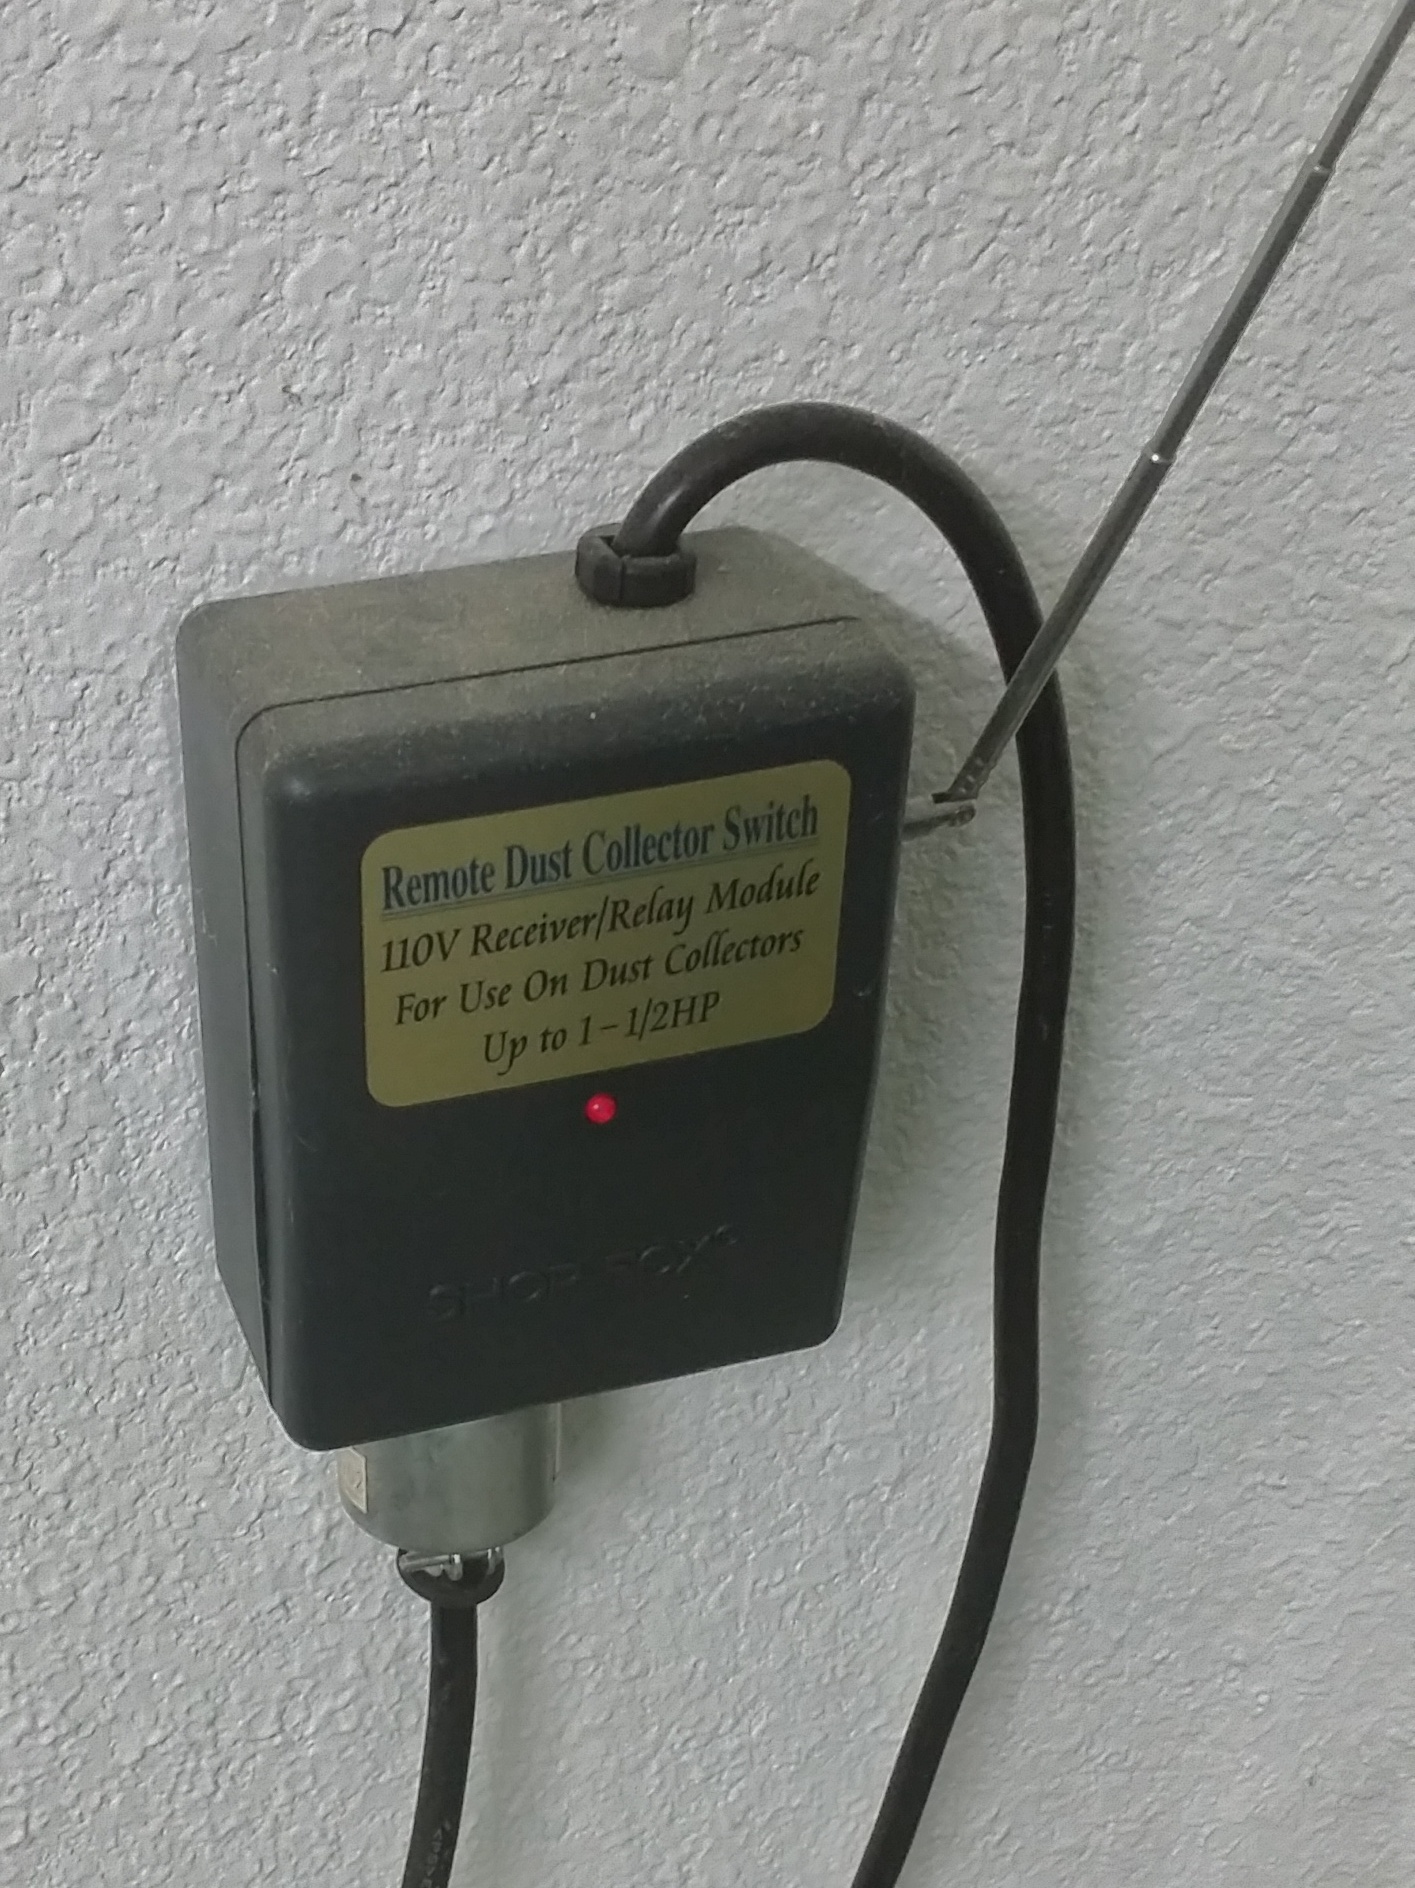
Grizzly Industrial 1 1/2 HP Dust Collector System G1028Z2 – Paid $339.00 Assorted Dust Collector Fittings, Hoses and Adaptors – Paid approx. $200.00 Dust Collector Remote On/Off Switch T26673 – Paid $47.95

CUT-OFF SAW

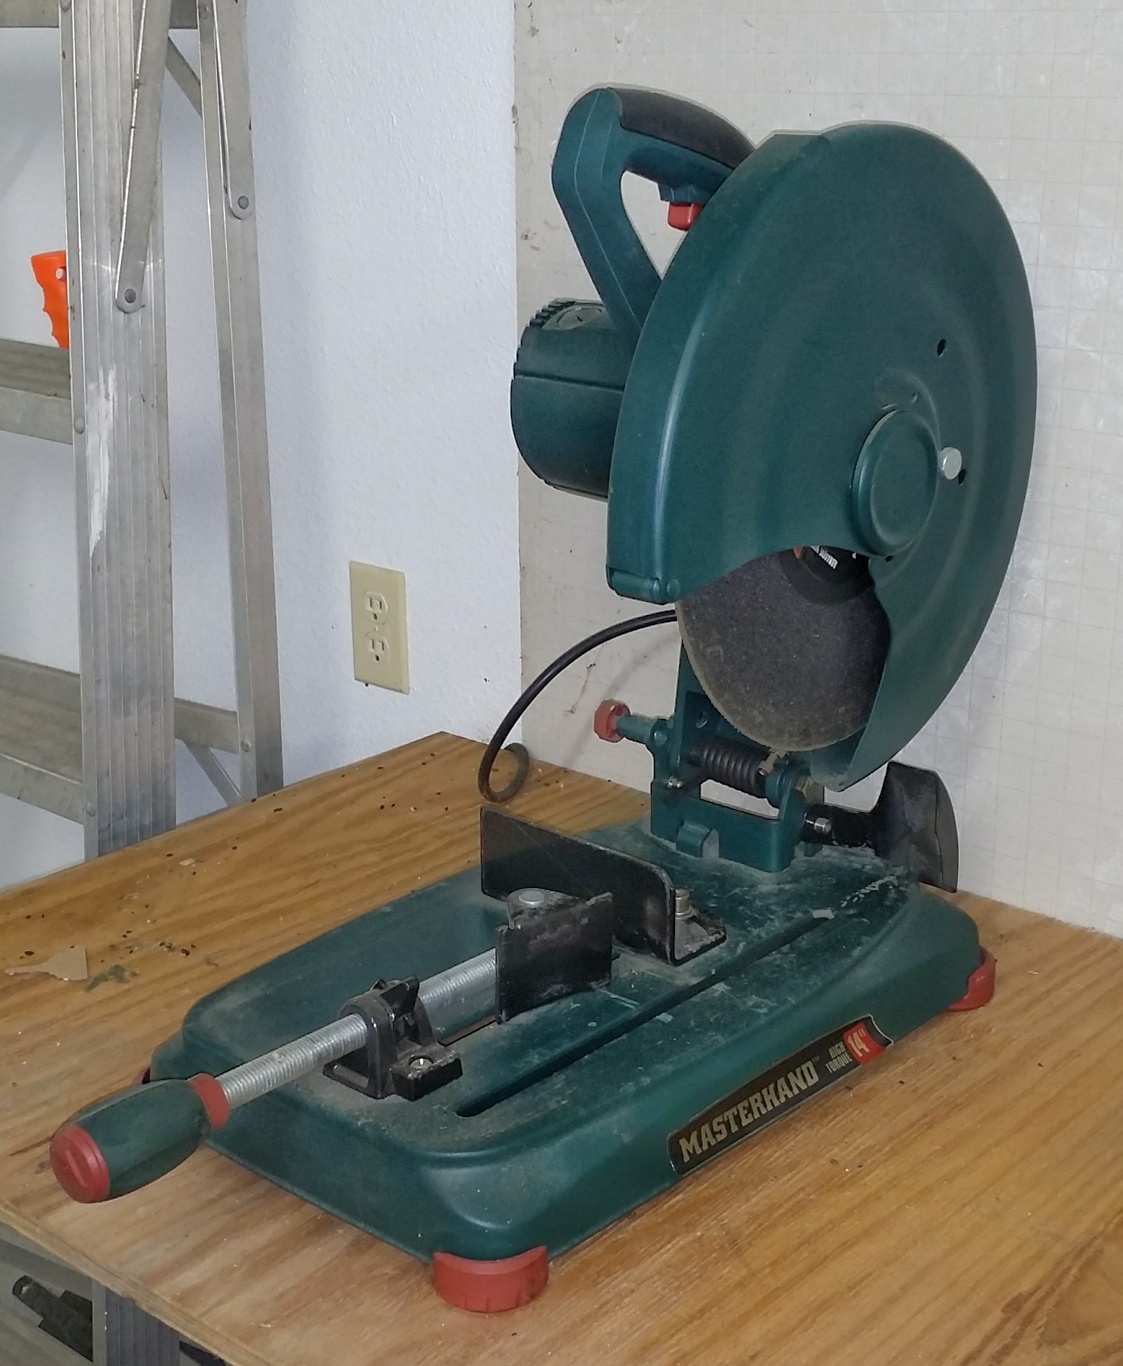
Masterhand 14″ Metal Cut-Off Saw (Chop Saw) – Paid $99.00

GRINDER

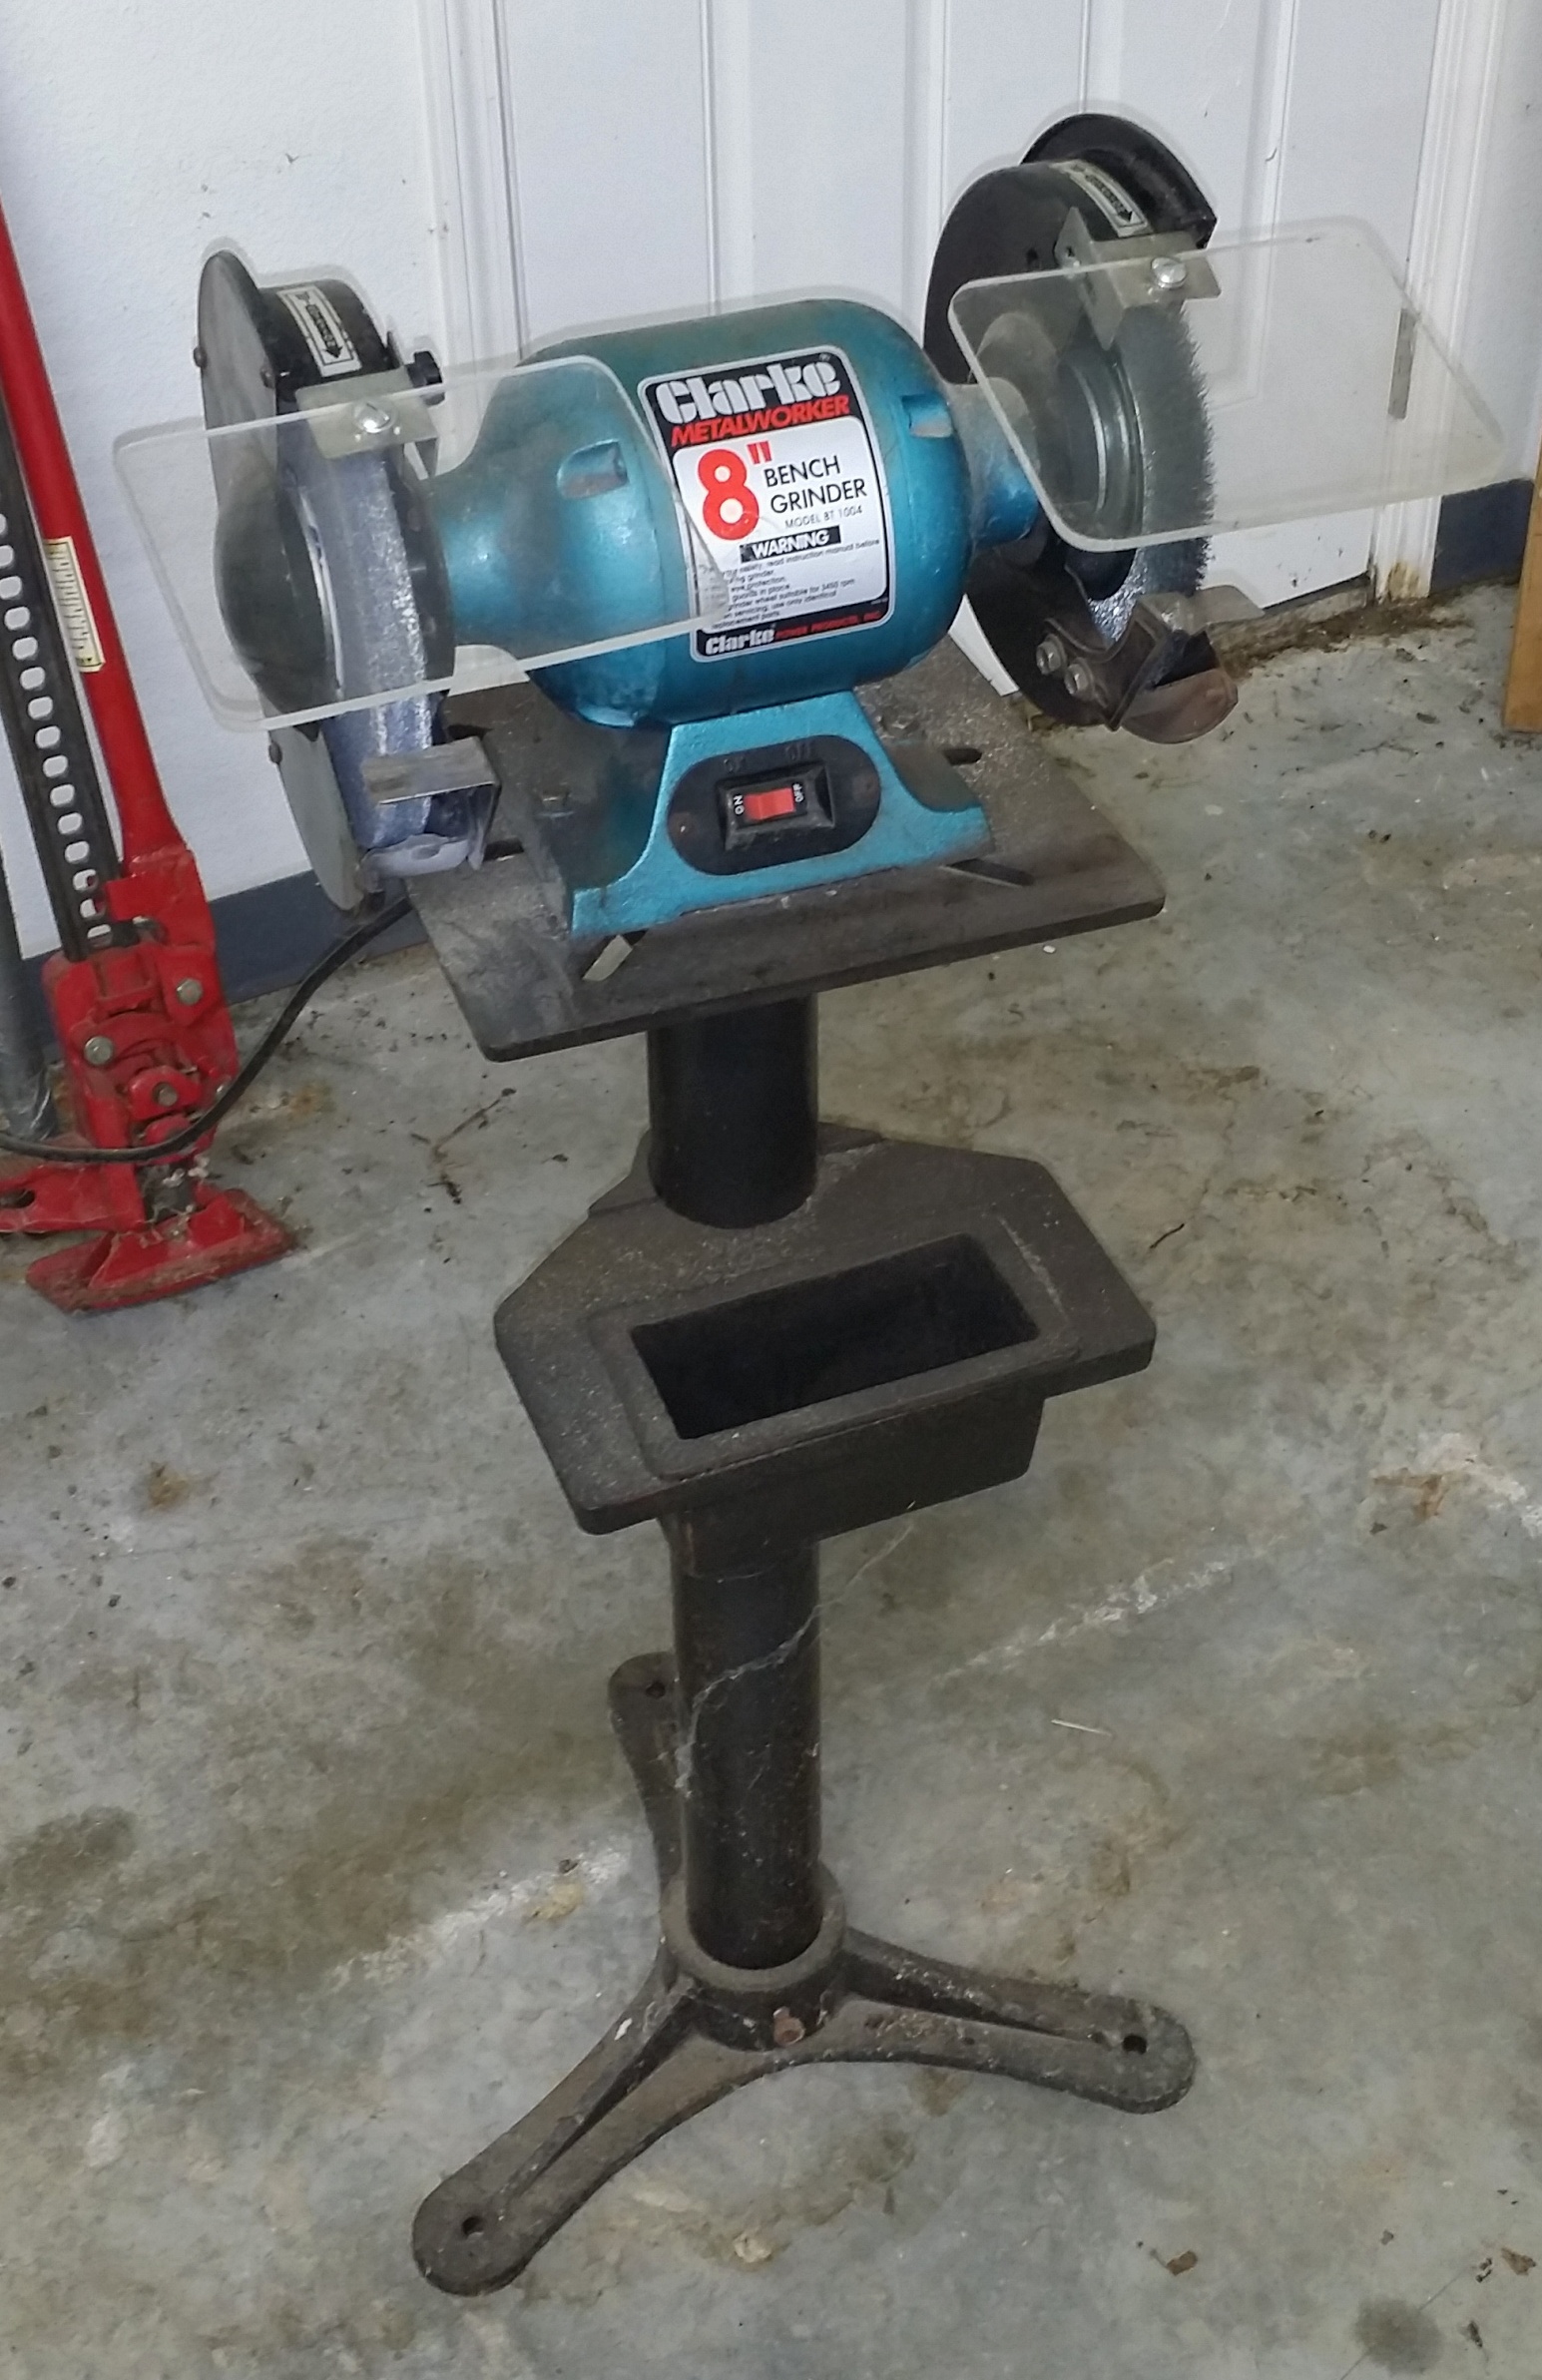
Clarke 8″ Bench Grinder with Wire Wheel and Cast Iron Stand – Paid approx. $150.00 I will be placing this announcement on various venues, and I suspect, given the steeply discounted pricing, that this equipment will sell quickly. You will be responsible for picking this up in the Omaha, Arkansas area. It will require, at minimum, a pickup truck and a helper. Some of this machinery is heavy, and I will not be able to help with the carrying, lifting, or loading, due to health reasons. I do have a hand truck that you may use to help load this equipment. Payable in cash only, due upon pickup. Please contact me if you are interested at hal@mitzenmacher.net.

Terlingua Cemetery in Texas

This is a re-edit of an image I took two years ago while attending a night photography workshop put on by Lance Keimig’s The Night Skye Workshops. Since then, I have become proficient with Greg Benz’s Lumenzia luminosity masking extension for Photoshop. I thought it would be a good idea to try Lumenzia out on some of my older night images, and have been pleased with the results I am getting. I cannot say enough good things about Lumenzia – it has all the power of any other luminosity masking software I have used, while retaining an ease of use that is almost intuitive once the basic principles have been mastered. This image was taken at the Terlingua Cemetery, in Terlingua, Texas. If you are unfamiliar with Terlingua, it is a semi-ghost town in the Big Bend region of Texas, almost equal-distant from Big Bend National Park and Big Bend Ranch State Park. The area boasts of some of the darkest night skies in the lower 48 United States. In addition to the natural landscapes that are supurb in the Parks, Terlingua offer some amazingly funky photographic subjects that lend themselves well to night photography. I am anxious to get the time to return to Terlingua again!

Print Mounting & Storage – $1,500.00 [SOLD QUICKLY]

Complete Print Mounting and Storage Setup – All Items Like New!

SOLD!!

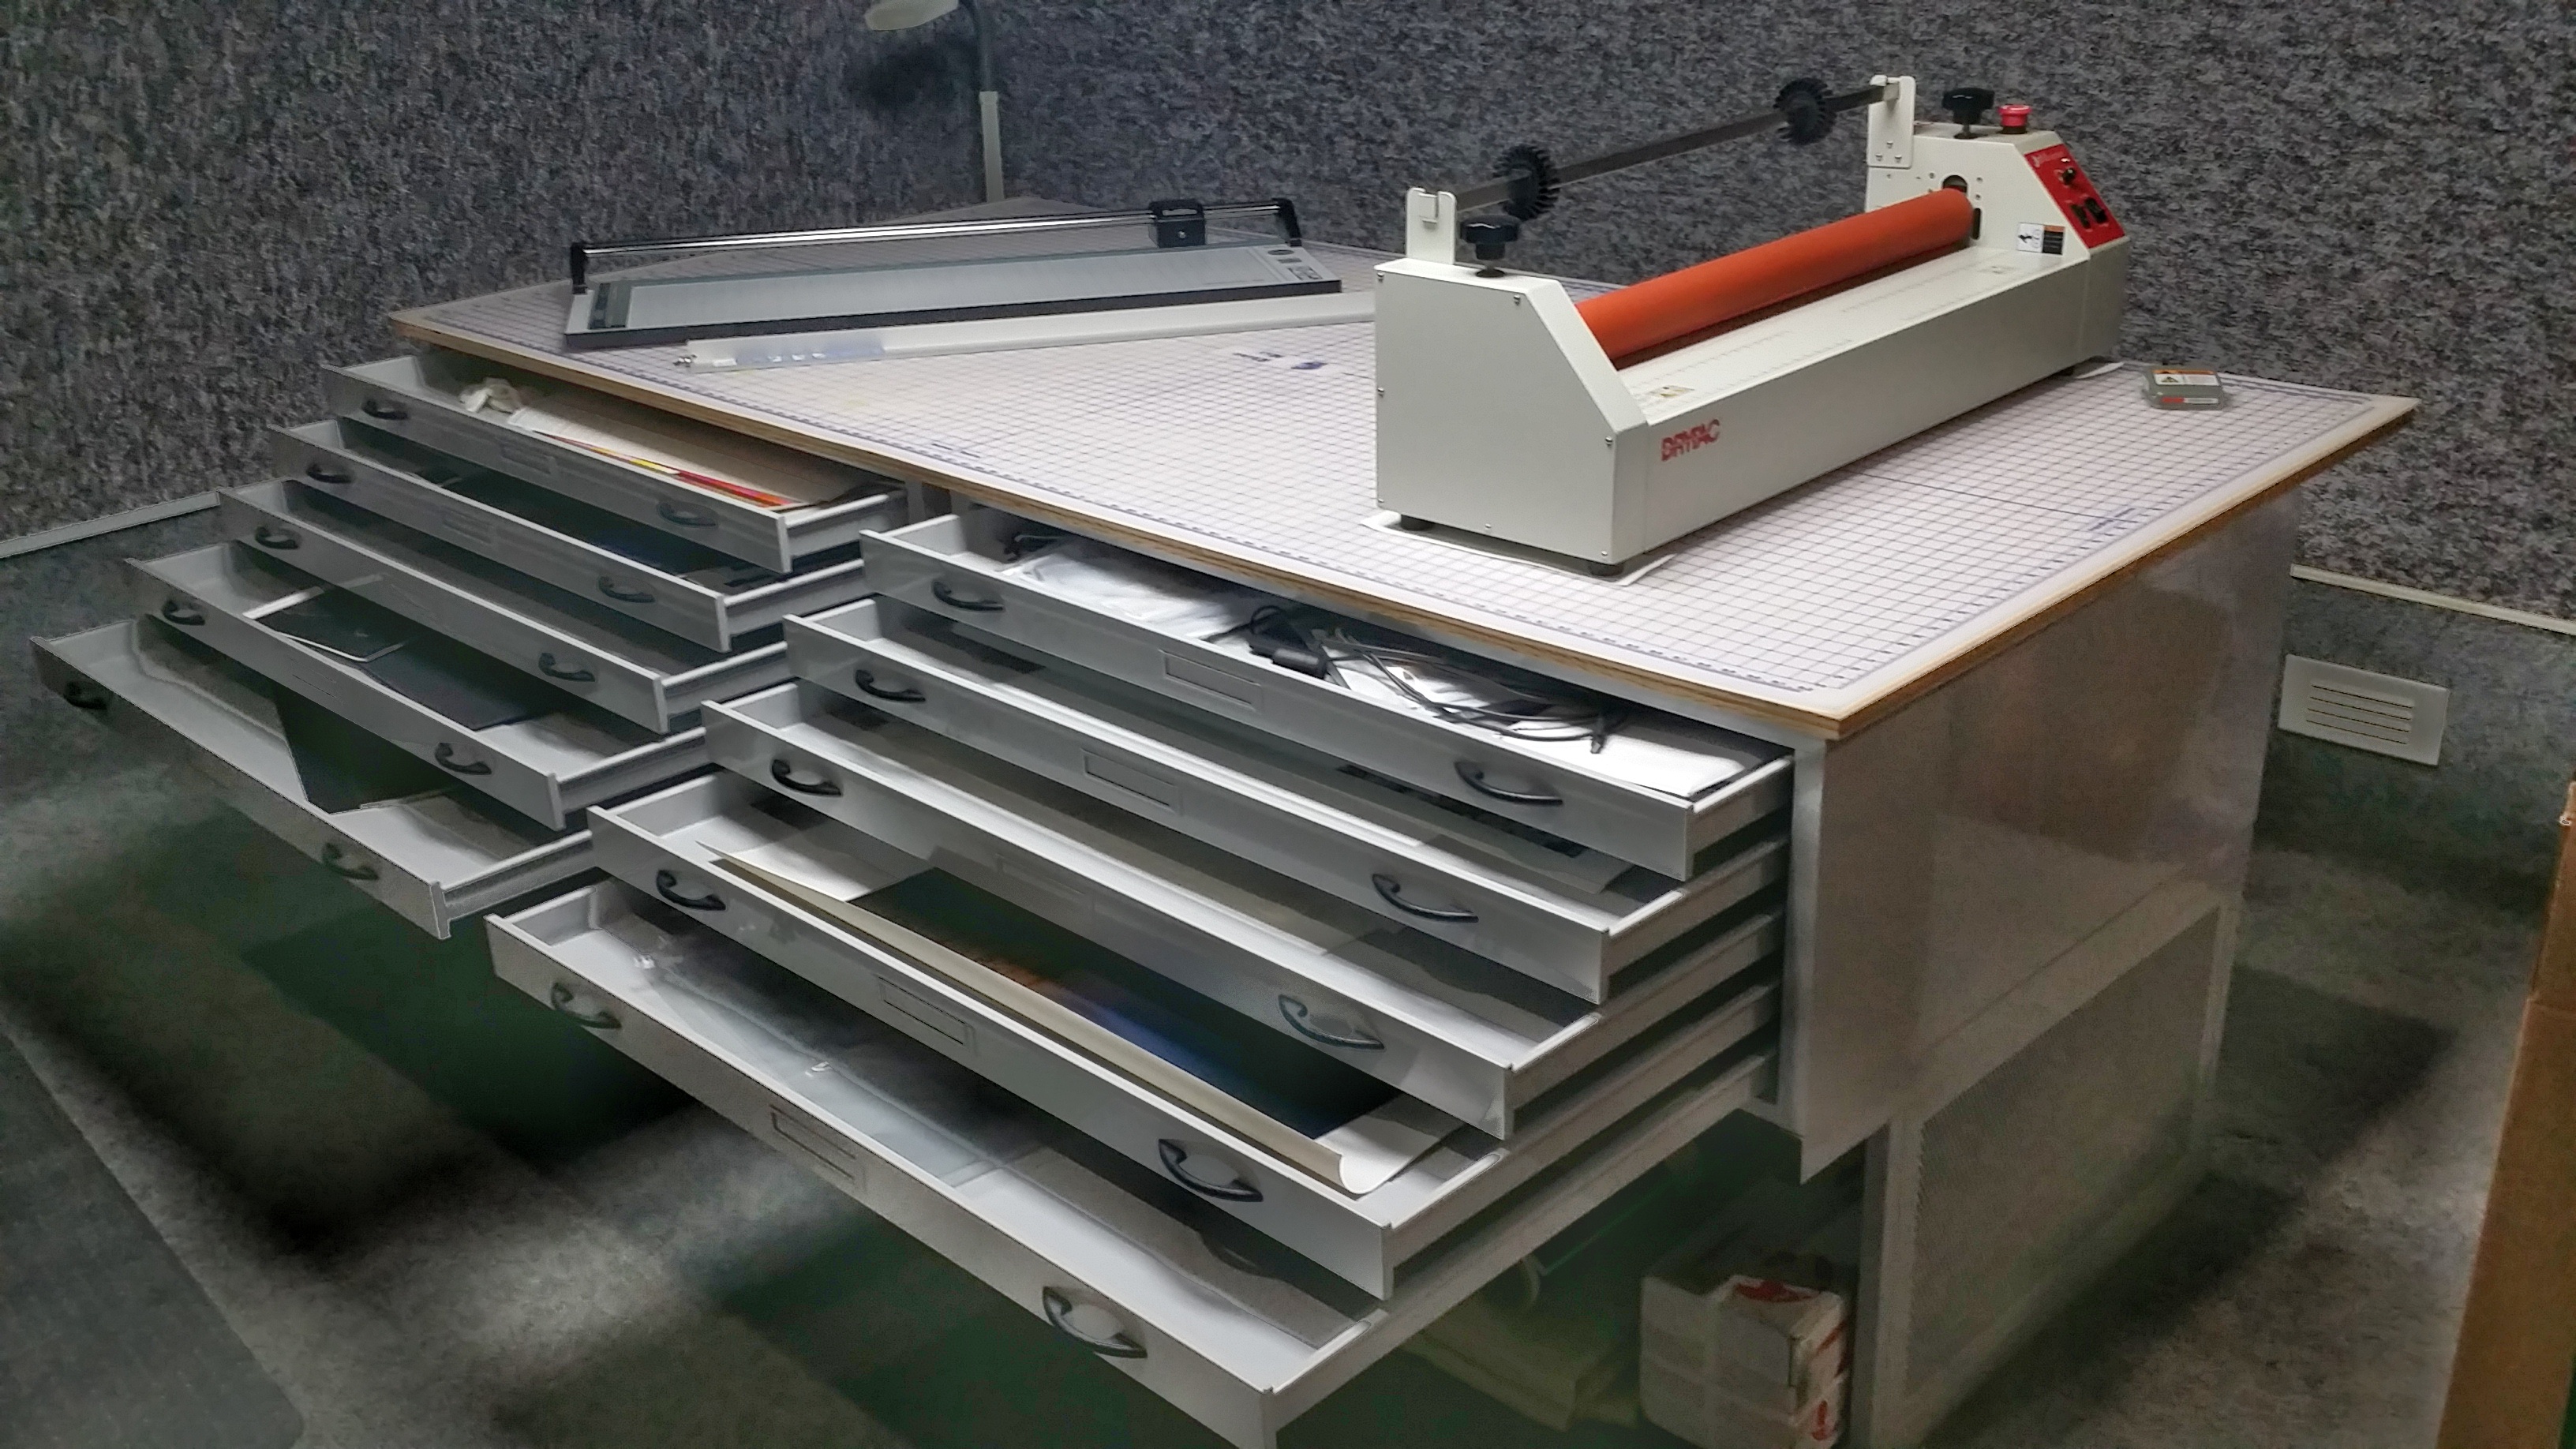
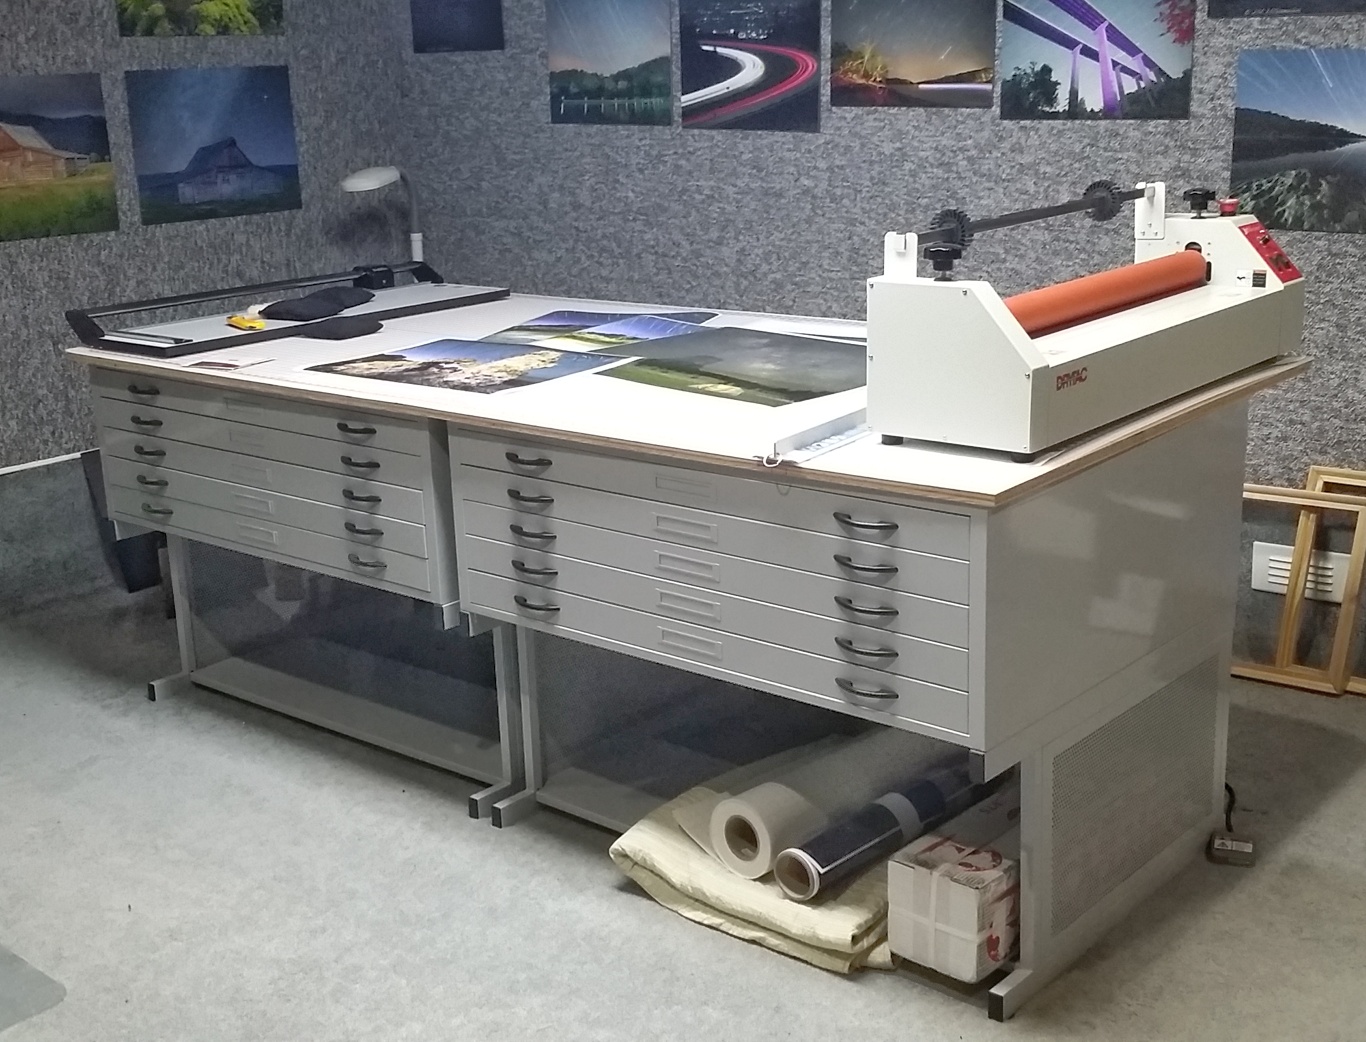
Cutting and mounting table setup consists of: (2) Safeco 4998WHR 48″ x 36″ @ $1,247.93 each = $2,495.86 (2) Safeco 4979 High Base @ $434.50 each = $869.00 (1) Rhino 48″ x 96″ Cutting Mat @ $211.25 (1) Sheet plywood 48″ x 96″ x 3/4″ @ $25.00
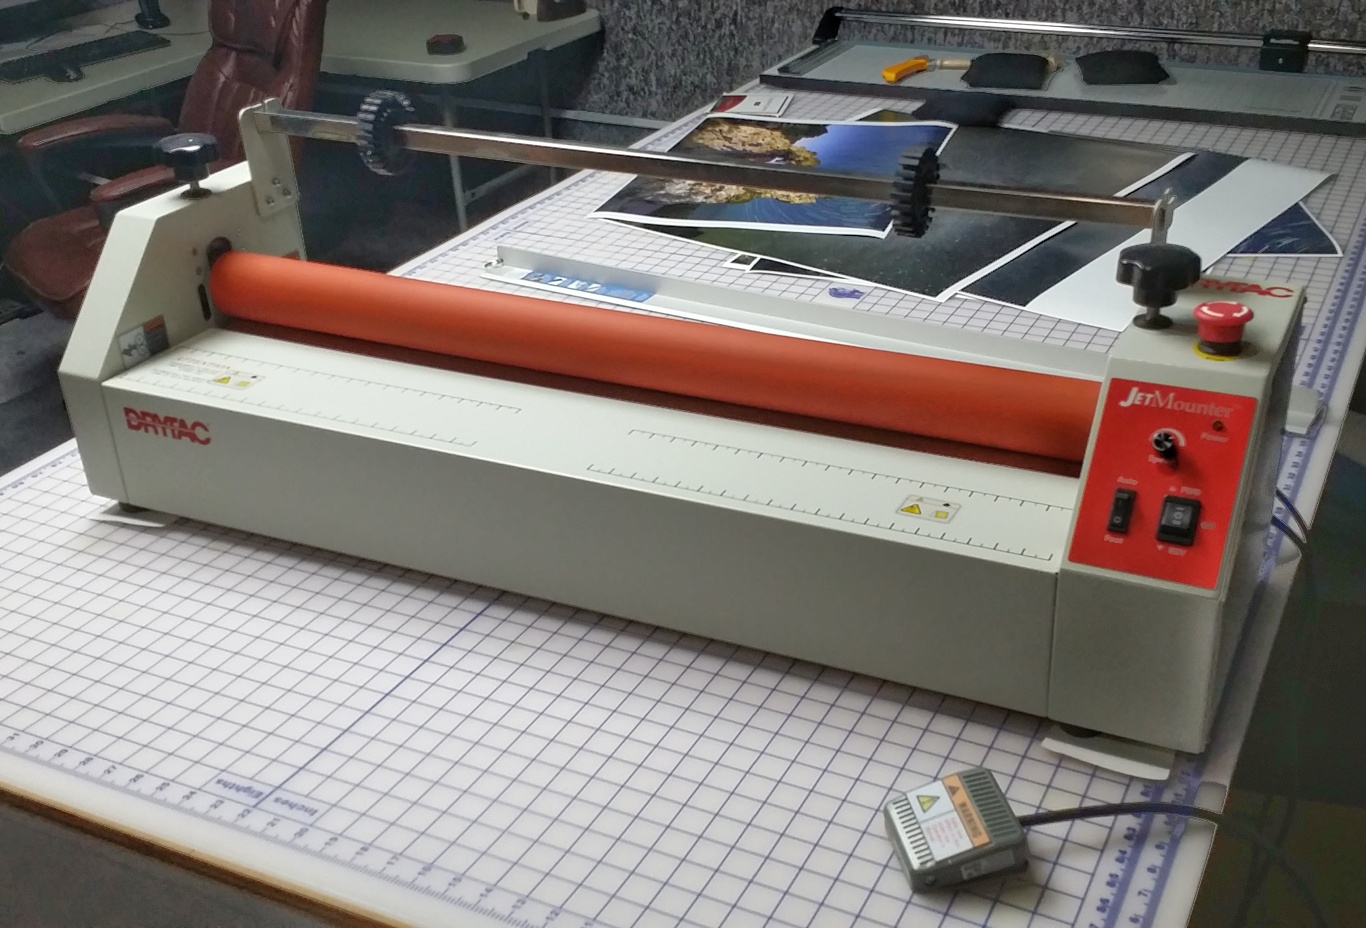
(1) DryTac Jet Mounter JM34 Motorized Tabletop Cold Laminator @ $1,499.95
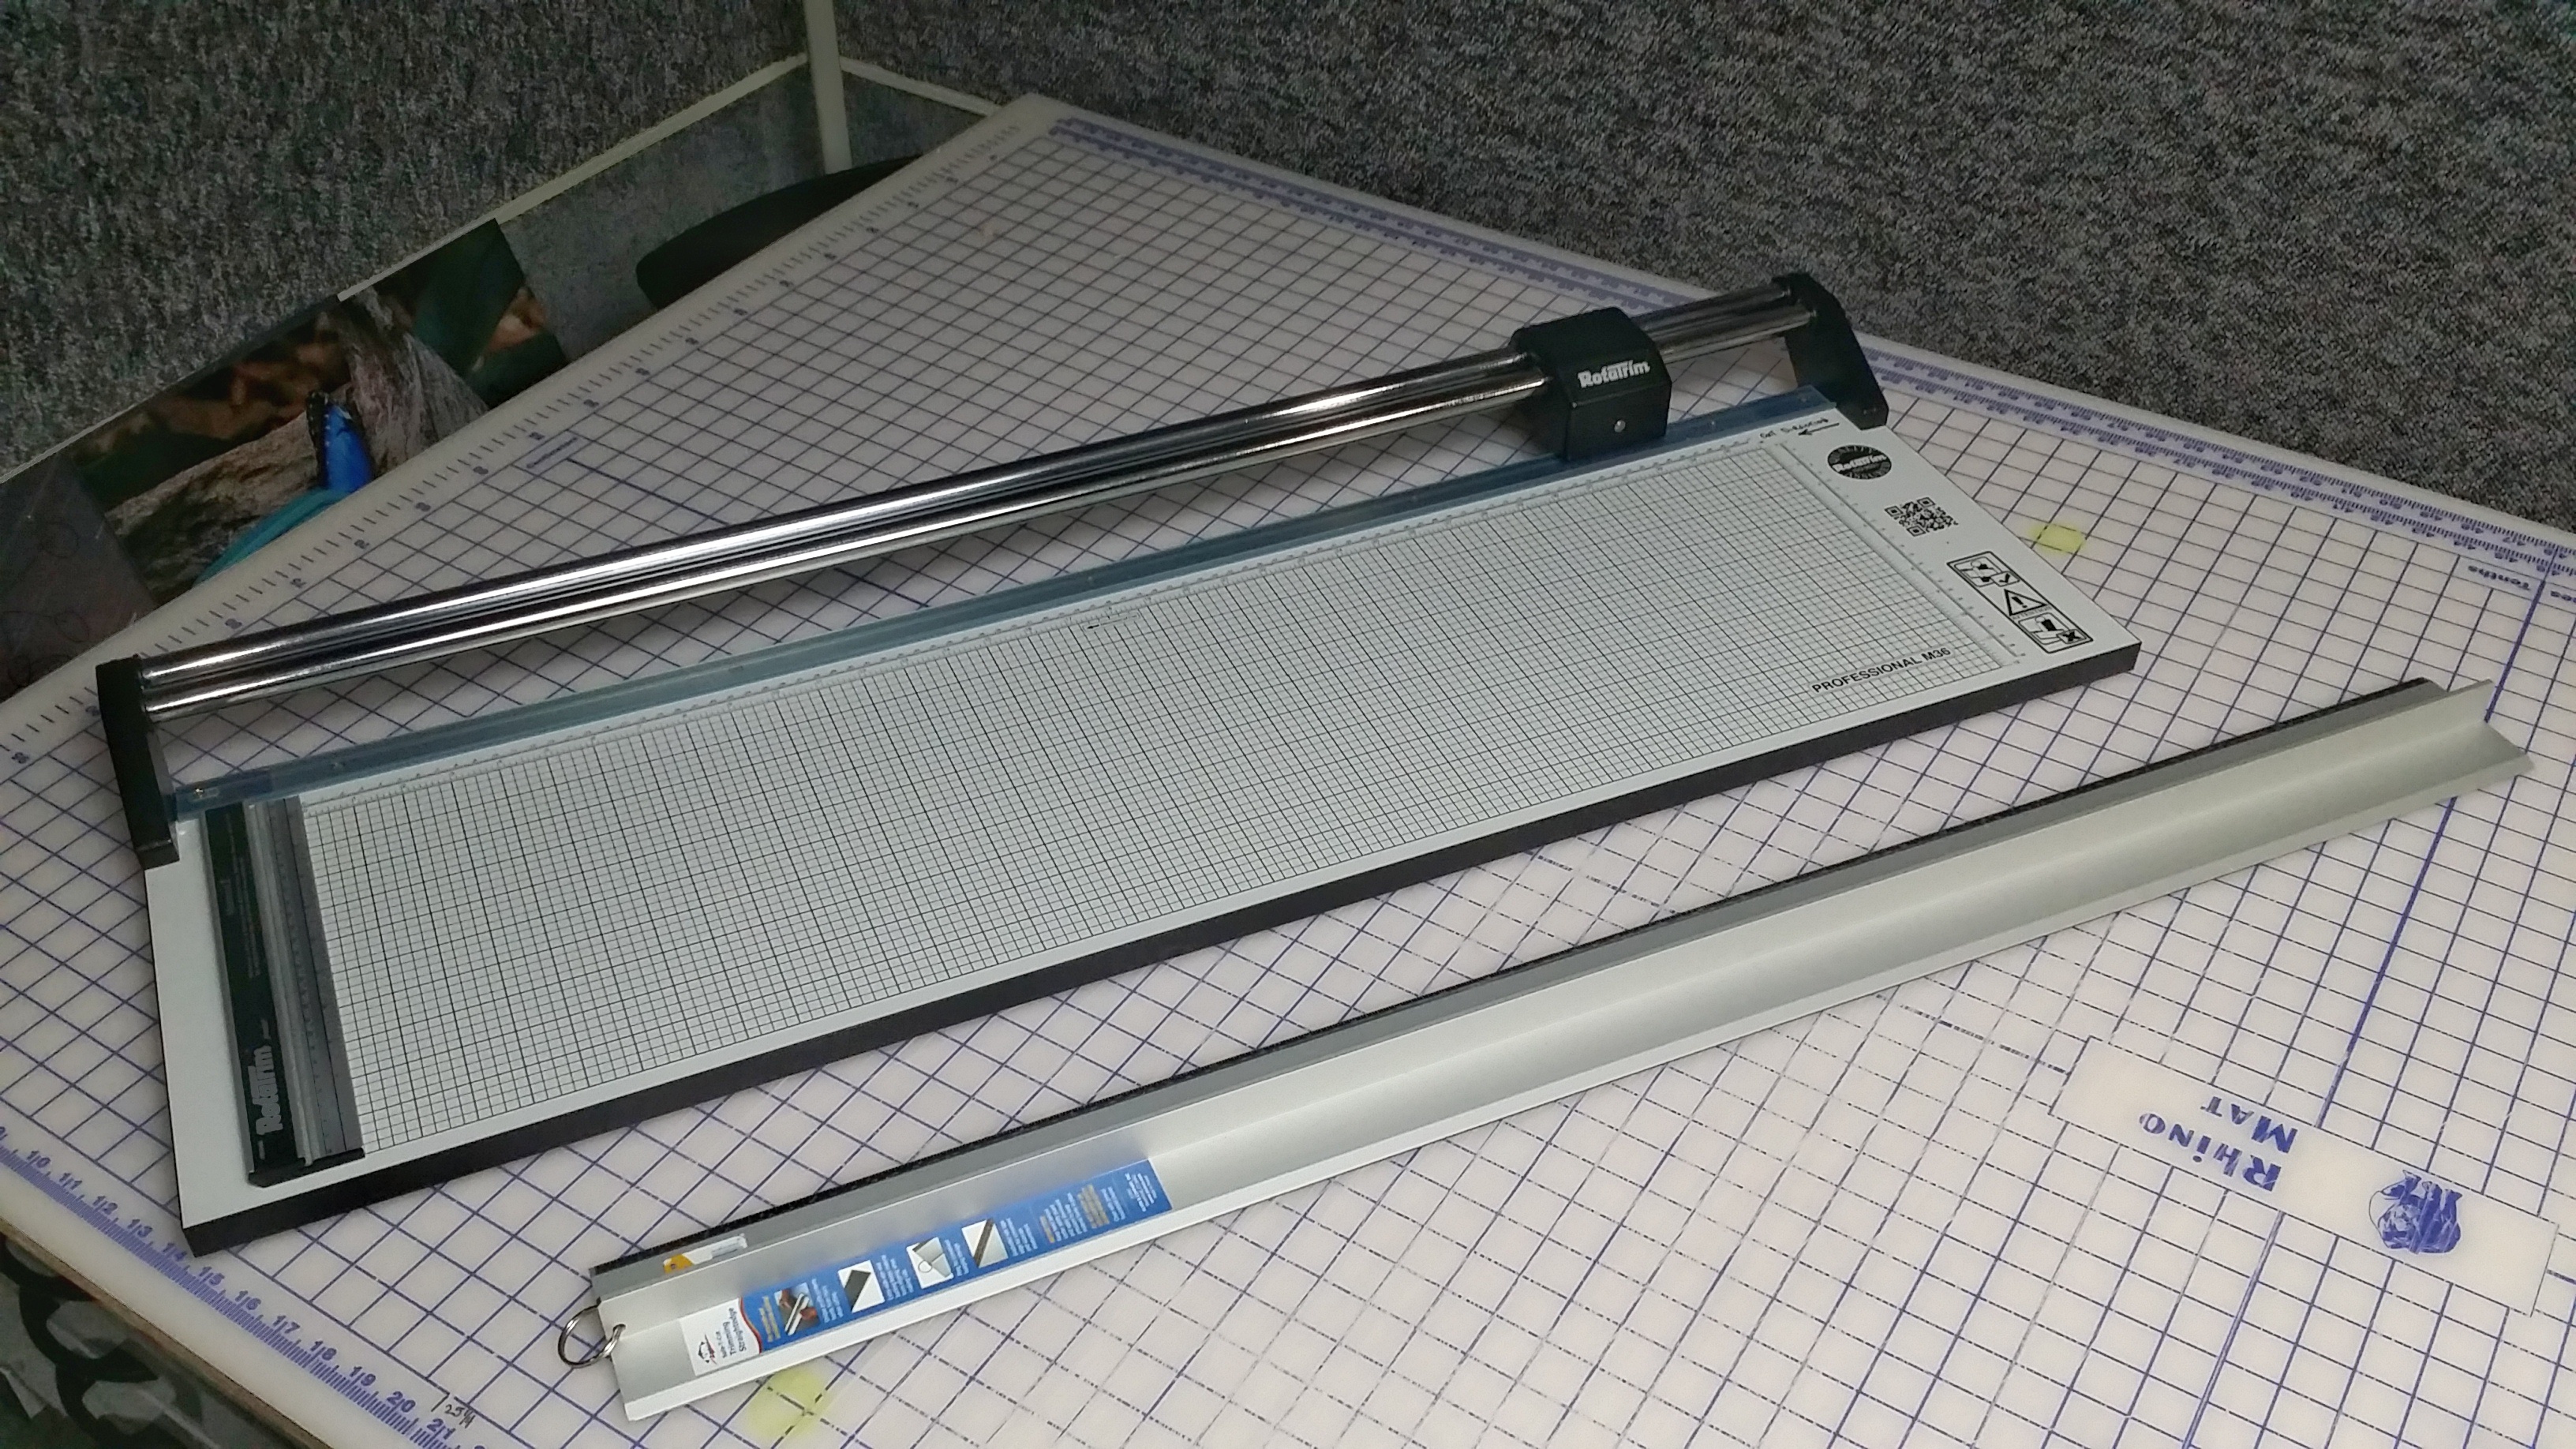
Rotatrim MasterCraft II Professional M36 Rotary Cutter @ $535.00 Alvin 42″ Graduated Cutting Straightedge @ $81.95
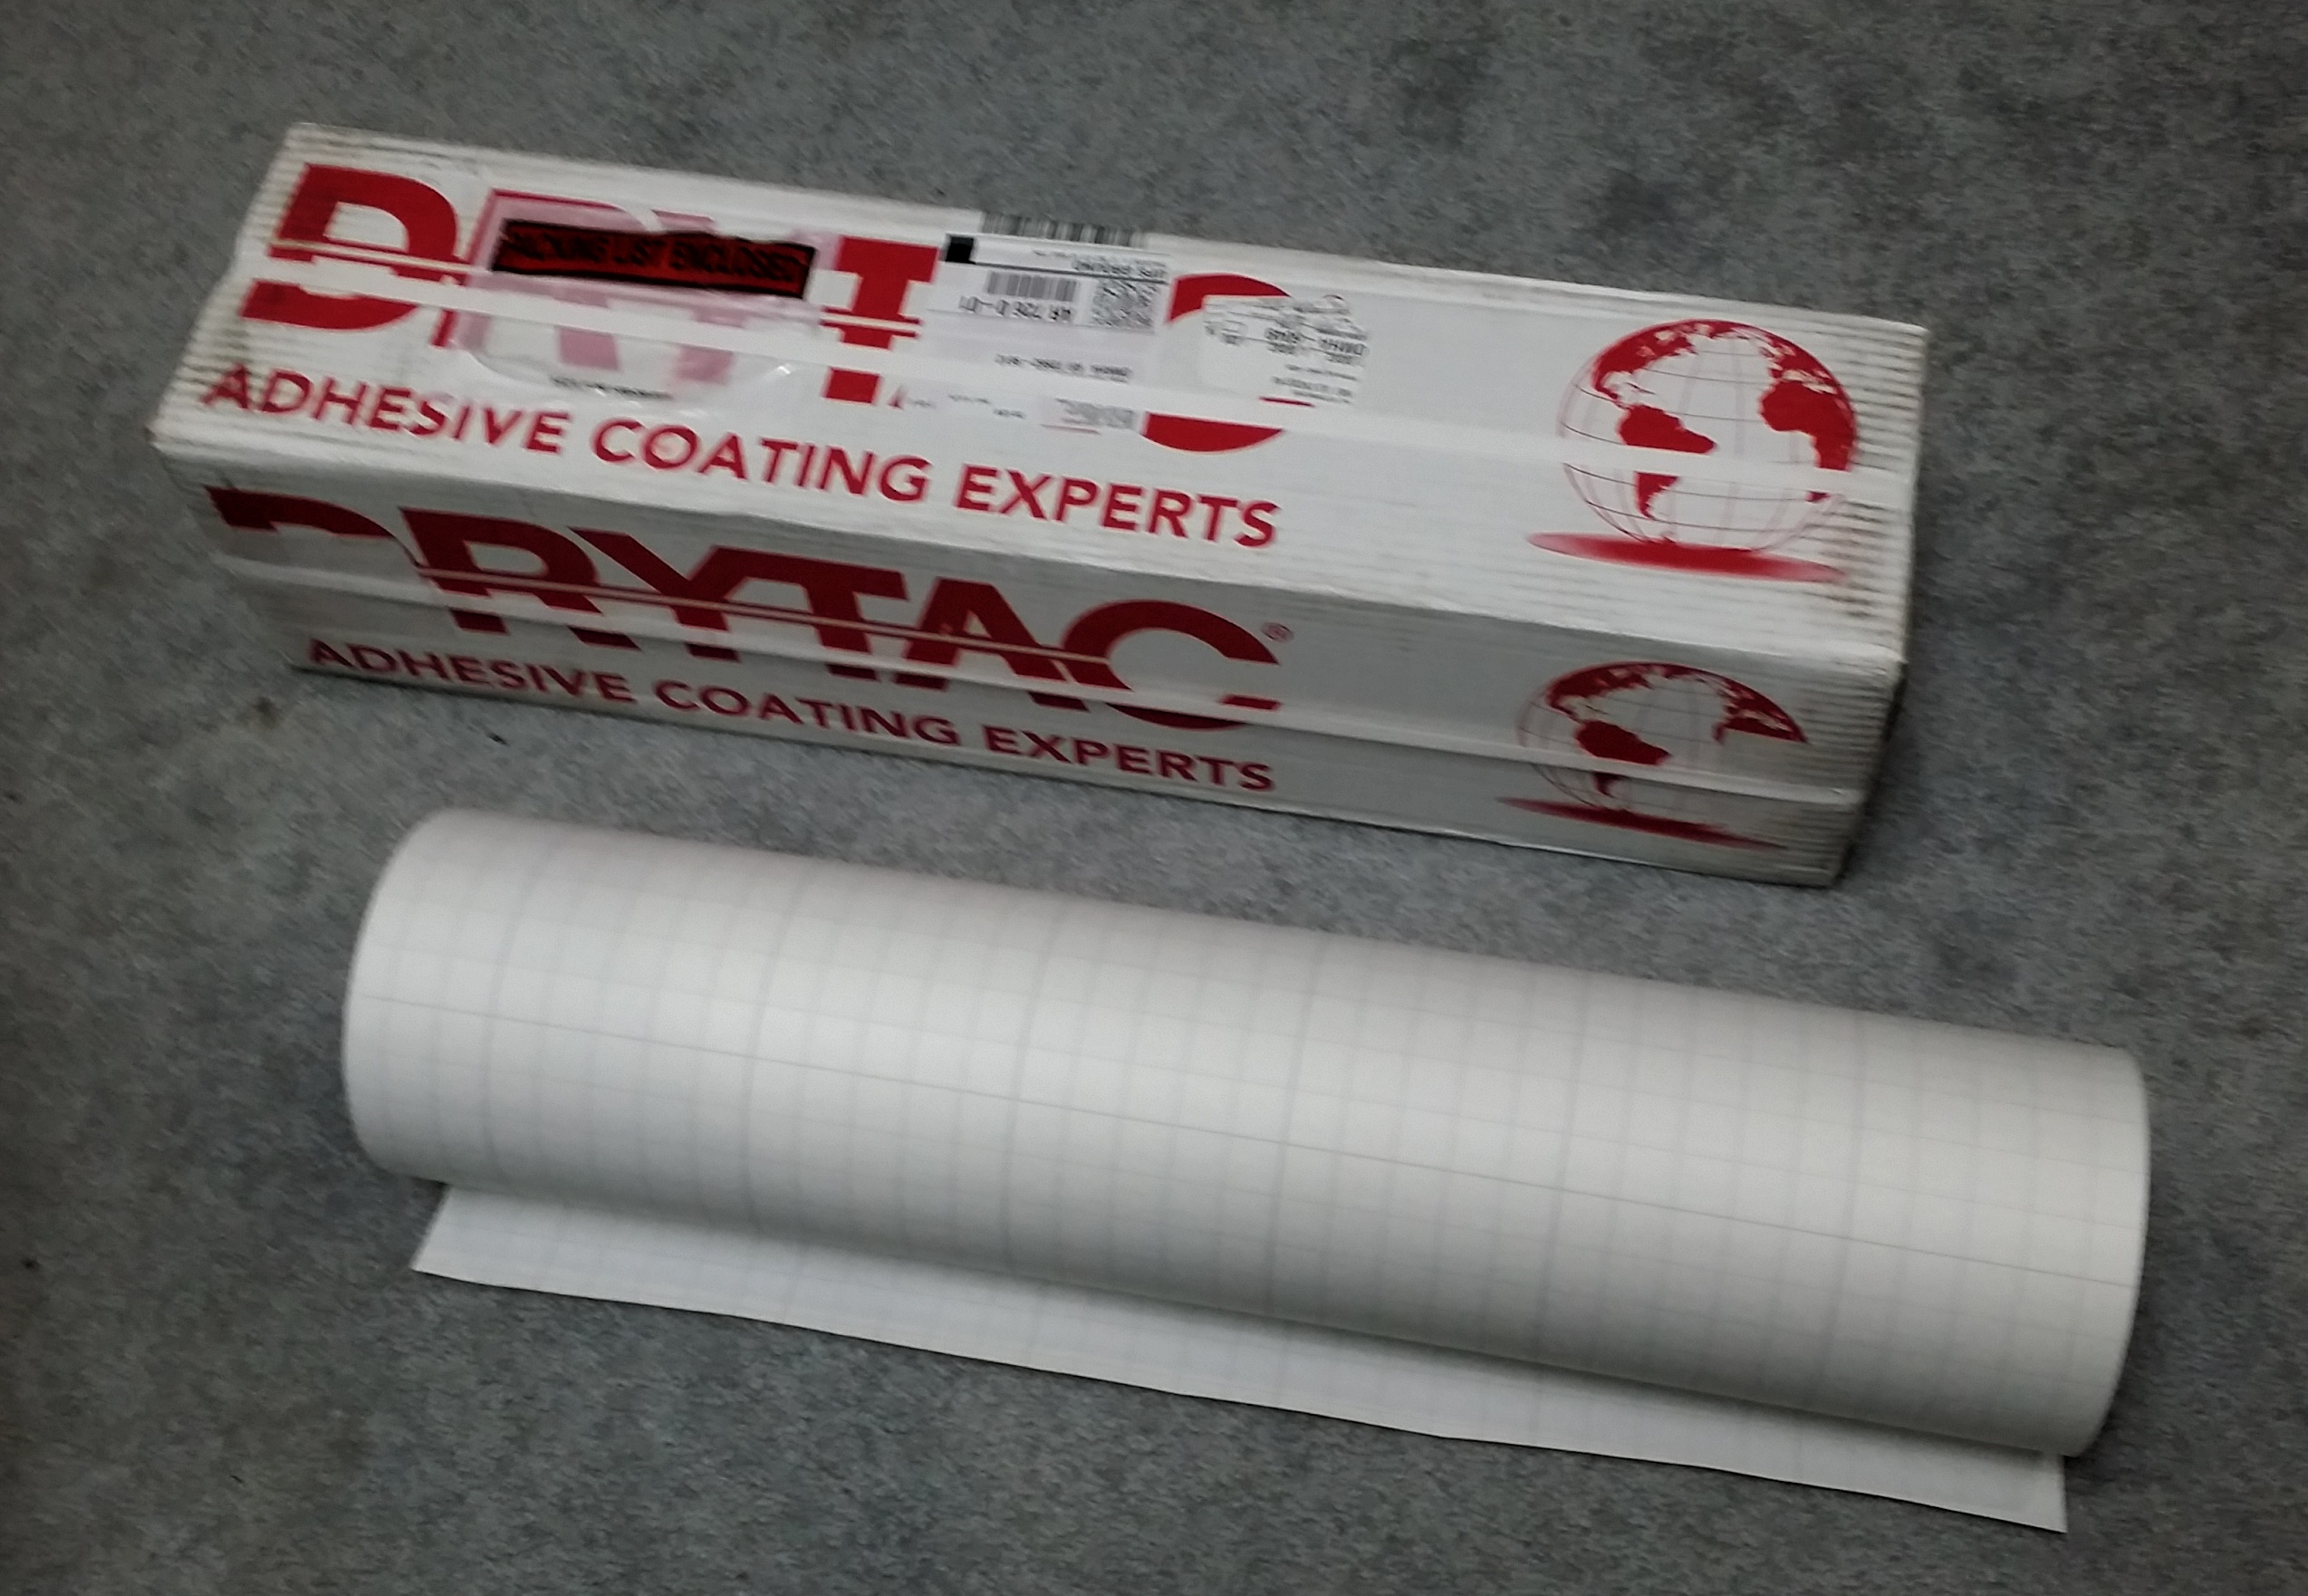
 (2) TwinTac 25.5″ x 150″ Double-Sided Mounting Adhesive @ $255.71 = $511.42
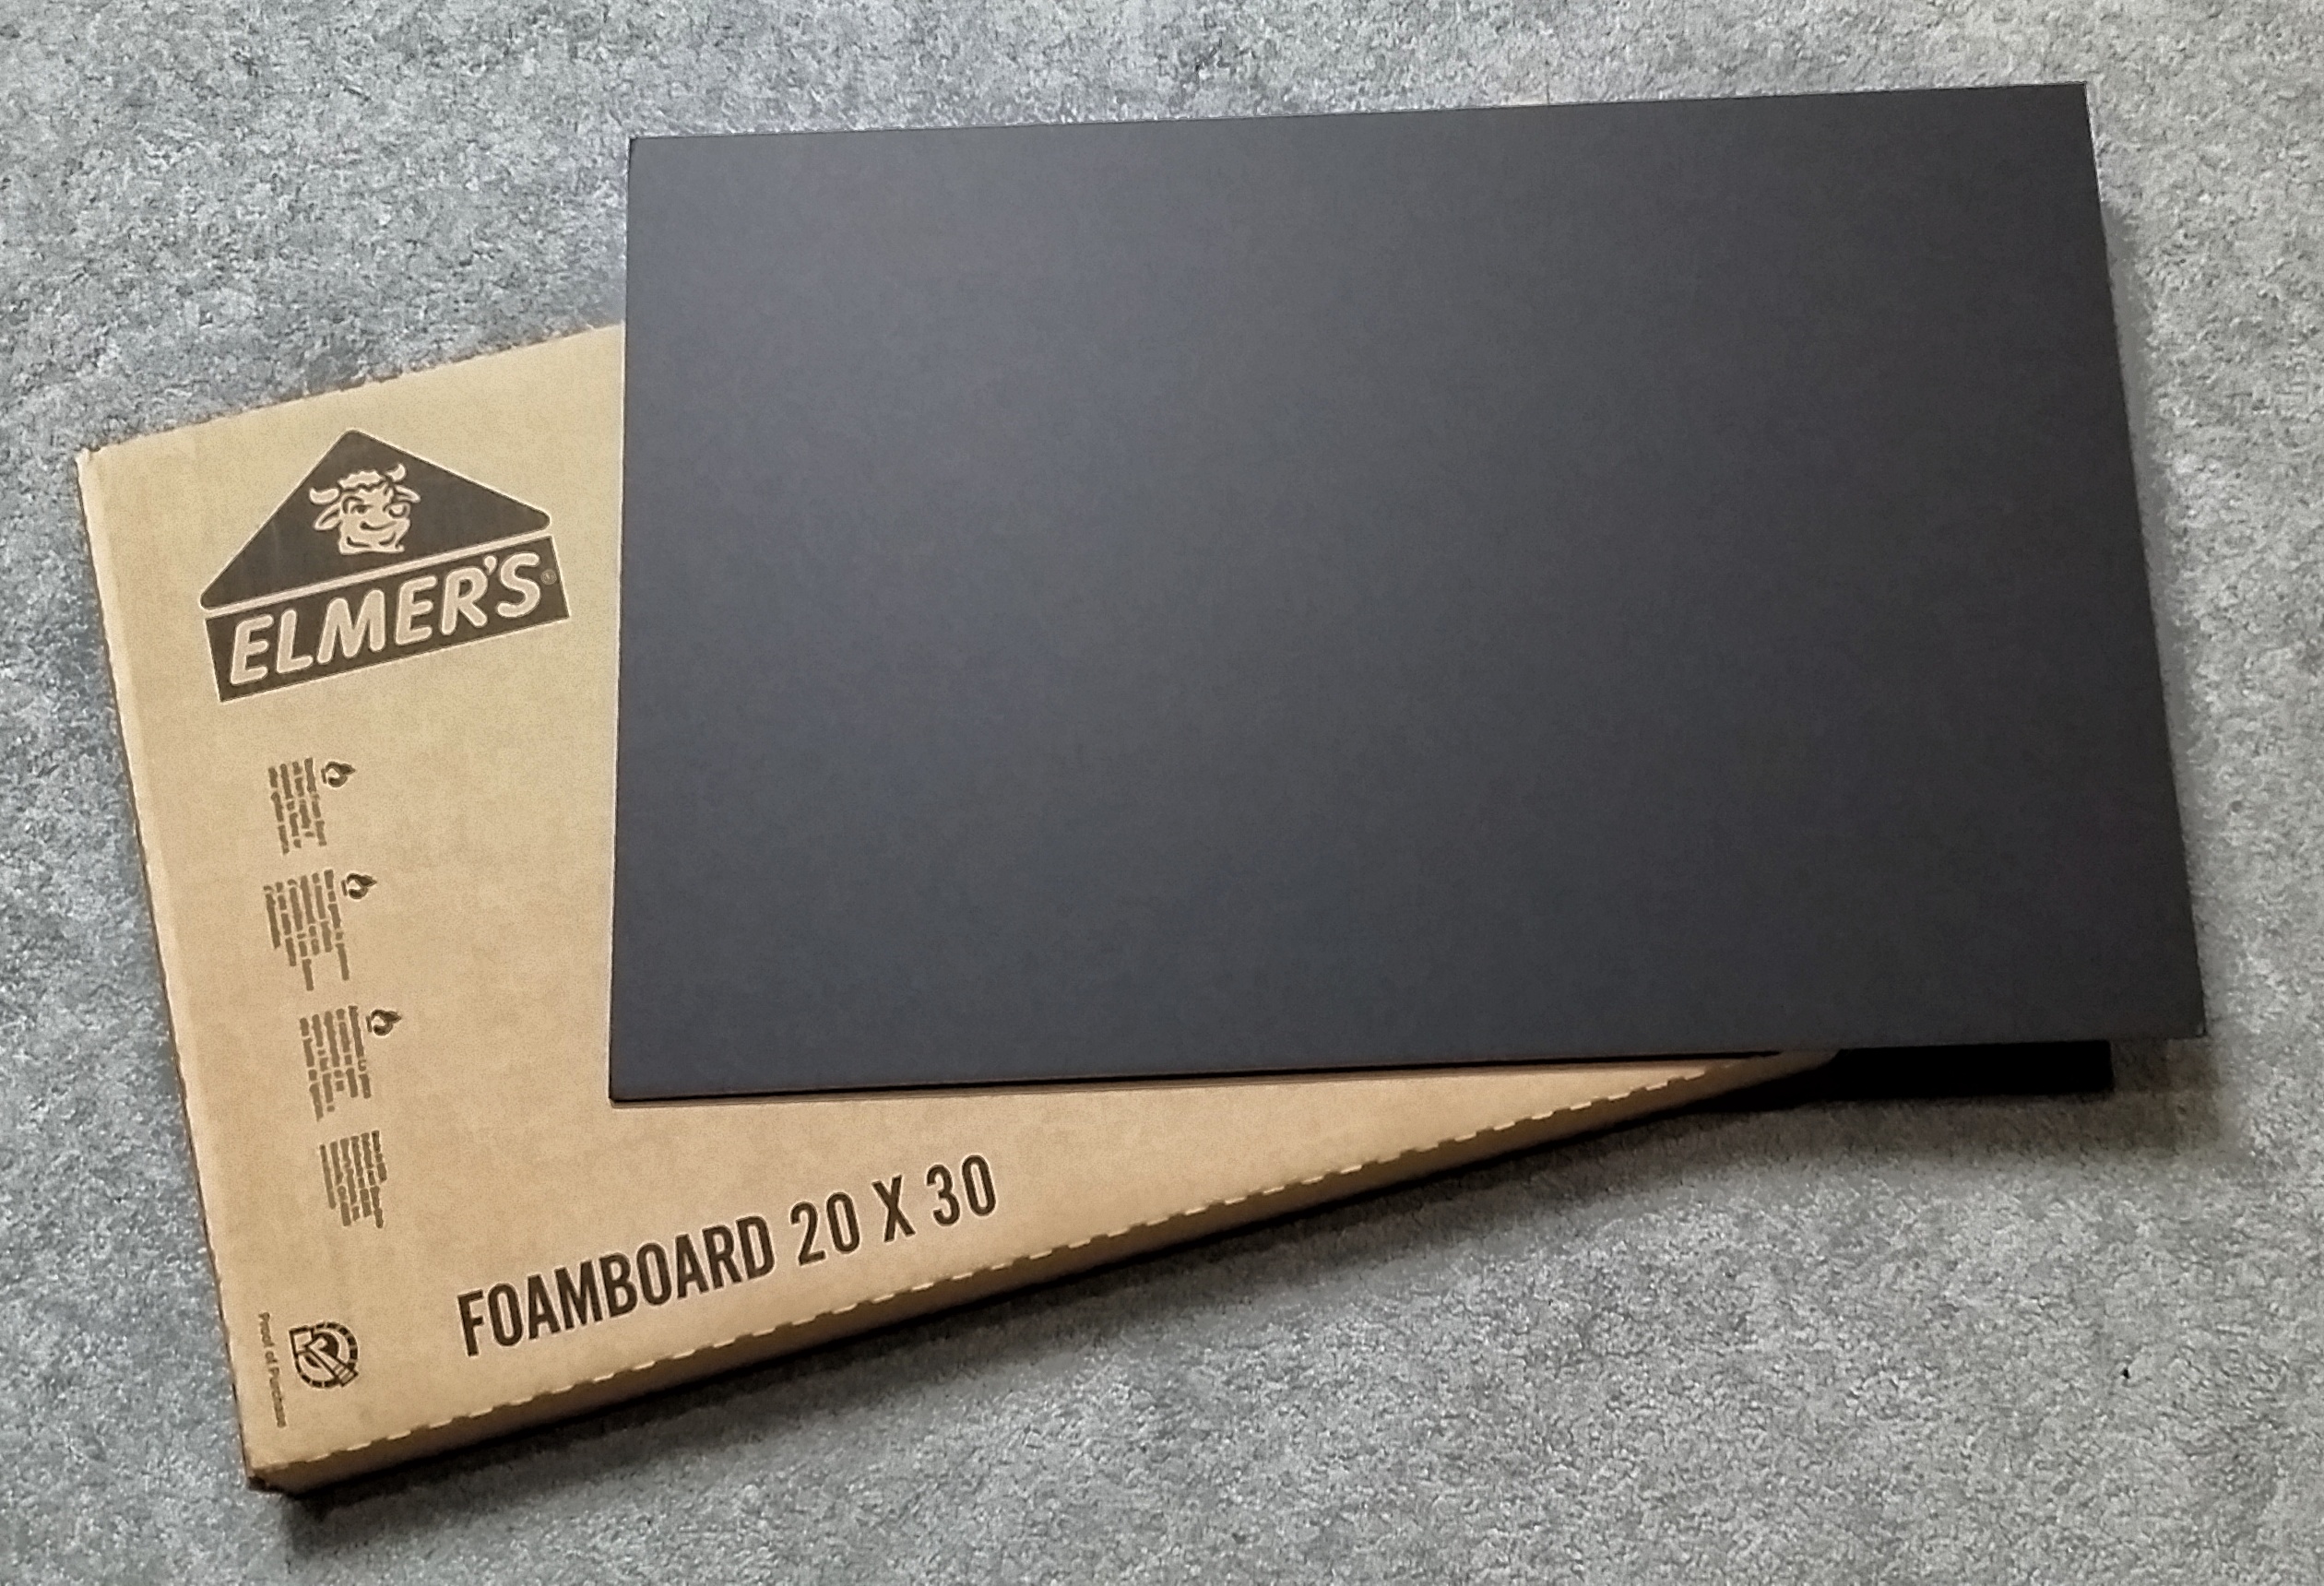
(10 boxes of 10) Elmers Black Foam Core Board 20″ x 30″ x 3/16″ @ $29.50 = $295.00 (1 box of 25) Bainbridge Black Foam Core Board 32″ x 40″ x 3/16″ @ $170.33
I paid a total of $6,694.76 for all of the items listed above. At $1,500.00, this is a steal for anyone wishing to get into print mounting as a hobby or business. All items are in like new condition. You will have to pick these items up near Omaha, Arkansas. This will require a pickup truck and a helper, as I cannot help with the lifting or loading due to health reasons. Please email me at hal@mitzenmacher.net if you are interested.

Controlling Sky Color in Star Circle Images During the New Moon

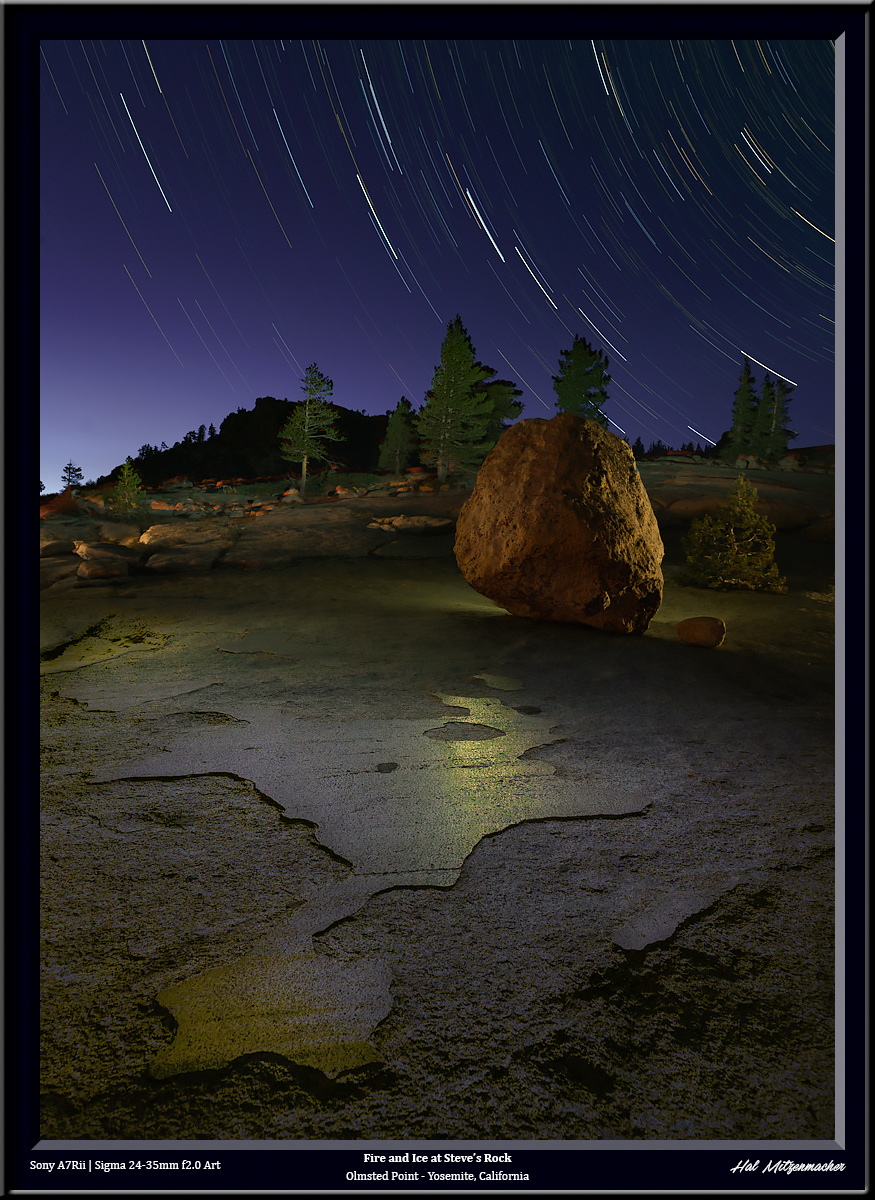
This image was created using a technique I call time stacking. It is similar to taking a time lapse video over the course of a night, but instead of sequentially displaying each frame in a short animated video, I take the best parts from each exposure, and combine them in Photoshop using layers and masks to create the final image that is pleasing to my eye. It is a topic worthy of a separate post, which I shall write soon, but this post is about one small step in the process, in which I deliberately created the look of the sky you see in the image above during a new moon phase.

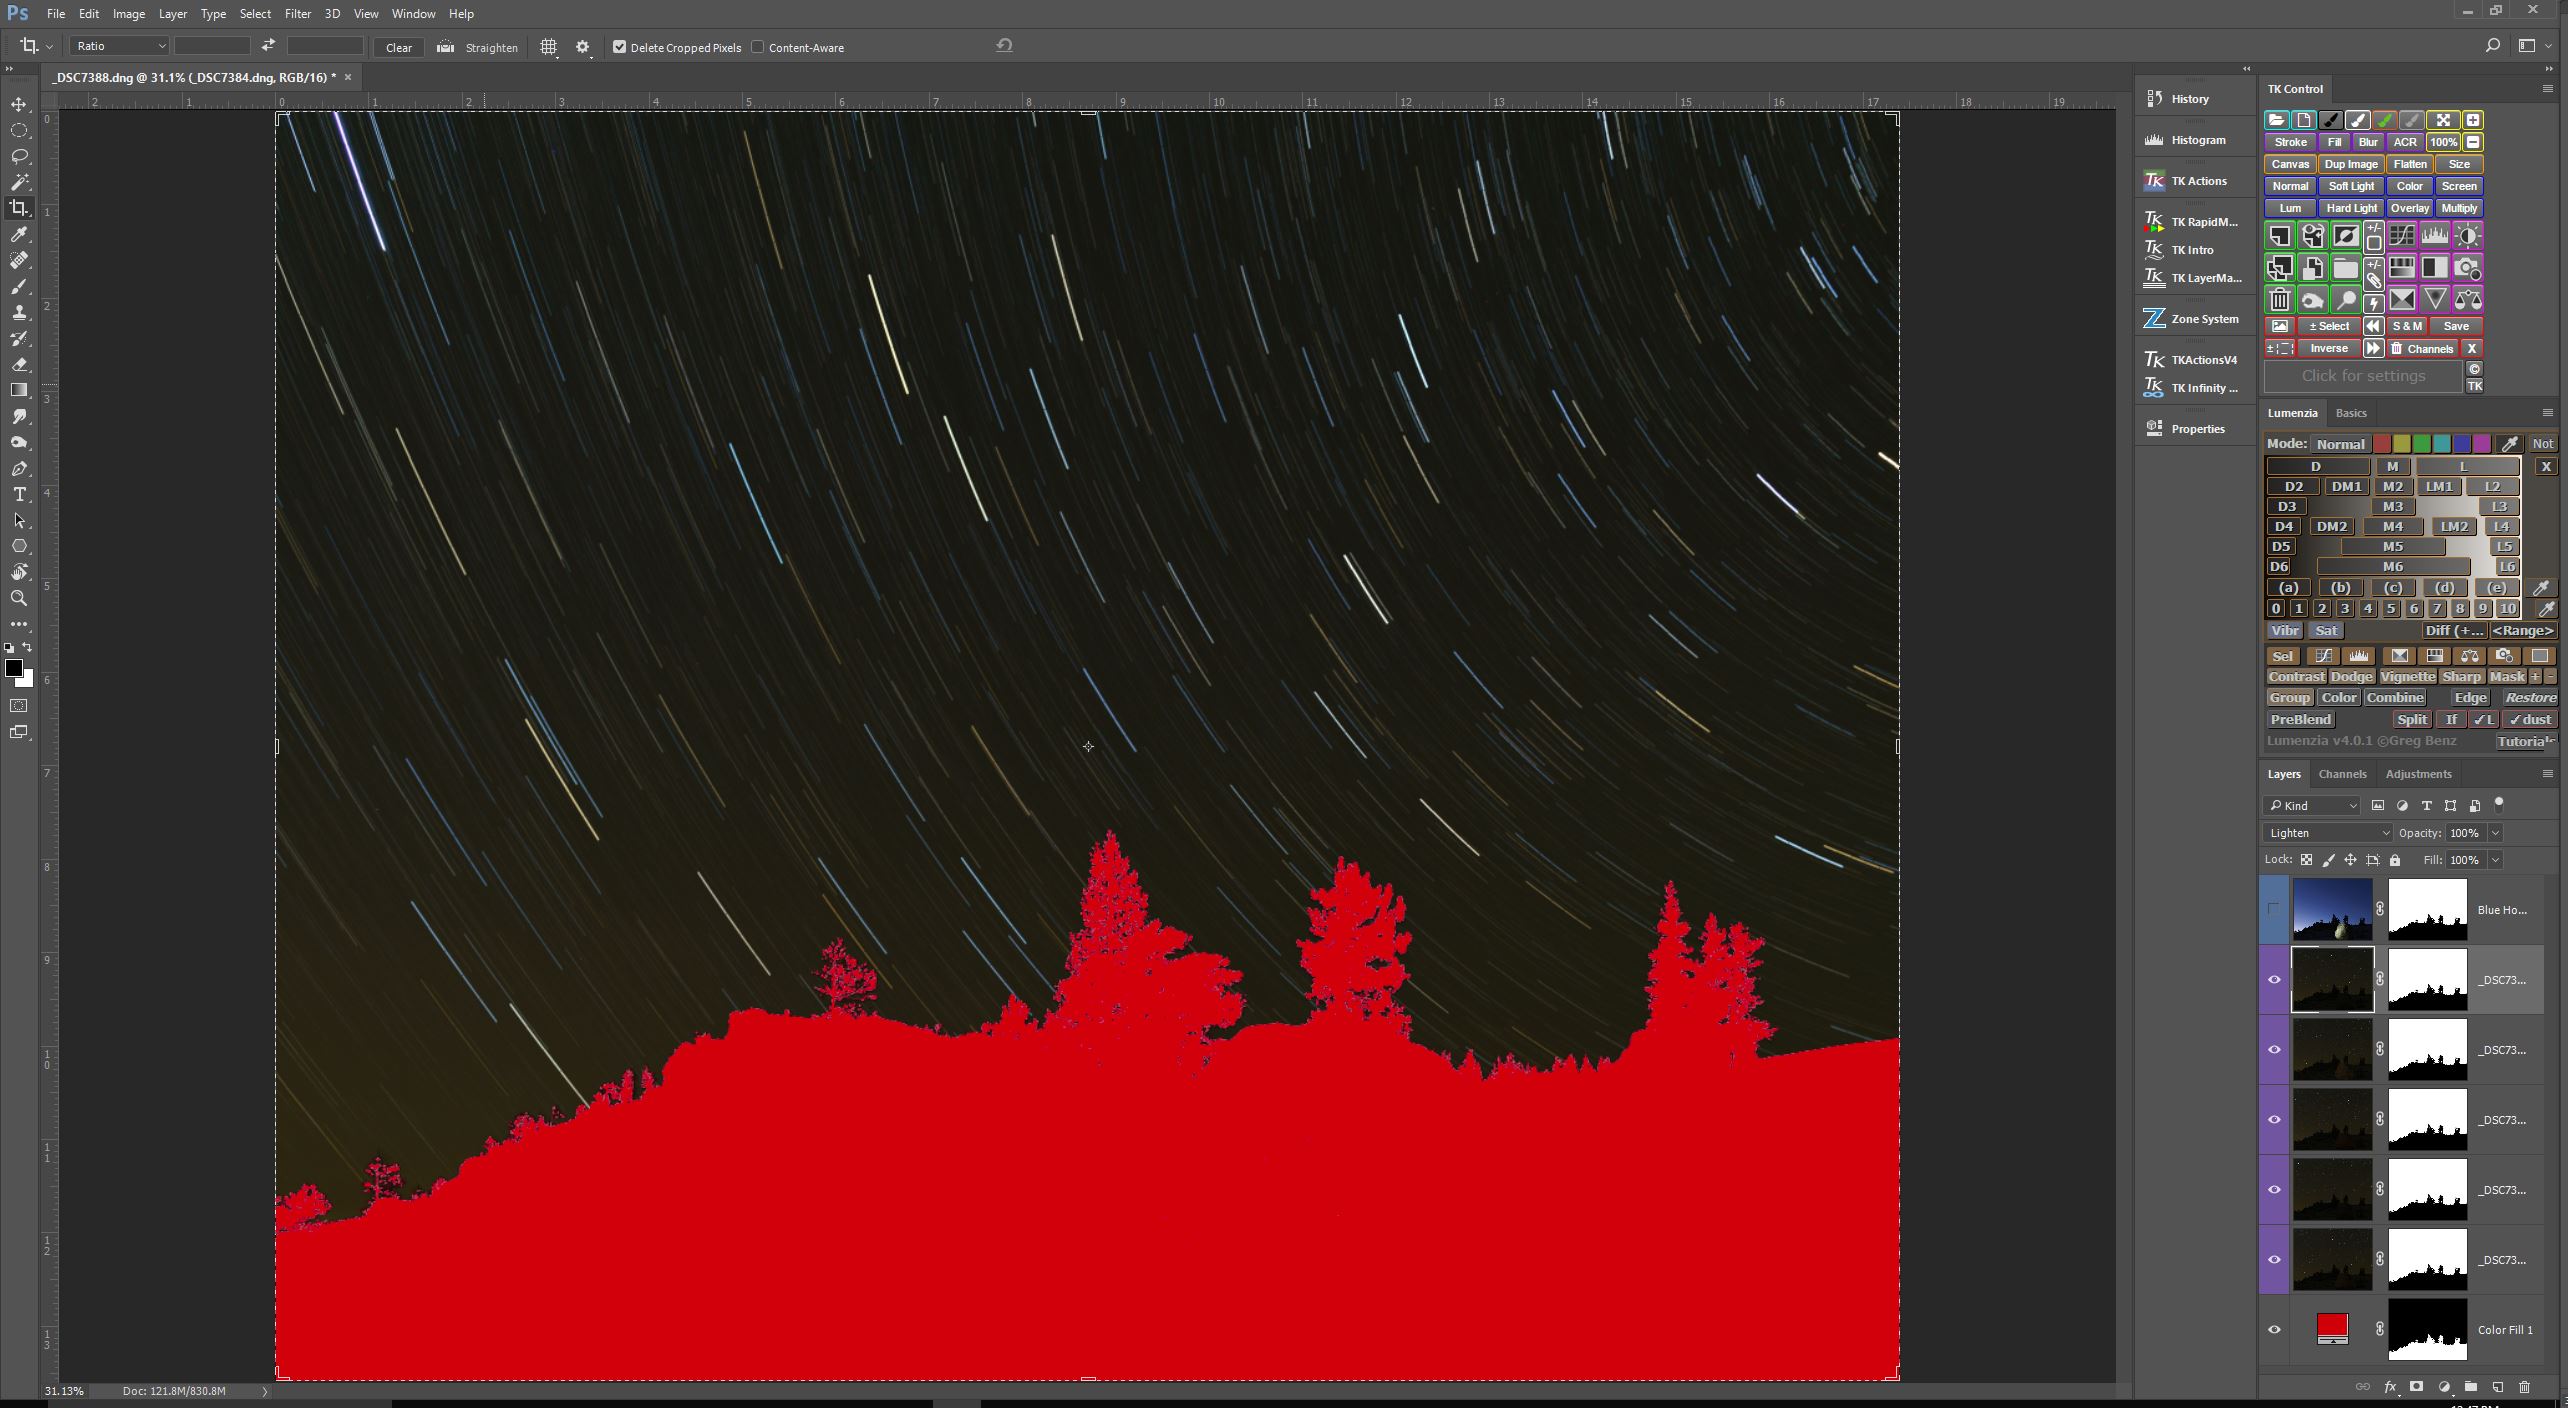
Original Star Circles Taken During Dark Sky

So here is the problem I was trying to solve (I have masked out the foreground for the purposes of this post, this is about the sky only).  The star circle layers I wanted to use consisted of 5 consecutive exposures, each @4min/f4.0/ISO400, taken during astronomical darkness. When the Blending Mode of these 5 layers are set to Lighten, you end up with a very dark, almost black sky. I like the way my chosen exposure settings rendered the star circles – bright, colorful, and at the density and intensity I find appealing, but I do not care for a black sky. How to lighten the sky? That is the question.

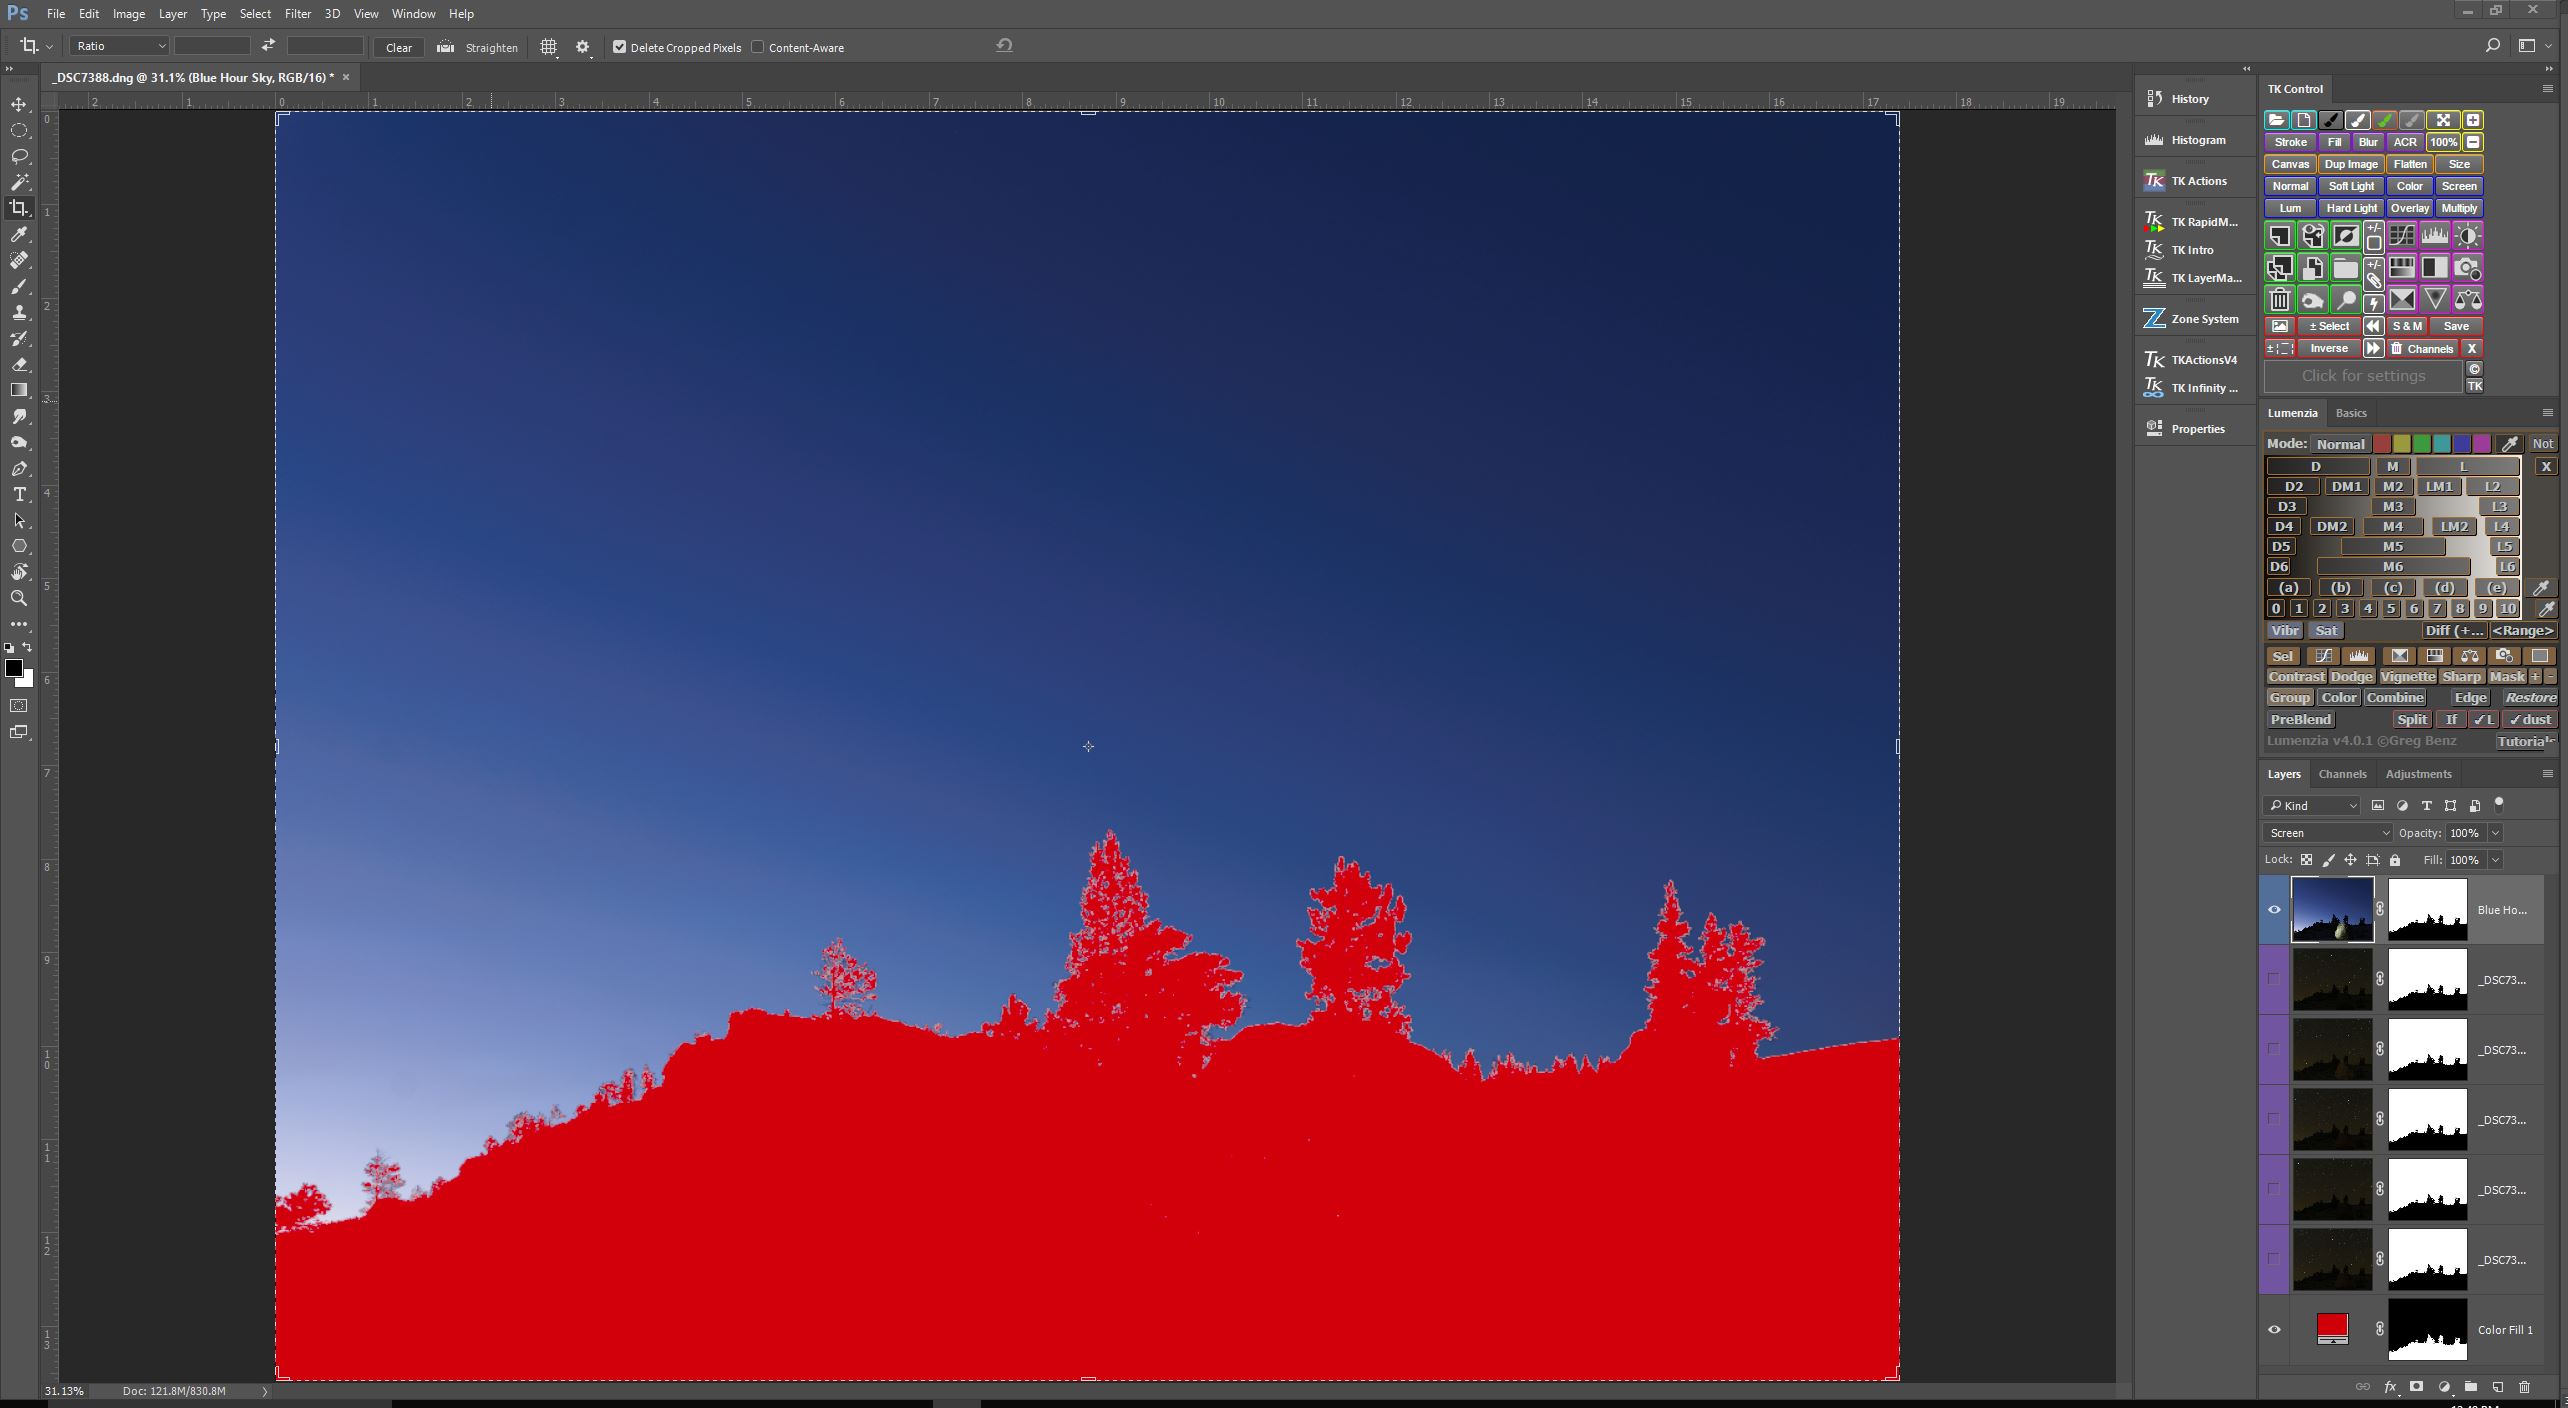
Sky Exposure Taken During Blue Hour

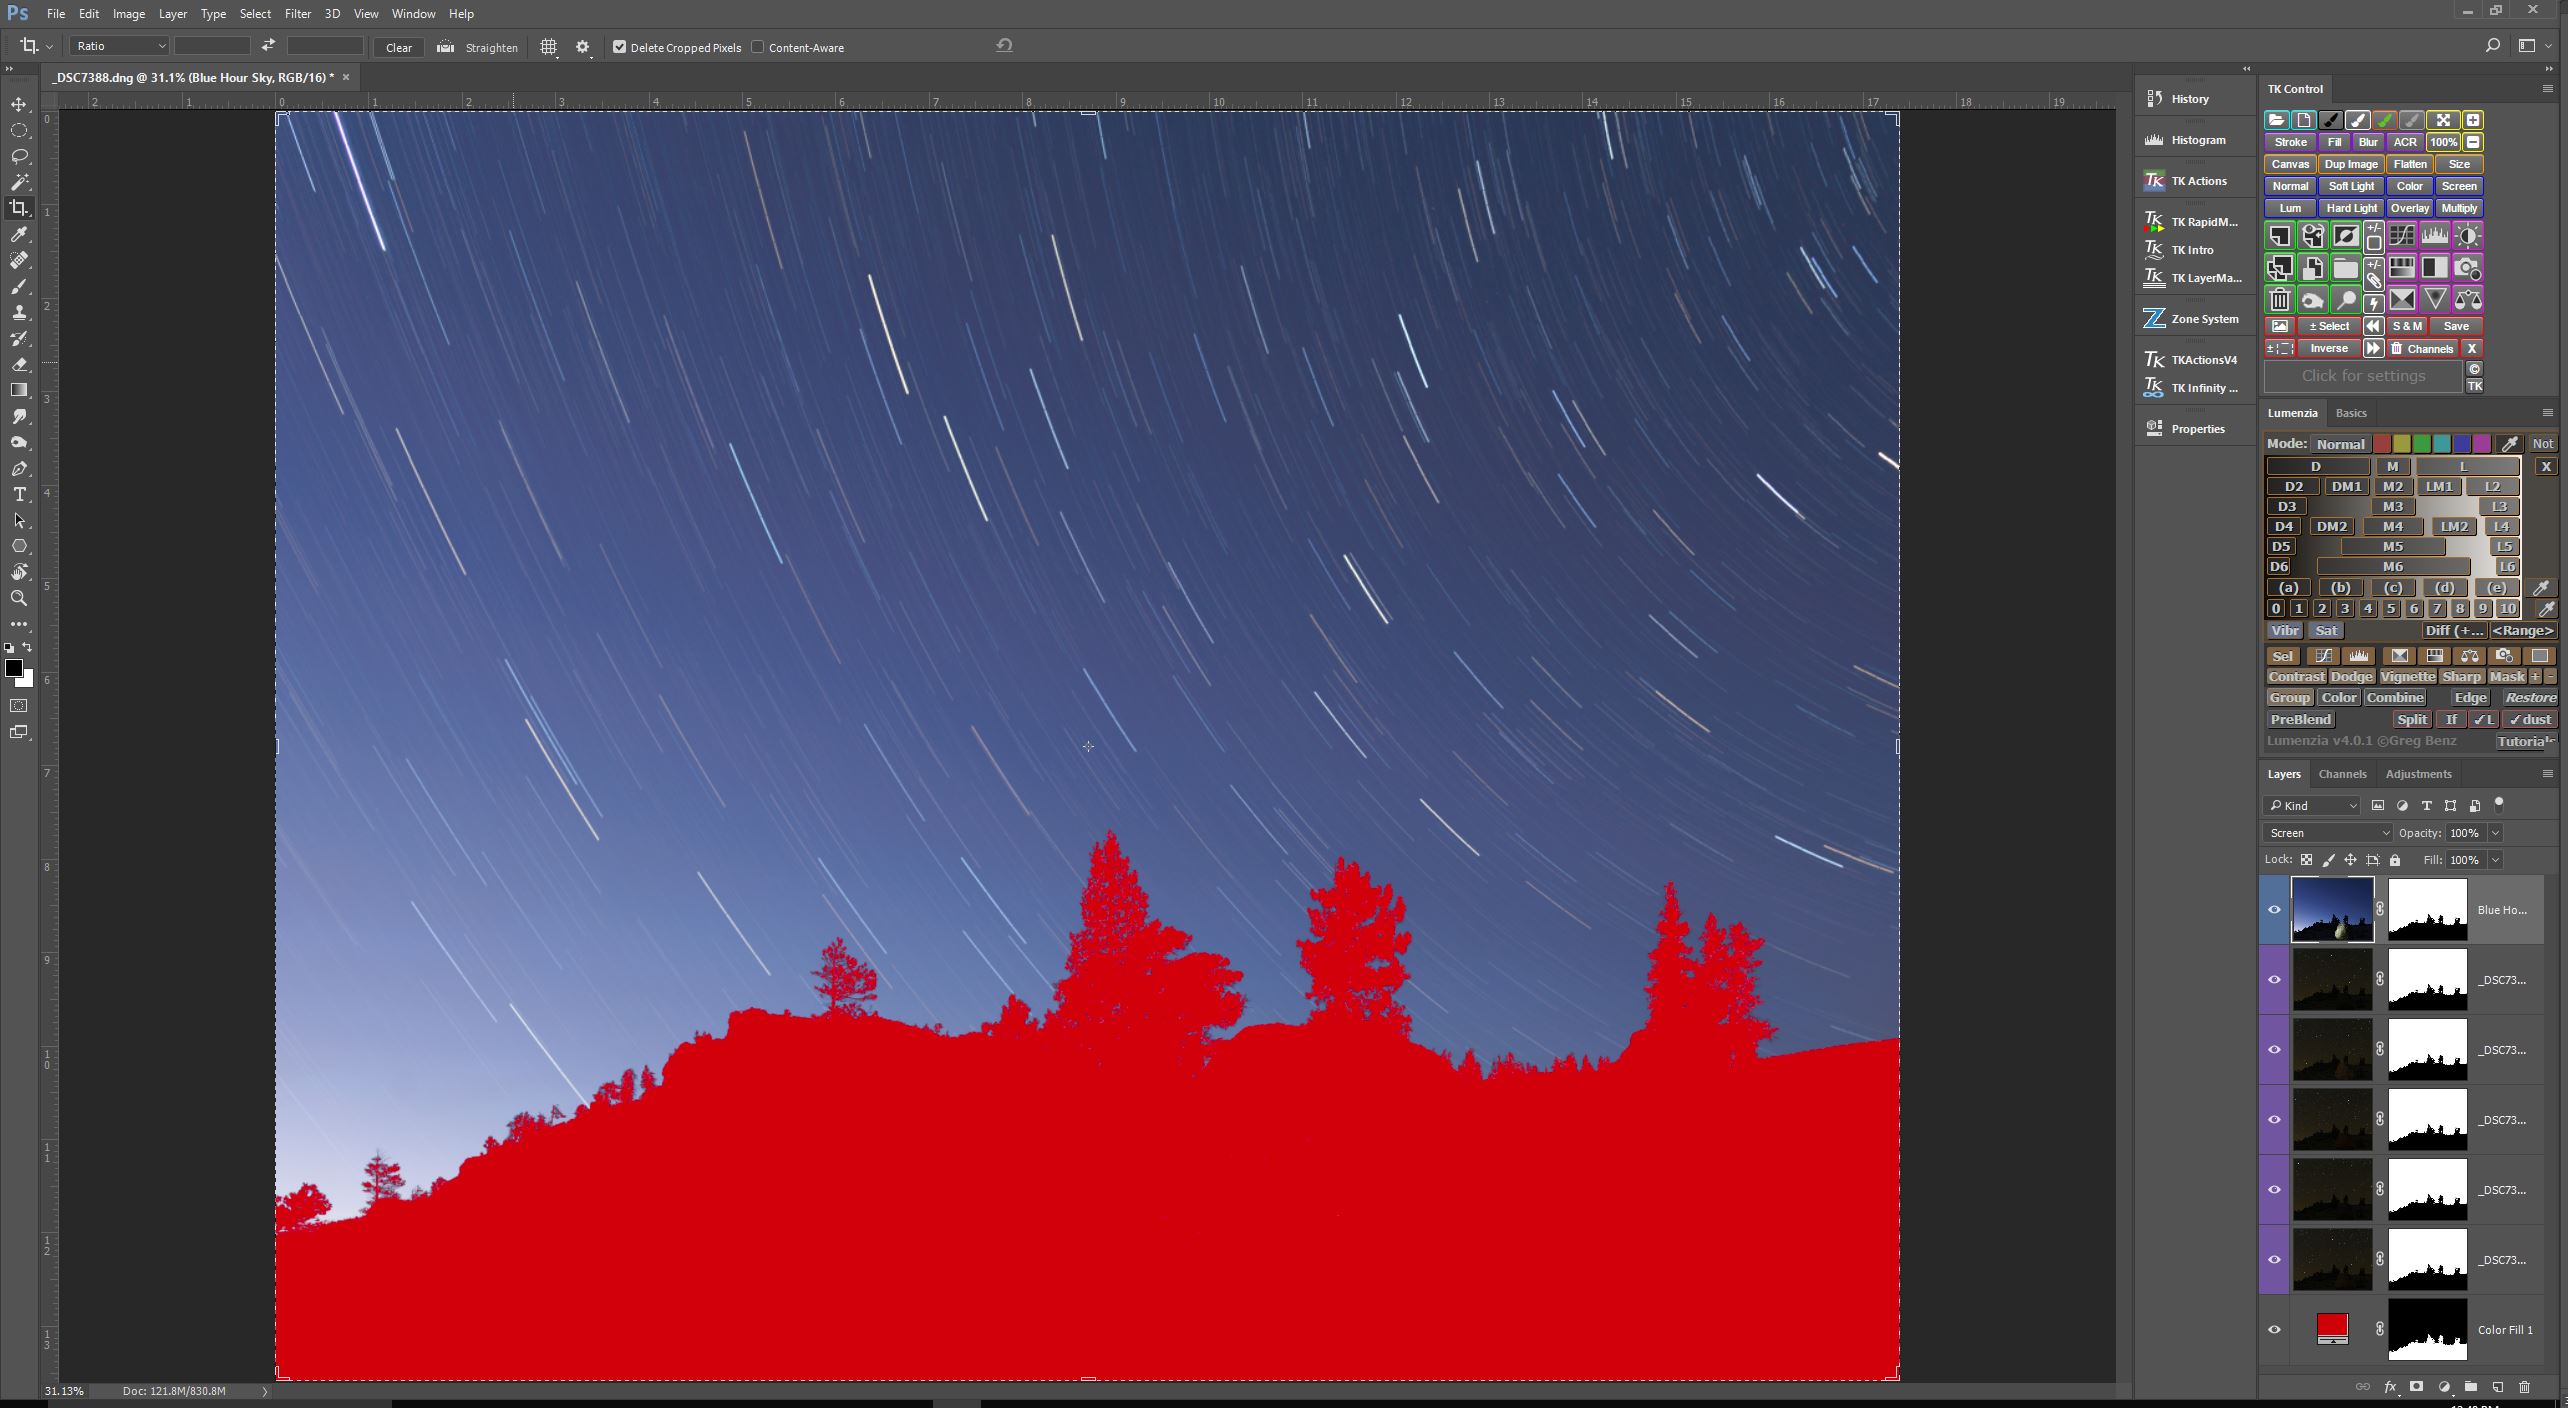
Here is one technique that I turn to often to control the color of the sky when I set out to create star circle images. Remember, I am essentially recording data to be put together in a final image later on, so as part of the process, I make sure to capture a sequence of exposures during the entire blue hour, just up until the time when stars become visible. So the series of exposures I have to choose from range from very light blue, to very dark blue. I just pick the one exposure that I like best, and include it in my image as a separate layer. as you can see in the screen capture above.

                      Blue Hour Sky Blended With Dark Sky Star Circles  Now, if I set the Blending Mode of this new “blue hour” layer to Screen, you’ll see that the star circles remain nearly unchanged, but the color of the sky is now the “blue hour”color, as shown in the screen capture above.


Composite Sky Darkened By Reducing Opacity Of Blue Sky Layer

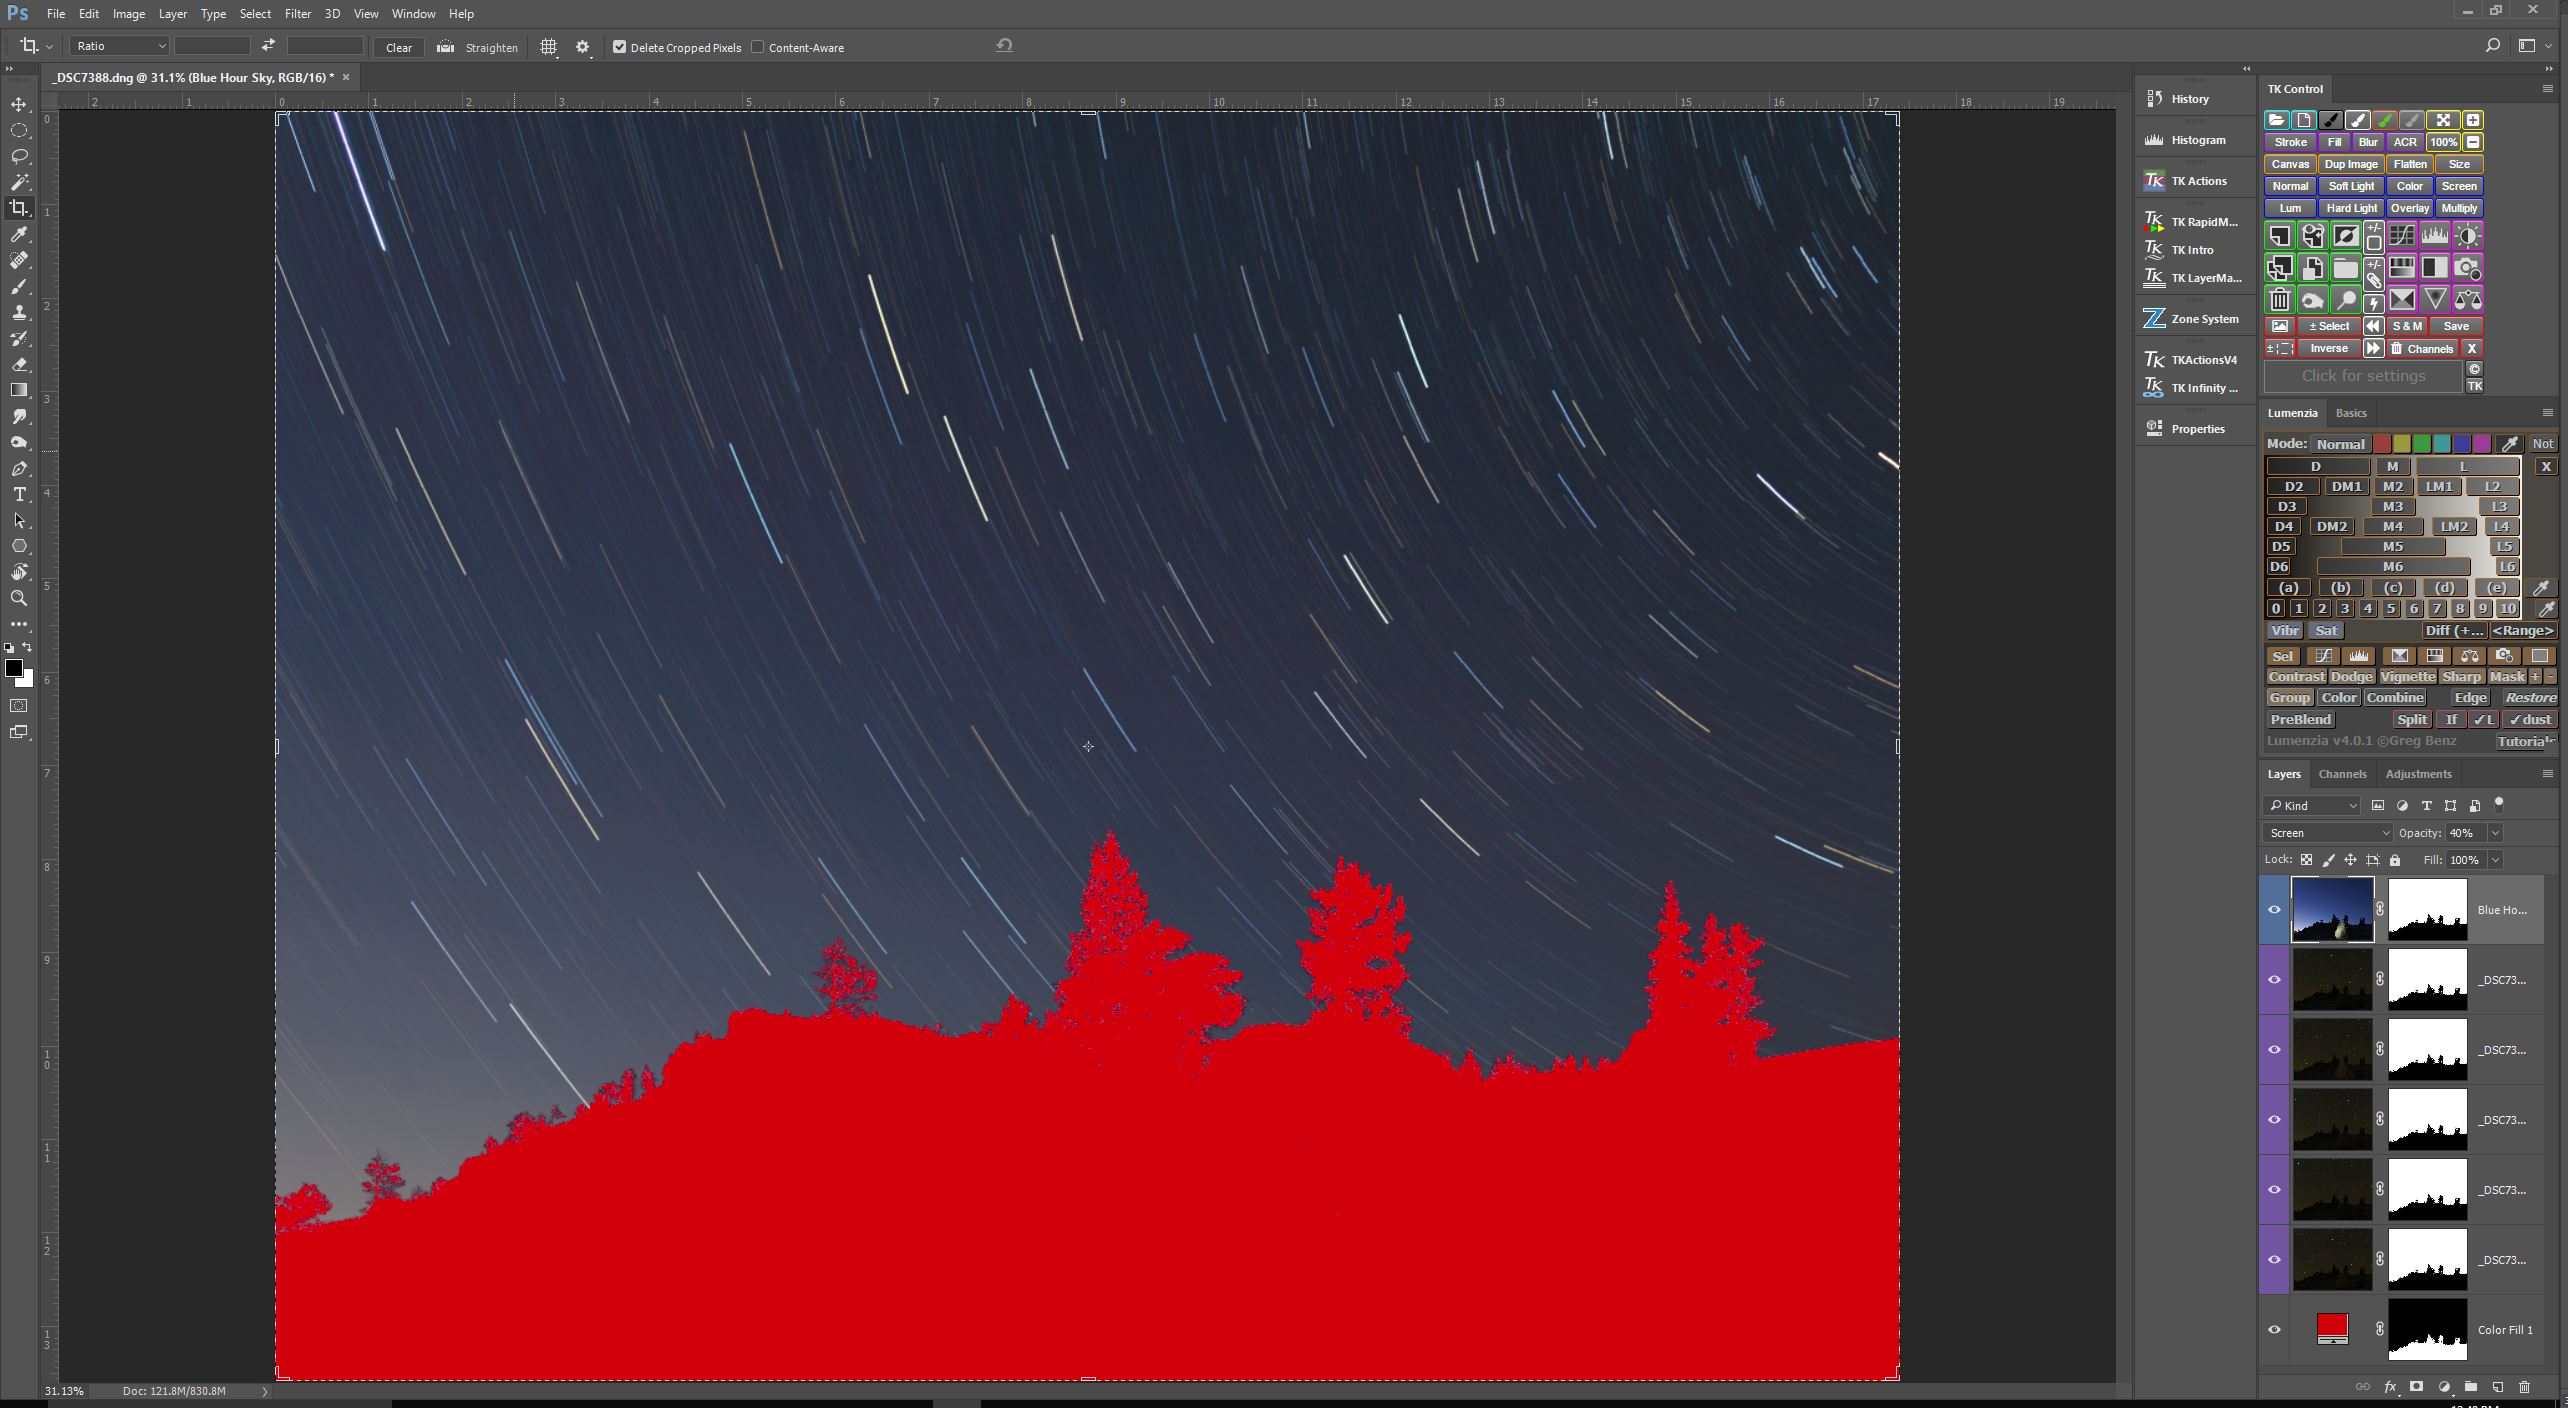
I like to select a “blue hour” sky exposure that is a bit lighter than what I envision for the final image. By doing this, I can dynamically change the lightness of the sky simply by changing the Opacity amount for the “blue hour” layer. In this case, I thought 40% Opacity looked the best.

So there you have it. Another tool in the arsenal of techniques at your disposal for controlling the look of your star circle images. Give it a whirl