When you see the grill on the tractor looking like this, you’ll know that I’ve been bush-hogging a field with chest-high growth. What you see is a variety of seeds that are knocked off the seed head of the plants as the tractor passes over them. The suction created by the diesel engine’s cooling fan causes some of the seeds to cling to the grill, which requires me to stop and brush the grill clean every once in a while to keep the engine operating at it’s proper temperature.
Now that the fall season is nearly upon us, it is time for me to begin cutting some of the clearings on our land. I’m not really sure that “clearing” is the correct terminology to use to describe these areas. We have hay fields used in the regular production of hay, which I believe I correctly refer to as “fields.” We also have a series of grazing pastures for our horses, which are correctly referred to as “pastures.” In addition, we also have many areas that were formerly cattle grazing pastures, which I have regularly cut for the past five years, but have not been grazed by domestic livestock for the past decade. I suppose some might refer to these areas as meadows, but I usually associate the term meadow with a former wetland that has filled in over time to become a meadow, prior to it’s continued evolution into forested land as trees successfully invade the grasses of the one-time meadow. So the most descriptive term I have been able to come up with for these former pastures is the term “clearing.”
Now that you understand my nomenclature, I can describe the type of cutting schedules that I have created.  There is one set of considerations that determine the cutting schedule for the hay fields, which are described in the previous post entitled Fescue To The Rescue. The horse pastures have an entirely different set of considerations, which will be the subject of a future post. The clearings have their own unique set of considerations also, base upon the use priorities we have established for our land.
The two top priorities we have set for our land usage are family recreation and wildlife preservation. Sometimes these two priorities are in harmony with each other, and sometimes they are in conflict. The clearings represent an area where the two priorities may conflict. The wildlife thrive in areas of long grasses. Deer use the long vegetation for both browsing and for cover. Ground birds and fowl will nest in the long grasses, and the insects that are ever present in the growth are tempting morsels for a host of creatures. On the other hand, when we humans take our dogs hiking on our land, we enjoy the ease of travel, the (relative) freedom from massive insect attacks, and the aesthetics of a freshly cut clearing. It is also nice to be able to see some of the more nasty varieties of snakes as you walk, without having to step on them to discover their presence!Â
In an attempt to strike a reasonable balance between the sometimes conflicting uses of our land, we have decided to let some clearings grow for a year at a time, for the benefit of the wildlife.  I keep the remainder of the clearings cut for our recreational purposes. I schedule the bush-hogging so that each individual clearing is rotated into, and then out of the cutting schedule on a regular basis, which helps to control the emergence of undesirable brush in all of the clearings, be they long or short.
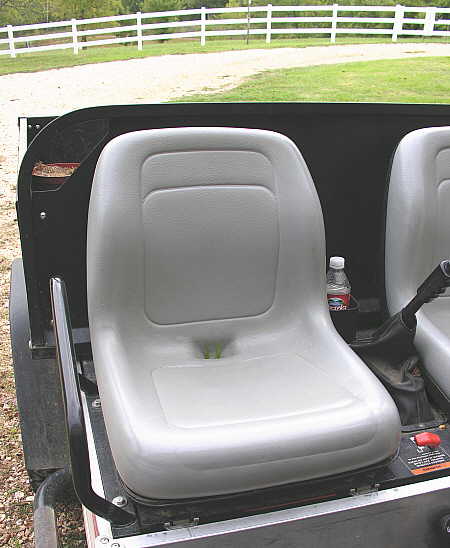
Yesterday morning I took the tractor (as you see above) and cut one of our clearings. About two hours into the bush-hogging activities, I was startled to see not one large buck, not two large bucks, and not three large bucks, but FOUR large bucks emerge from the edge of the woods surrounding this particular clearing. I was surprised on two counts. When I see a deer while on the tractor, it is usually on the far side of a clearing, field or pasture, and it usually flees immediately upon seeing me approach. These deer emerged very close to where I was bush-hogging, and instead of immediately bounding off back into the woods, they stood their ground and examined me closely as I guided the tractor along. The second reason I was surprised is that when I see a large buck, it is usually a solitary animal. These four large bucks all arrived together, and when they departed, they all ambled off in the same direction together. It was a very nice sighting, I’m just sorry that I don’t keep a camera on the tractor with me as I work.
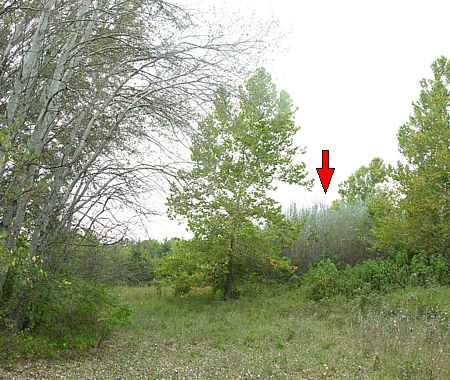
It was such a fine, clear day out yesterday that after my tractor work, I decided to go up to the top of the mountain to try my hand at panoramic photography (see yesterday’s post). After taking the series of photographs that I needed for the panorama shot, and then enjoying the view for a while, I decided to return to the clearing I had just finished cutting to snap a few photos for a possible blog post for today. As I approached the clearing, through some brush I was able to make out the form of what I thought was a coyote nosing around in the freshly cut field, probably looking for displaced rodents, or rabbits, or whatever to snack on.
With camera in hand, I mustered up all of the stealth that I could, and approached my photographic target. There he was, at the far edge of the clearing.  Knowing that I would probably get only one chance for a decent shot, I slowly drew the camera up into viewing position, and snapped the following photo.Â
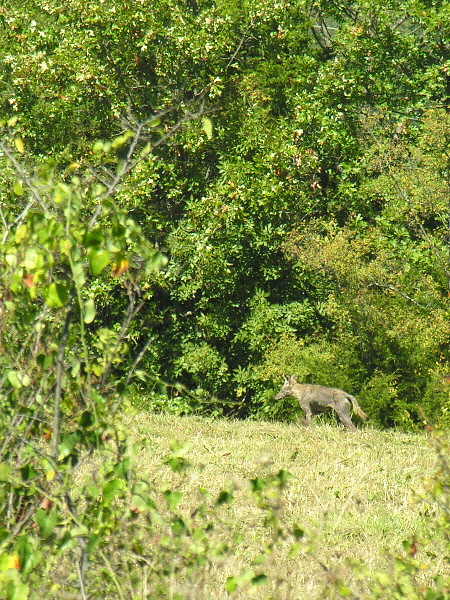
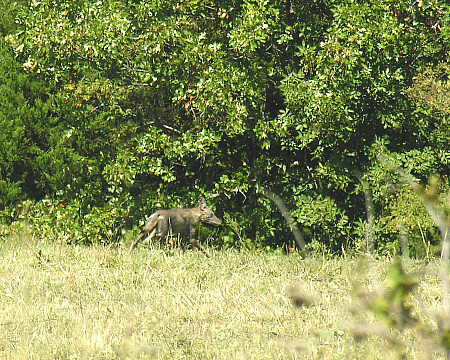
He raised his head and spotted me, turned, and trotted off into the protective cover of the nearby woods. I shot another picture, and …DARN, DARN, DOUBLE DARN …. I saw that the camera was still set up for the low-resolution panoramic photos that I had just finished taking on the mountain top! Oh well, the pictures aren’t as good as I would have liked, especially since I don’t see coyotes during the day too often, and particularly when I have a camera in hand, but they at least prove that I wasn’t imagining things.
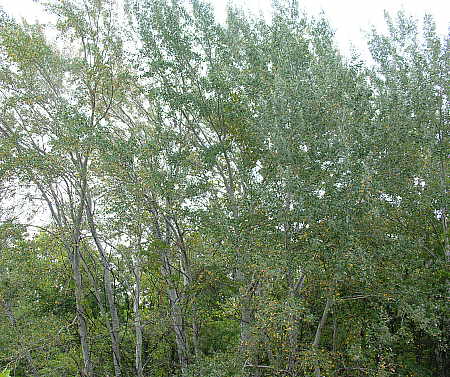
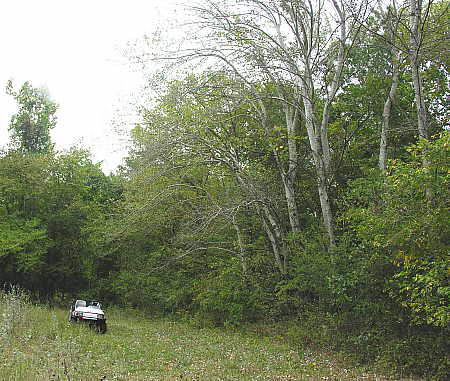
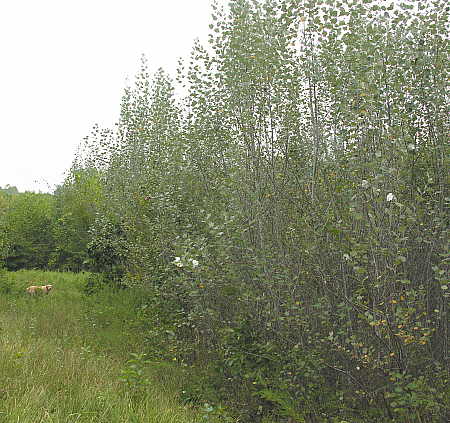
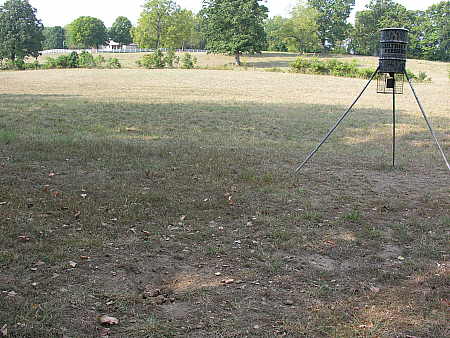
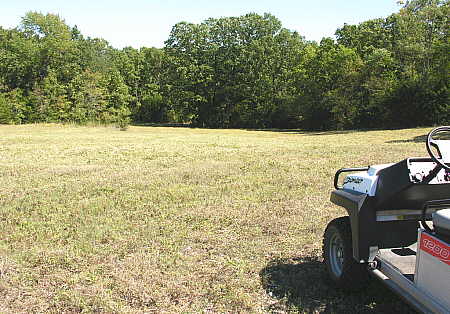
Anyhow, when I was finished cutting the clearing, it looked nice and neat, as shown in the following photograph. This clearing will now stay short for the next year, while an adjacent clearing will be allowed to stay uncut during this same time period.
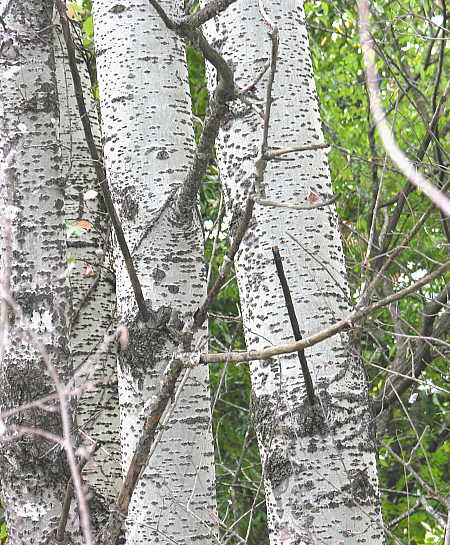
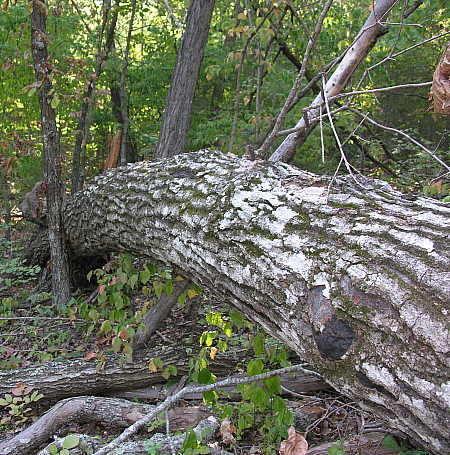
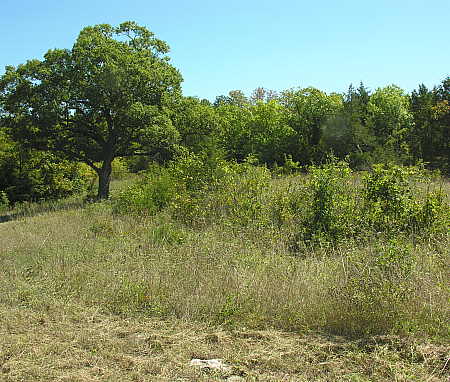
On the edge of this clearing is a rocky section that all of the previous landowners (myself included) had bush-hogged in the past. After ruining several sets of rotary cutter blades, I decided that this was a fool’s errand, and so I have left this portion to grow over with brush, as seen below.
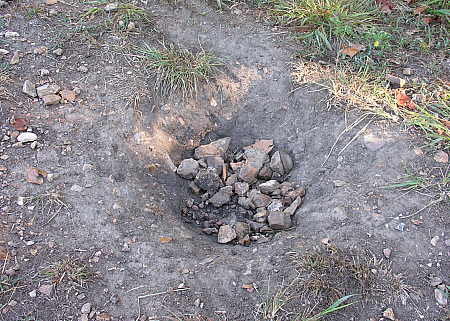
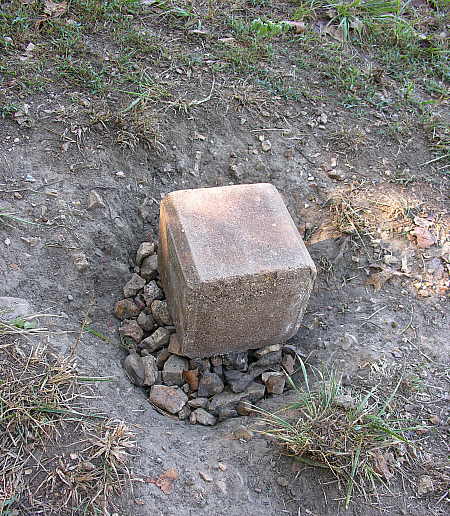
Although I tried to be careful about leaving all of the rocky area uncut, I missed a couple of spots, which could cause equipment damage in the future. The following photo is of one of the emerging rocks that I missed.
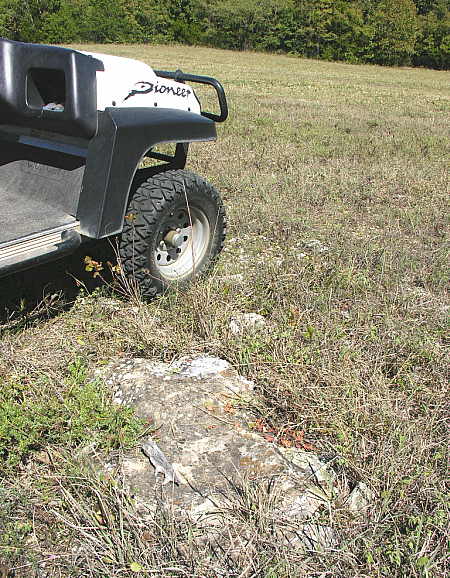
I will probably place marker stakes at these rocky spots this winter, so that when I cut this clearing next time, I will avoid these areas.
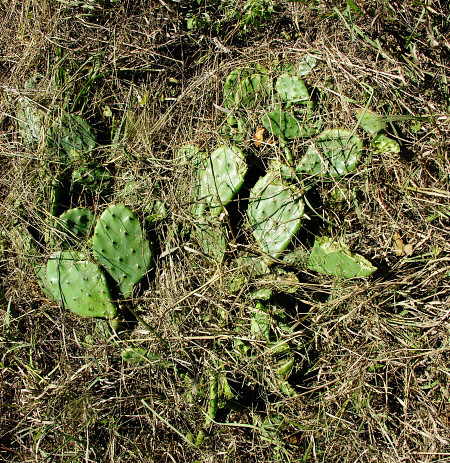
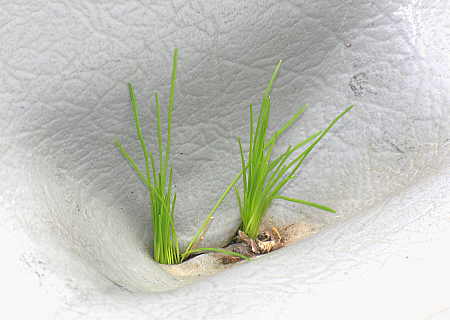
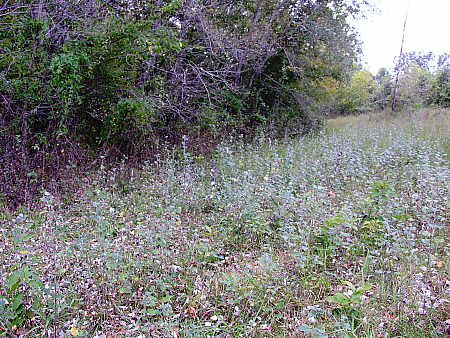
One last surprise was the discovery of a small cactus patch growing in this clearing. I have seen this occur in a couple of other clearings and pastures, but never in this one. Maybe I wasn’t sufficiently observant in the past, or maybe this has recently spread to this part of the property. Who knows? But I do know this – yesterday was a fun day!
Â