After reading a recent post here at Ranch Ramblins entitled Non-Toxic Fly Control, Duane of Geek Acres asked if I would give a tour of our hen houses. If I were to choose a time to give such a tour, I probably would have waited until this coming fall, when I am scheduled to make repairs and repaint our out-buildings.  Since Duane asked so politely, I couldn’t refuse his request, however, like a guest who arrives unannounced, I will ask you to kindly overlook the unkempt appearance of the hen houses.
But first, a disclaimer of expertise. Most farmers in the Ozarks, especially in Arkansas, have forgotten more about poultry and poultry housing than I will ever hope to learn about the subject. What follows comes mostly from my limited, but enjoyable observations over the past several years. Having gotten that off my chest, let’s go look at the houses.
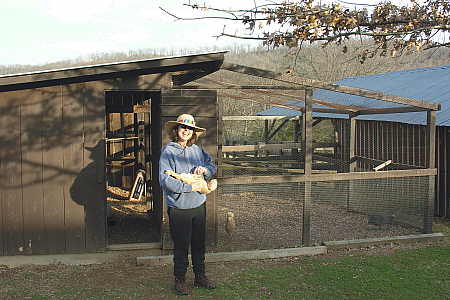
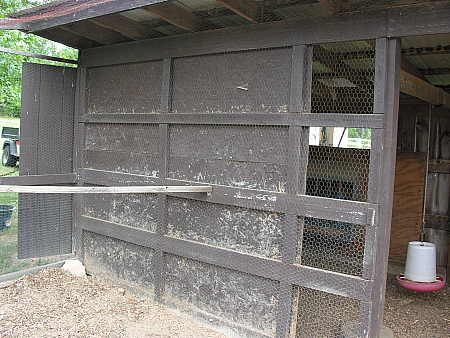
Hen house #1 is a free-standing structure that is located beside the loafing shed we maintain for our horses’ shelter.  The hen house is constructed in such a manner as to provide protection from predators and shelter from inclement weather. The south facing portion of the coop features an outdoor courtyard for the fowl, which is sheathed in chicken wire and hardware cloth. The walls to the north, east and west provide protection from the prevailing wind in our area. To keep rain and snow at bay, this coop is built with a simple pitched metal roof, utilizing rafters of sufficient strength to support the snow and ice which accumulates in the winter.
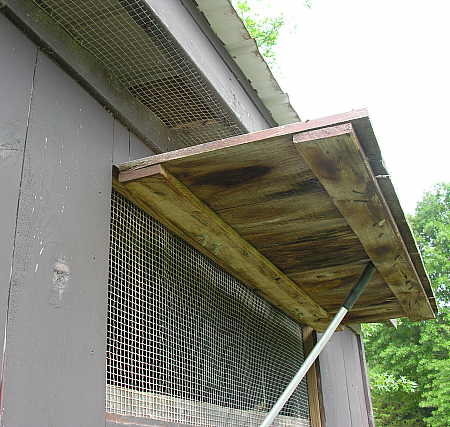
To avoid respiratory problems and heat-stress among the fowl, the coop features adequate cross-ventilation provided by two large openings, which close tightly for protection in the colder months. In the following photograph, besides the ventilation openings, notice that the coop has been constructed on top of concrete footings, designed to keep predators from burrowing underneath the coop to gain access to their prey.
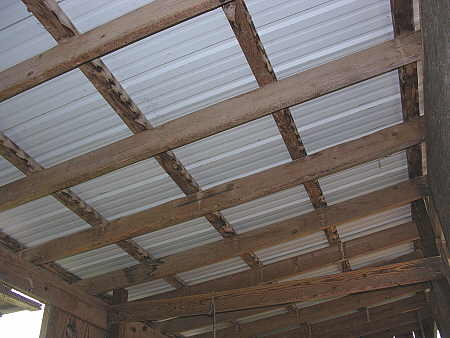
The following photo shows the screened soffit that the coop utilizes to provide adequate ventilation for the fowl even with the windows tightly shut. Also notice that the coop has been screened with hardware cloth wherever possible, as thinner chicken wire can be penetrated by many predators.Â
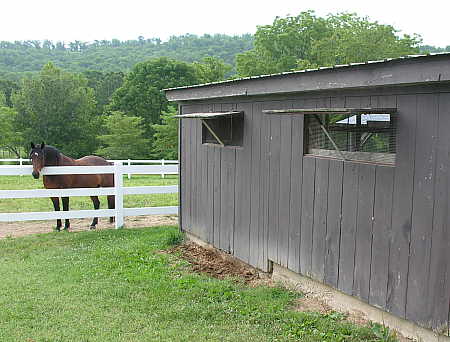
There are additional things to consider when the coop is to be located in a cold-climate area, such as the Ozarks. In the following photo, you can see that the coop (on the far left) is completely enclosed from the northerly weather, and is sheltered by the loafing shed to the south when the breeze blows from that direction.

Even though the coop is sheltered by the loafing shed, it is still equipped with a partial wall separating the courtyard from the house proper, which provides additional winter warmth for the birds.
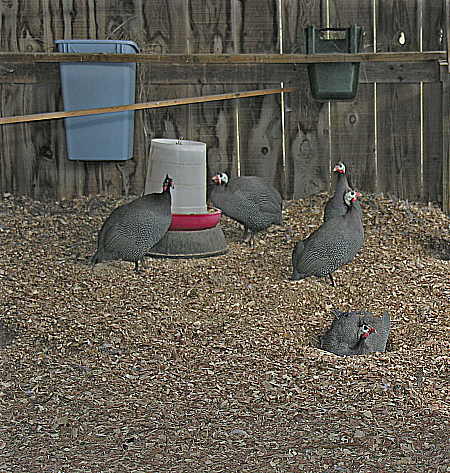
Even with all these precautions to protect the fowl from the cold, the nesting boxes have been installed along the northern wall by first affixing a sheet of plywood, which creates a dead-air space and provides additional protection from the cold winds of winter. The poultry feeder has been suspended from the rafters, to help keep mice away from the feed.

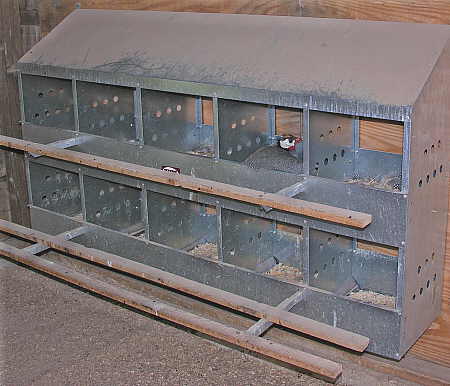
This hen house originally was constructed with home-built nesting boxes, but they had deteriorated over time. Rather than rebuilding them out of the same material, we opted to purchase ready-made metal nesting boxes, which are available at many local farm stores or from Internet merchants.
Both guineas and chickens prefer a perch to sleep on whenever possible, so we have provided them with ample places to do so. Besides placing perches in all corners of the pen, as shown below, we have also placed an old ladder from our milking barn into the coop. This has turned out to be the favored perching spot for many of the birds. Notice that the interior of the coop is bedded with wood chips, which acts as a compost medium for the litter produced by the poultry.
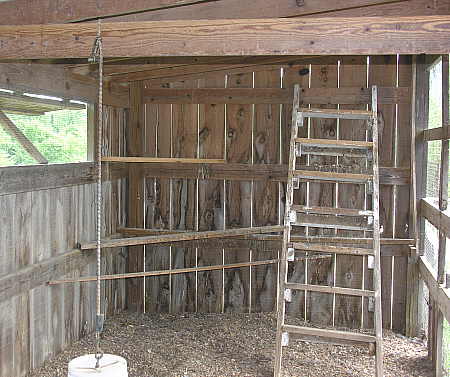
It is important to supply the fowl with perches in the courtyard as well, in order to allow them the opportunity to perch outdoors in fair weather.

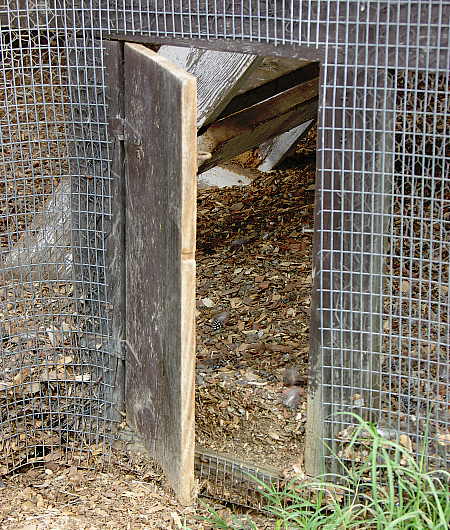
Although the coop is built with a full-height entry door in the front, it also contains a mini-door in the rear. This door serves two purposes. If you free range your fowl during the day while the fowl are young and still in their learning stages, they are sometimes too dumb to go around the coop to find the front door. By providing an additional door at the rear, you can save yourself a lot of aggravation when trying to herd the flock back into the coop in the evenings (see previous post To Free, Or Not To Free (Range Your Chickens). The second purpose is to provide an escape route for poultry that might be in the coop during the day, should a predator find it’s way into the hen house. Without an alternate escape route, these fowl would become trapped inside the coop, and probobly meet their demise.
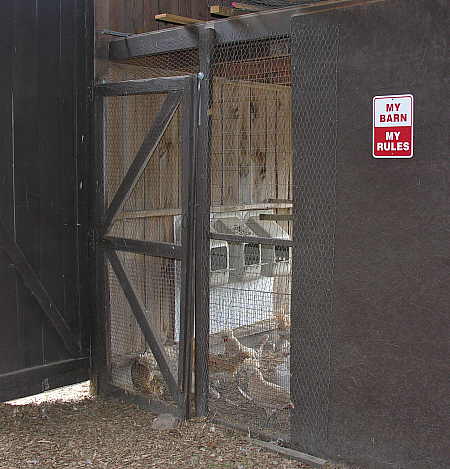
On to hen house #2, which we have built into our existing equipment barn. The style of coop is different from the first coop, but the basic principles remain the same; shelter from the prevailing weather, protection from predators, wood chip flooring, insulated nesting boxes, and plenty of perching space.
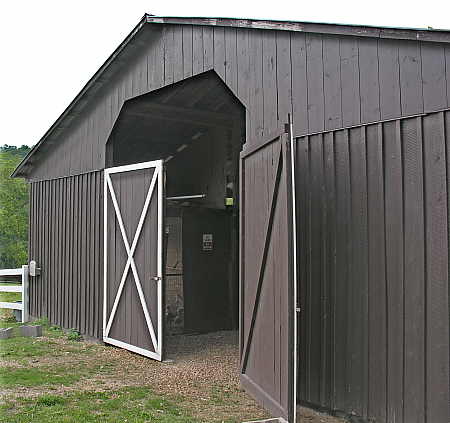
This hen house was relatively easy to construct, as the major portion of it is comprised of the existing structure of the barn. We simply added a couple of walls and a door, and after agreeing to abide by the rules of the house and signing the lease, the birds moved right in.
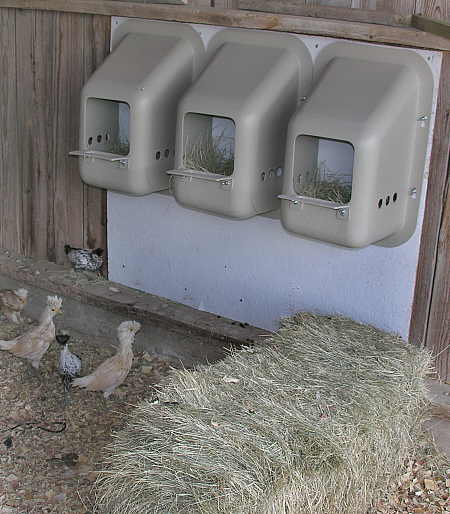
The following photograph shows a different style of nesting box than the boxes contained in hen house #1. Notice that they are still attached to the northern wall with a sheet of insulating material, to help provide warmth in the winter months.
In concluding this tour, I would like to point out that there are no strict rules to follow in constructing a hen house, just common sense principles that will help ensure the well-being of your poultry. And there is no one *right* way to accomplish this task. Use your imagination, and let your own circumstances dictate the design of your coop.