Convertible Bench/Table Construction Plans

In a previous post entitled A Benchtable  (October, 2007), I showed photographs of a convertible bench/table that I had built in my workshop.  Since then, Karl, Kostas, and Sylvia have requested plans for this indispensable piece of outdoor furniture.  I have tweaked the design a little bit since the first prototype, and have built a few for testing in the field (literally, in a field).


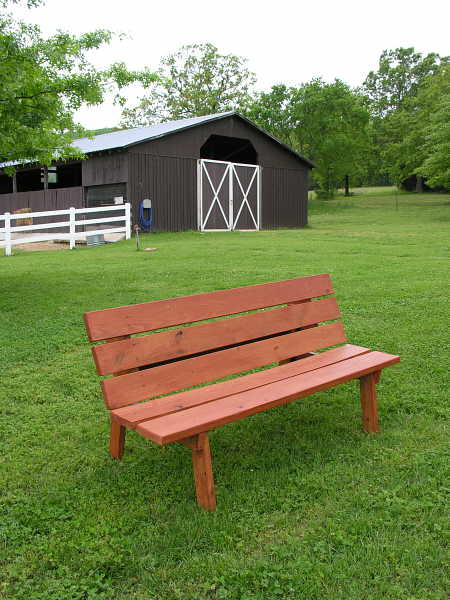
The photograph above shows a recently completed benchtable.  From the front, the new design looks the same as the past iteration.

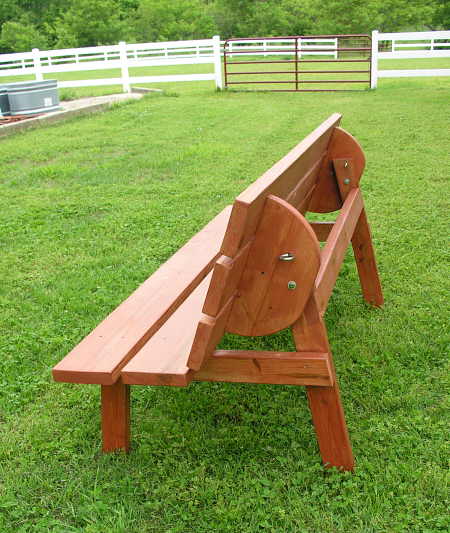
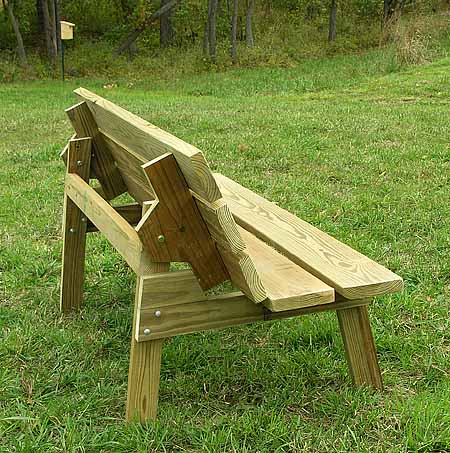
The change is visible when viewing the benchtable from the side or back.  Compare the rounded seat back/table top supports in this new design to the old design in the following photograph:

In this old design, the supports were built with straight lines and sharp angles.  The old design also employed the use of stop blocks on each side to lock the back support in it’s seating position.  The new design provides a more pleasing look, and is locked in place by  5/16″ eye bolts (that also serve to lock the top into position when used as a picnic table).

.

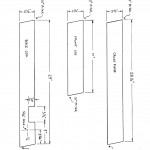
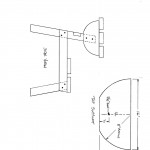
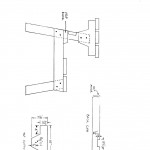
Click on each of the three thumbnails above for a full-sized mechanical drawing, which can then be printed for your use during construction.

Materials List

  • Lumber             -   2″ x 4″ x 8’        (3 pieces)
  • Lumber             -   2″ x 6″ x 8’        (3 pieces)
  • Lumber             -   2″ x 8″ x 8’        (2 pieces)
  • Carriage bolts   – 5/16″ x 3 1/2″    (8 pieces + nuts and washers)
  • Hex bolt           -   5/16″ x 4″         (2 pieces + nuts and washers)
  • Eye bolts          -    3/8″ x 6″          (2 pieces)
  • Deck screws     -  #8 x 2 1/2″        (32 pieces)
  • Carpenters glue
  • Sealer (or finish of choice)

Cutting List

  • 1 each    -   leg stretcher     2″ x 4″ x 53″
  • 2 each    -   seat slats          2″ x 8″ x 72″
  • 3 each    -   table top slats   2″ x 6″ x 72″
  • 2 each    -   top supports     (per drawing)
  • 2 each    -   front legs          (per drawing)
  • 2 each    -   back legs          (per drawing)
  • 2 each    -   cross pieces      (per drawing)

Assembly Instructions

A)   Cut all parts per cutting list.

B)   Place one rear leg in front of you.  Line up a front leg on top of the rear leg, aligning the bottoms of the legs.  Use the shorter front leg to scribe a mark onto the rear leg, along the top of the shorter leg.  This mark will be used to locate the crosspiece in the next step.

C)  Position a cross piece on top of the front and rear legs (as shown in drawing #2).  When you are certain you have positioned the parts correctly, fasten the cross piece to the legs, using glue and carriage bolts.

D)  Repeat step C for the opposite side, being careful to realize that the sides will NOT be identical, but are a mirror image of each other.

E)  Attach the leg stretcher to the leg assemblies, using glue and deck screws.

F)  Center the seat slats on the cross pieces.  The front seat slat should be flush with the cross piece (as shown in the drawing), with a 1″ gap separating the two seat slats.  Attach with glue and deck screws.

G)  Attach top supports to the rear legs, using hex bolts.  Use a carpenters level to level each support, and tighten the hex bolts.

H)  Center the table top slats on the top supports, leaving a 3/4″ gap between the slats.  Fasten with glue and deck screws.

I)  Double check to be certain that the table top is still level.  Using a 3/8″ drill, drill a hole through each top support, continuing to drill the hole though the rear leg, as well.  These are the holes that the eye bolts will pass through to support the top in the picnic table position.

J)  Now, move the table top to the bench position.  Experiment until you find the back angle that feels comfortable for you, and use clamps to lock the seat back into this position.  Using the upper 3/8″ hole in the rear legs that you drilled in the previous step as a guide, drill a 3/8″ hole into each back support.  Place the 3/8″ eye bolts into these holes to lock the back into the bench position.

K)  Apply a finish of your choosing, and enjoy your new benchtable! 

Devil’s Rope Museum

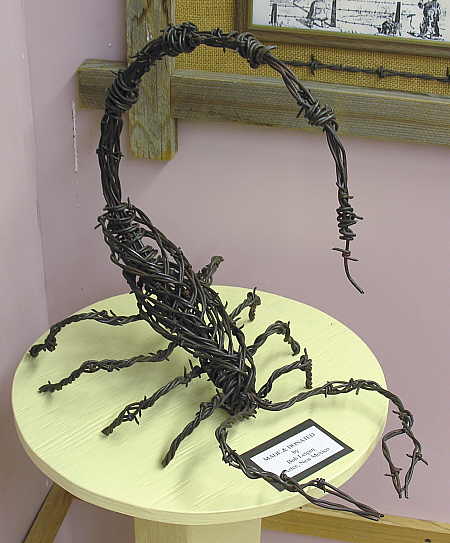
Ouch!!  A sting from a normal sized scorpion can be very painful – I know this from personal experience.  But can you imagine encountering a foot-long scorpion?  I have come face-to-face with one of these giants, as evidenced by the following photograph.

I ran across this specimen (metallica hadrurus arizonensis) while visiting the Devil’s Rope Museum in McLean, Texas.  And if this one isn’t large enough to frighten you, how about a scorpion the size of a human being?  It must have existed, because I read about it on the Internet – specifically, here.

But back to the Devil’s Rope Museum,  which claims to be the largest barbed wire historic museum in the world, and is the topic of this post.   I visited this museum while passing through McLean, Texas, shortly before writing a  previous post  regarding my pathetic little collection of barbed wire and fencing tools. 

McLean, Texas (pop. 830) lies along the path of old Route 66, which I happened to be exploring this past Fall.  After a delightful lunch stop at the Red River Steakhouse  (a place with real cowboys and cowgirls seated at the tables, excellent rib eye steaks, and great fresh cobblers included with all meals), the Devil’s Rope Museum caught my eye as I was departing town.  Grabbing my camera, I headed inside to see what might be on display.

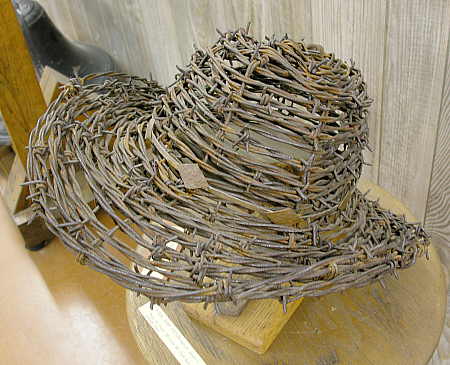
The museum offers a variety of exhibits related to barbed wire and fencing, as well as barbed wire art, such as the scorpion (as seen in the first photograph), and the woven wire hat, seen here.

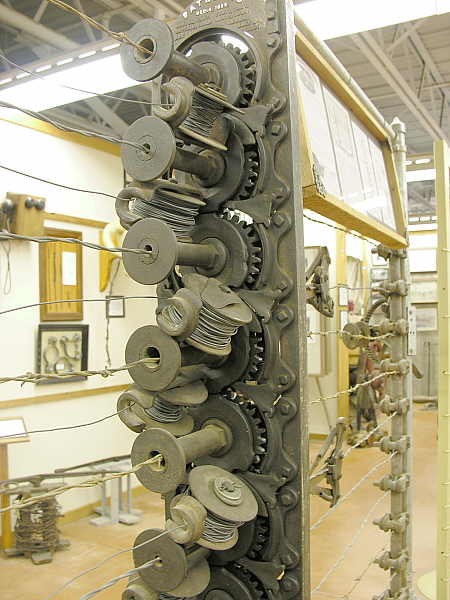
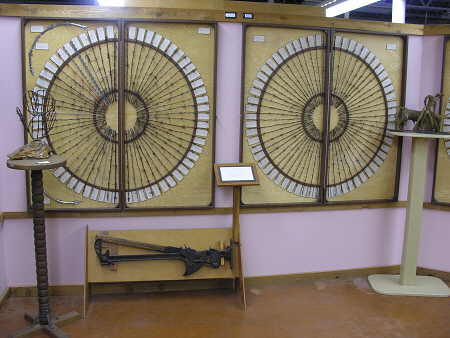
This photograph shows one example of the portable wire fence fabrication machines the museum has on display.

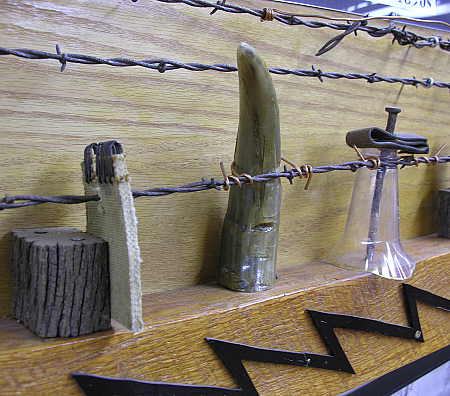
In times past, many rural ranchers utilized the top wire of their barbed wire fencing to transmit electrical communications signals (telegraph, telephone, etc.) from point to point.  These ranchers soon became well-versed in the concept of electrical insulators, and began using any appropriate items or materials that might have been on hand at the moment, as seen in the preceding photo.

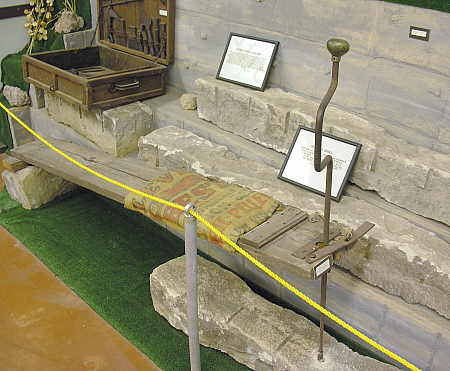
In those parts of the plains states where timber was in short supply, substitute materials would be found for the construction of fence posts.  The photo above shows a clever seat/hand drill device used to bore holes in stone fence posts – a daunting task, indeed!

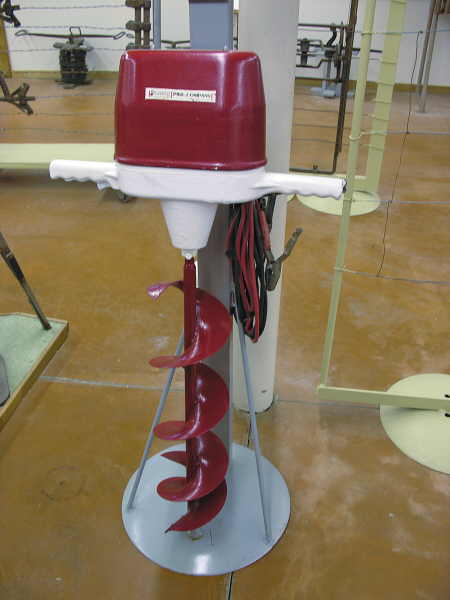
This is an uncommon earth auger designed to be powered by a vehicle’s 12 volt electrical charging system.  Perhaps these tools will make a comeback as a result of $4.00/gallon gasoline.

This is just a small sample of the thousands of styles of barbed wire that the Devil’s Rope Museum has on display throughout the building.

Here are some of the various designs and sizes of fencing staples that are on display, along with an explanation of what the different types of staples are used for.

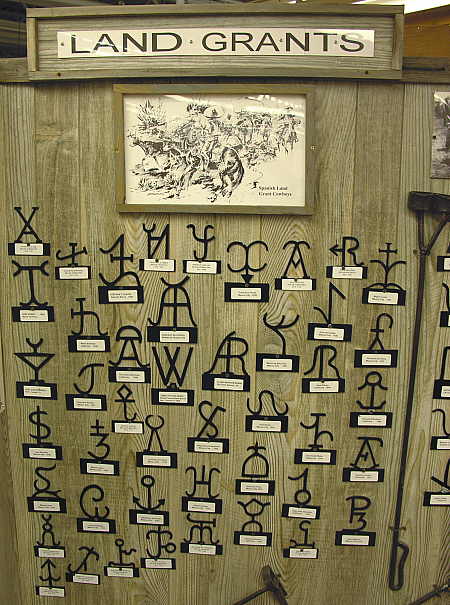
The museum hosts a nice size collection of branding irons and brands, including this example of early land grant brands.

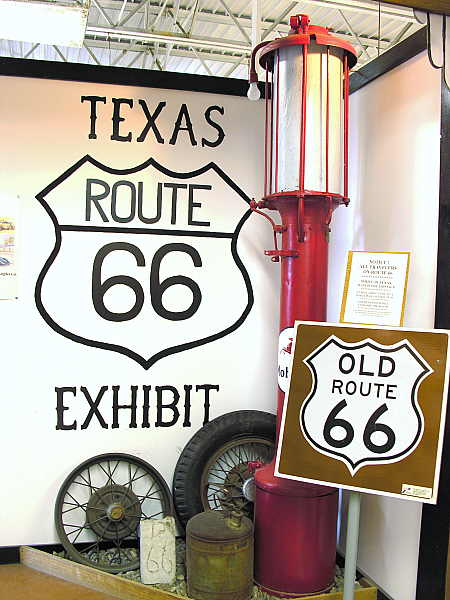
Because the Devil’s Rope Museum is located along old Route 66, the facility includes a small, but nice exhibit pertaining to the Texas portion of Route 66.

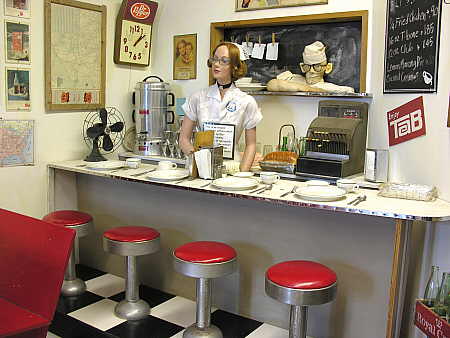
On display within this section of the museum is this mock-up of a 1940’s era diner, with all of the appropriate appliances and accouterments.

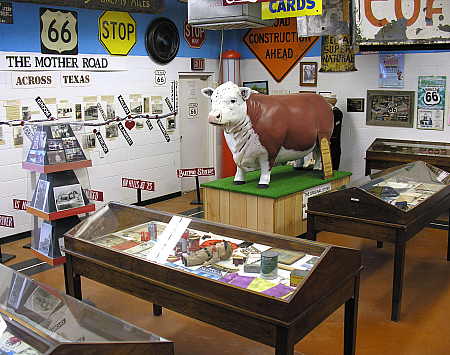
You may remember reading my previous post about the Big Texan Steak Ranch in Amarillo, Texas.  If so, you may be interested to know that the cast model steer on display at the museum (seen above) is the steer that graced the original location of the Big Texan.  If you look back at that previous post, you will see that the current steer replica is vastly larger than this original one.

In addition to this small sampling of the exhibits at the Devil’s Rope Museum that I have depicted above, I also viewed a special photographic collection pertaining to the Dust Bowl era that afflicted the mid-west region in the 1930’s.  Seeing the disaster that took place, and the human devastation that resulted was a heart breaking experience.  Because I did not take photographs of the exhibit (for copyright reasons),  I have included  this link  to a website containing similar photographs.  It is well worth a click over to the site.

Mys-deer-ious Mystery

Back in September, 2007, I wrote a post entitled A Head Shed? , wherein I mused about finding a complete deer skull (including the racks) in one of our pastures.  I opined that the buck may have been taken down by a pack of coyotes, whereas several commentators posited that the deer may have been struck by a vehicle, or wounded by a hunter far from our property, eventually to wander over here to die.


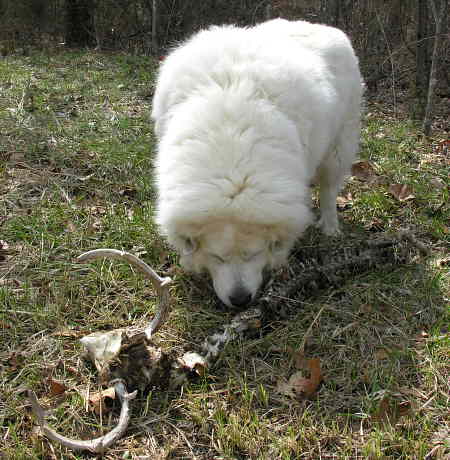
Well, that post was back in September, 2007.  This past March (2008), while hiking along in the “back forty”, Gracie happened upon this buck skeleton (pictured above).  The bones were picked clean, and mostly scattered in the immediate area.

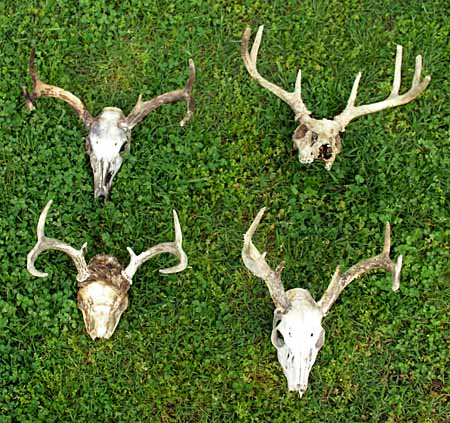
Since that second skeletal find in March, I have located two additional complete skulls on the property, bringing the grand total to four – all discovered within the past six months.

Considering that the closest paved road is about 2 miles distant from where these remains were found, I think it is highly improbable that all the deer were struck by a distant automobile and wandered, dazed and disoriented, onto our property to die.  One incident, perhaps – but four?  I doubt that vehicular mishaps explain my finds.

It seems strange to me that each of the skeletons I have found is a full grown buck.  I wonder if there is any significance to this, or is it just an improbable coincidence? 

A bad toupee?

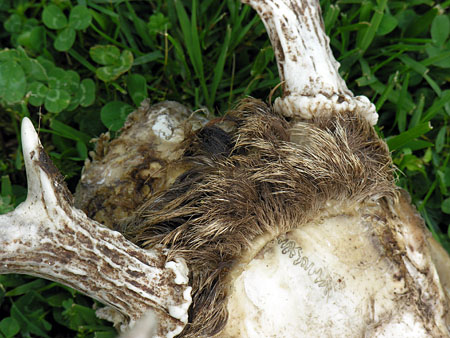
Anyhow, no matter what the cause of the demise of these unfortunate Odocoileus virginianus, don’t you think this is an astonishingly bad toupee?