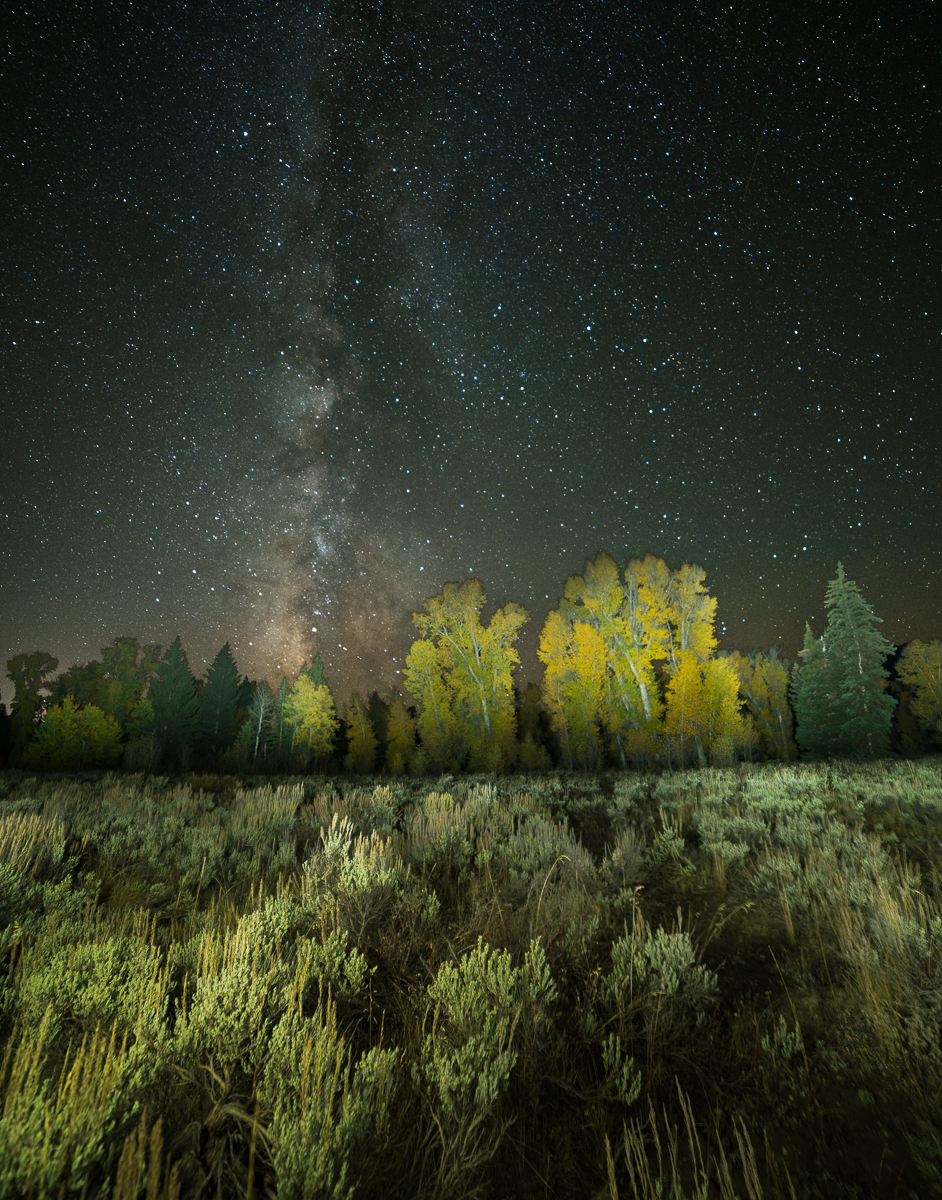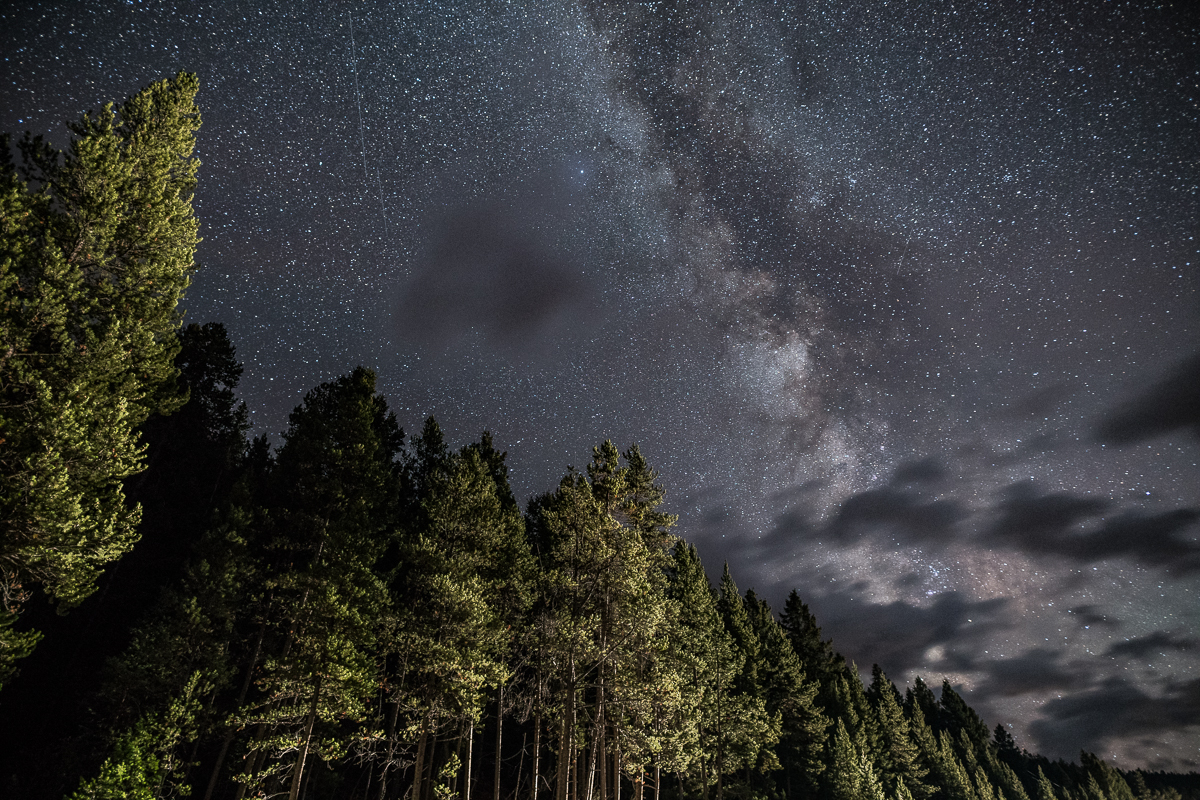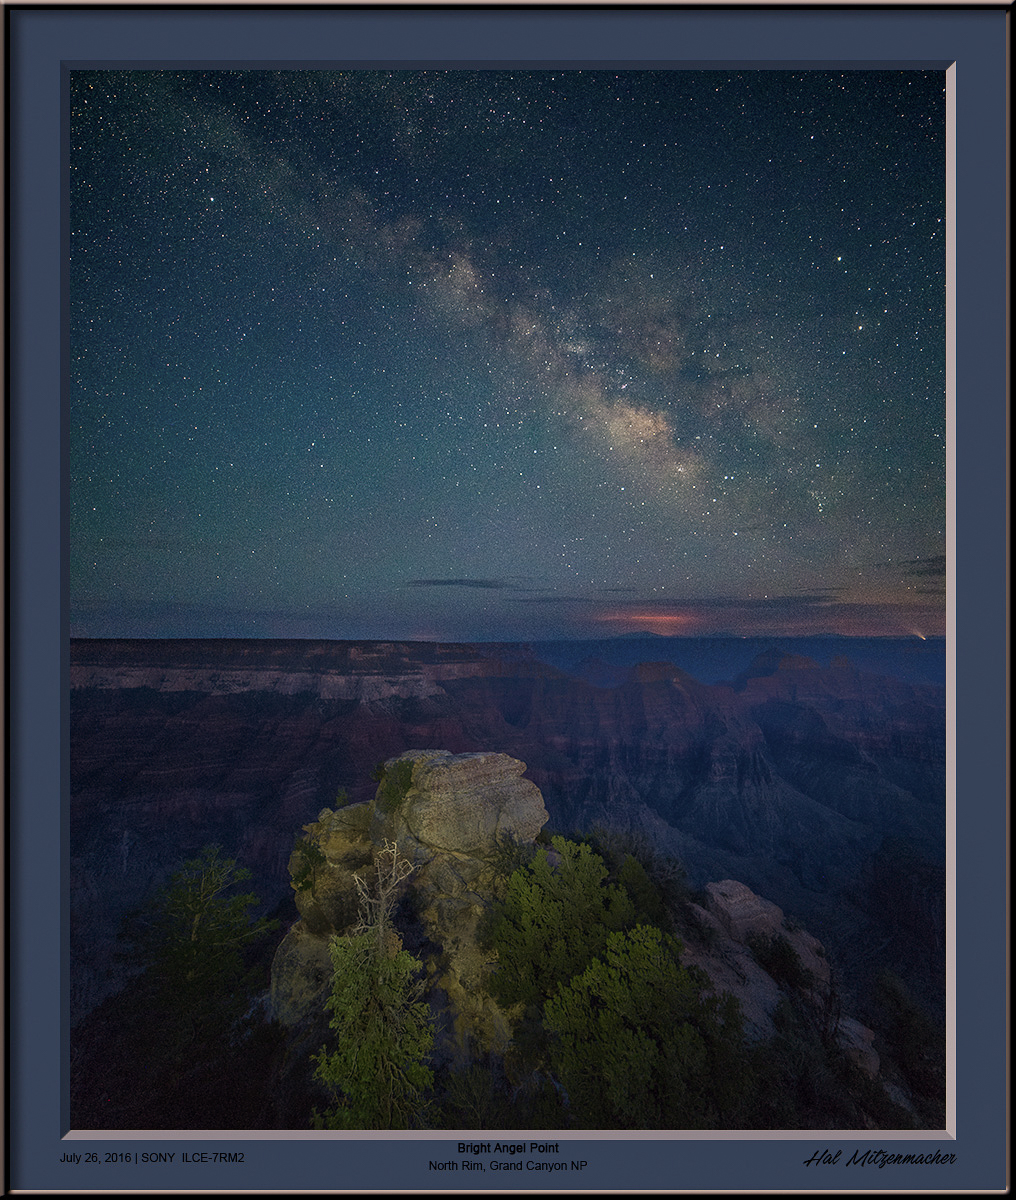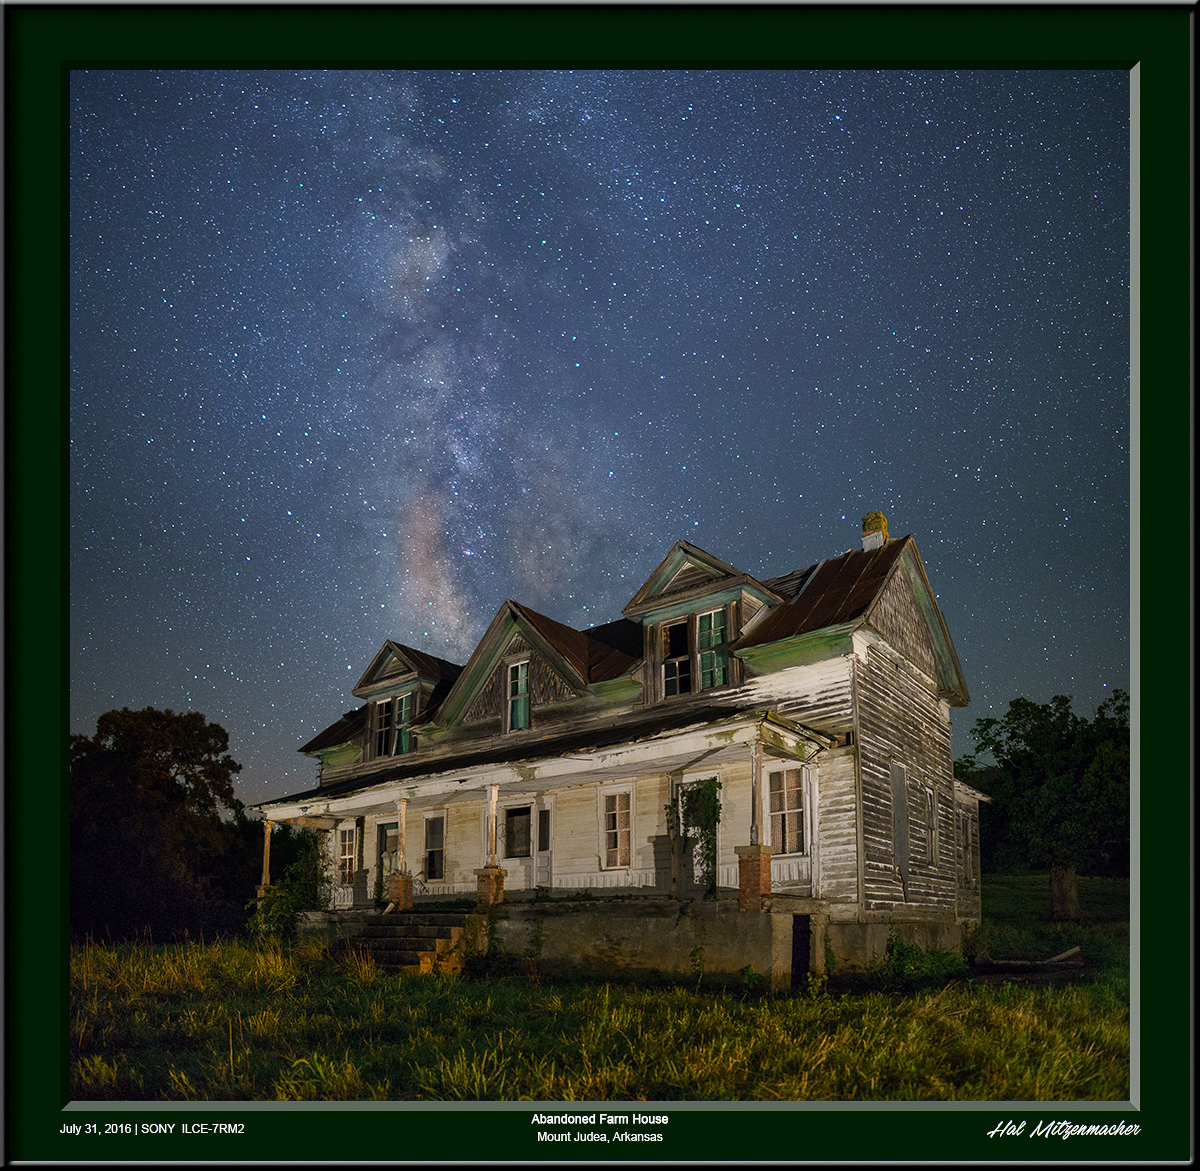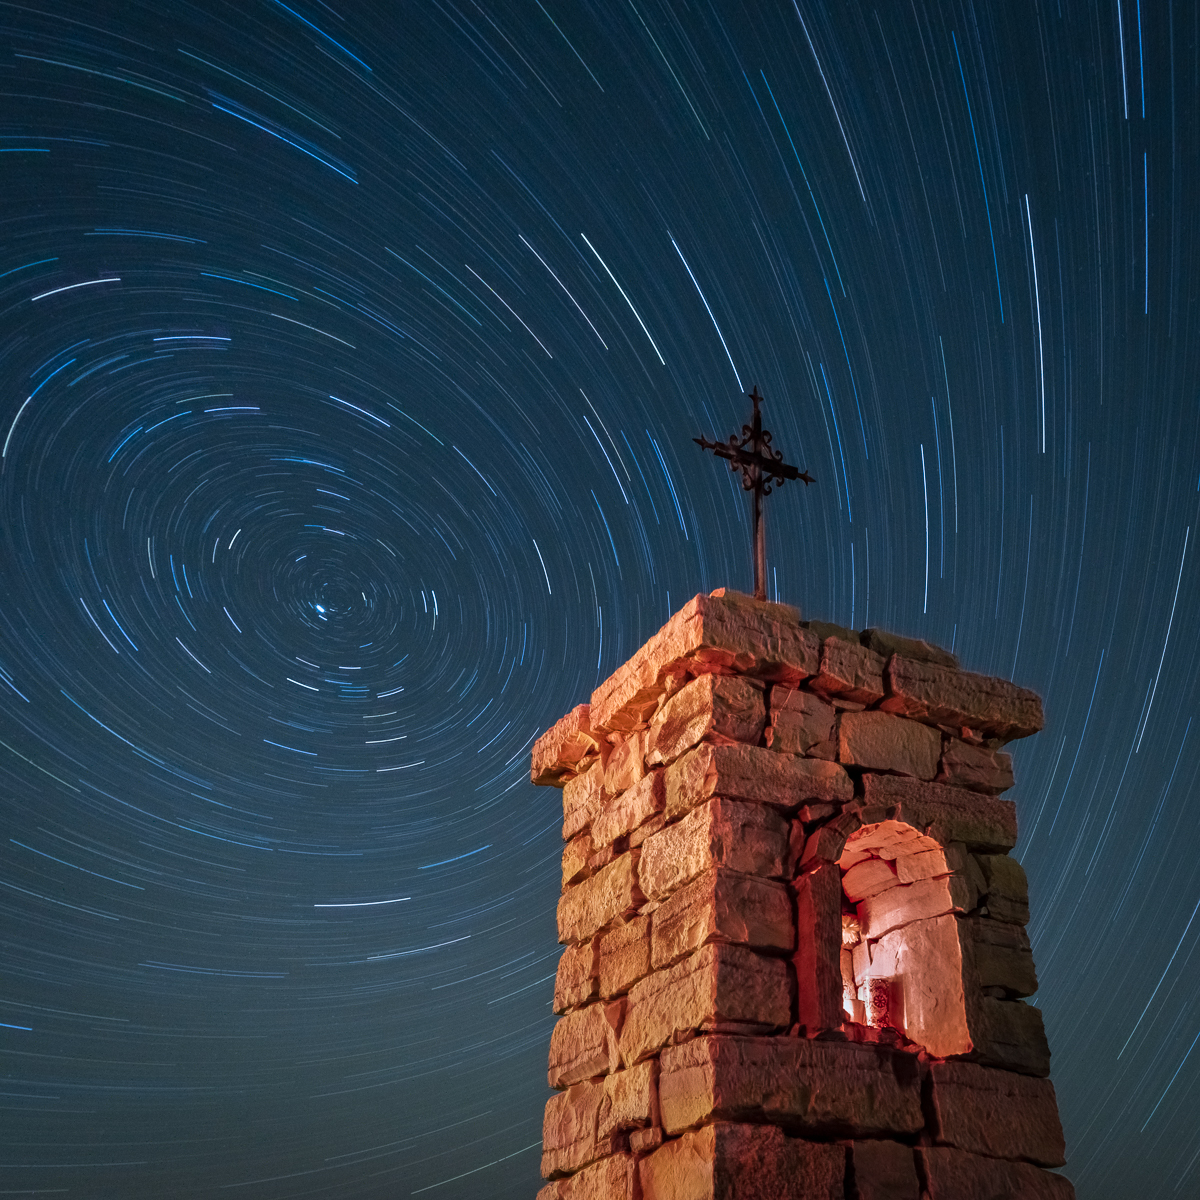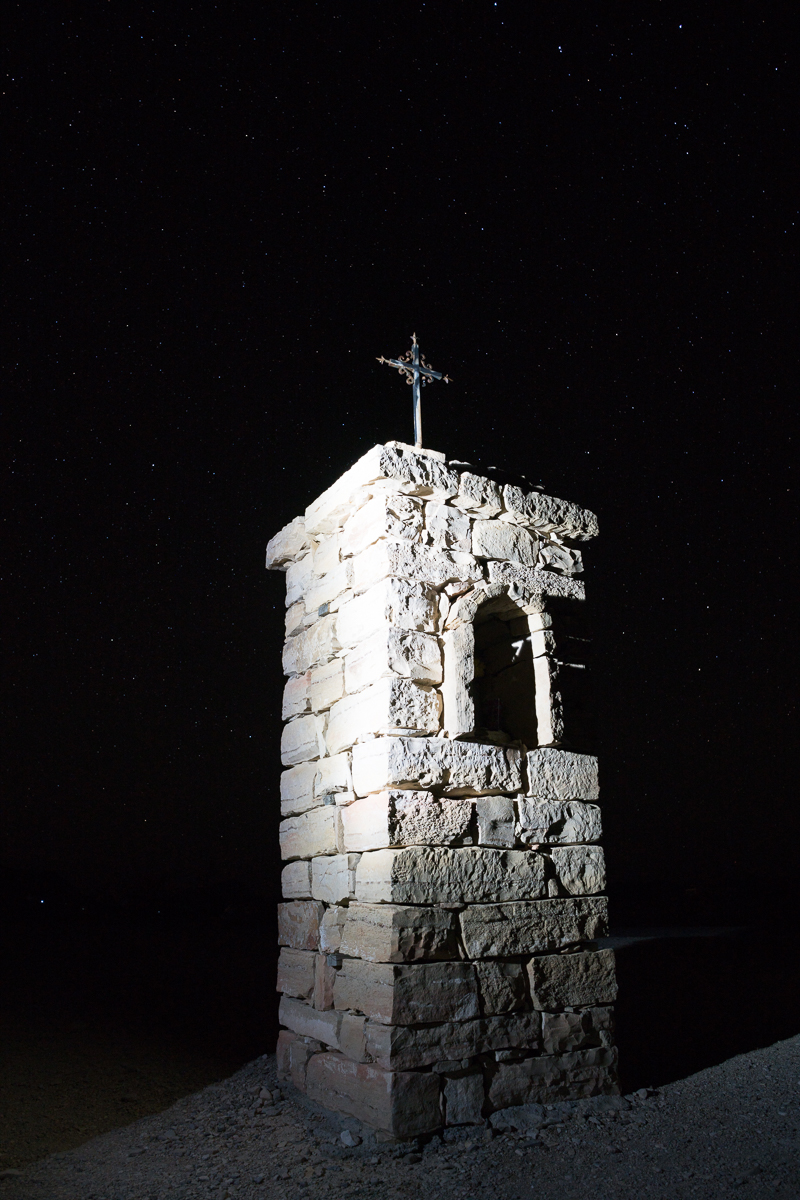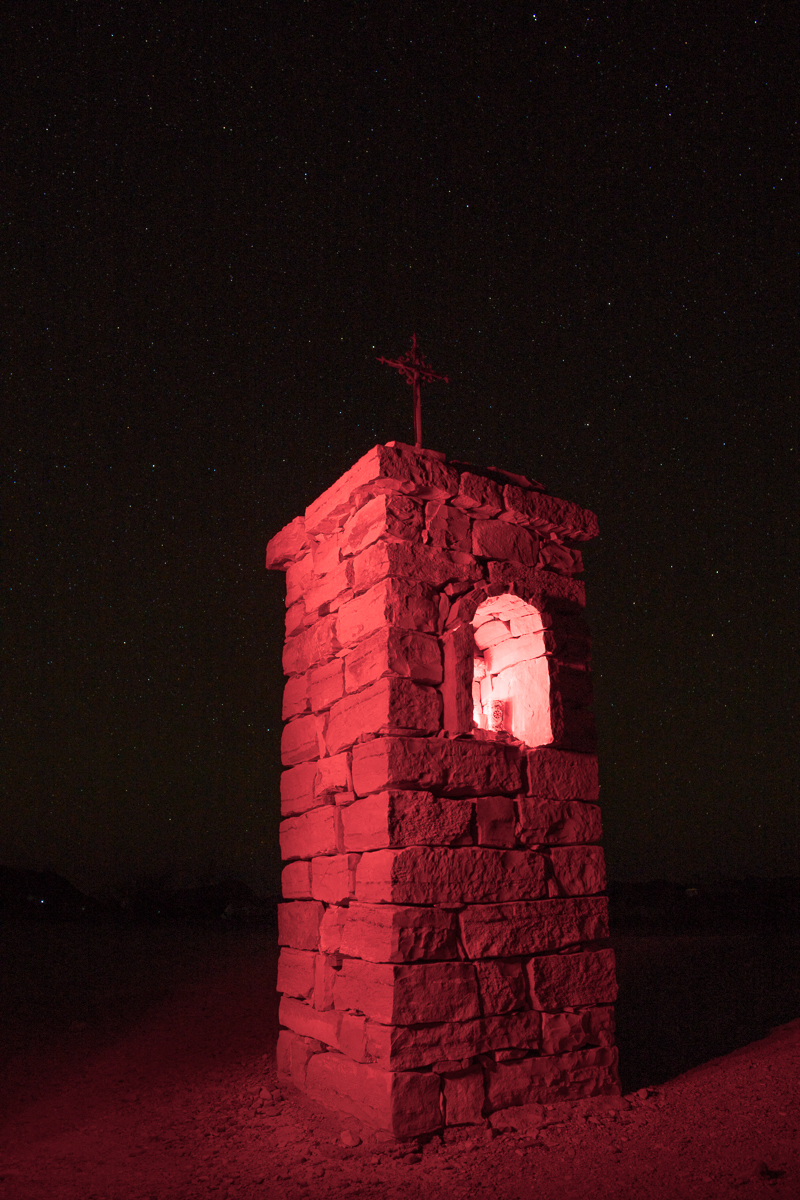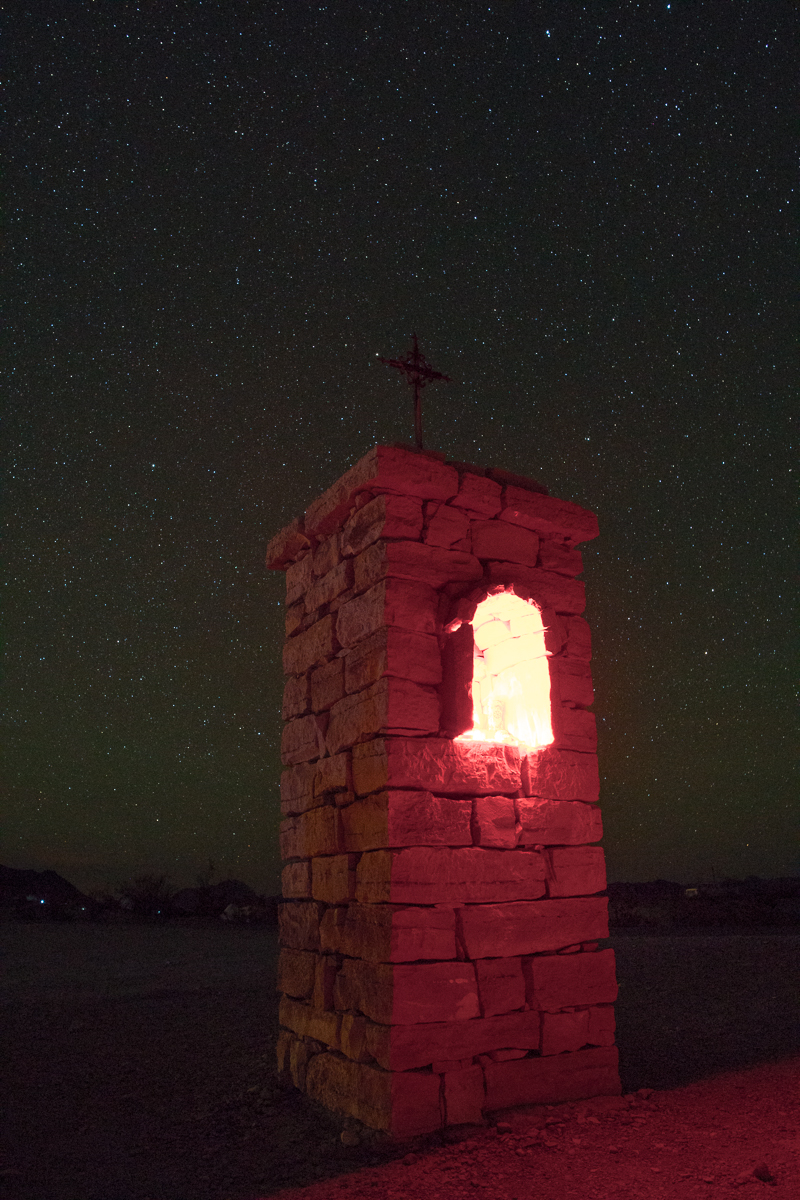
How To Determine Long-Exposure Settings For a Night Photograph

Although the noise performance of modern camera sensors at high ISO settings has improved dramatically over the past decade, photographers who demand clean, noise-free images must still wrestle with the problem of eliminating high ISO noise. One strategy is to simply avoid shooting at high ISO settings whenever possible by lowering the ISO and extending the exposure time. The question that is often raised is – “what settings should I use to obtain a proper exposure”? This is not a particularly difficult question to answer, however the answer becomes infinately more useful and valuable if one understands the reasoning behind the solution. This article is my take on solving this problem.

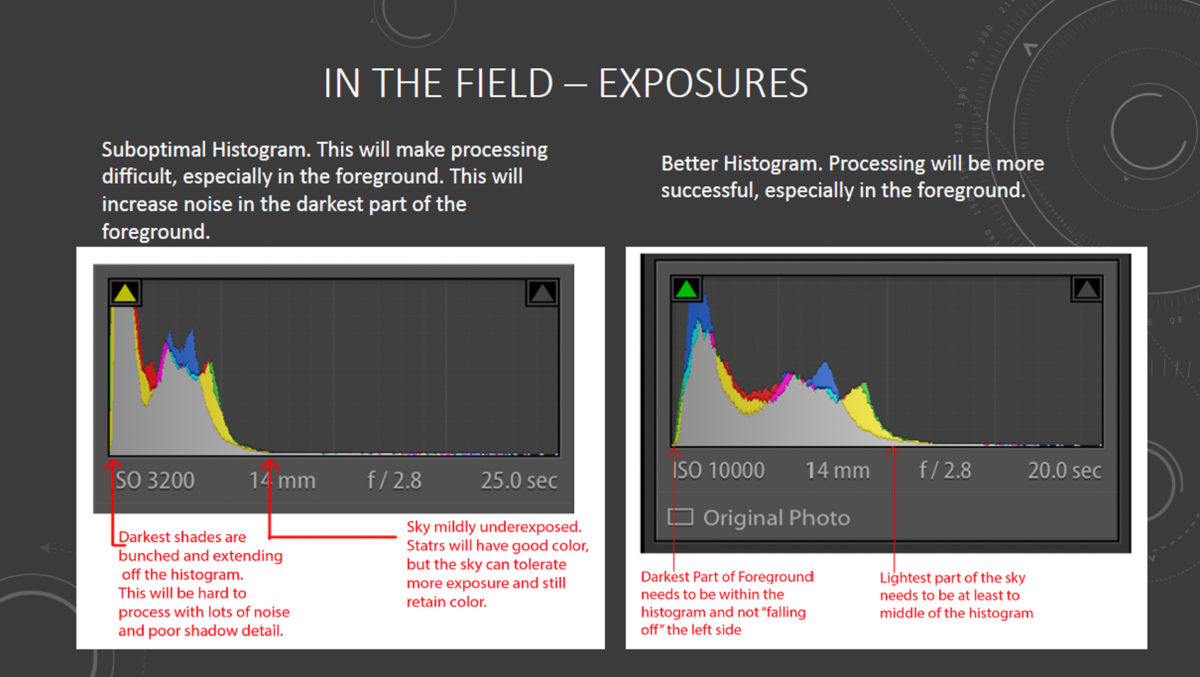
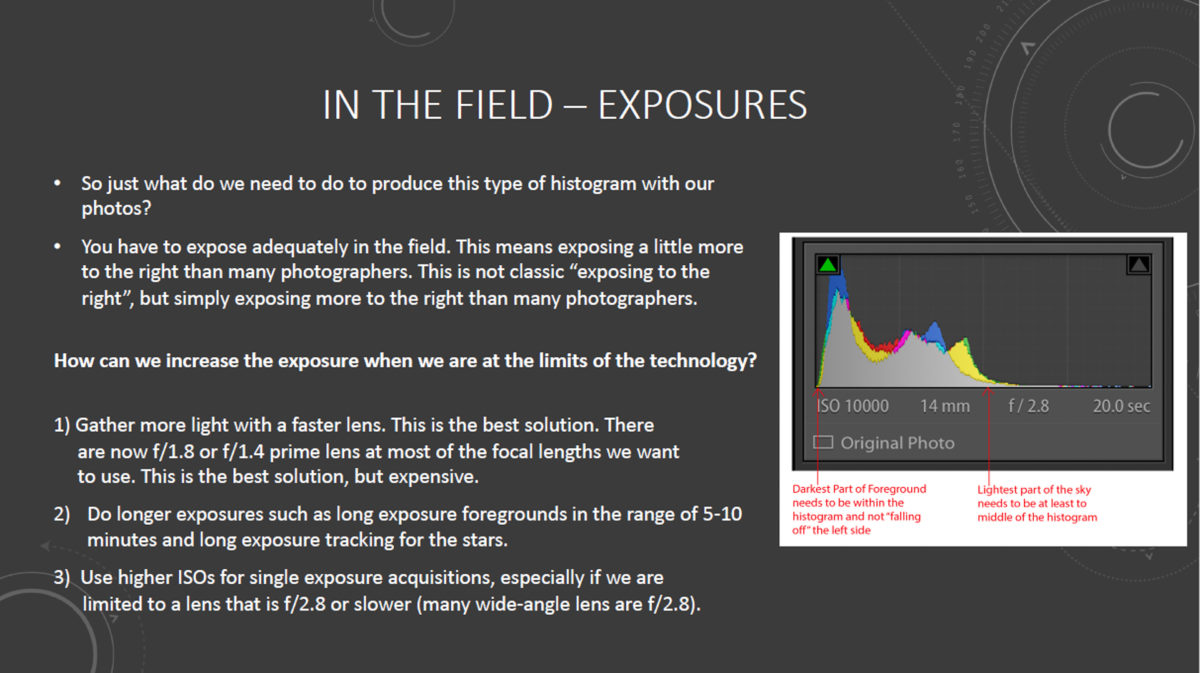
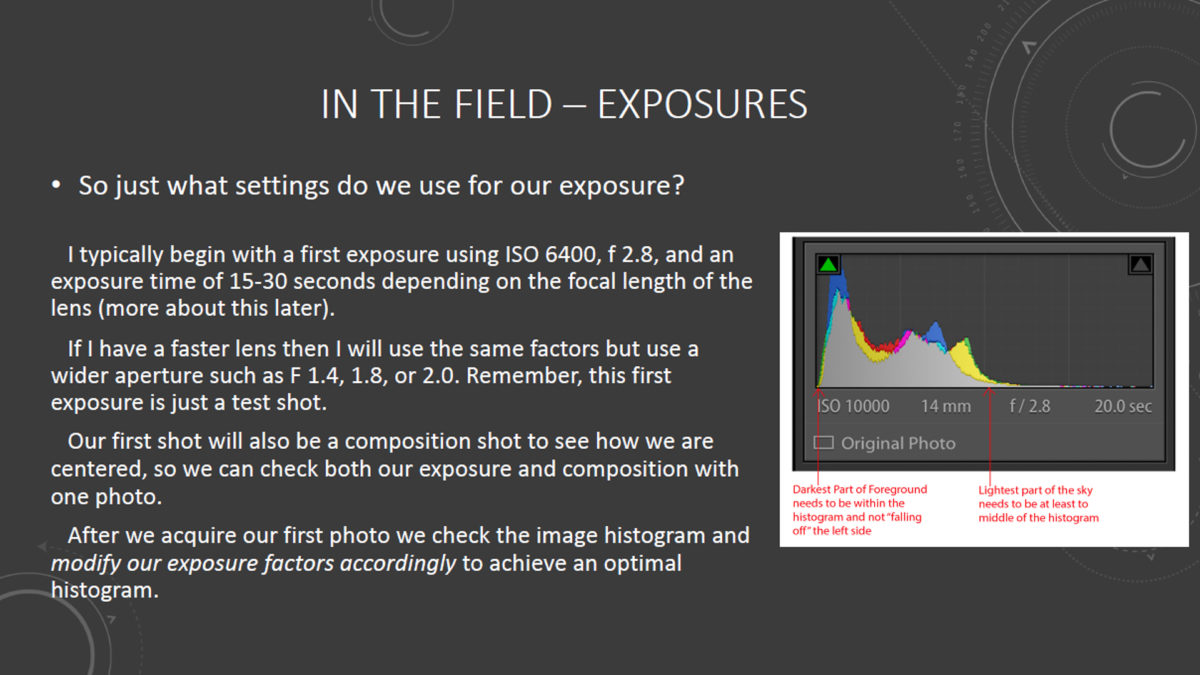
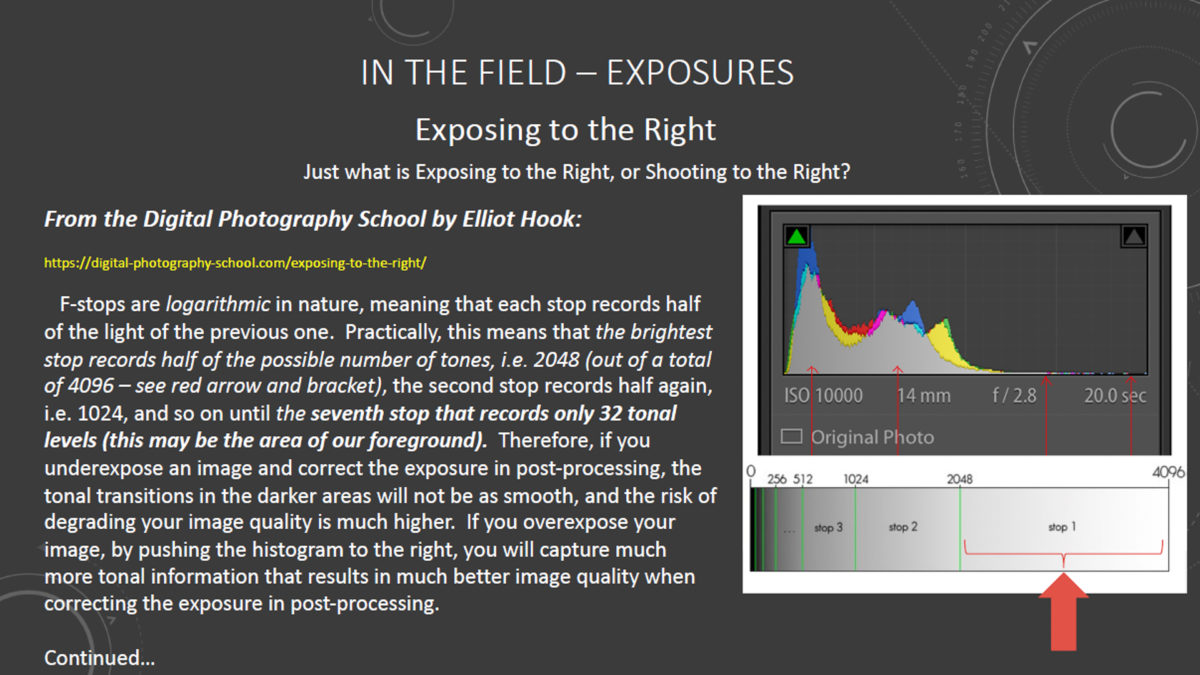
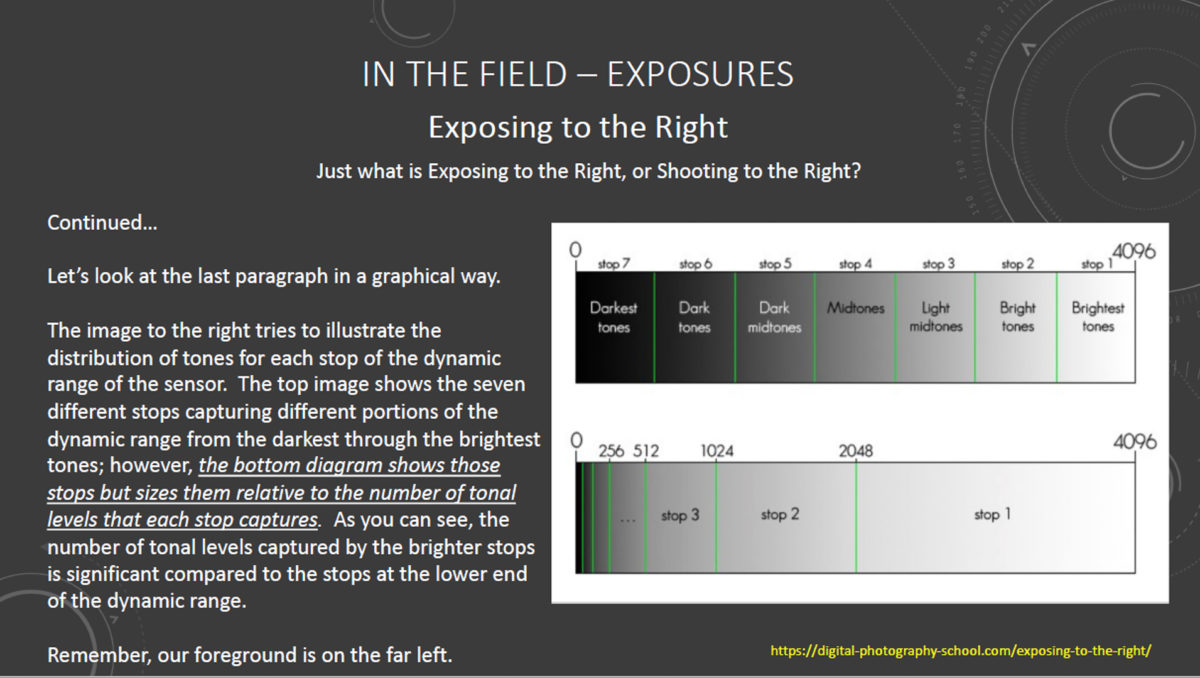
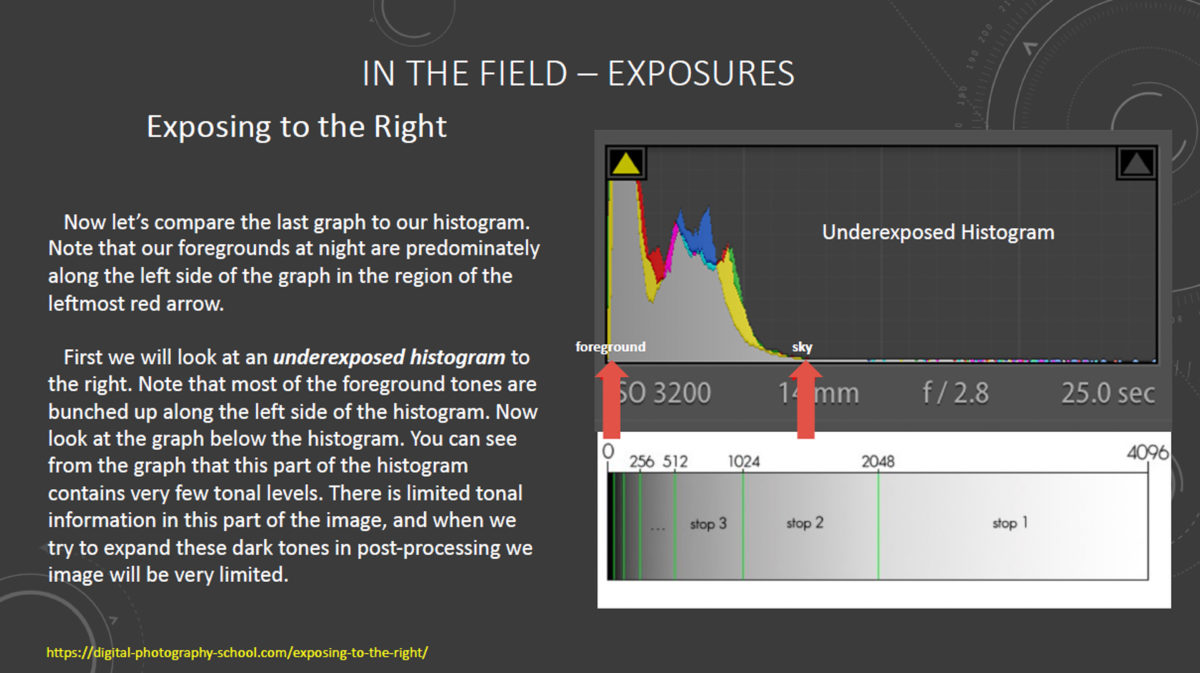
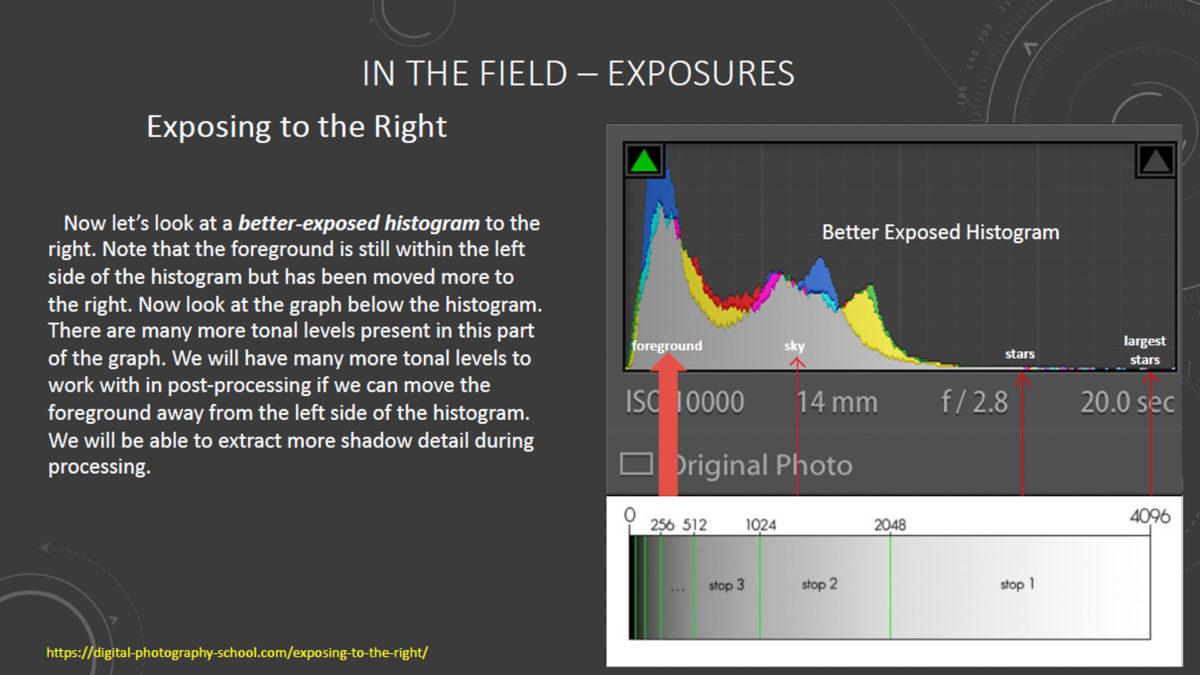
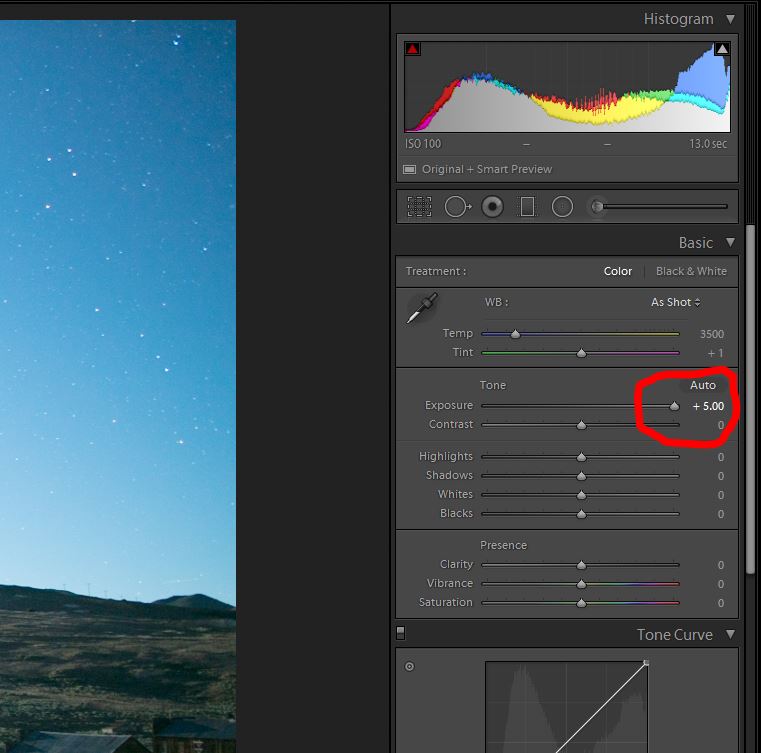
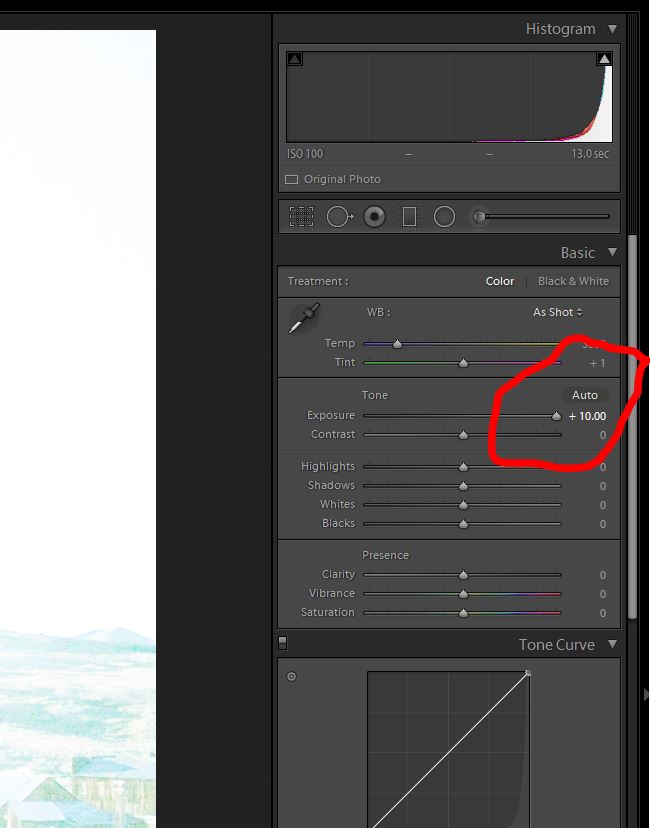
It is important to understand what a proper exposure actually is in the context of low-light or nighttime photography. A proper exposure is NOT determined by how the image looks when reviewed on your LCD screen after exposure. Your LCD display will fool you every time – it is not determinative of a proper exposure. What IS determinative is what is shown on your histogram, as this creates a graphic representation of the data actually captured and recorded by your camera sensor. So let us begin by learning what the histogram is, and how it can be effectively used in the context of our night photography. The following graphics explain the concepts we need to know in order to determine a proper exposure.

NOTE – Click images to view full size (Tablet or PC)

DETERMINING LENS APERTURE (f STOP)

So now that we know what a proper night exposure histogram looks like, how can we determine the settings to create an image with a good histogram, which also minimizes high ISO noise in our image?

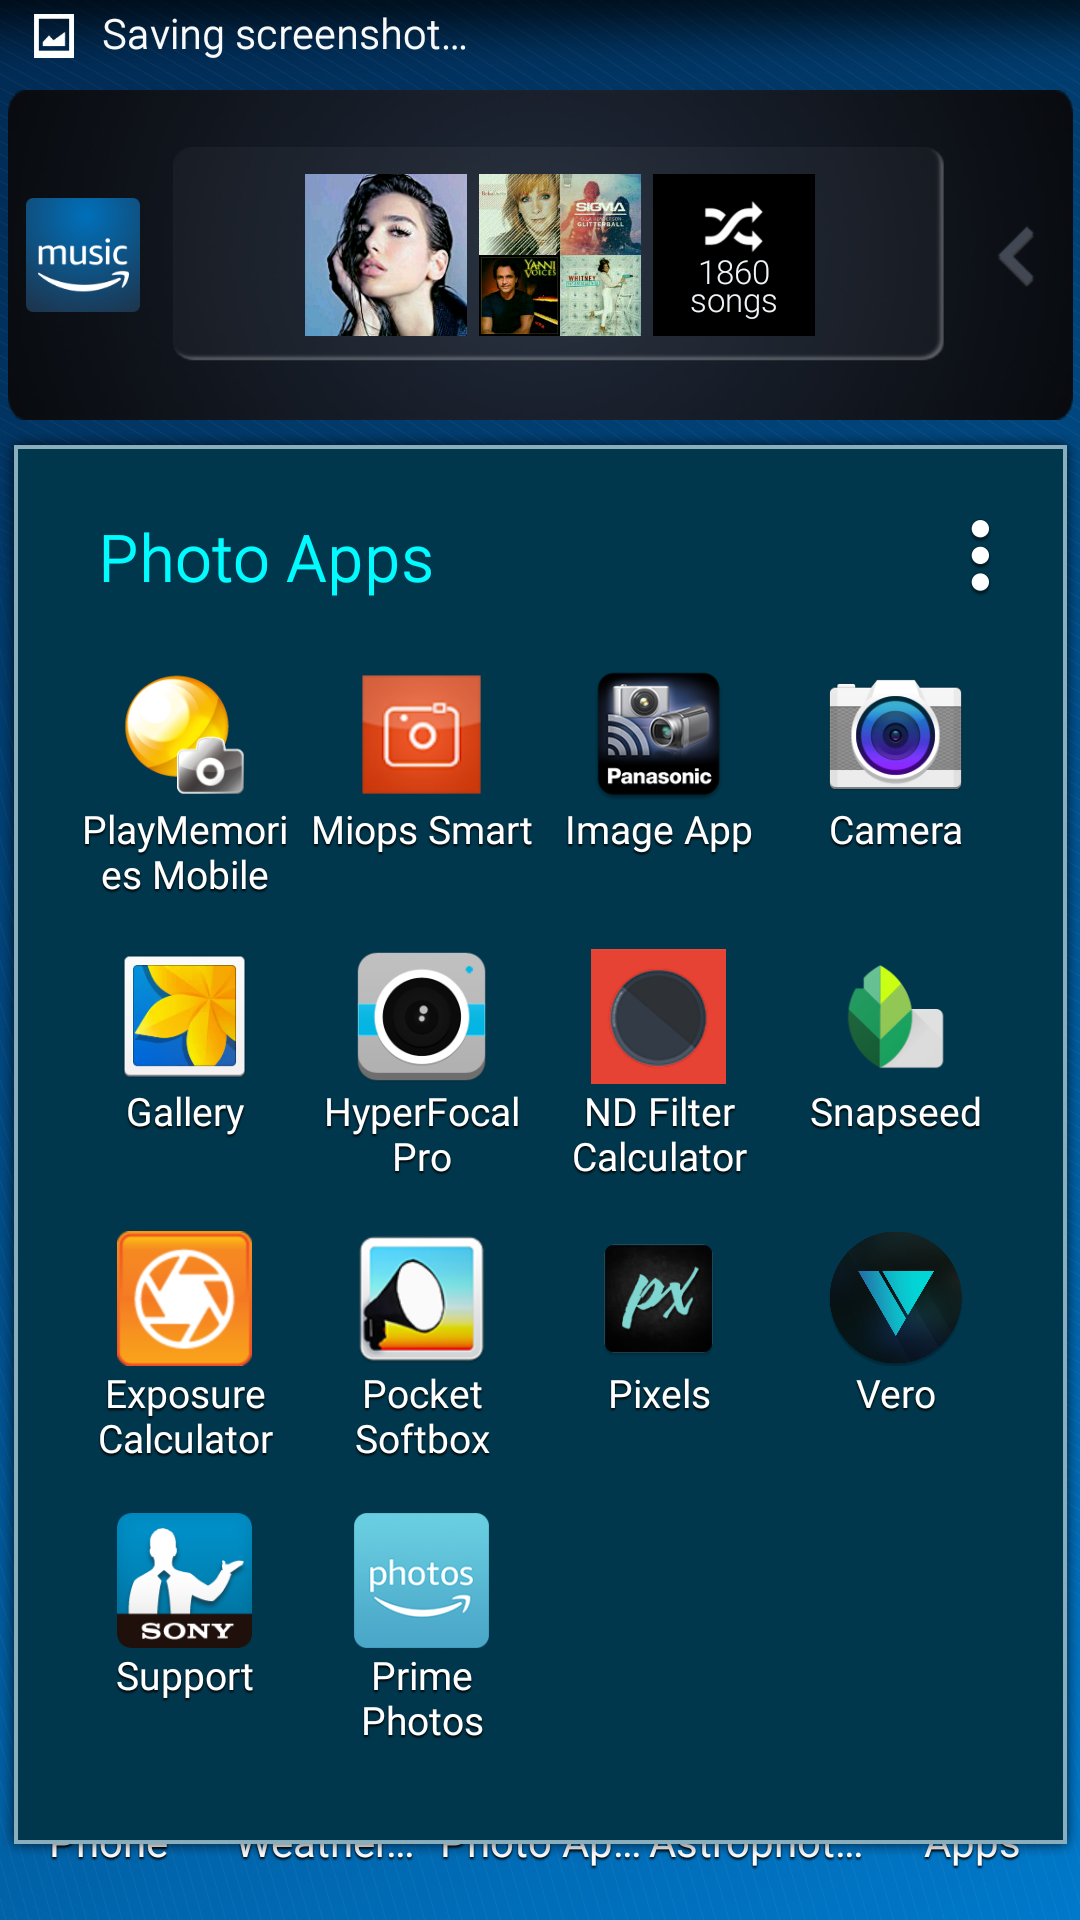
The first exposure setting I prefer to establish is the lens aperture. This is a balancing act- the wider the aperture, the shorter the exposure time needs to be, however, the wider the aperture, the shallower the depth-of-field (DoF) that is produced. My usual procedure is to select the widest aperture that still gives me the necessary DoF my composition requires. To do this, I refer to one of the readily-available Hyperfocal Distance Calculator apps that resides on my smartphone. A test shot taken with the lens focused at the calculated hyperfocal distance will allow me to review the exposure to be certain the my subject matter is entirely in focus. If not, I will reduce the aperture (thus increasing the depth-of-field), refocus at the new calculated hyperfocal distance, and try again. When I am satisfied with the focus at the selected aperture, I can then move on to determining ISO and exposure time.

DETERMINING ISO AND EXPOSURE TIME

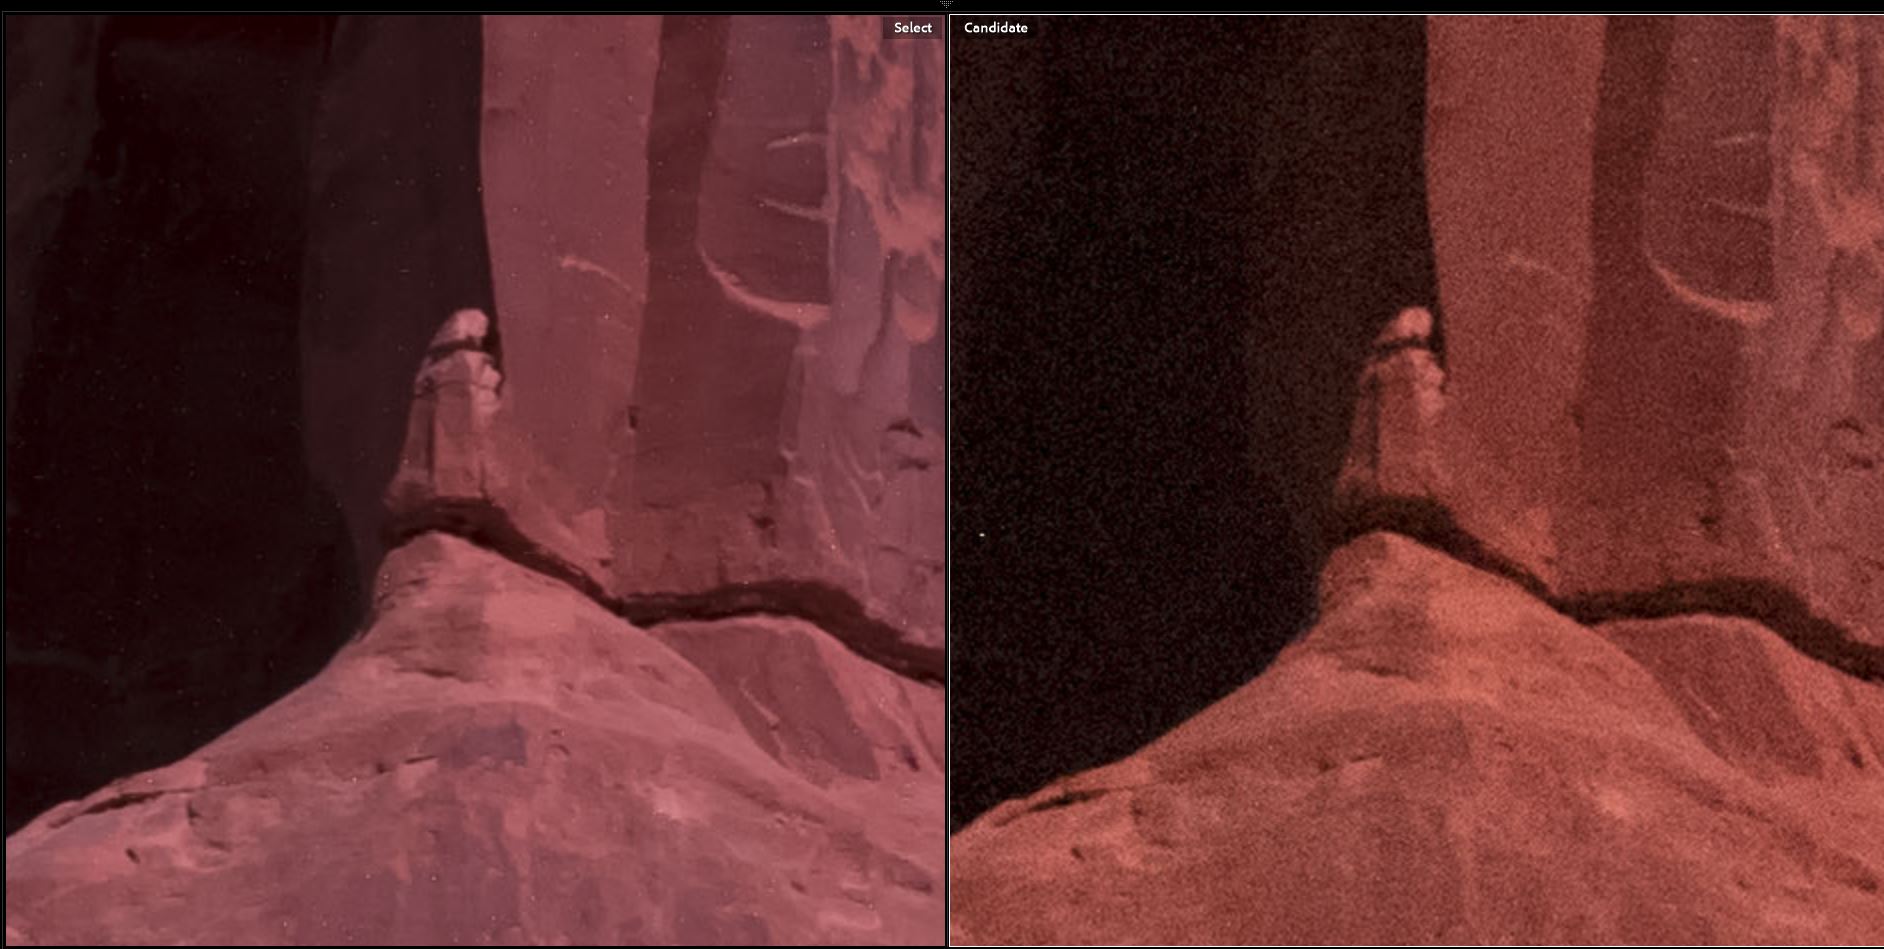
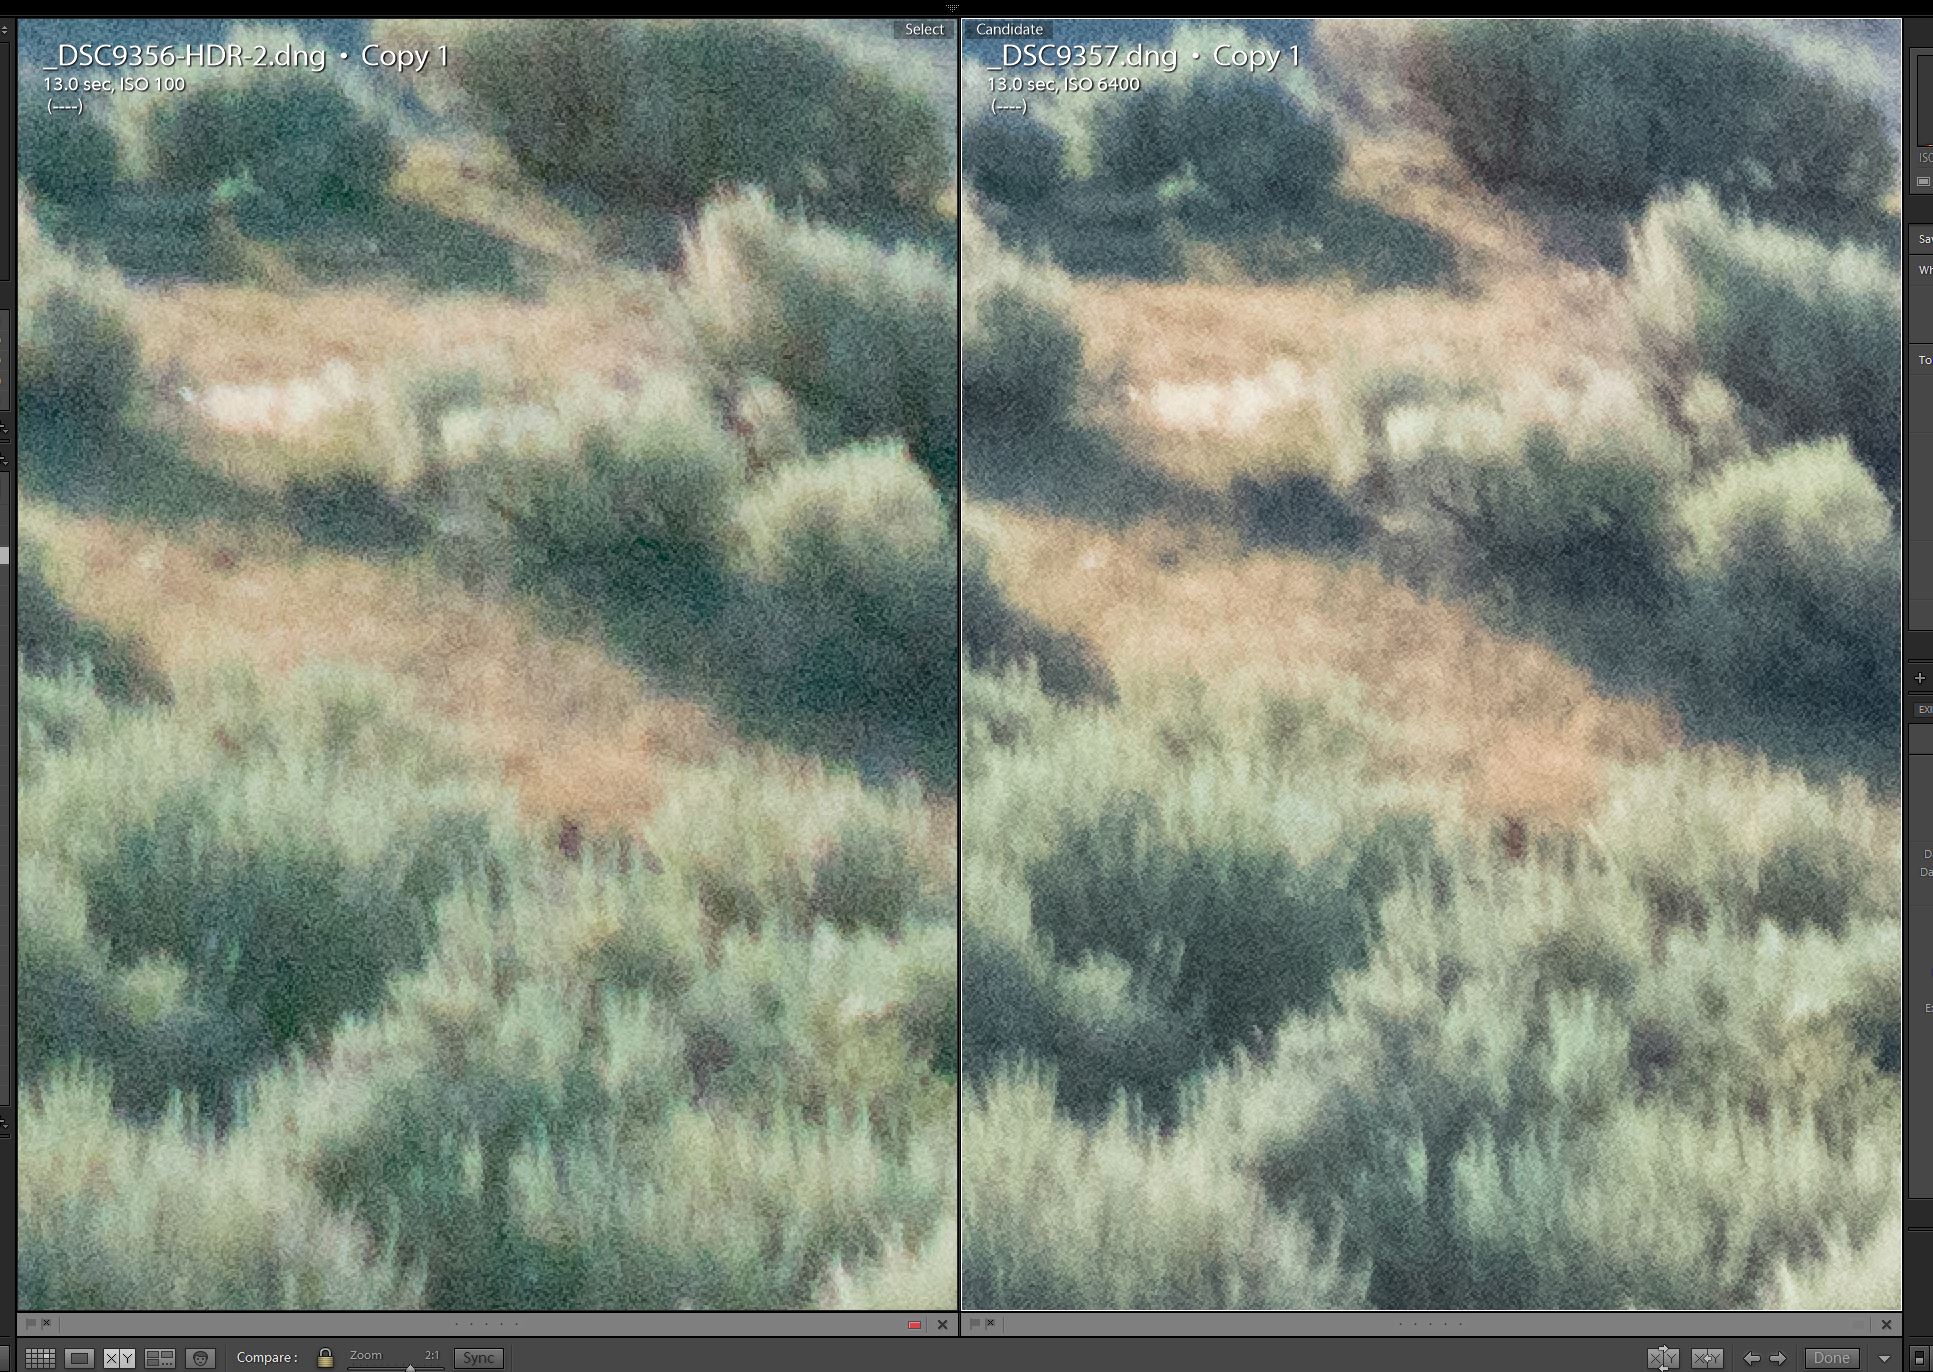
Ideally, I would like to shoot my long-exposure at my camera’s native ISO, which in the case of the Pentax K1 is ISO 100 (this is a common native ISO, however your camera may vary). Shooting at the native ISO will minimize random noise in the image. the following image comparison shows the extreme noise difference between an ISO 6400 shot and an ISO 100 shot, which is the whole point of doing a low ISO, long-exposure in the first place.

So let us figure out what exposure time we need in order to get a proper histogram if we were to shoot at ISO 100. We could do this with guesswork or trial and error, but that would be frustrating and wasteful of our precious shooting time. Fortunately, there is a quick, simple technique that can be employed to help us figure out our exposure.

Step 1

Set your ISO to 6400. Set your exposure time to 15 seconds. Take a test exposure and check the histogram in your image review. If the histogram is too far to the left, increase the exposure time. If the histogram is too far to the right (possible, but unlikely in most circumstances) decrease the exposure time. Take another test shot and evaluate the histogram. Continue adjusting the exposure time and taking test shots until you are satisfied that you have a proper histogram. Make note of these exposure settings.

Step 2

You will now use the previously noted exposure settings to calculate an equivalent long-exposure time at ISO 100. There are two ways to do this. One way relies on any of the readily-available smartphone Exposure Calculator apps. There are many available, you may already have one at your disposal. You just enter the test exposure information, enter the desired ISO, and the app tells you how long the new exposure should be at ISO 100 (or any other ISO you choose).

A second method utilizes the “Six Stop Rule.” Simply stated, this rule says that the number of SECONDS of exposure at ISO 6400 will equal the number of MINUTES of exposure at ISO 100. For example, if the test exposure that produced a good histogram was 15 seconds at ISO 6400, the equivalent exposure will be15 minutes at ISO 100.

FINAL THOUGHTS

While shooting a long-exposure at native ISO is the ultimate goal, it is not always absolutely necessary to shoot at that low an ISO. Perhaps, like me, you prefer to shoot long-exposures using the Long-Exposure Noise Reduction (LENR) function available with your camera. In that case, the total camera time will be double the exposure time (since the camera is taking a second exposure with the shutter closed in order to accomplish a dark frame subtraction, which cancels out hot-pixel noise). Therefore, a 15 minute exposure actually takes 30 minutes of field time, which may be unacceptable to you. Perhaps you are shooting a panorama or mosaic, in which case you may simply not have enough time to capture all of the long-exposures at ISO 100. Under these circumstances, you might well consider shooting your long exposures at ISO 200, ISO 400 or even higher. The choice is yours, and your decision will be informed by your knowledge of the characteristics of your camera and the circumstances you are faced with on any given night. but now you have a framework for quickly determining what exposure settings to use when shooting a long-exposure night photograph.

Pocket Softbox App For Night Photography

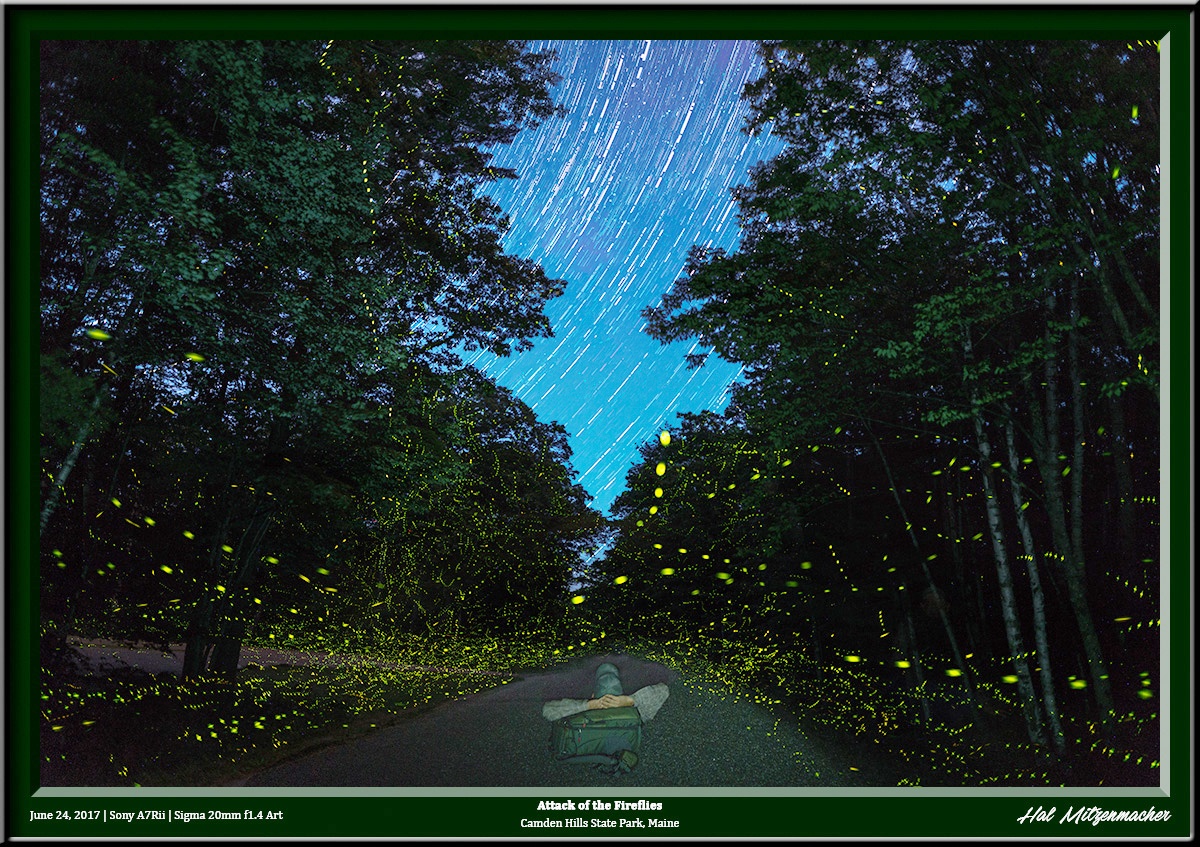
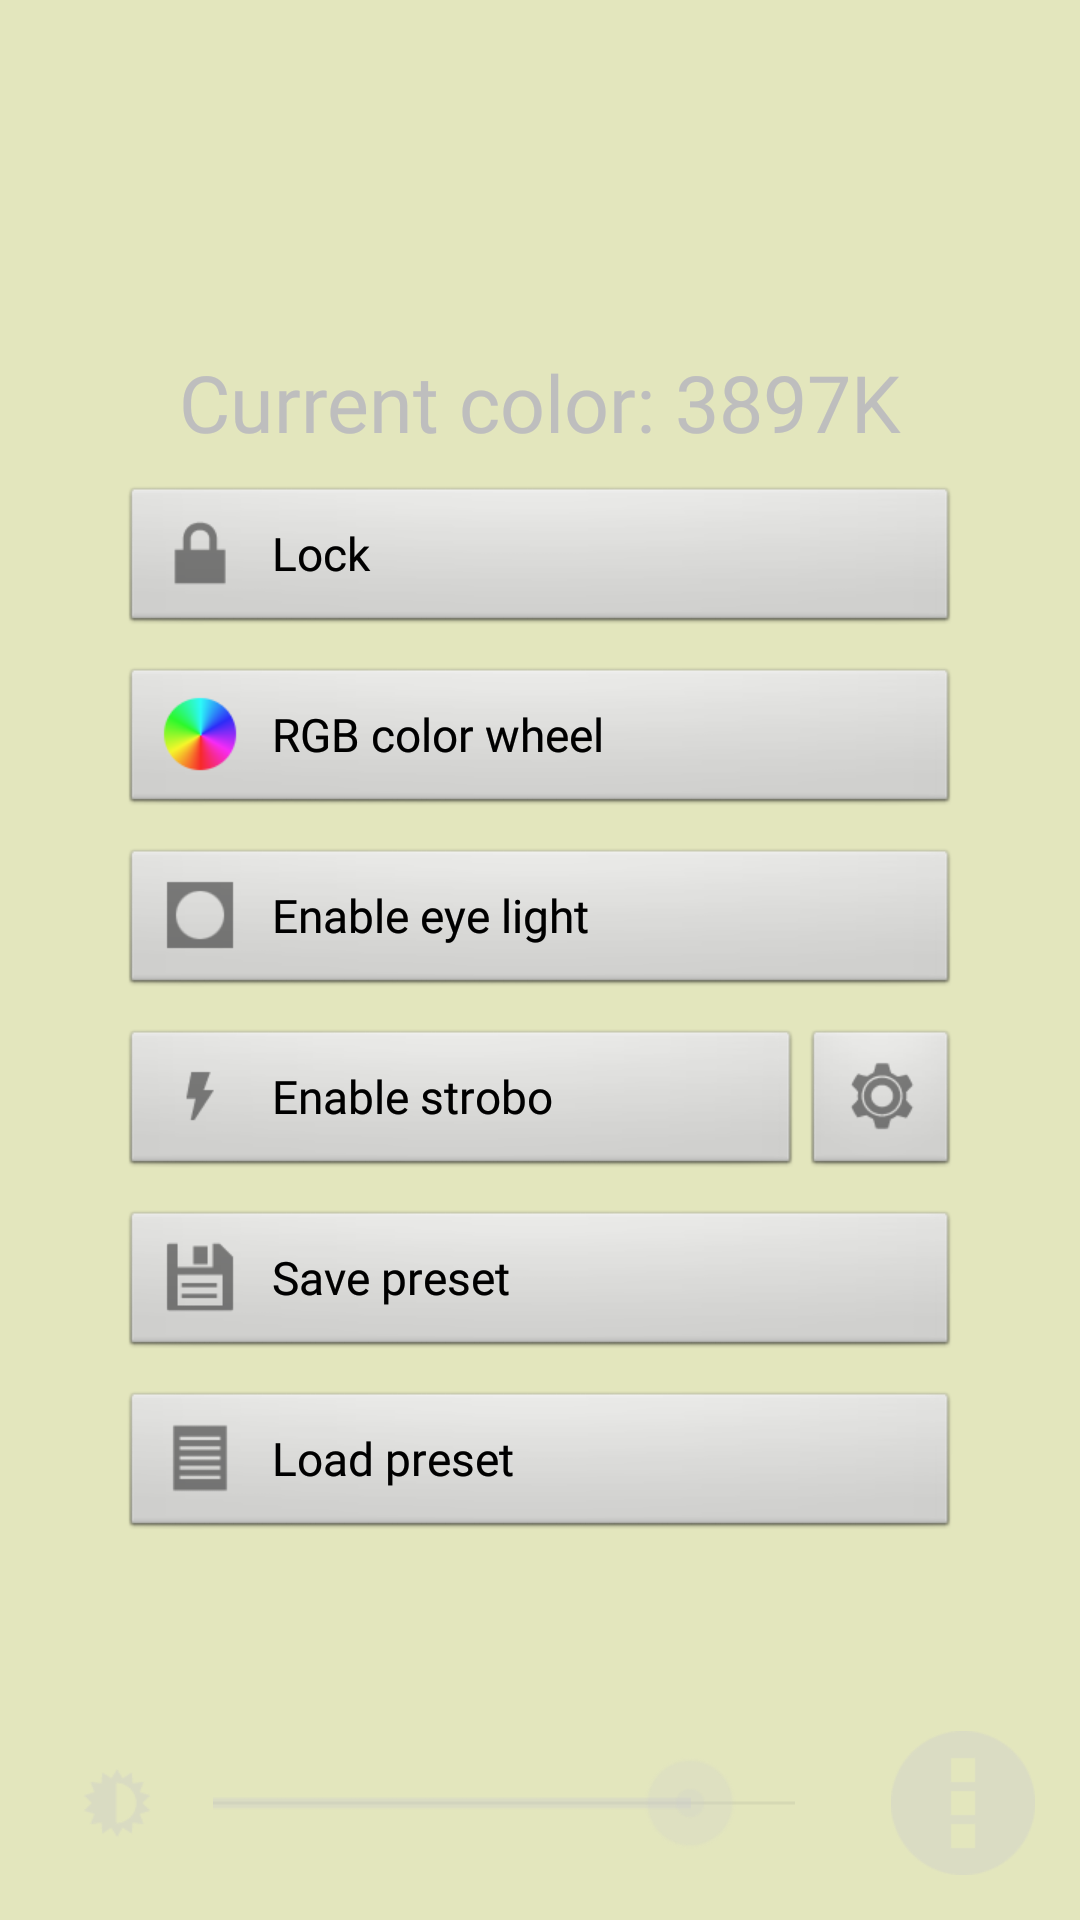
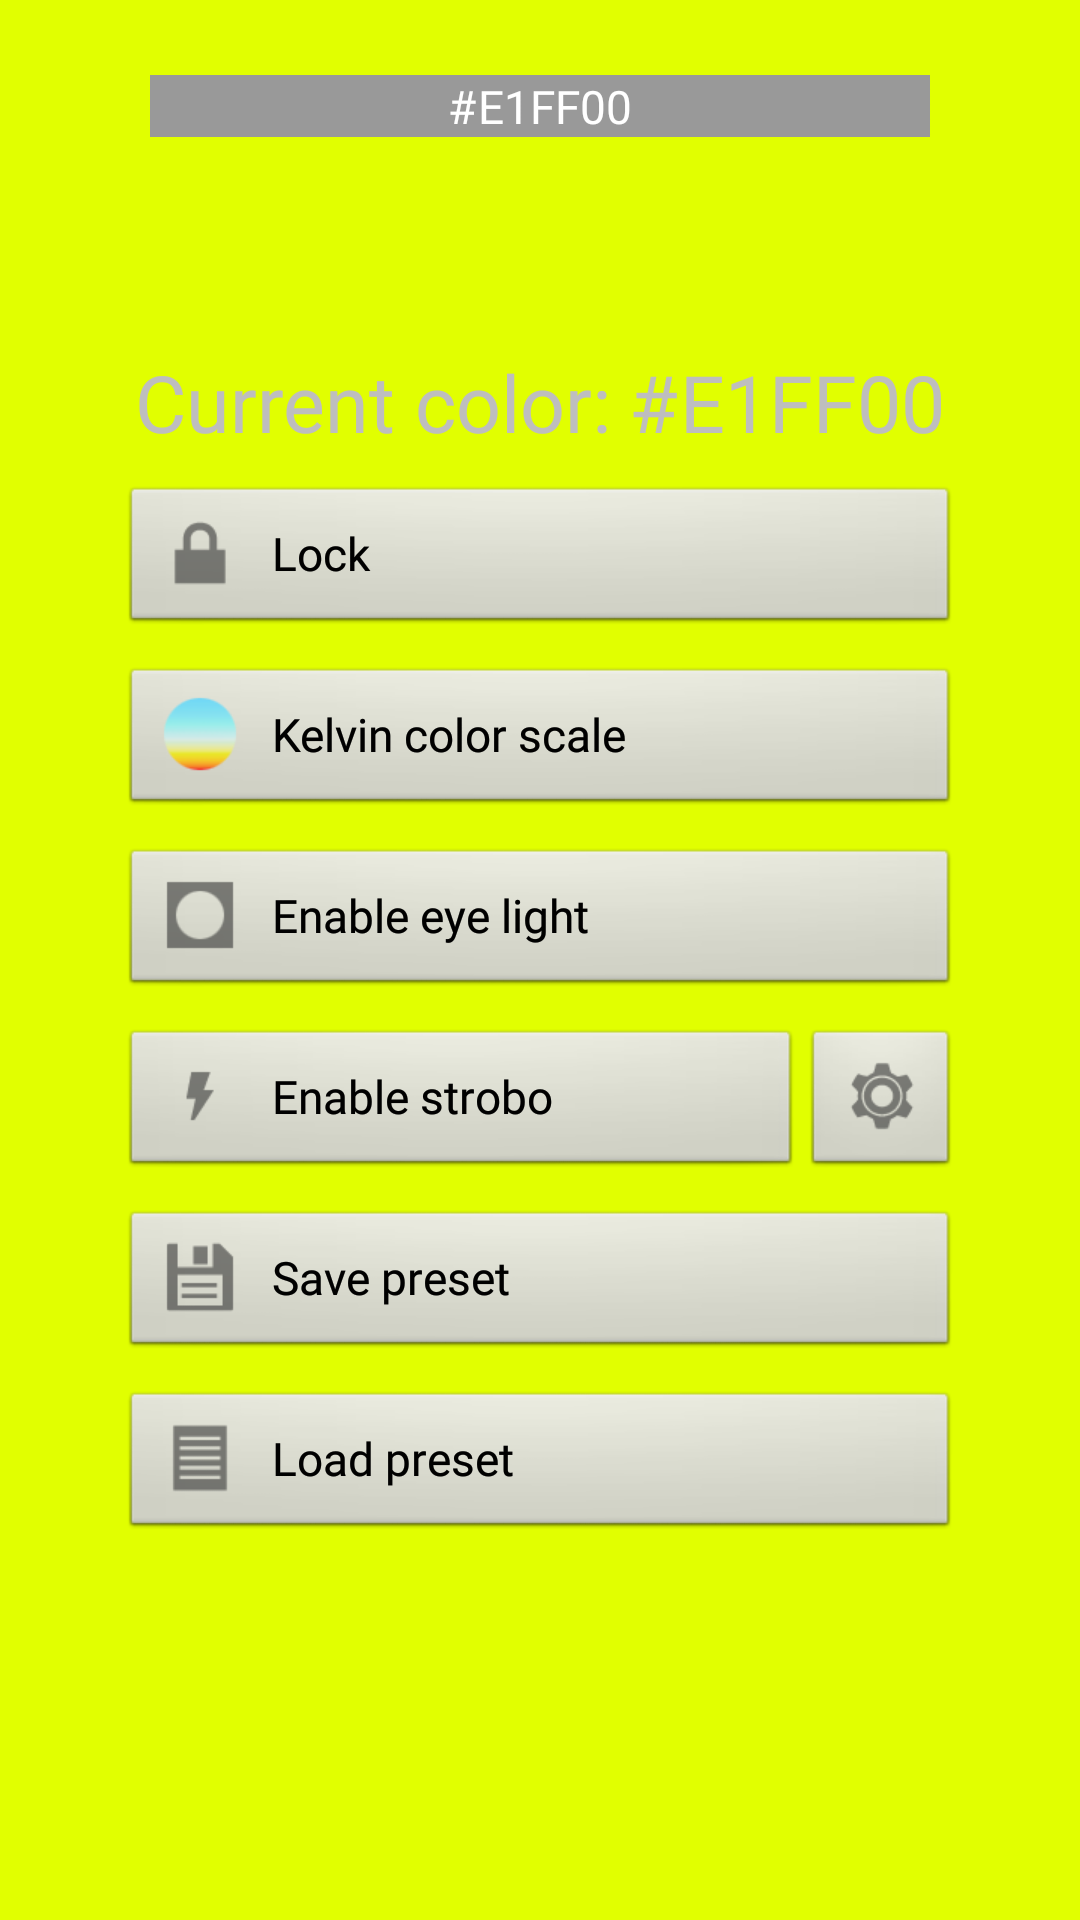
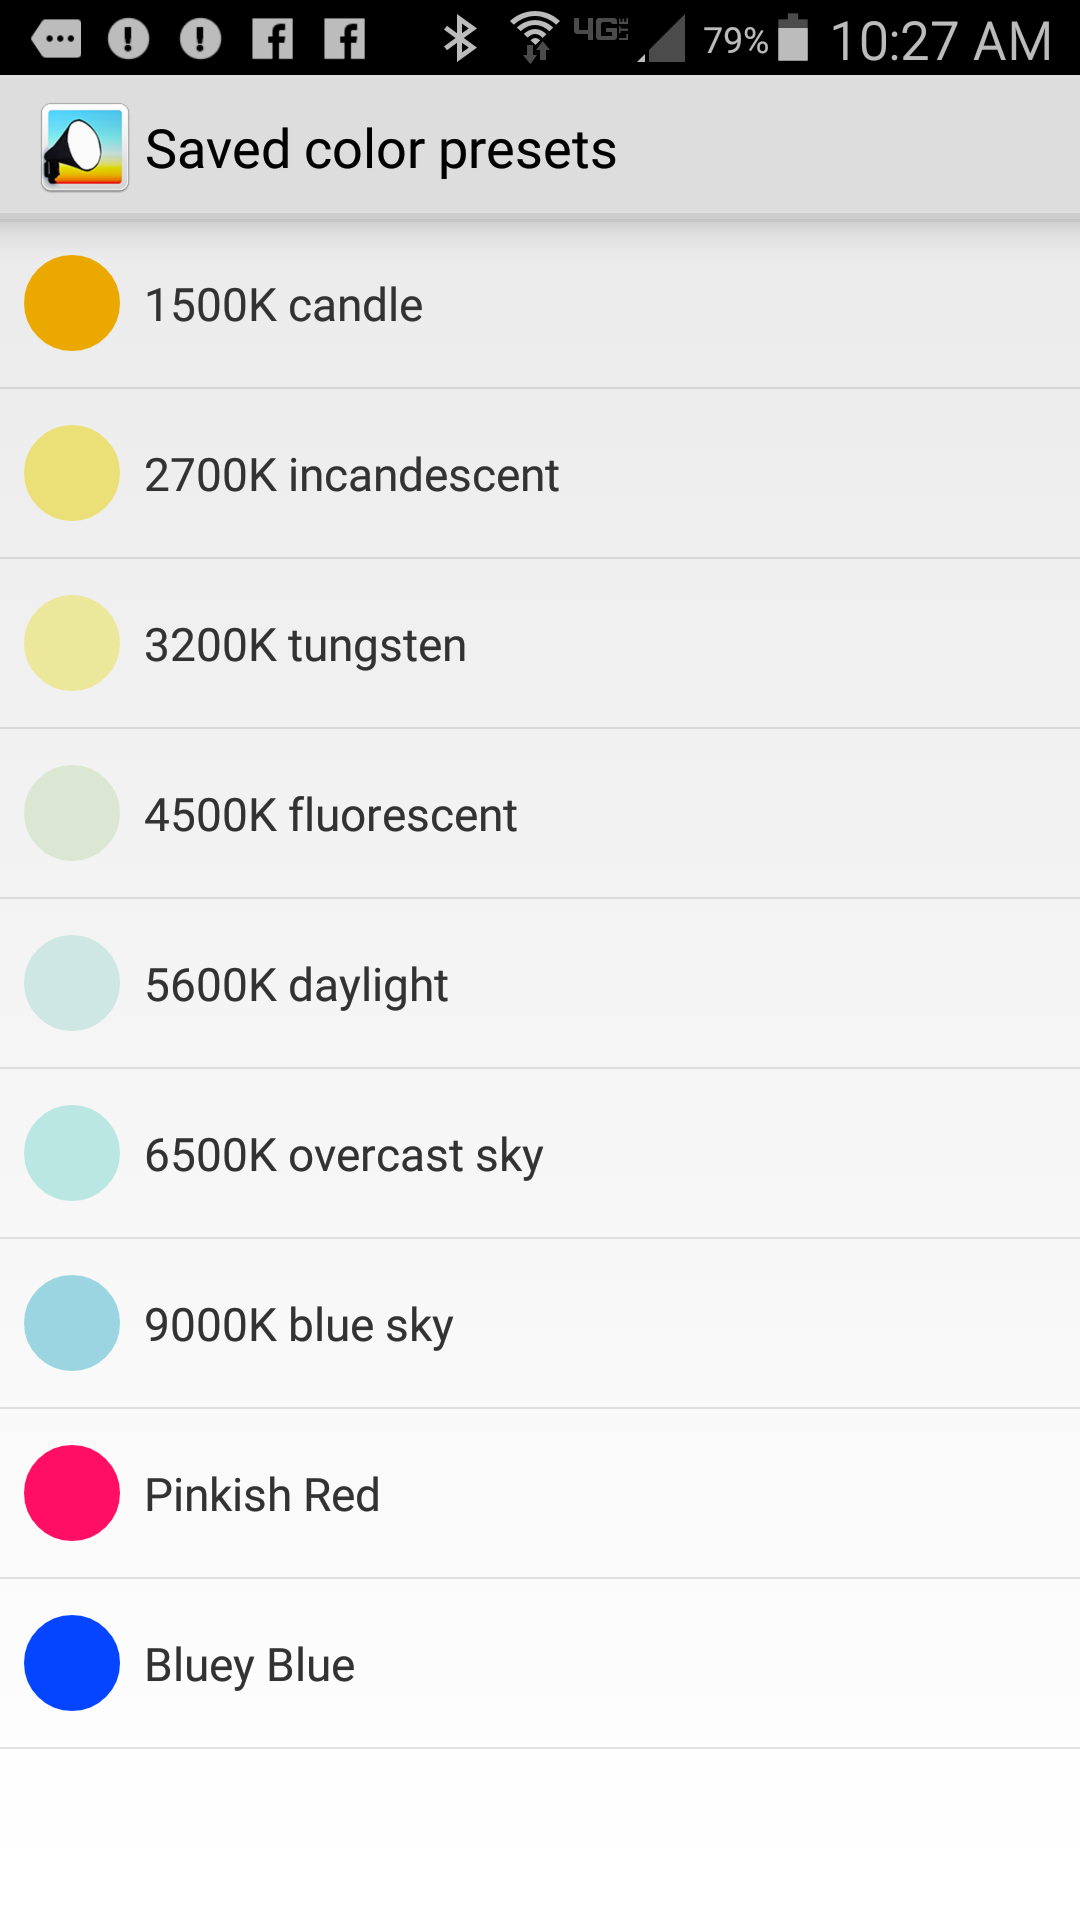
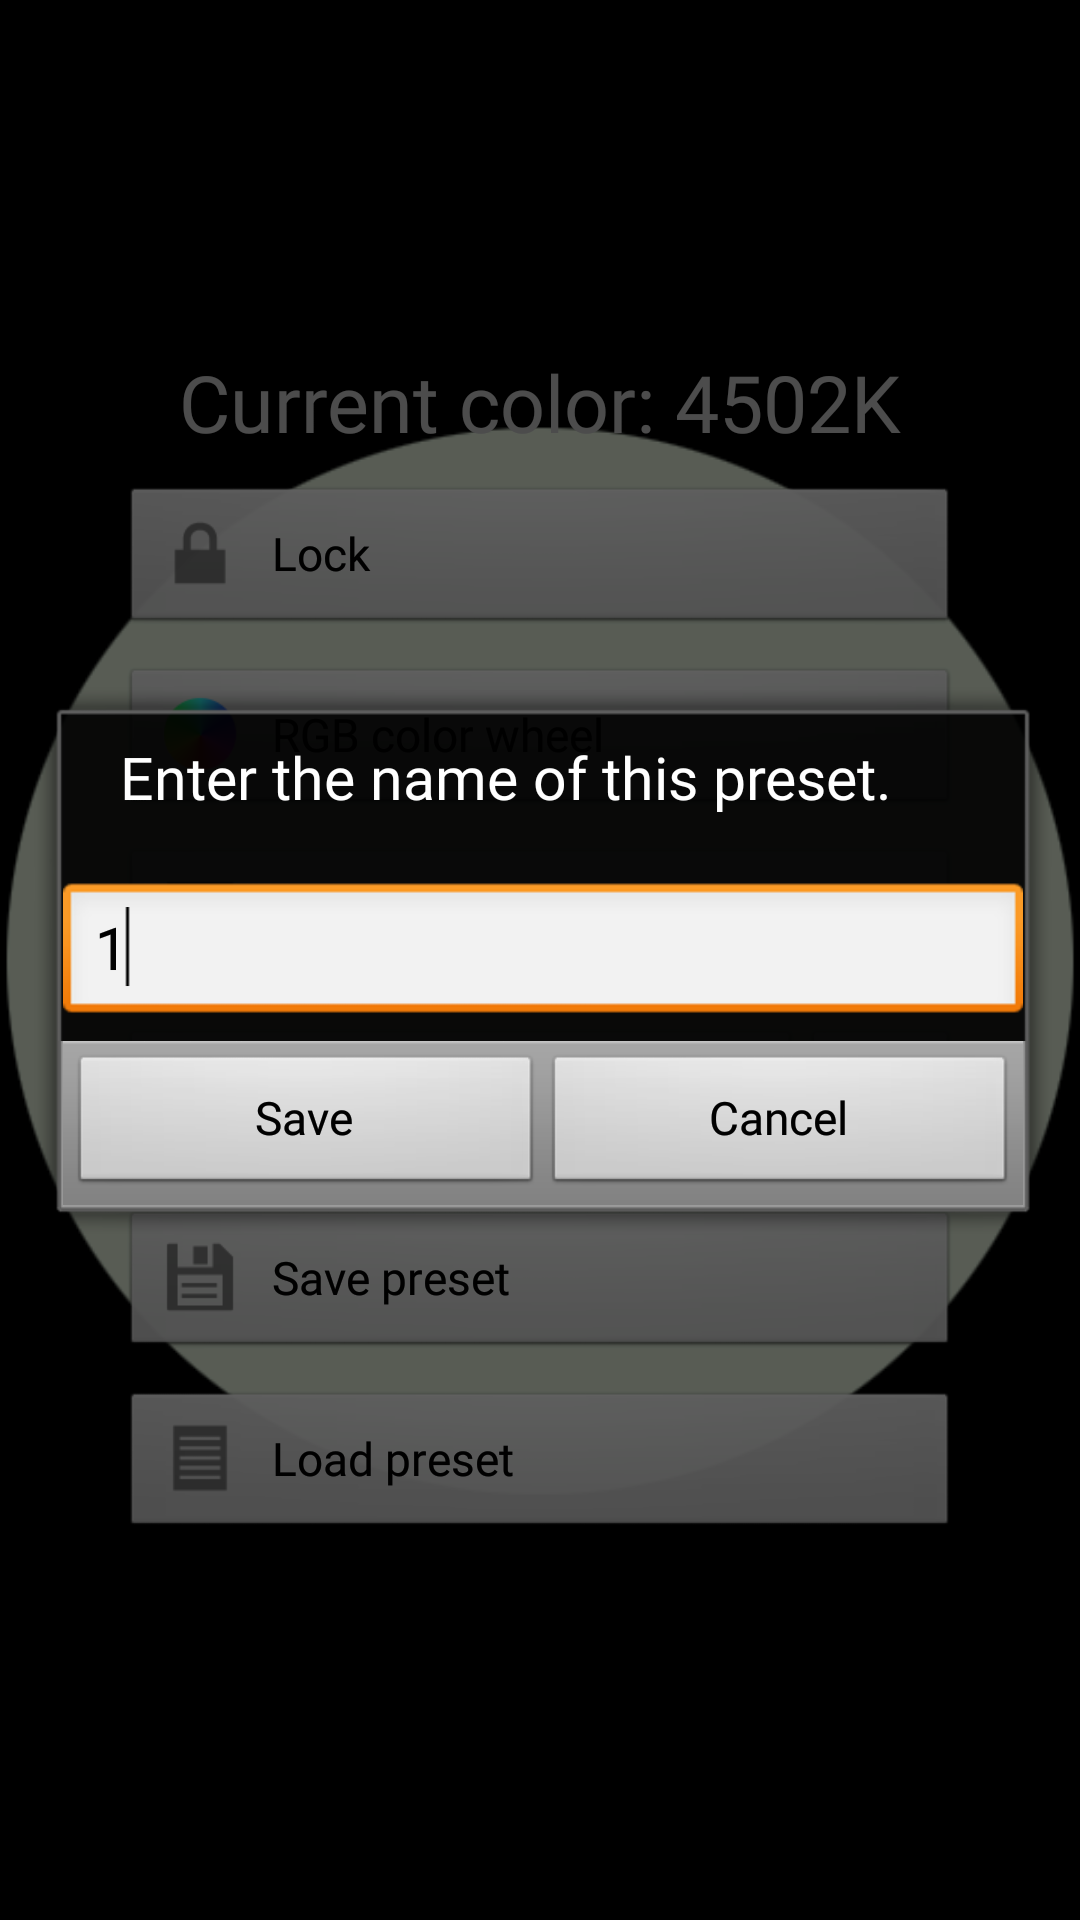
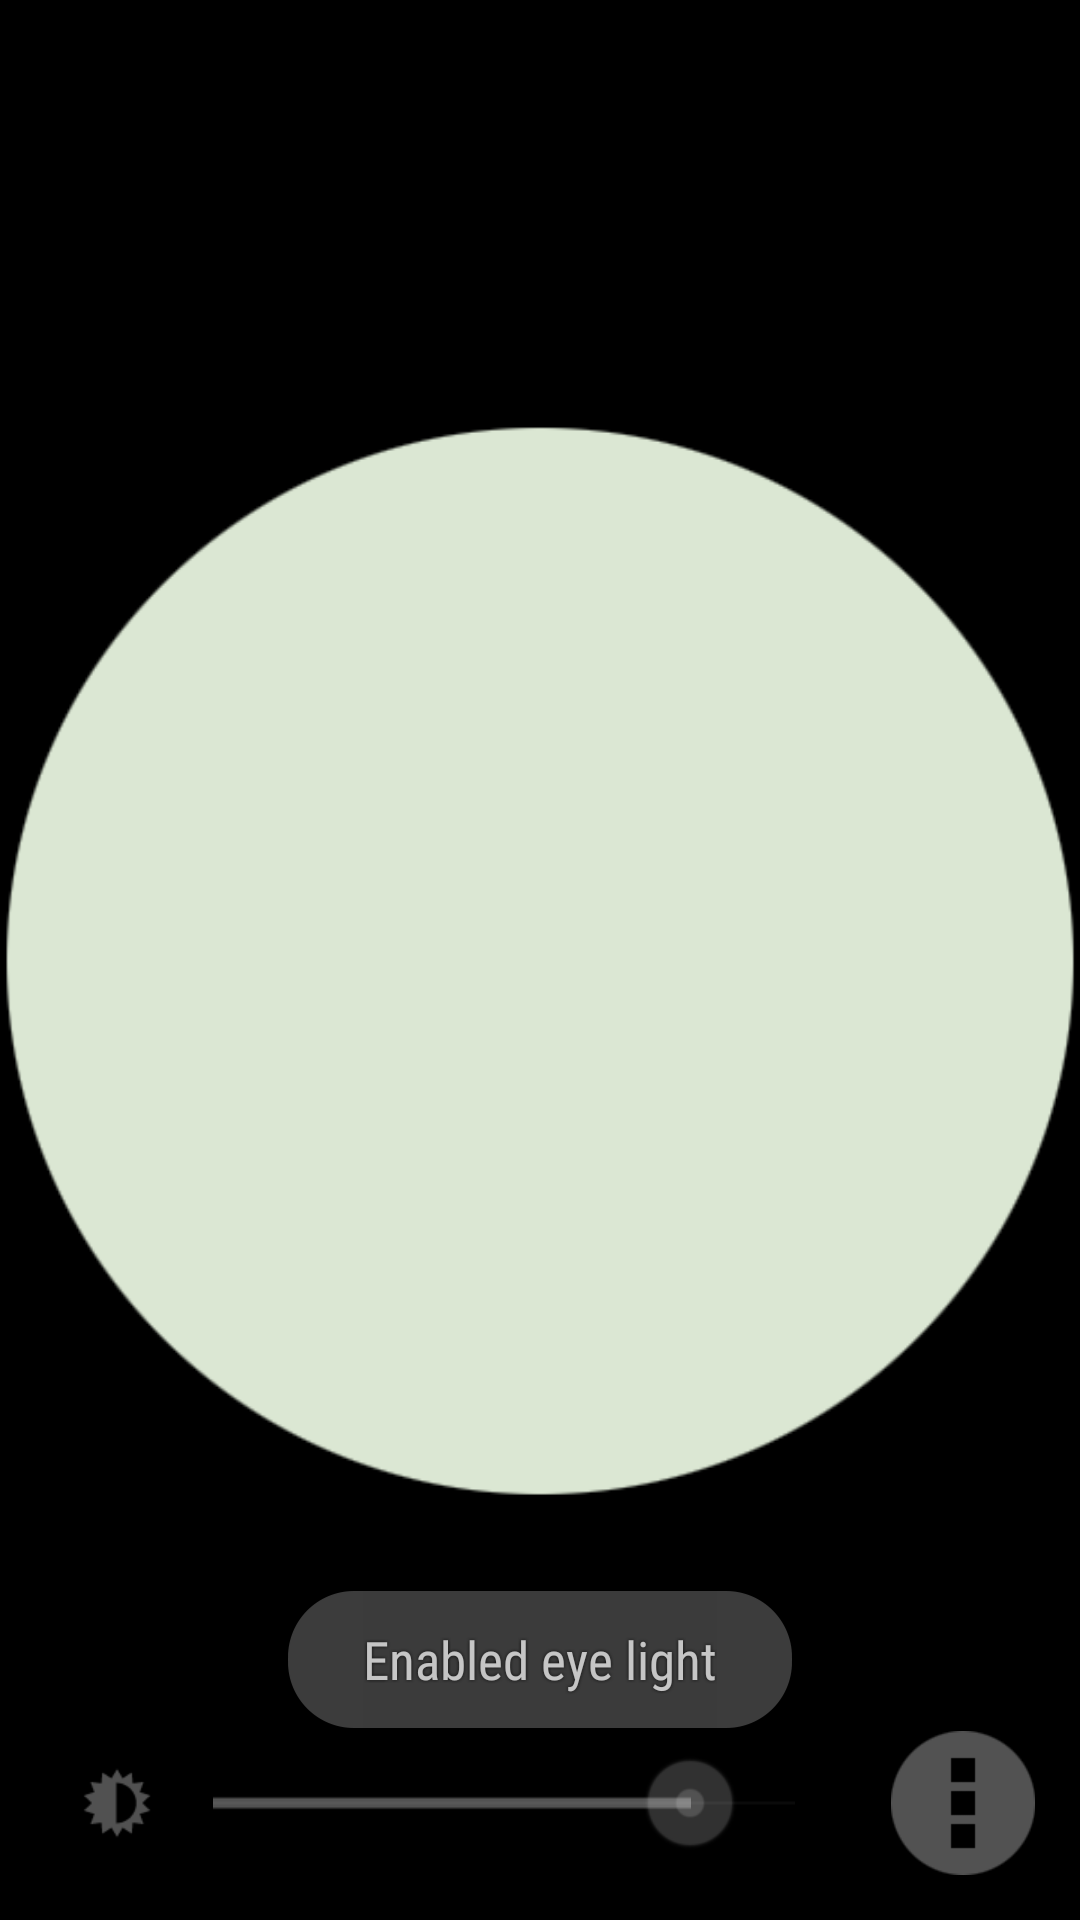
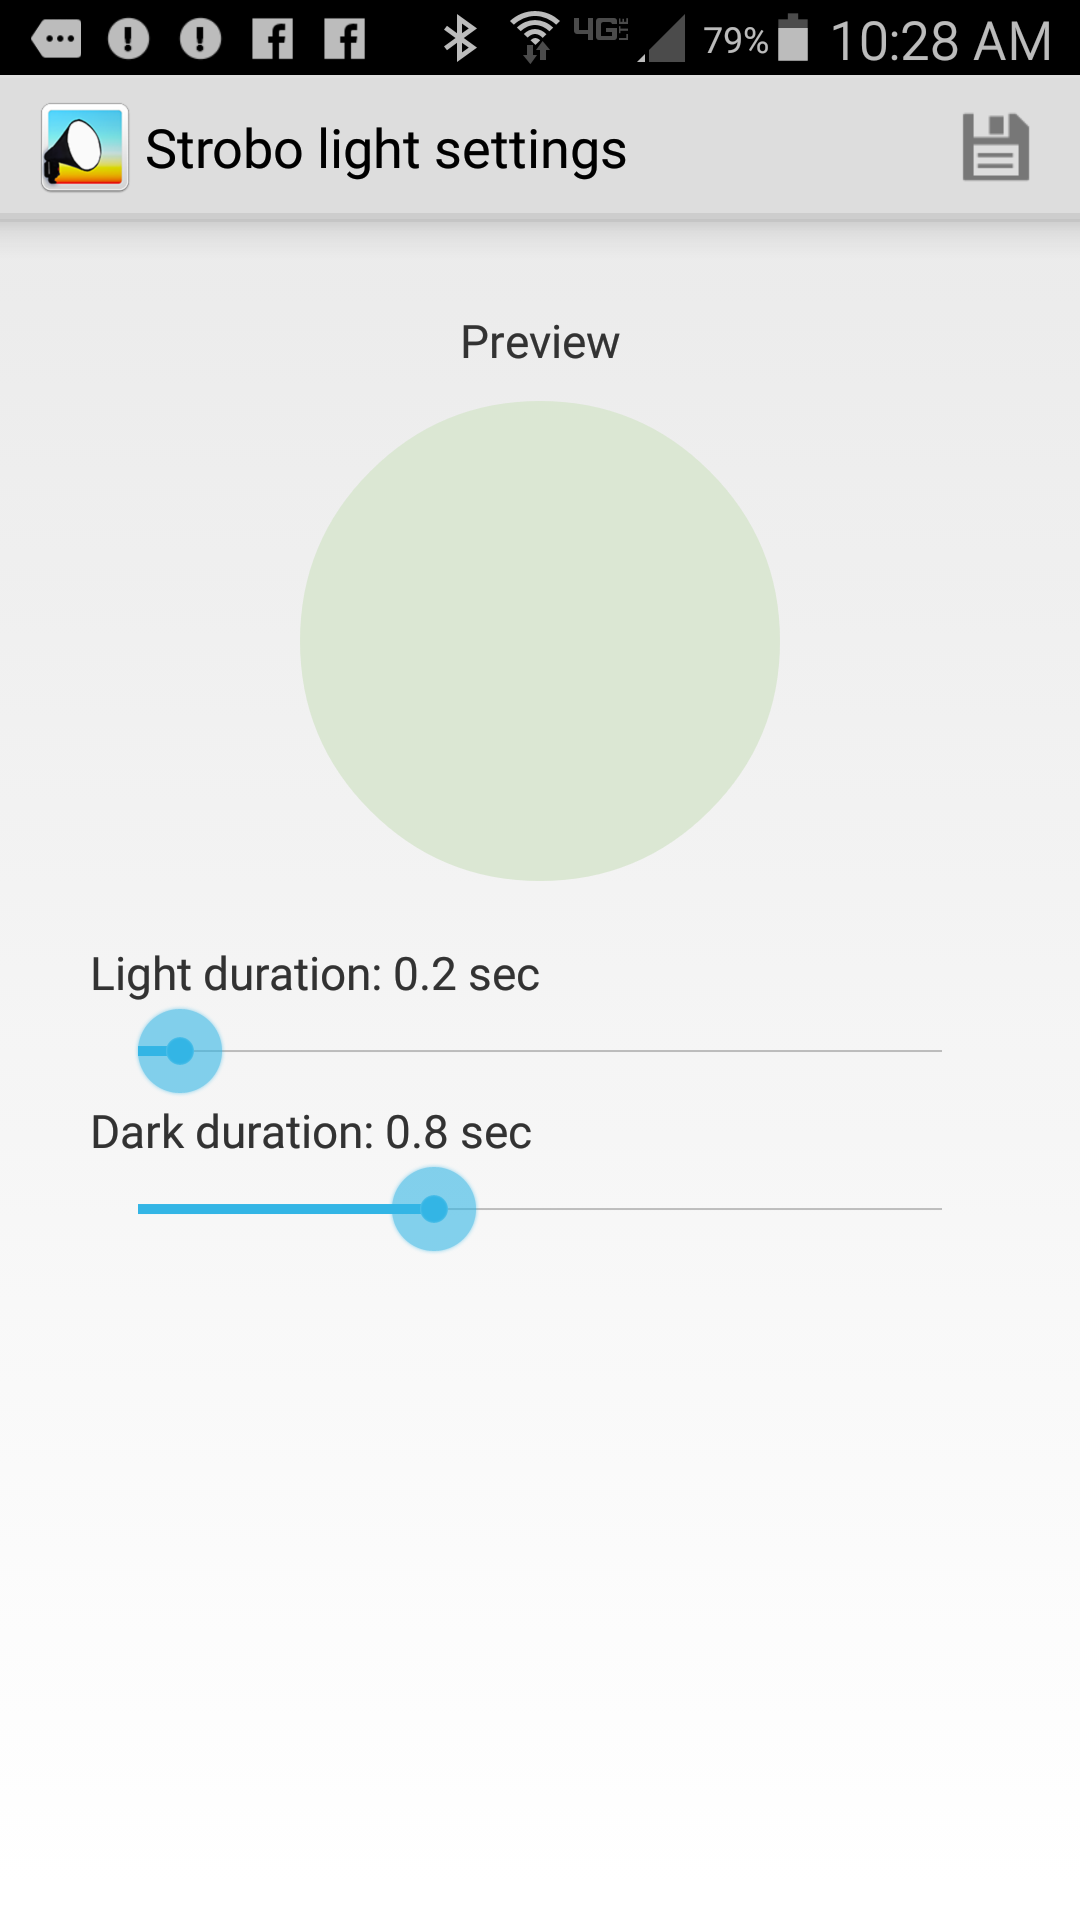
Pocket Softbox is an Android app (available from Google Play) that turns your smartphone or tablet into a nice low level lighting source when photographing at night. In the photograph shown above, I used Pocket Softbox for two purposes. First, I used the app to light the trees during the course of several long exposures by walking up and down the roadway, holding my phone in a manner that cast light up into the treetops. Second, whenever the ubiquitous fireflies settled down and ceased their display, I found that by walking around for a minute or two with the Pocket Softbox app set to 3200°K, the fireflies would resume their flashing display. Simply clicking on the Pocket Softbox icon (above) instantly brings up the app in the last mode that was used. This is what the app look like in use. I have selected a lime green color by sliding my finger in a vertical direction on the screen, and the brightness was selected by sliding my finger horizontally on the screen. The settings can be locked, which prevents inadvertent changes in color or intensity. In RGB color wheel mode, any possible color in the RGB color space can be selected, so if you want to light paint with color, this is the mode to use. If you select the Kelvin Color Scale mode, the app produces white light at the selected color temperature. The app comes with 7 commonly used Kelvin presets, as shown above, but you can save any number of your own commonly used settings as a preset. As an example, I named and saved two – Pinkish Red and Bluey Blue. Saving a preset is as easy as selecting Save Preset from the menu and entering the name you want to use in the dialog box. You can choose to use Eye Light mode from the menu, which produces a round shape as seen above. I have not found anything useful about Eye Light mode for my photography, with the exception that it is also used in Strobo mode. When Strobo mode is selected from the main menu, you are presented with the screen above, where you choose the duration of the light and dark cycles. The app will then flash your chosen color on and off through the Eye Light circle, using the parameters you have set on the screen above. This is useful for helping control the amount of light being added to the exposure by counting the number of times the light flashes. Not enough fill light? Up the number of flashes. Too much fill light? Reduce the number of flashes. This makes your light painting controllable and repeatable. I recommend this app without reservation. It is free, has no advertising, is small, and requires no special permissions. A very nice simple light painting tool to have in your bag of tricks!

[Sold Quickly] FOR SALE – Ocean Kayak Frenzy & Seaquel Oar – $150.00

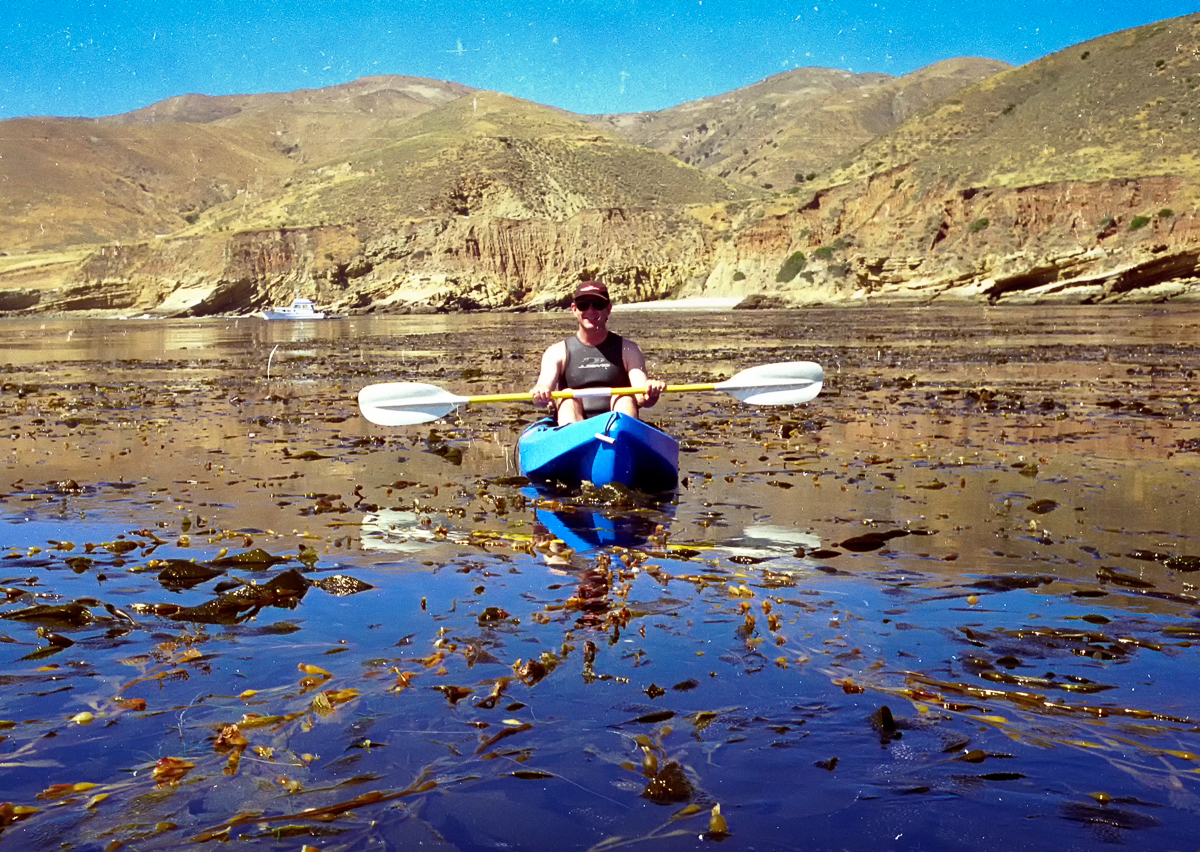
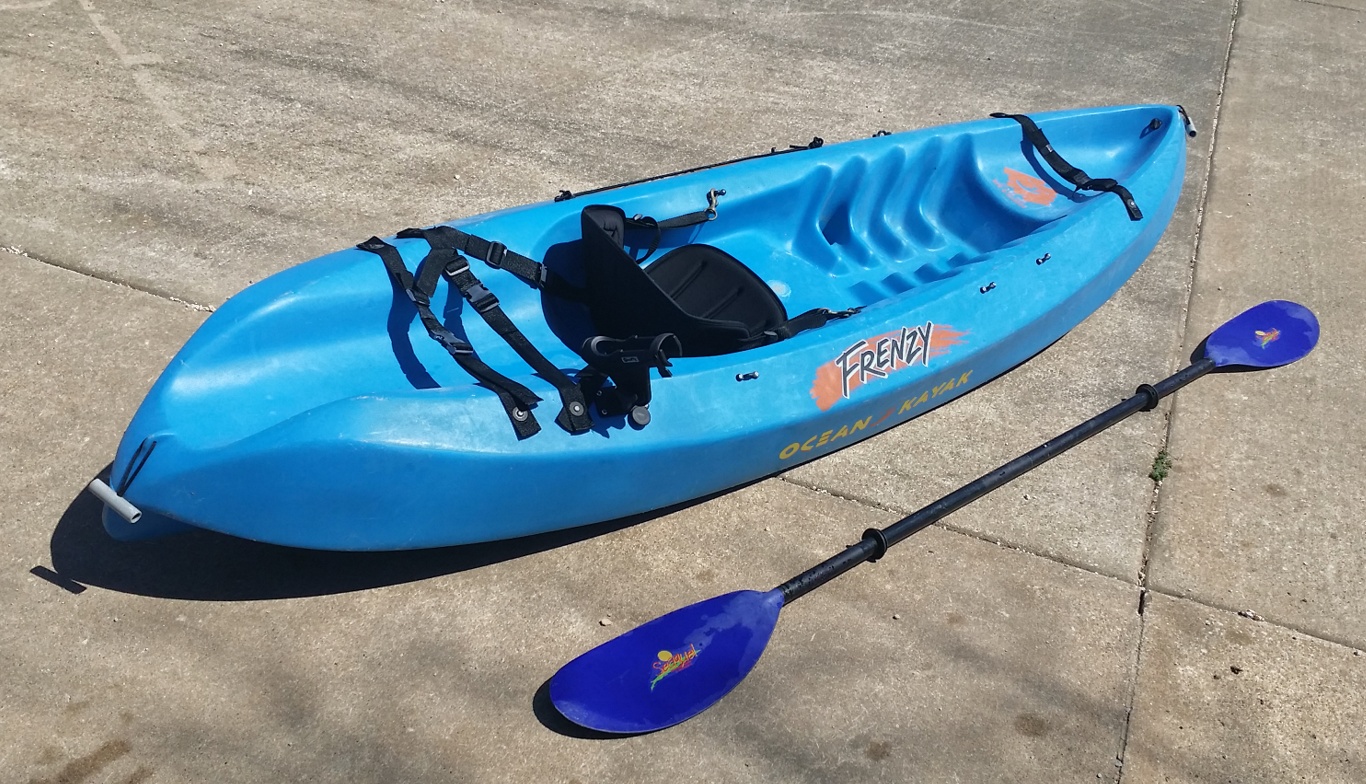
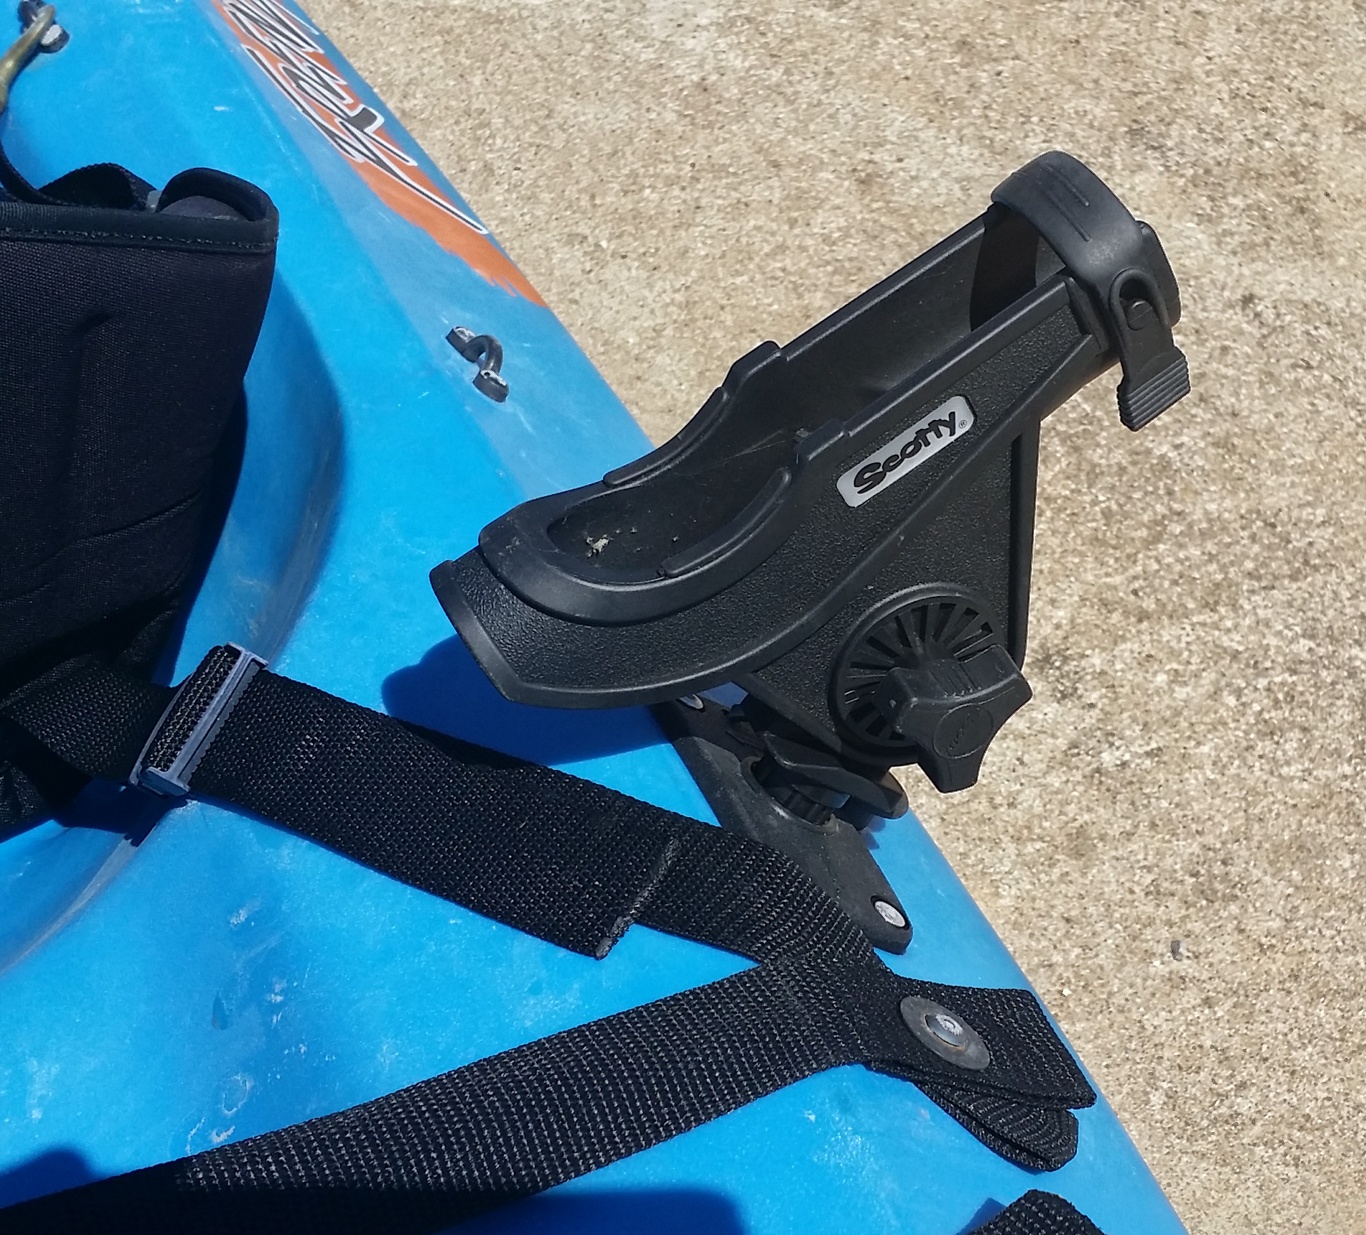
This heavy-duty Ocean Kayak Frenzy solo sit-on-top model is an ideal blend of design concepts that make it well suited for various kayaking conditions. From ocean kayaking, surf riding, river floating and moderate white water, the Frenzy does it all. The shorter length of the Frenzy compared to other models allows for excellent maneuverability, while the tri-form hull and keel design creates a kayak that tracks in a straight line without undo fuss on the paddler’s part. The wide stance of this kayak makes for a very stable kayaking experience. It is easy to board from in the water, and actually takes an effort to capsize this boat. This is a particularly fine kayak to scuba dive from due to its outstanding stability. There is a tank holder molded into the stern of the kayak, and heavy duty straps to hold all your gear. Here are additional views of this kayak. It is an older design than is produced today, lacking a molded-in cup holder and side handles, otherwise, the design is essentially the same as the current Frenzy model from Ocean Kayak. I have added on the Scotty Bait Caster/Spinning Rod Holder pictured above. I have also added a bungie cord style oar holder on the side opposite the rod holder, so fishing off this kayak is a breeze, especially with the stable, wide stance this kayak provides. Also included in the sale is a fine quality Aqua-Bound Seaquel oar. This oar separates into two sections for easy storage and transport. This is an aluminum oar, which Aqua-Bound has discontinued, but I paid approximately $70.00 for it when new. This is truly an ocean worthy kayak. I used it with much enjoyment at California’s Channel Islands National Park while living aboard my trawler in Southern California. You can’t go wrong buying this kayak and oar for the bargain basement price of $150.00. You will have to come pick it up in the Omaha, Arkansas area. Cash only – first-come, first-serve! E-mail me at hal@mitzenmacher.net if interested.

The Big Bridge Over Cricket Creek

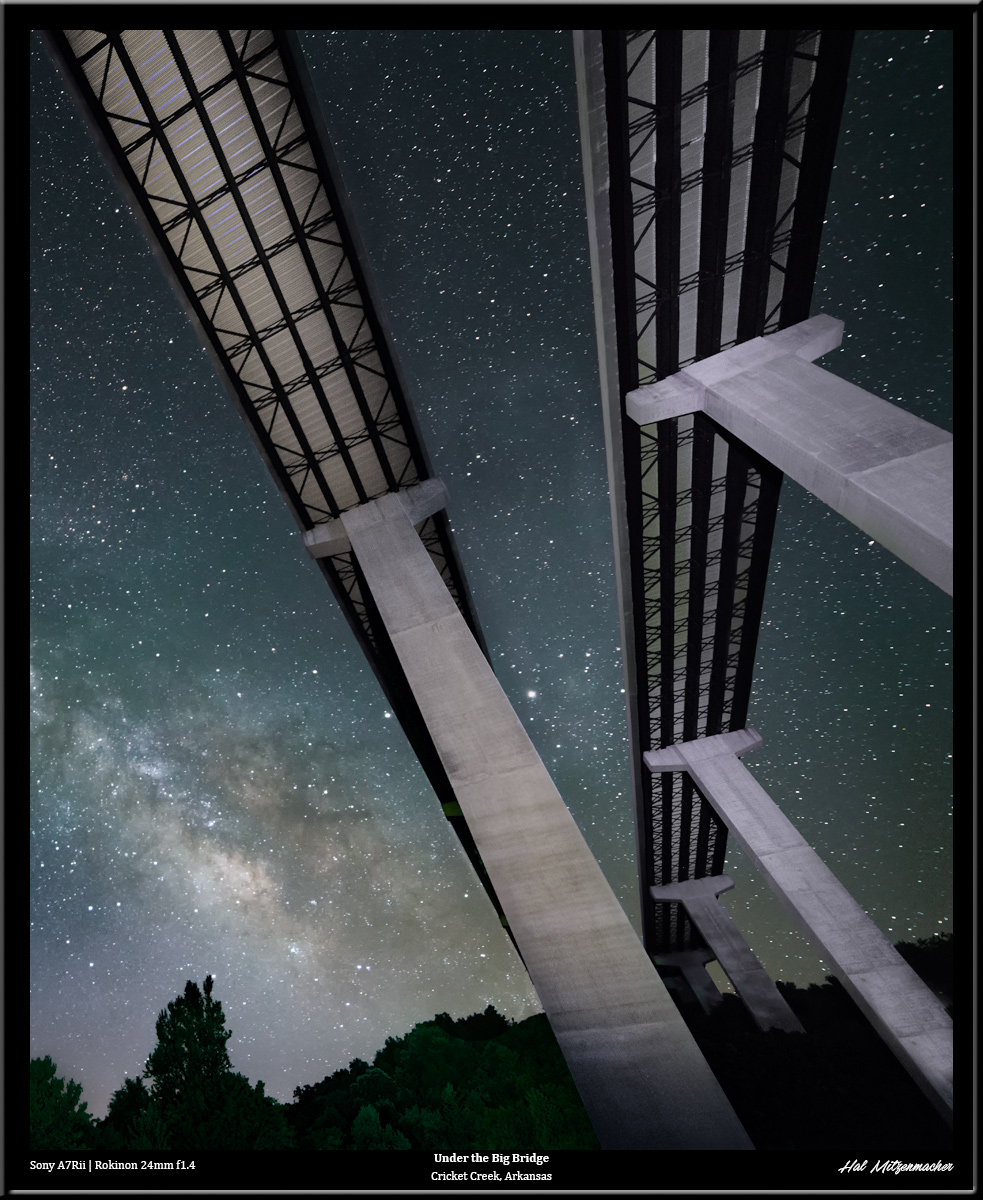
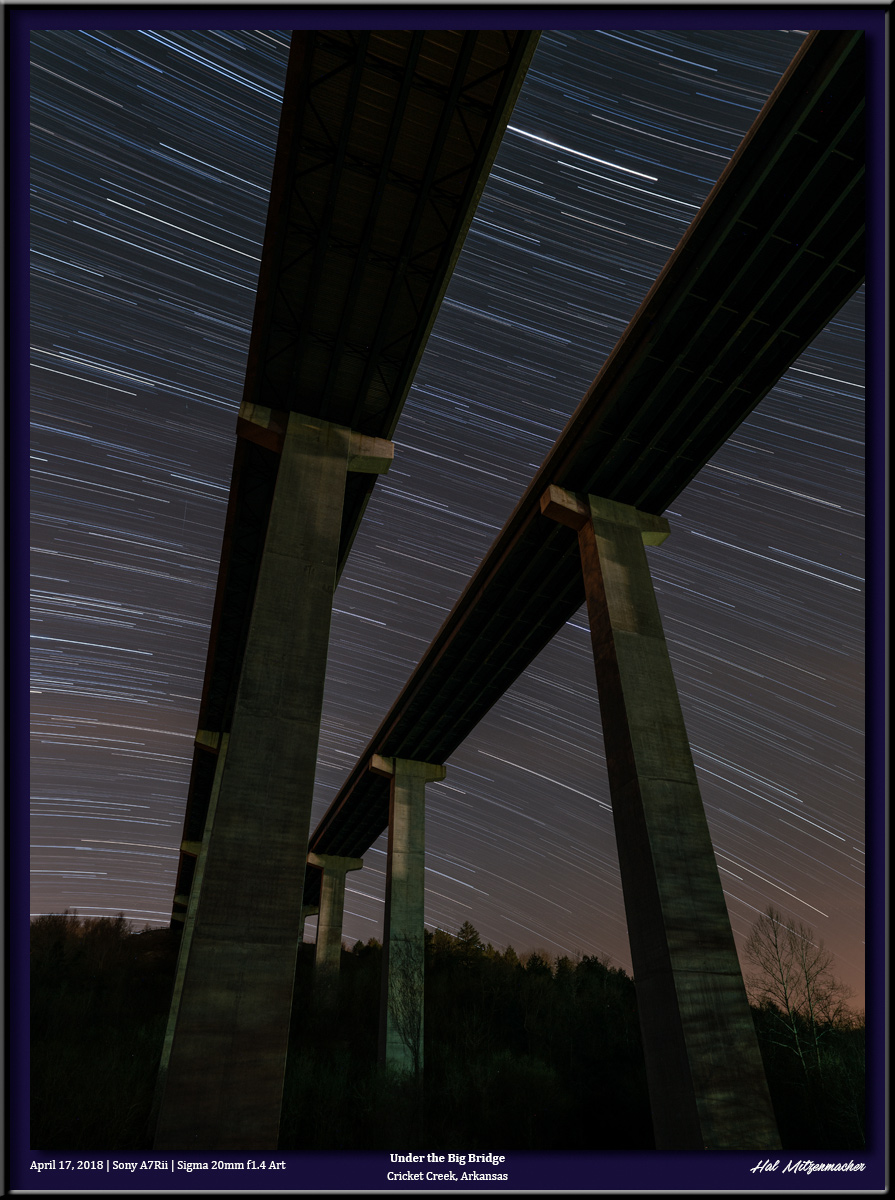
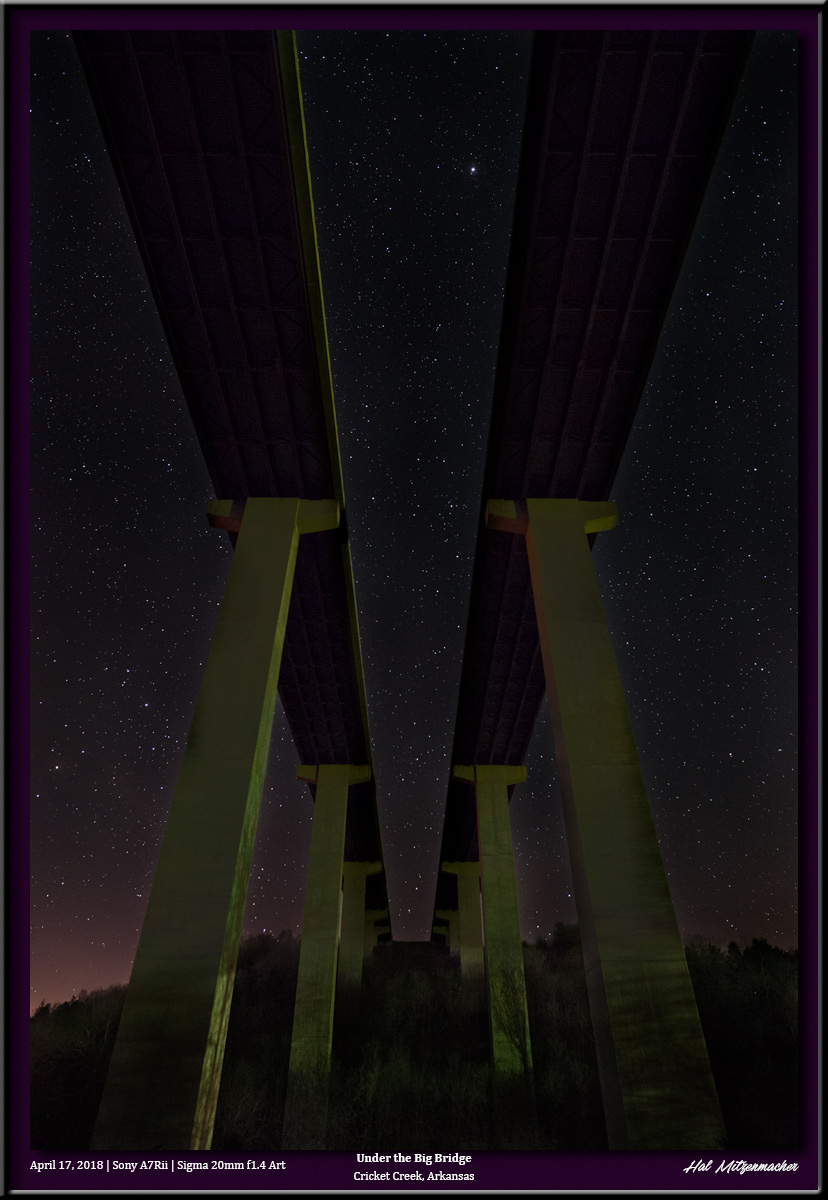
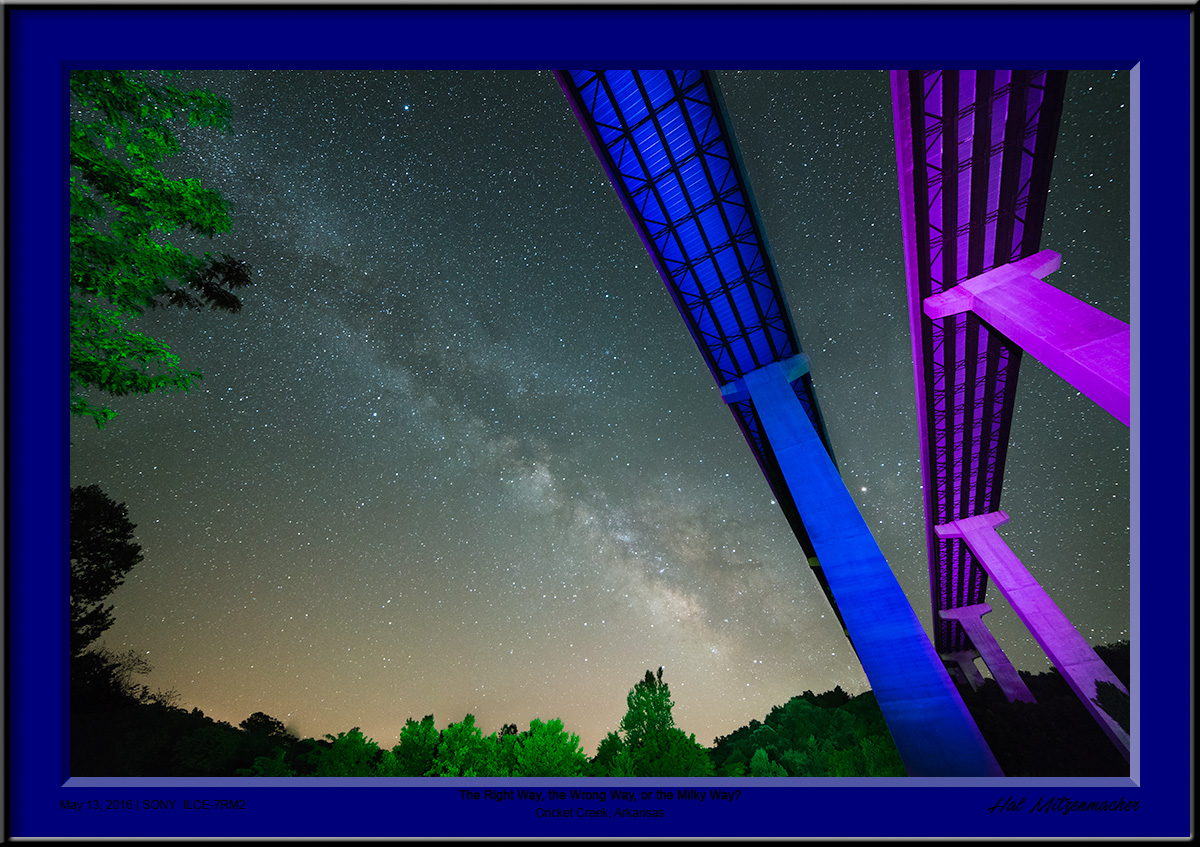
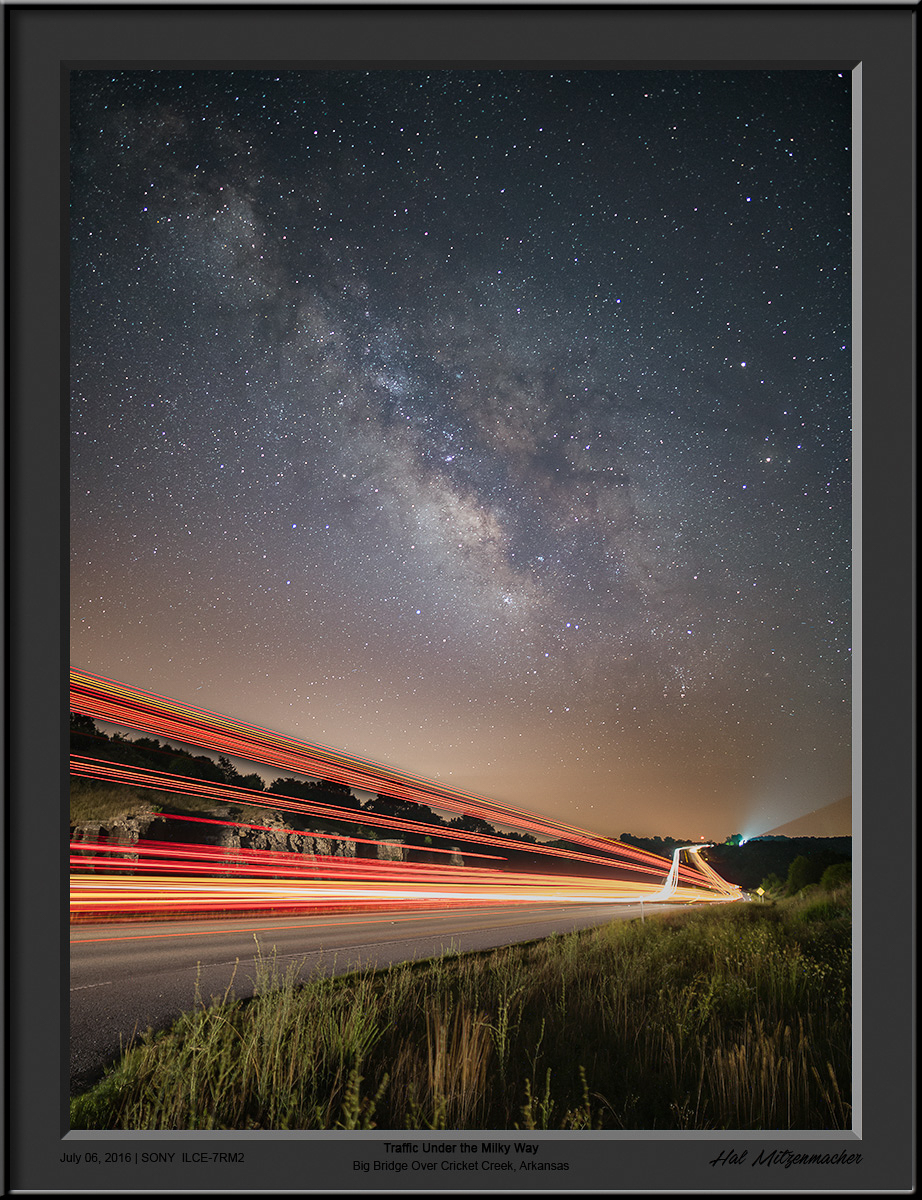
Here are a few variations of the view from underneath the Big Bridge that passes over Cricket Creek in Boone County, Arkansas. This one features the Milky Way with some extreme light painting of the bridge structure using a ProtoMachine LED2 flashlight. This image was taken using available light and consists of 12 exposures, each at 4 minutes/ f4 / ISO 400, for a total of 48 minutes of star trailing. And finally, this is a single 10 second exposure at f2.0 / ISO 6400 to capture pinpoint stars, using only available light. The Big Bridge is located near my home, so I often go there to capture images to test new equipment or techniques. Its interesting that the same subject can capture a different feeling each time I go and shoot it.

[SOLD QUICKLY] FOR SALE – Canvas Print Mounting Supplies $100.00

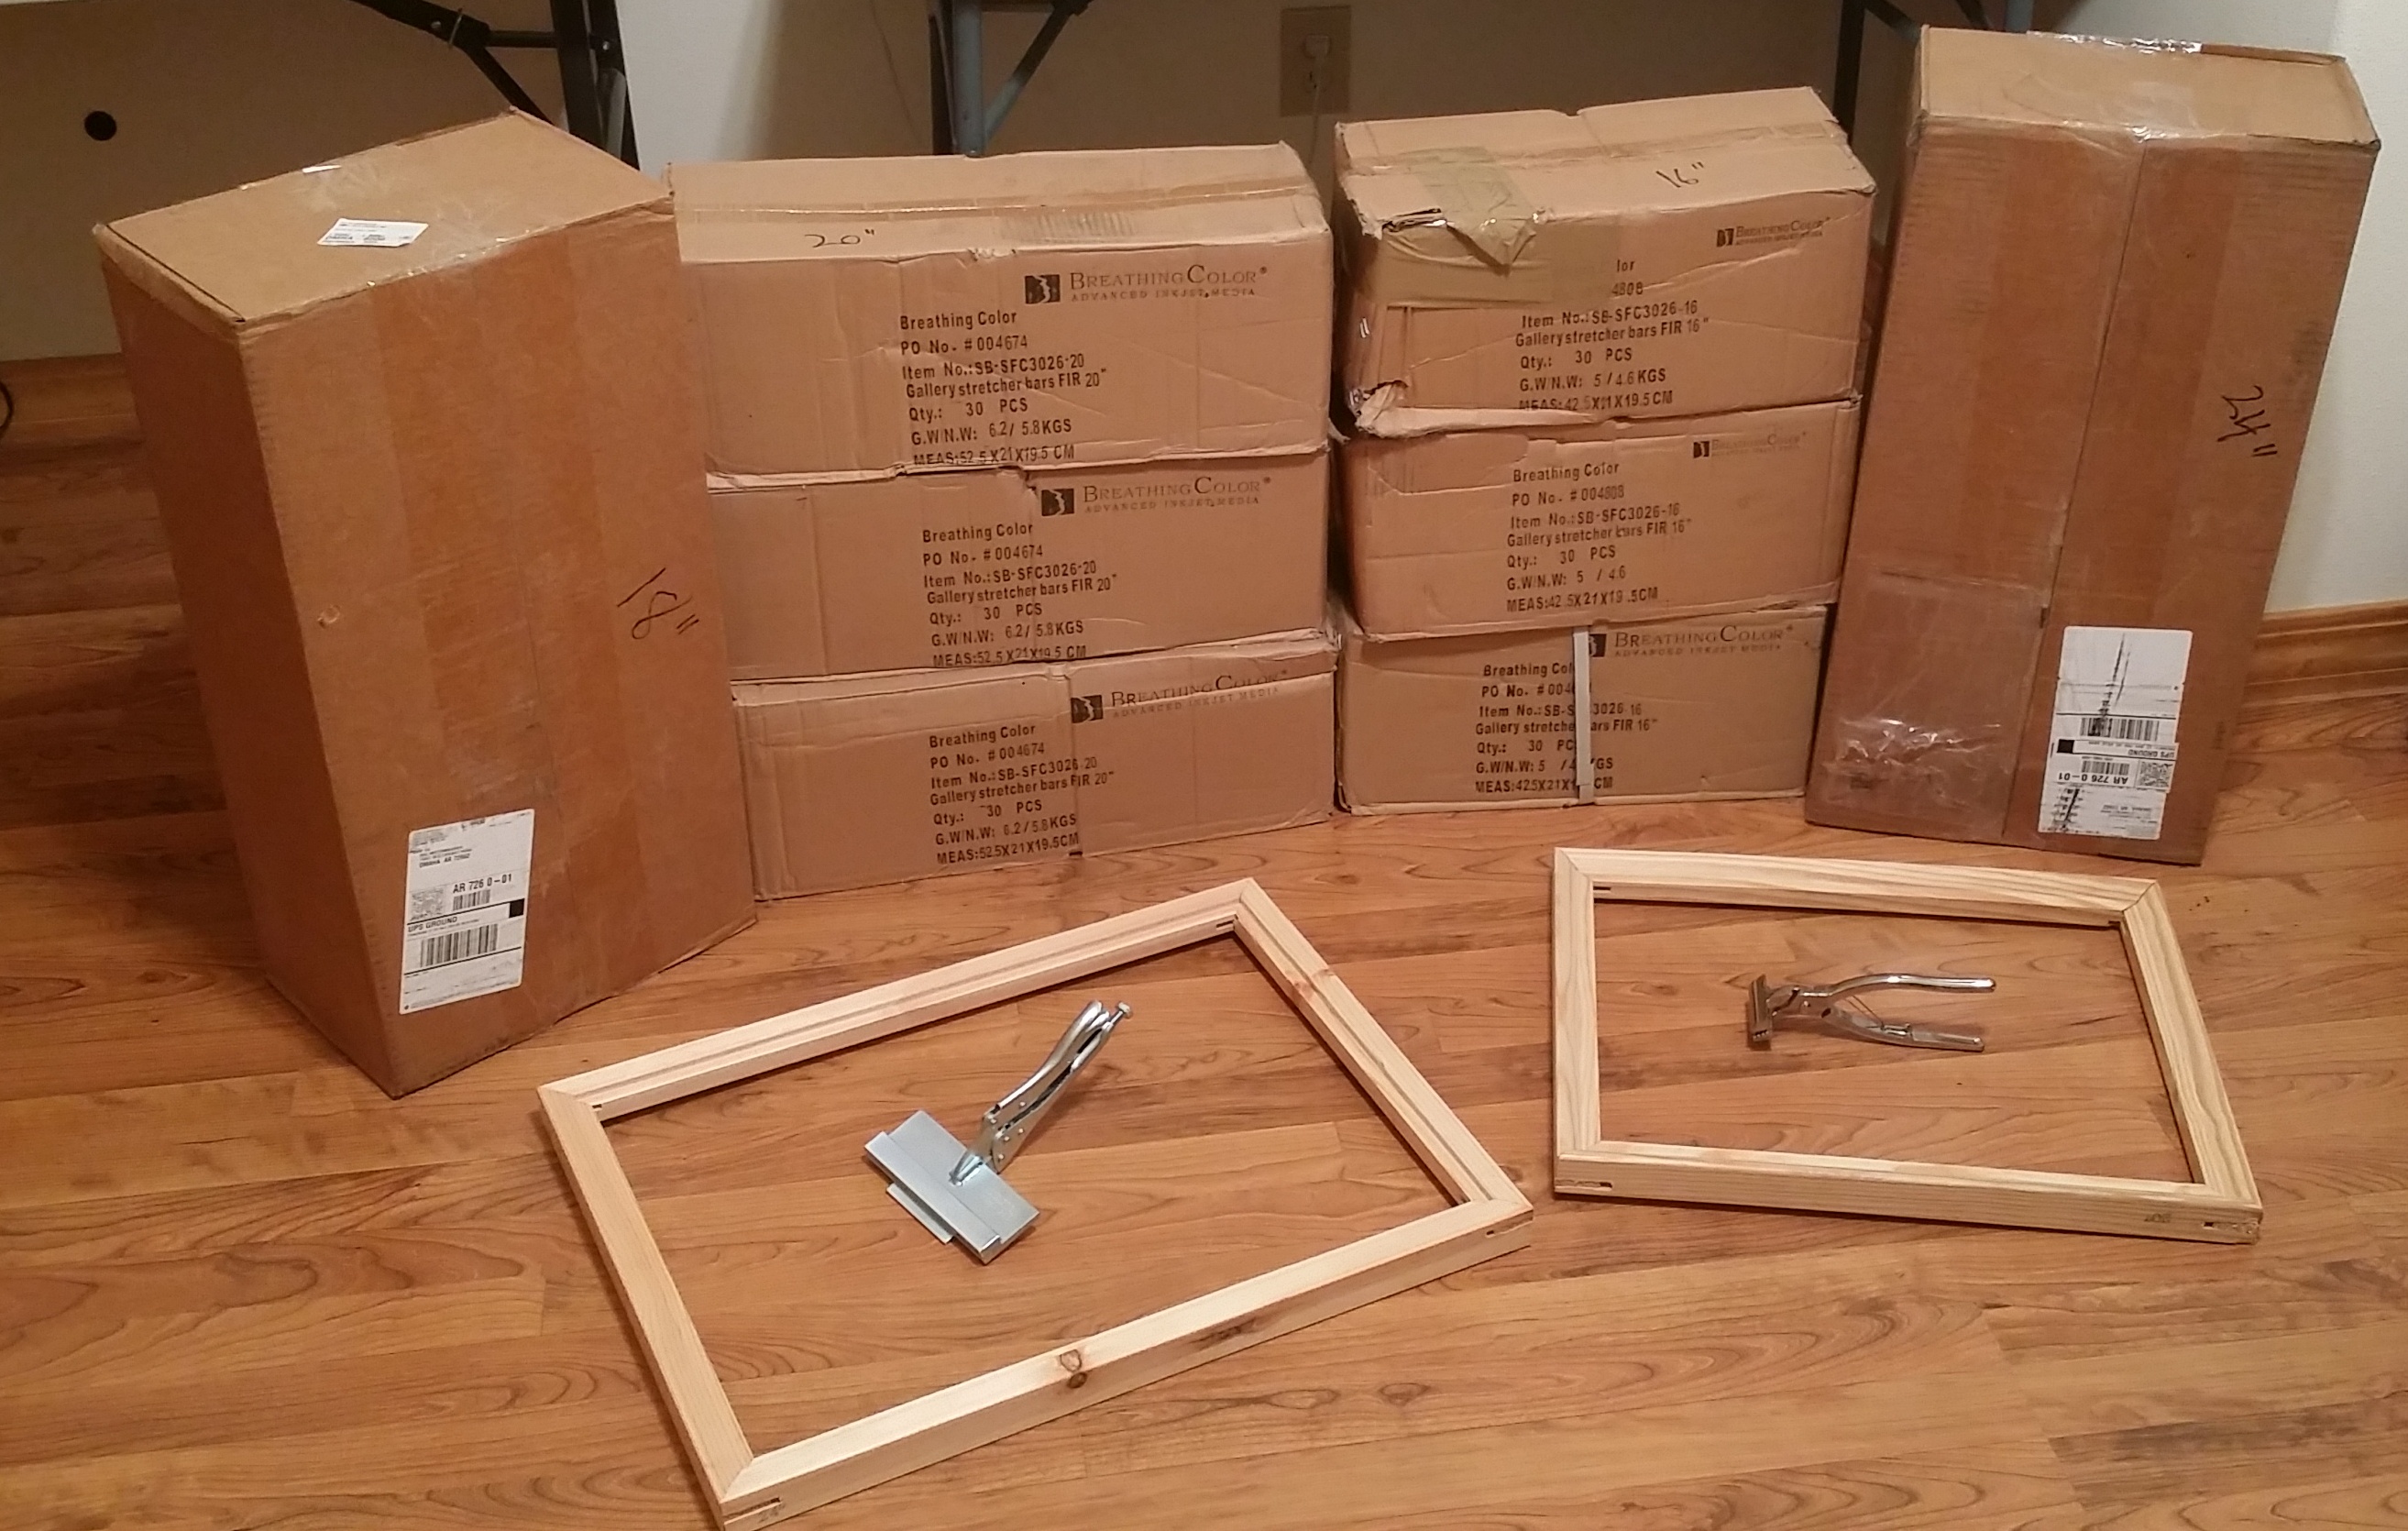
Because I am downsizing to a smaller house, I am once again offering some photographic printing supplies at a tremendous discount. I paid more than $700.00 for everything listed here, but you can have it all for the LOW, LOW price of $100. The only catch is that you must pay cash and pick these items up within two weeks from my home located near Omaha, Arkansas. First come, first serve. Hurry, I will be listing this on Craig’s List, Harrison On-Line Yard Sale, and the Branson Ultimate Yard Sale tomorrow afternoon, Thursday 4/19/18. If interested, email me at hal@mitzenmacher.net

Stretcher Bars

Breathing Color Gallery Fir Pre-Notched Stretcher Bars (1 1/2″ Depth x 1 3/8″ Width) 18″ Length – 40 Pieces – Paid $62.04 24″ Length – 40 Pieces – Paid $84.92 16″ Length – 90 Pieces – Paid $130.68 20″ Length – 90 Pieces – Paid $159.39  

Canvas Stretching Pliers

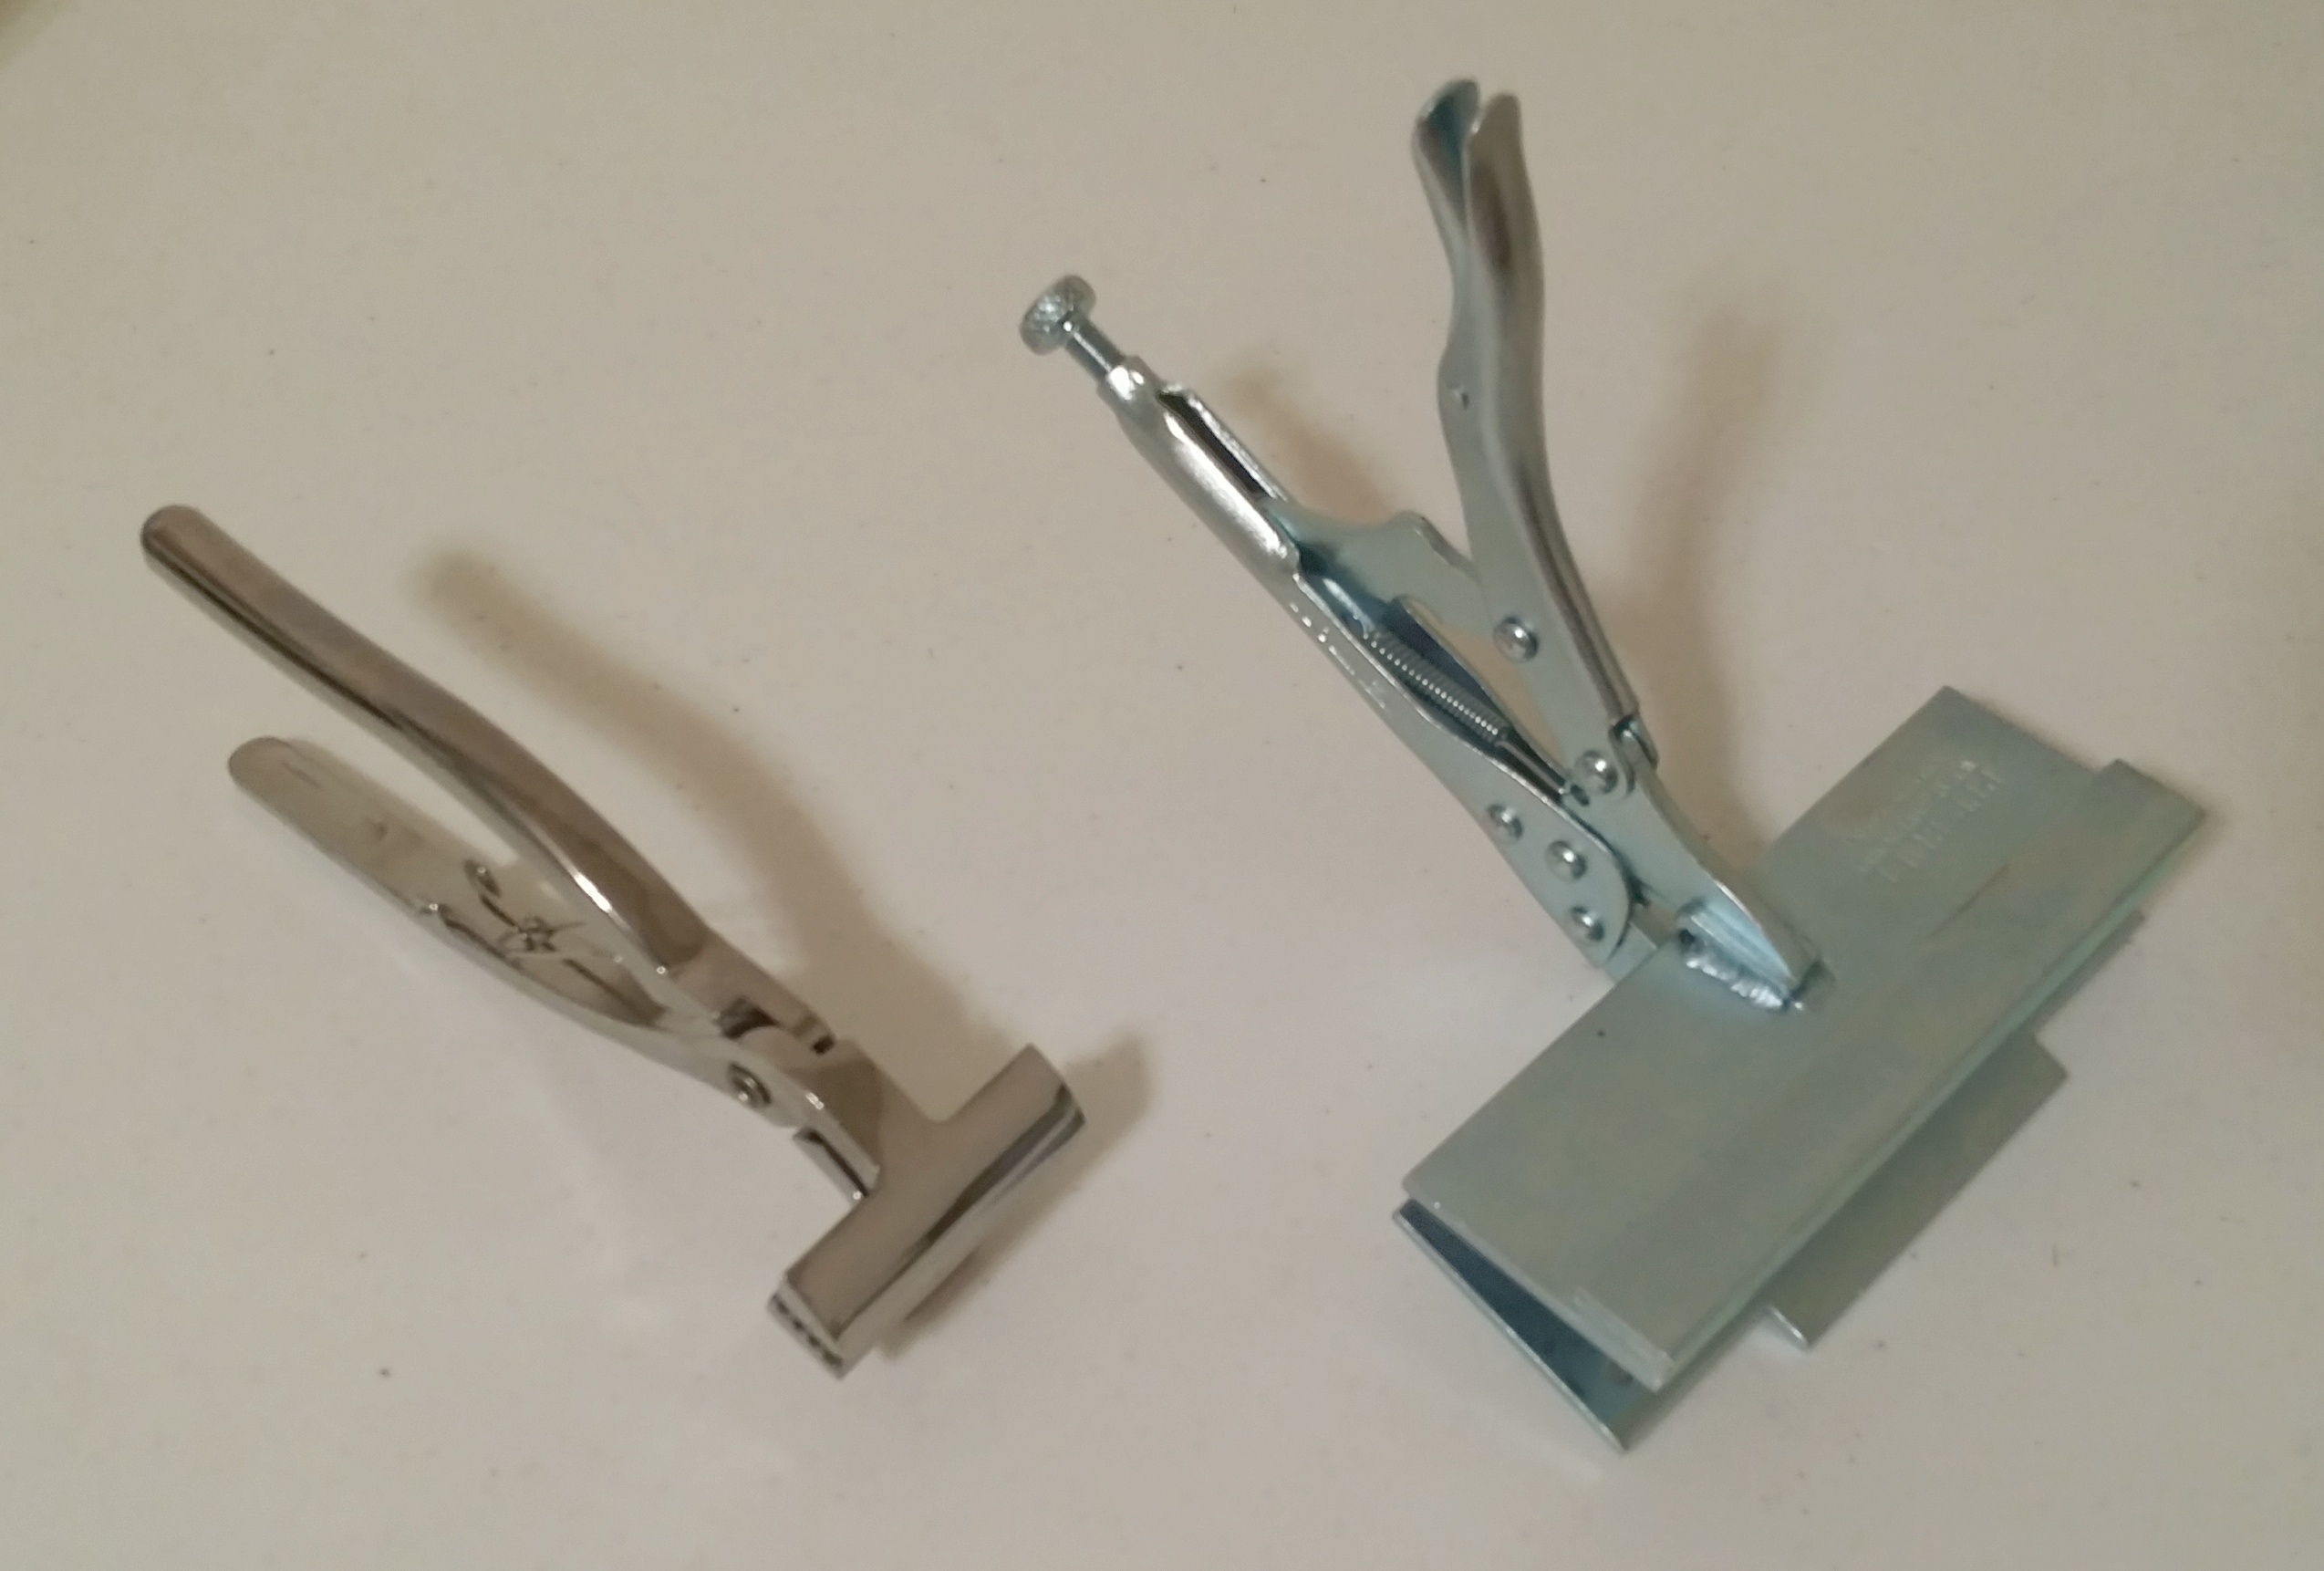
Generic Chrome Stretching Pliers (left) – Paid approx. $15.00 Pit Bull Canvas Wrap Stretcher (right) – Paid $170.00

Canvas Print Varnish & Supplies

1 Gallon – Breathing Color Timeless Print Varnish – Gloss Finish – Paid $89.95 10 each – Contractors Foam Rollers – paid approx. $8.00 3 each – Roller Handles – paid approx. $6.00 3 each – Roller Pans – paid approx. $3.00  

Marshall Point Lighthouse, Maine

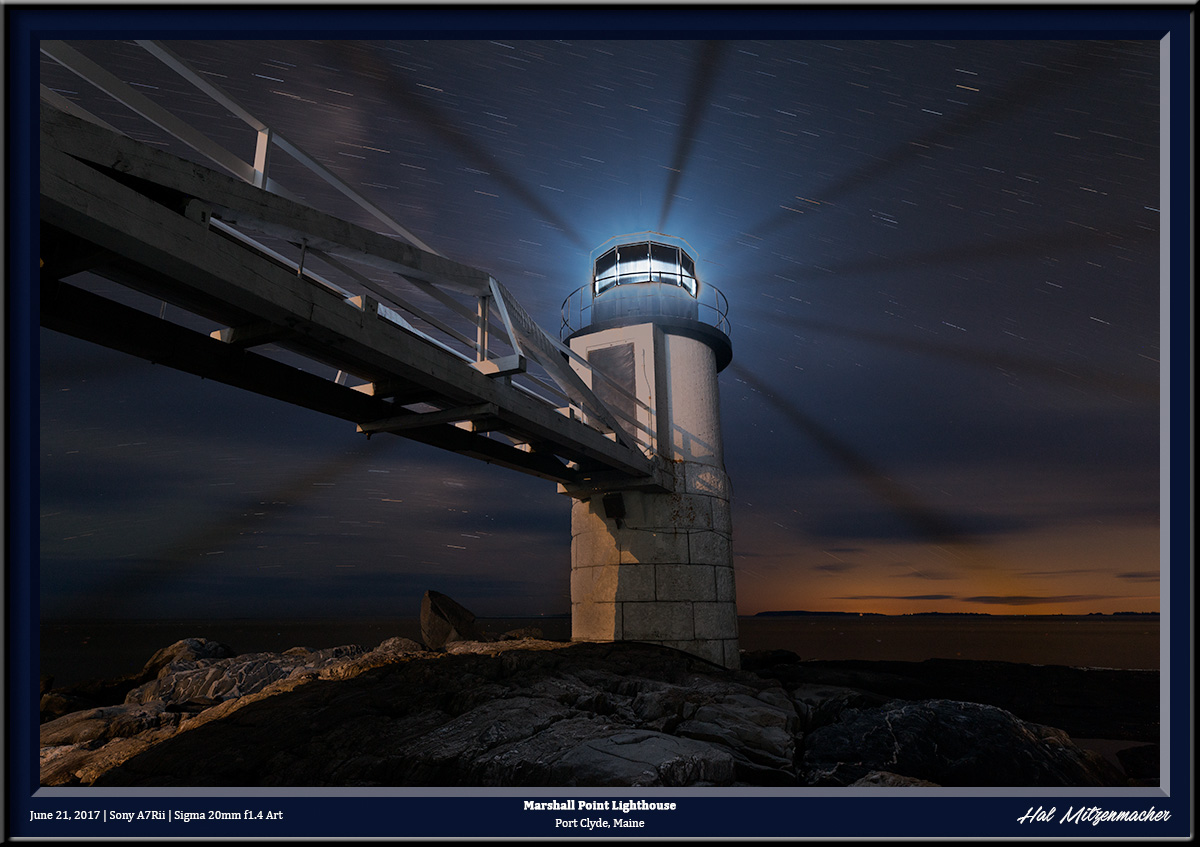
The Marshall Point Lighthouse is located near Port Clyde in the state of Maine. Although the grounds are usually closed at night, I was able to photograph the light while attending a workshop led by Lance Keimig who runs the Night Skye Workshops. The workshop was a part of the highly respected Maine Media Workshops and College, based out of Camden, Maine. I was recently asked about the techniques used to create this image, so I thought I would post the answer here. This was created using a blend of two exposures. The first was a very long exposure of 8 minutes/f8/ISO 800. This exposure yielded the clean, noise-free overall image that also produced the star trails of a length I find pleasing to the eye. While an exposure of 8 minutes produced a nice clean image, it also grossly overexposed the actual light at the fresnal itself. To correct this deficiency, I took a series of shorter exposures, this time judging the exposure of the fresnal itself. After several tries, I determined that an exposure of 30 seconds/f8/ISO 100 produced a good likeness of the fresnel portion of the light. When it came time to construct the final image, I placed both the long, 8 minute exposure and the short, 30 second exposure into layers using Photoshop. From there it was a simple matter to blend the properly exposed fresnel into the overexposed fresnel of the long exposure. Once the blending was accomplished, I used the power of Lumenzia (a luminosity masking plugin for Photoshop developed by Greg Benz) to do the final editing of the image until I achieved results that I felt was satisfactory. The equipment used for this image: Sony A7Rii | Sigma 20mm f1.4 Art Series lens | MIOPS Smart Trigger | Benro Tripod | Flare Buster lens shade

Shop Equipment – Cost $4590 – Selling for $1100 Firm [SOLD QUICKLY]

Bulk Sale – It’s All or Nothing!  [SOLD]


BAND SAW

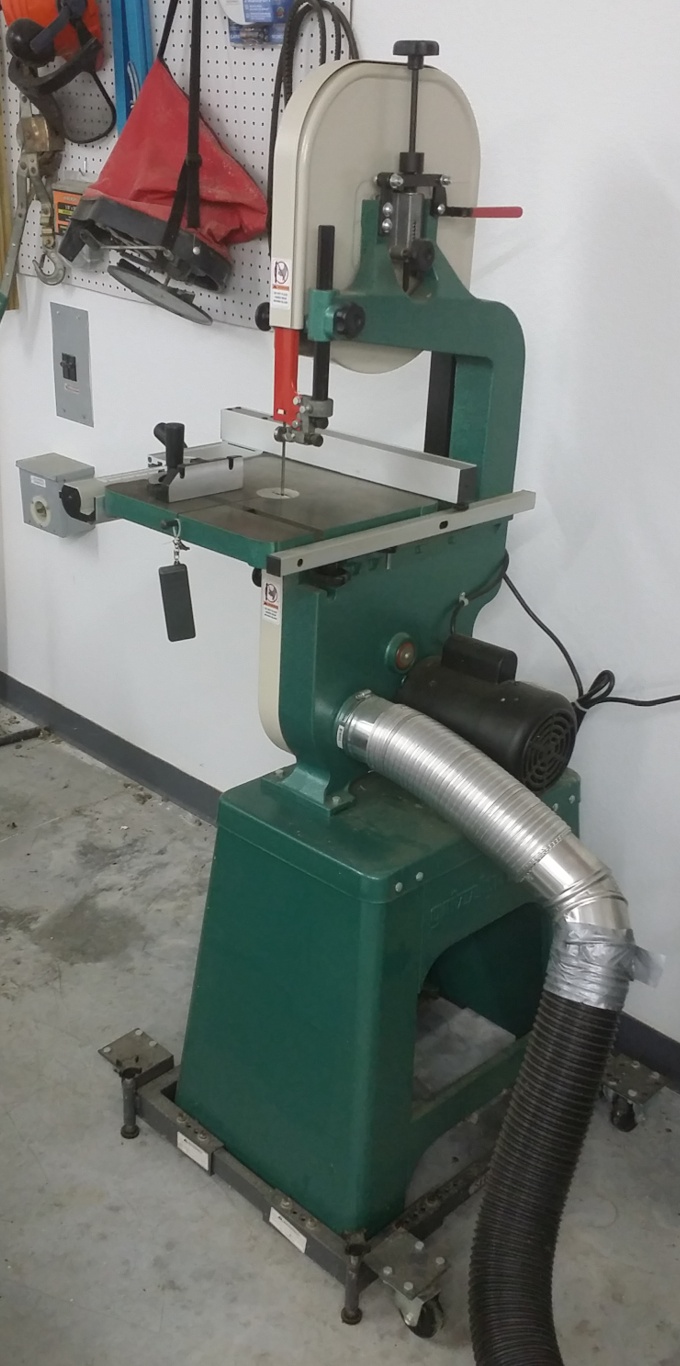
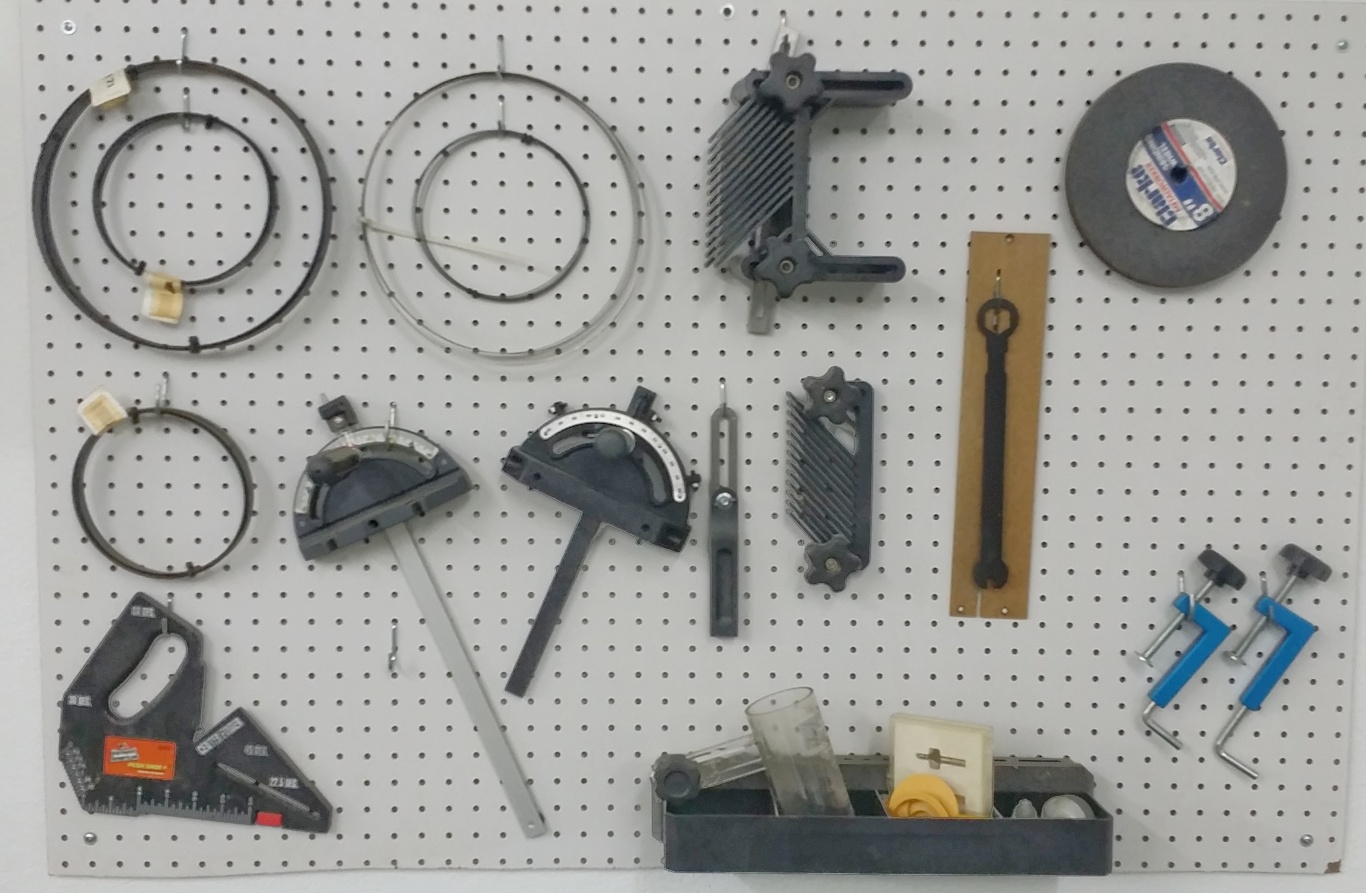
Grizzly Industrial 14″ Band Saw Model G0555 – Paid $625.00 Shop Fox Heavy Duty Mobile Base D2057A – Paid $69.95 Assorted band saw blades, guides, squares, etc. – Paid approx $200.00

SHAPER

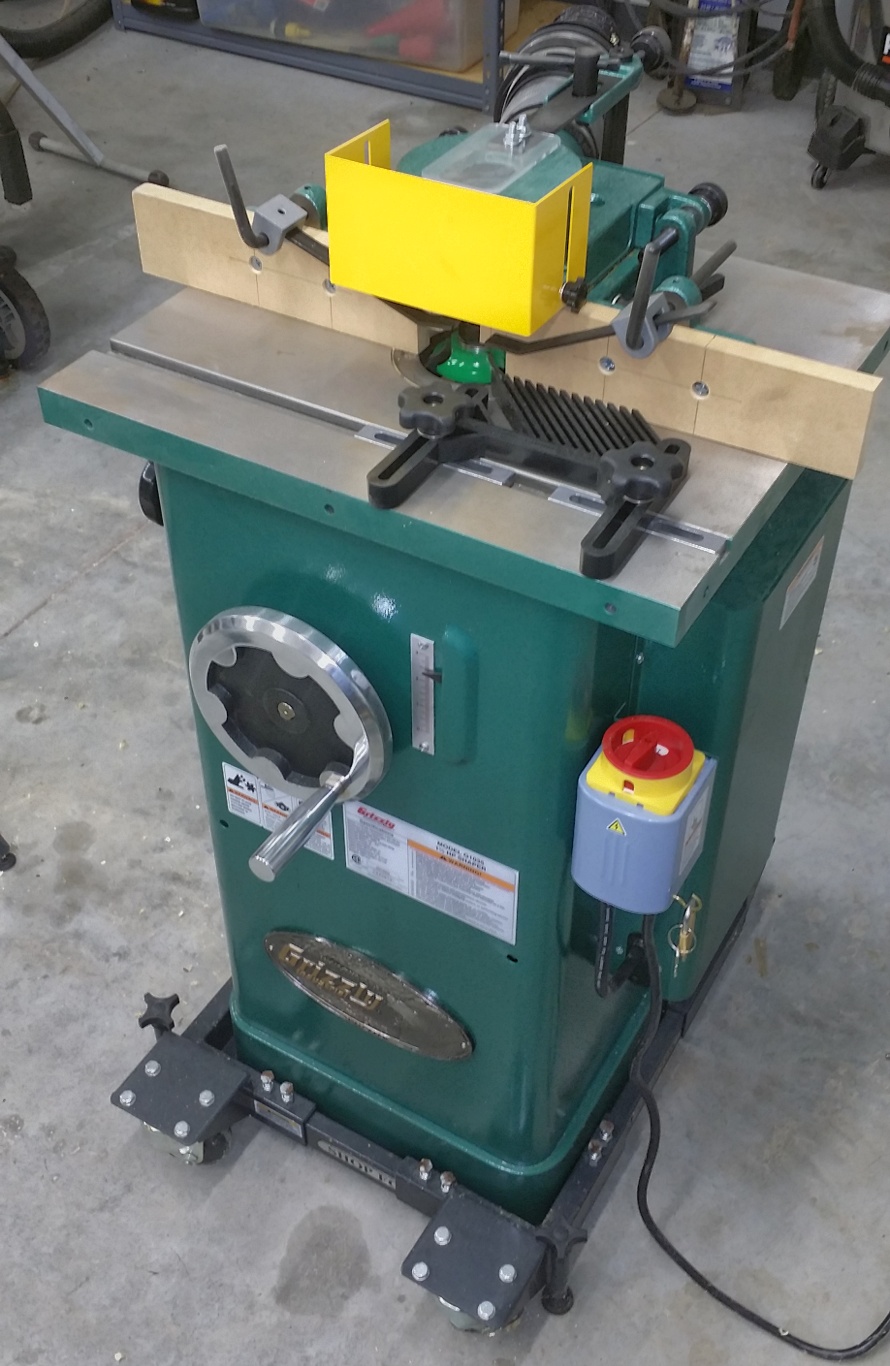
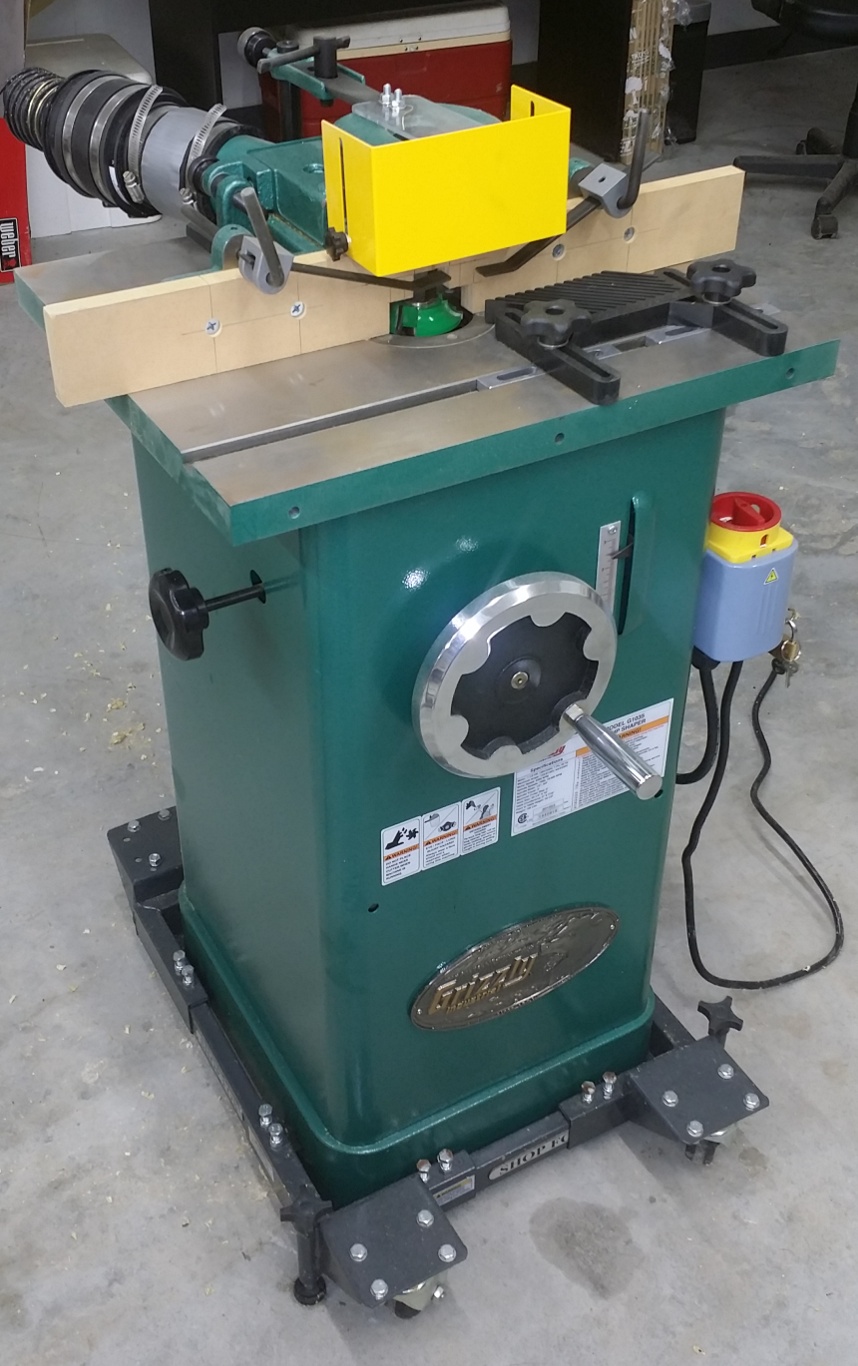
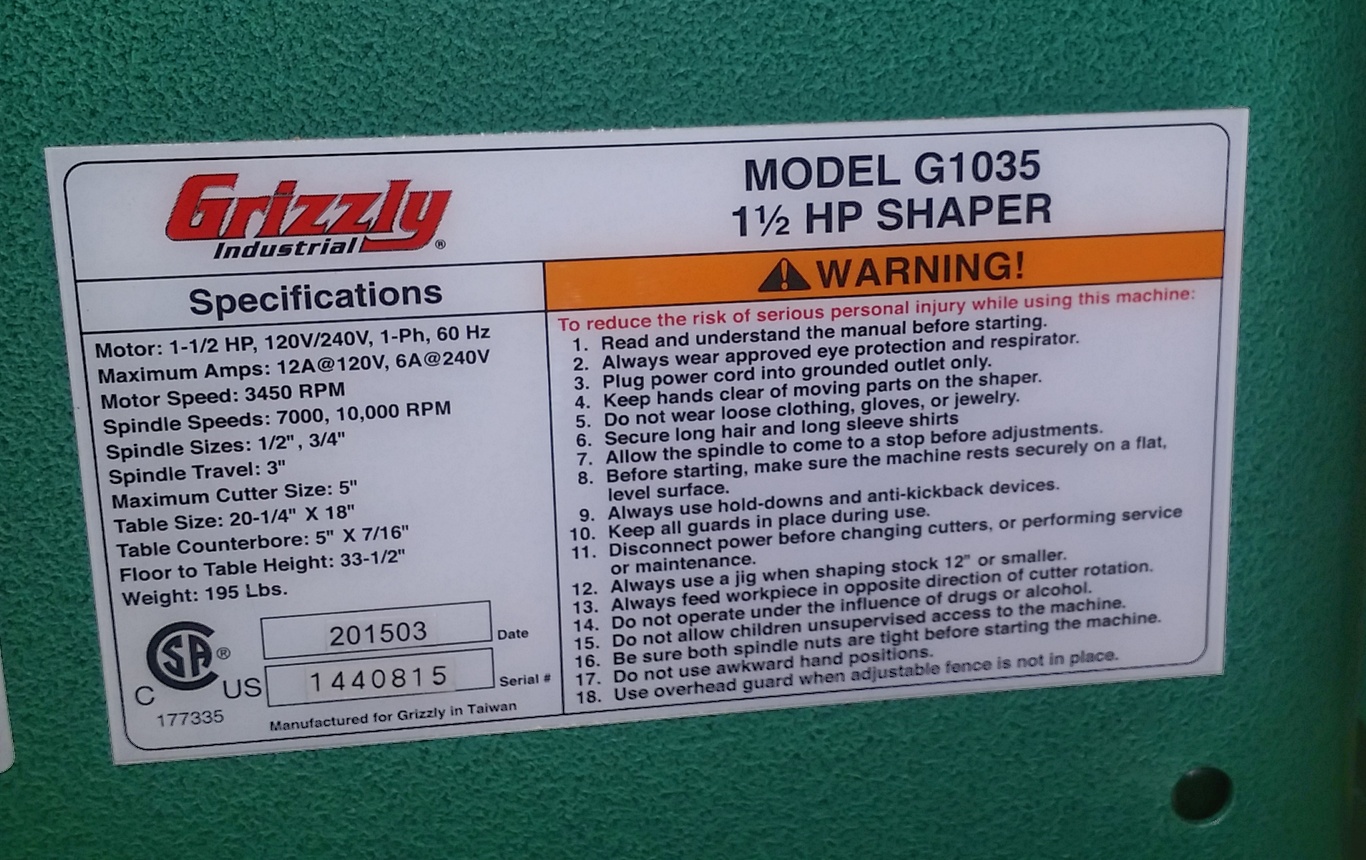
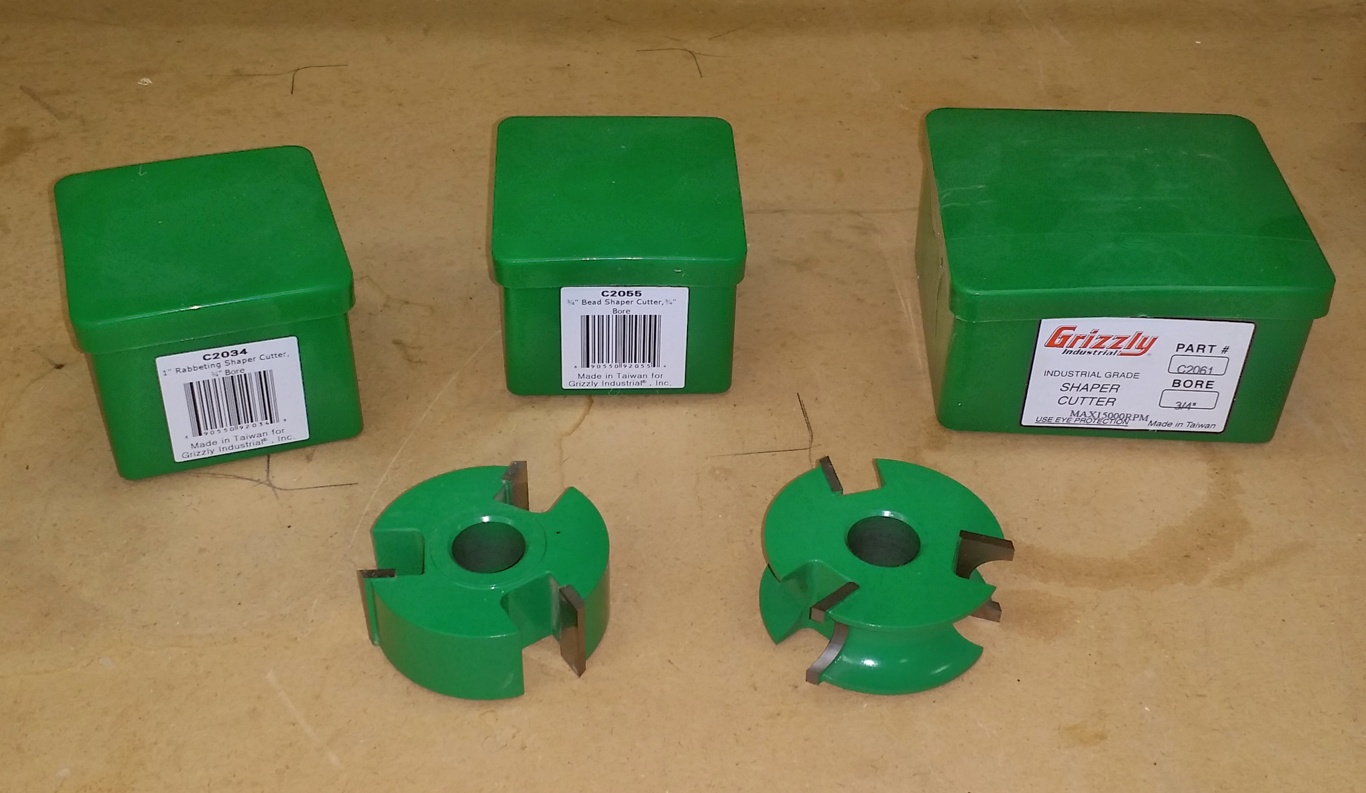
Grizzly Industrial 1 1/2 HP Shaper Model G1035 – Paid $639.95 Shop Fox Mini Mobile Base D2260A – Paid $59.95 Grizzly Industrial 1″ Rabbeting Shaper Cutter, 3/4″ Bore Part C2034 Paid $39.95 Grizzly Industrial 3/4″ Bead Shaper Cutter, 3/4″ Bore Part C2055 – Paid $39.95 Grizzly Industrial 1/2″ Radius Quarter Round, 3/4″ Bore Part C2061 – Paid $38.95 Pro Fence Featherboard – Part T20853 – Paid $64.95 Grizzly Industrial 3″ Dust Hood Part G4840 – Paid $22.95

DRILL PRESS

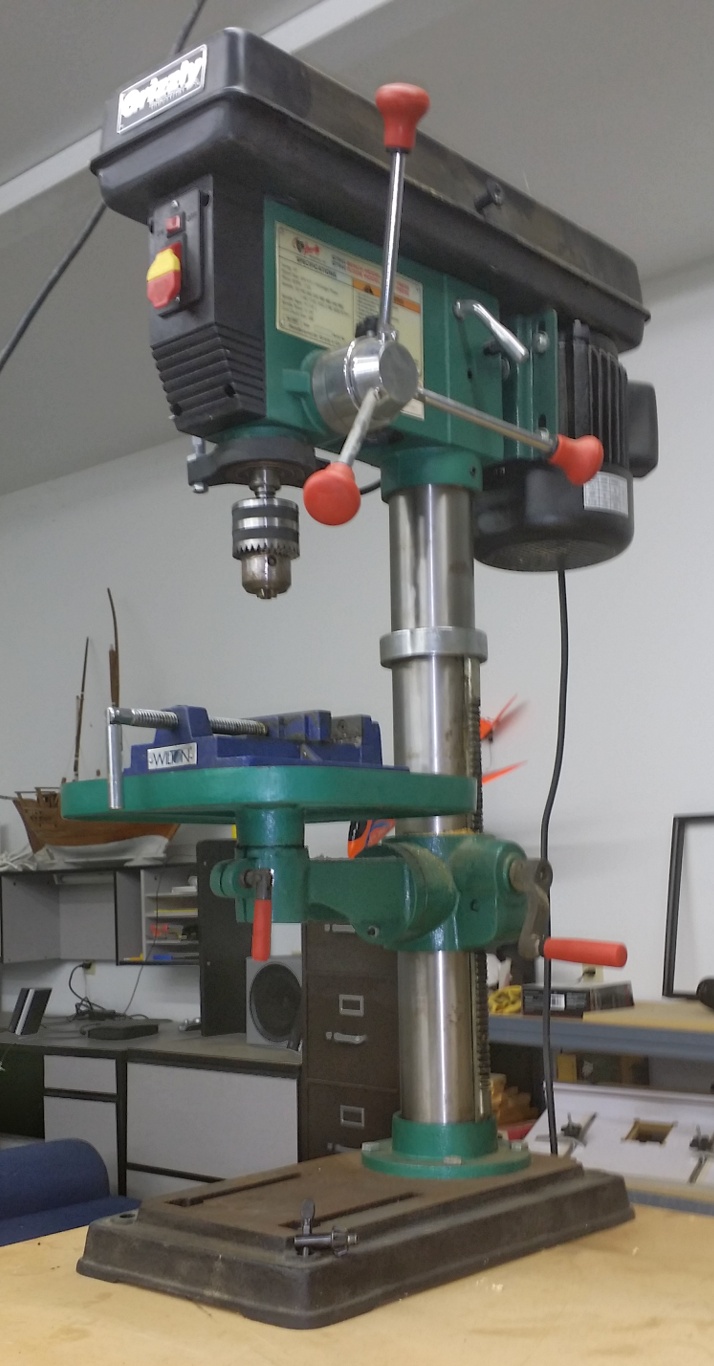
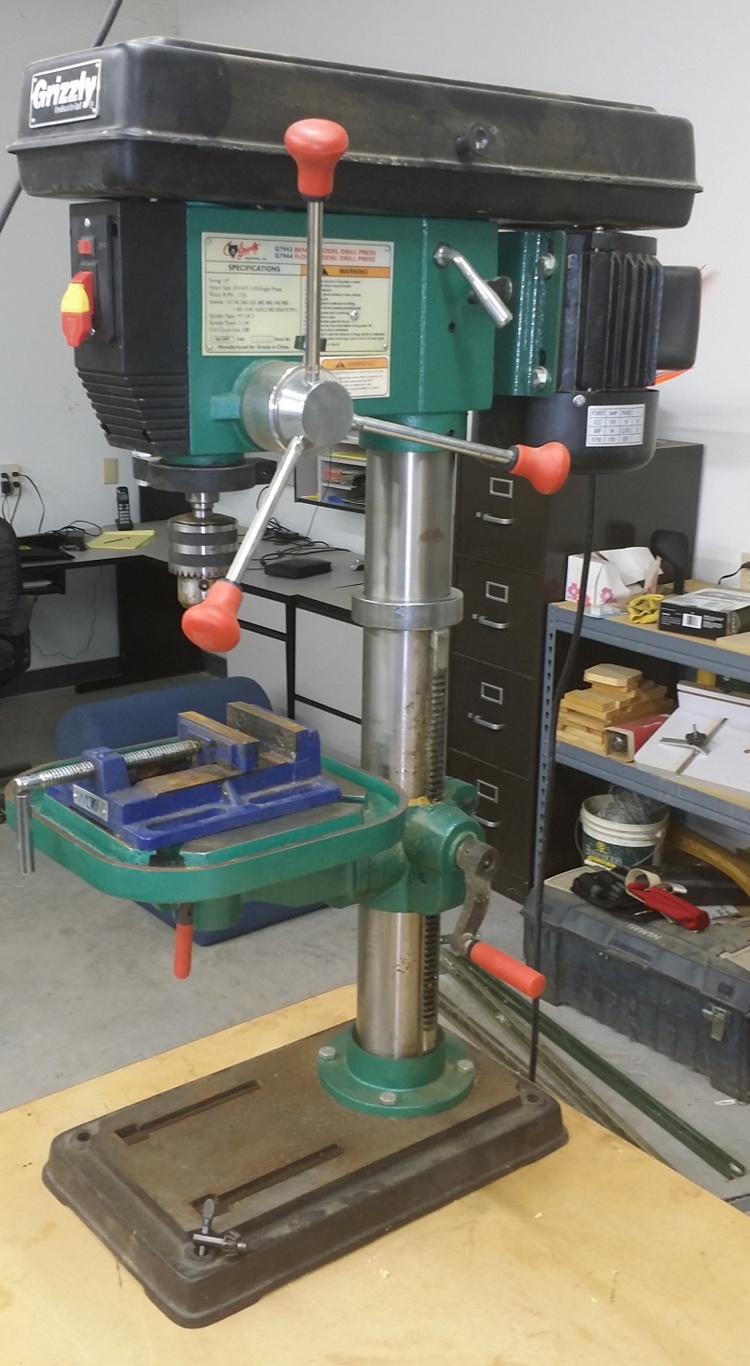
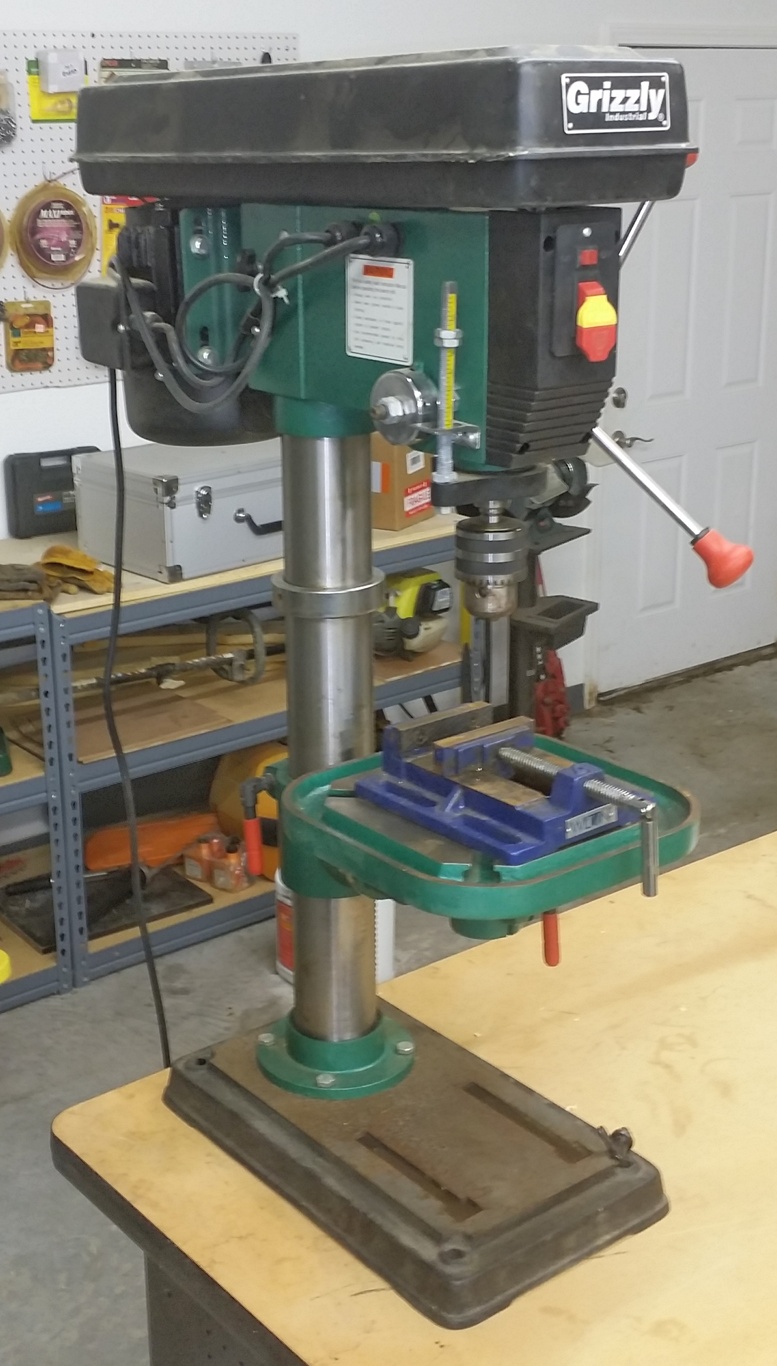
Grizzly 12 Speed Heavy-Duty Bench-Top Drill Press Model G7943 – Paid $365.00 Wilton 4″ Drill Press Vice Model 69997 – Paid $36.98

TABLE SAW

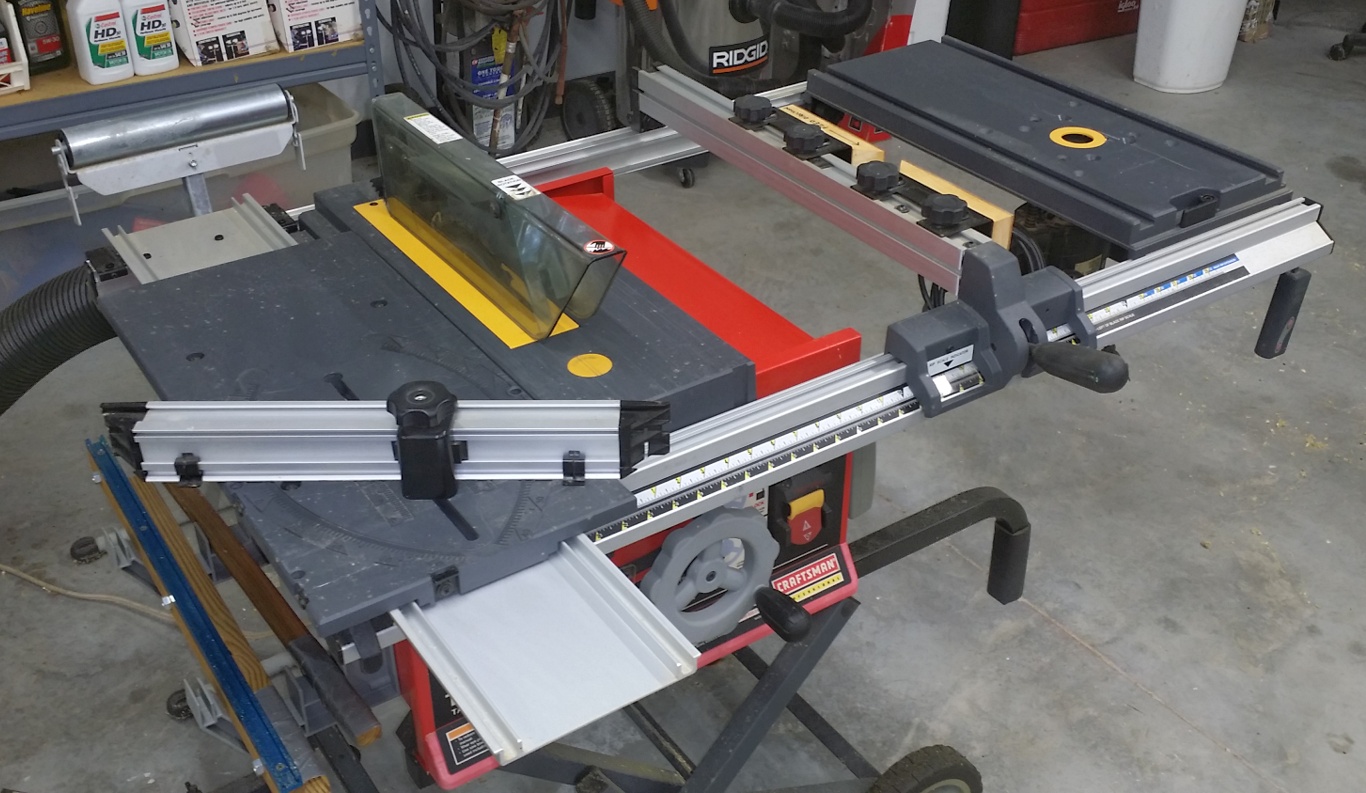
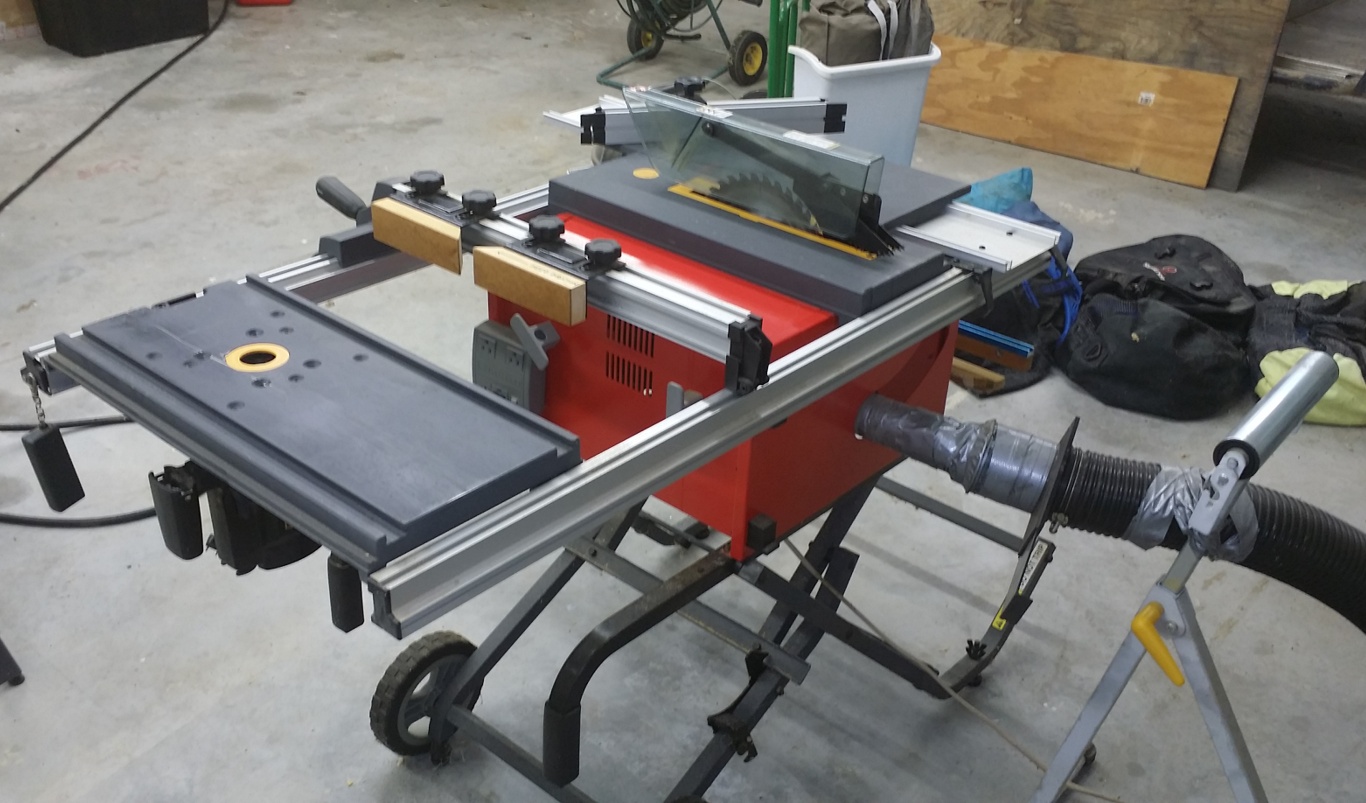
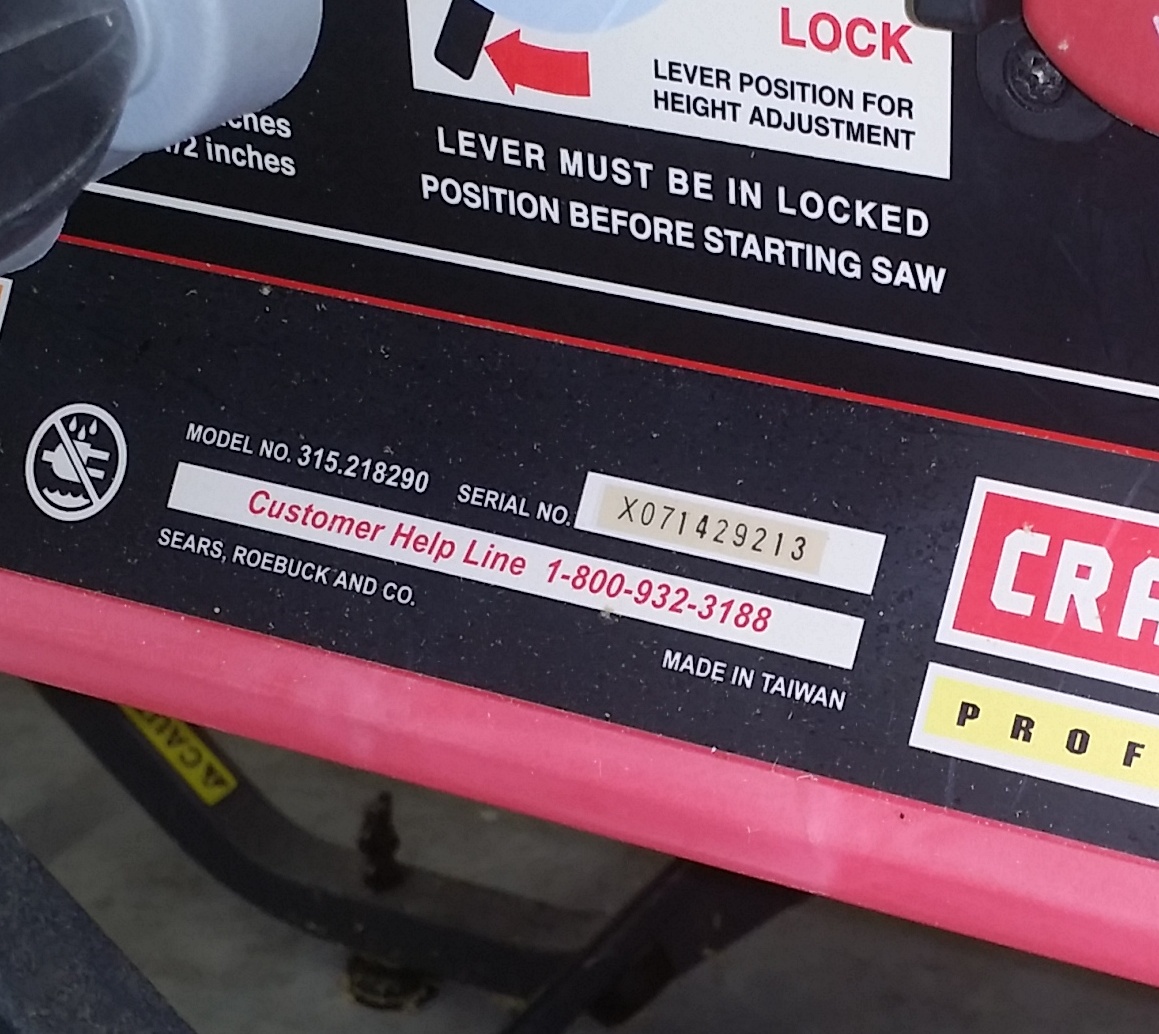
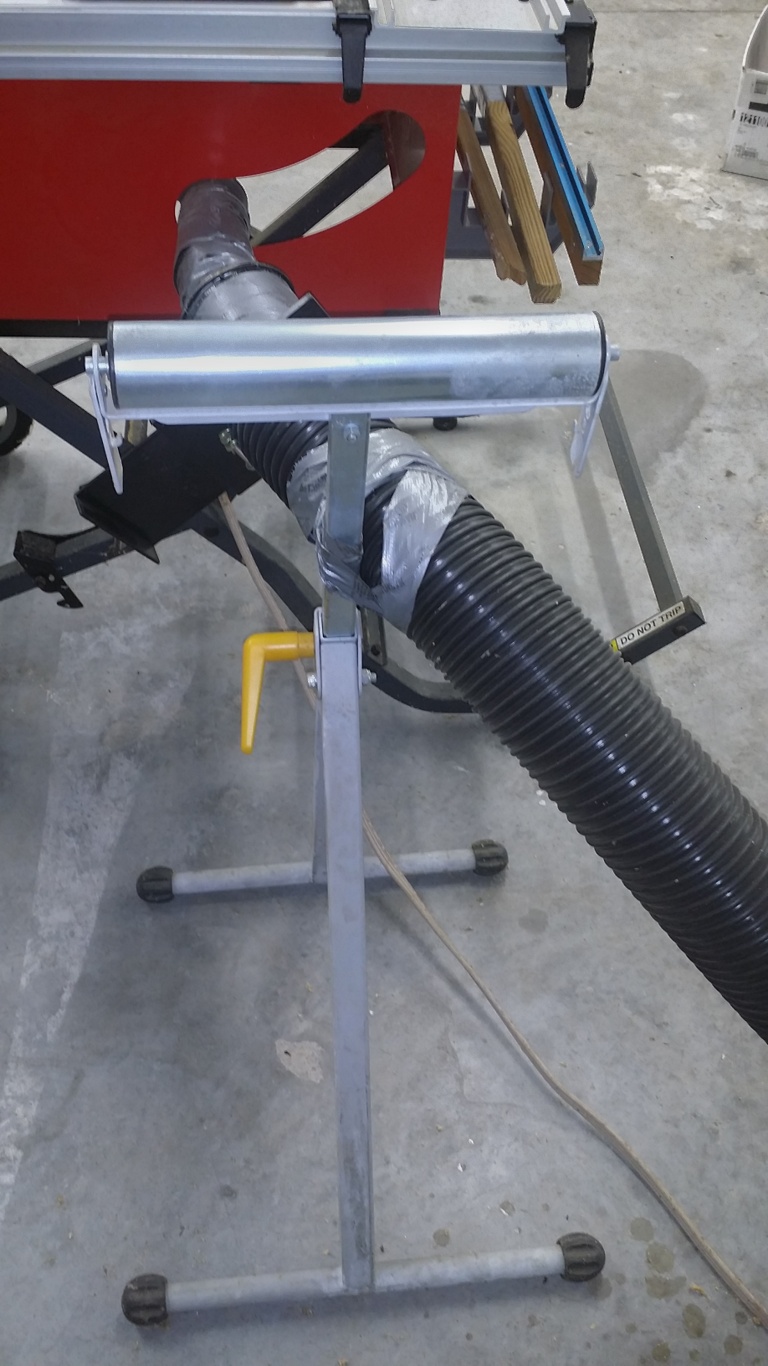
Craftsman Professional 15 Amp 10″ Portable Table Saw w/ Router Table Extension Model 21829 – Paid approximately $400.00 Shop Fox Single Roller Stand Model D2273 – Paid $51.95

COMPOUND MITER SAW

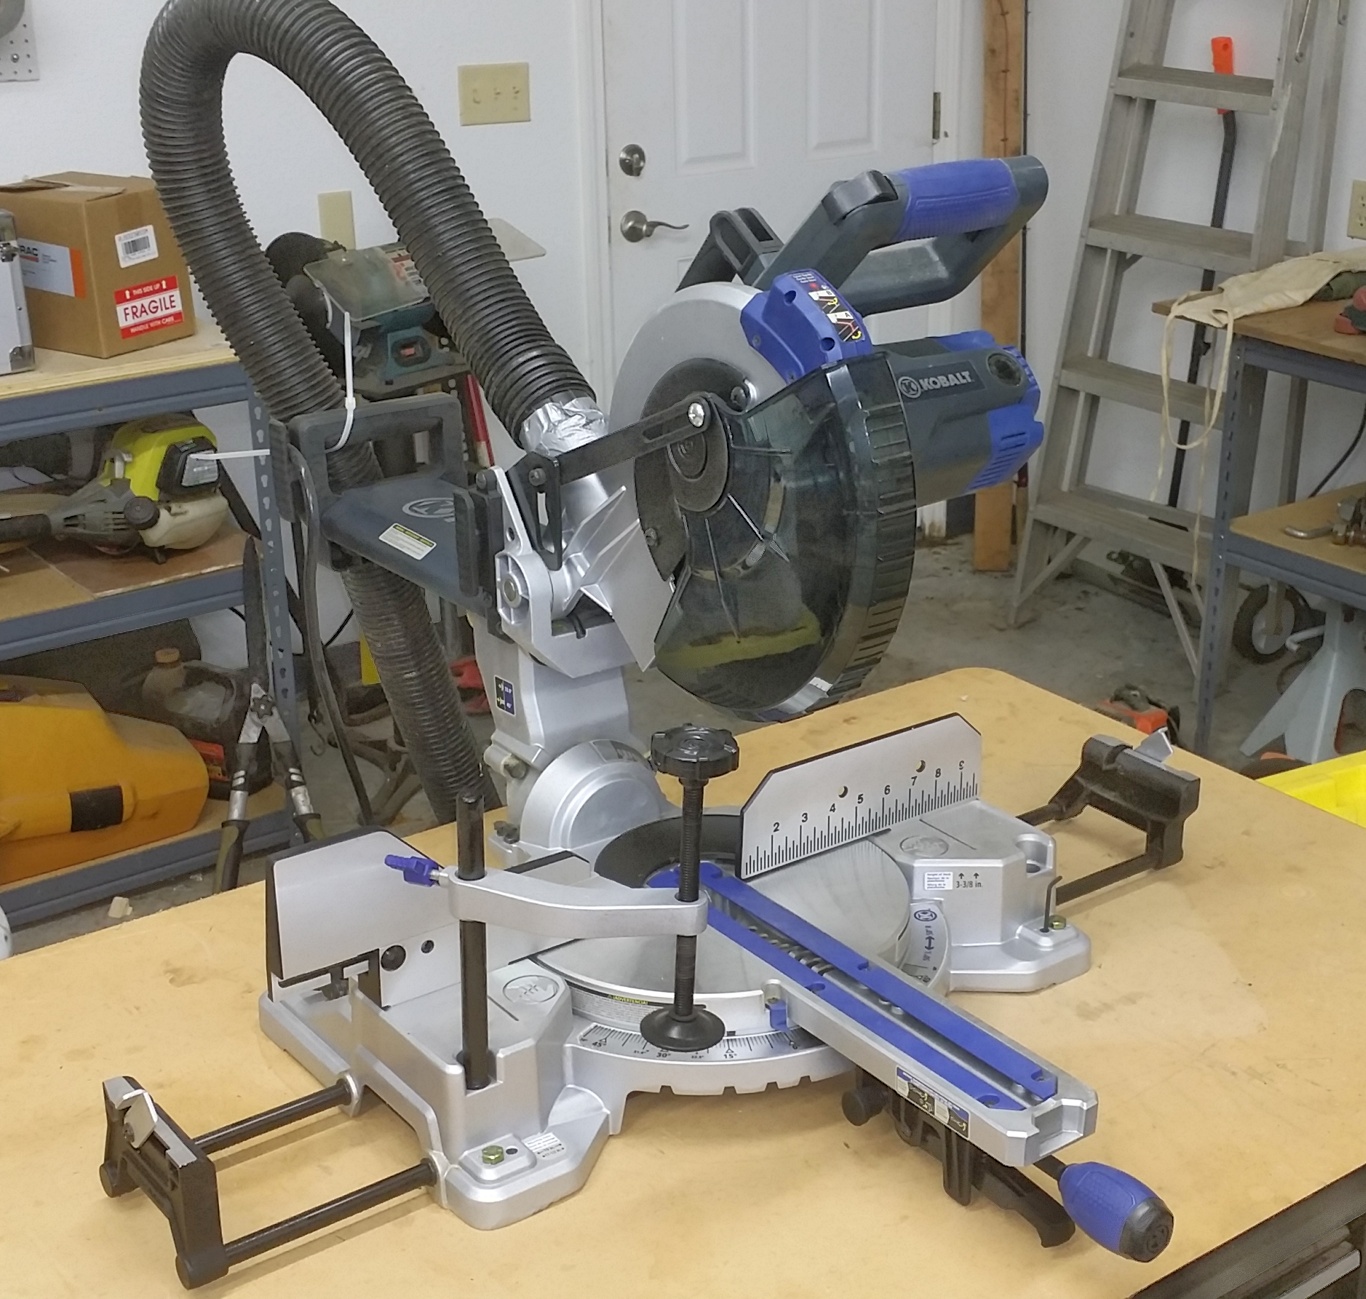
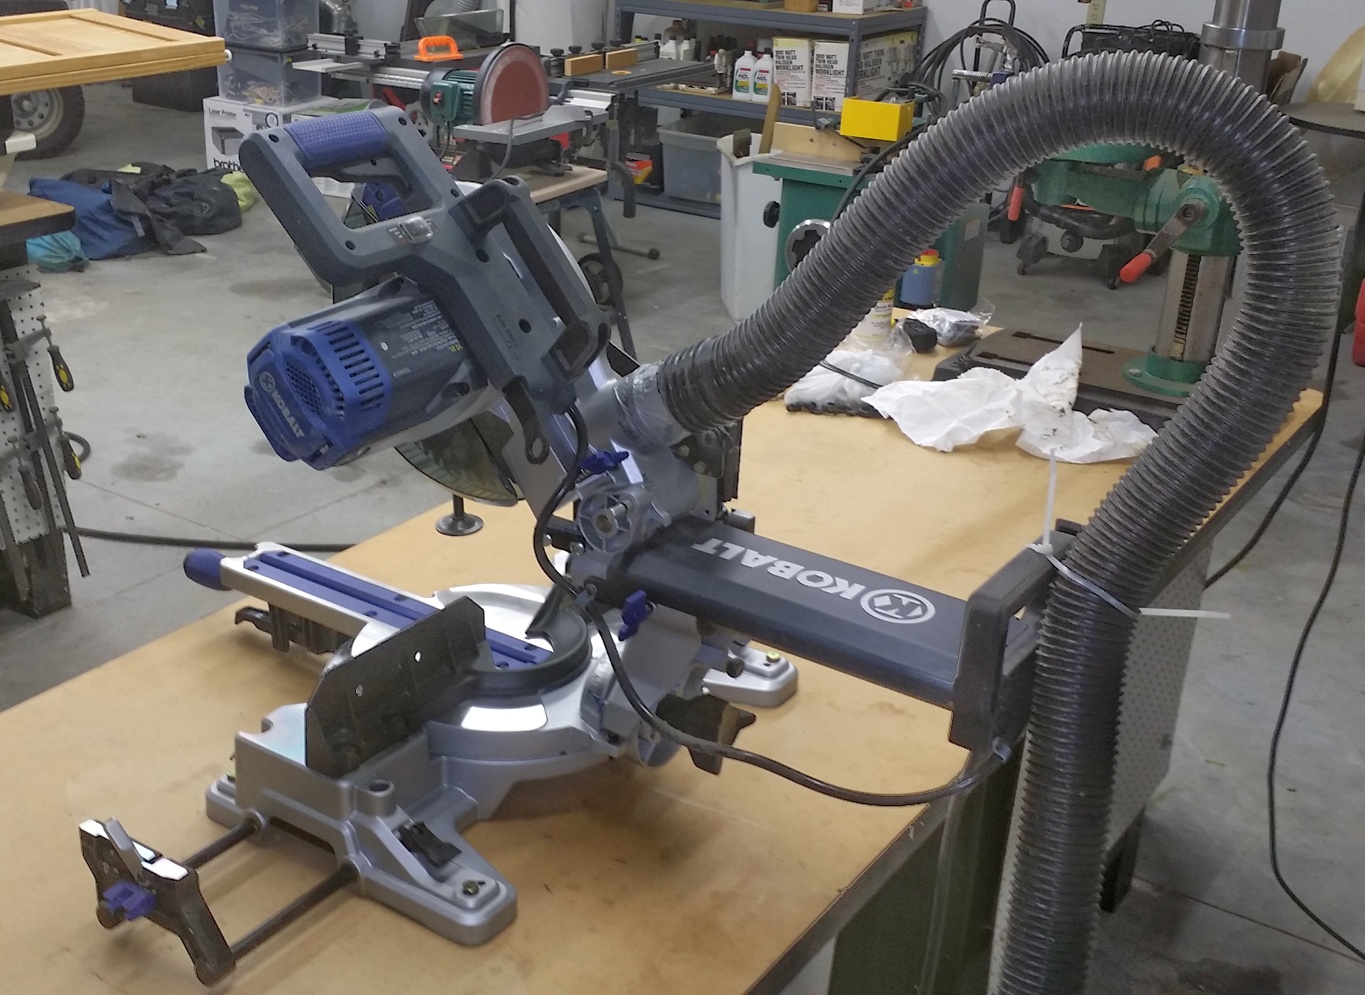
Kobalt 12″ 15 Amp Dual Bevel Sliding Laser Compound Miter Saw – Paid $299.00 Craftsman 3 HP Shop Vacuum for dust collection – Paid $58.40  

COMBINATION DISK/BELT SANDER

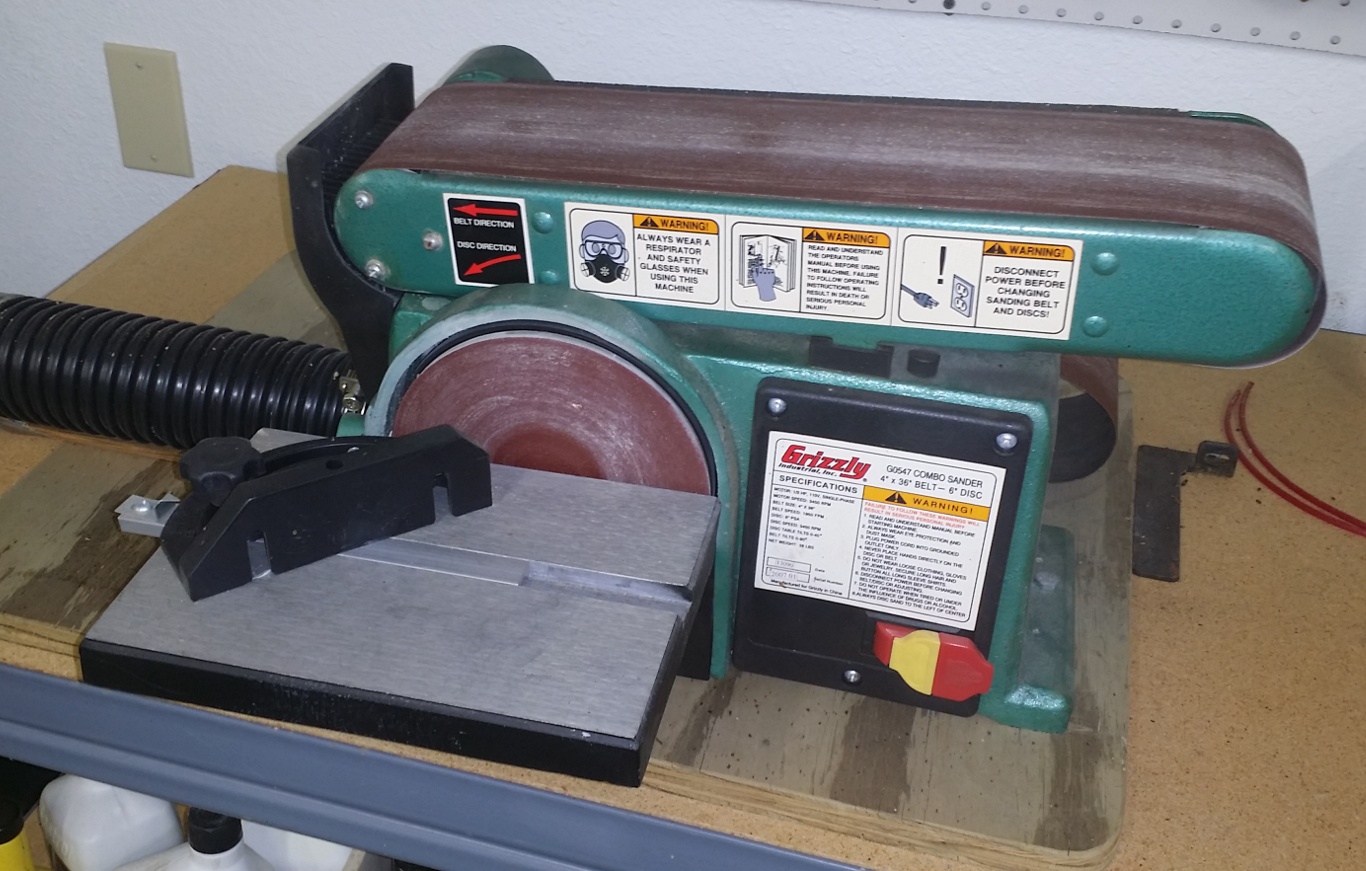
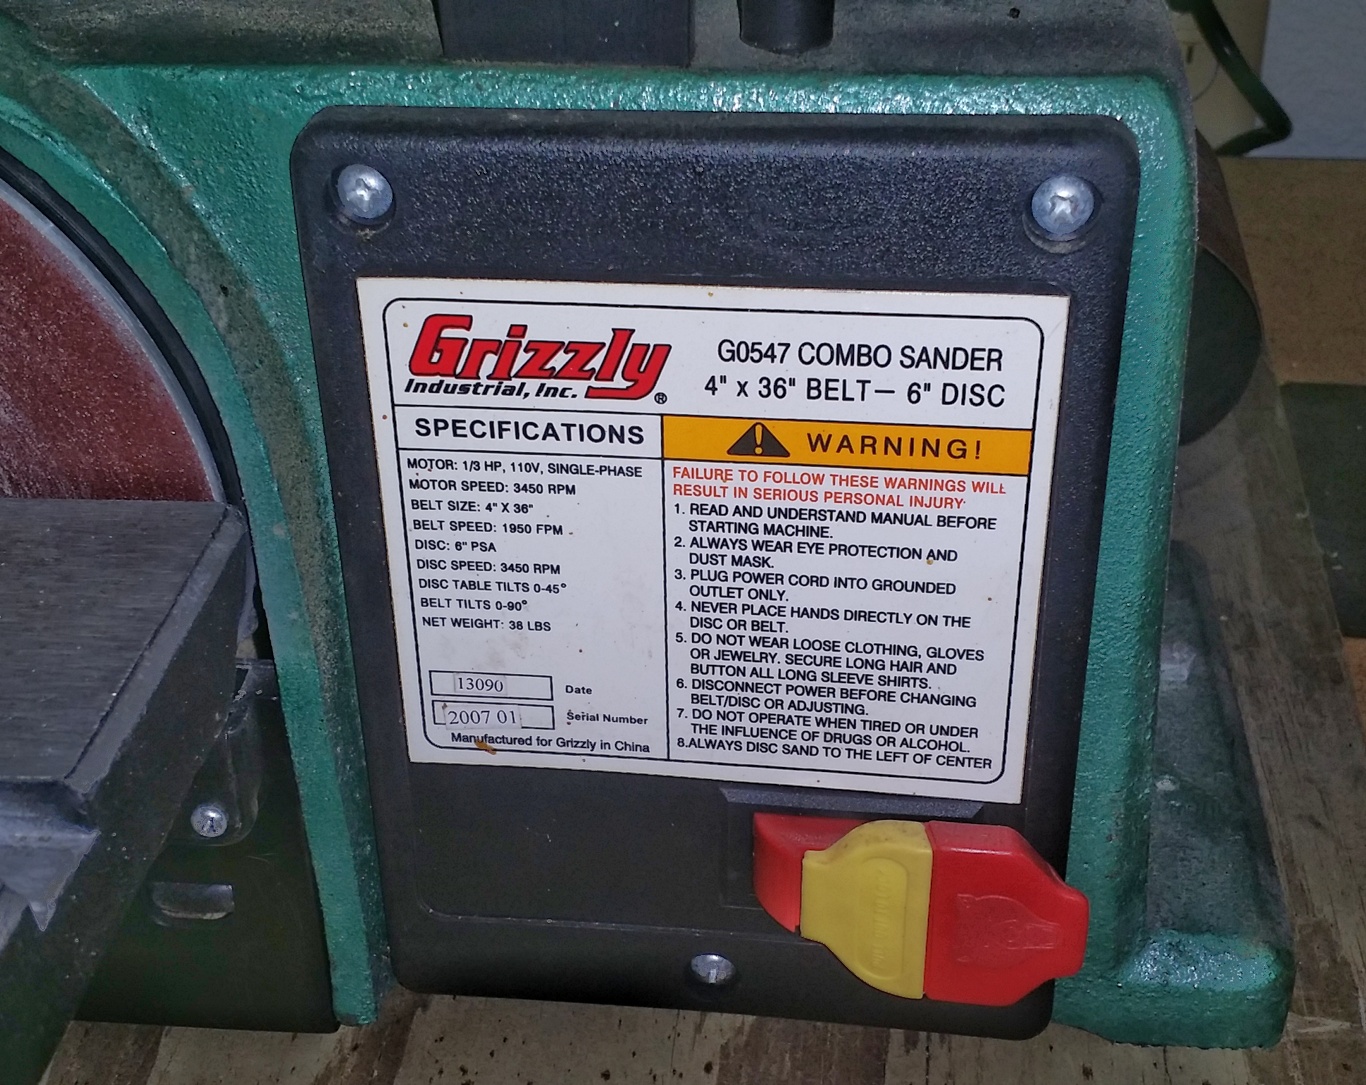
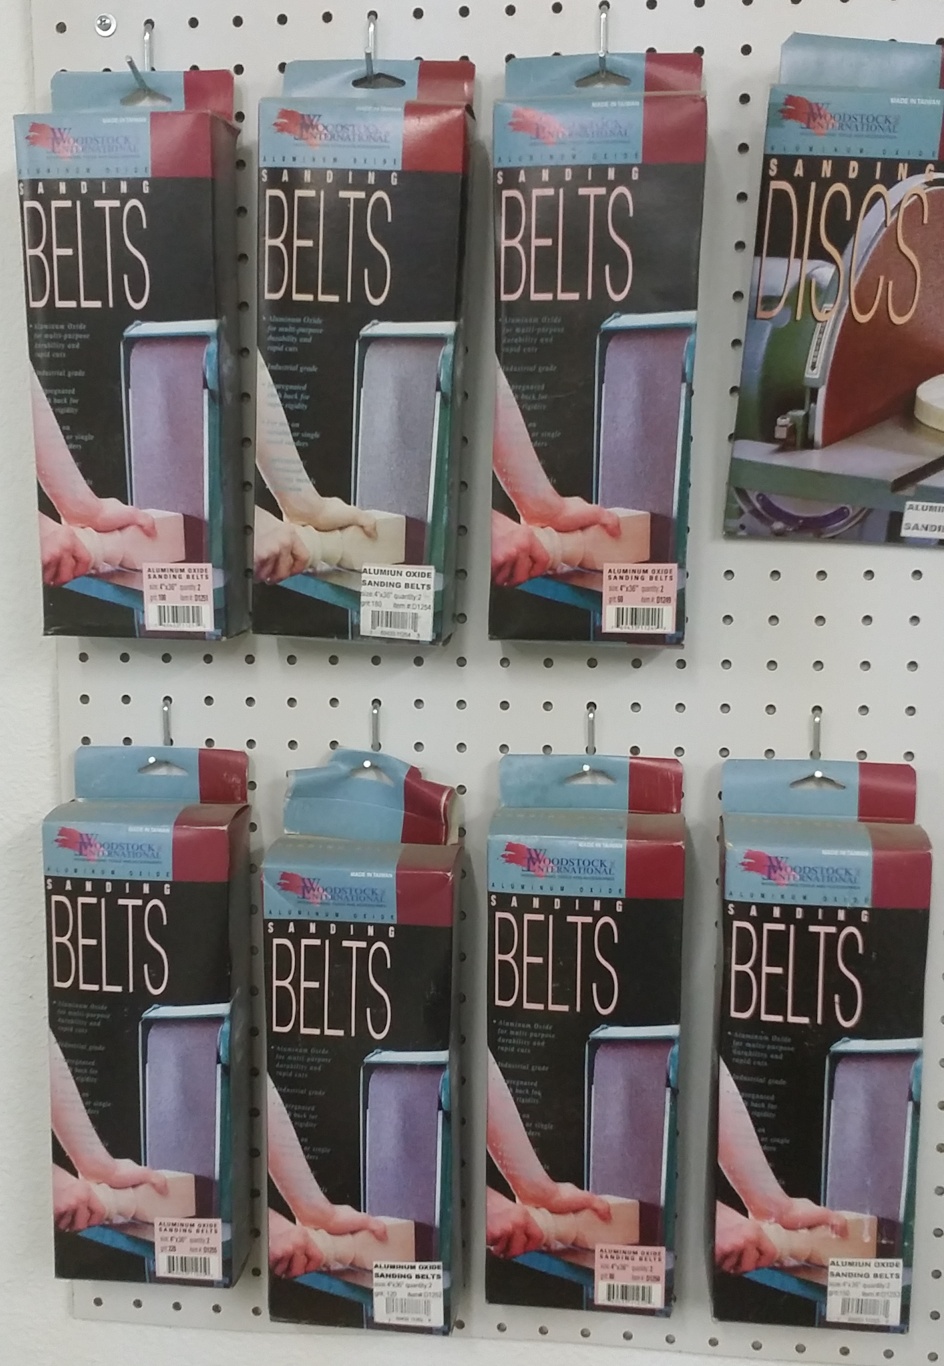
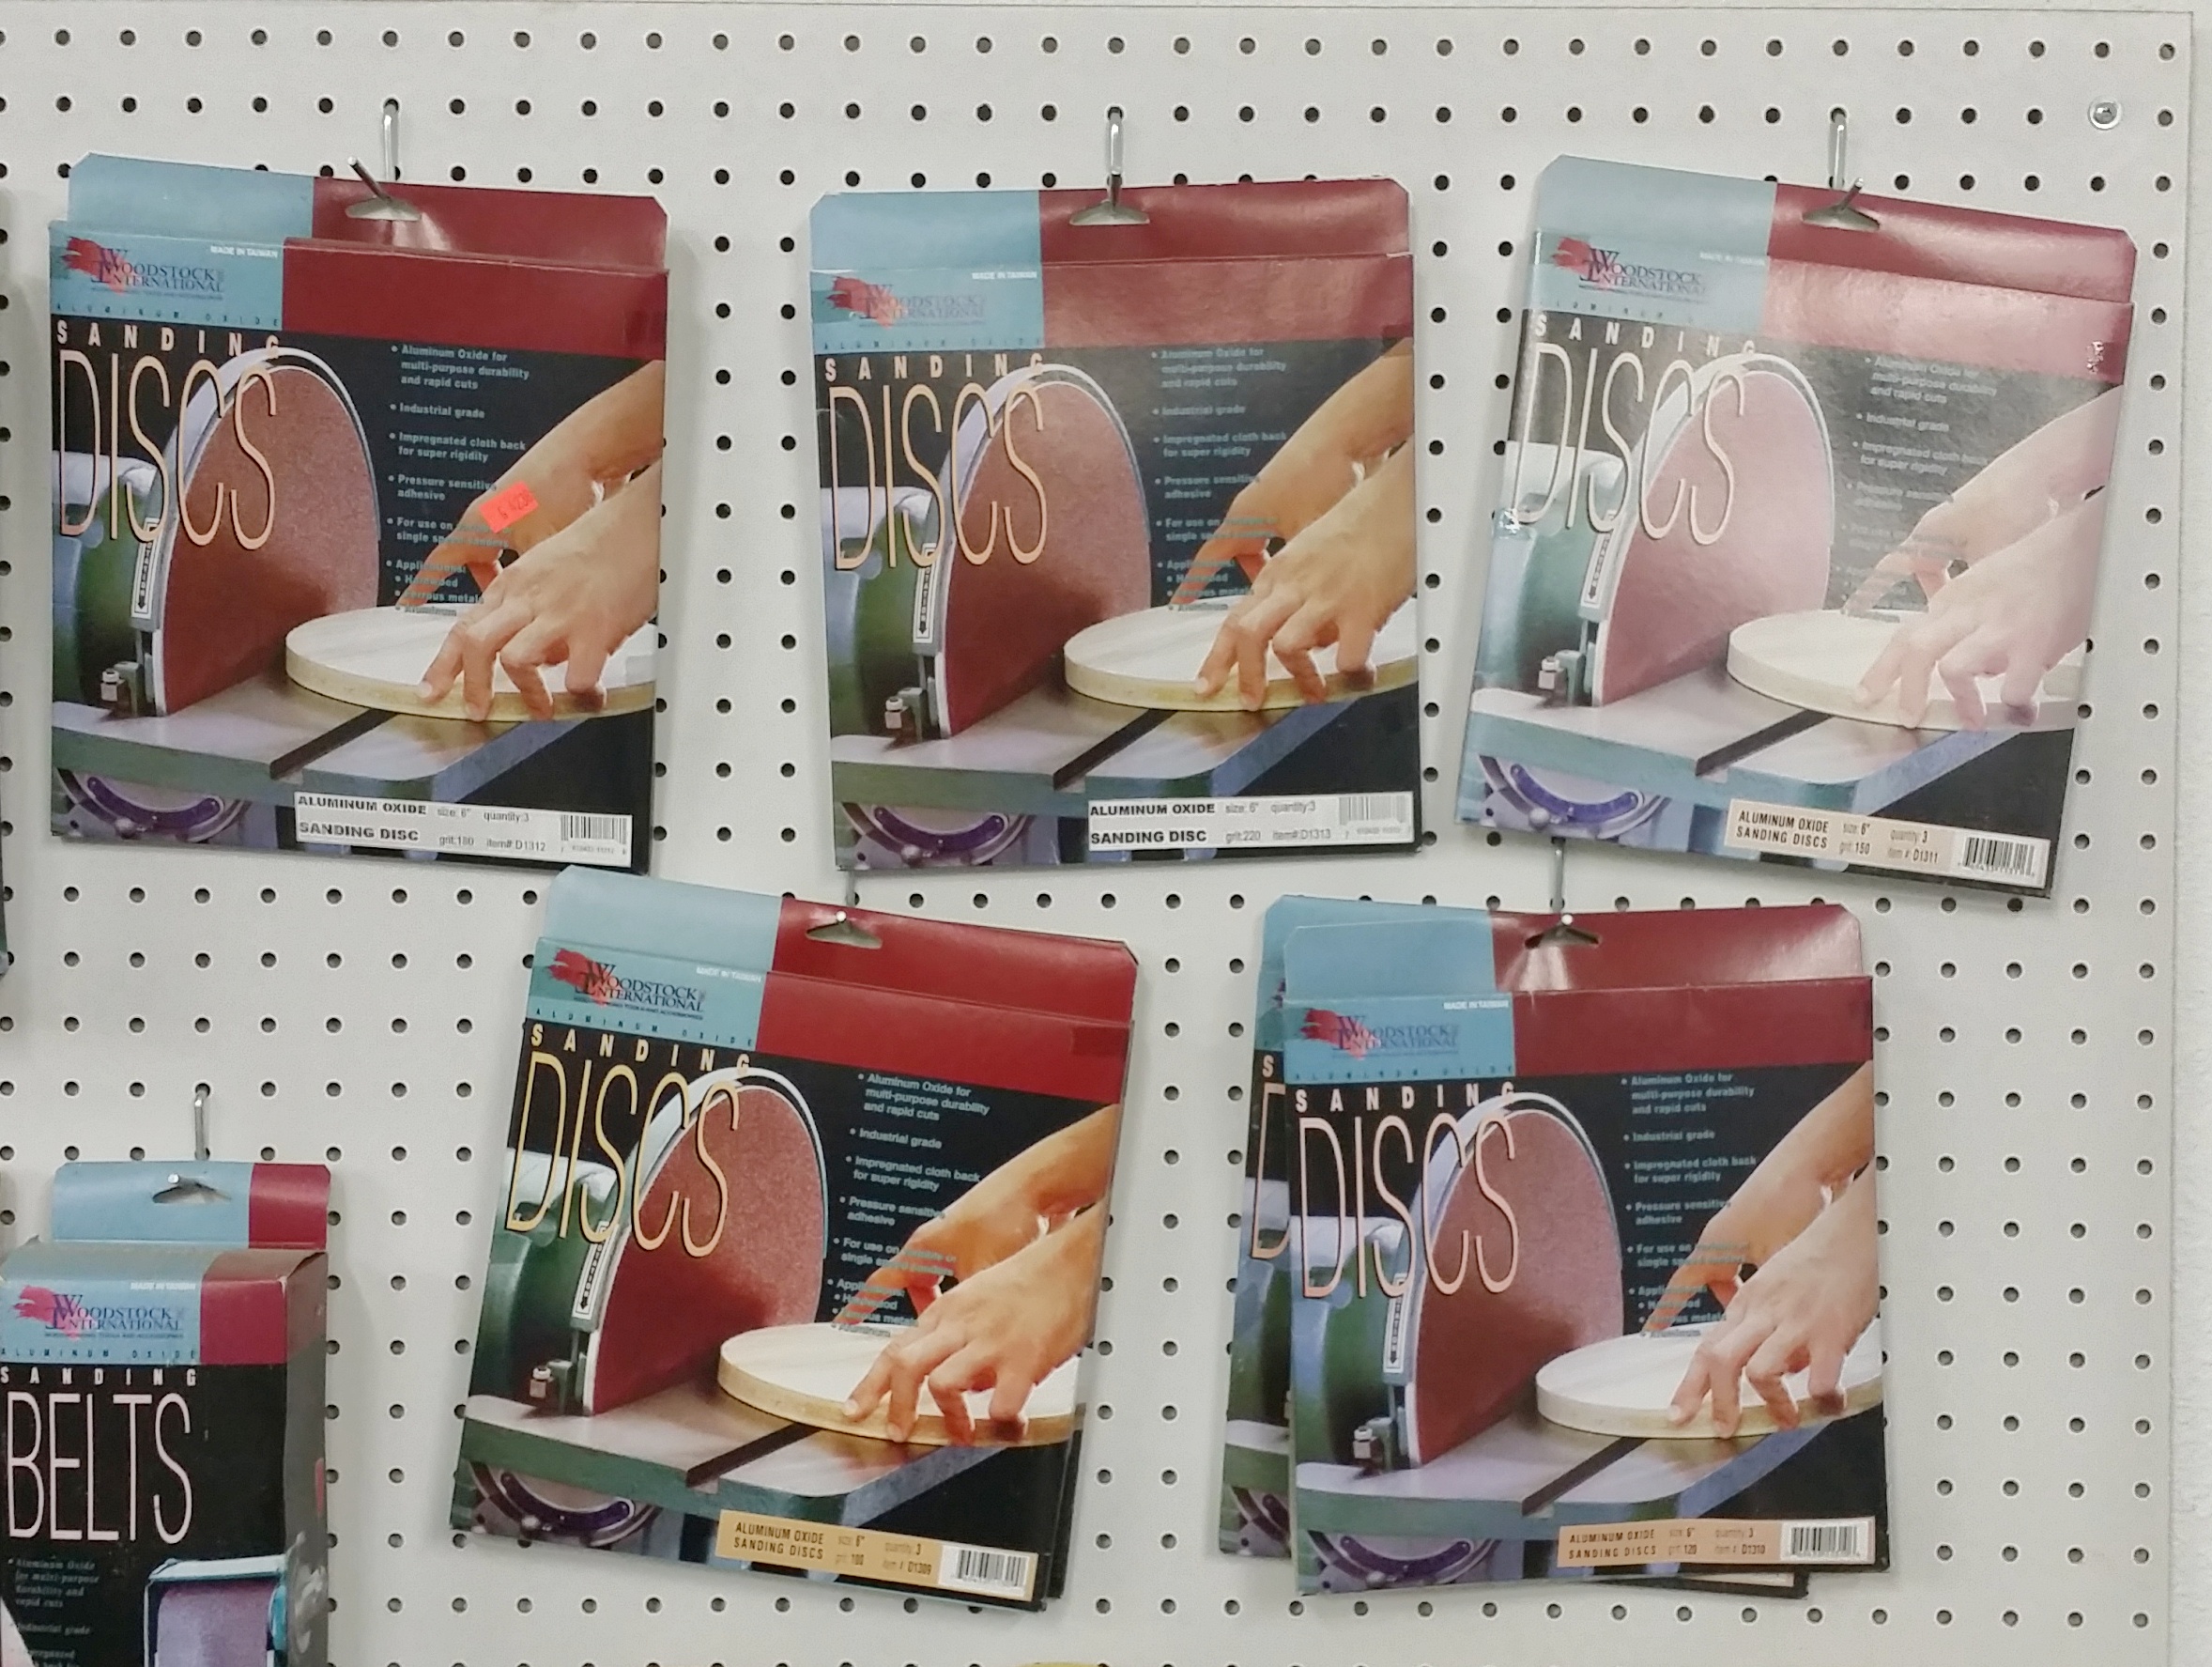
Grizzly Industrial Combo Sander Moder G0547 4″ x 36″ Belt – 6″ Disk – Paid $149.95 (7) Boxes of Woodstock International Assorted Grit Belts – Paid approx. $70.00 (7) Boxes of Woodstock International Assorted Grit 6″ Disks – Paid approx. $35.00

DISK SANDER

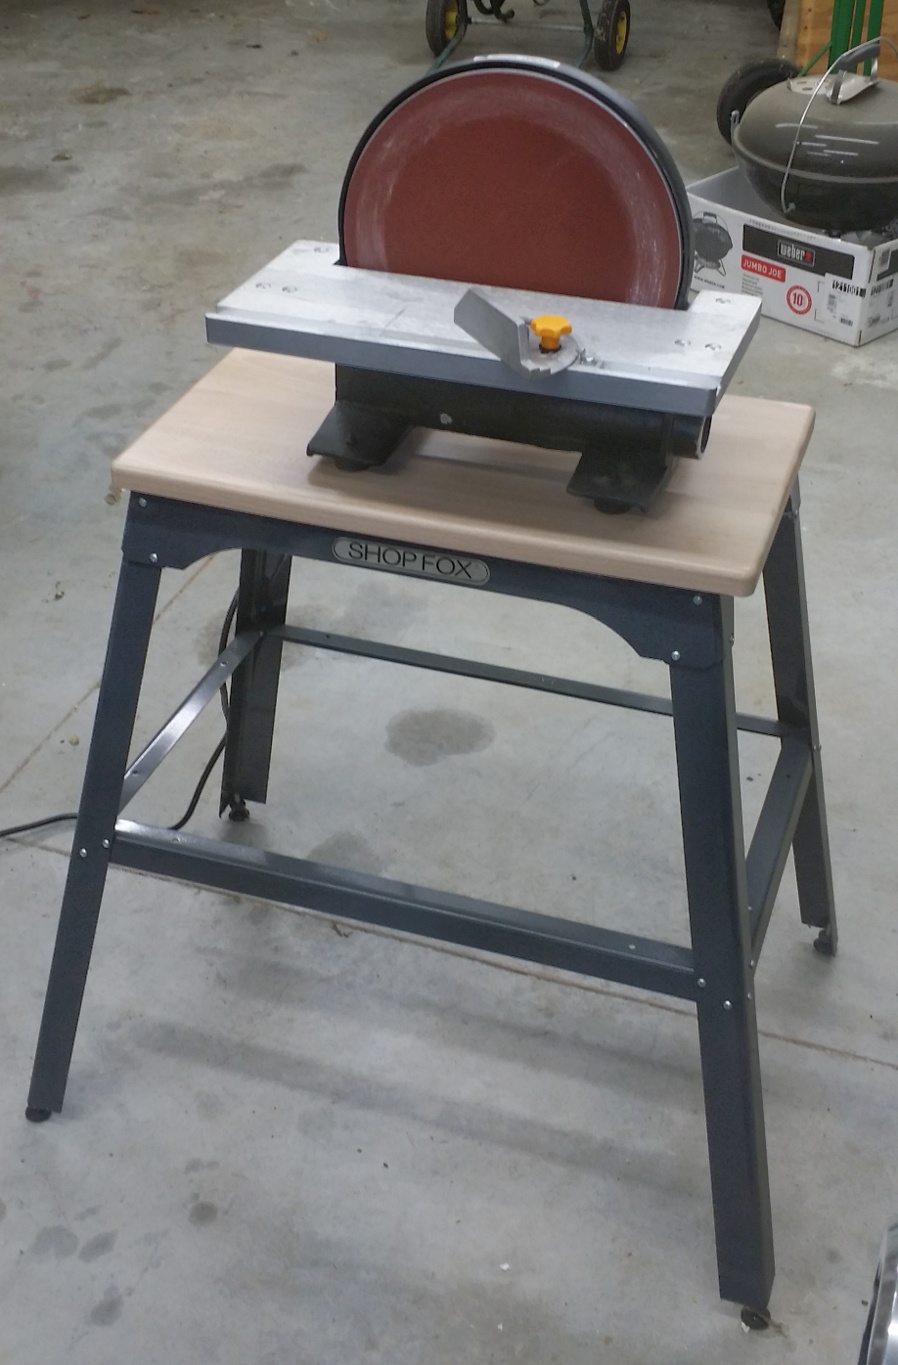
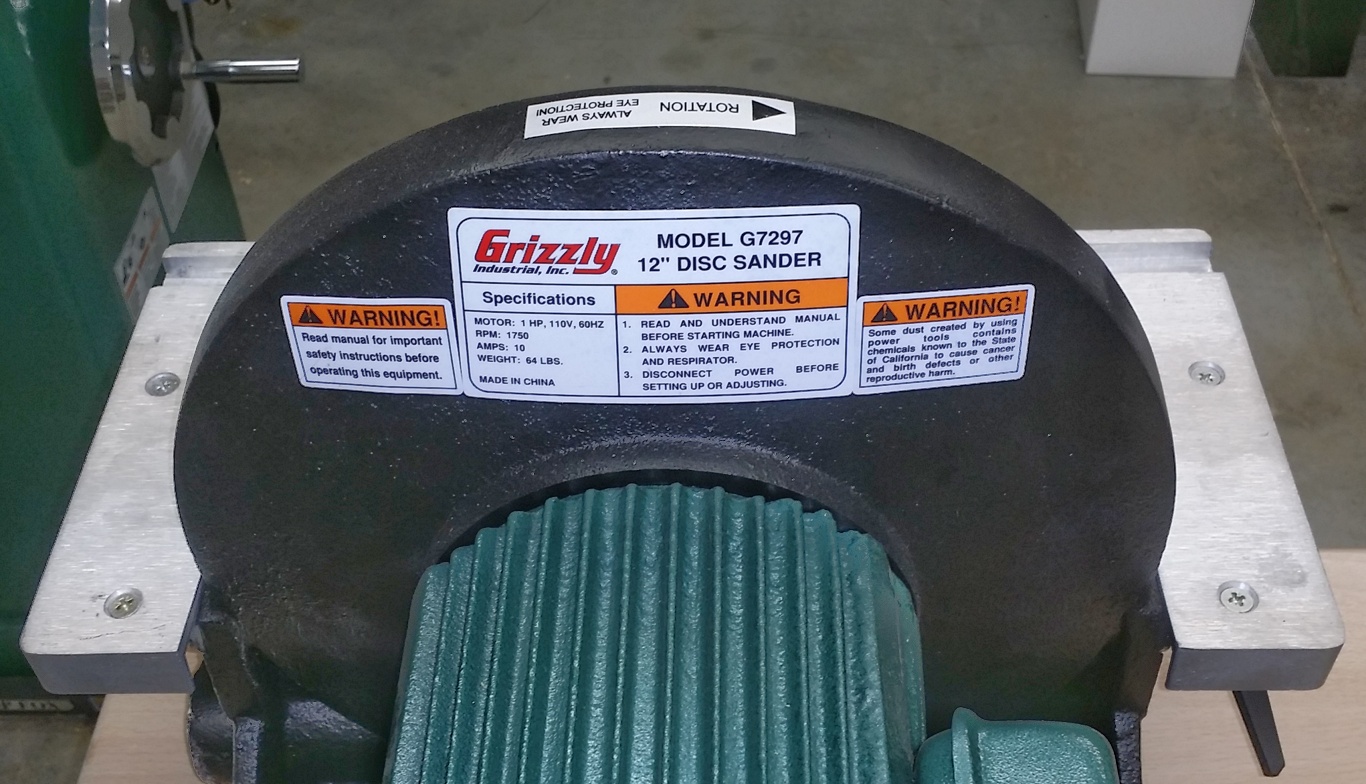
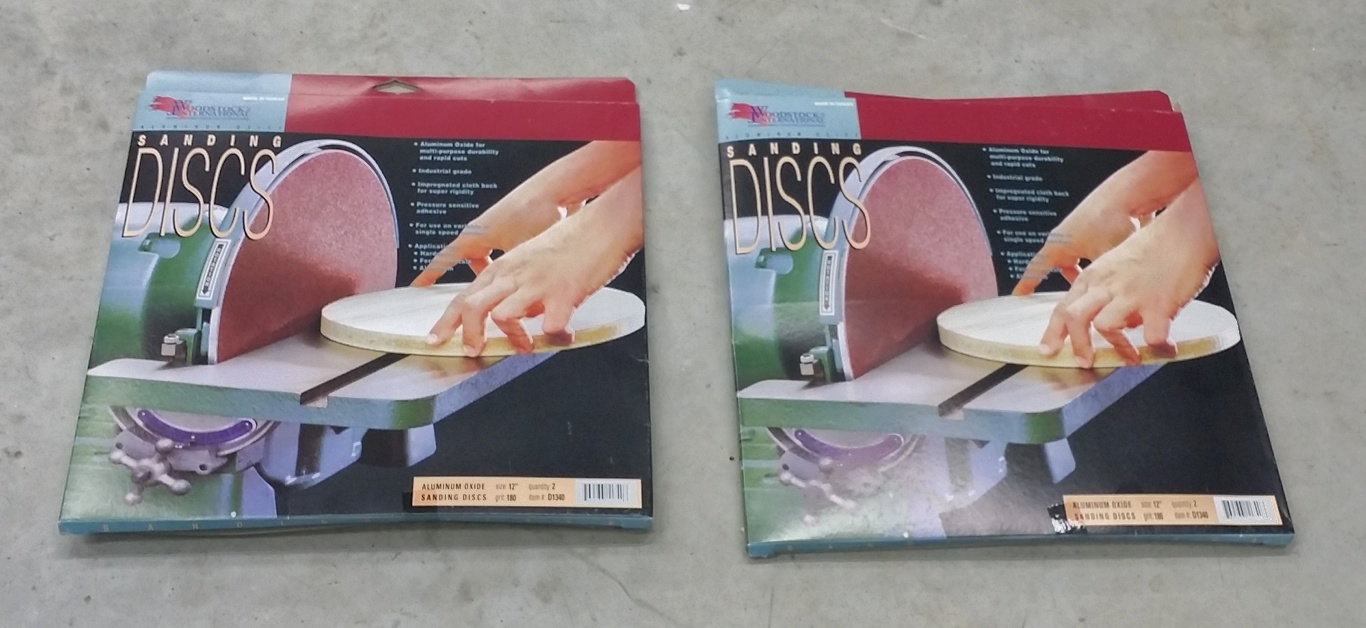
Grizzly Industrial 12″ Disk Sander Model G7297 – Paid $189.95 Shop Fox Tool Stand Model D2275 – Paid $56.95 Grizzly Industrial Solid Maple Top – Paid approx. $35.00 (2) Boxes 12″ Sanding Disks Model D1340 – Paid approx. $20.00

Sanding Table

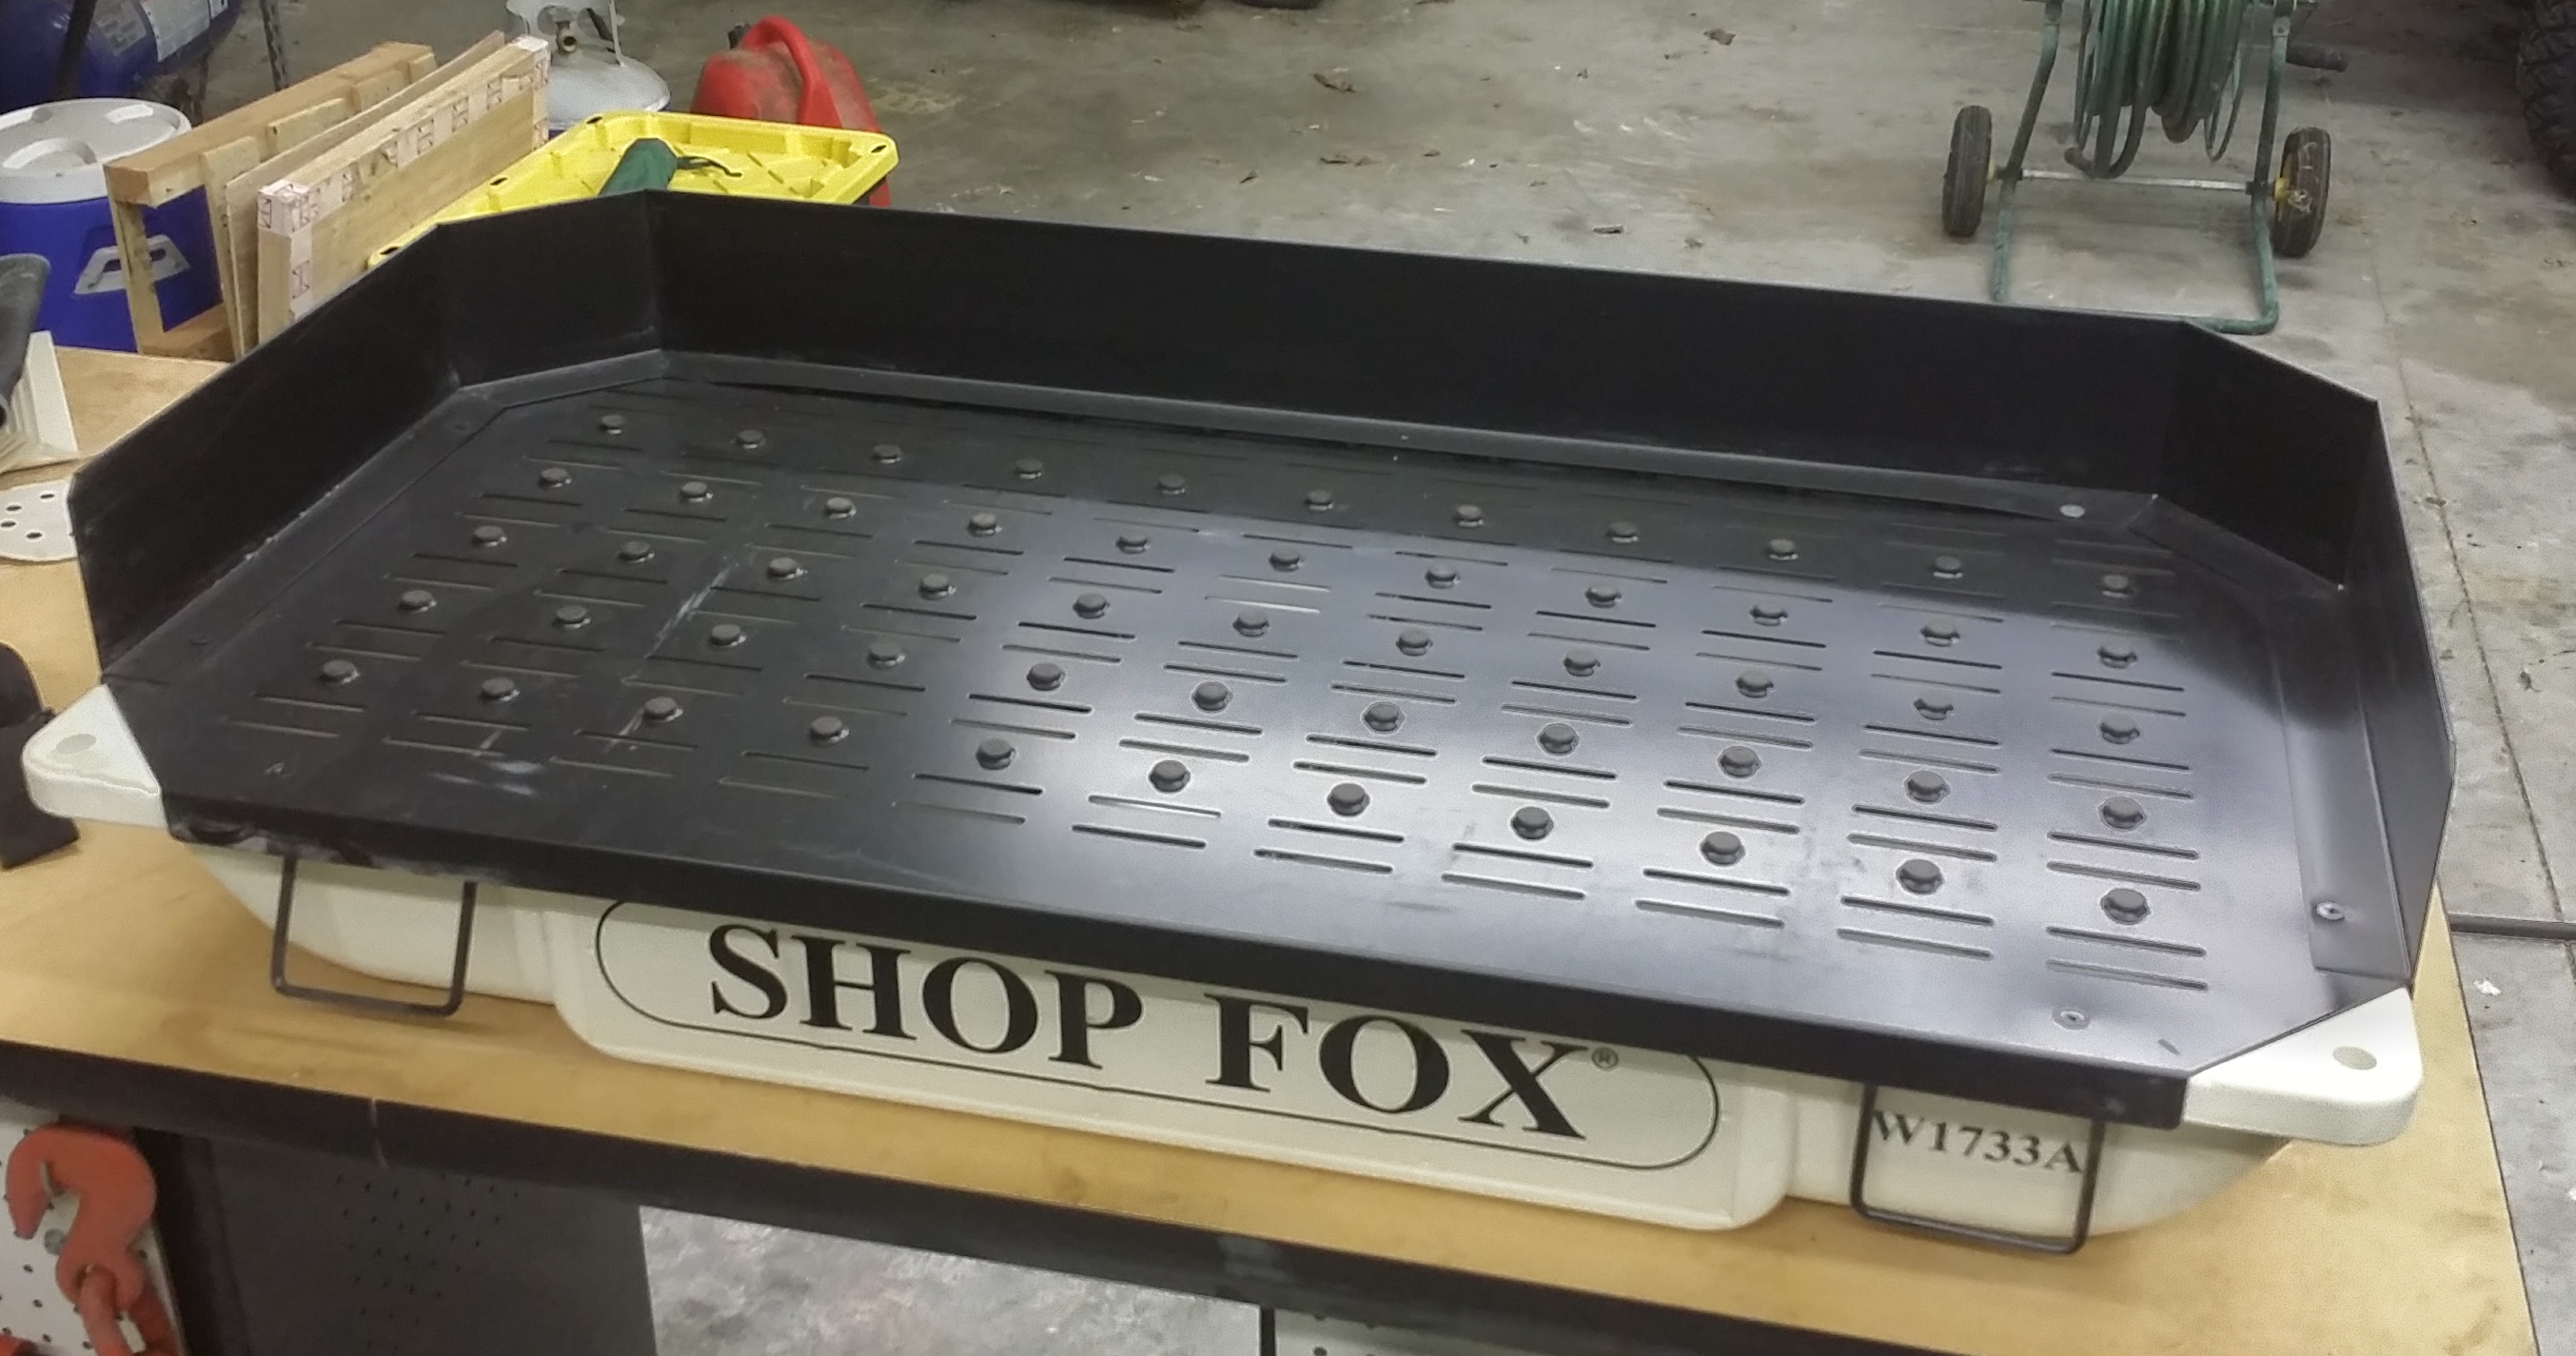
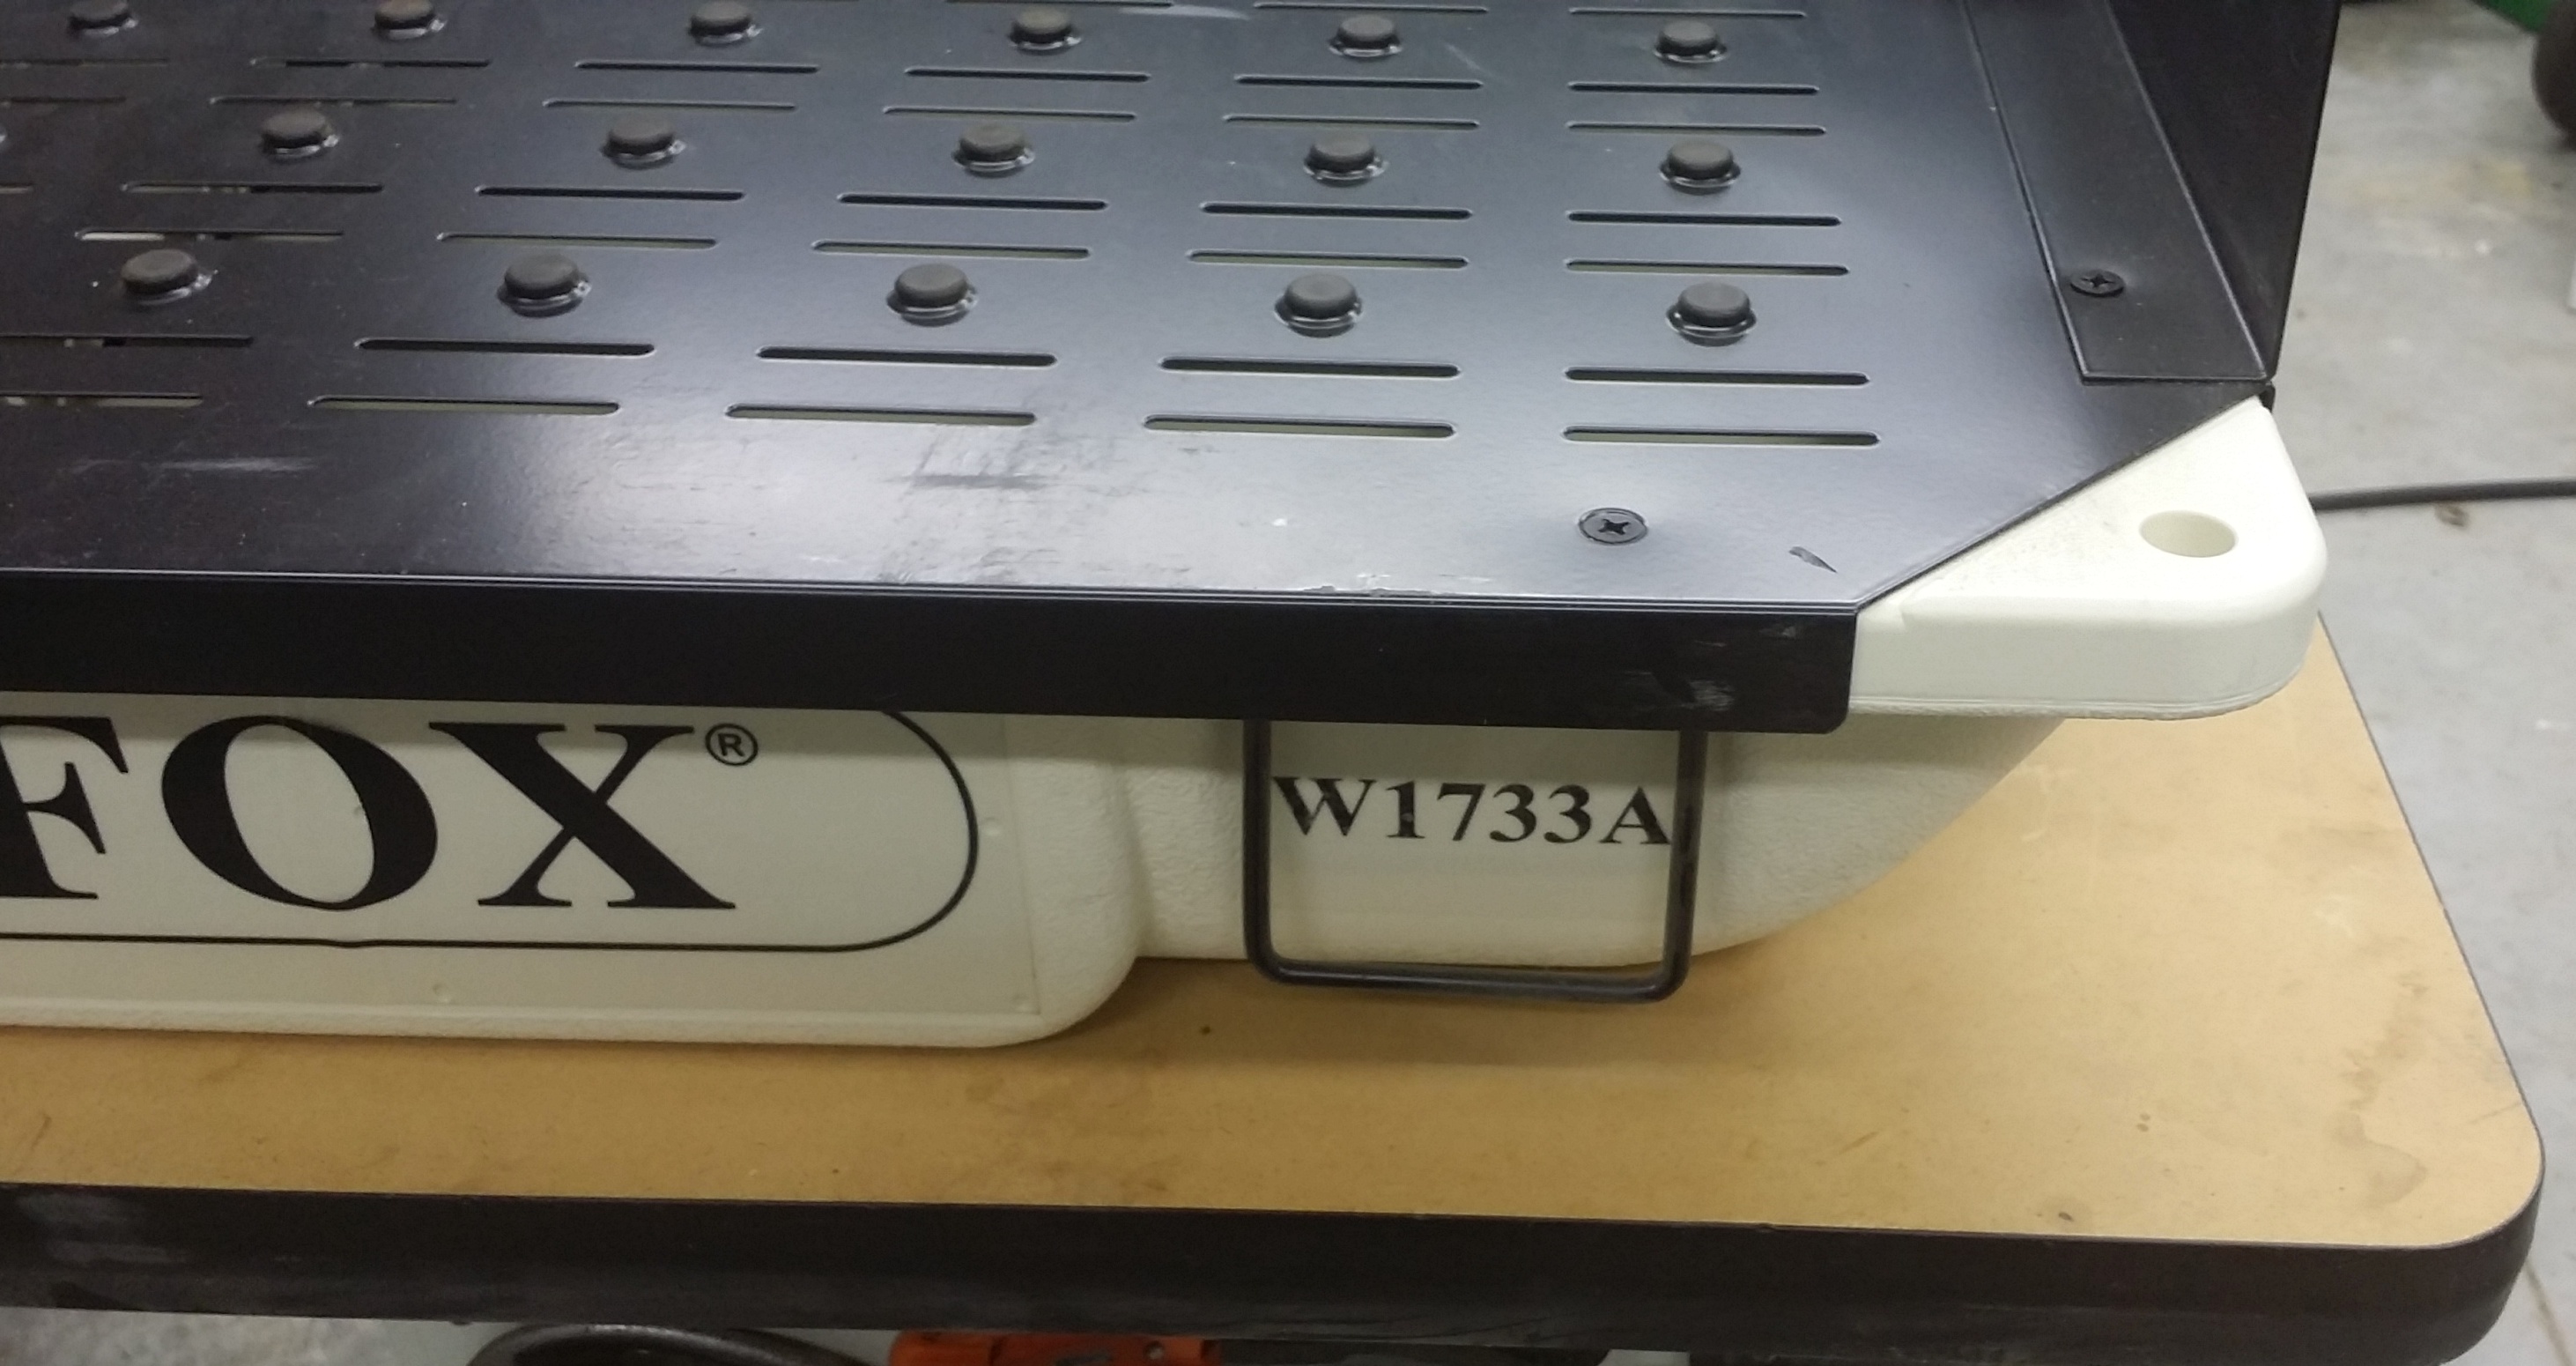
Shop Fox Sanding Table Model W1733A – Paid $184.99  

DUST COLLECTION SYSTEM

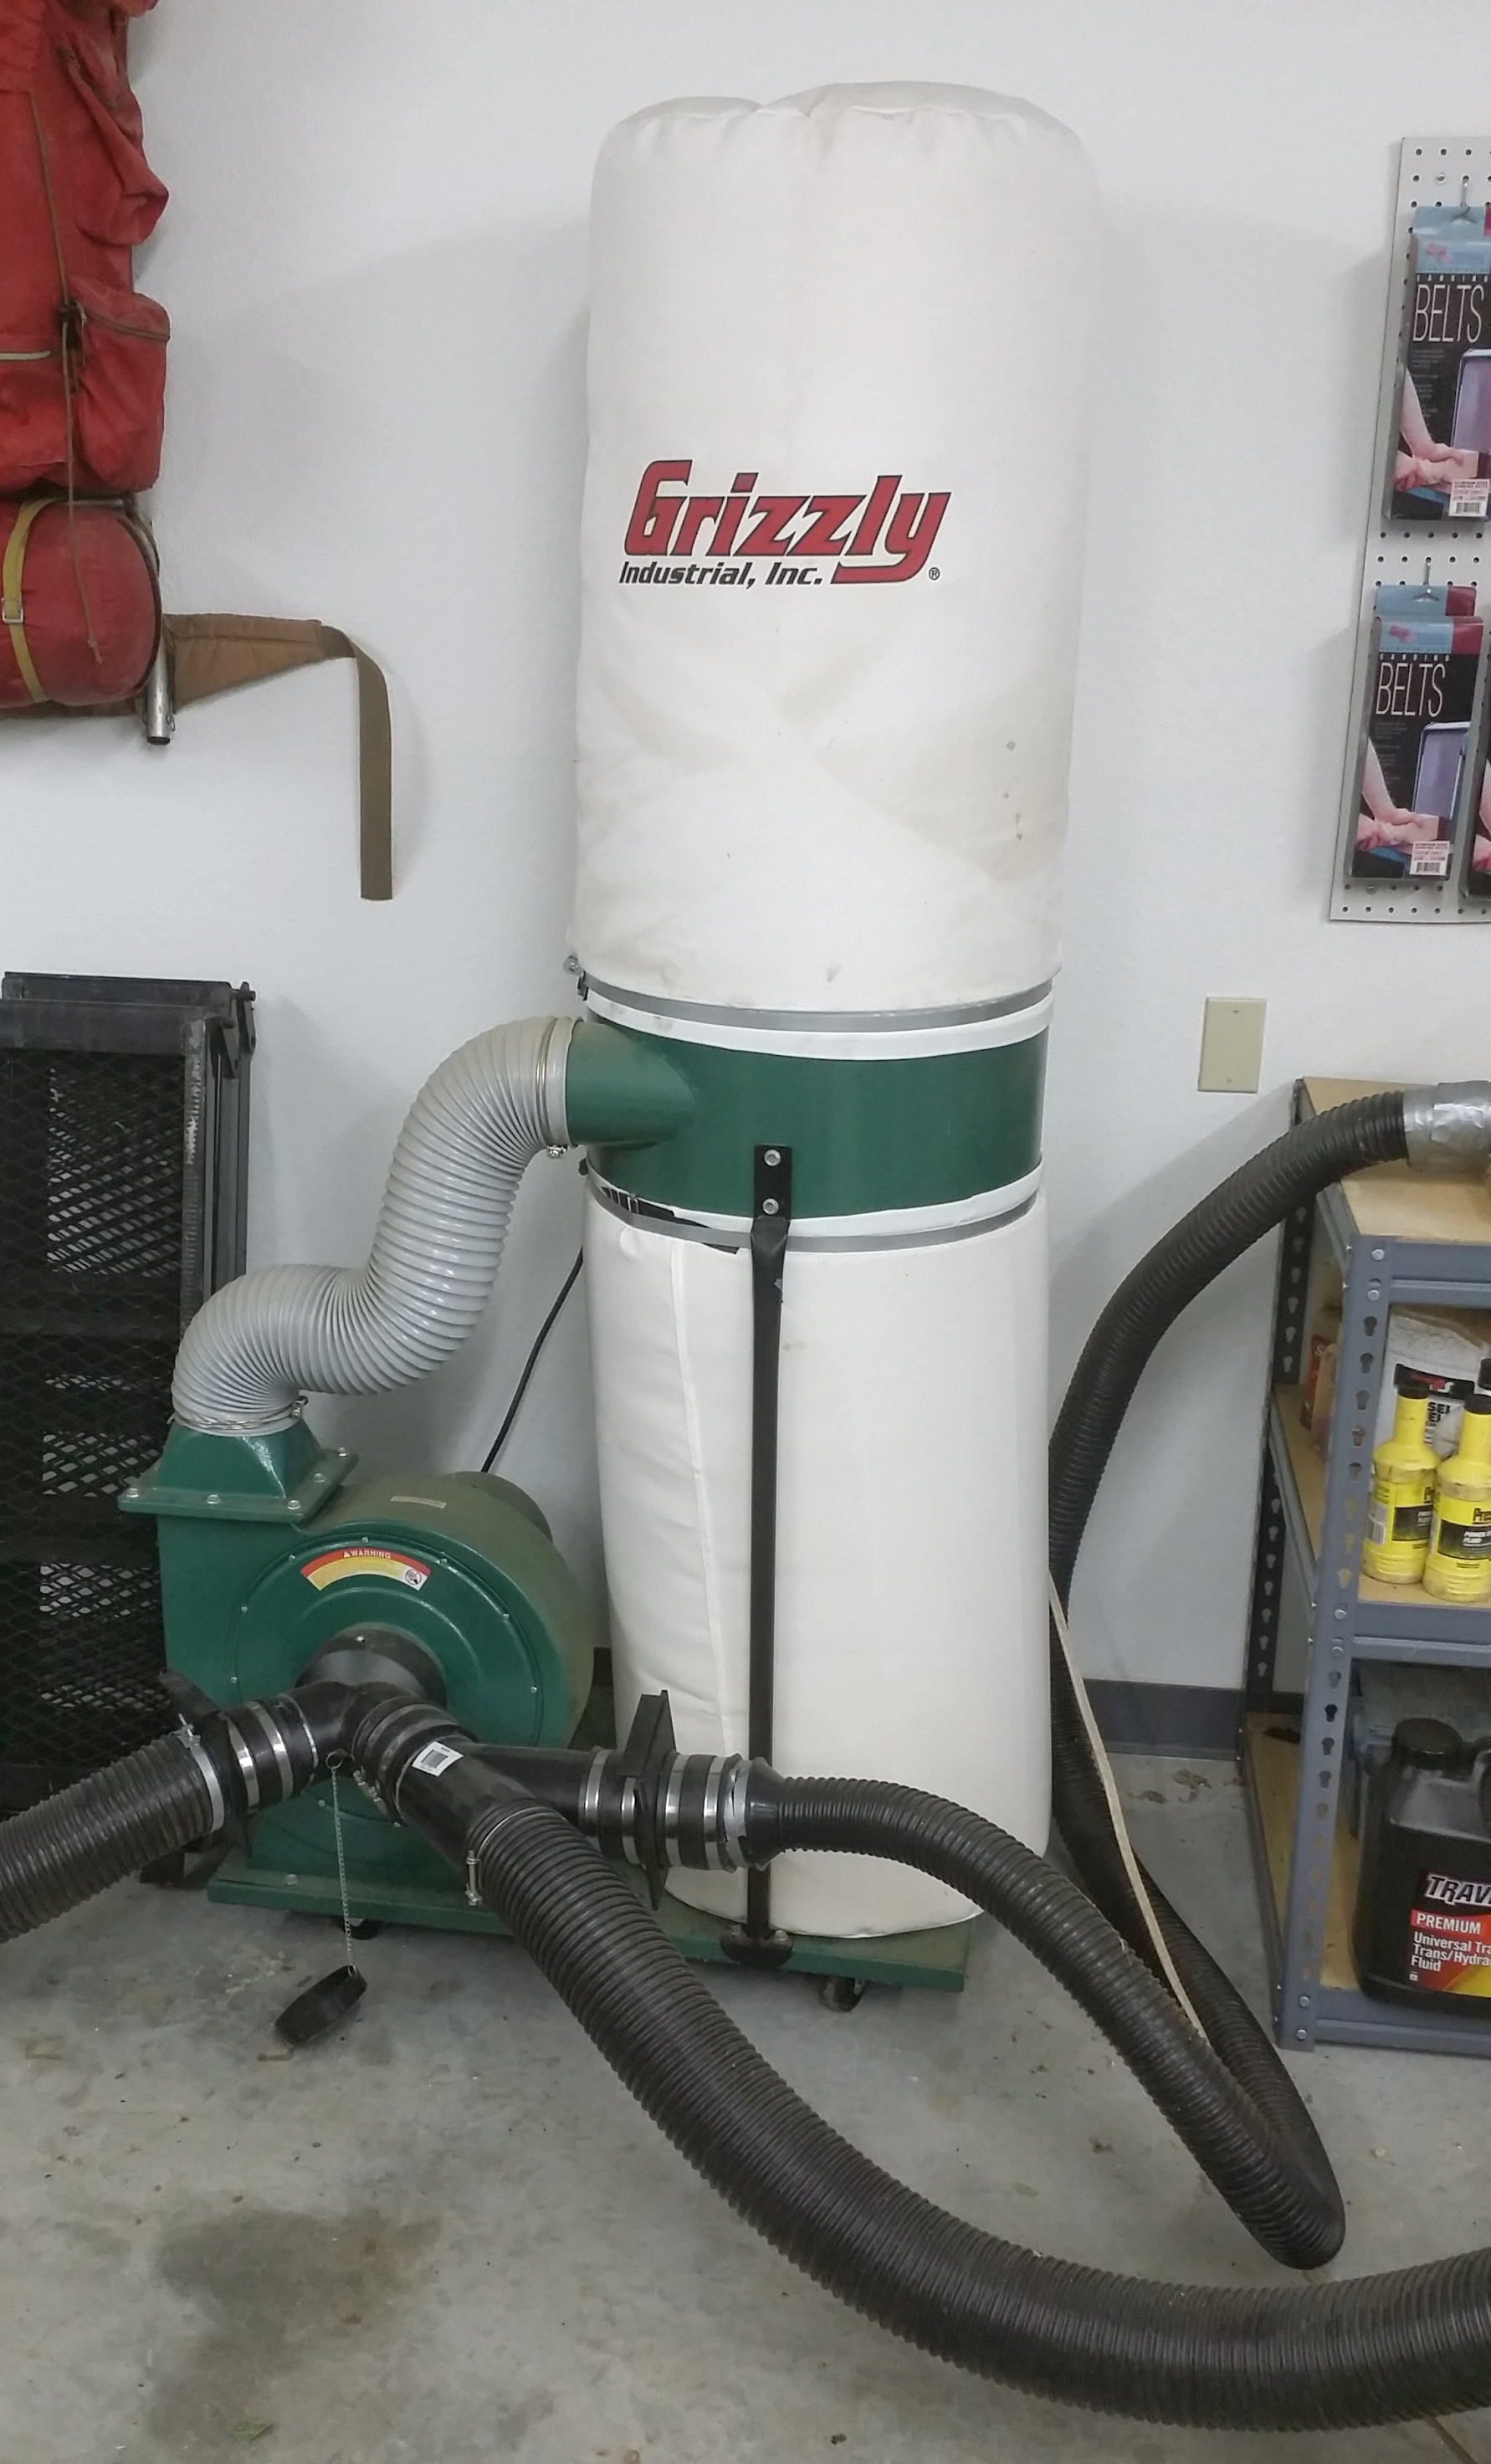
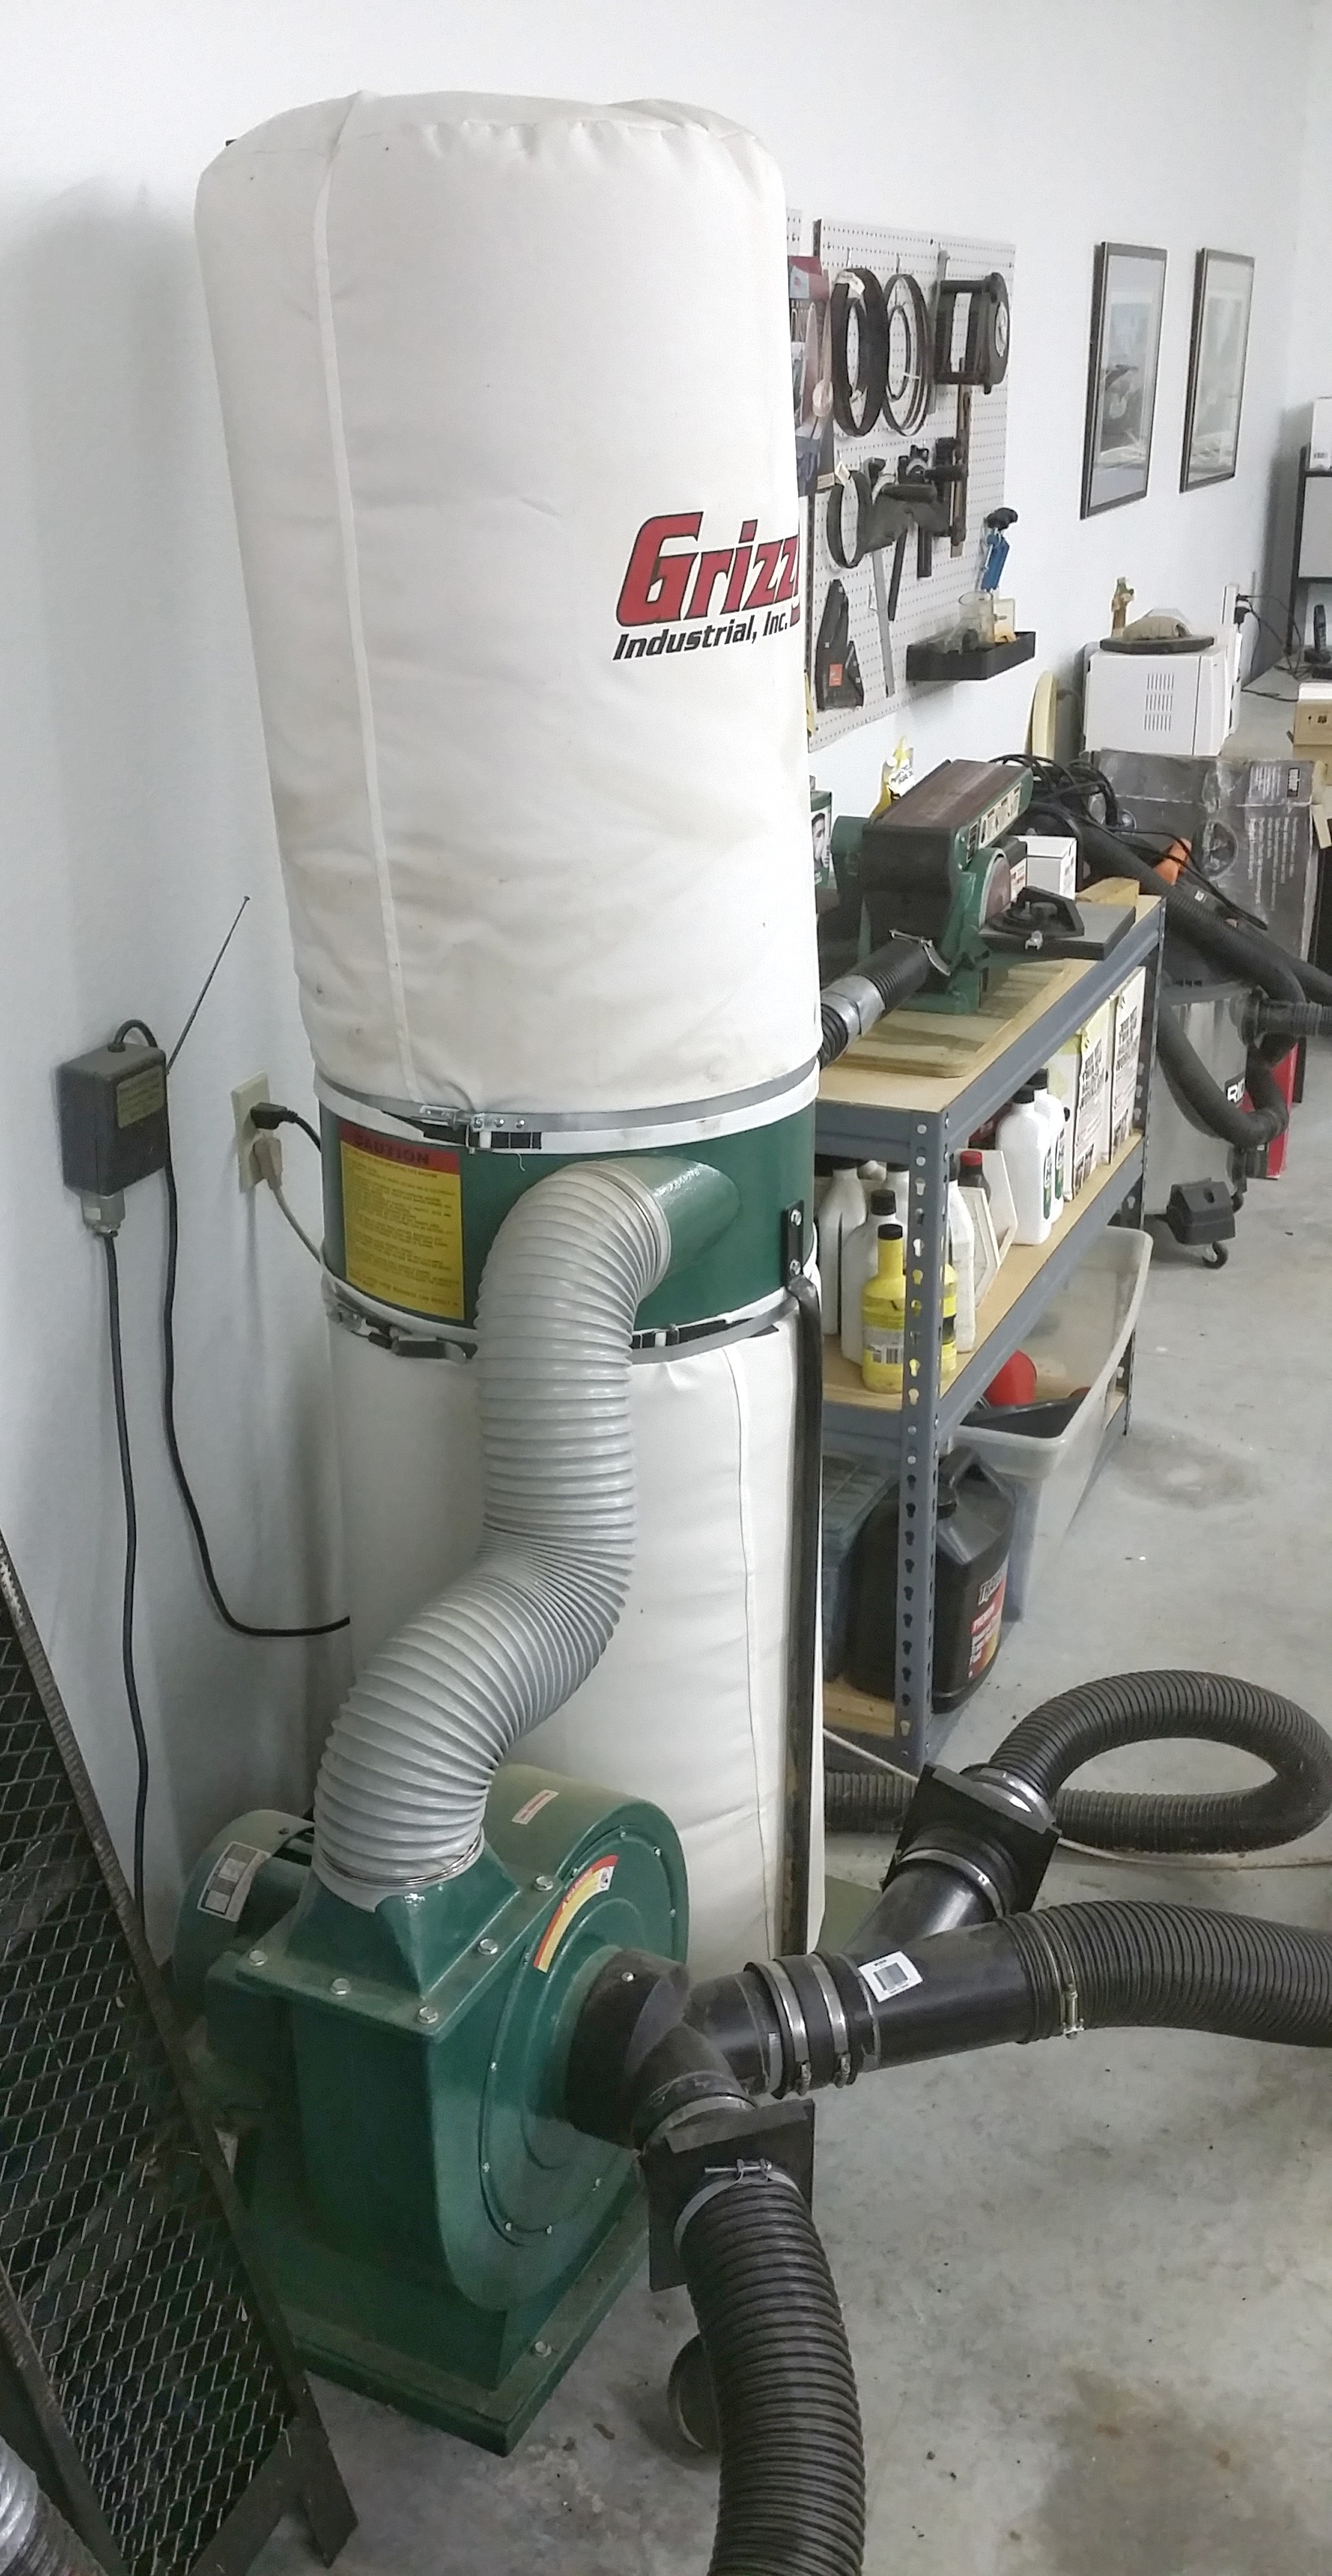
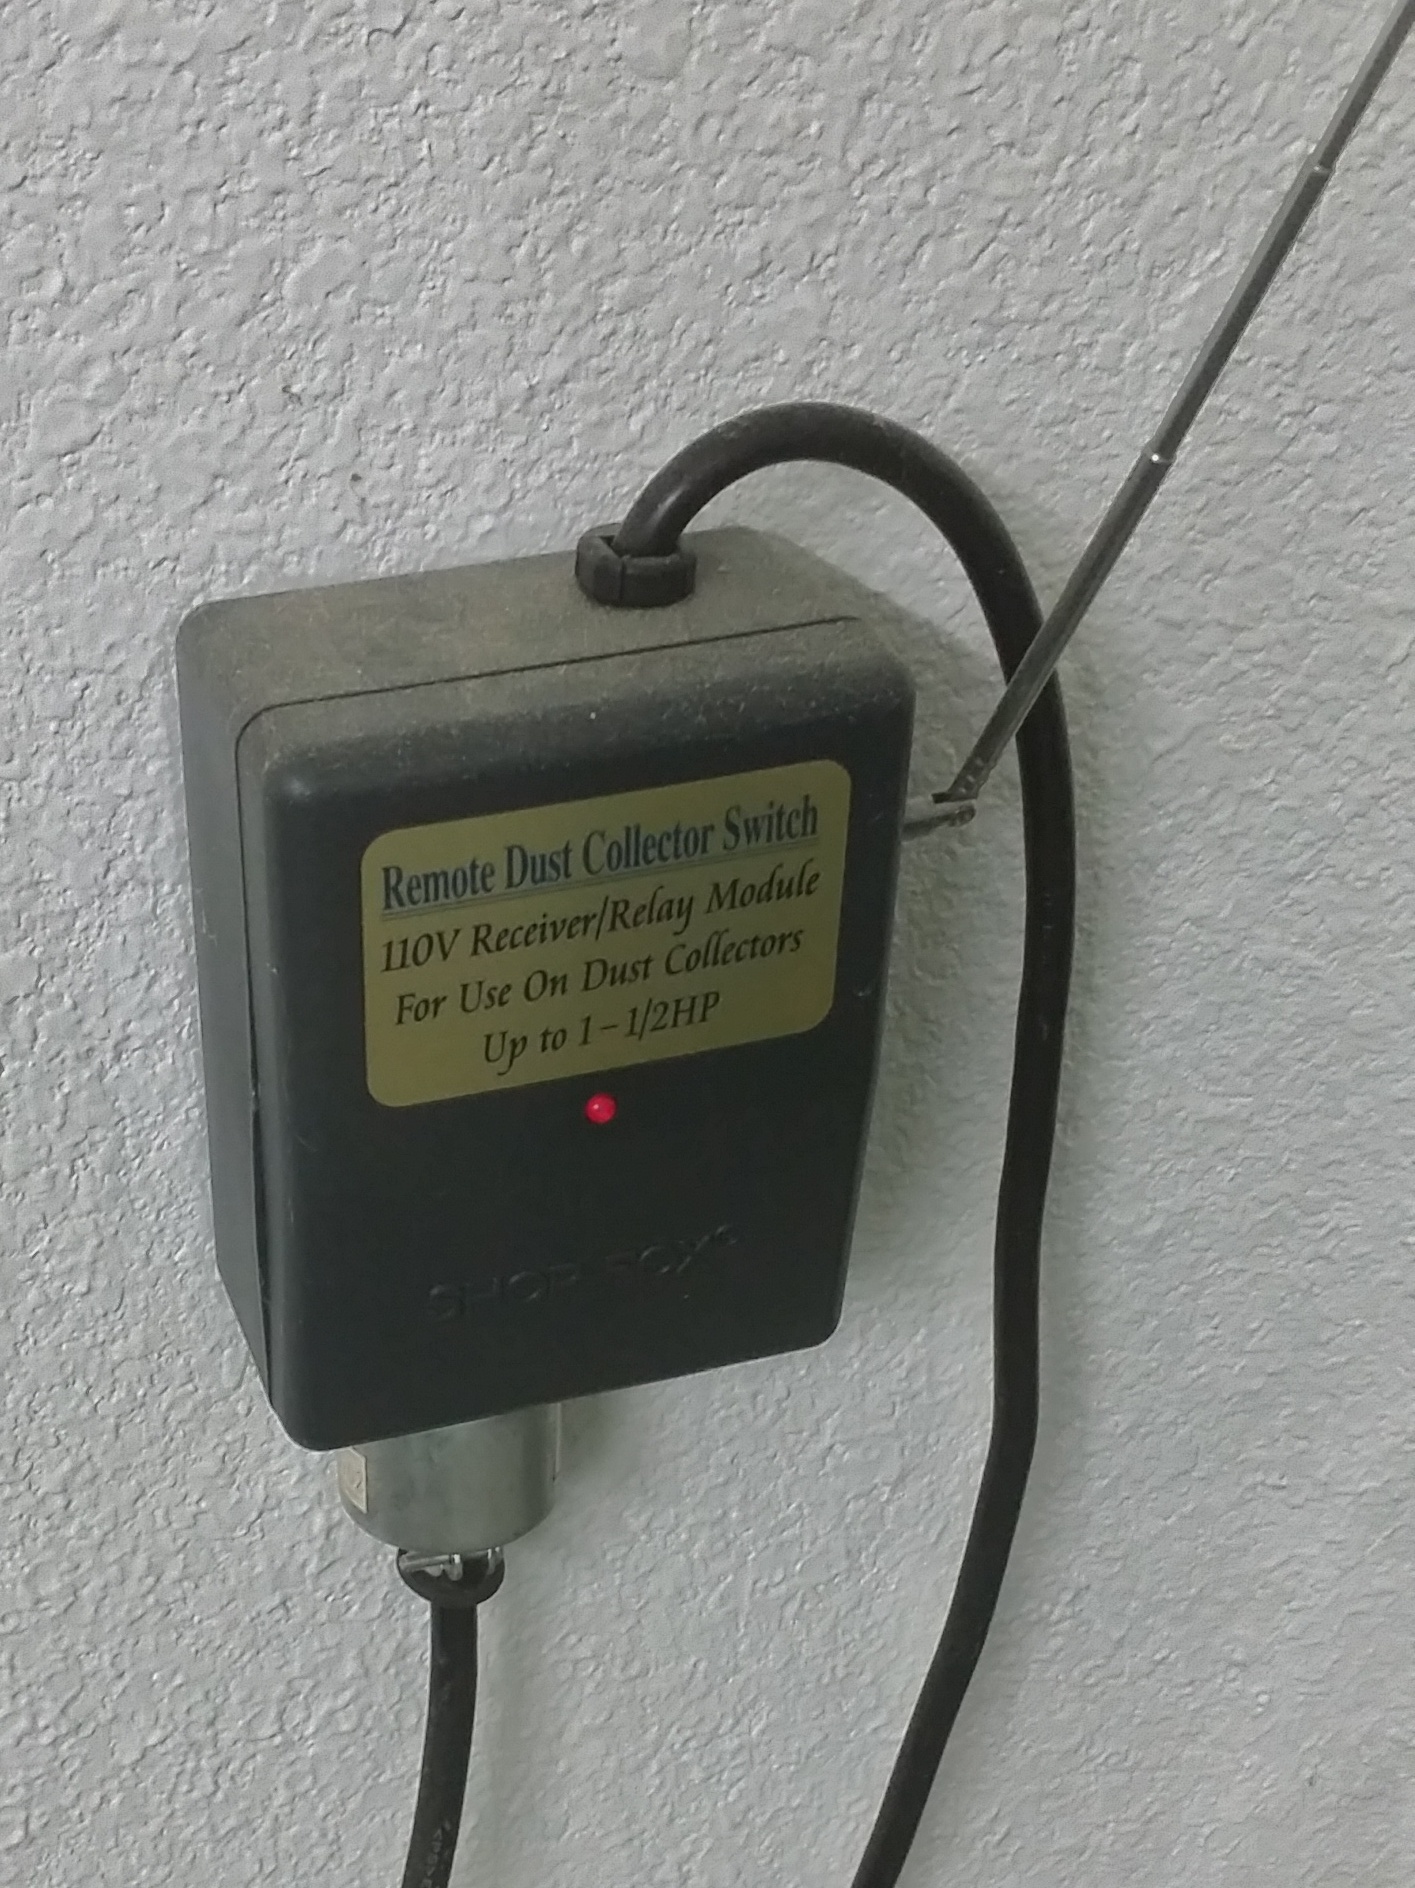
Grizzly Industrial 1 1/2 HP Dust Collector System G1028Z2 – Paid $339.00 Assorted Dust Collector Fittings, Hoses and Adaptors – Paid approx. $200.00 Dust Collector Remote On/Off Switch T26673 – Paid $47.95

CUT-OFF SAW

Masterhand 14″ Metal Cut-Off Saw (Chop Saw) – Paid $99.00

GRINDER

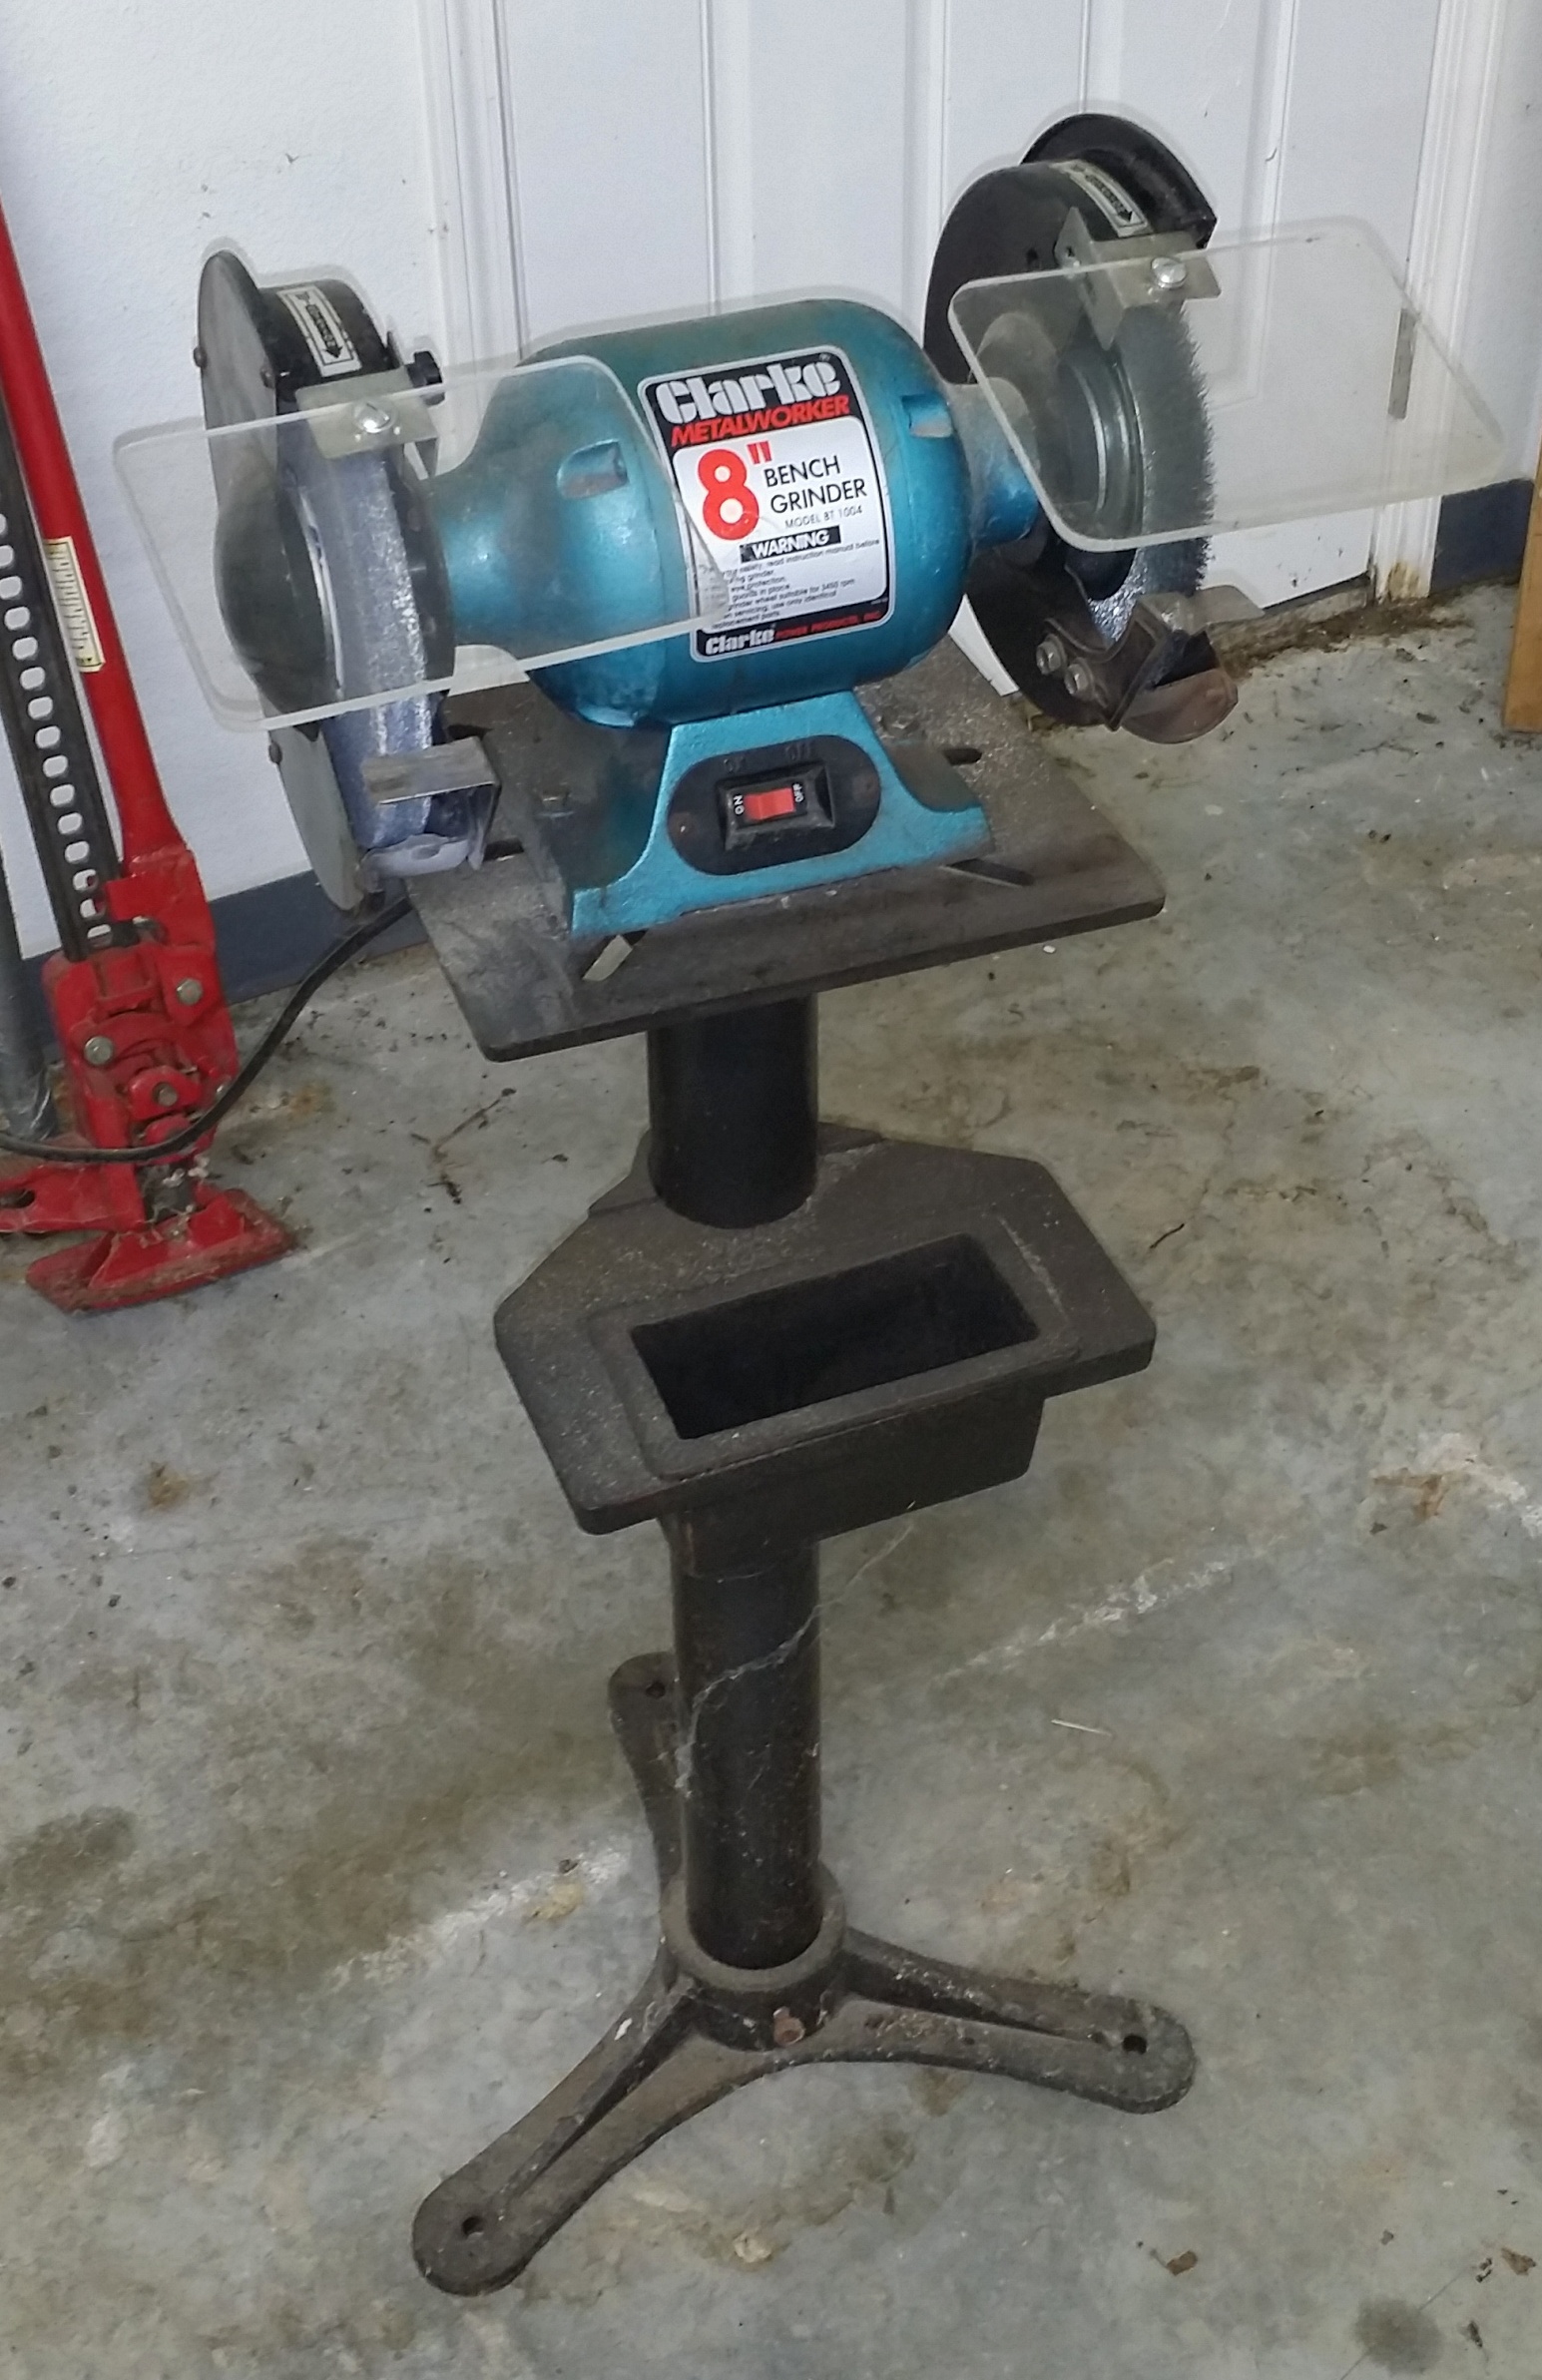
Clarke 8″ Bench Grinder with Wire Wheel and Cast Iron Stand – Paid approx. $150.00 I will be placing this announcement on various venues, and I suspect, given the steeply discounted pricing, that this equipment will sell quickly. You will be responsible for picking this up in the Omaha, Arkansas area. It will require, at minimum, a pickup truck and a helper. Some of this machinery is heavy, and I will not be able to help with the carrying, lifting, or loading, due to health reasons. I do have a hand truck that you may use to help load this equipment. Payable in cash only, due upon pickup. Please contact me if you are interested at hal@mitzenmacher.net.

Terlingua Cemetery in Texas

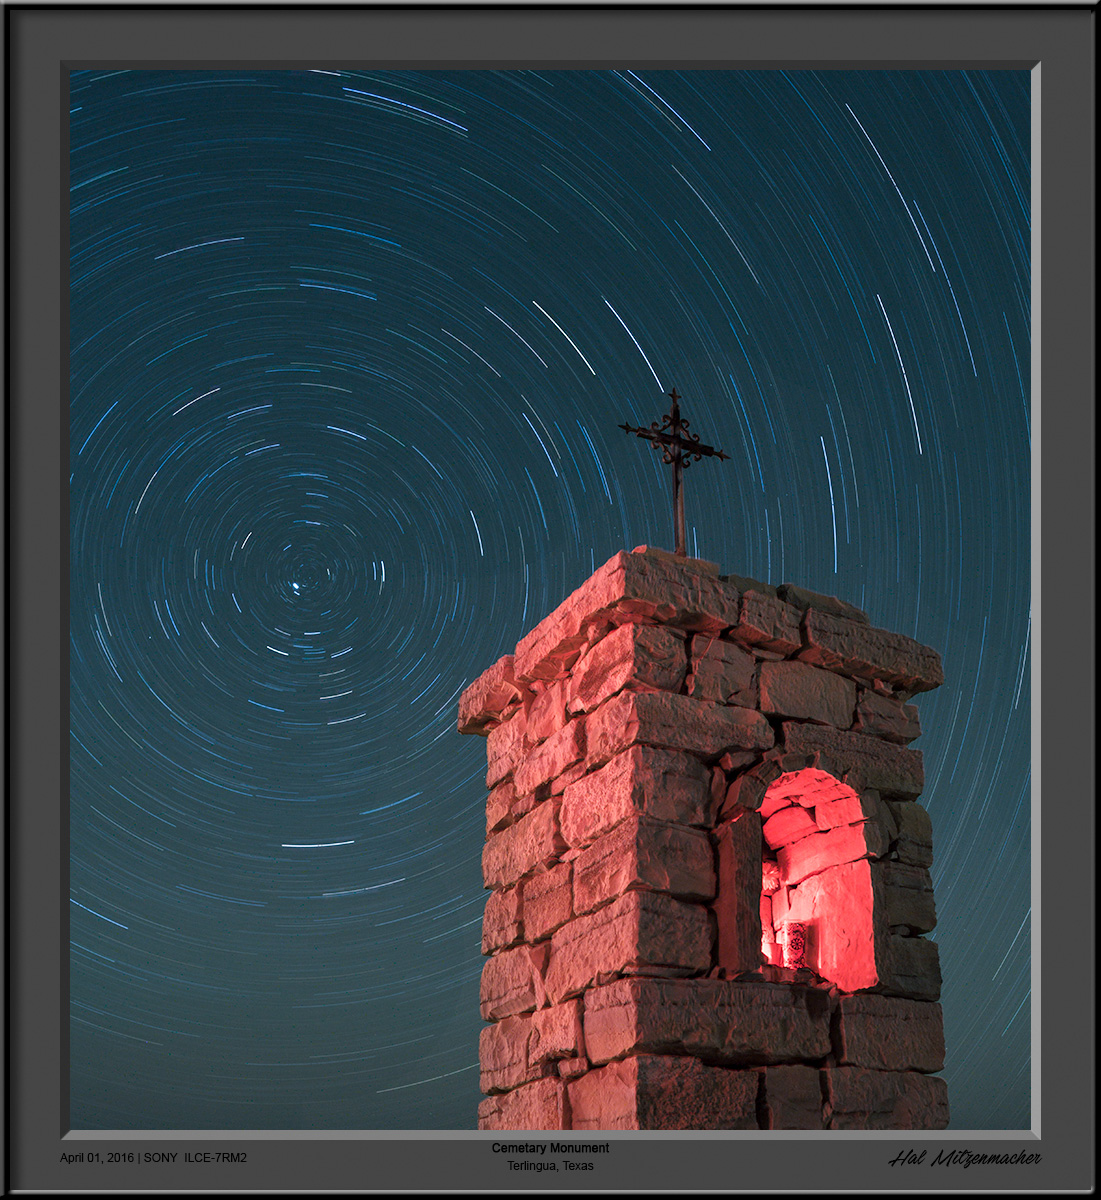
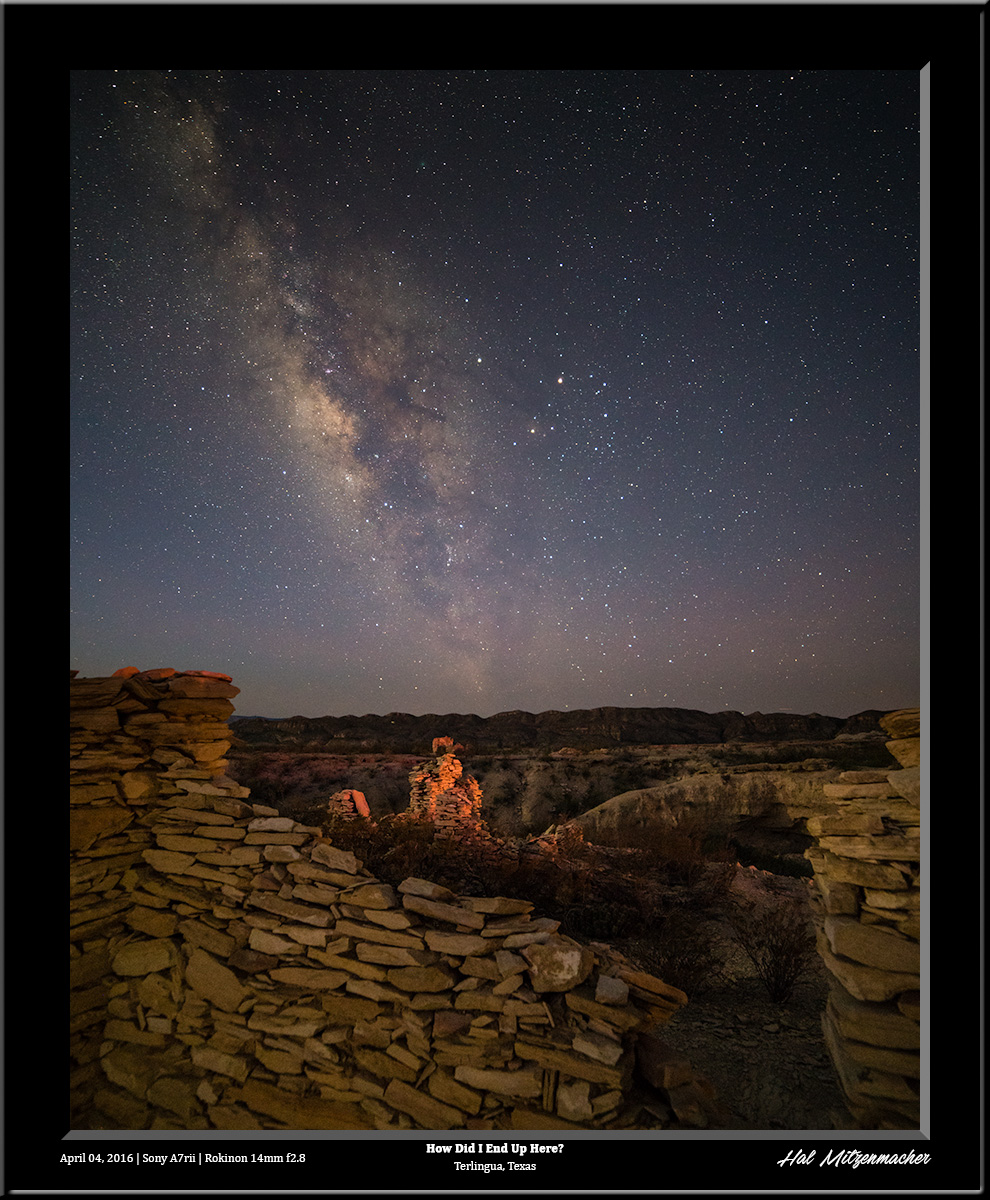
This is a re-edit of an image I took two years ago while attending a night photography workshop put on by Lance Keimig’s The Night Skye Workshops. Since then, I have become proficient with Greg Benz’s Lumenzia luminosity masking extension for Photoshop. I thought it would be a good idea to try Lumenzia out on some of my older night images, and have been pleased with the results I am getting. I cannot say enough good things about Lumenzia – it has all the power of any other luminosity masking software I have used, while retaining an ease of use that is almost intuitive once the basic principles have been mastered. This image was taken at the Terlingua Cemetery, in Terlingua, Texas. If you are unfamiliar with Terlingua, it is a semi-ghost town in the Big Bend region of Texas, almost equal-distant from Big Bend National Park and Big Bend Ranch State Park. The area boasts of some of the darkest night skies in the lower 48 United States. In addition to the natural landscapes that are supurb in the Parks, Terlingua offer some amazingly funky photographic subjects that lend themselves well to night photography. I am anxious to get the time to return to Terlingua again!

Print Mounting & Storage – $1,500.00 [SOLD QUICKLY]

Complete Print Mounting and Storage Setup – All Items Like New!

SOLD!!

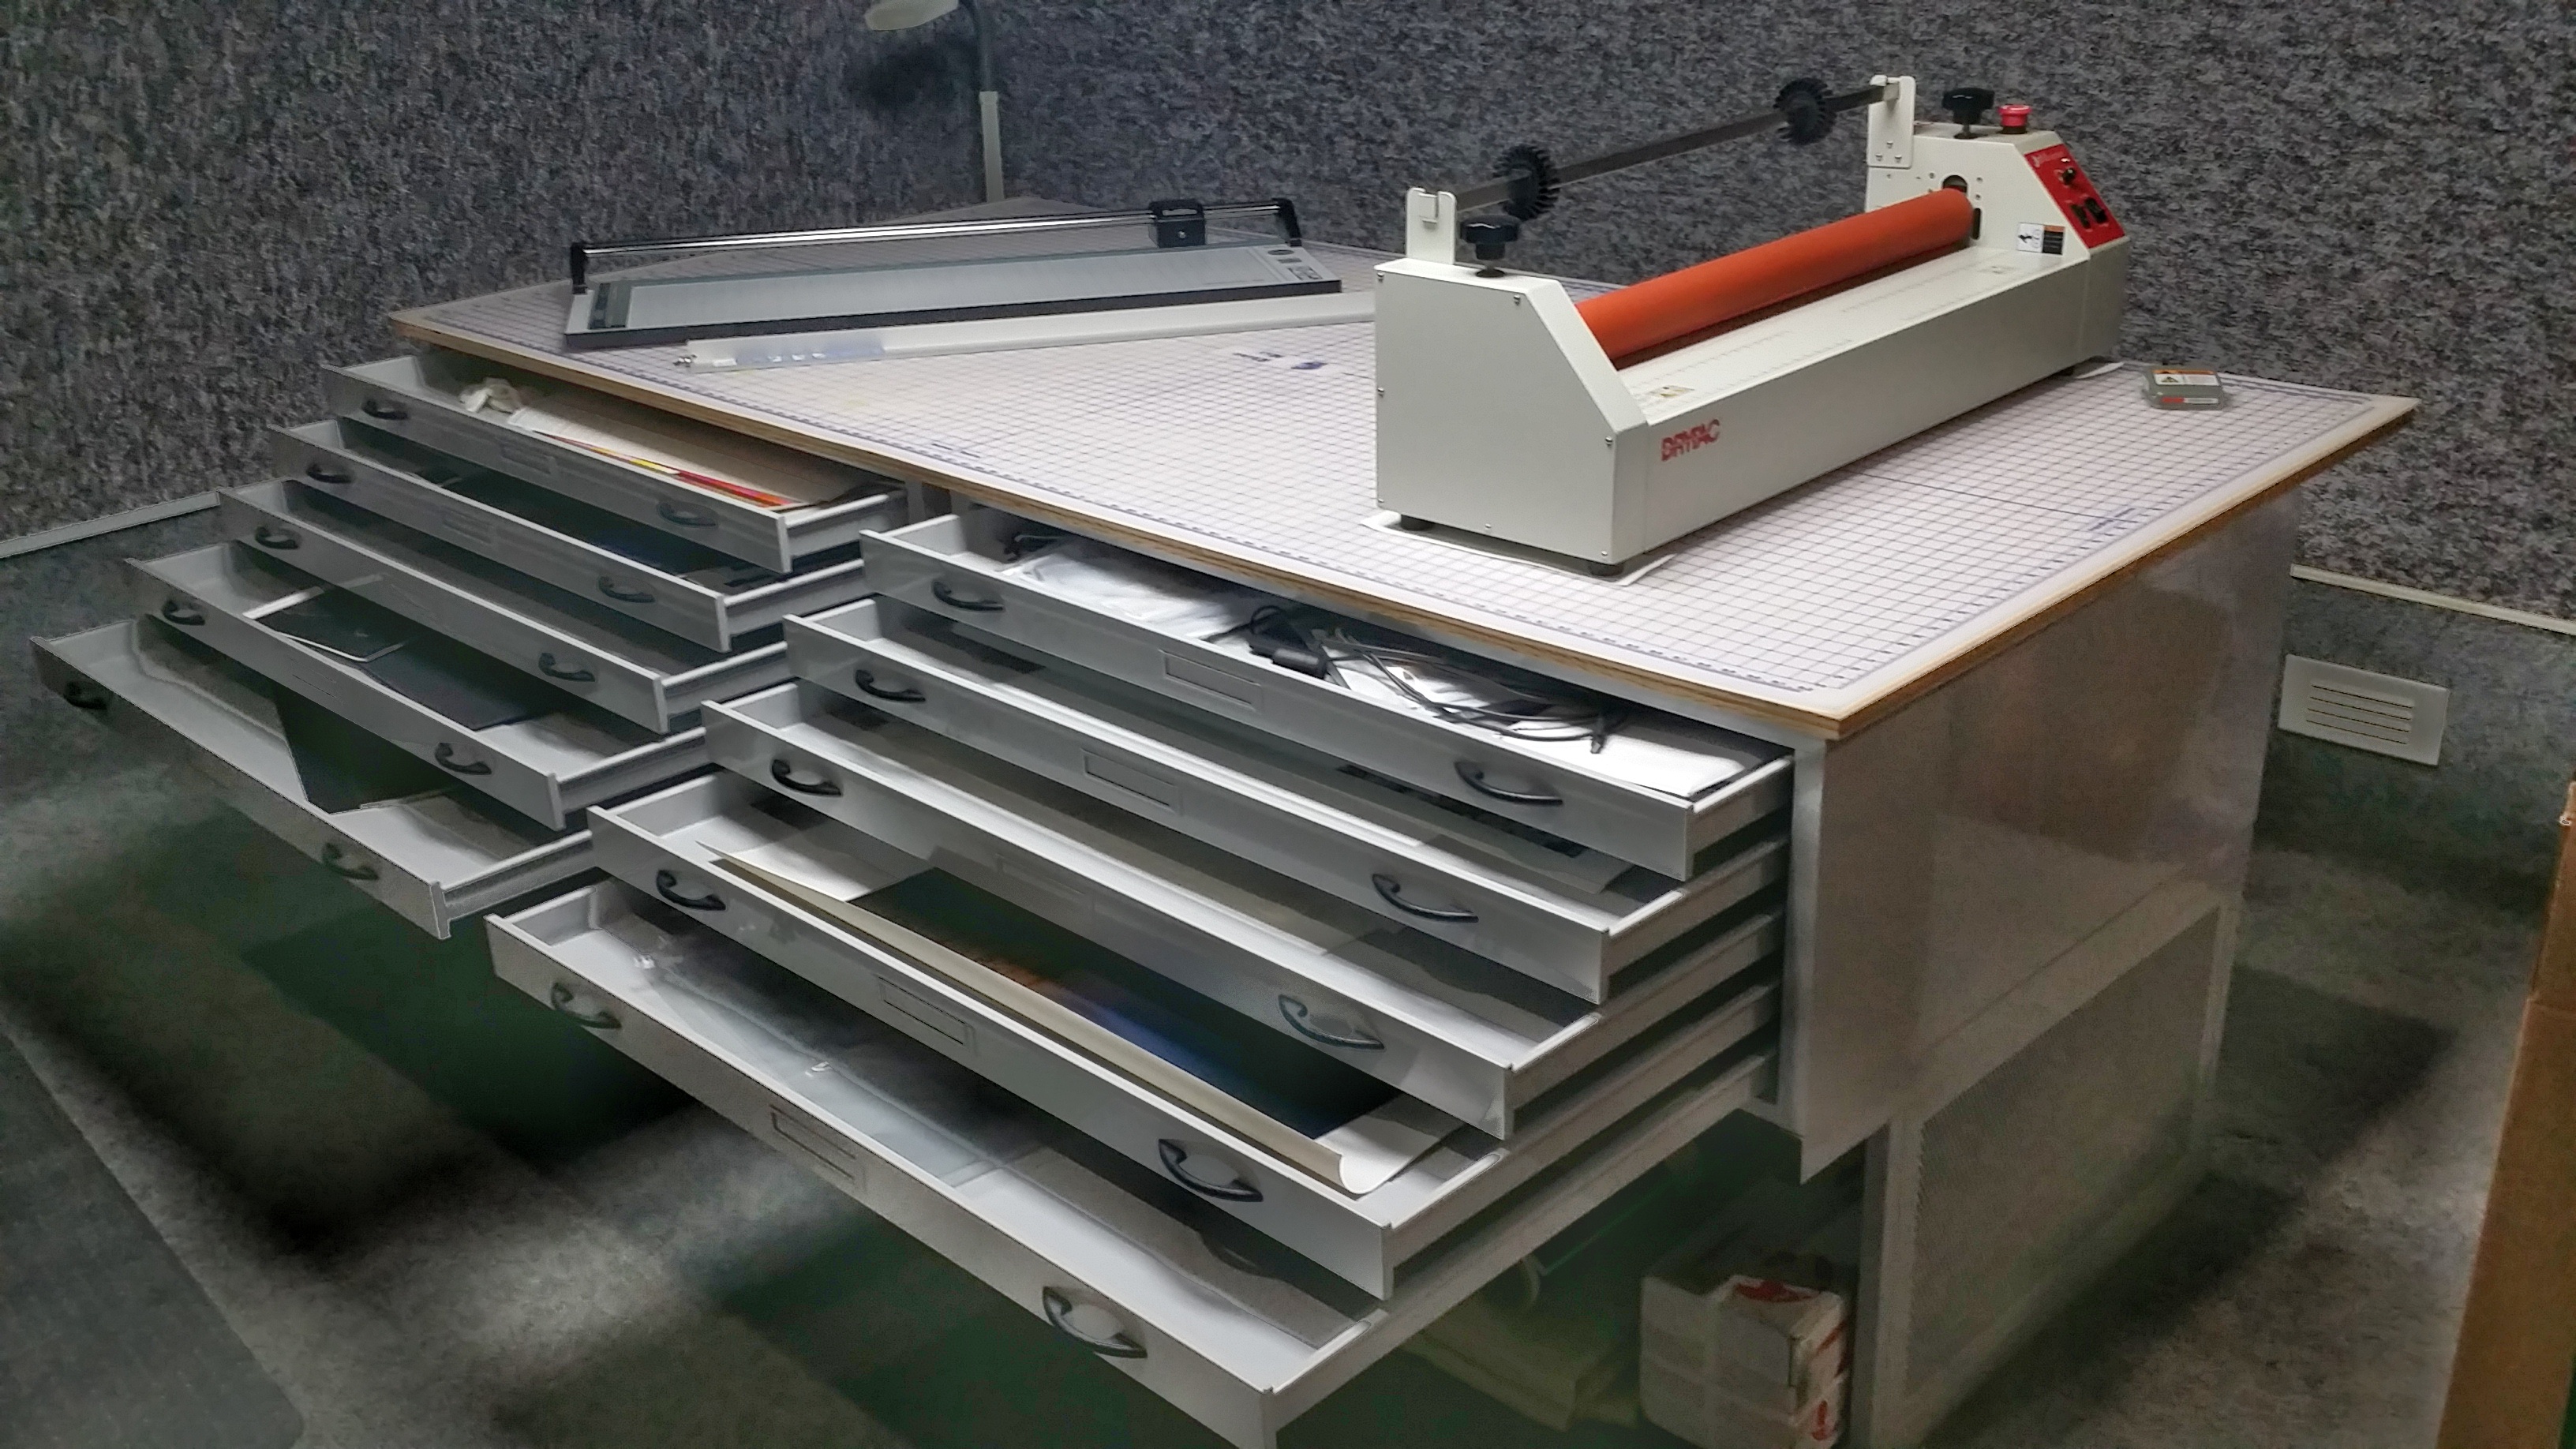
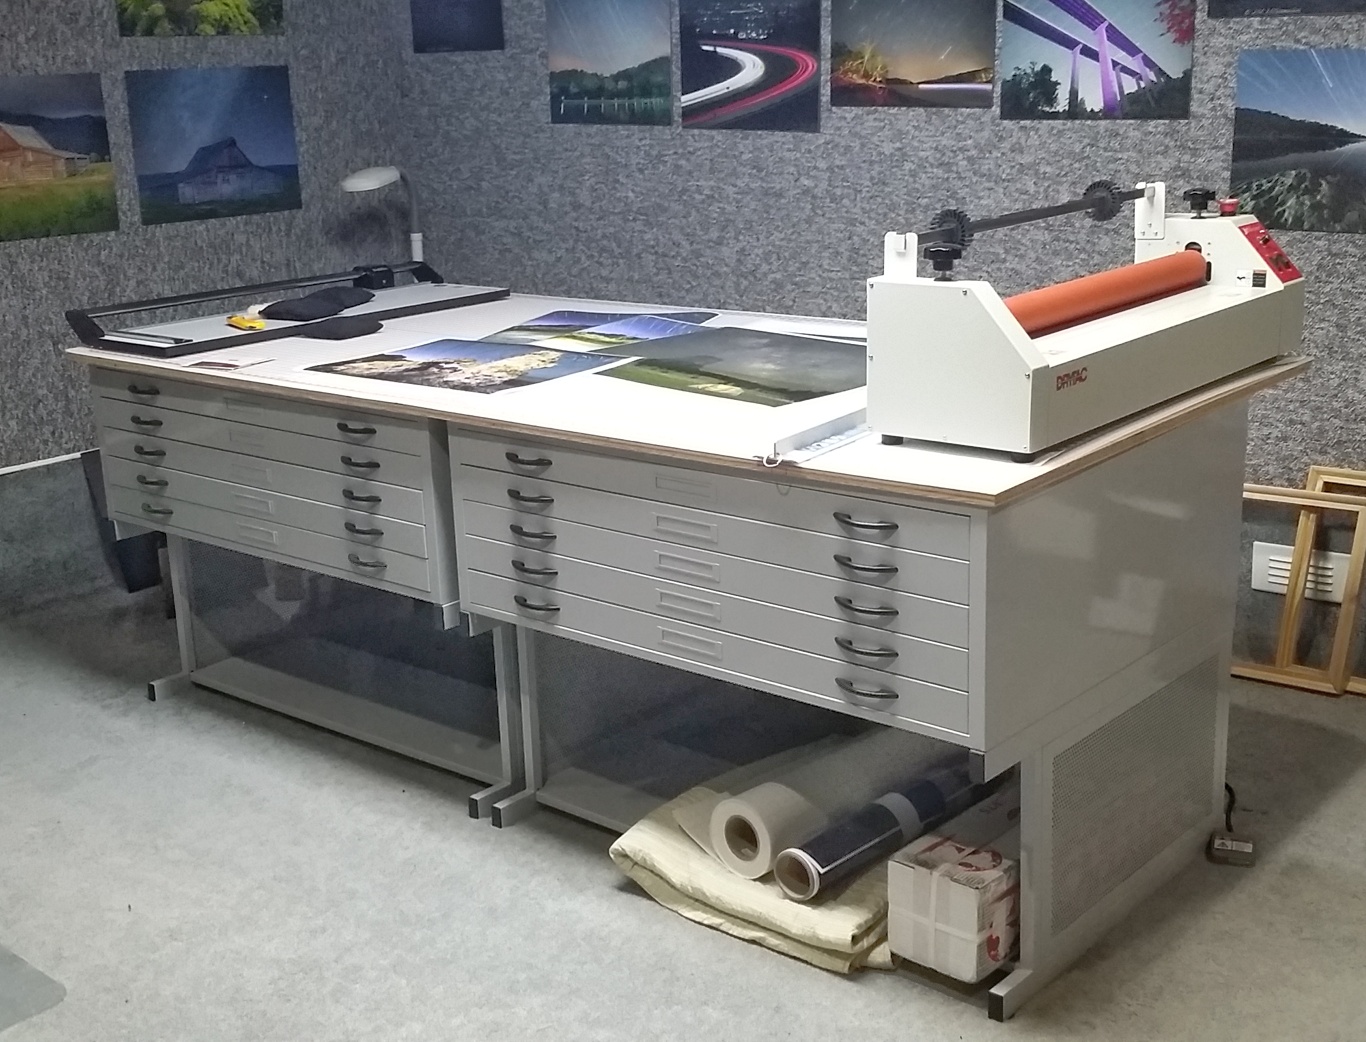
Cutting and mounting table setup consists of: (2) Safeco 4998WHR 48″ x 36″ @ $1,247.93 each = $2,495.86 (2) Safeco 4979 High Base @ $434.50 each = $869.00 (1) Rhino 48″ x 96″ Cutting Mat @ $211.25 (1) Sheet plywood 48″ x 96″ x 3/4″ @ $25.00
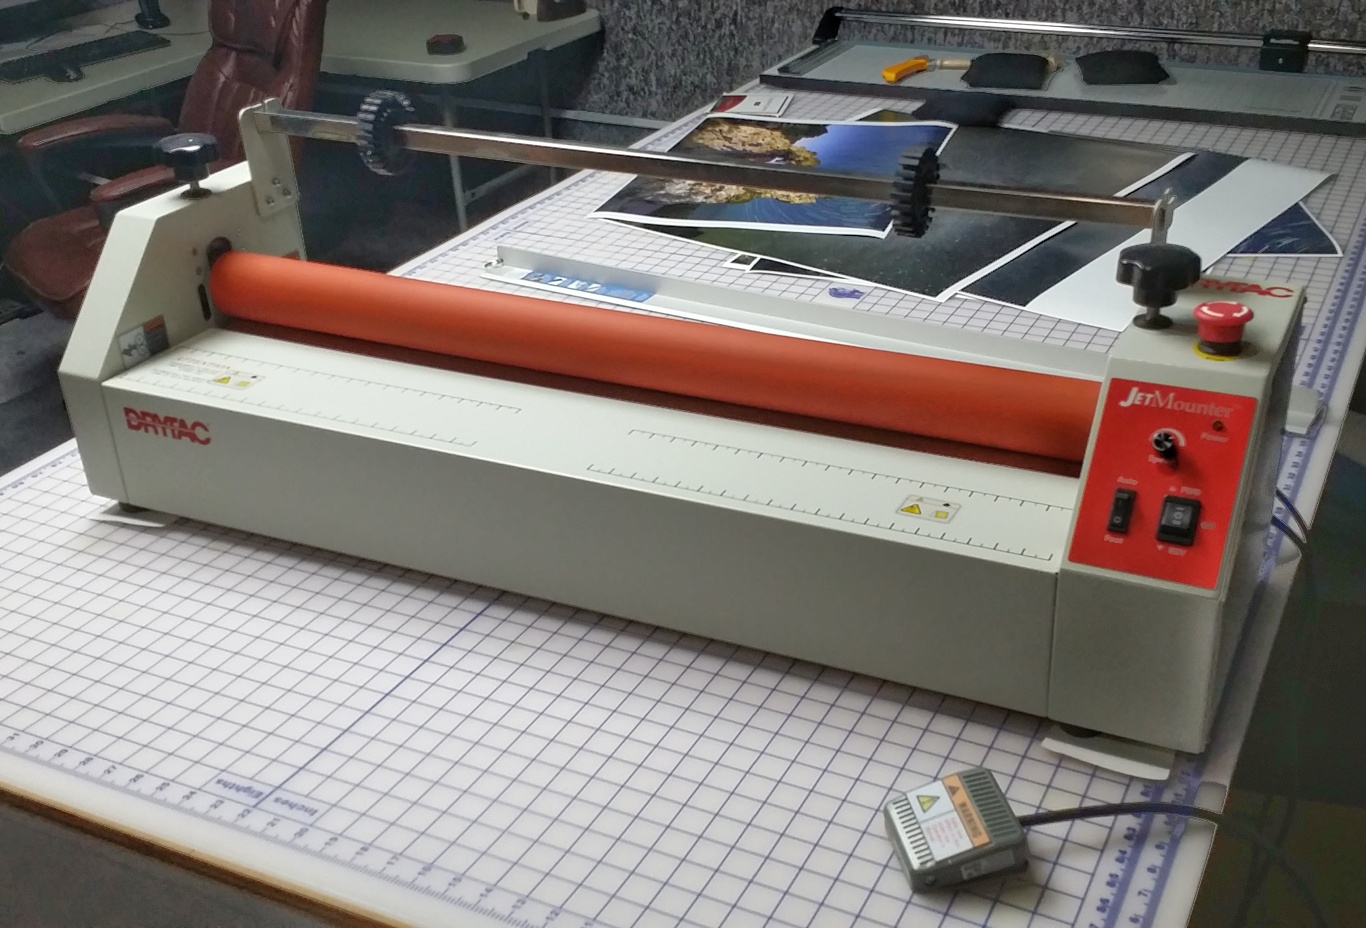
(1) DryTac Jet Mounter JM34 Motorized Tabletop Cold Laminator @ $1,499.95
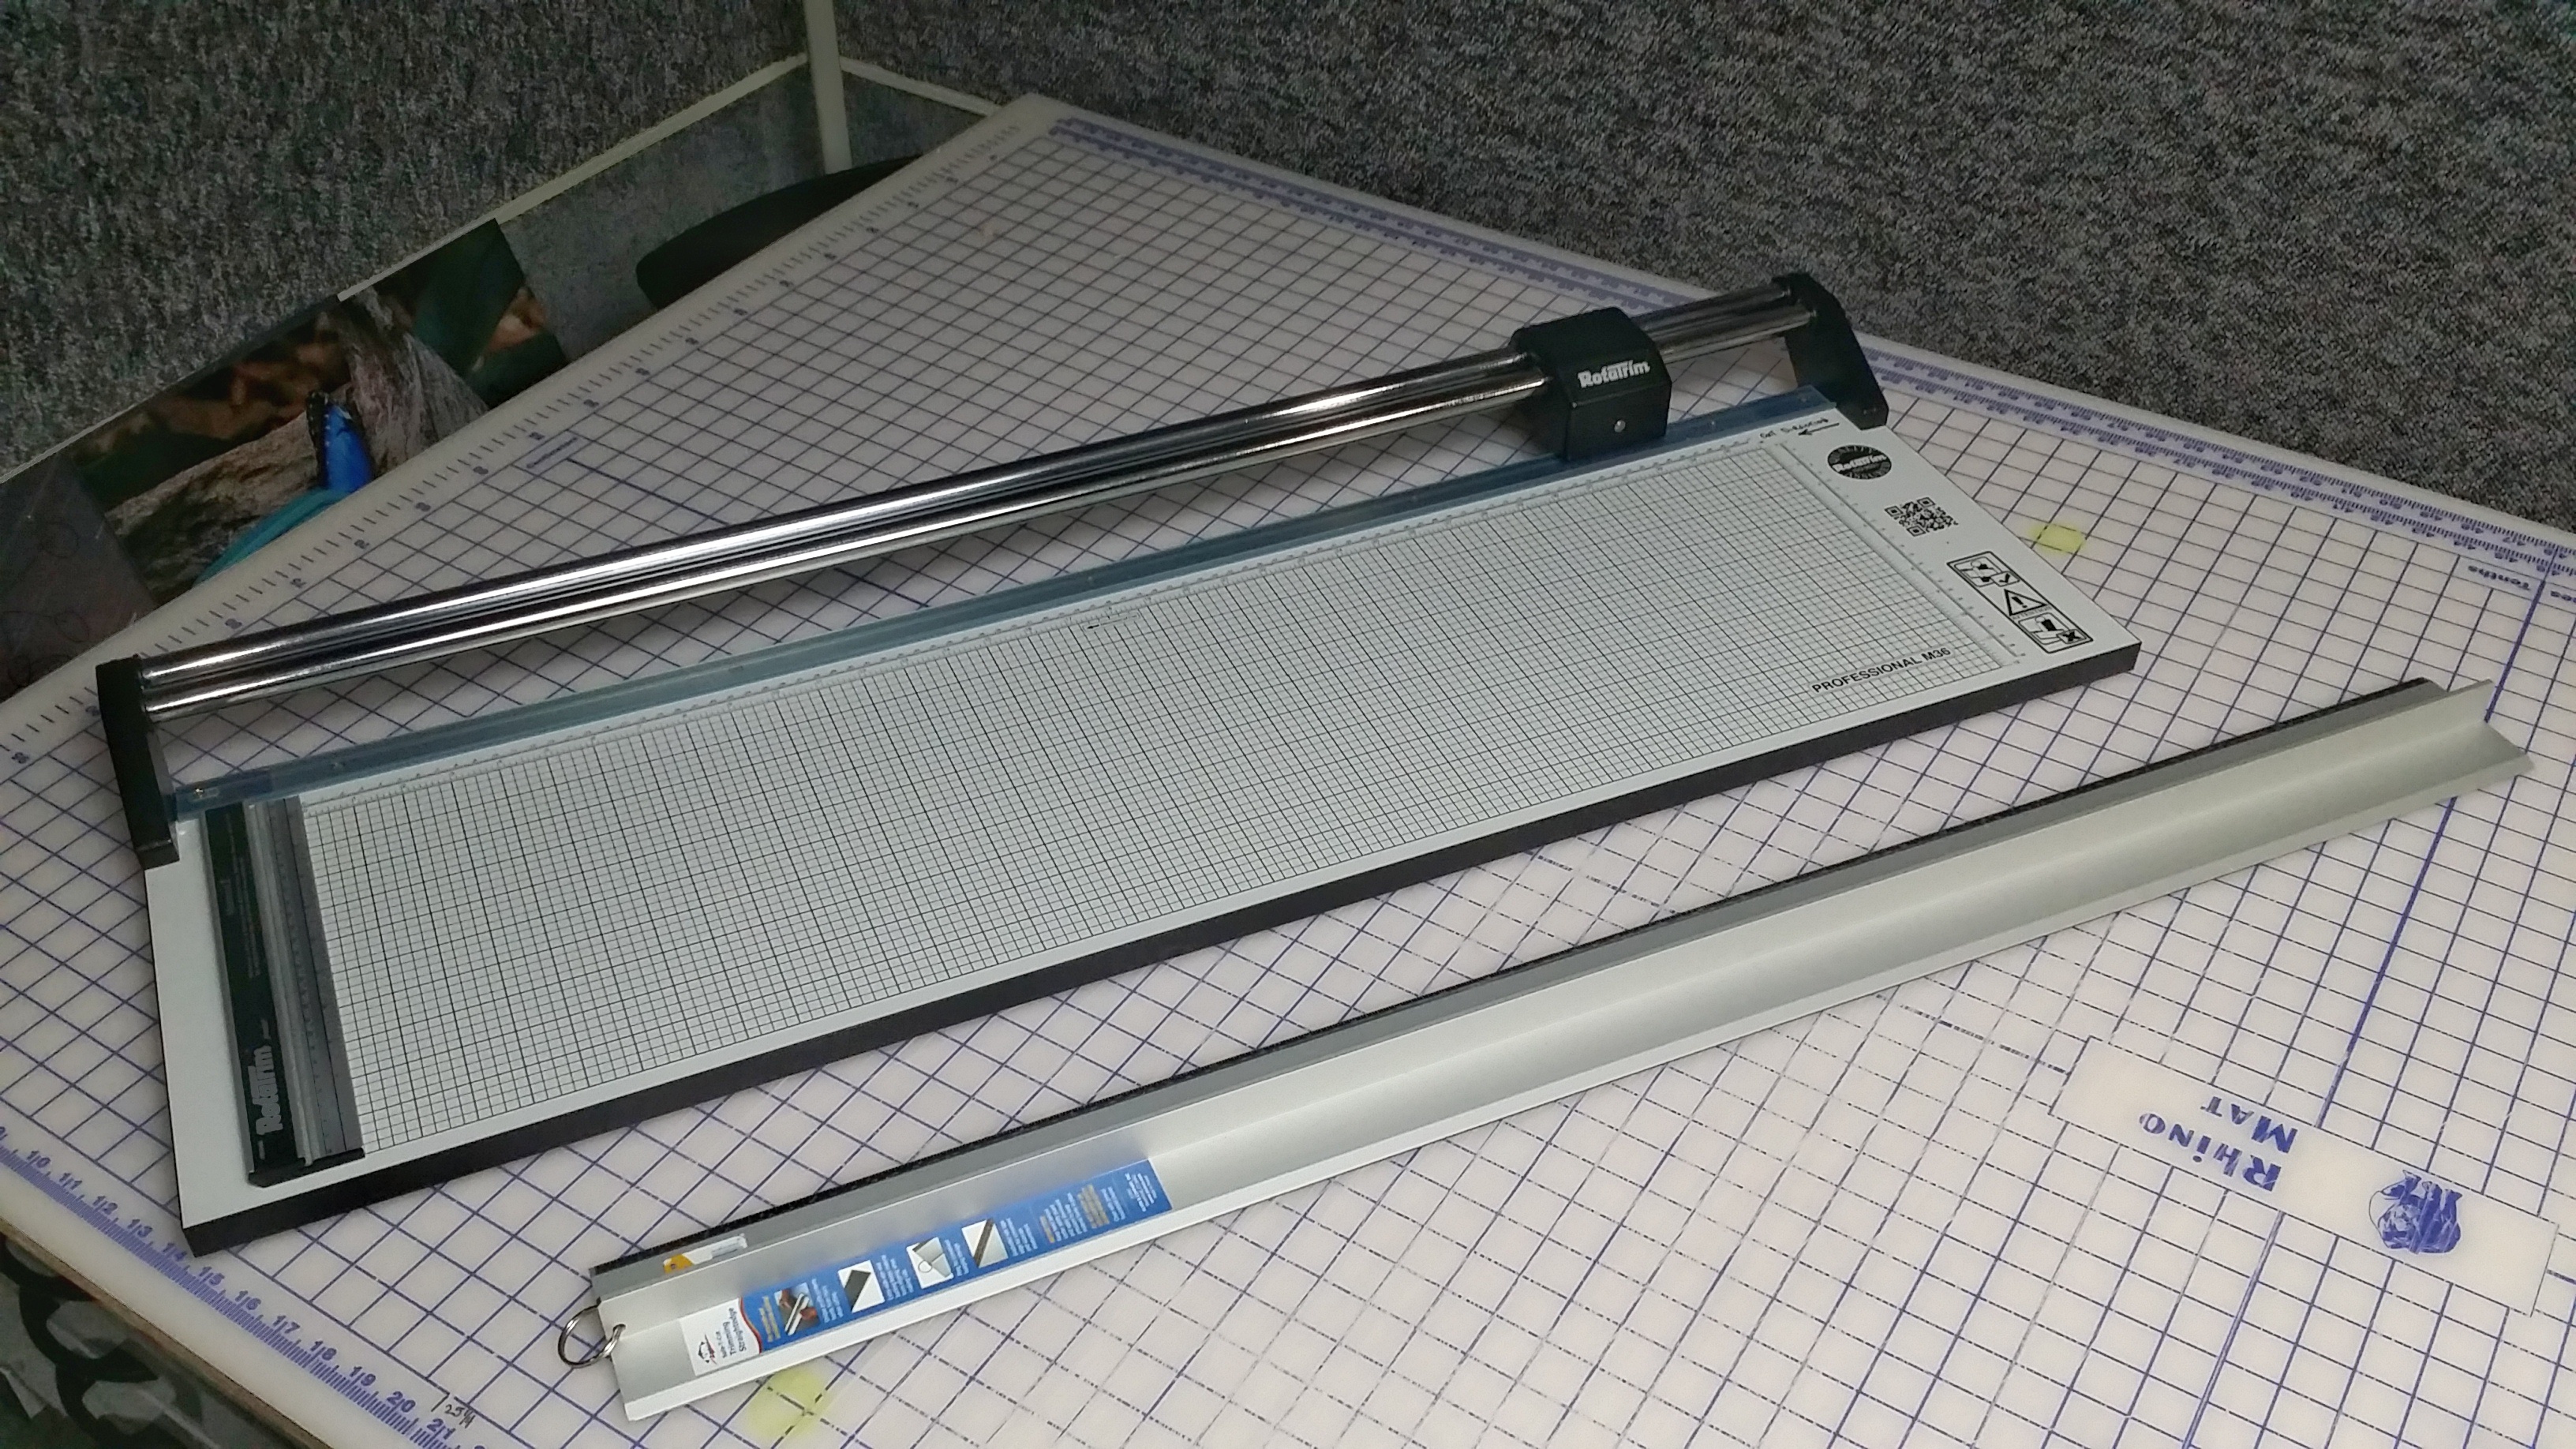
Rotatrim MasterCraft II Professional M36 Rotary Cutter @ $535.00 Alvin 42″ Graduated Cutting Straightedge @ $81.95
 (2) TwinTac 25.5″ x 150″ Double-Sided Mounting Adhesive @ $255.71 = $511.42
(10 boxes of 10) Elmers Black Foam Core Board 20″ x 30″ x 3/16″ @ $29.50 = $295.00 (1 box of 25) Bainbridge Black Foam Core Board 32″ x 40″ x 3/16″ @ $170.33
I paid a total of $6,694.76 for all of the items listed above. At $1,500.00, this is a steal for anyone wishing to get into print mounting as a hobby or business. All items are in like new condition. You will have to pick these items up near Omaha, Arkansas. This will require a pickup truck and a helper, as I cannot help with the lifting or loading due to health reasons. Please email me at hal@mitzenmacher.net if you are interested.

Controlling Sky Color in Star Circle Images During the New Moon

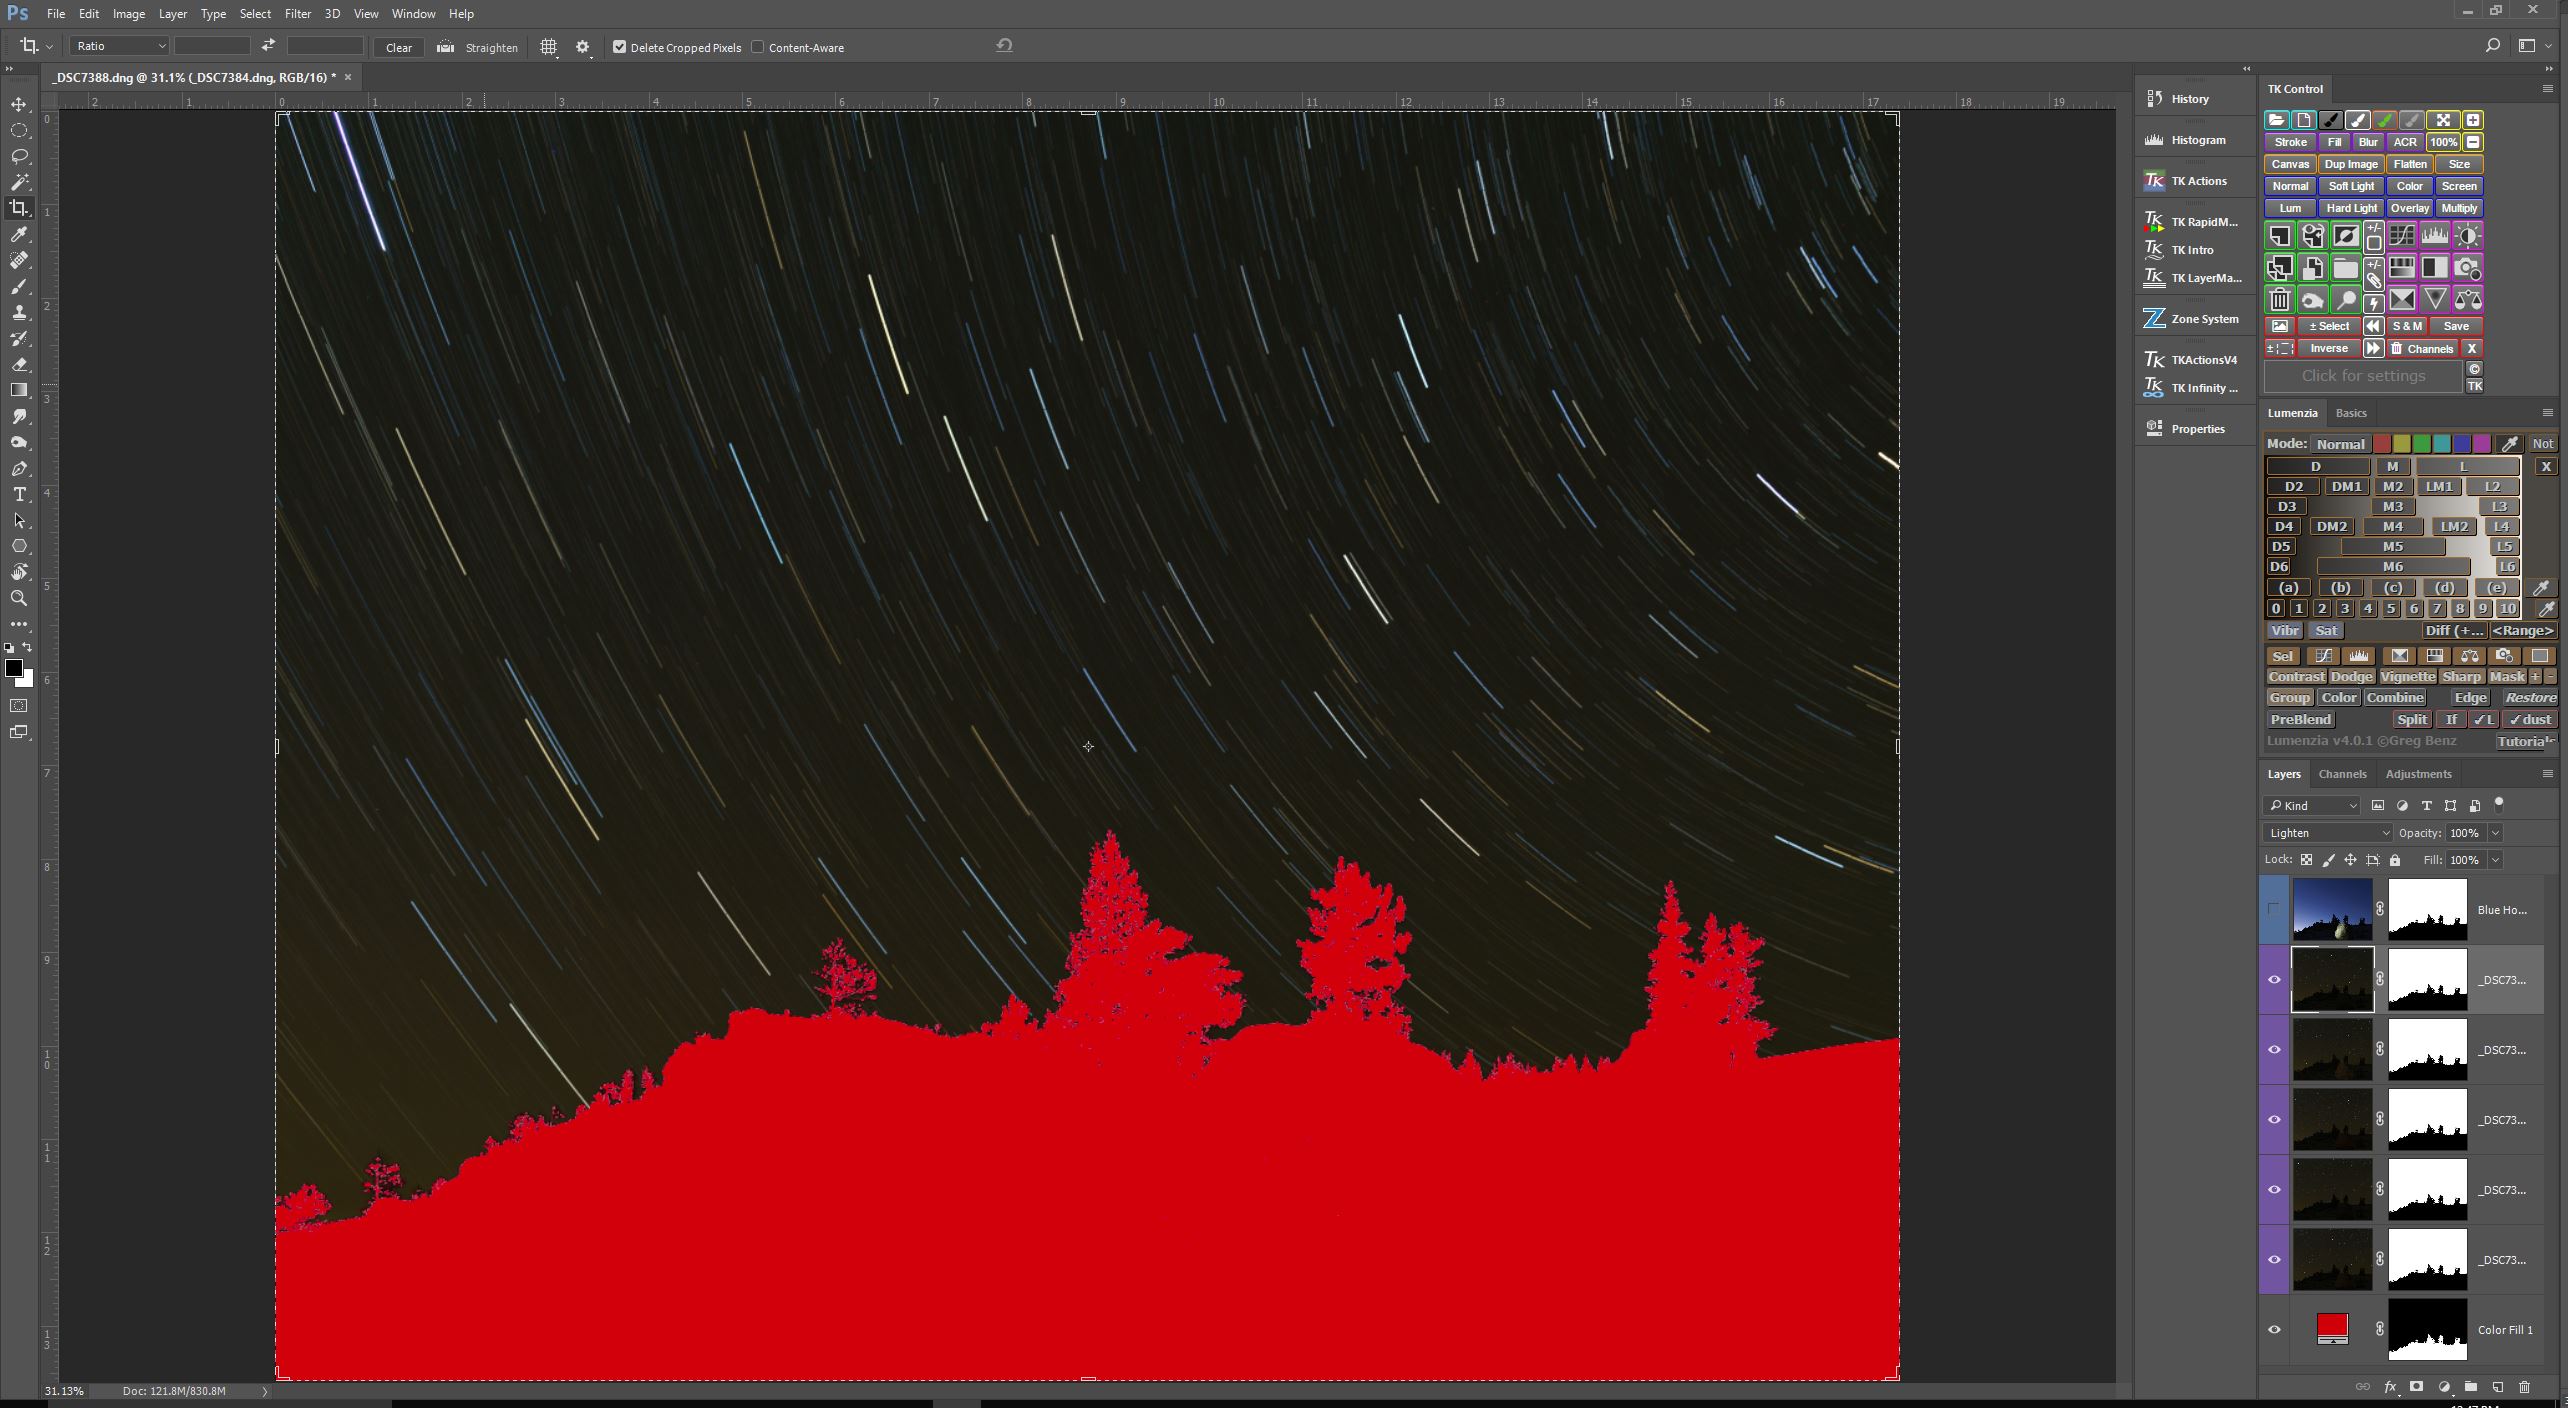
This image was created using a technique I call time stacking. It is similar to taking a time lapse video over the course of a night, but instead of sequentially displaying each frame in a short animated video, I take the best parts from each exposure, and combine them in Photoshop using layers and masks to create the final image that is pleasing to my eye. It is a topic worthy of a separate post, which I shall write soon, but this post is about one small step in the process, in which I deliberately created the look of the sky you see in the image above during a new moon phase.

Original Star Circles Taken During Dark Sky

So here is the problem I was trying to solve (I have masked out the foreground for the purposes of this post, this is about the sky only).  The star circle layers I wanted to use consisted of 5 consecutive exposures, each @4min/f4.0/ISO400, taken during astronomical darkness. When the Blending Mode of these 5 layers are set to Lighten, you end up with a very dark, almost black sky. I like the way my chosen exposure settings rendered the star circles – bright, colorful, and at the density and intensity I find appealing, but I do not care for a black sky. How to lighten the sky? That is the question.

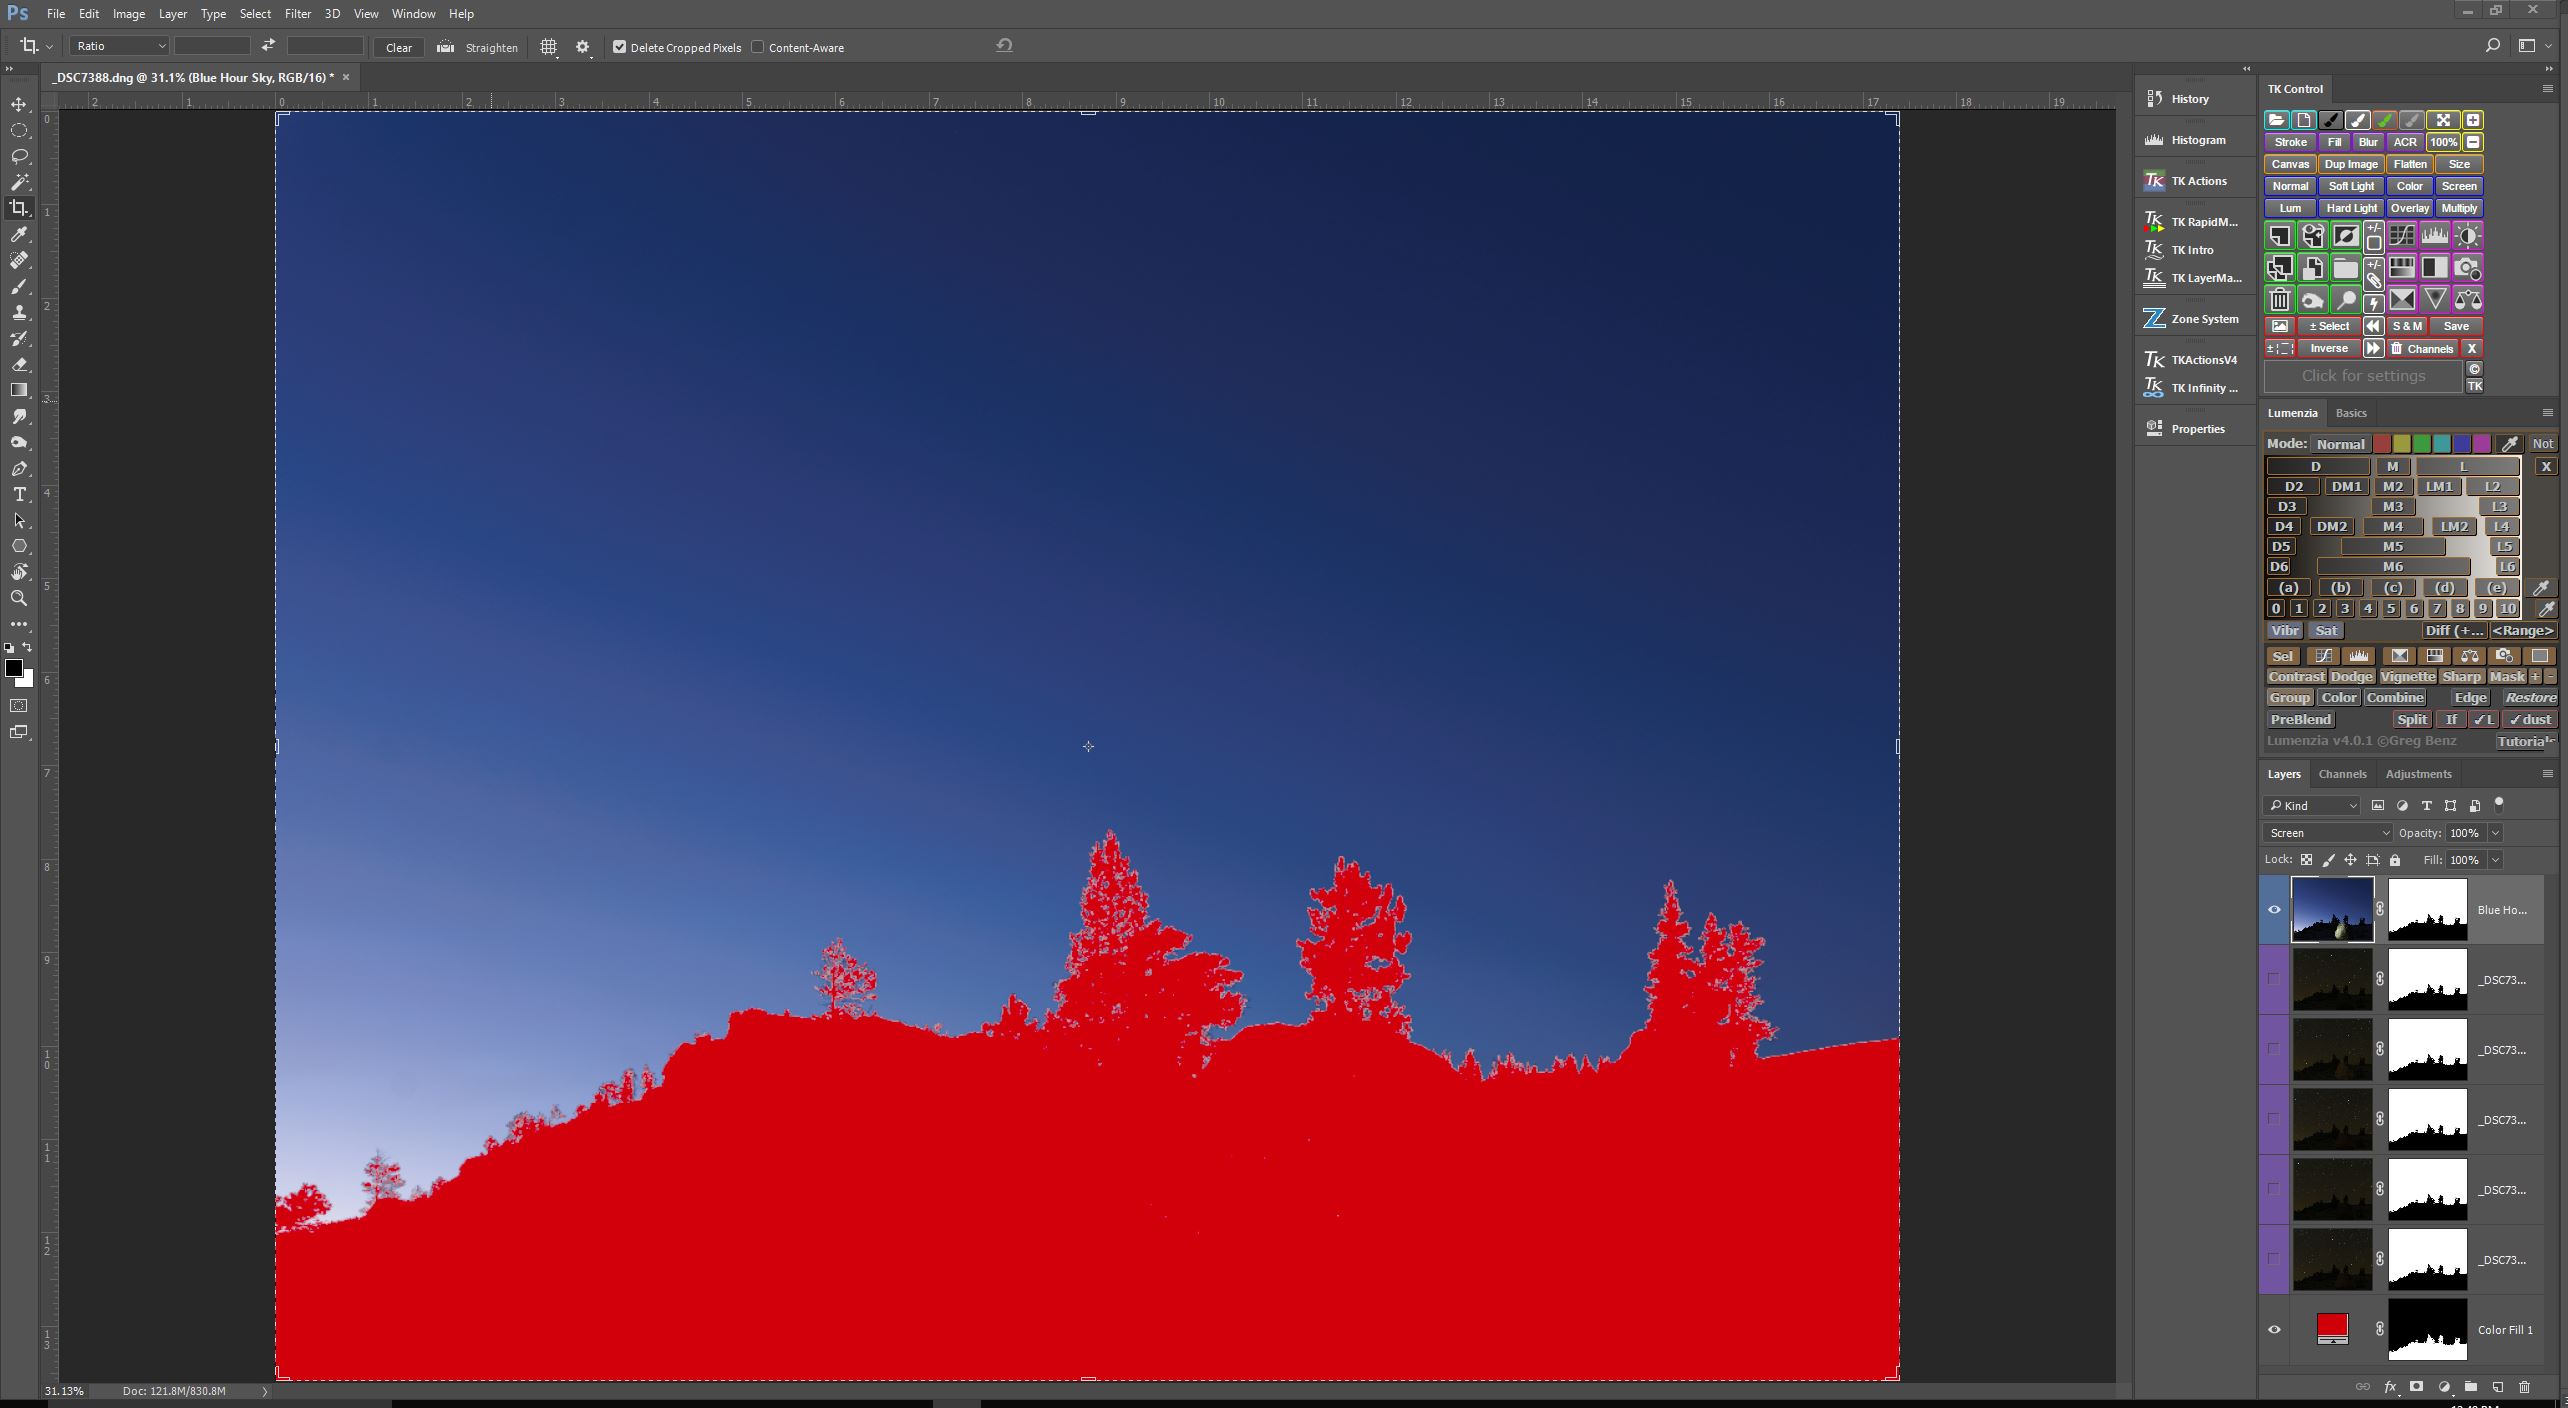
Sky Exposure Taken During Blue Hour

Here is one technique that I turn to often to control the color of the sky when I set out to create star circle images. Remember, I am essentially recording data to be put together in a final image later on, so as part of the process, I make sure to capture a sequence of exposures during the entire blue hour, just up until the time when stars become visible. So the series of exposures I have to choose from range from very light blue, to very dark blue. I just pick the one exposure that I like best, and include it in my image as a separate layer. as you can see in the screen capture above.

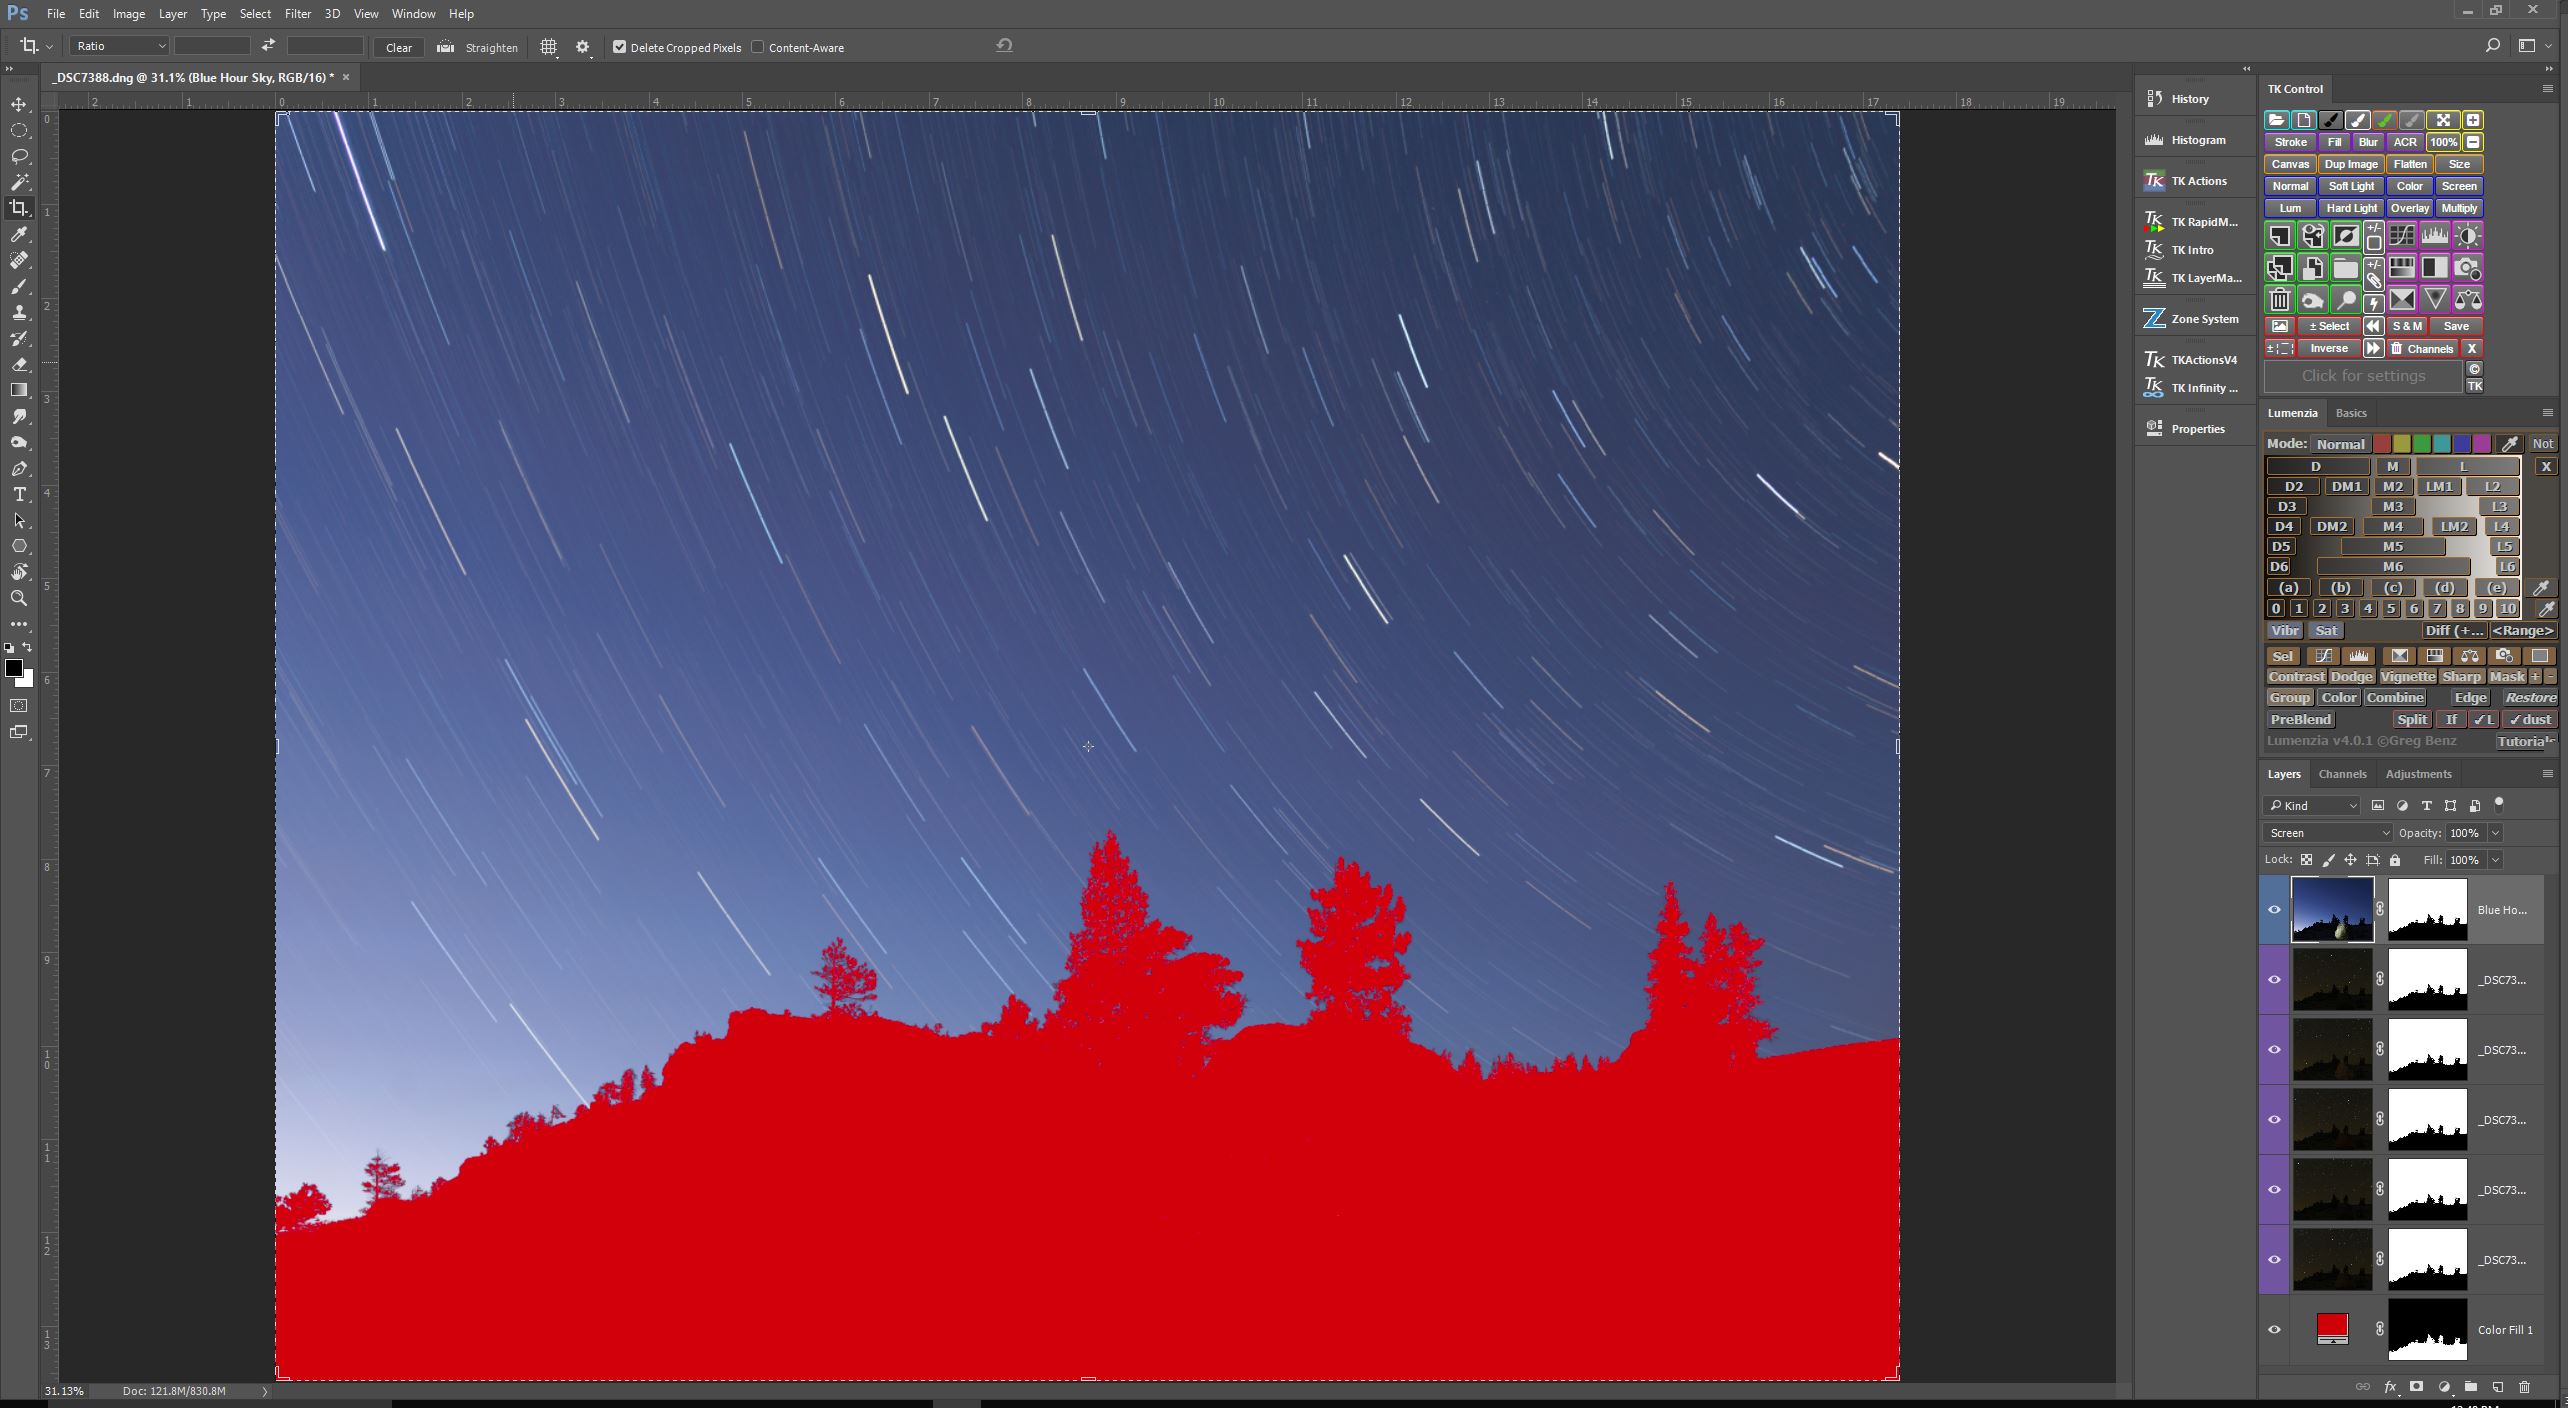
                      Blue Hour Sky Blended With Dark Sky Star Circles  Now, if I set the Blending Mode of this new “blue hour” layer to Screen, you’ll see that the star circles remain nearly unchanged, but the color of the sky is now the “blue hour”color, as shown in the screen capture above.


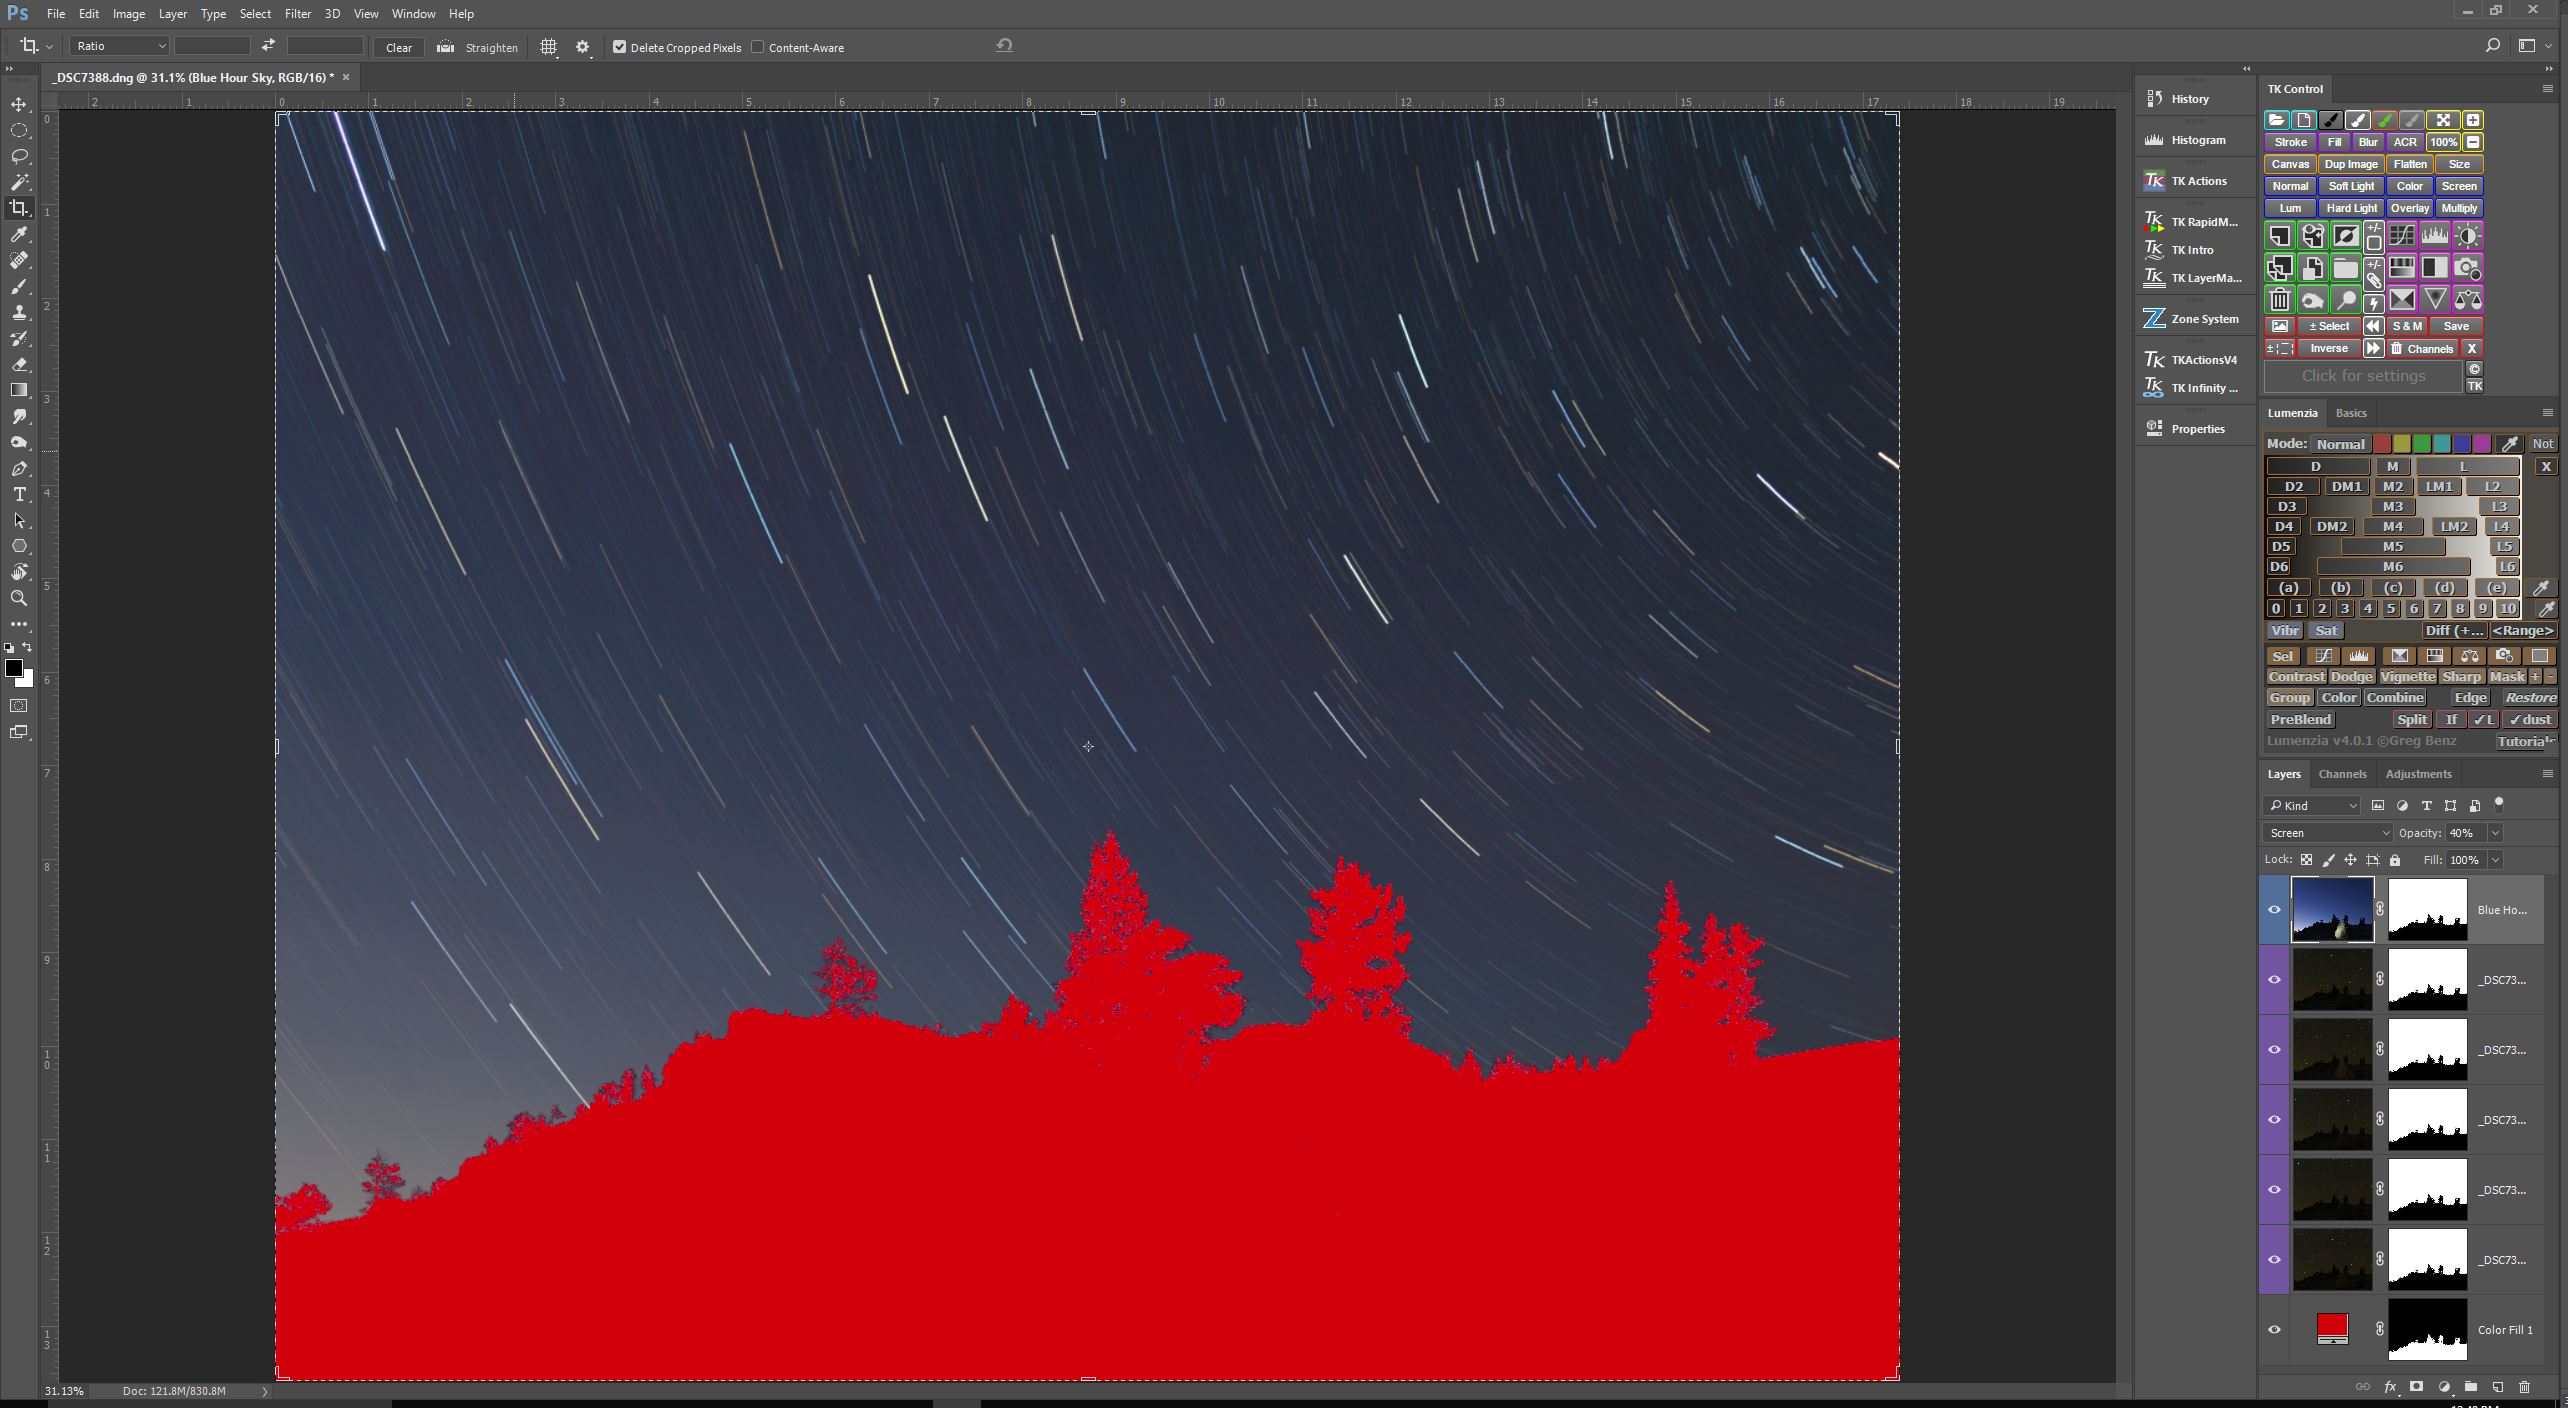
Composite Sky Darkened By Reducing Opacity Of Blue Sky Layer

I like to select a “blue hour” sky exposure that is a bit lighter than what I envision for the final image. By doing this, I can dynamically change the lightness of the sky simply by changing the Opacity amount for the “blue hour” layer. In this case, I thought 40% Opacity looked the best.

So there you have it. Another tool in the arsenal of techniques at your disposal for controlling the look of your star circle images. Give it a whirl


My Night Photography Light Kit

One aspect of night photography that I really enjoy is the use of added light to achieve some desired outcome. One thing I have discovered is that if you get bitten by the night-lighting bug, the result is usually Gear Acquisition Syndrome, in which every type of light source becomes an object of desire. I will attempt to show you how it has affected me, in this round-the-kitchen-table style post regarding my light kit.
Utility Working Lights

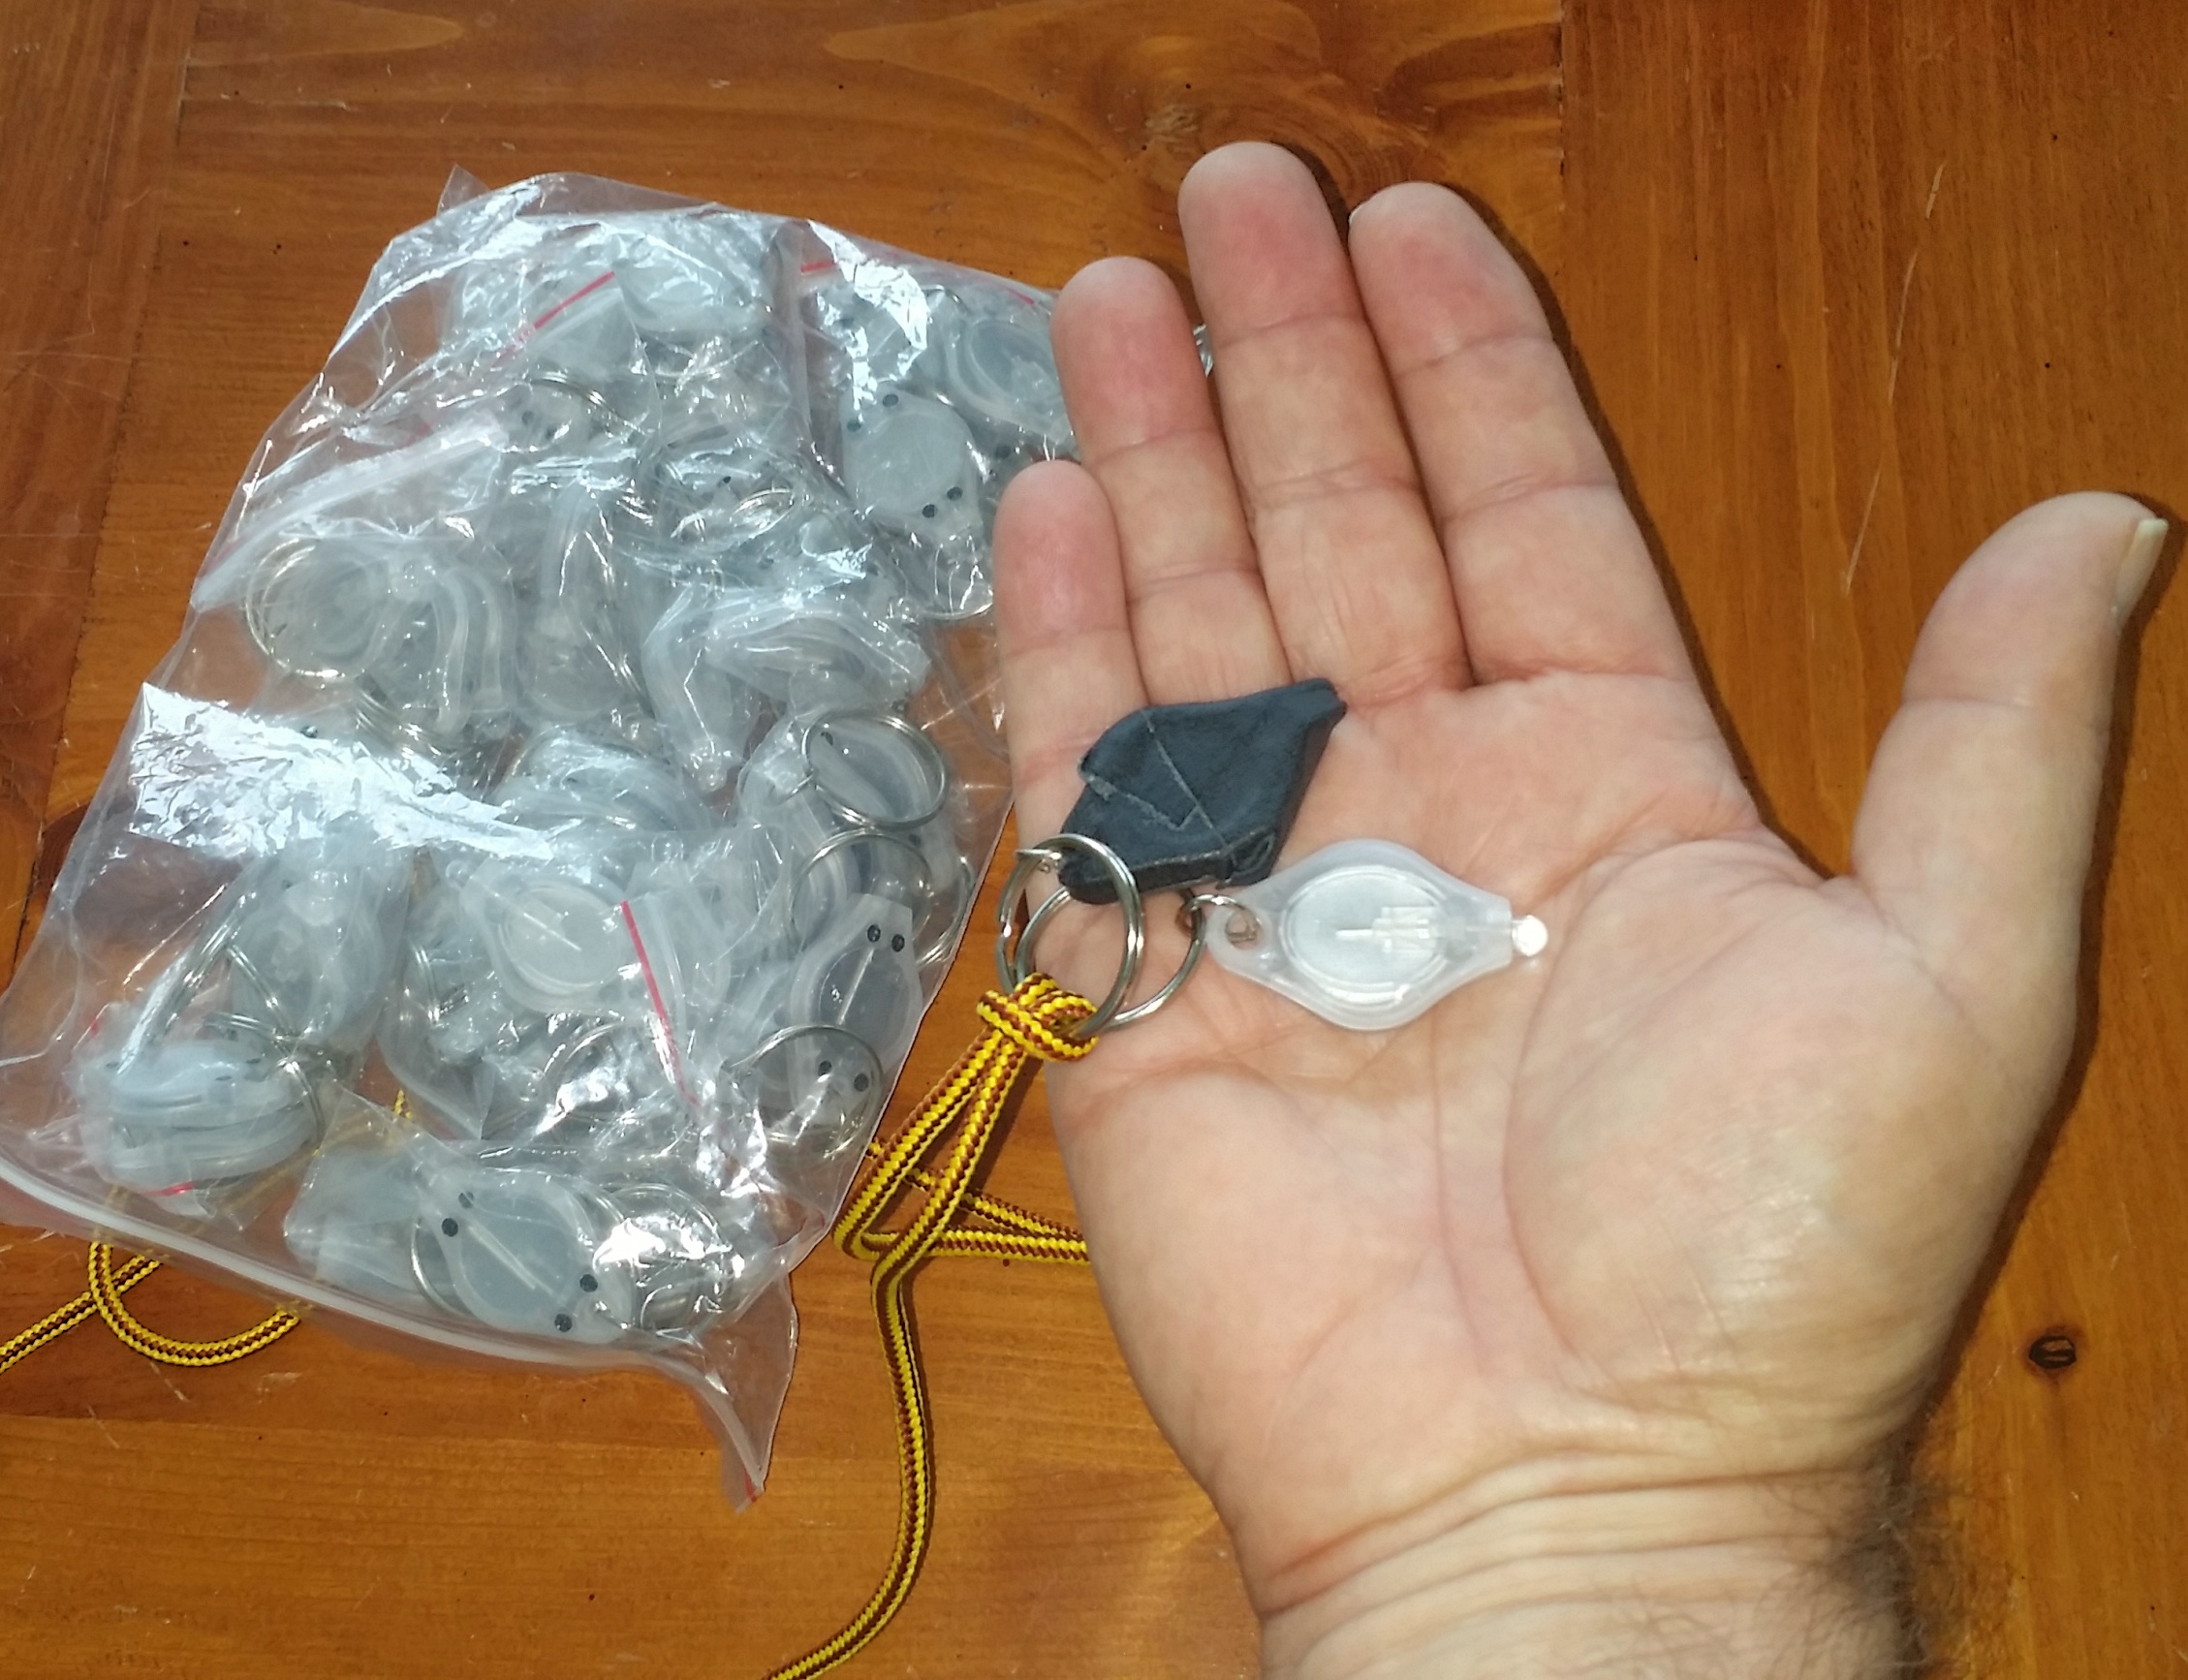
Key Chain LED Light

I’ll start with my most used and cherished light. That’s right, this tiny key chain light. You probably have one sitting in your kitchen junk drawer (everybody has a junk drawer, right?). And why is this my favorite light? Well, my friends, I am about to tell you a hard truth, something your best friend might hesitate to tell you for fear of hurting your feelings. Do not be “that guy” (to my friends of the female persuasion, feel free to substitute “that gal”). You know who I’m talking about - “that guy” who approaches you with a question and has his headlamp shining right into your eyes, “that guy” who fishes a 2000 lumen flashlight from his bag and lights up the entire county in order to change a setting on his camera, “that guy” who has read an astronomy magazine article about how red light preserves night vision, so now all of your images have his red light bleeding into all of your images (see this article on the Night Photography Workshop blog about the evil of red lights). “That guy” never gets invited to go shooting with others again. So don’t be “that guy”. I have two of these small, inexpensive key chain lights attached to a lanyard that goes around my neck as soon as I start setting up my gear for the night. One is wrapped with gaffers tape to dim the light to a small, focused beam. It is perfect for adjusting settings or looking at degree markings on a panoramic head. Just bright enough to read markings, but dim enough that it does not bother other photographers around you. The second, unwrapped and brighter LED key chain light, is great for looking through your camera bag or checking your surroundings, again, without bothering others. It is amazing how little light you really need to accomplish your night photography tasks, once you become familiar with handling and adjusting your equipment in the dark. These little lights are so cheap that I buy them in bulk, and pass them around freely whenever I am shooting at night with others. It saves a lot of hard feelings, as well as images. Hopefully, I will have prevented someone from inadvertently becoming “that guy”.

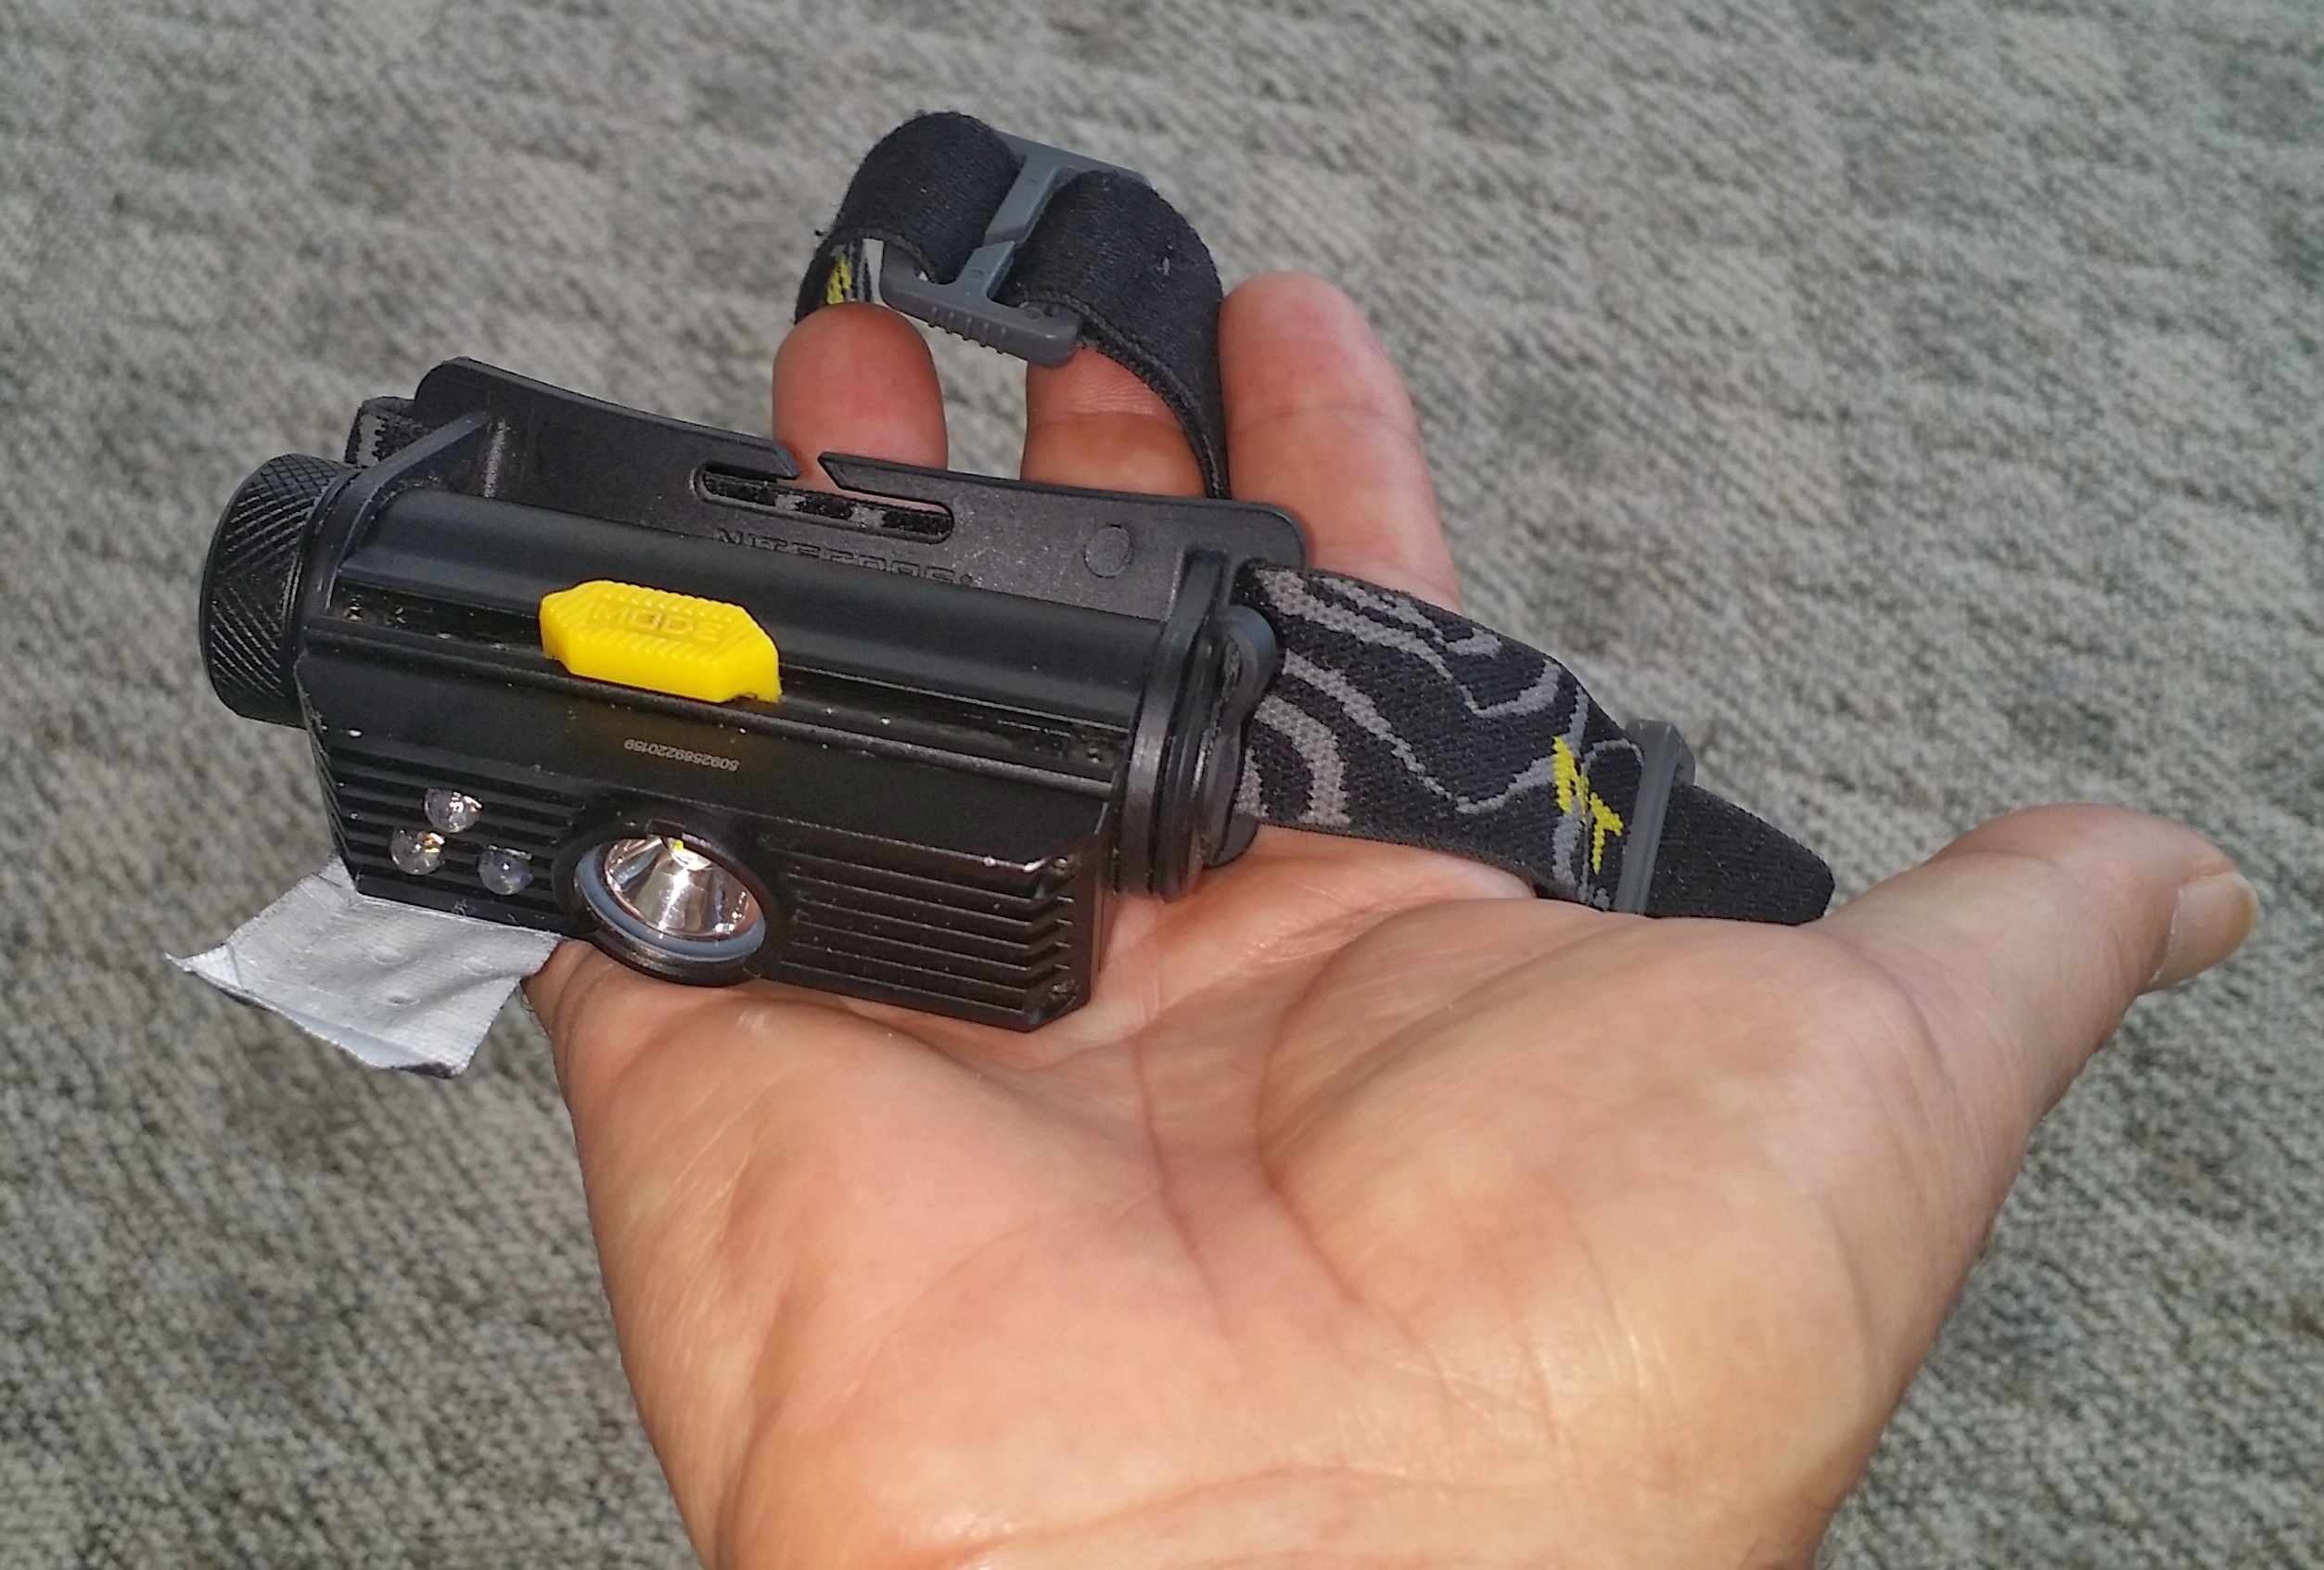
LED Head Lamp

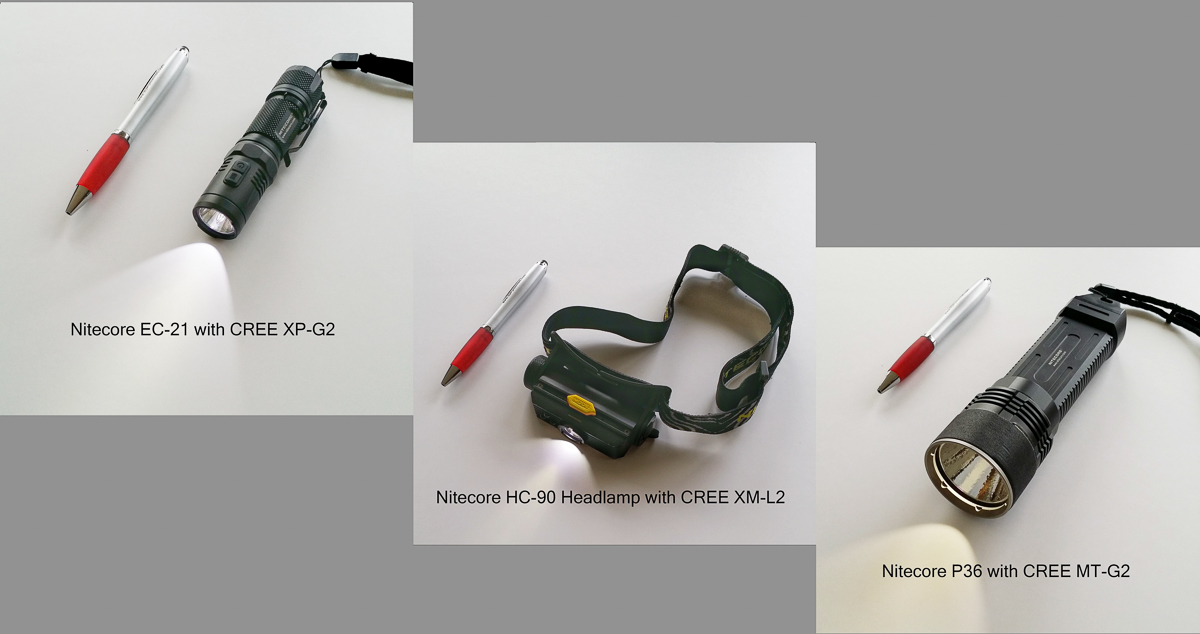
The next light that I always have with me on a night shoot is my headlamp. When I am shooting by myself I use my headlamp freely, however when shooting along with others, I rarely use my headlamp outside of hiking from my vehicle to the shooting locale and back. I use the Nitecore HC90 headlamp shown above. This headlamp has many important features that I have grown accustomed to. It has a maximum brightness of 900 lumens, which can be very handy when negotiating trails at night, or other times when you absolutely must have a bright light at hand. But what I like the most about this headlamp is that it can be turned on to its least powerful setting, .2 lumens (that’s right, POINT 2 lumens) instantly and conveniently, so you can use this headlamp in a responsible manner, and not blind your shooting partners. The headlamp is rugged and heavily built, and operates with a single 18650 lithium battery. It is rechargeable either by removing the battery and placing it in a separate charger, or by plugging it directly into a USB charging source. In addition to the variable intensity white light, this headlamp includes red, blue, and green LEDs, which are activated by the sliding switch. I rarely have reason to use the RGB LEDs, so I generally cover the LED’s with gaffers tape so I don’t accidentally turn them on (and become “that guy”).

High Intensity White Lights For Light Painting


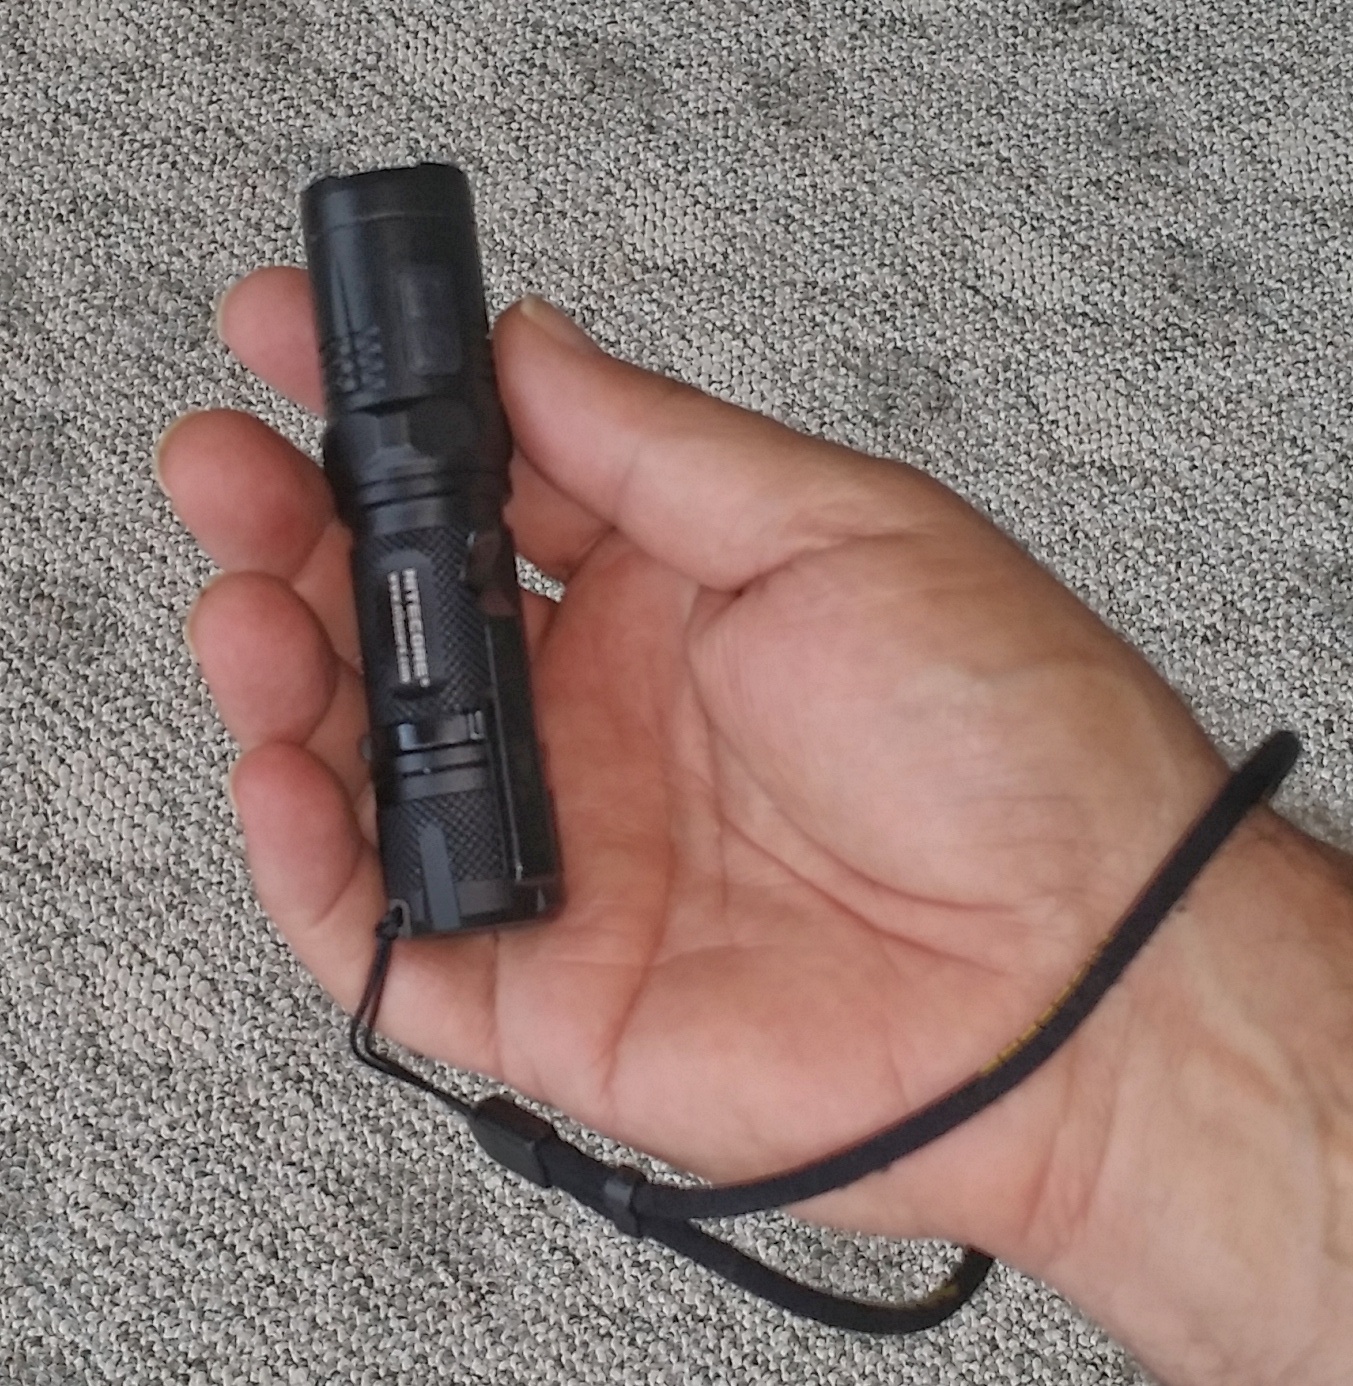
Small 460 Lumen All Purpose LED Flashlight

There are times when a key chain light or a headlamp will not provide the light you need for light painting a scene. For this you need other tools (although a headlamp can sometimes be used in a pinch). My smallest, least powerful hand-held flashlight is the Nitecore EC21 shown above. It has a maximum brightness of 460 lumens, but still dims to 1 lumen, and has a built-in red LED. It is powered by a single 18650 lithium battery. When the power is locked off, the flashlight indicates the remaining battery capacity. It is simple to turn the light on and off, but there is no momentary on, just a toggle for on/off. For some light painters, this is an issue. I have other flashlights with momentary on when I need that feature, so it is not important for me that this particular flashlight lacks this ability.

Mid-size 2000 Lumen Bright LED Flashlight

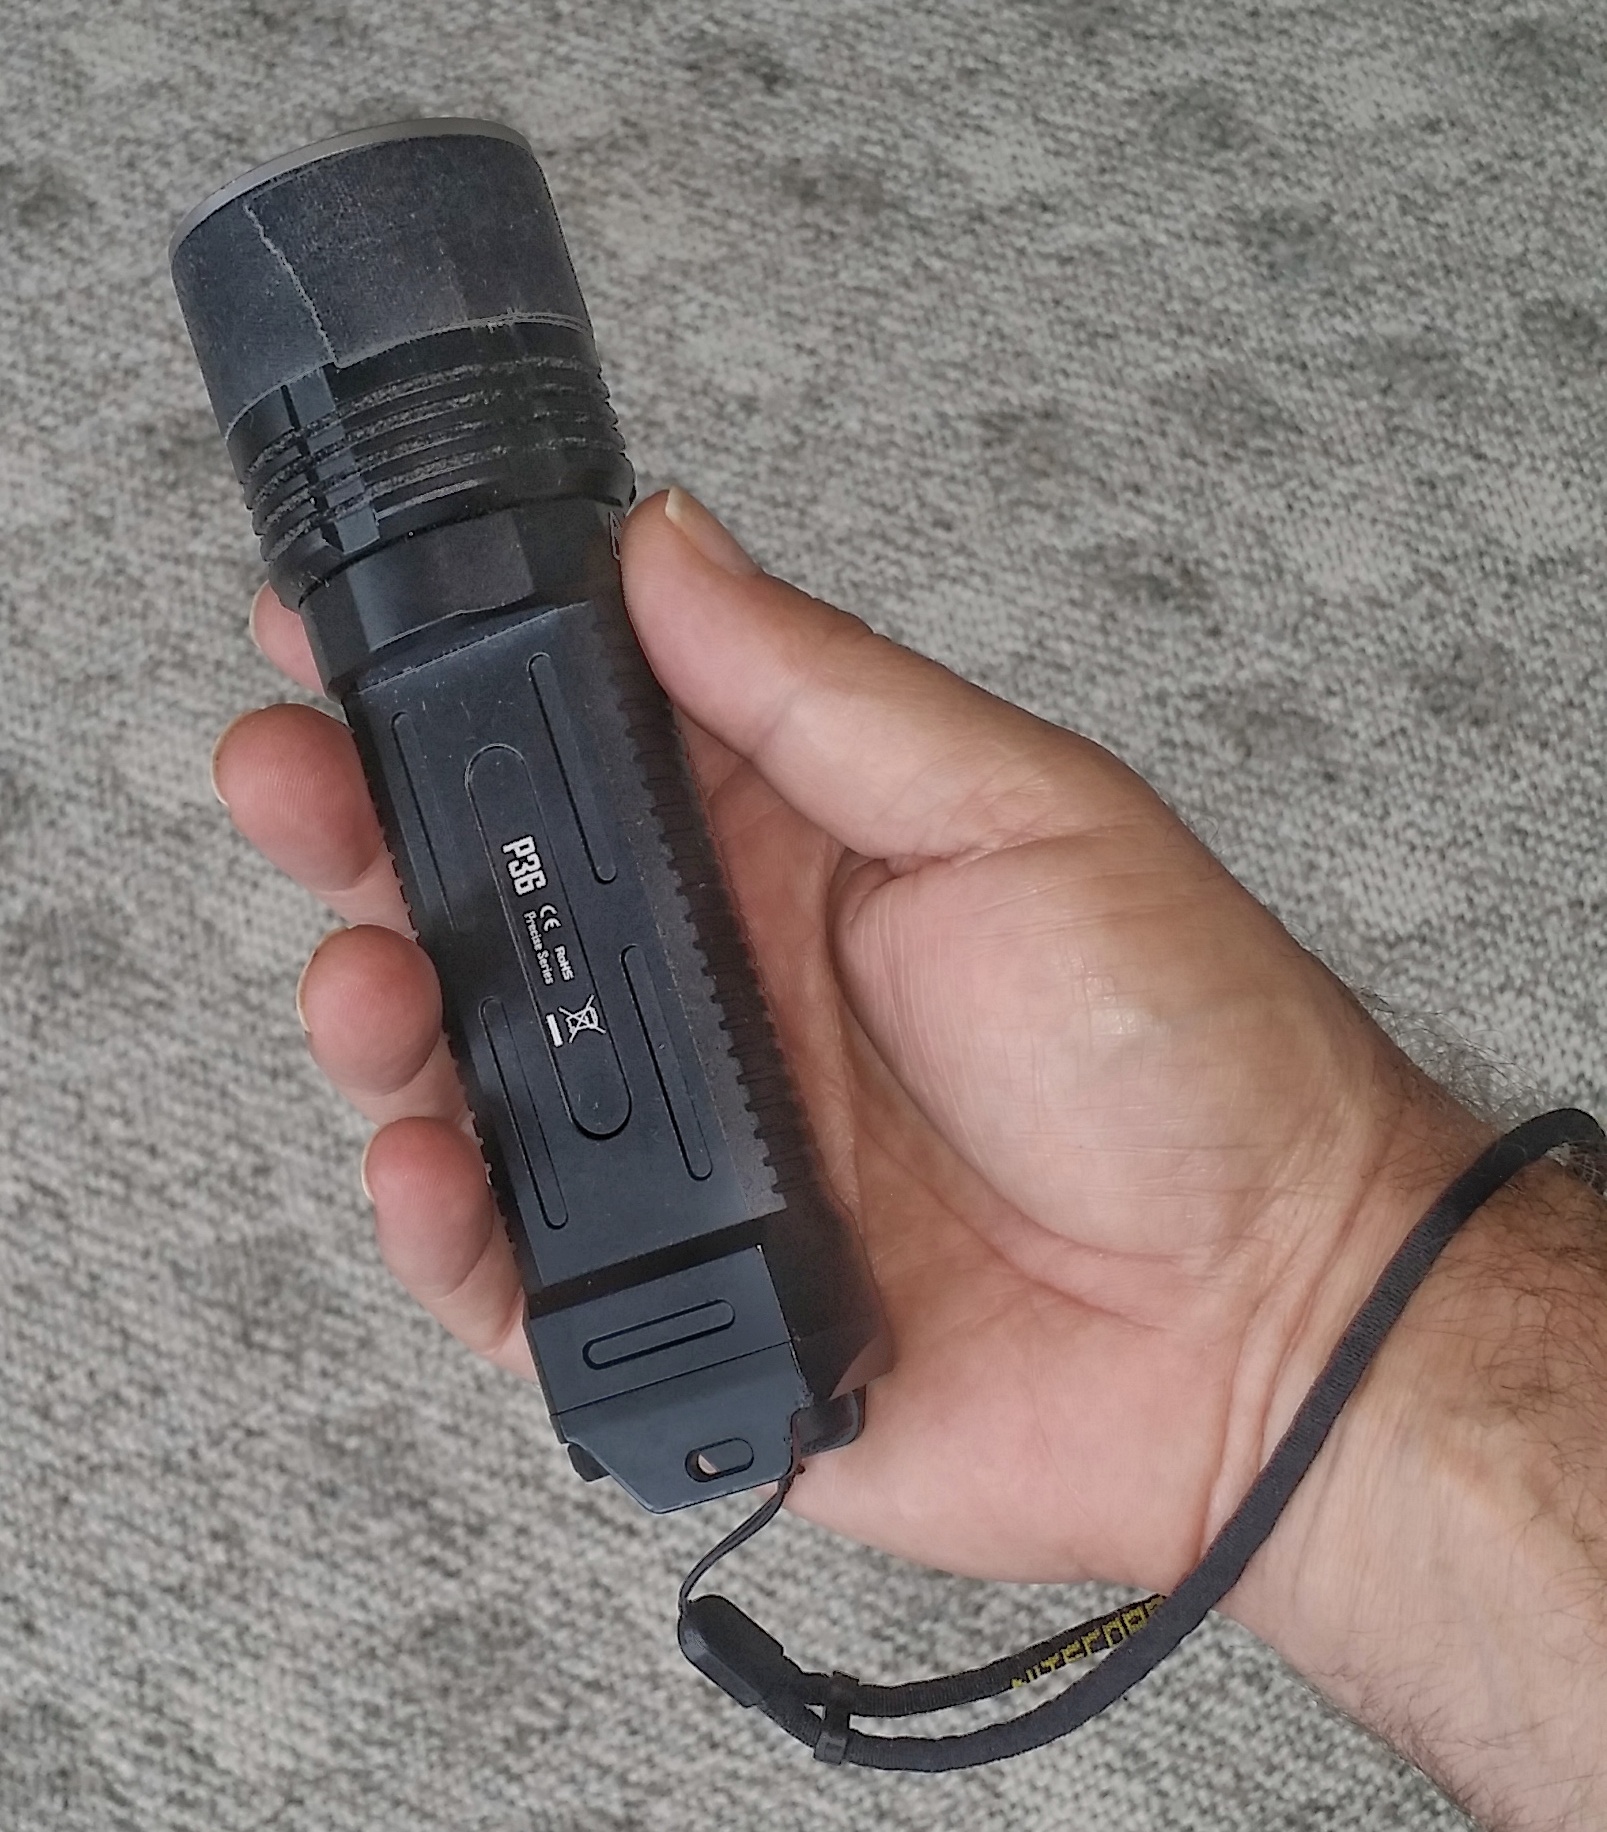
Next up is a hand-held flashlight that I love for various reasons. Pictured above is the Nitecore P36, a workhorse that is a tool I reach for often. It has a maximum brightness of a blinding 2000 lumens, very useful when you are deep in the woods some night and you are sure you just heard Bigfoot rustling in the nearby trees! And yet, with amazing speed and simplicity, it dims down to 2 lumens, with a total of 10 steps of adjustment. It is equipped with a dual on-off switch. It will toggle on and off, or function as a momentary on button. It is a simple and intuitive design. Because of the high power this light is capable of producing, it is important to pair it with sufficient energy. This flashlight is powered by 2 x 18650 lithium batteries, to provide ample power for many nights of photography without having to recharge.

P36 LED Flashlight With Snoot

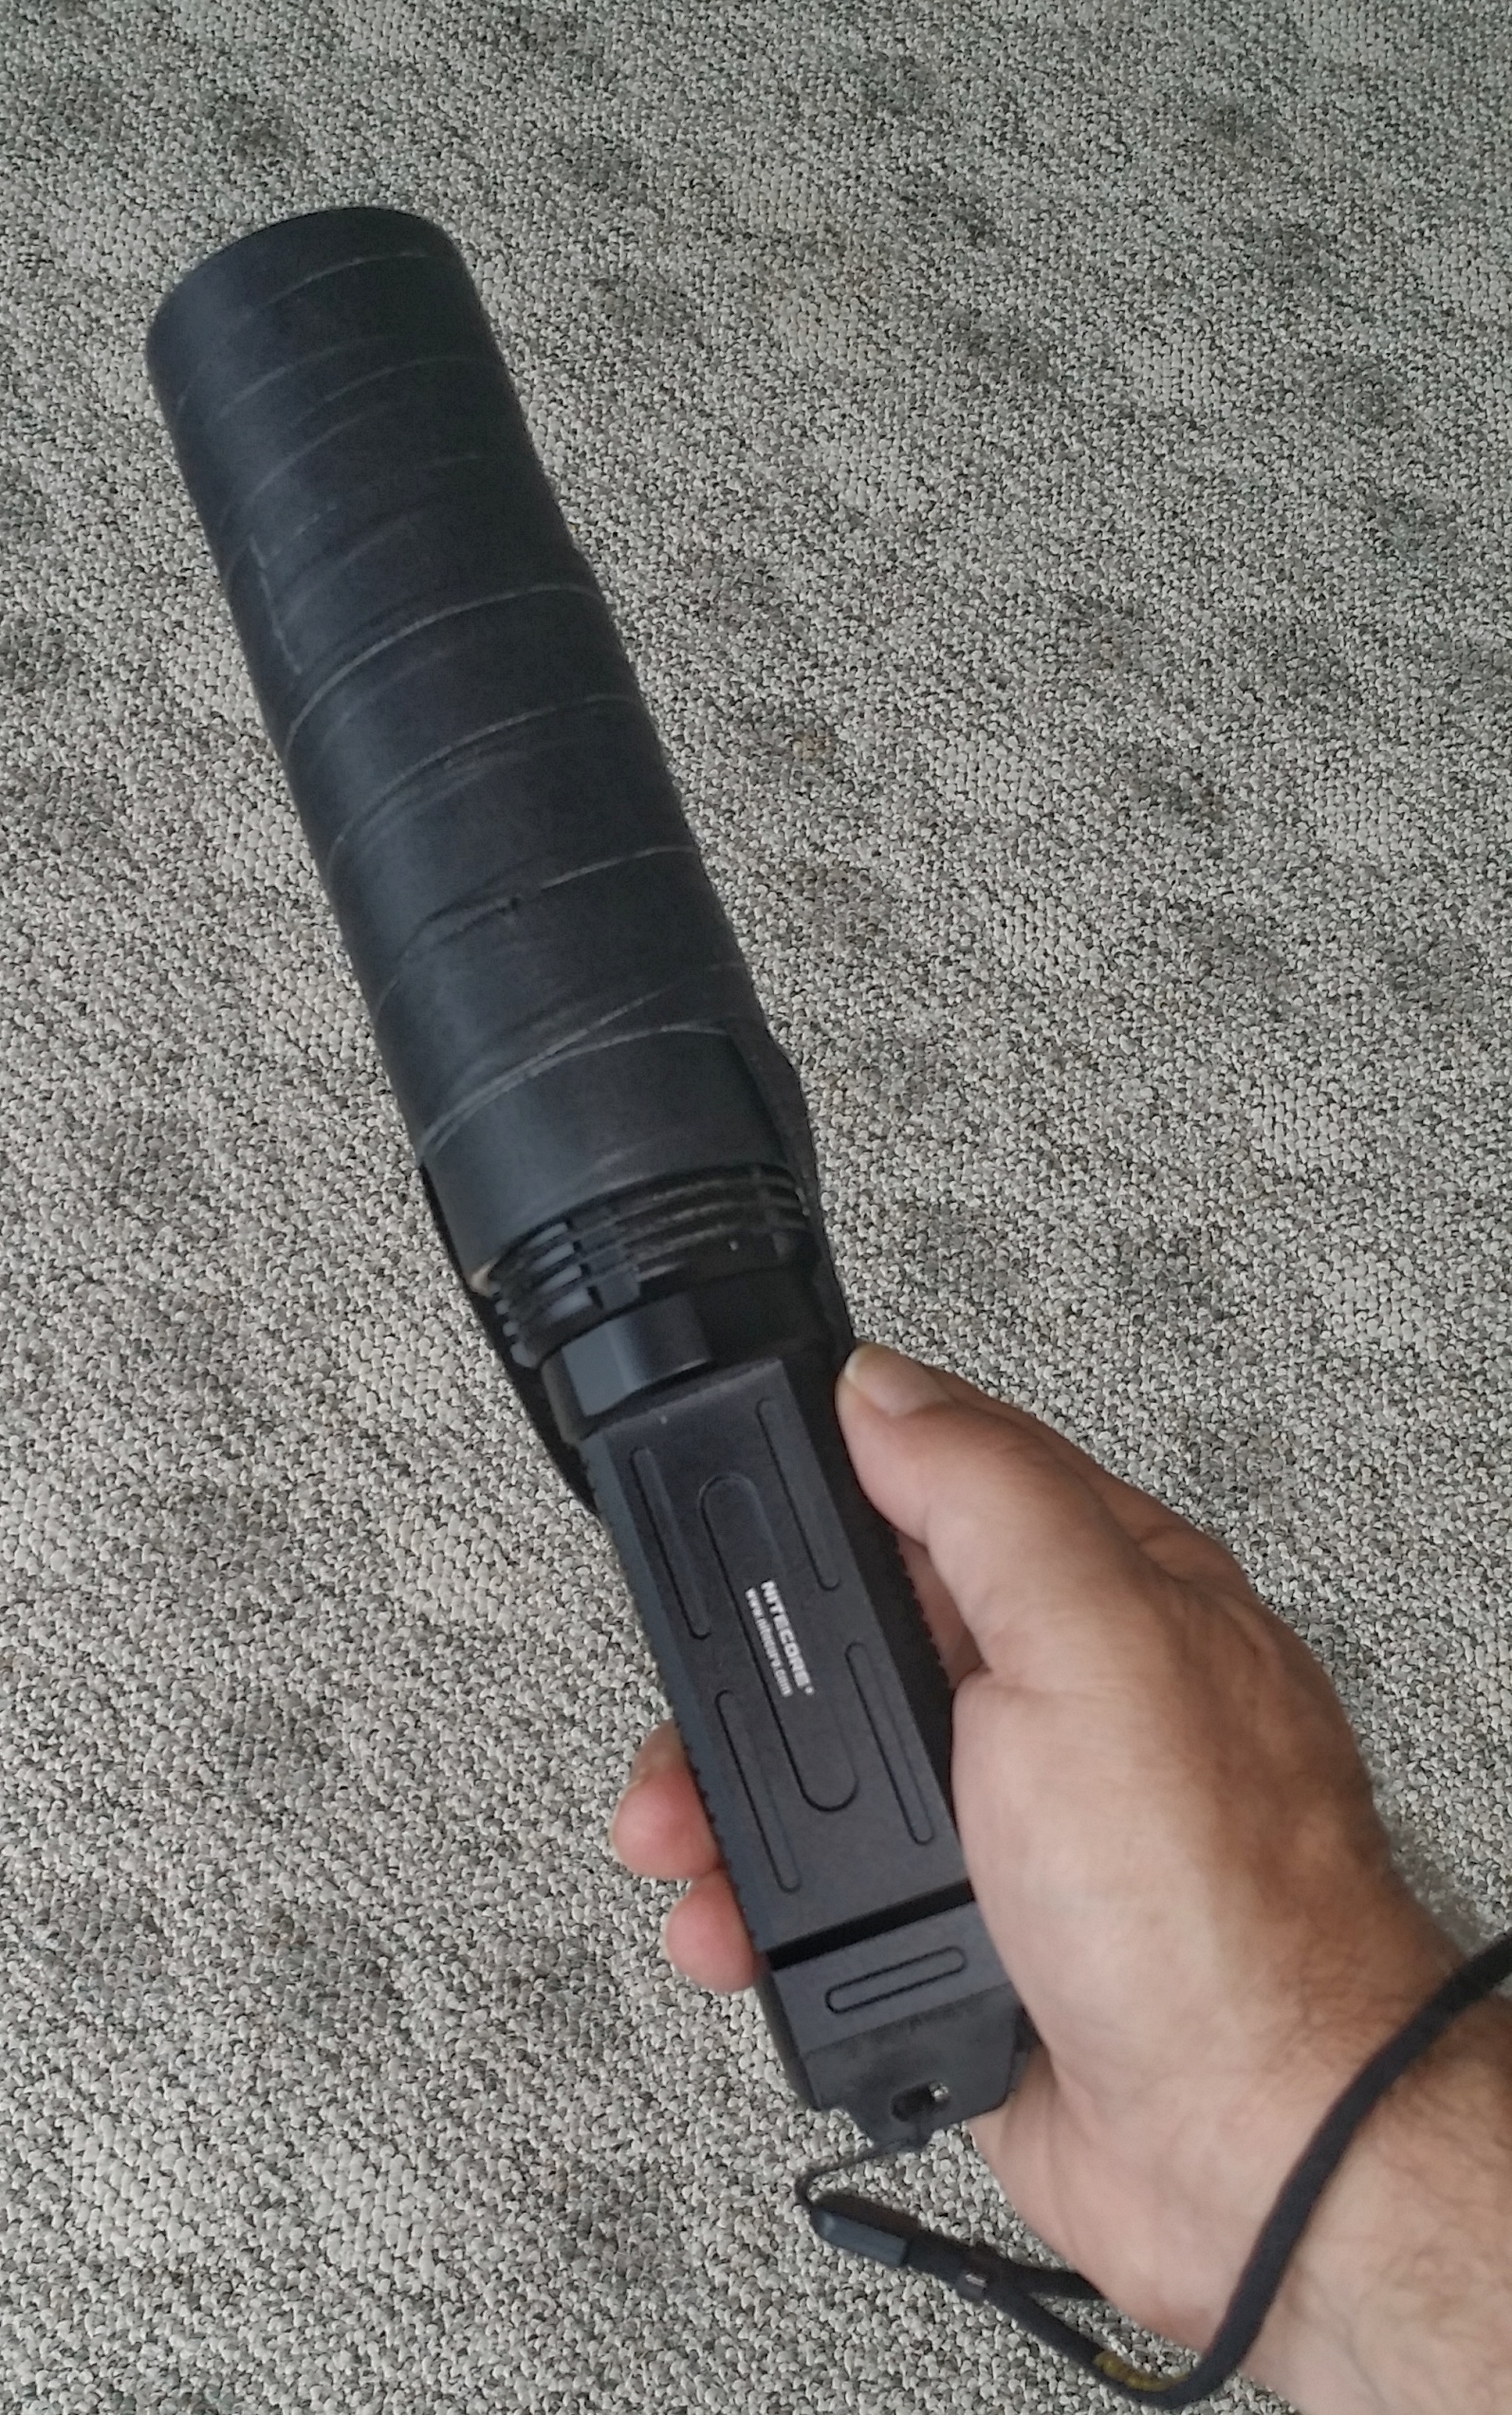
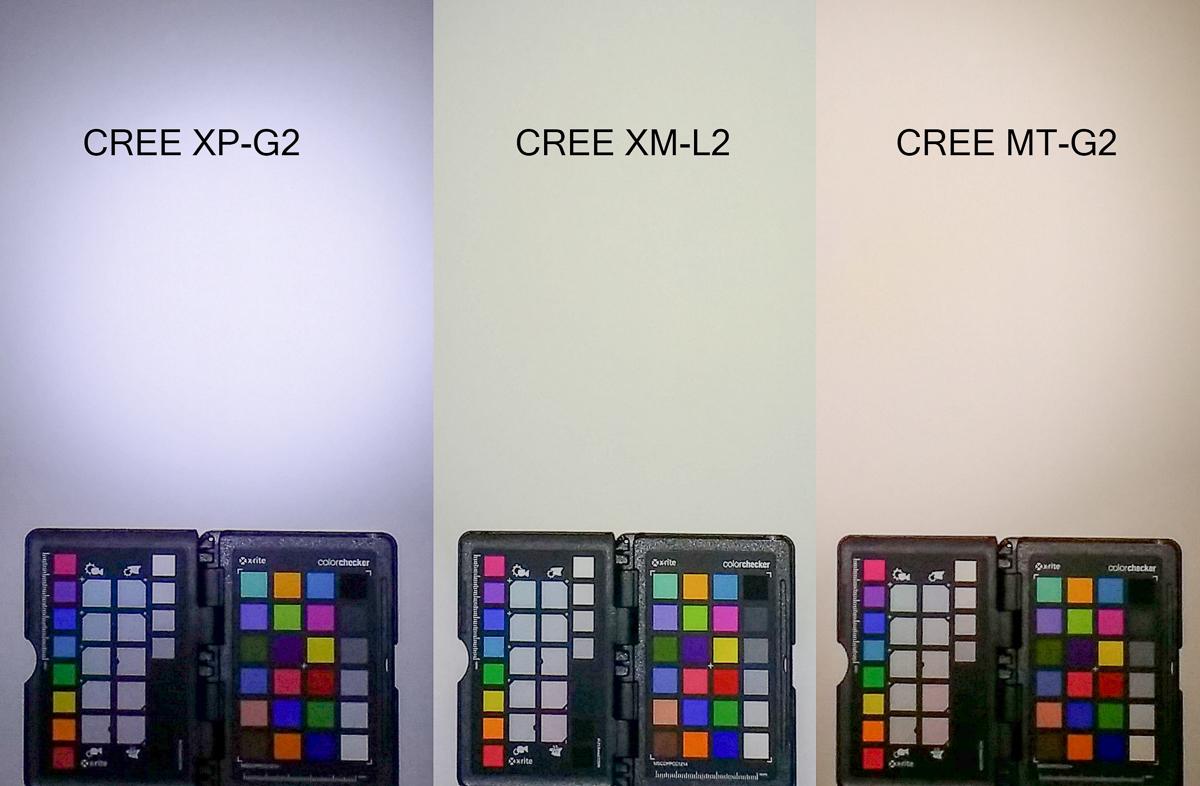
This is the same Nitecore P36, but fitted with a home-fashioned snoot. A snoot is useful to narrow the beam of a light source. I have made snoots of various lengths for each of my lights. and choose which to use based on the needs of each different scene. It is useful to bring up the issue of color temperature at this point. The three Nitecore lights I have shown you are each equipped with a different type of LED bulb, ranging from very cool to very warm. The image above clearly illustrates the color temperature difference between the various CREE LED bulbs. Notice that the Nitecore P36 flashlight, equipped with the warm CREE MT-G2 is my workhorse light for lightpainting. This is one reason why. For more on this topic, see my post entitled “All LED Bulbs Are NOT Created Equal”. Here are some examples of images made using light painting techniques with these Nitecore lights:

High Contrast Texture Added To Foreground

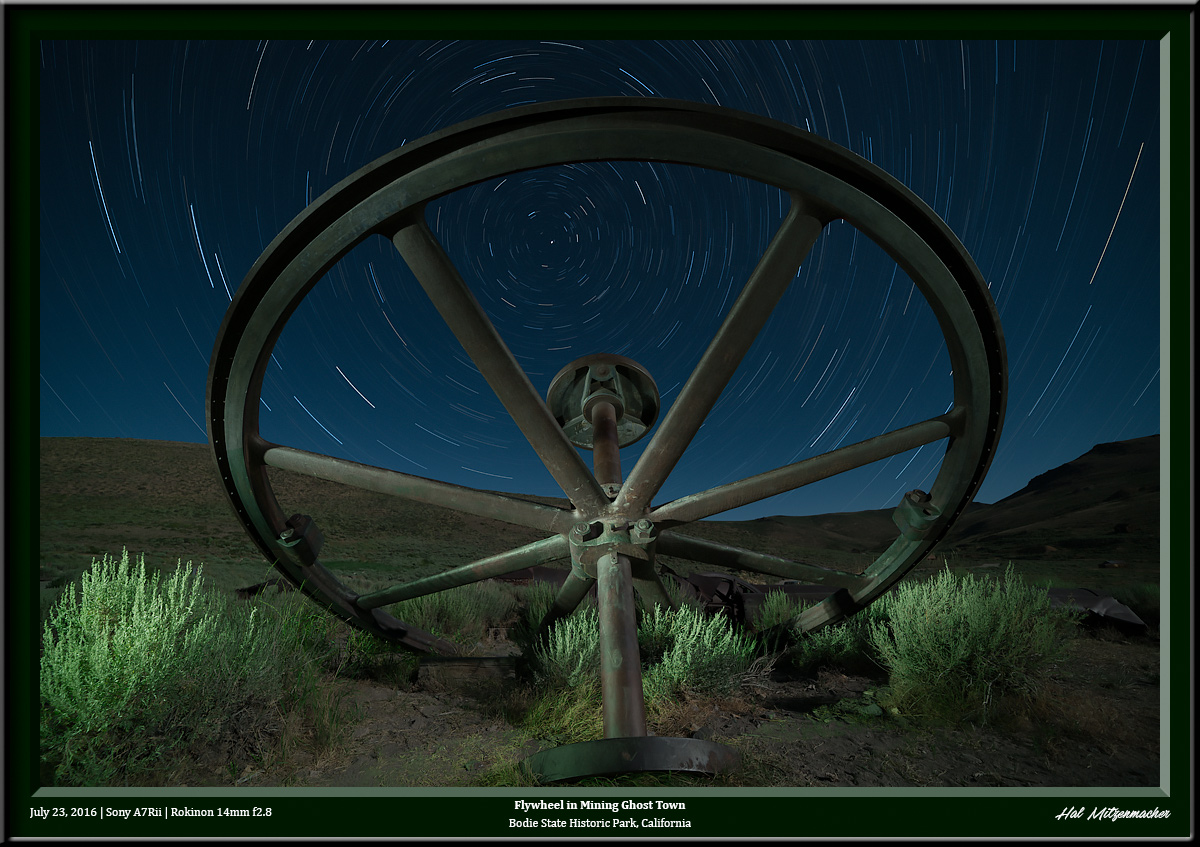
Here the exposure was set to capture star circles with the full moon illuminating the terrain, balanced with the P36 set to low brightness to illuminate the wheel, then quickly set to high brightness to provide high contrast lighting to the sagebrush. So there are actually three light sources here – the moon, the P36 at low intensity, and the P36 at high intensity. All in a single exposure.

High Contrast Texture Added To Foreground

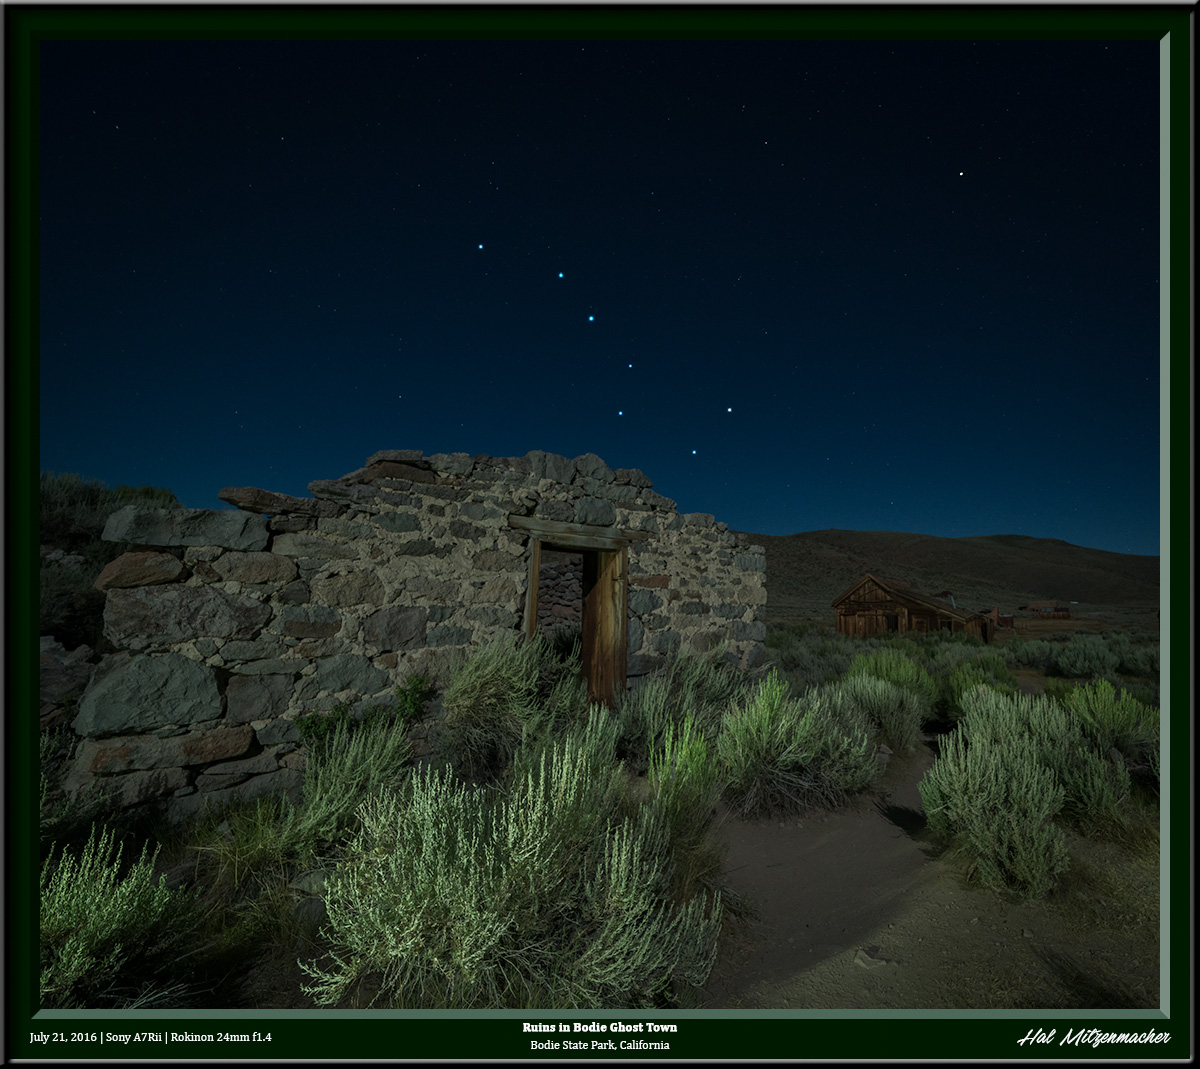
The Nitecore P36 was used in this image in a similar way. This is a single exposure, with the P36 used at first in its lowest setting to paint the stone wall, and then quickly switched to high brightness to accentuate the sagebrush. The length of the exposure was limited by the desire to create pinpoint stars.

High Intensity Colored LED Flashlight For Light Painting

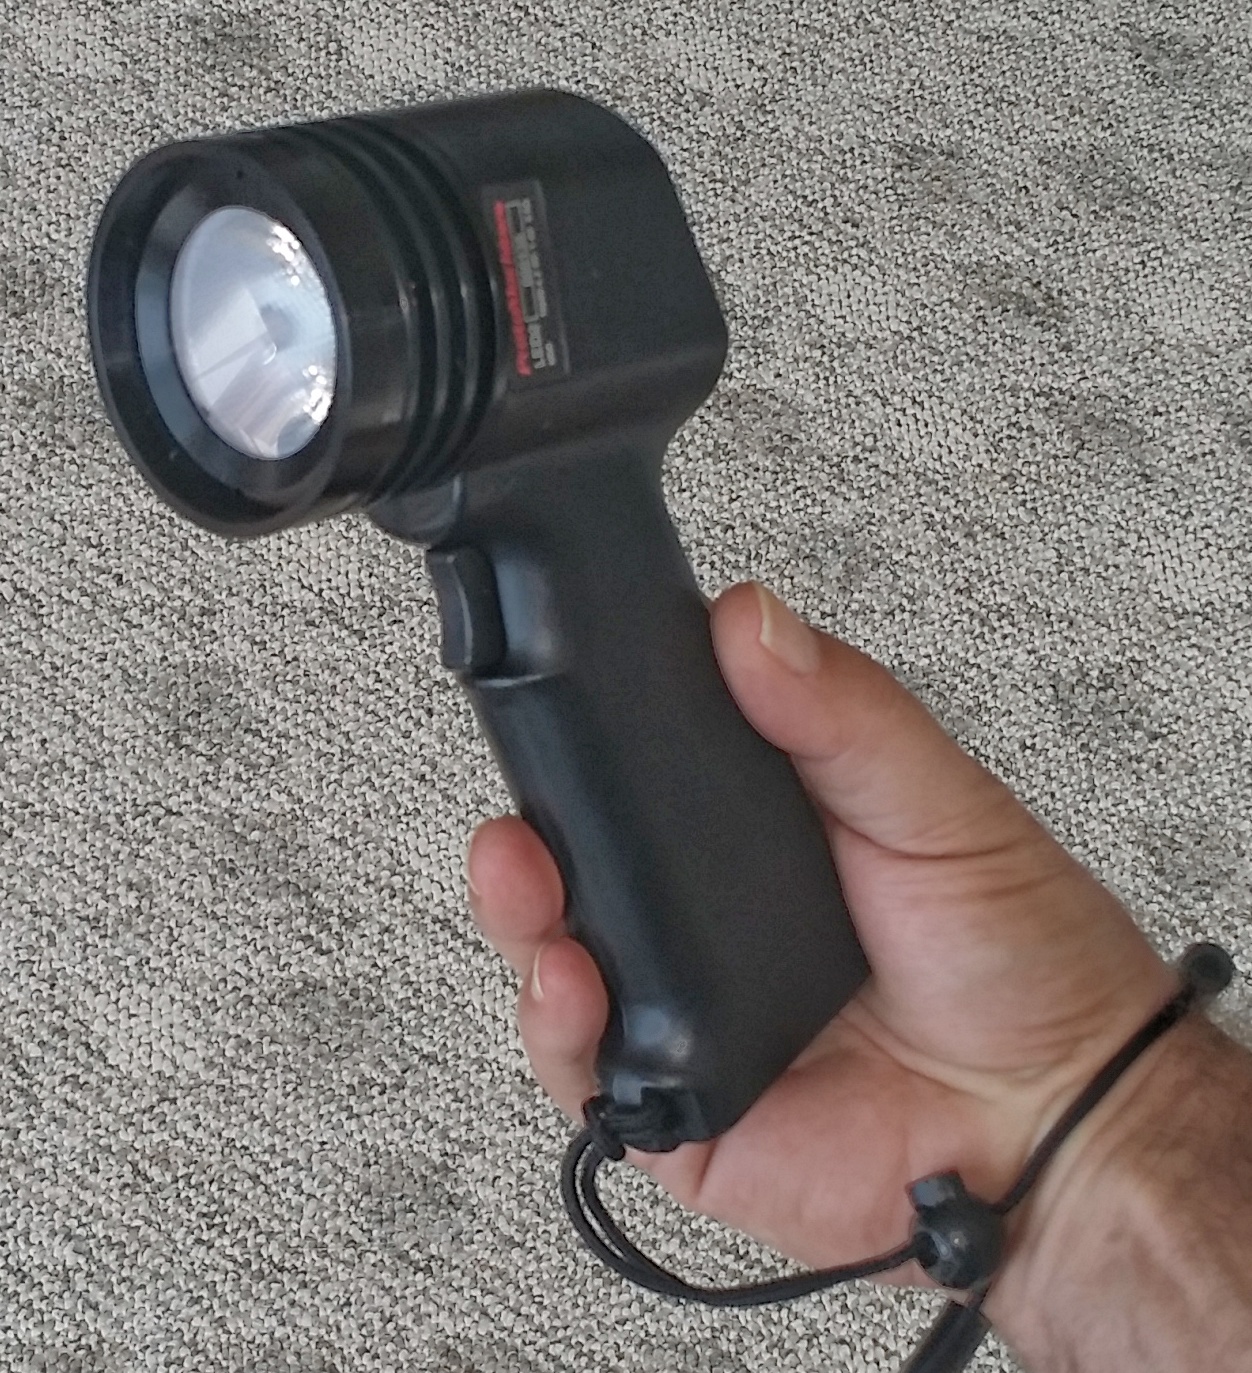
ProtoMachine LED2

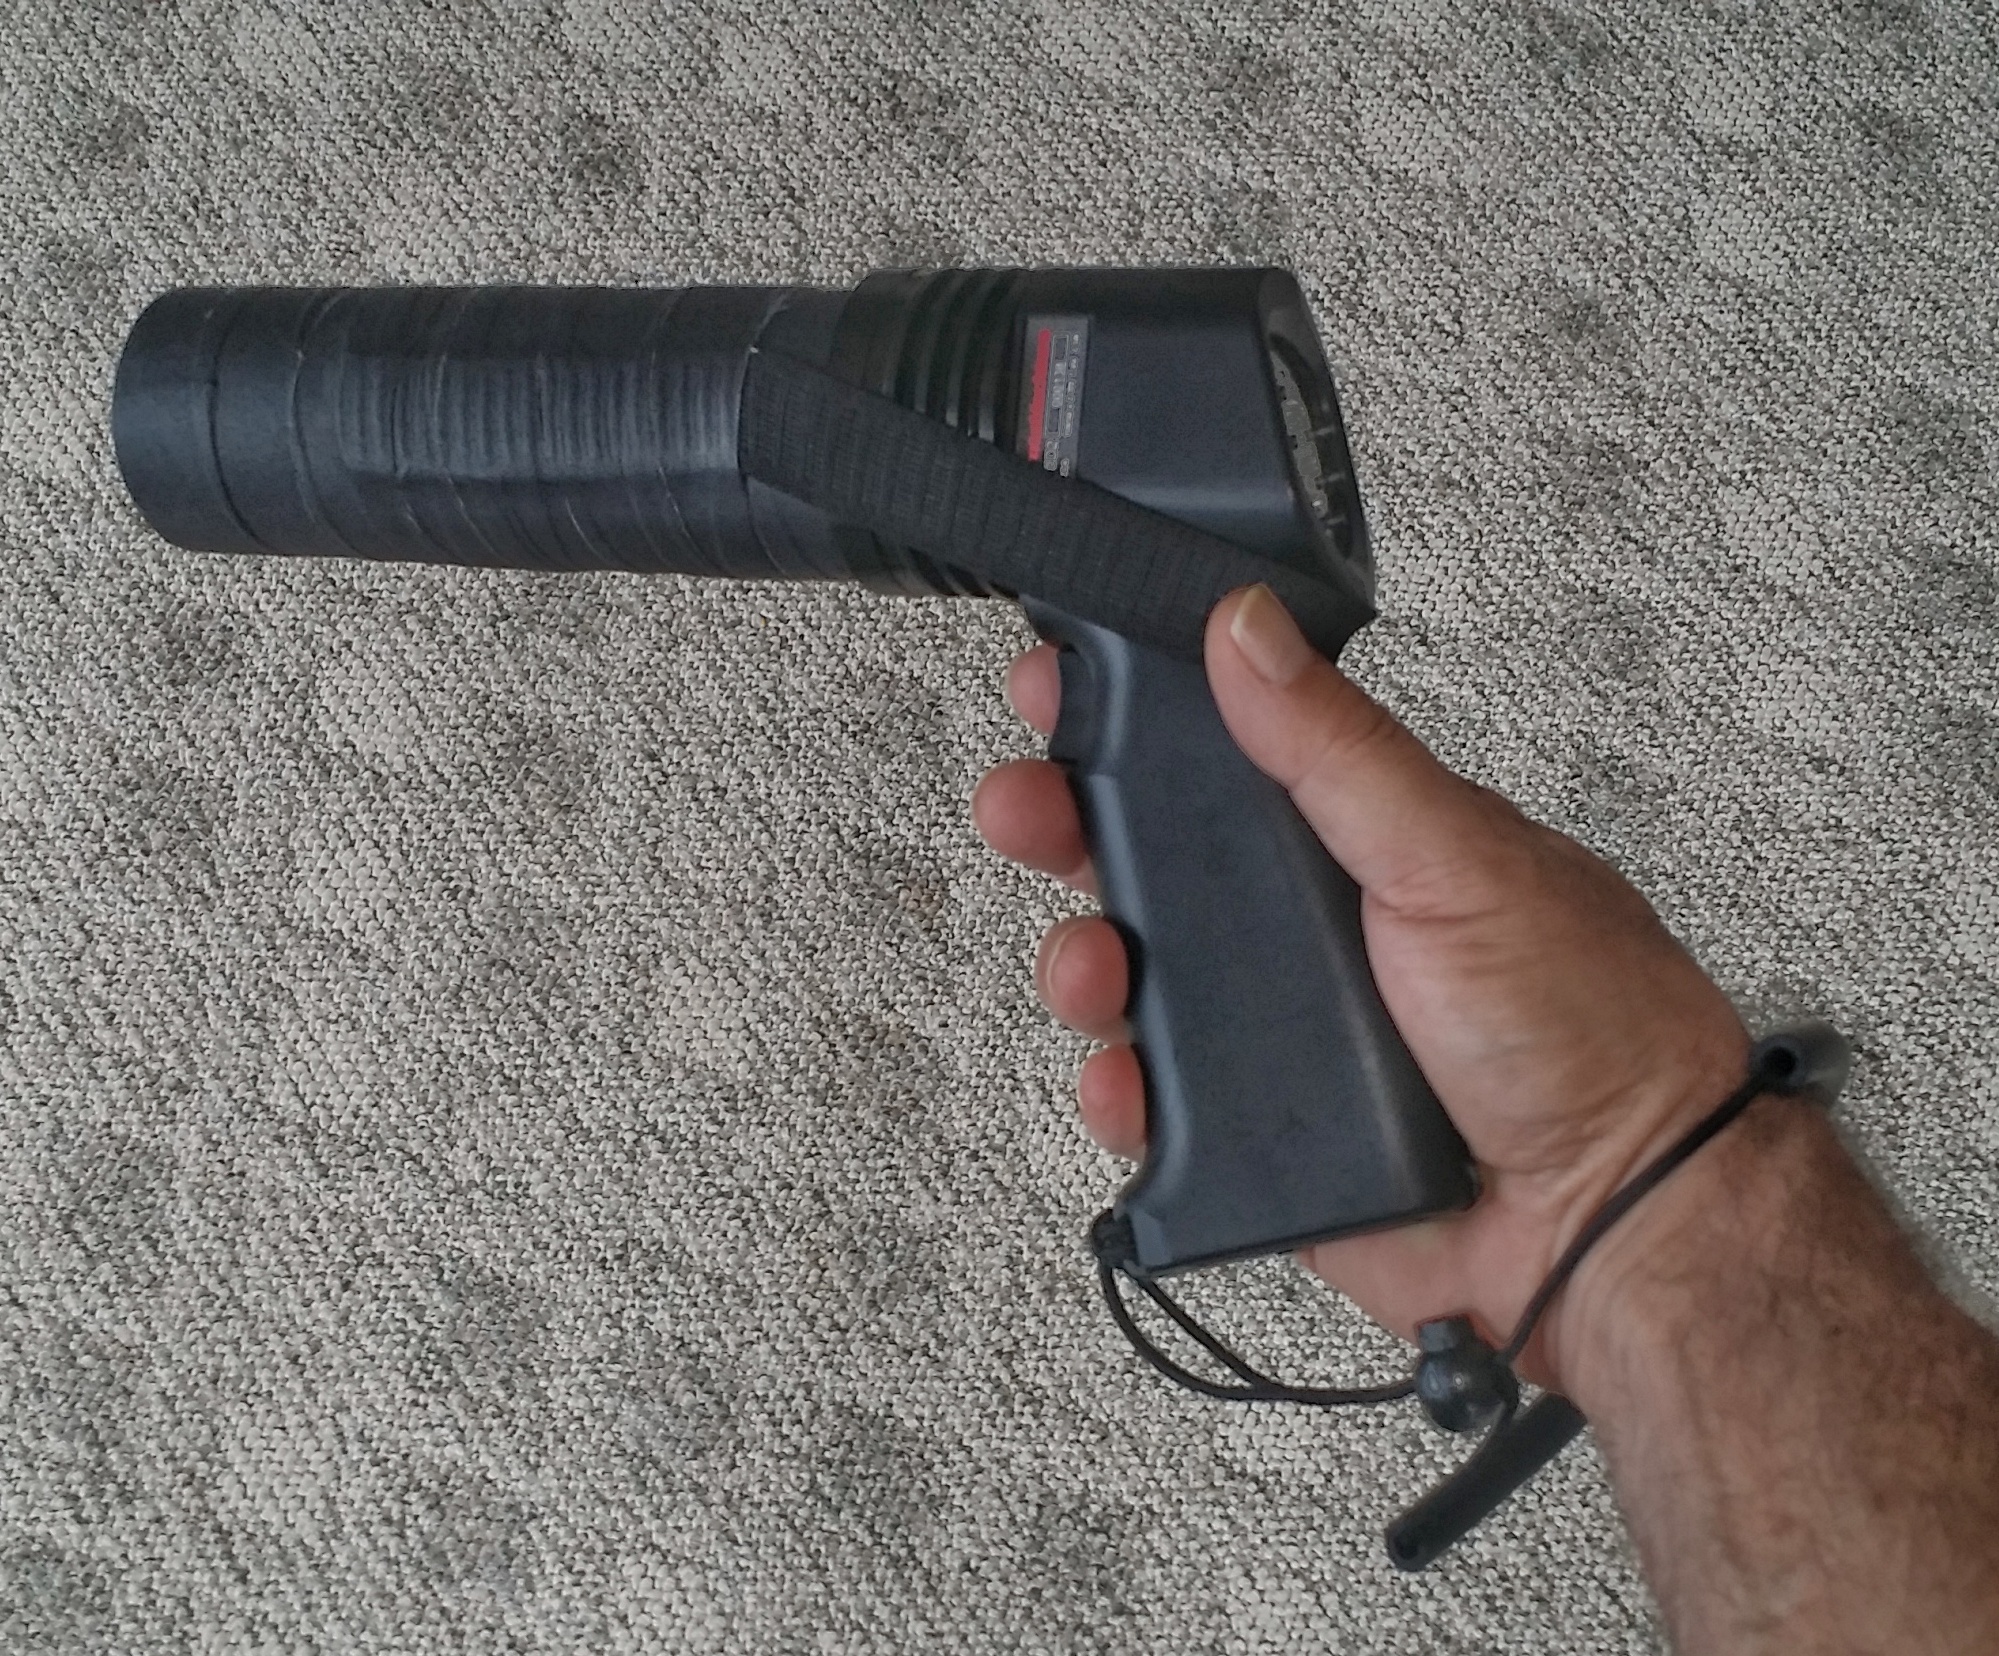
This is the ProtoMachine LED2. It is a tool developed specifically for the purpose of light painting. It is being marketed in its current configuration as the ProtoMachine LED8, similar in most functionality, but with a few updated controls. This light can be set to produce the entire HSL light wheel, and allows for eight user customizable presets, so you can quickly recall pre-selected colors at will.

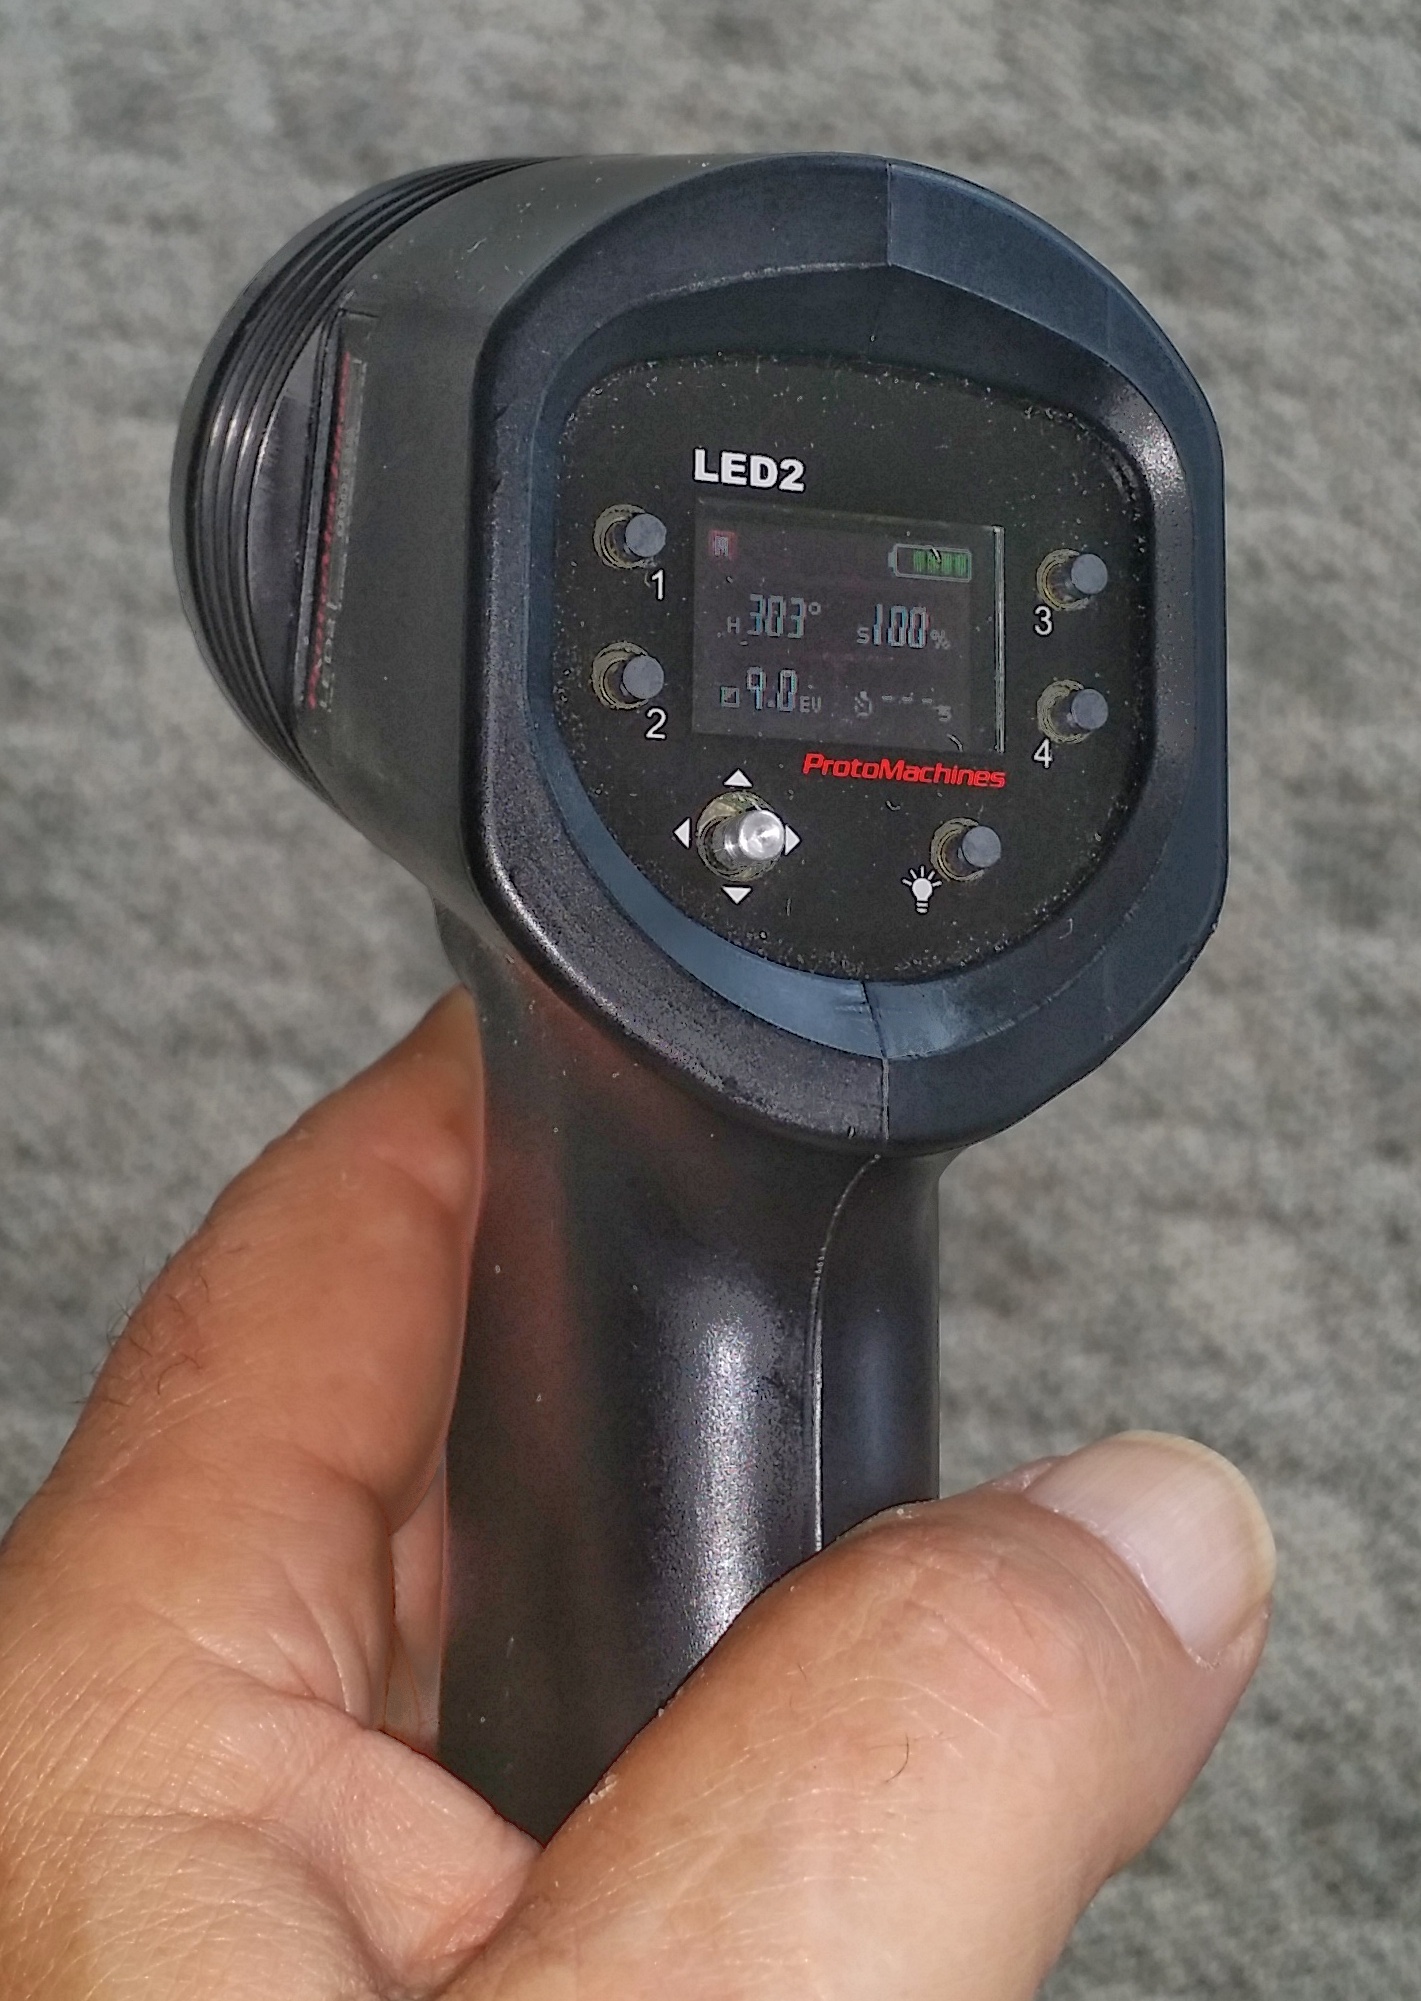
ProtoMachine LED2 Control Panel

The control panel on the back of the ProtoMachine LED2 light, showing the buttons and joystick used to set the desired lighting.

ProtoMachine LED2 With Snoot

The ProtoMachine LED2 fitted with one of my home brewed snoots. I have created snoots of various lengths for all of my lights, and use the length necessary for the task at hand with each shoot. Here are some examples using the ProtoMachine LED2 to add color to an image:

Lake Painted Blue with ProtoMachine LED2

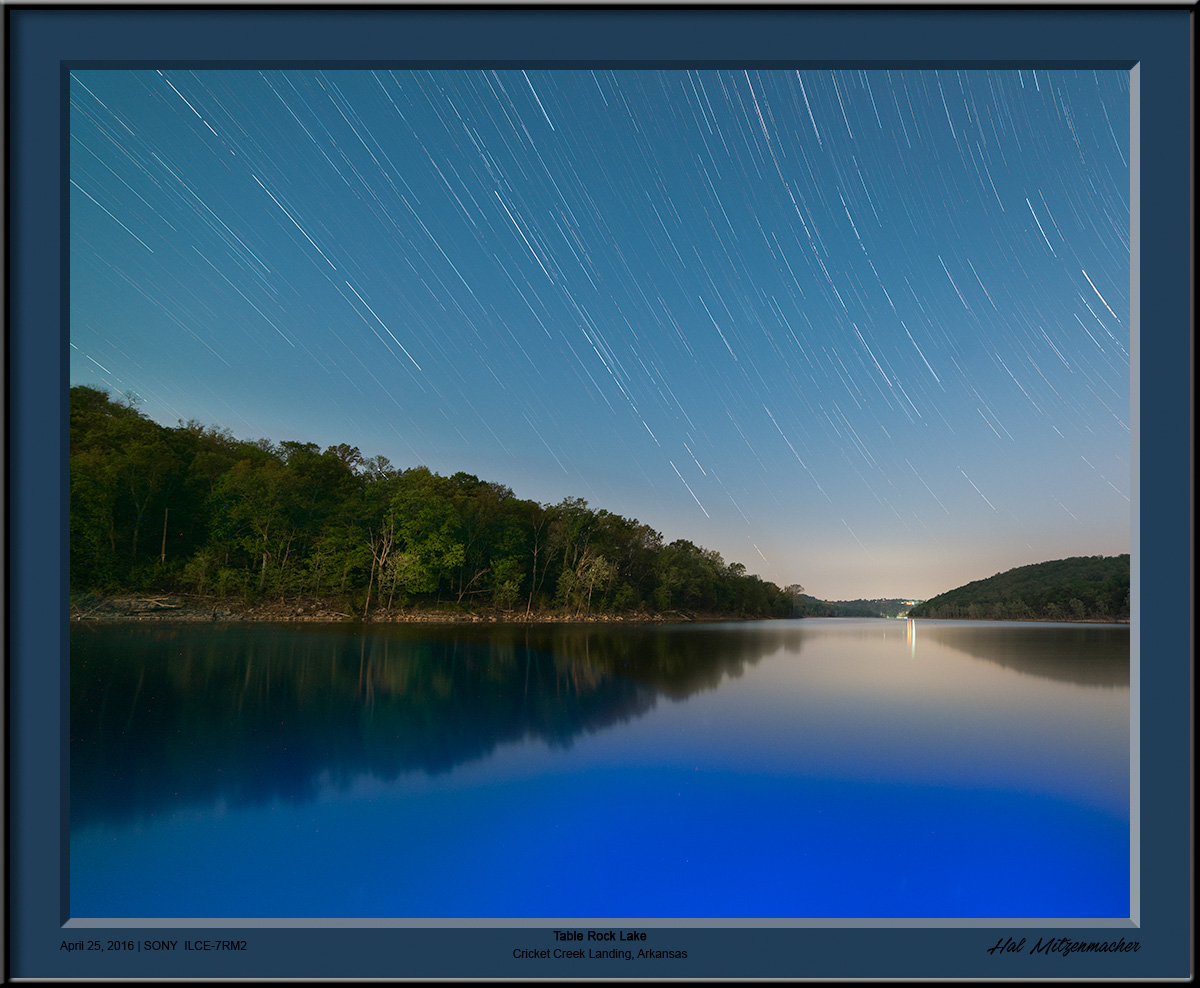
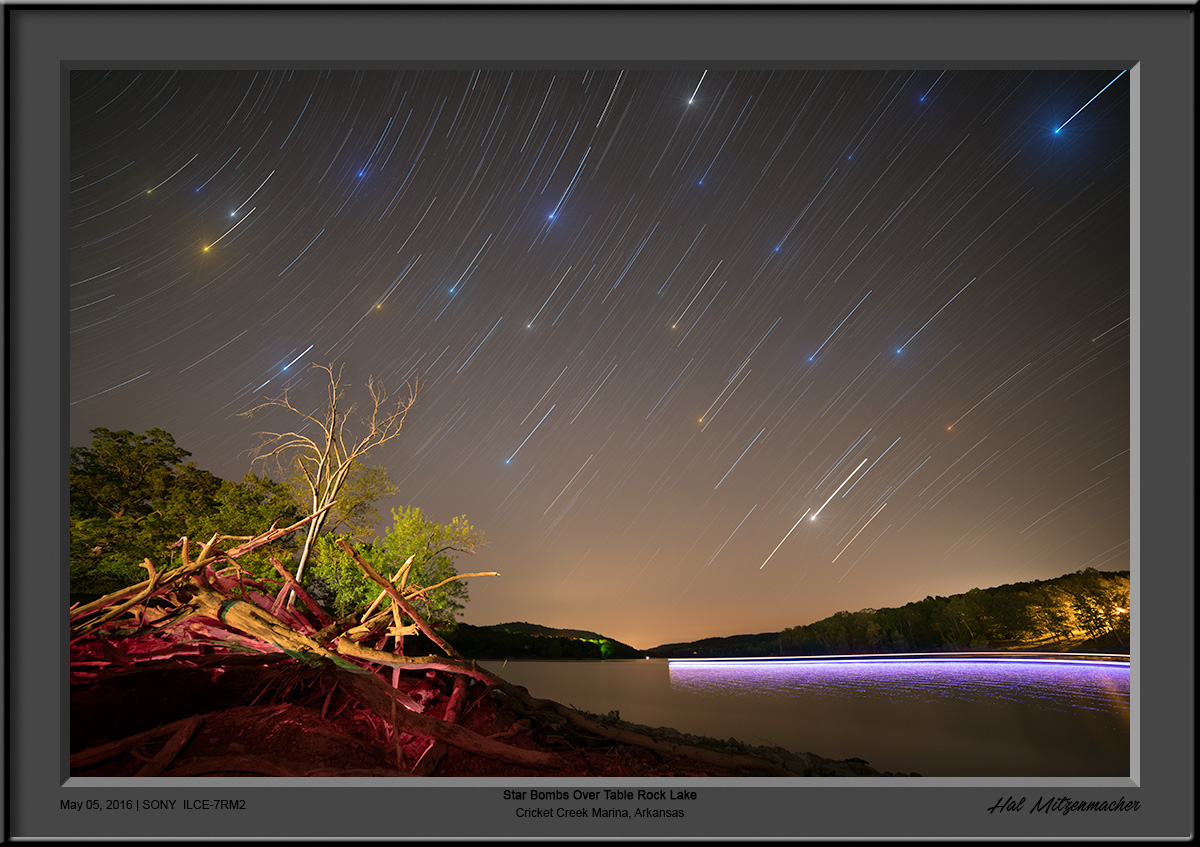
I was quite surprised to see that the color of Table Rock Lake turned a brilliant shade of blue by illuminating the water with the ProtoMachine LED2 set to a nice shade of blue for about 2 minutes.

Big Bridge Over Cricket Creek

This is a good example to show the distance the ProtoMachine LED2 will throw a beam of light. The underside of these Highway 65 bridge spans were painted with the LED2 set to about 70% output

Painting Color On A White Automobile

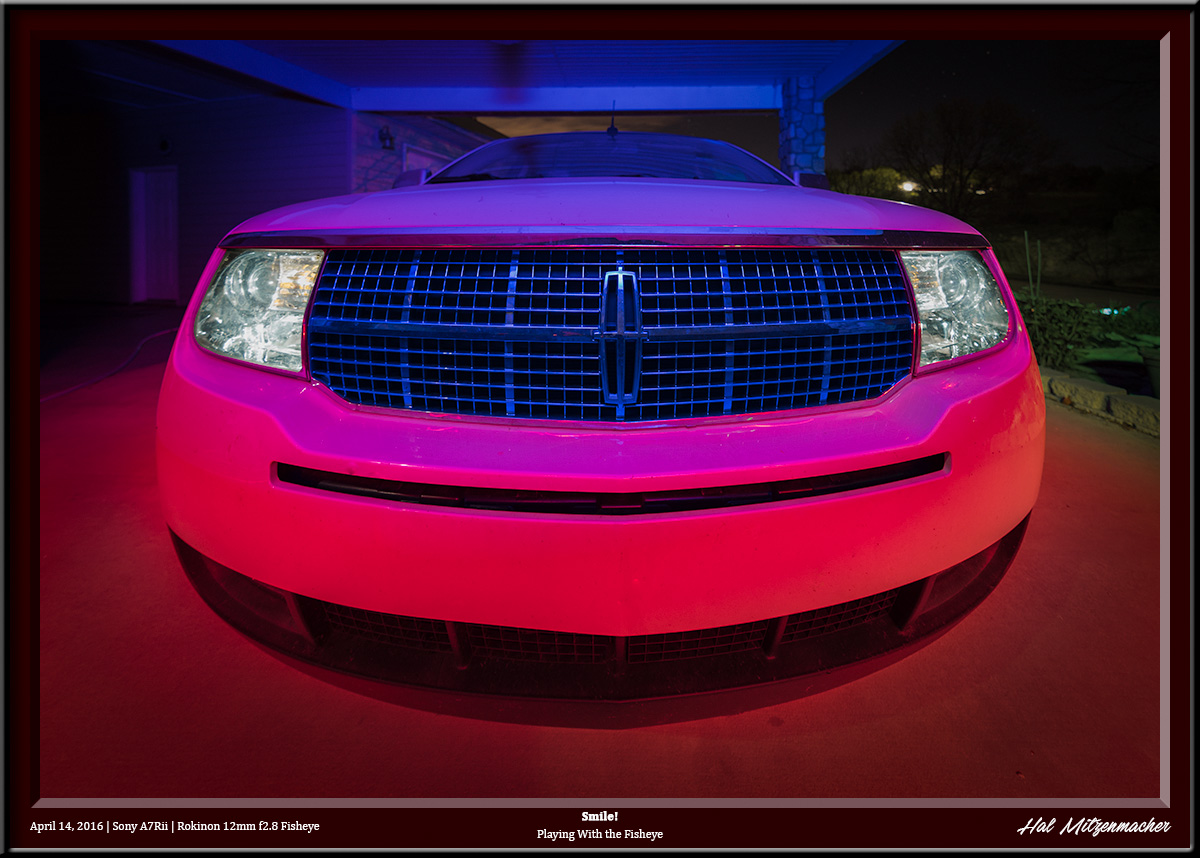
.An image showing the addition of color from painting a white SUV with various shades of reds and blues from the ProtoMachine LED2.

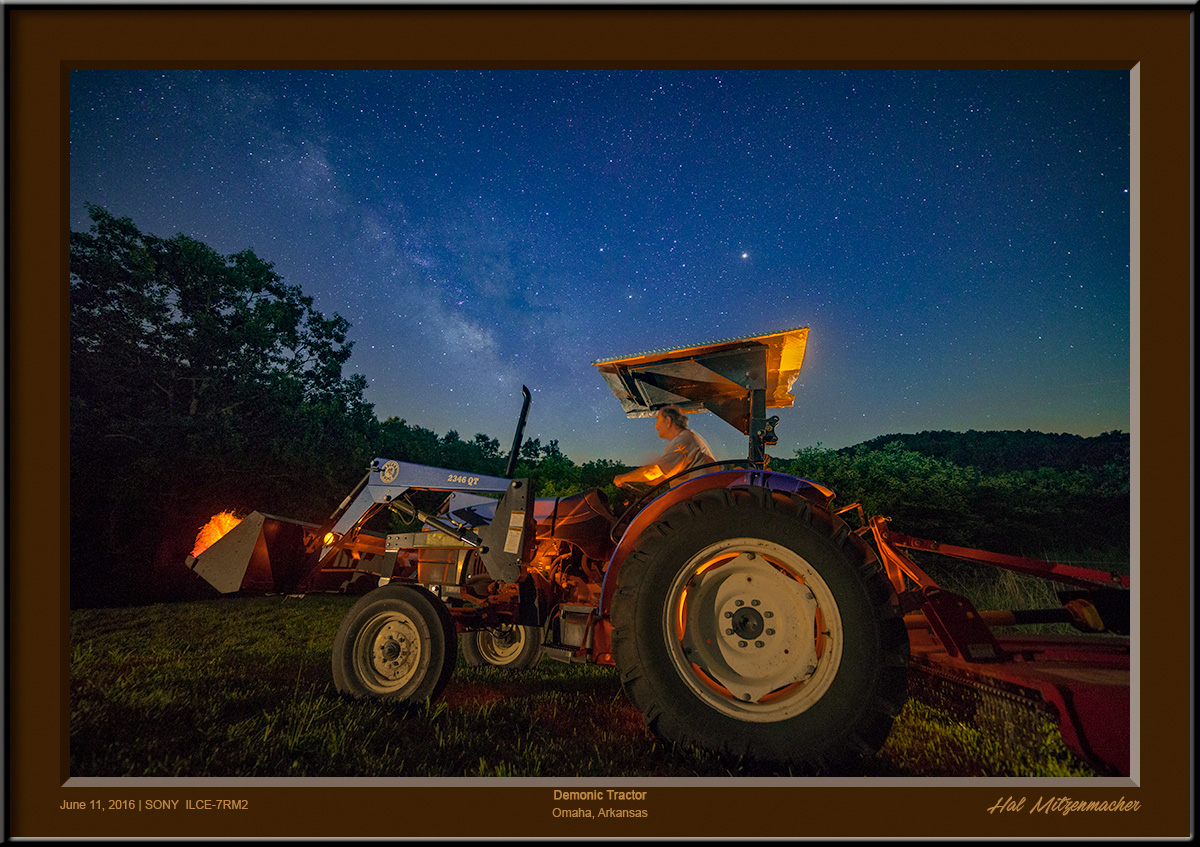
The Tractor From Hades

I wanted to achieve a “tractor from Hell” look to this image, so I used various shades of orange from the ProtoMachine LED2 to light paint the tractor.

Low Level Lighting


Low-Level Lighting (LLL), sometimes referred to as Low-Level Landscape Lighting (LLLL) is a method of lighting the foreground elements of an image through the use of a very dim light source kept on for the duration of the exposure. The light level is adjusted to the same intensity level as the stars or Milky Way, thus ensuring that an exposure that works for the sky will also work for the foreground. Once the lighting levels have been properly balanced, the low-level lights can remain on without further adjustment for the duration of the shoot. It makes simple work of ensuring consistent lighting in exposures for work requiring multiple captures to produce the final image. I should note that Low Level Lighting also includes moonlight! The moon is the most wonderful tool available to the night photographer. It is such an important aspect to night photography generally, and astro-landscape photography in particular, that I shall offer my thoughts in a separate post. For now, I’ll just talk about artificial light sources.

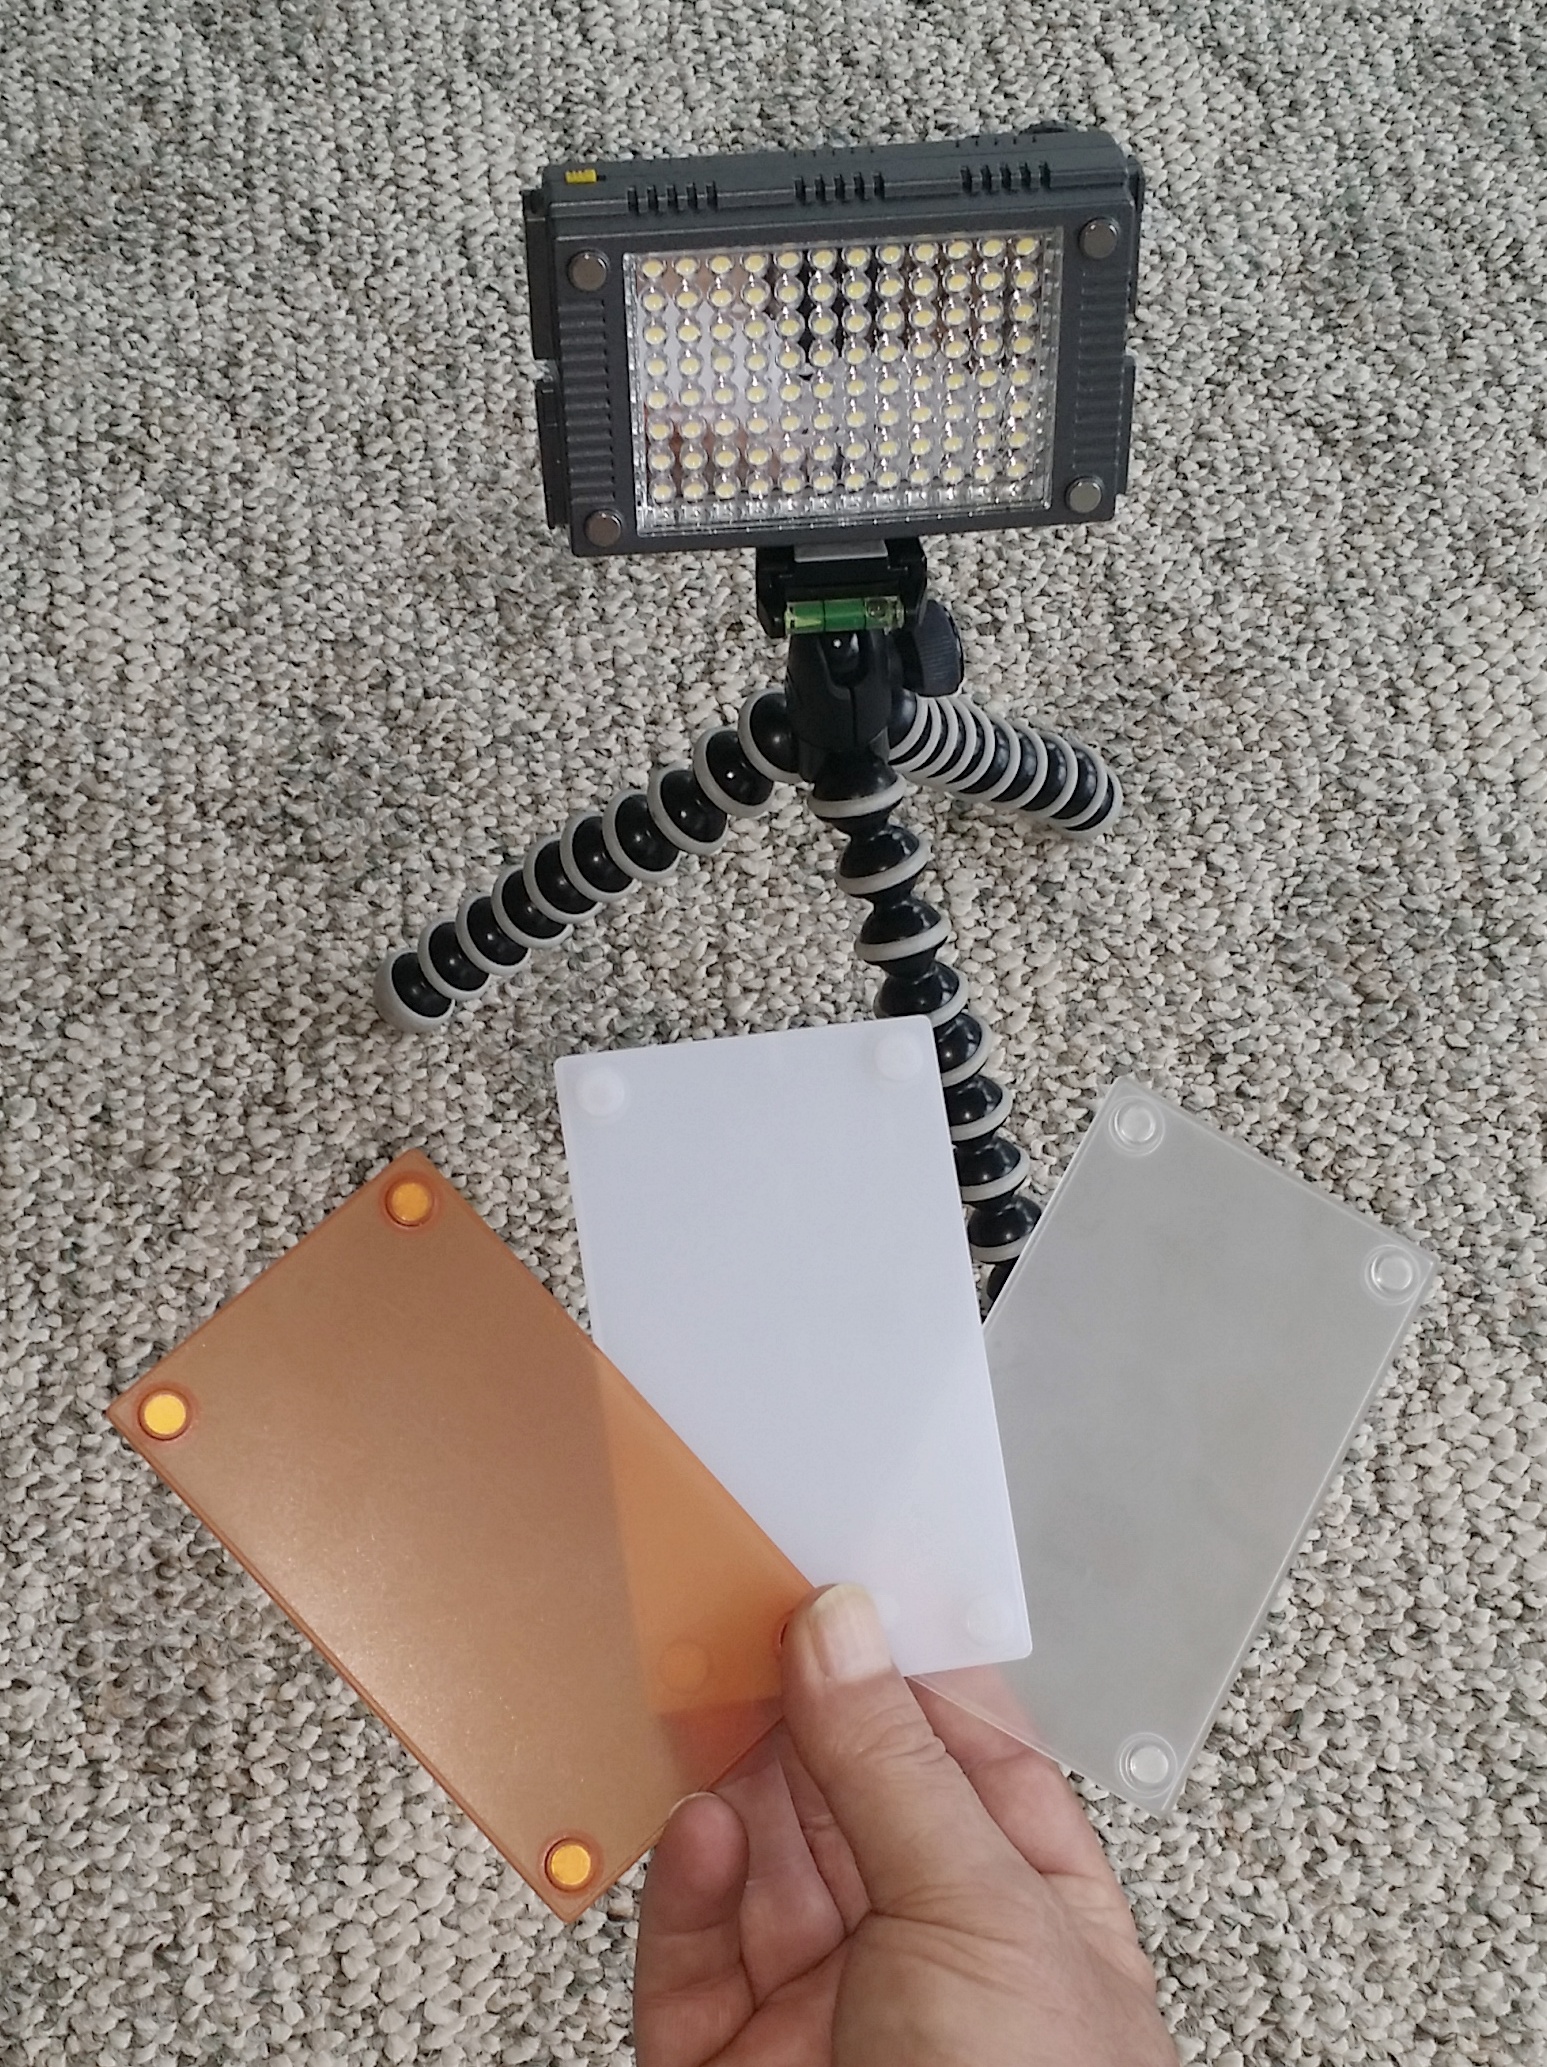
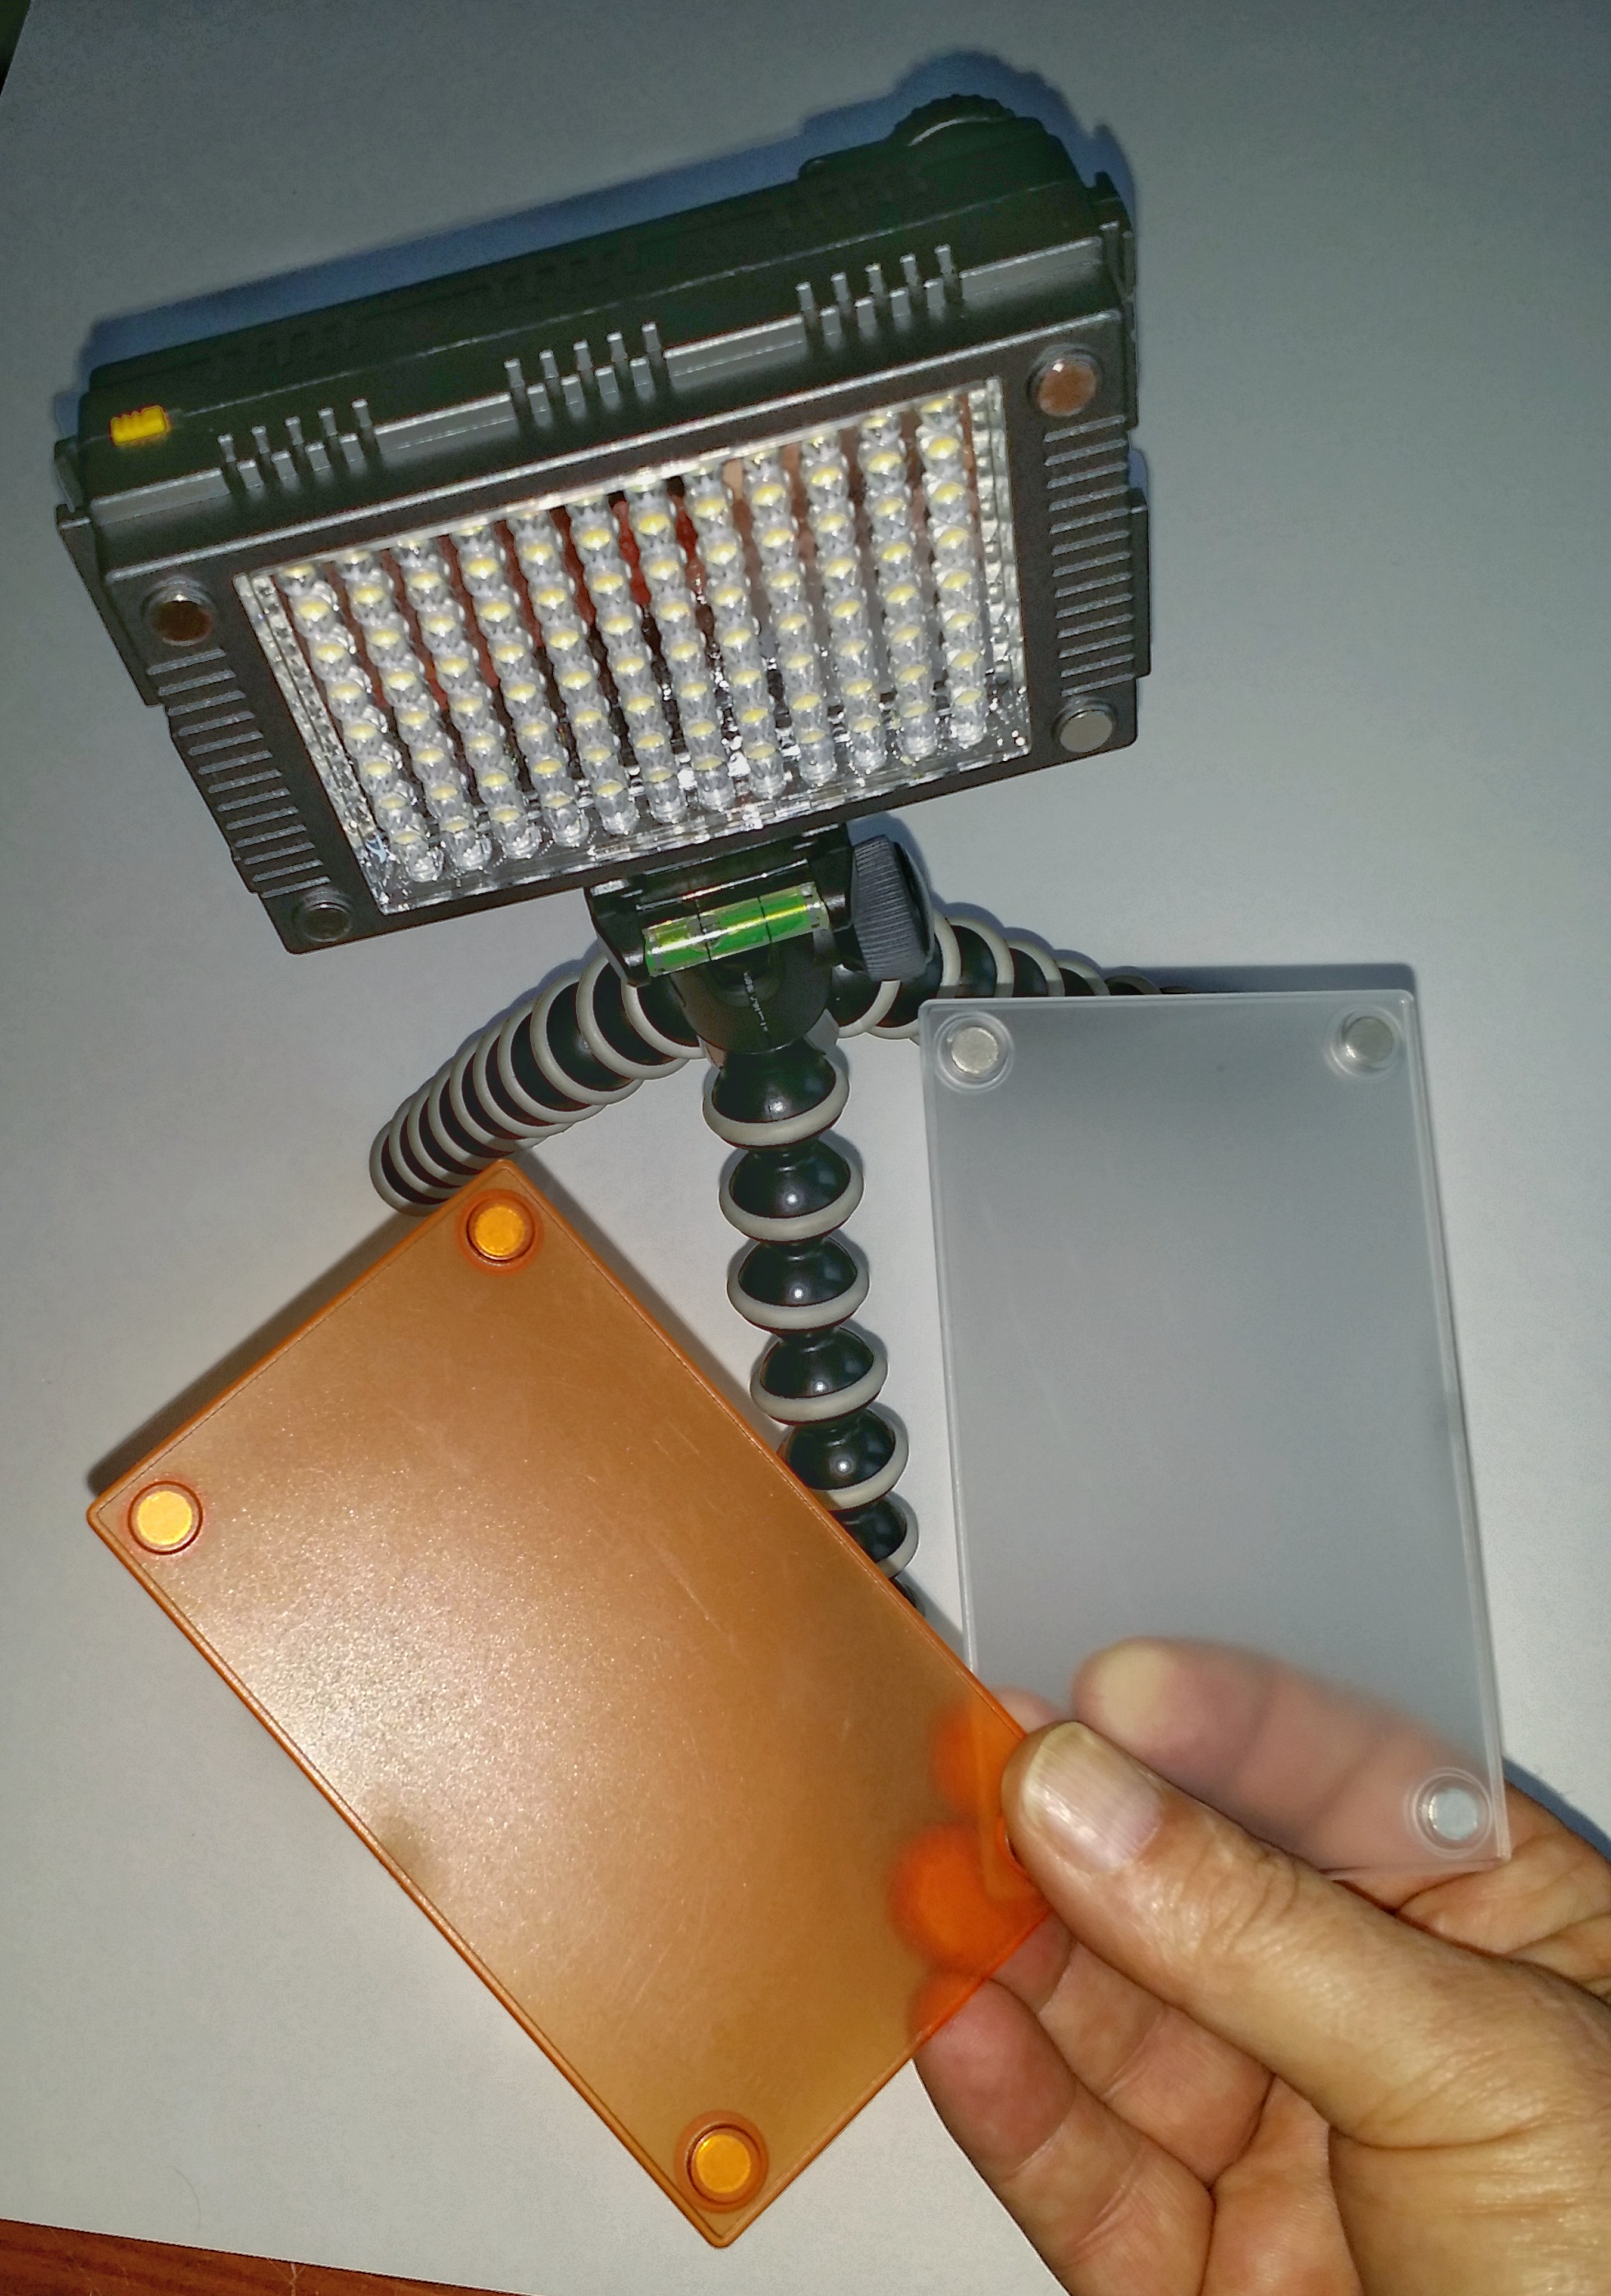
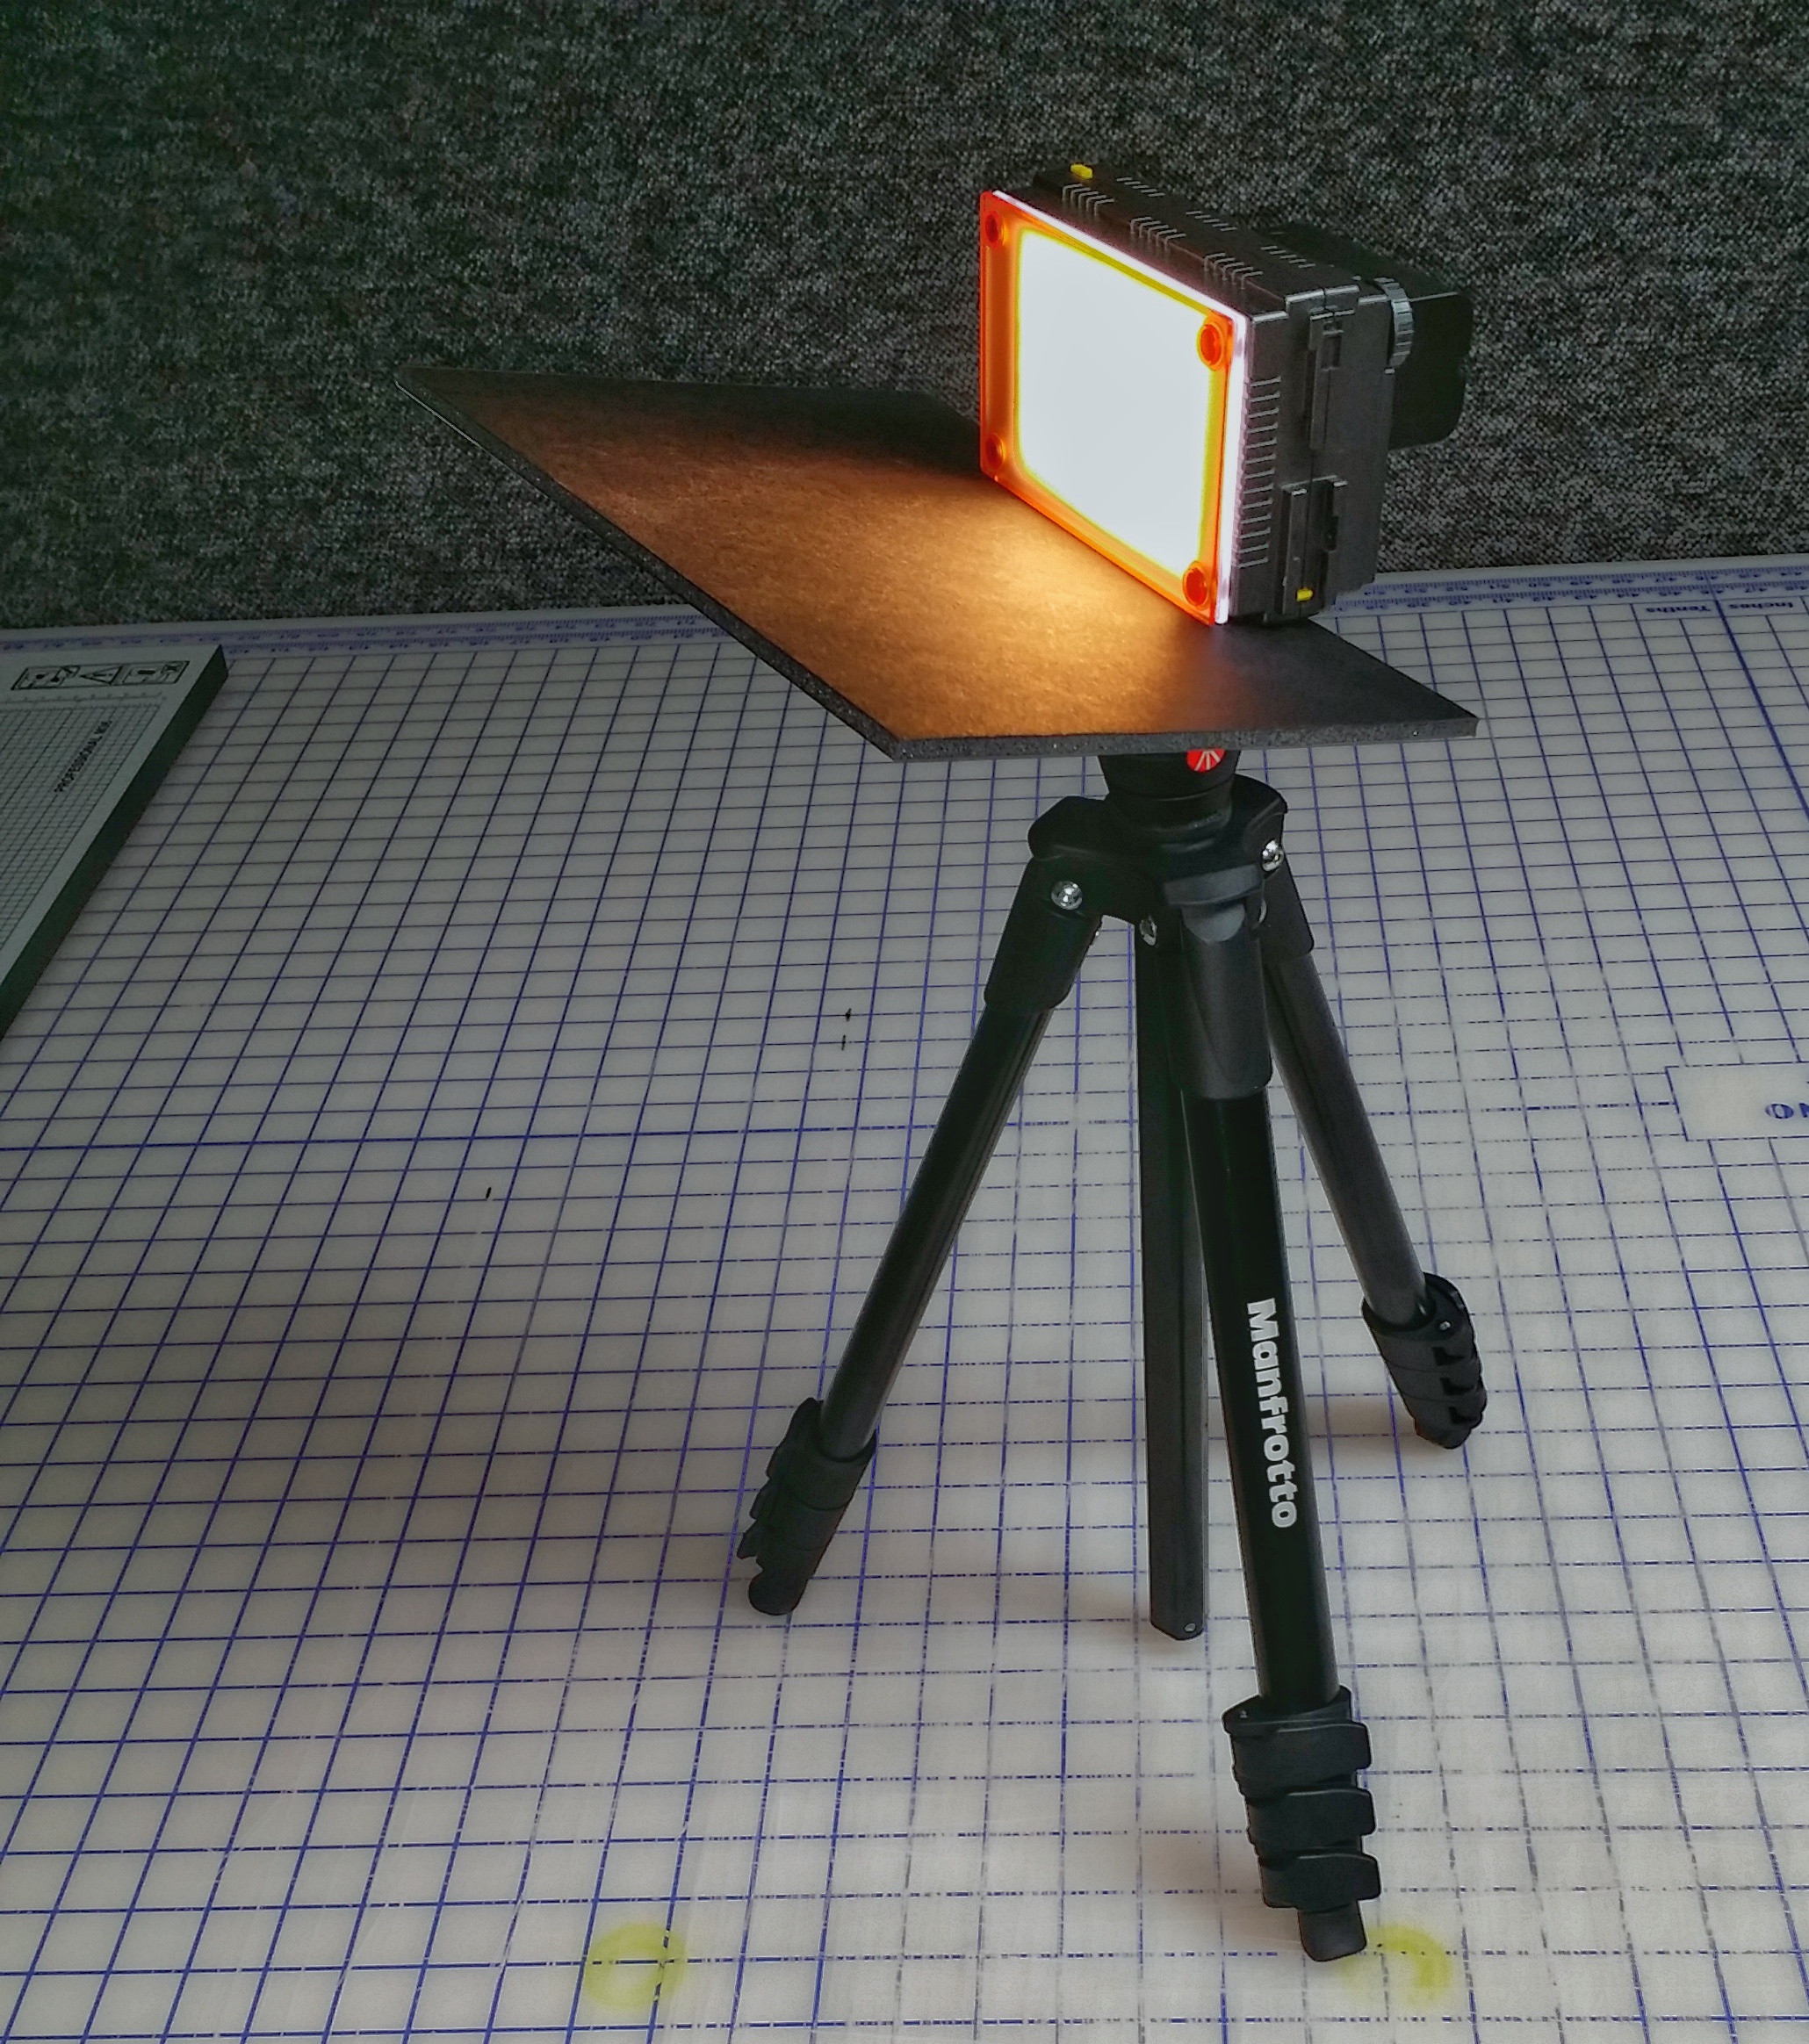
F&V Z96 Warming, Milk White, and Diffusion Filters

I have been using three of these F&V Z96 Light Panels for about 2 years, and find myself using them regularly. This LED light panel consists of 96 LED bulbs that allow for brightness adjustment via a dial on the rear of the body. The light comes with 2 filters – a warming filter and a diffusing filter. I have found a third filter, the F&V Milk White Diffusion Filter on Amazon. I have found that I rarely have to turn the light intensity up beyond the absolute minimum in order to get properly balanced lighting. In fact, I usually have to dim the light further, and find the Milk White filter reduces the light output considerably. This can be a real convenience when it is difficult to move the lights further from the subject, and they are already turned down to their dimmest setting.

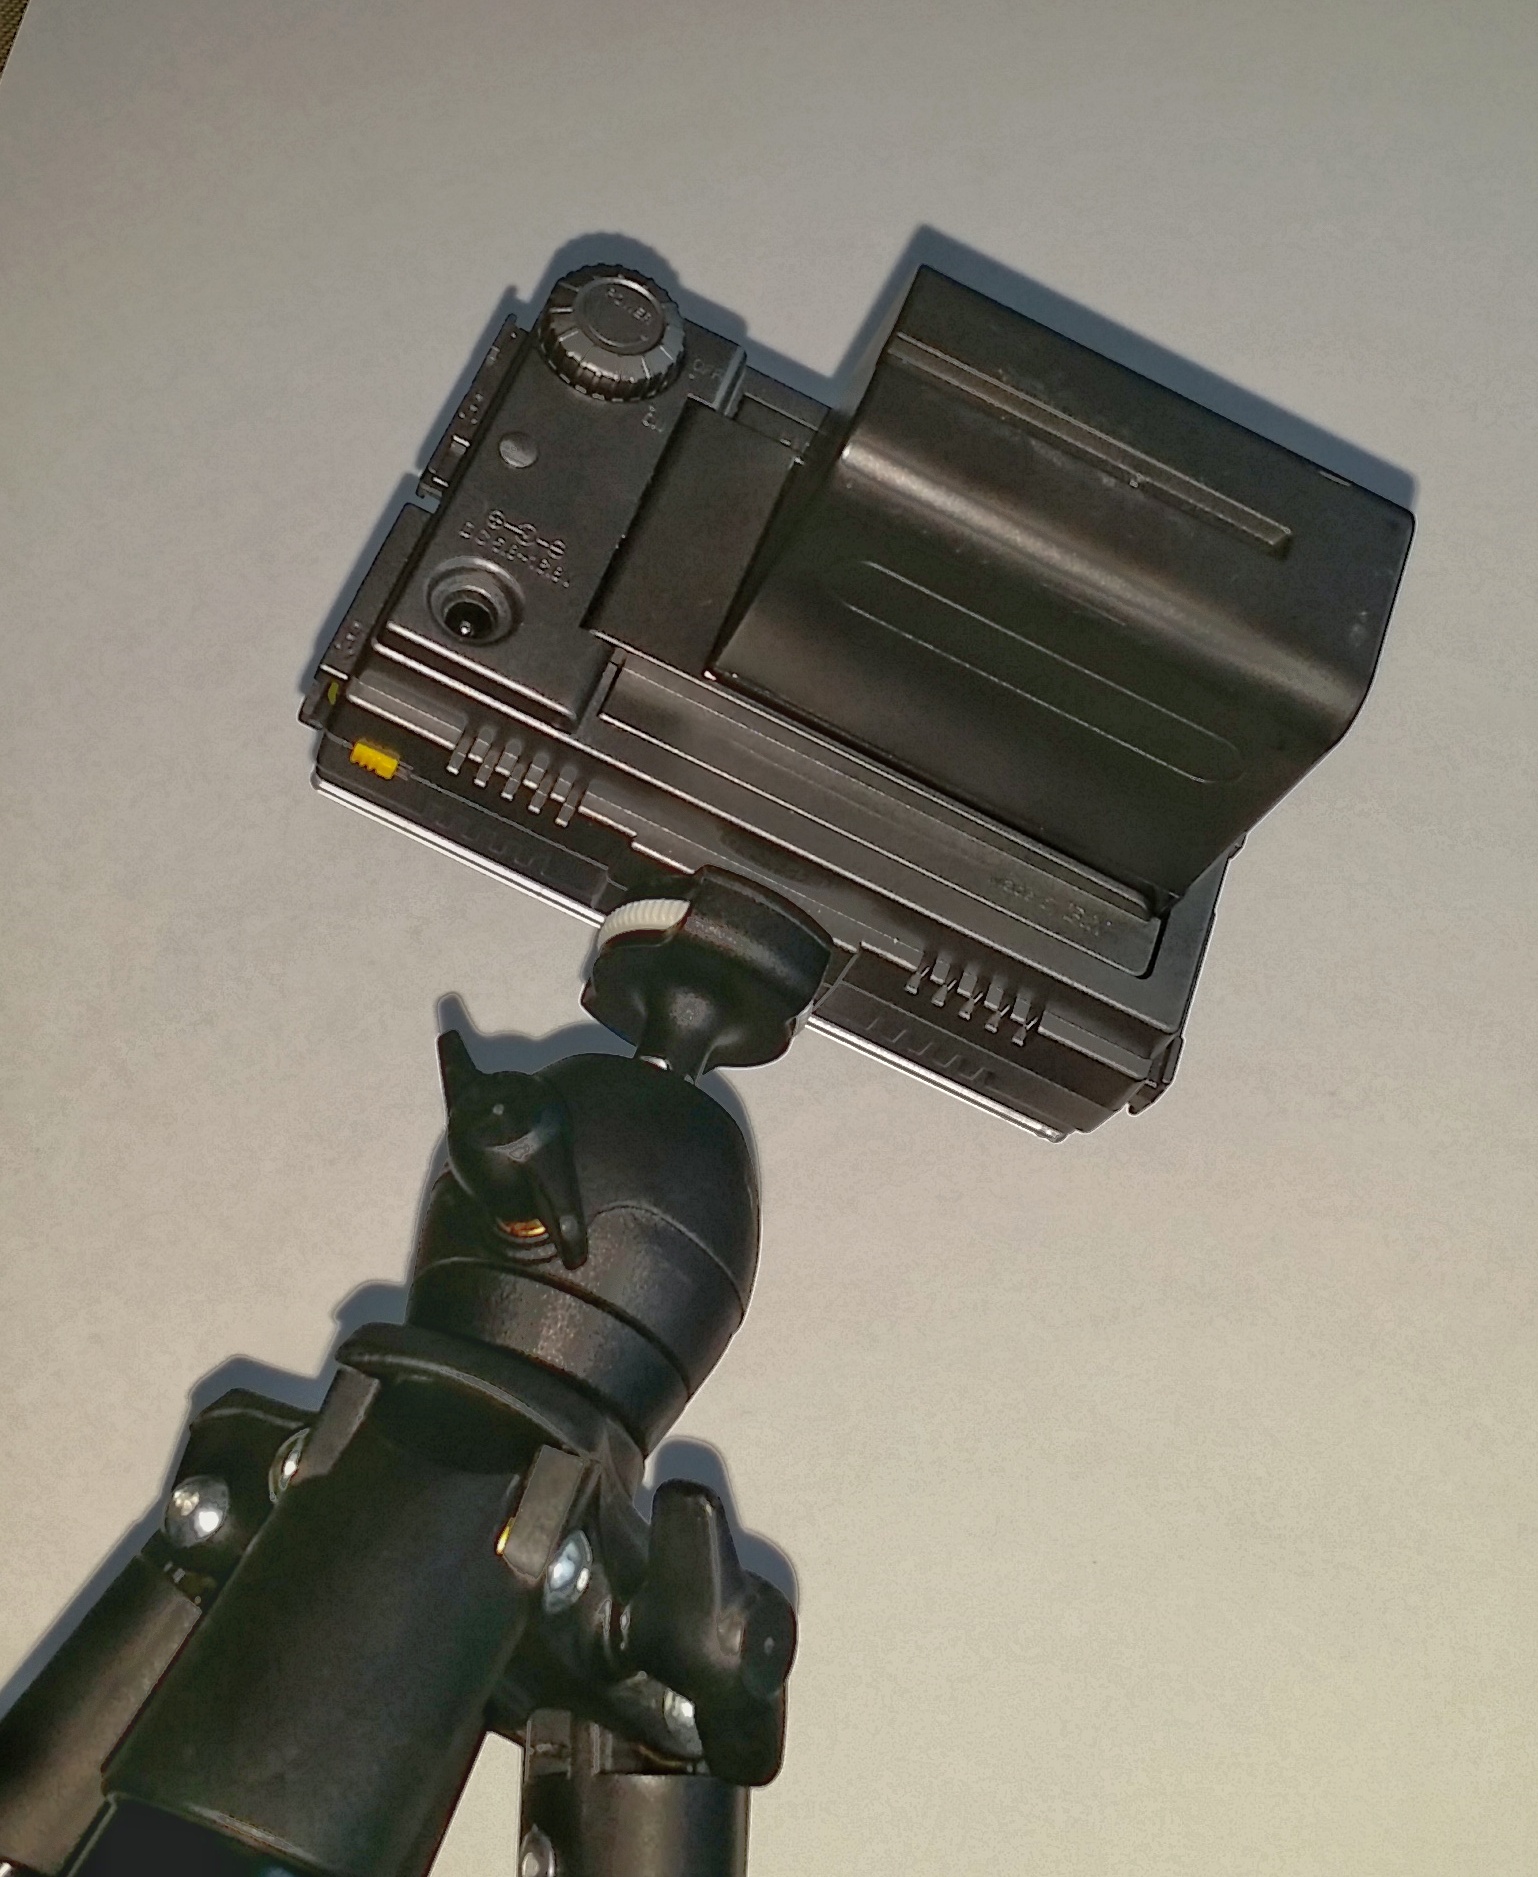
F&V Z96 powered by NP-F970 Li-ion battery

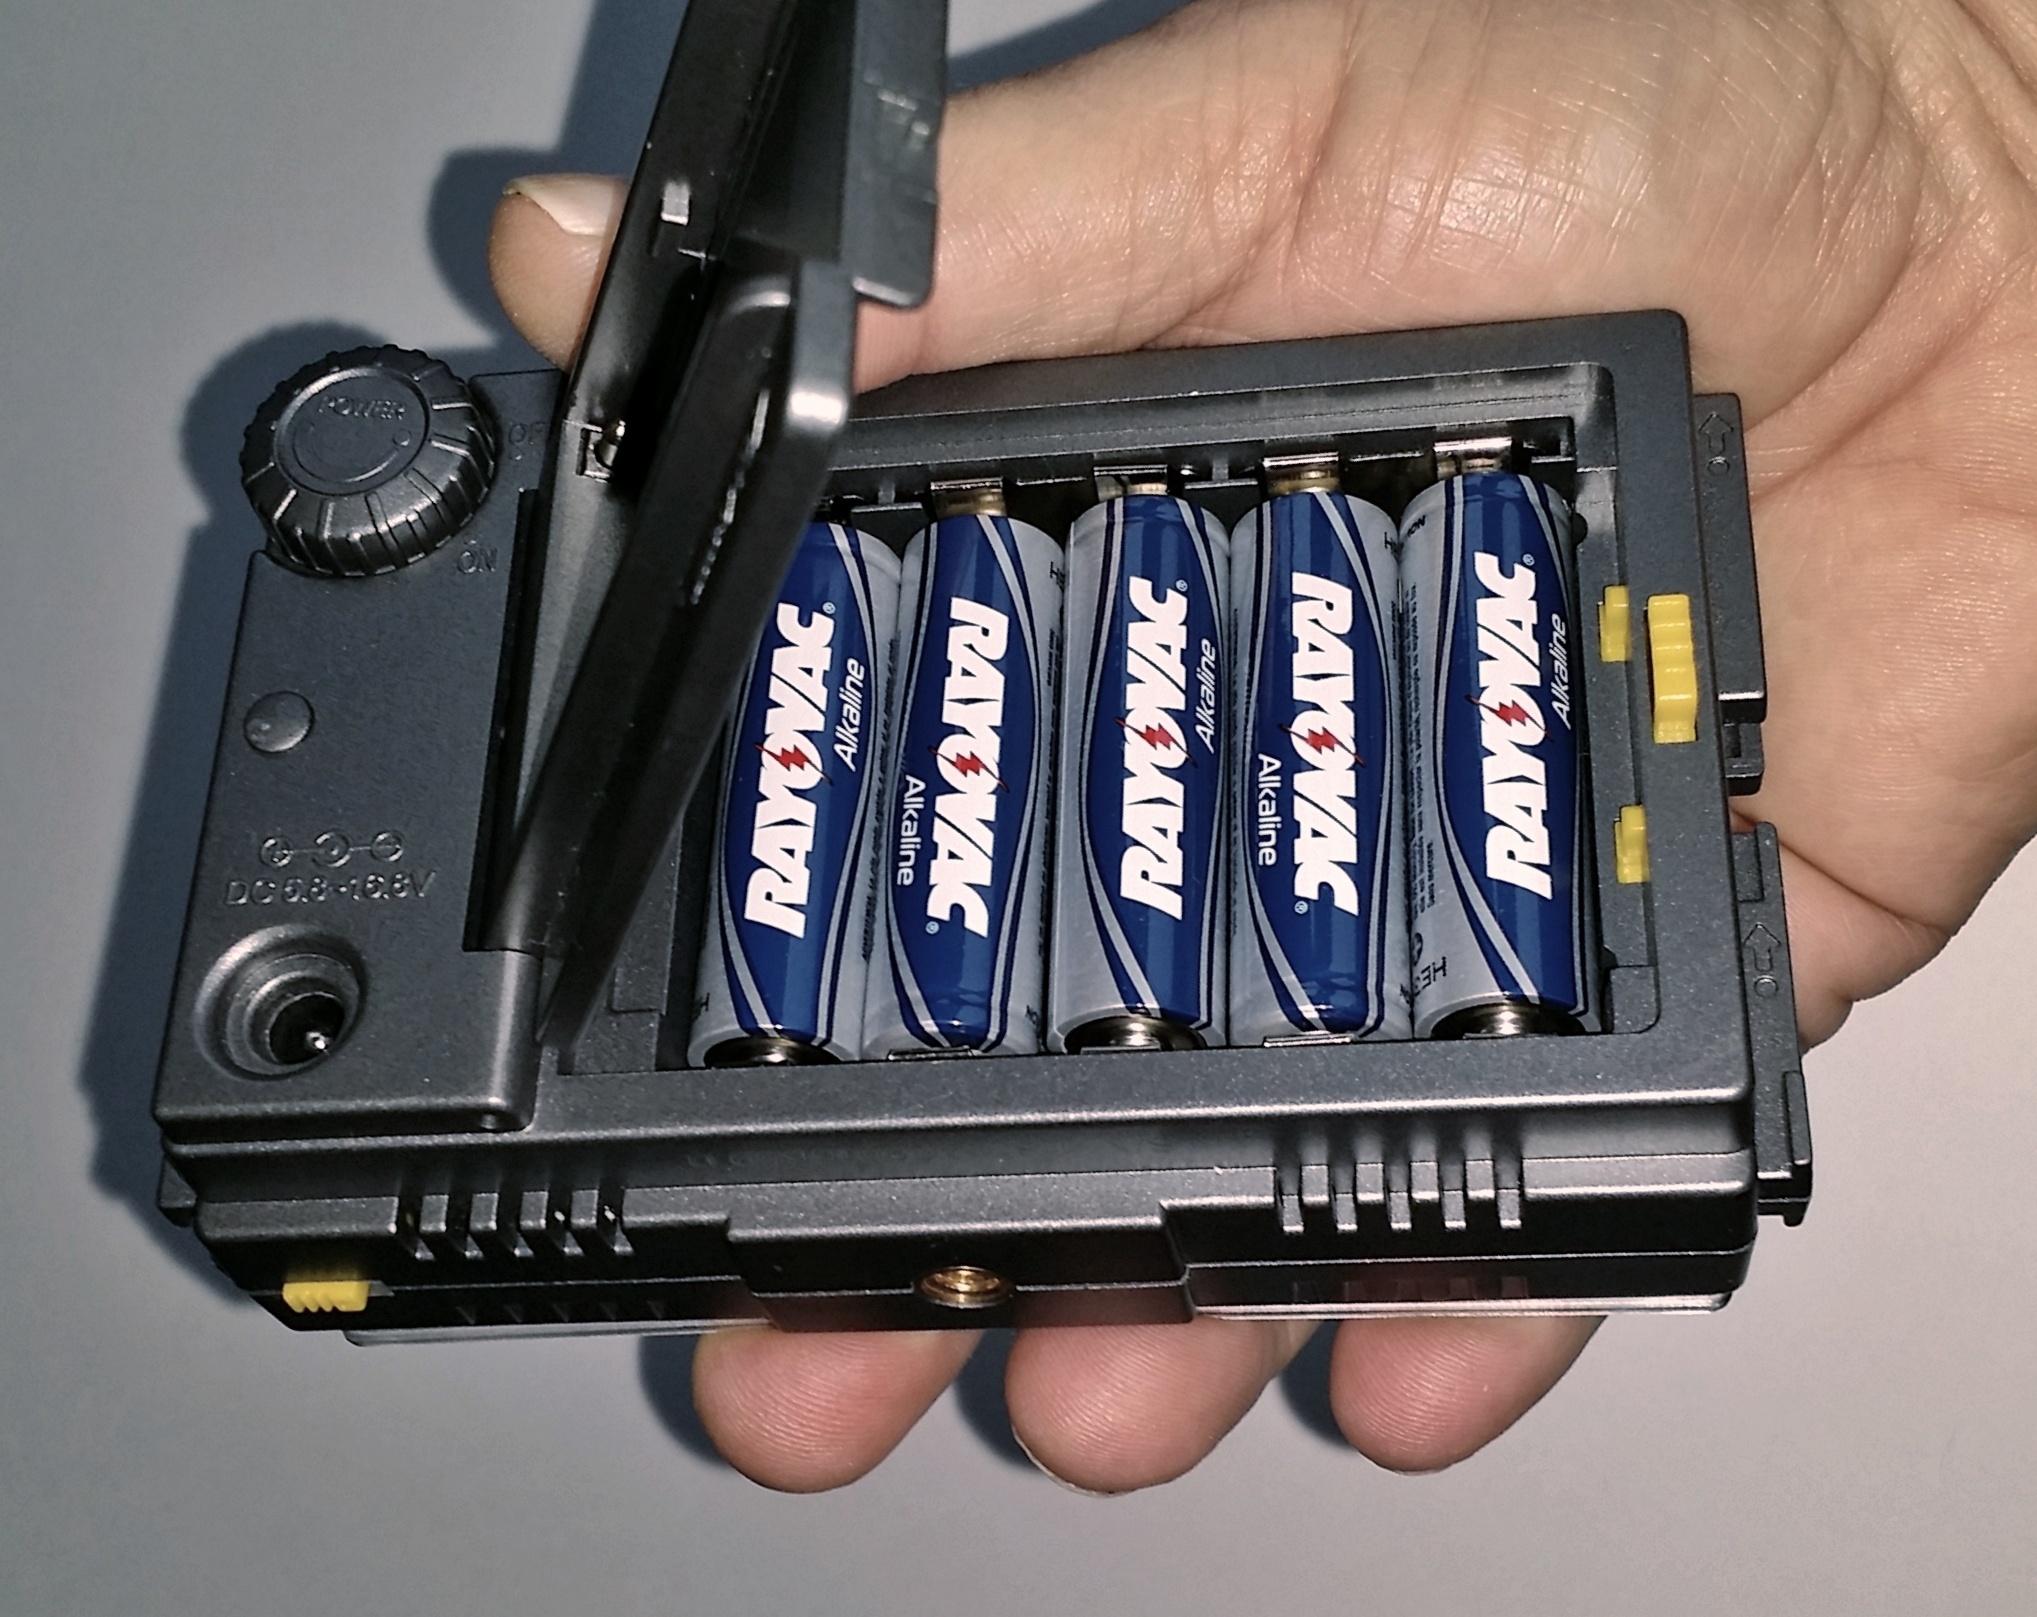
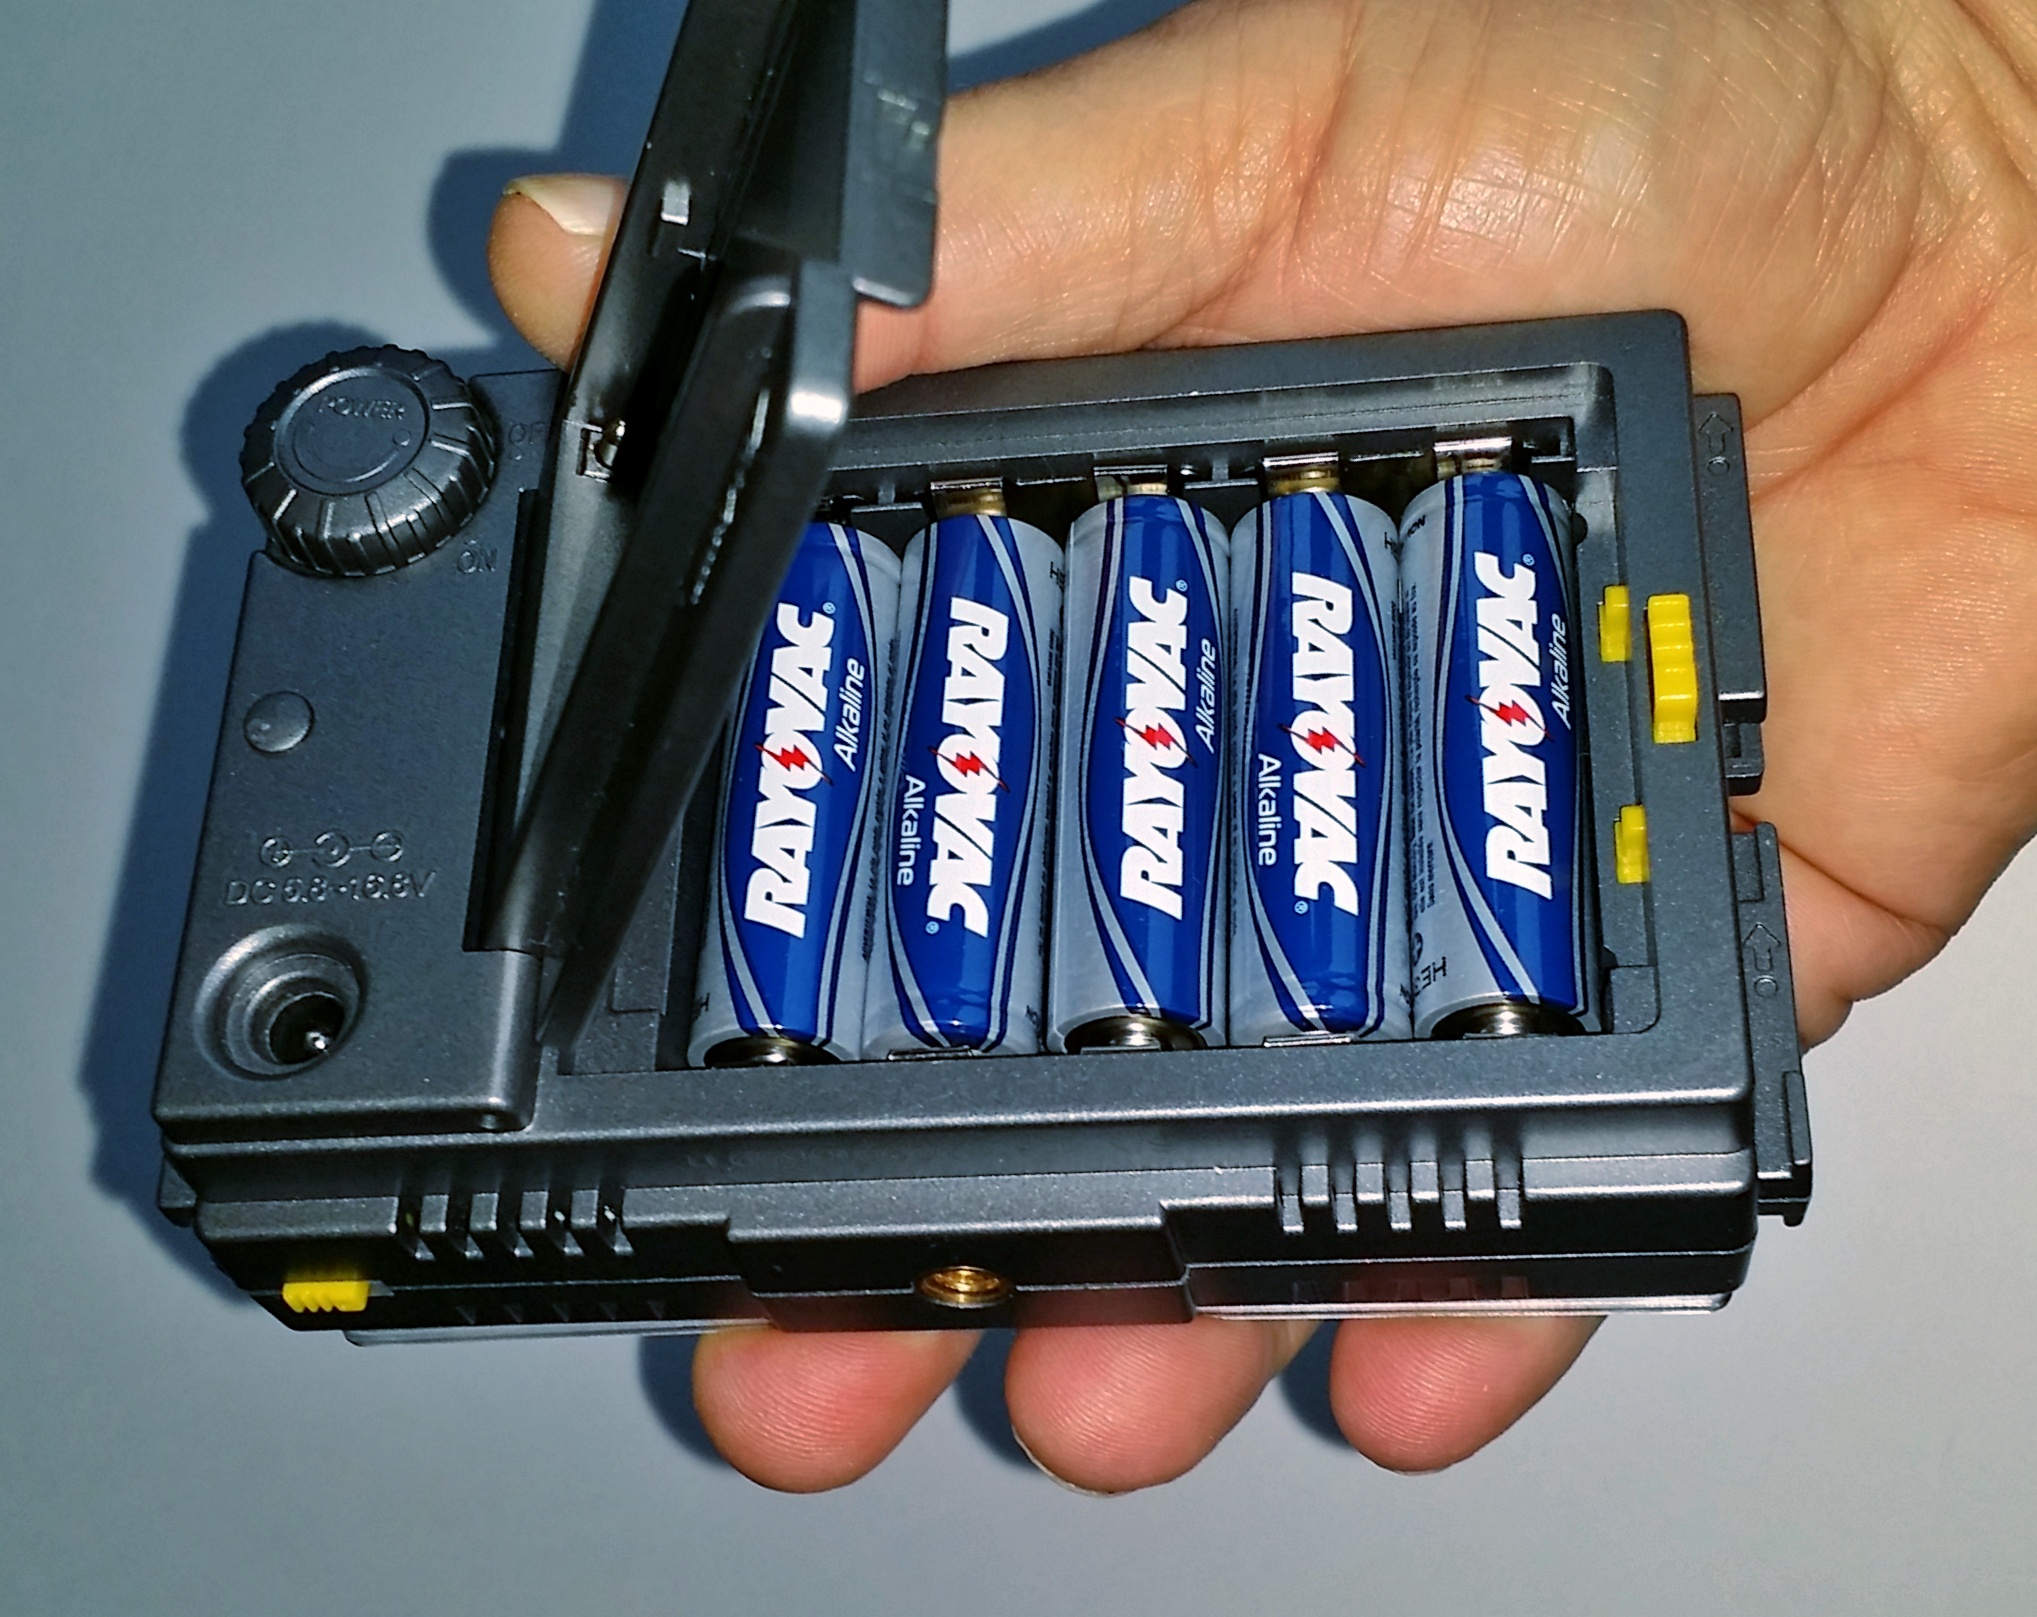
There are three ways to power this light. I use a NP-F970 Li-ion battery, which will last for several nights without needing to be recharged. The downside is the size and weight of the battery. Alternatively, the light can be operated with AA alkaline batteries instead.

F&V Z96 powered by (5) AA alkaline batteries

There is also a receptacle for a 12v power supply, which I never use.

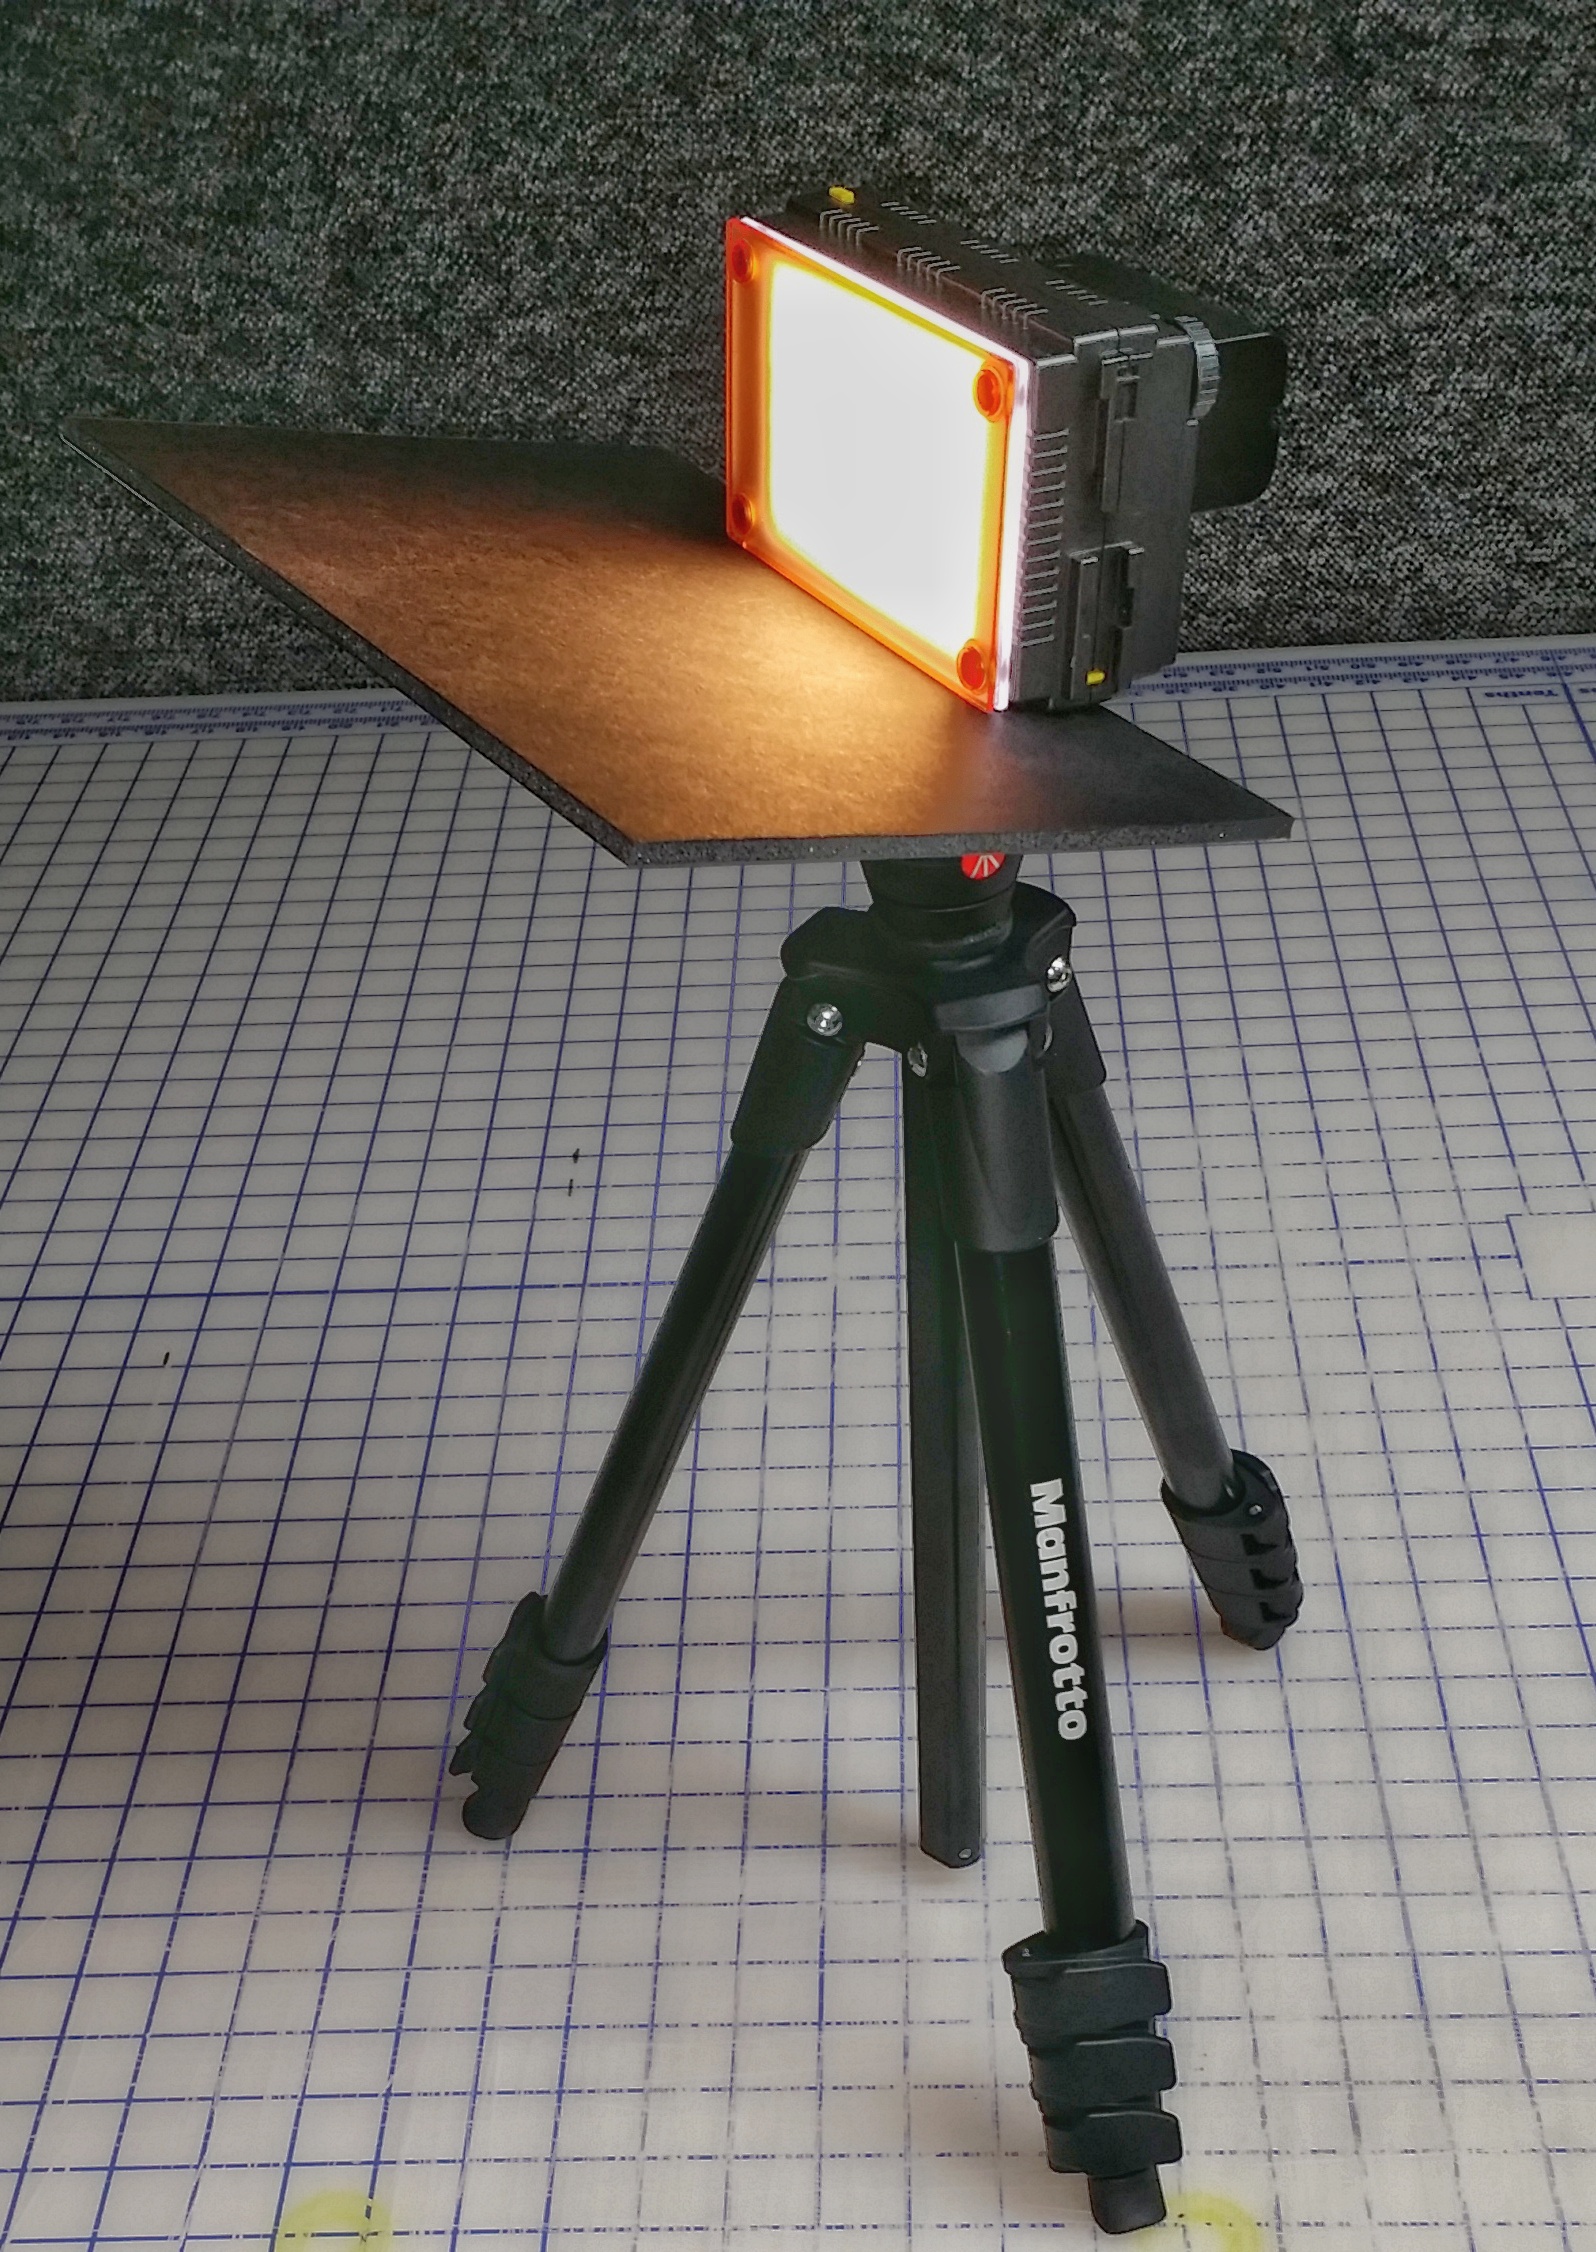
F&V Z96 rigged with a lower barn door shade

The F&V Z96 LED light panels tend to spill a lot of light downward, which may sometimes interfere with the intended shot. I this case, I have found that improvising a barn-door shade that fits between the LED Panel body and tripod/light stand works wonders. It is light, easy to fabricate, and packs easily.

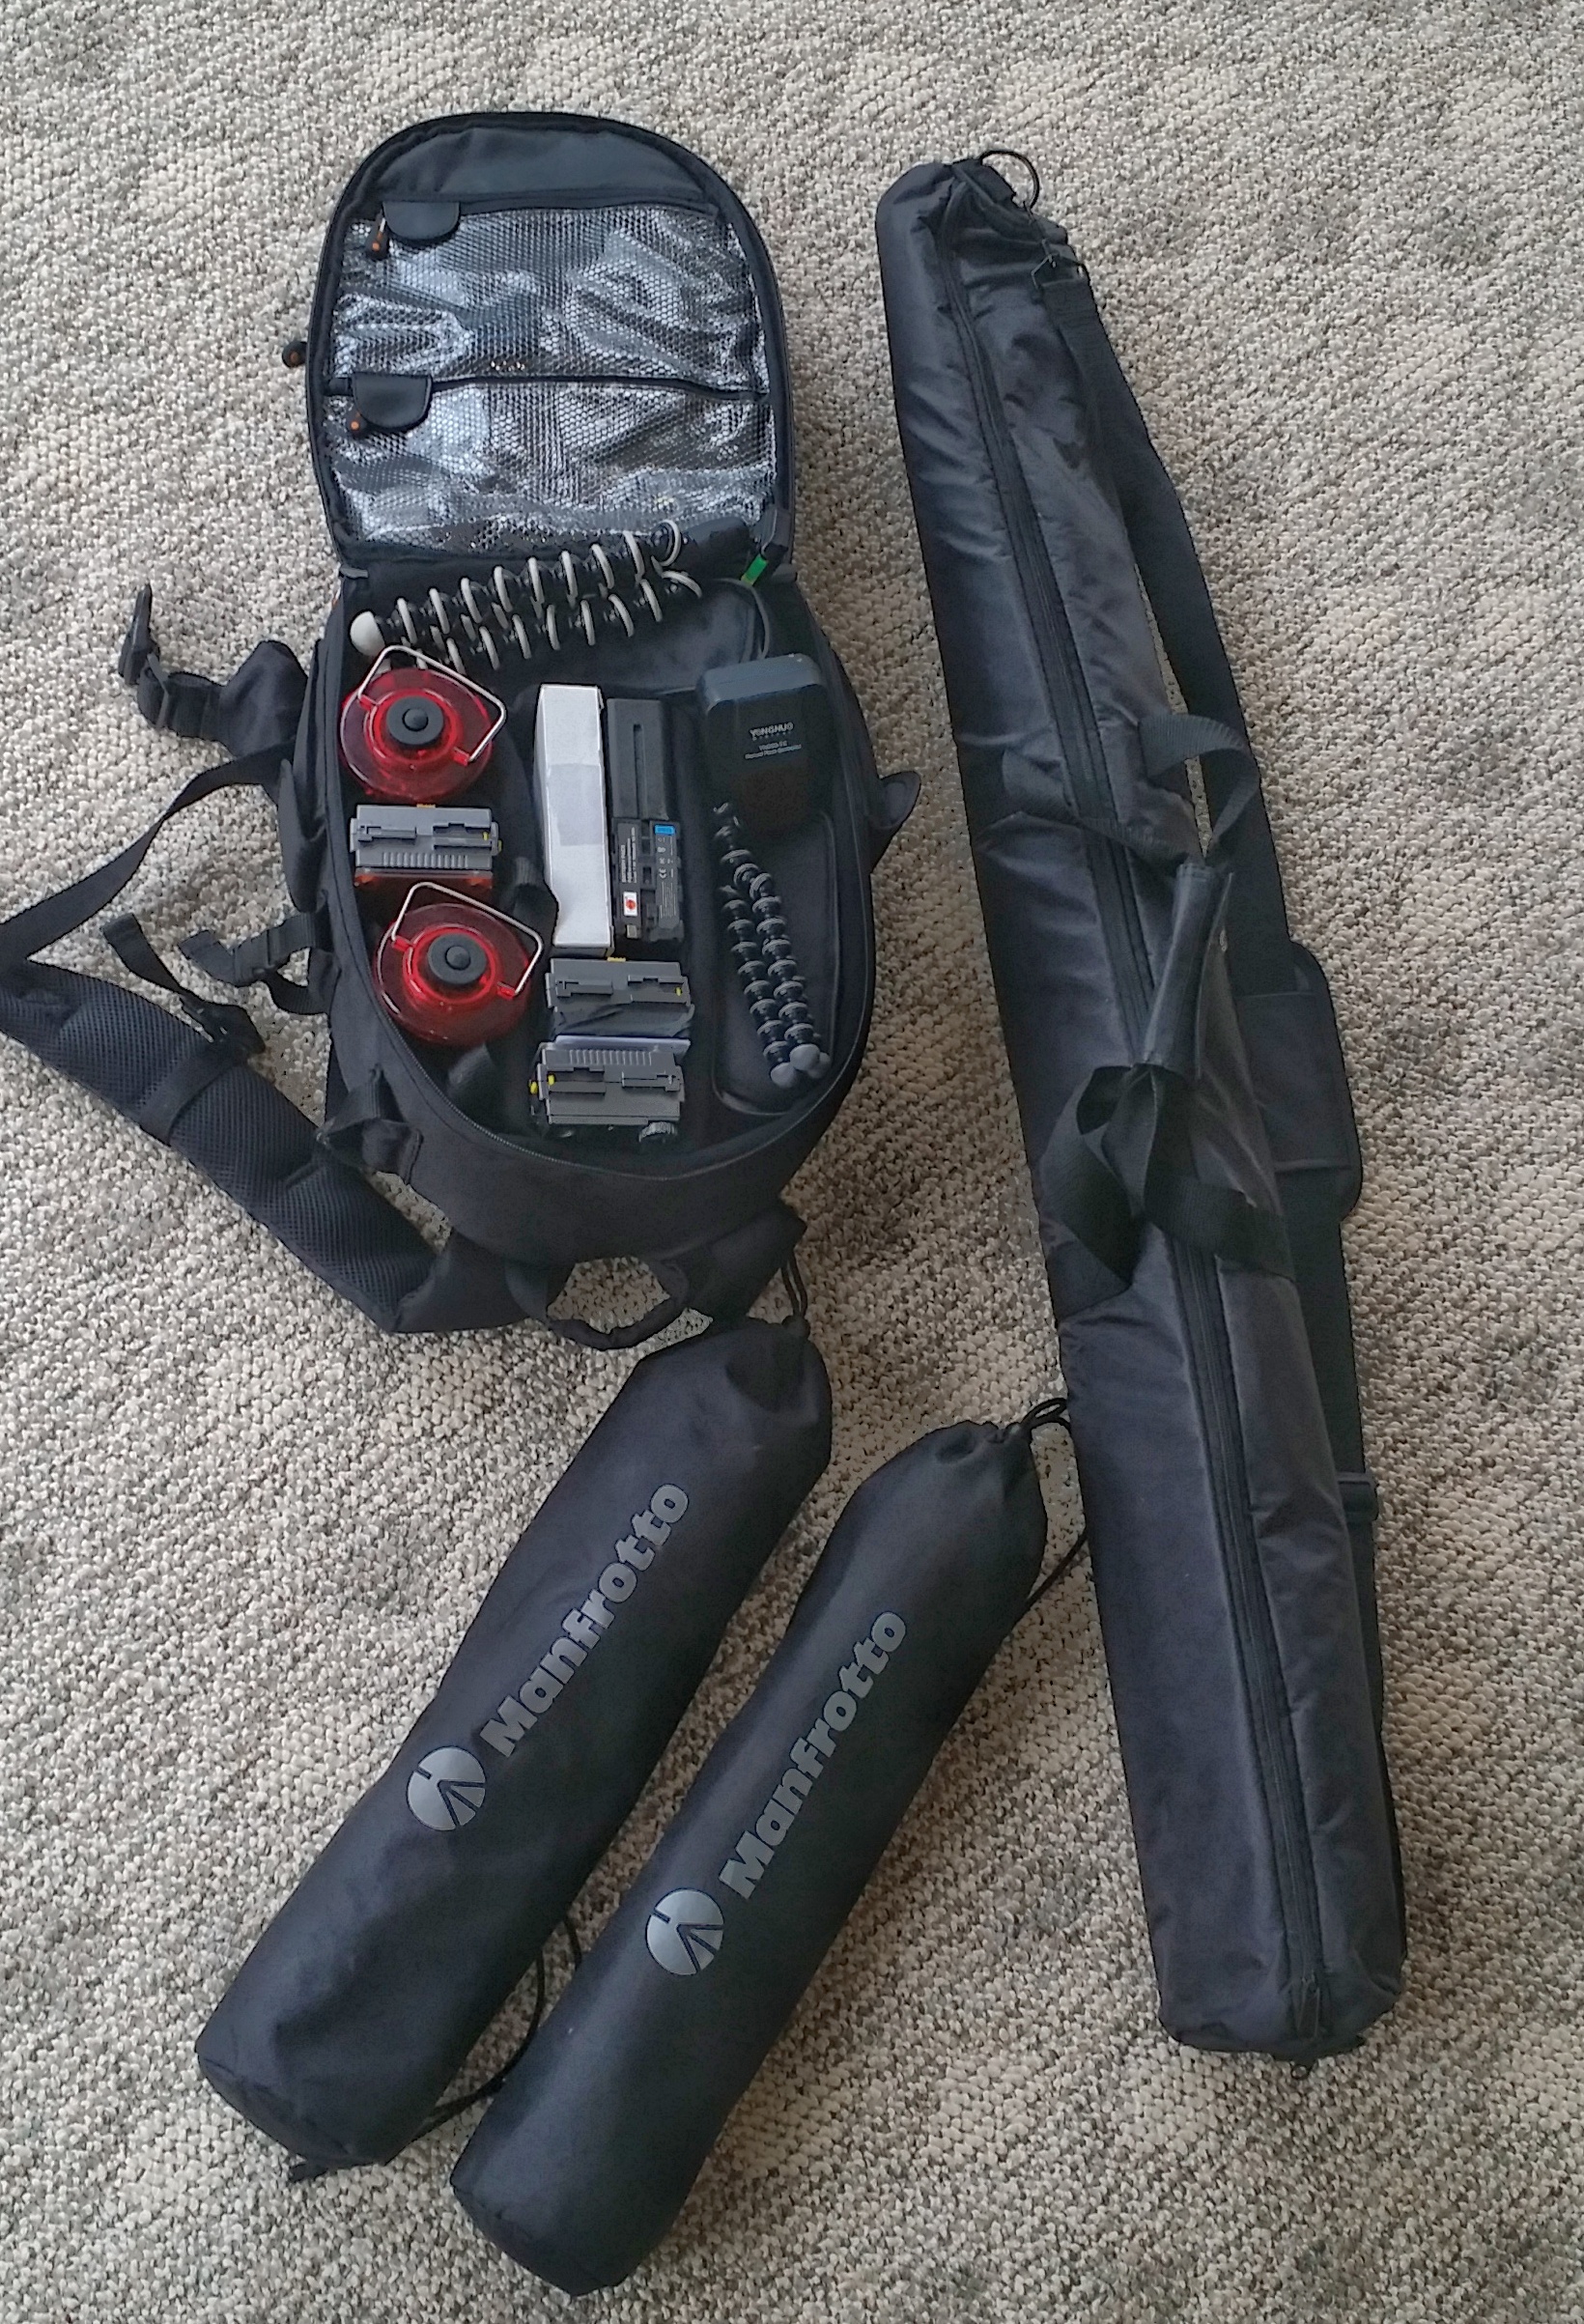
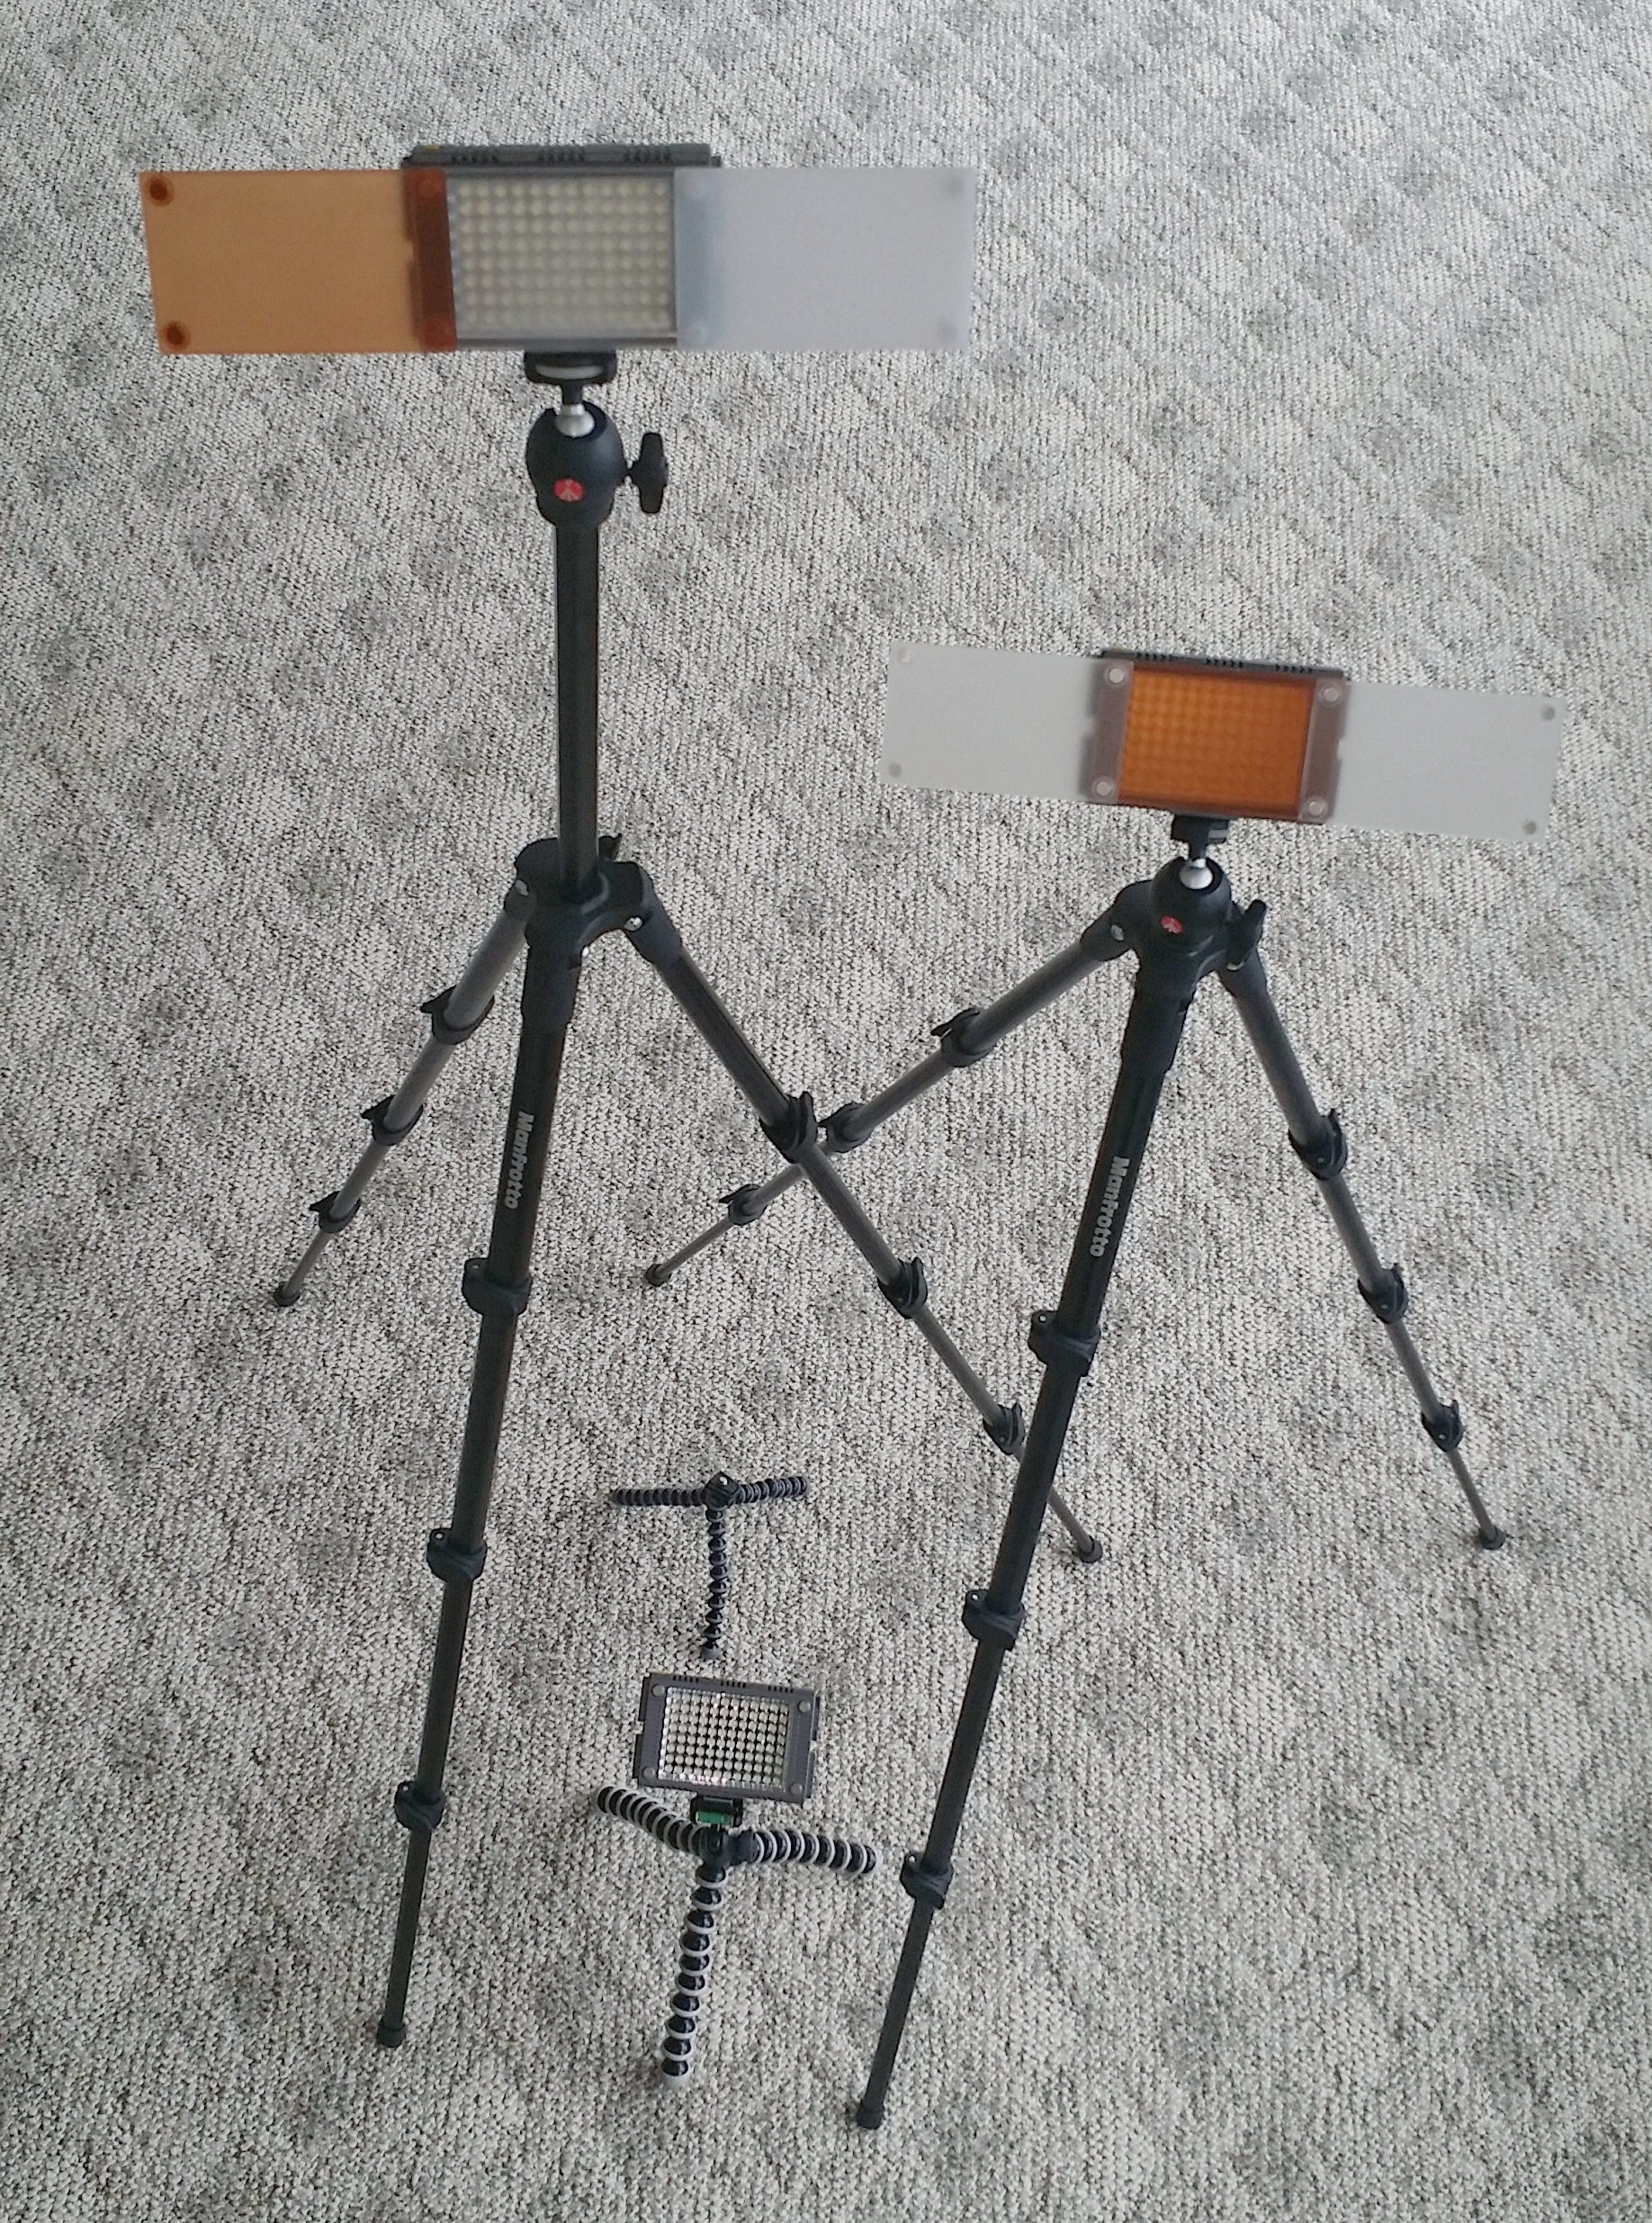
Manfrotto Tripods and Joby GorillaPods

I use Joby GorillaPods and Manfrotto compact tripods as light stands for my LED light panels, as well as my Yongnuo Electronic Flash units (more on these later in this post). I have been asked why I carry three LED light panels, as well as light stands around. Do I really need all three? Here are some examples where three lights came in handy.

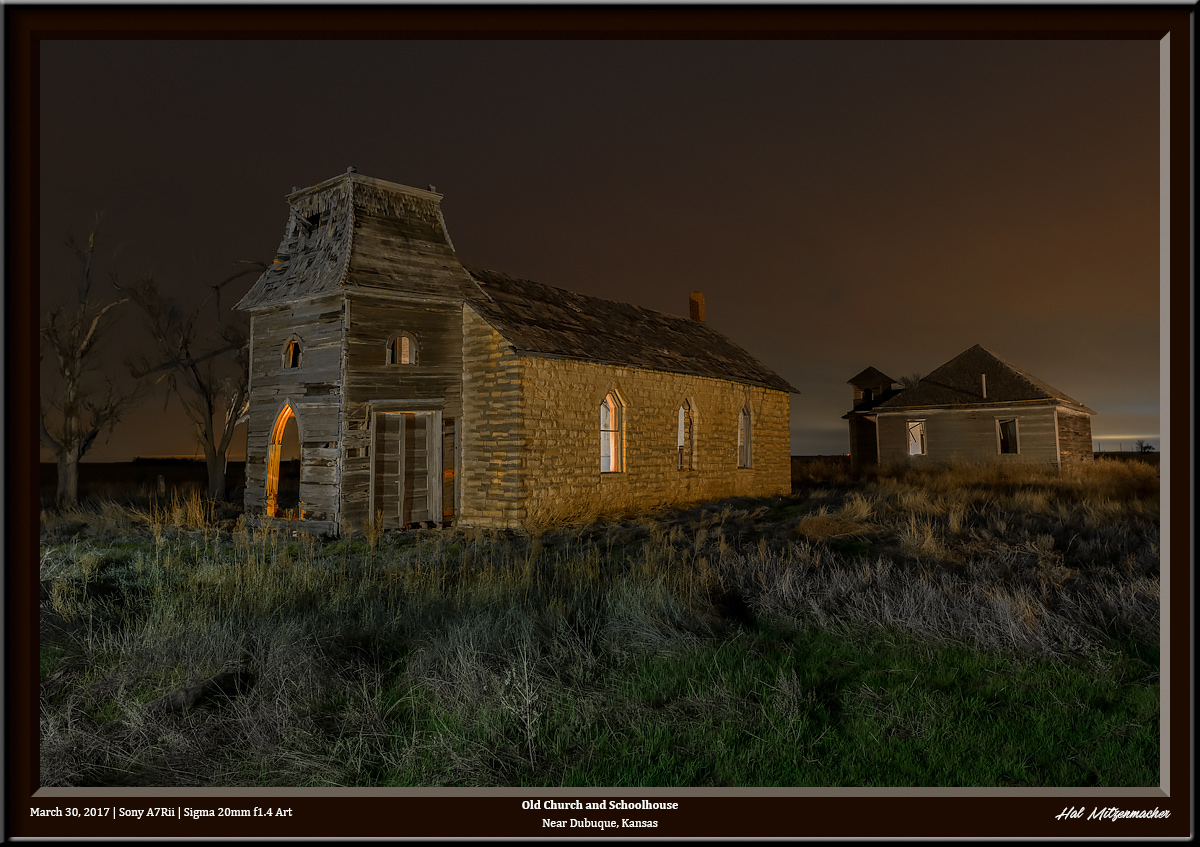
One panel for left-front, one for right-side, and one for second structure

Here is a shot that required three exterior lights. One was set up to illuminate the left hand side of the church, including the doorway. A second panel was set up to illuminate the side of the church, while a third light was set up to illuminate the schoolhouse structure in the background.

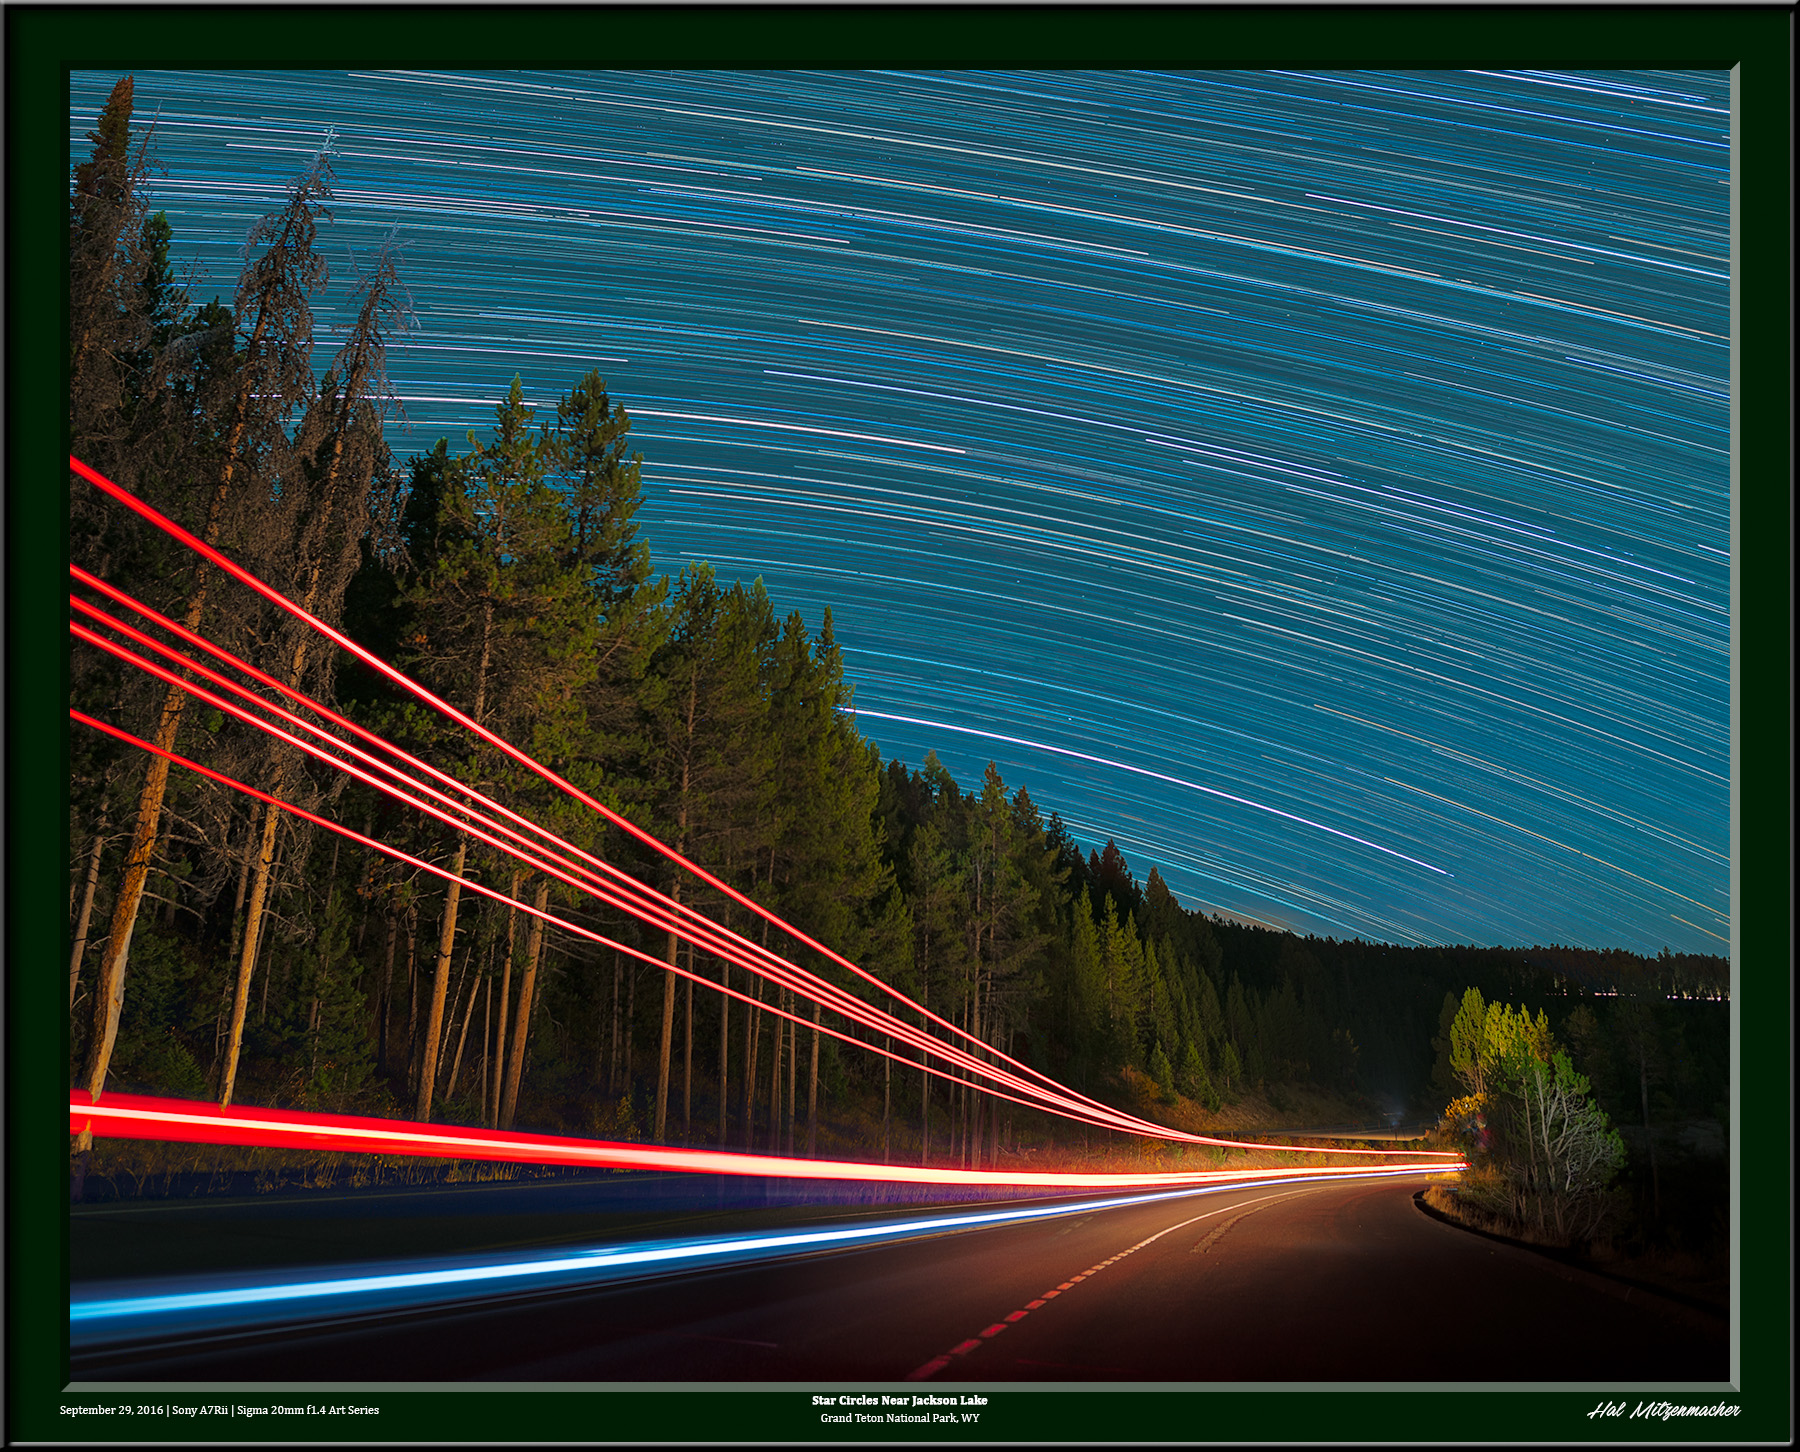
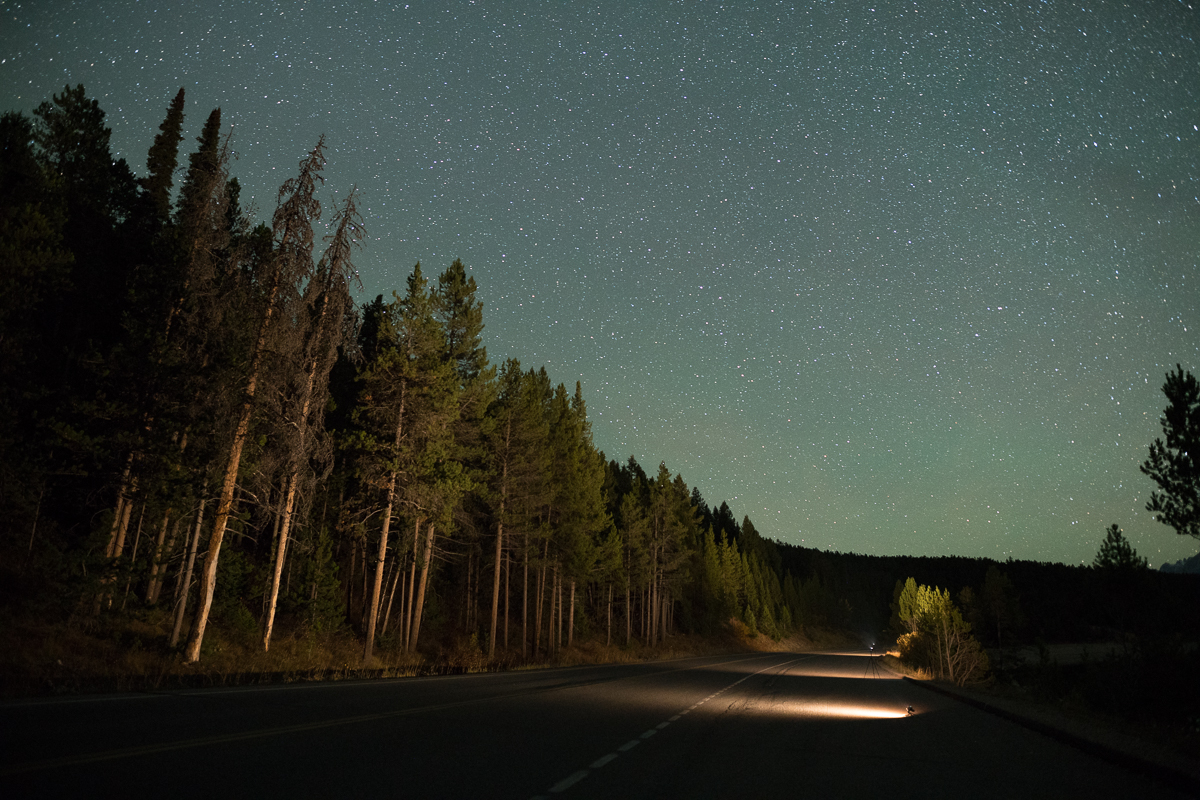
Three Z96 LED panels spread out to illuminate the tree line

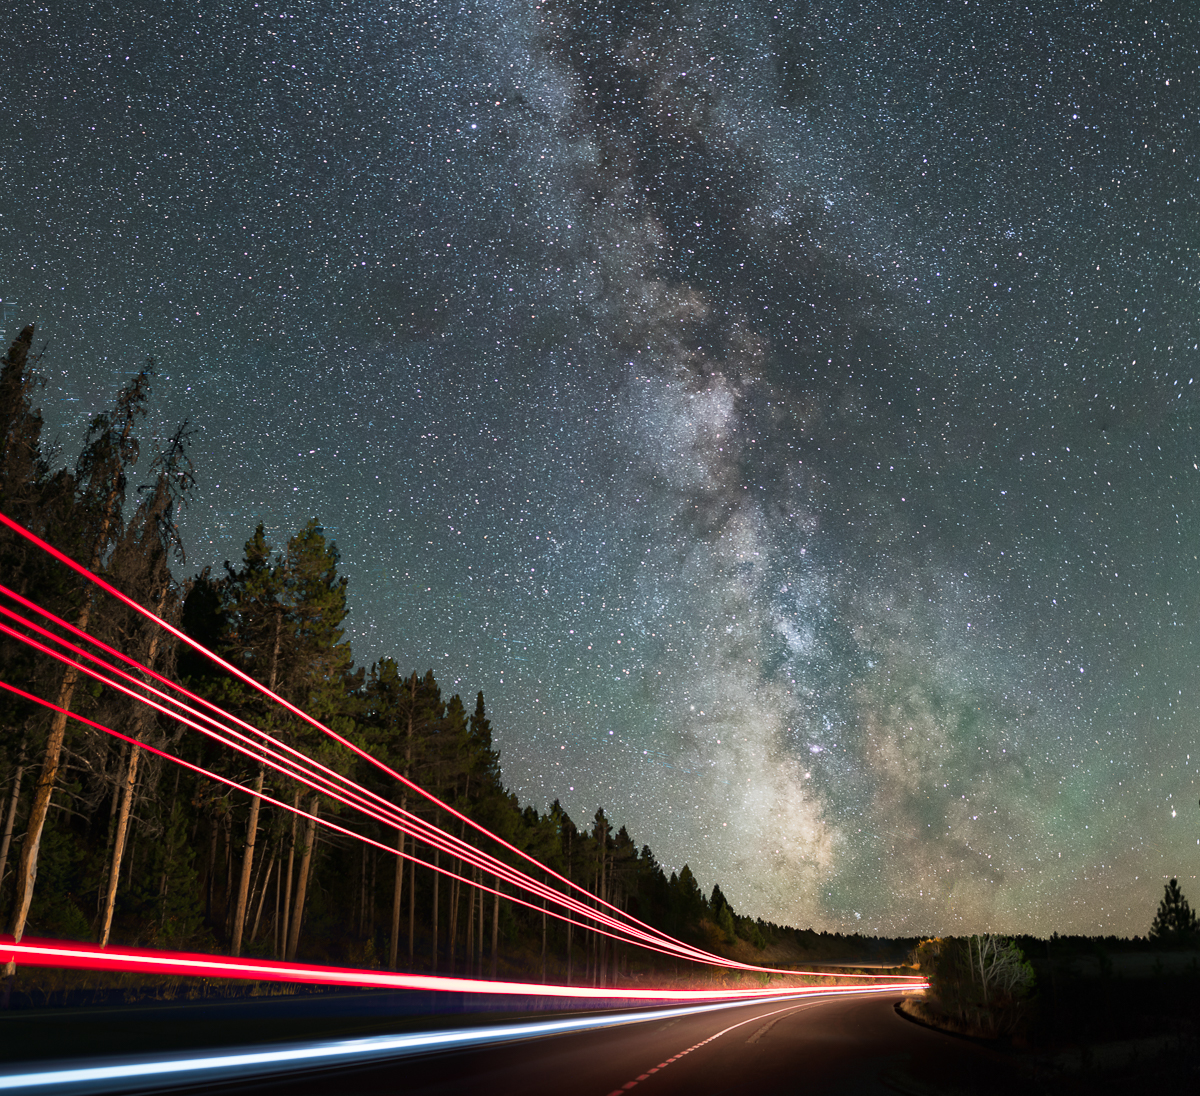
In this image there would have been no easy way to illuminate the entire line of trees down the length of this highway without the help of three LED light panels (I know that one could take a single LED panel and walk up and down the roadway shining the LED panel up at the trees, and do this repeatedly for a long time, hoping to not get run over in the process, but PLEASE – I’m an old(ish) man!! I could include other examples, but the point is, more light panels mean more opportunities. And while not absolutely necessary, they can be helpful when contemplating a night composition.

Other Fun Lighting Gear


The Pixelstick

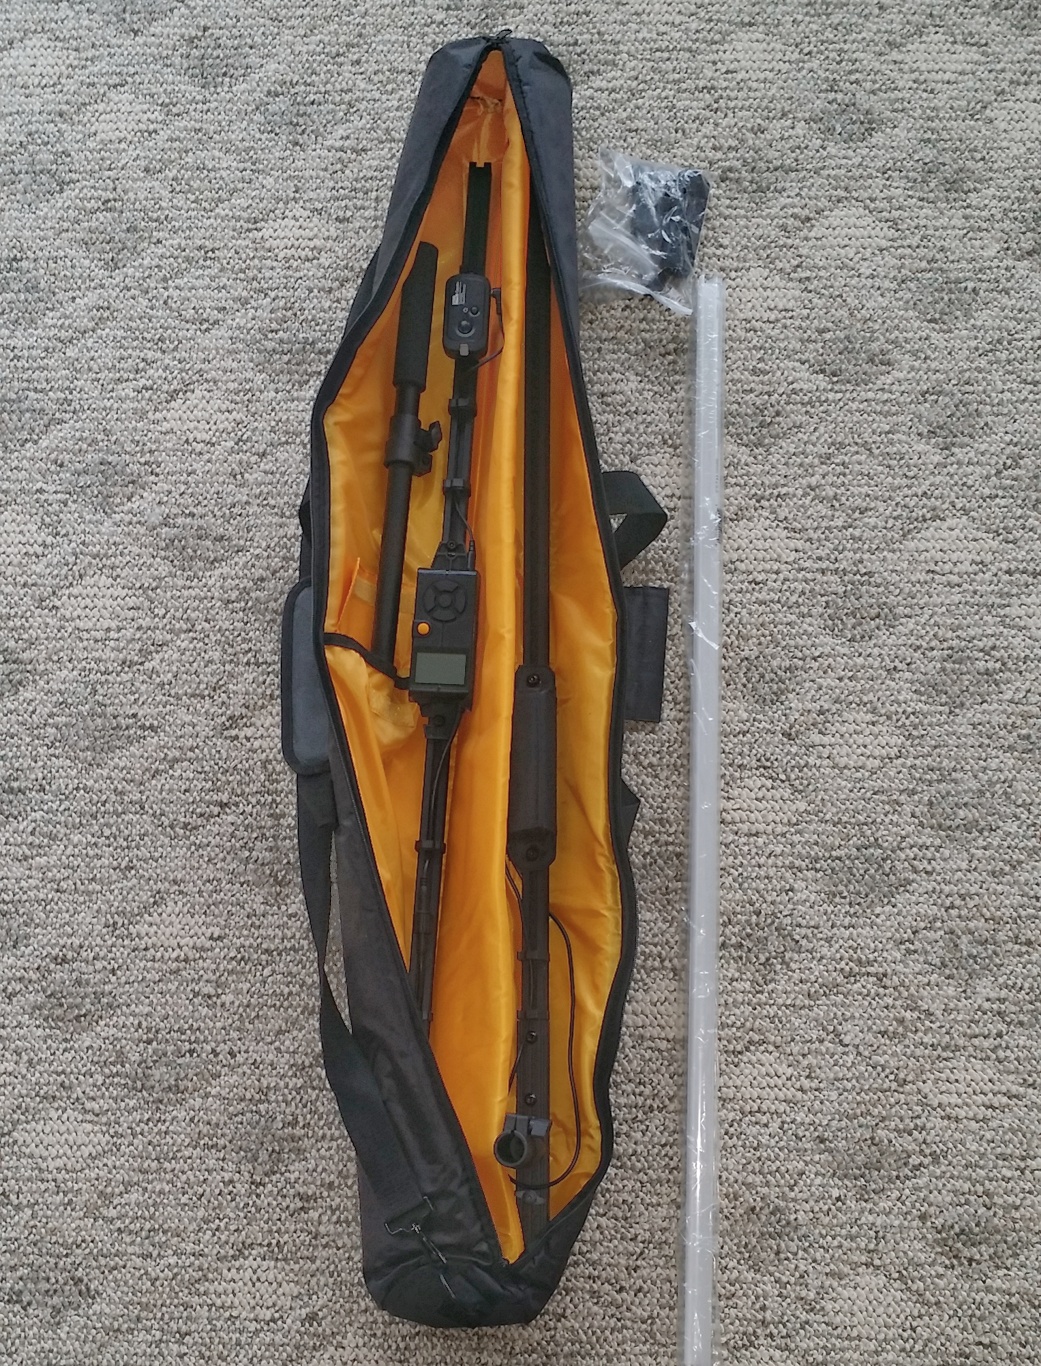
The Pixelstick is a digital light painting tool that has several modes of operation, and allows the photographer to express their artistic sensibilities in various ways. I have only owned a Pixelstick for a short time, so I do not have a great amount of experience with it, other than the basics that I have experimented with to date. At first glance, however, I can see that this is going to be a lot of fun, as well as challenging my creativity.

Pixelstick in storage case (shown broken down for transport)

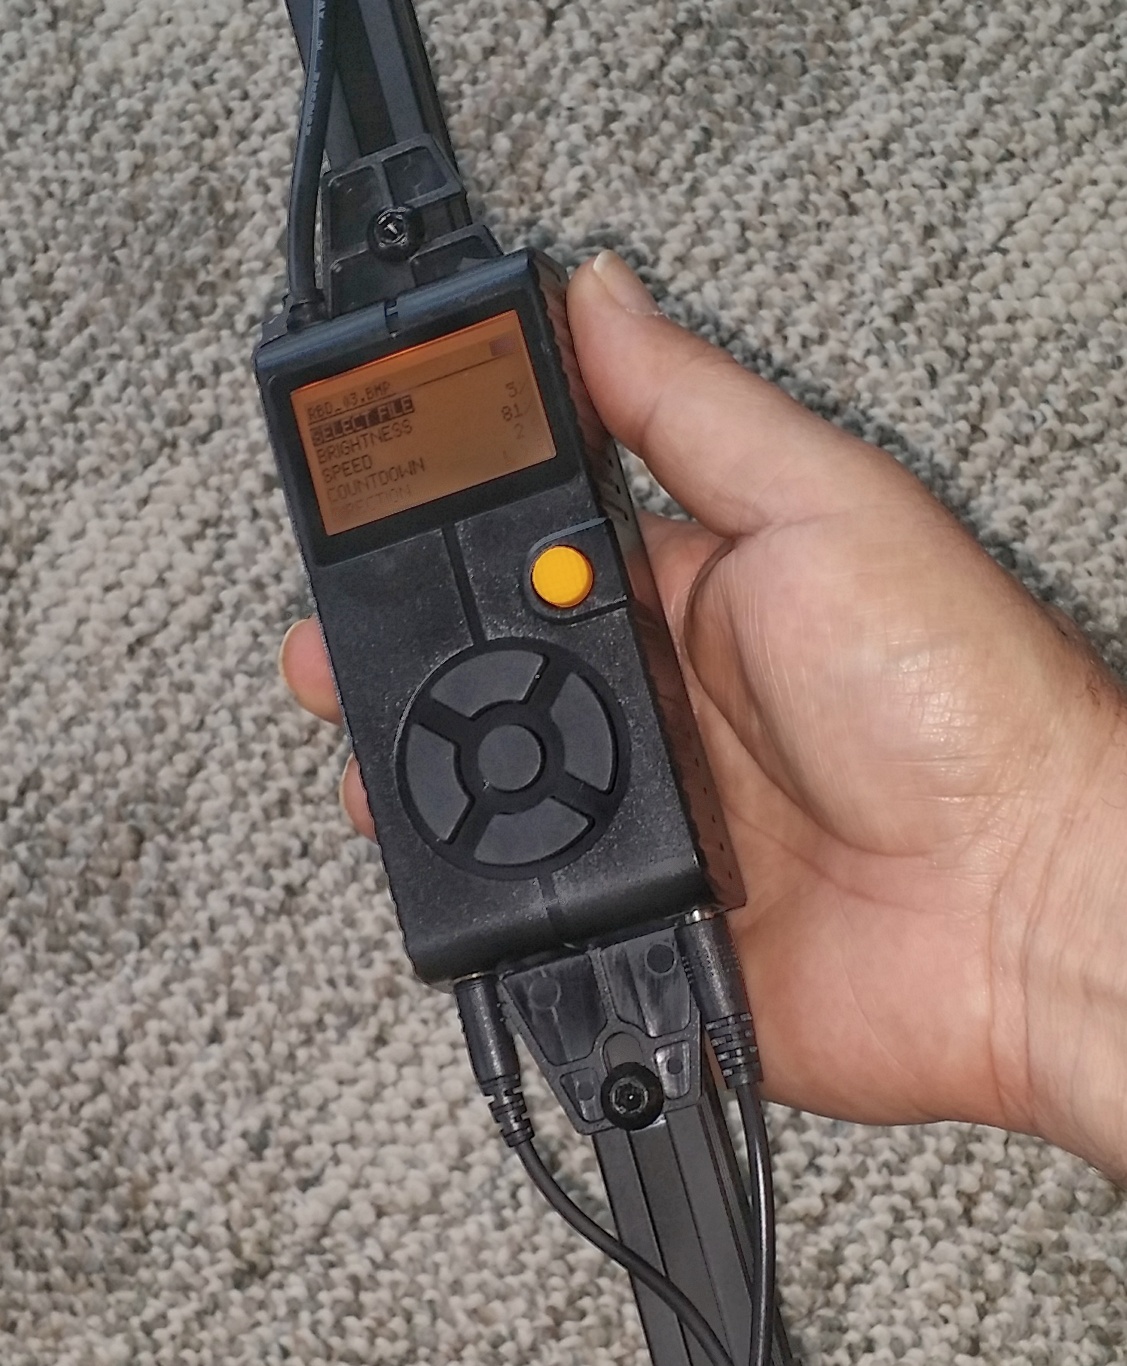
Pixelstick Controller Module

The controller assemble of the Pixelstick is the brains behind this device. It accepts SD cards to store bit mapped image files, which it then projects on its integral LED bulbs. The menu system built into firmware allows the parameters of the current project to be programmed and stored. The Pixelstick is taller than I am when it is completely assembled. It is a light painting tool that consists of 200 LED bulbs, with each bulb independently addressable and capable of producing the color spectrum at a variety of intensities. It can effectively project an image consisting of vertical pixels, that when transported across the field of view, creates an image. Although I have not used the Pixelstick extensively, I have a few examples to show what a few of its capabilities are.

Front lawn on fire

In this image, I used a stock bit map image of flames to create this scene. I set the Repeat mode on and proceeded to walk around my yard and up and down the road in front of the house to create an illusion of flames. This was all done while the camera shutter was open for a long exposure.

South Moulton Barn in the Ozarks

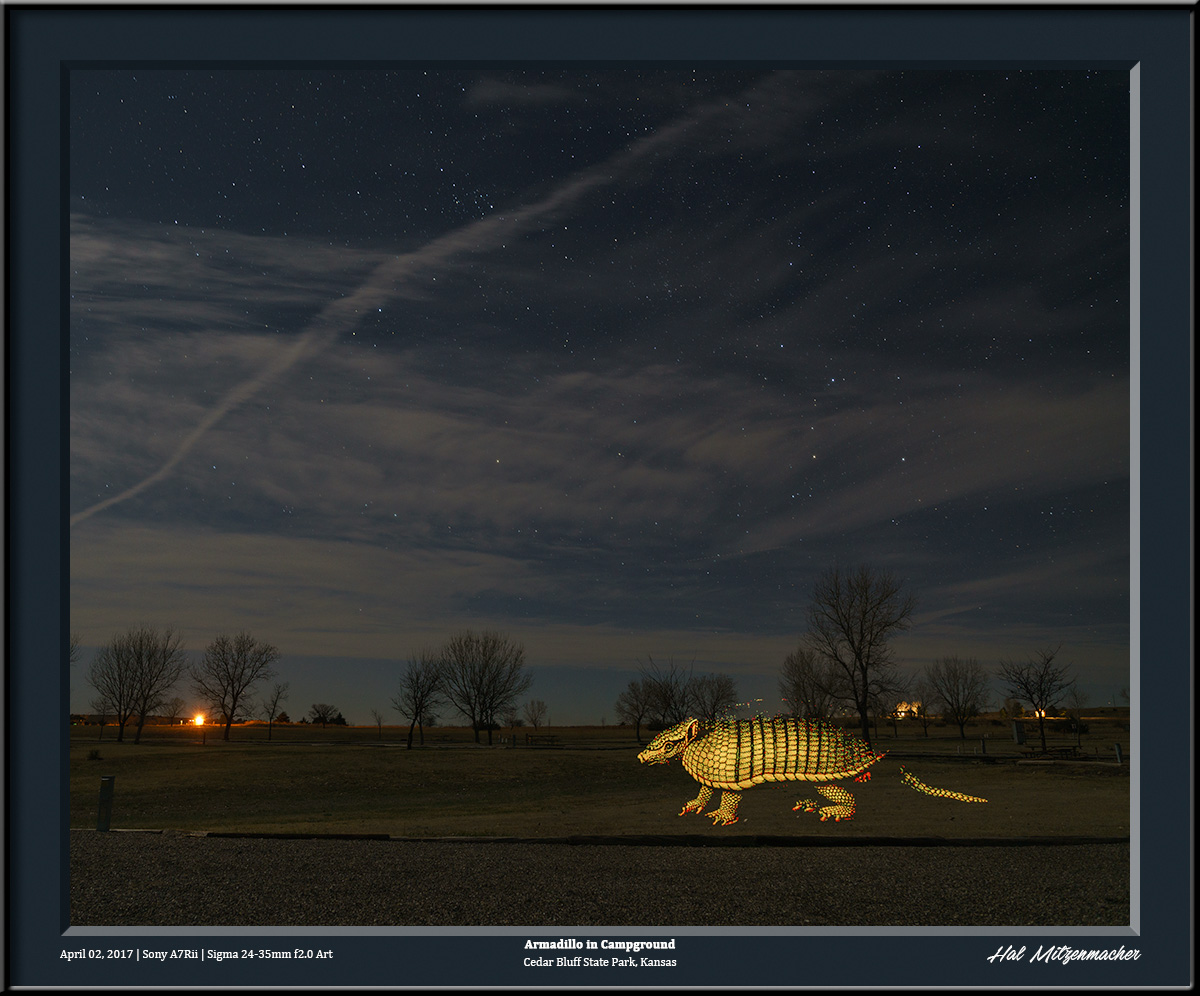
In this image, I took a photograph of the South Moulton Barn, which is located in Grand Teton National Park in Wyoming, and uploaded it as a bit map image to my Pixelstick. By walking across my front lawn while projecting this barn image from the Pixelstick, I was able to create the illusion of the barn being in the Ozarks. The waviness exhibited in the barn is due to my lack of practice in developing a smooth, gliding gait while carrying the Pixelstick. Practice should remedy this shortcoming in the future. And finally, here is my attempt to place an armadillo in my campsite while on a trip to Kansas. All in all, I am looking forward to seeing what I can come up with using the Pixelstick over the next year or so. I fear the capabilities of the Pixelstick will greatly surpass my creative imagination. We’ll see.

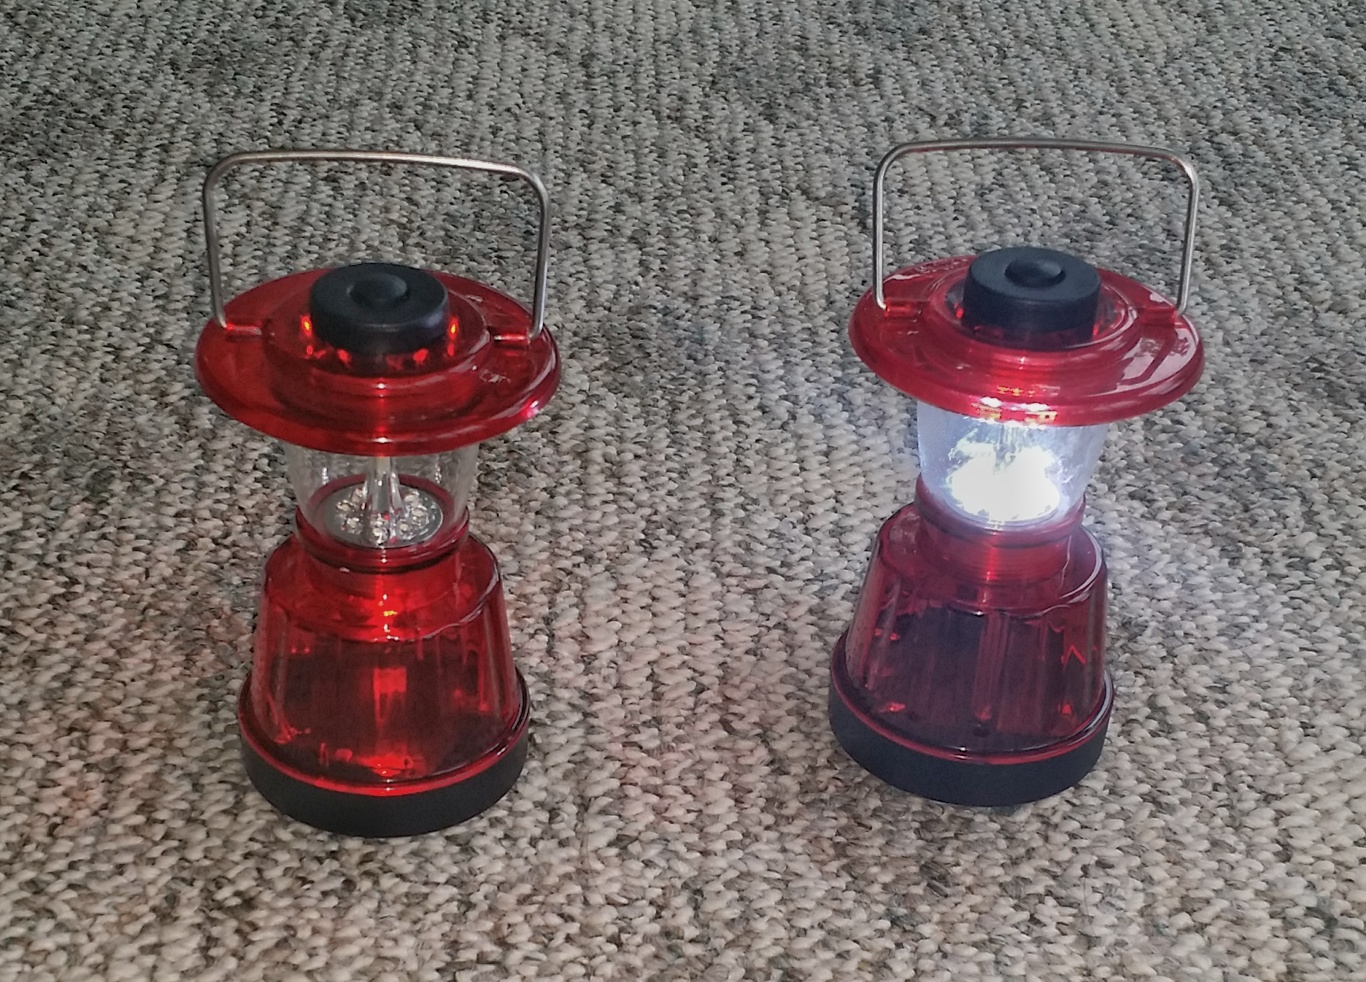
Multi-function mini lanterns

These inexpensive mini lanterns have proven to be very useful in many situations. They are small, readily available, and cheap. Here are a couple of examples of the mini lanterns in use:

Mini lanterns simulate glowing embers

When I went to the Cricket Creek Public Use Area last year to shoot some night sky photographs, the Army Corp of Engineers had bulldozed some driftwood into a big pile on the beach right where I planned to set up my tripod. Rather than fret, I set up three of my mini-lanterns in the pile of driftwood, and turned them on to the red mode. It simulated the look of embers glowing from a fire, and created some interest in the foreground that otherwise would have been plain and barren.

Mini lantern illuminating cemetery monument recess

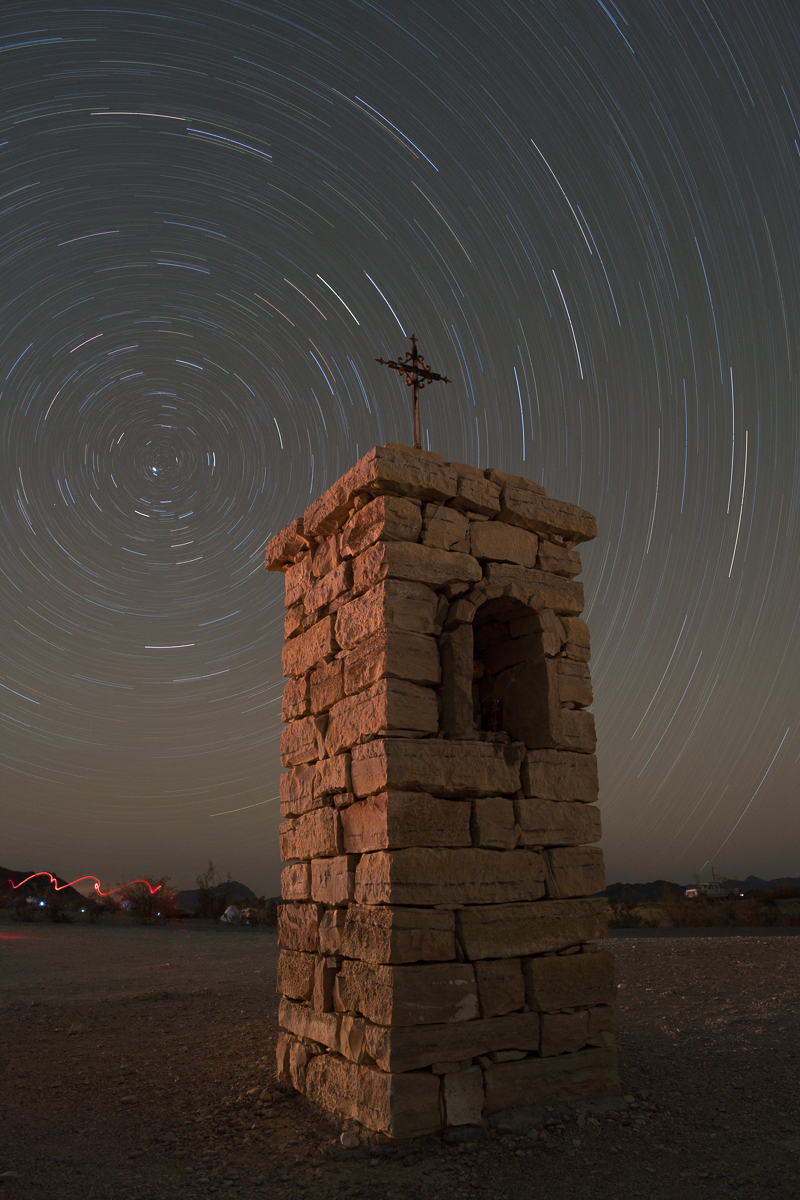
A single mini lantern was used to illuminate the recess in the cemetery monument located at the entrance to the Terlingua Cemetery in Texas.

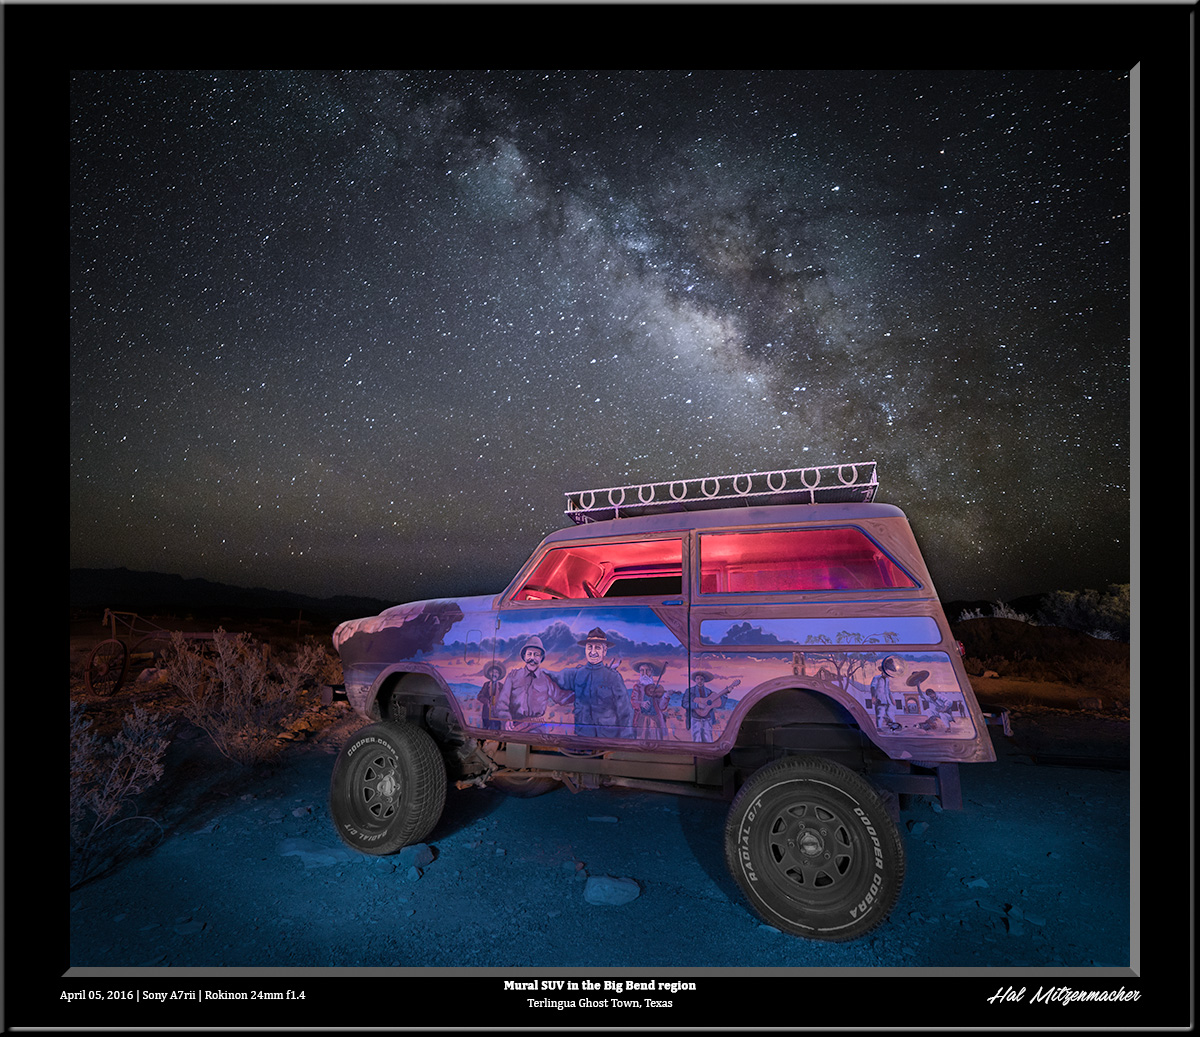
Mini lanterns illuminating the interior of this SUV

Also in Terlingua, Texas, two mini lanterns were used to light up the interior of this SUV, which adds a nice contrast to the mural painted on the side of the vehicle.

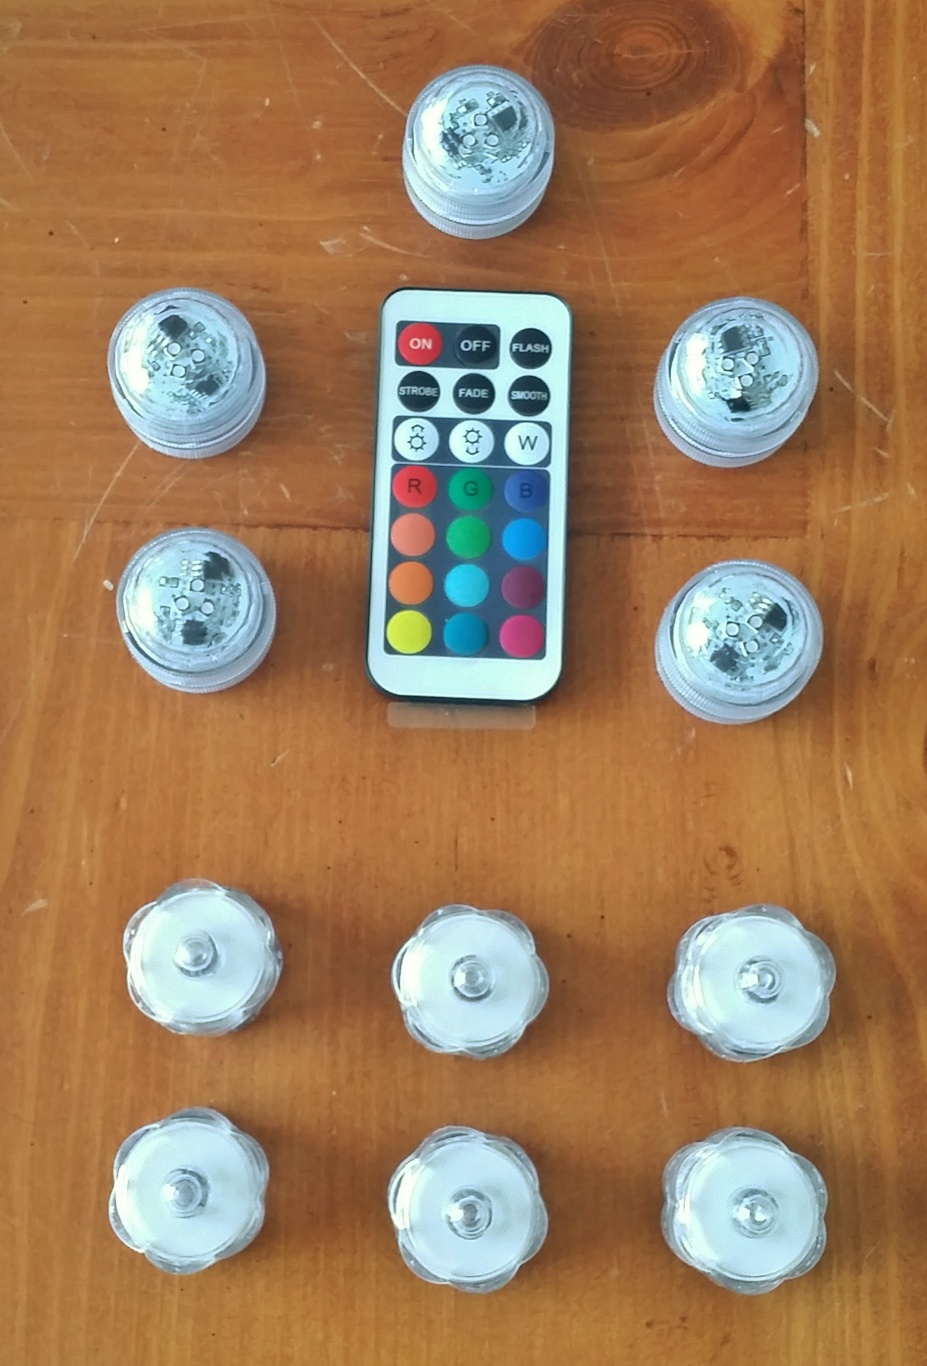
Various Tea Lamps

Tea lamps are small, low intensity, inexpensive lights that are useful for illuminating tents, windows, and other items in a night scene. I always keep a few in my gear bag, as you never know when they will come in handy. I have two kinds, as seen above. The lights in the top of the photo are multi-colored and multi-intensity, Flameless LED Tea Lights. They are remote controlled, so that the intensity can be adjusted from a distance. This is useful if setting the lamps up in an enclosed space, such as a tent or automobile. It allows the light intensity to be easily balanced with the ambient light conditions. The lights in the bottom of the photo are Floral Submersible Tea Lights, which are cheap, small and useful in a variety of situations.

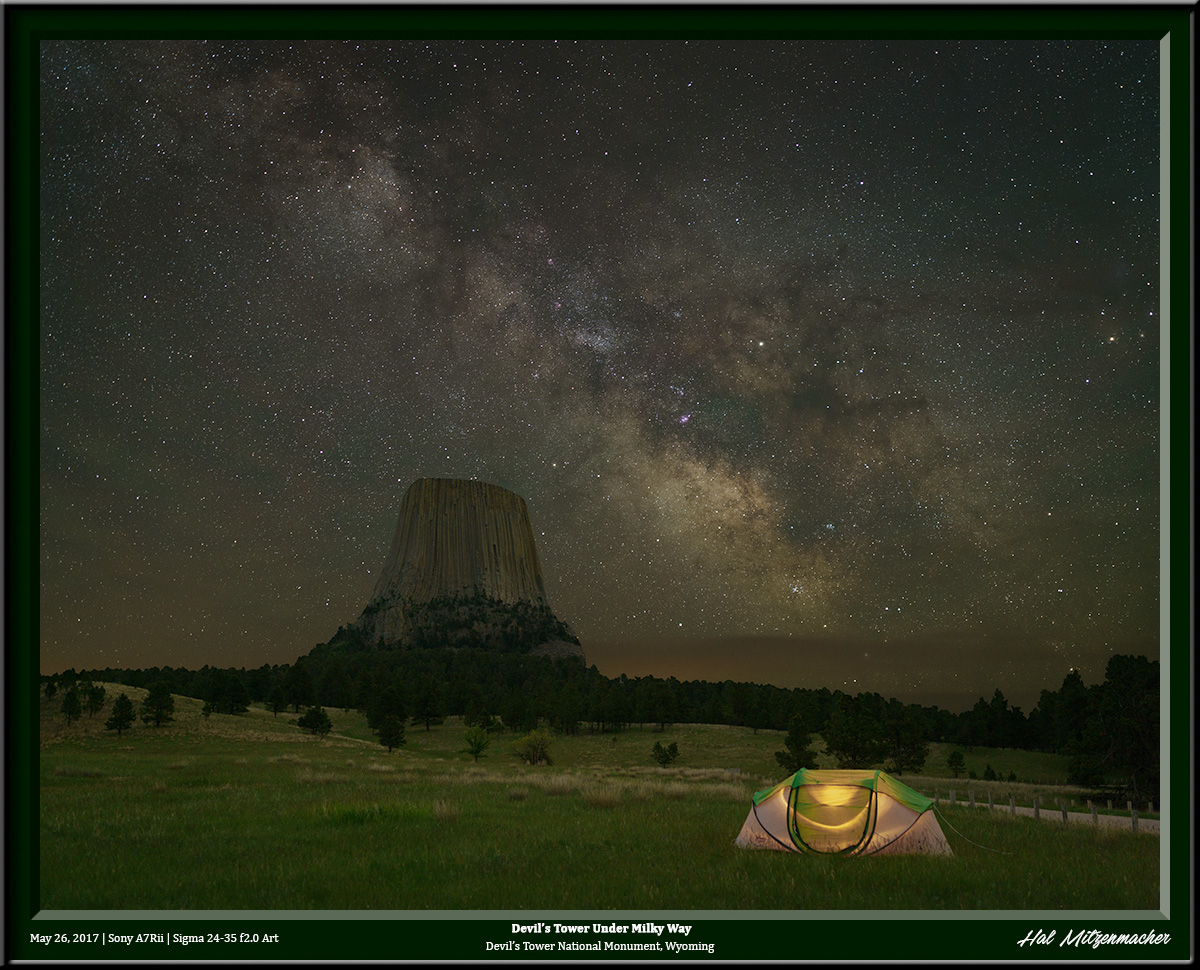
Tea lights illuminate interior of tent

Tea lights can be used to illuminate a variety of subjects, and are often used to illuminate the interior of a foreground element, such as this tent.

Tea lights illuminate interior of Cunningham Cabin

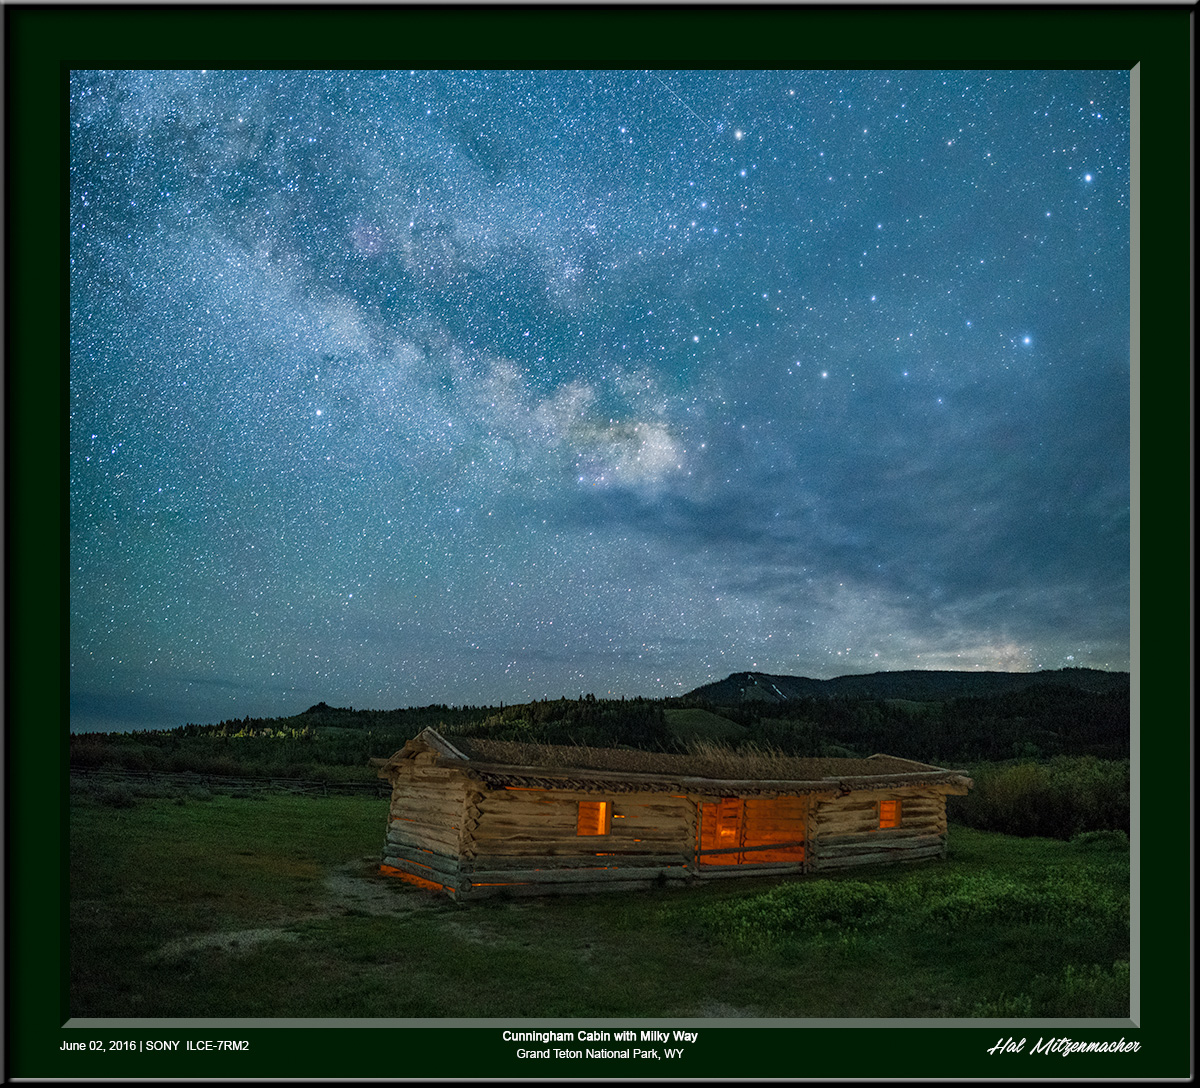
Tea lights are very useful to illuminate the interior of buildings and cabins that are the subject in a photograph. The additional lighting effect adds interest to the foreground and sets it apart from the sky.

Yongnuo YN-560IV with remote trigger

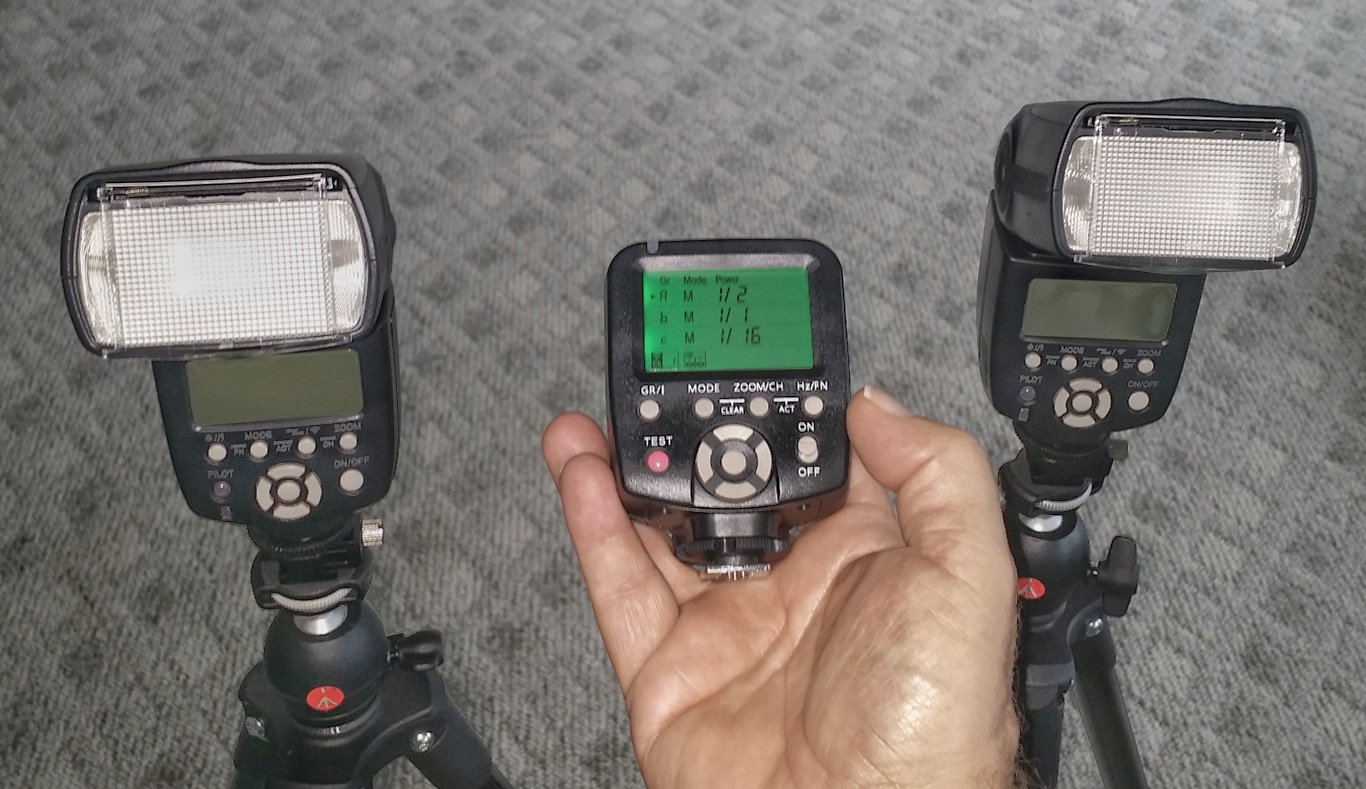
The Yongnuo YN-560IV Wireless Flash Speedlites with LCD Flash Trigger Remote are inexpensive flash units that can easily be transported in ones lighting bag for use in night portraiture, or whenever the photographer want to freeze motion in an image. The remote controller allows easy adjustment of the speedlite output without having to move to each flash position for adjusting. All adjustments are made right from the control unit, which can be mounted on the camera or carried in hand. Here are two examples of images made using the Yongnuo speedlites for a selfie type portrait taken during a long exposure.

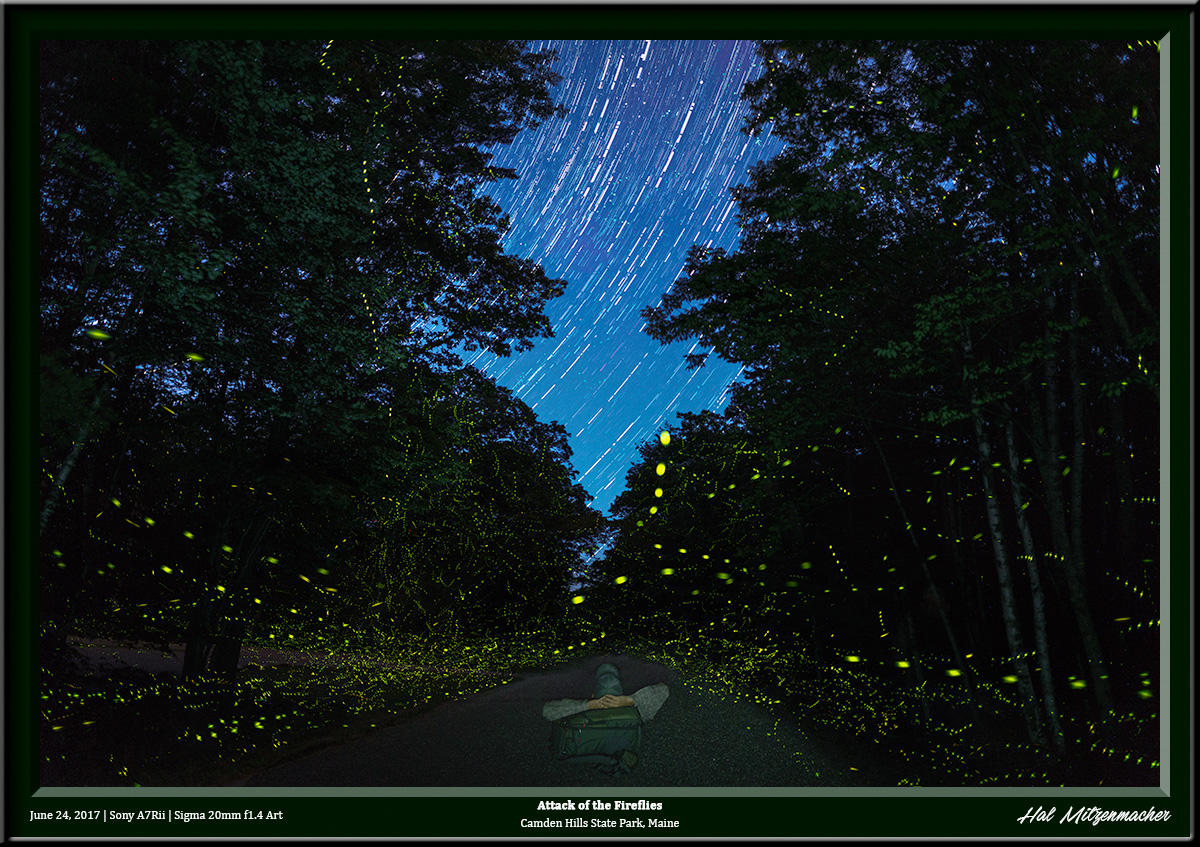
Pondering the Fireflies in Maine

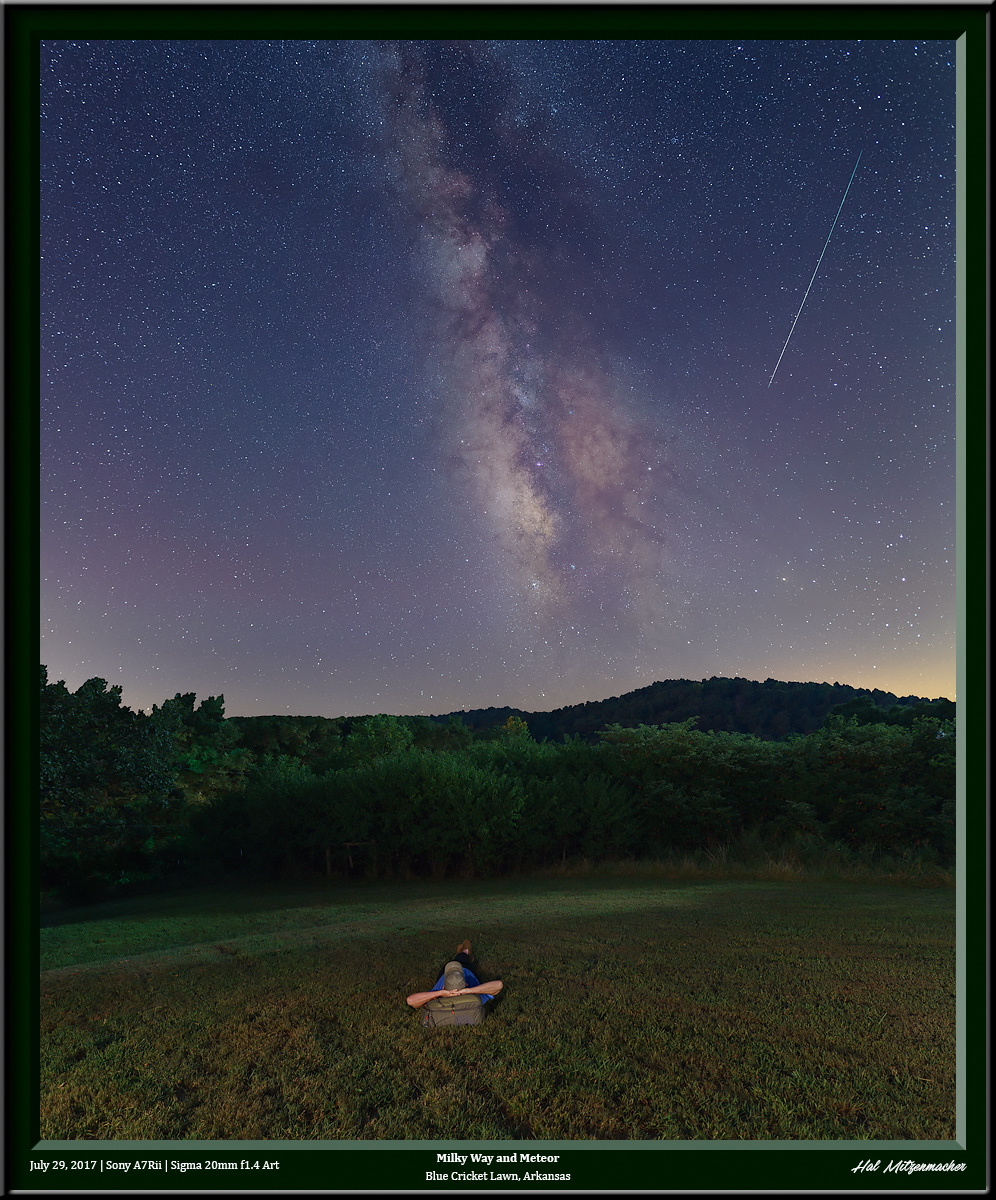
Pondering the heavens in Arkansas

Both of the photographs above include yours truly in the image. I used the Yongnuo speedlites to ensure a motion free selfie, which I blended into the long-exposure foreground to add a little interest to an otherwise ordinary photograph.

Flare Buster mounted to tripod

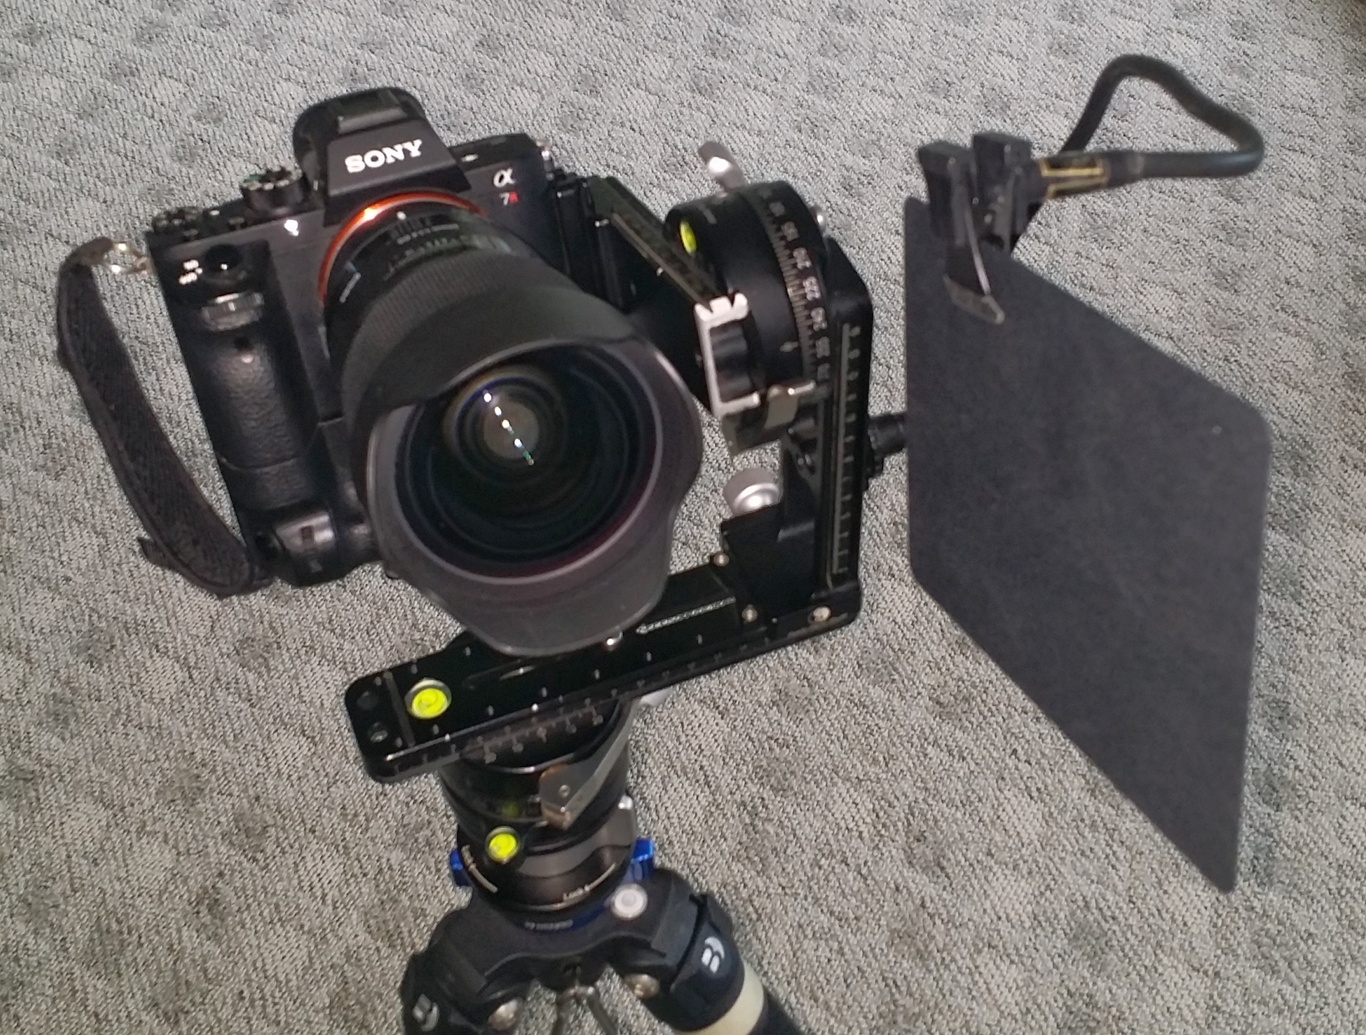
Lastly, I will present this device called a Flare Buster. It is actually more of an ANTI-LIGHTING device than a light per se, but I am including it here because it is an offshoot of the lighting decisions we make as night photographers. After reading about devices similar to this in Lance Keimig’s fine book, Night Photography and Light Painting, Second Edition, I searched far and wide for a device like this. I finally found it at B&H Photo, and it is called the Extra Long Flare Buster Kit.

Image made possible with use of the Flare Buster kit

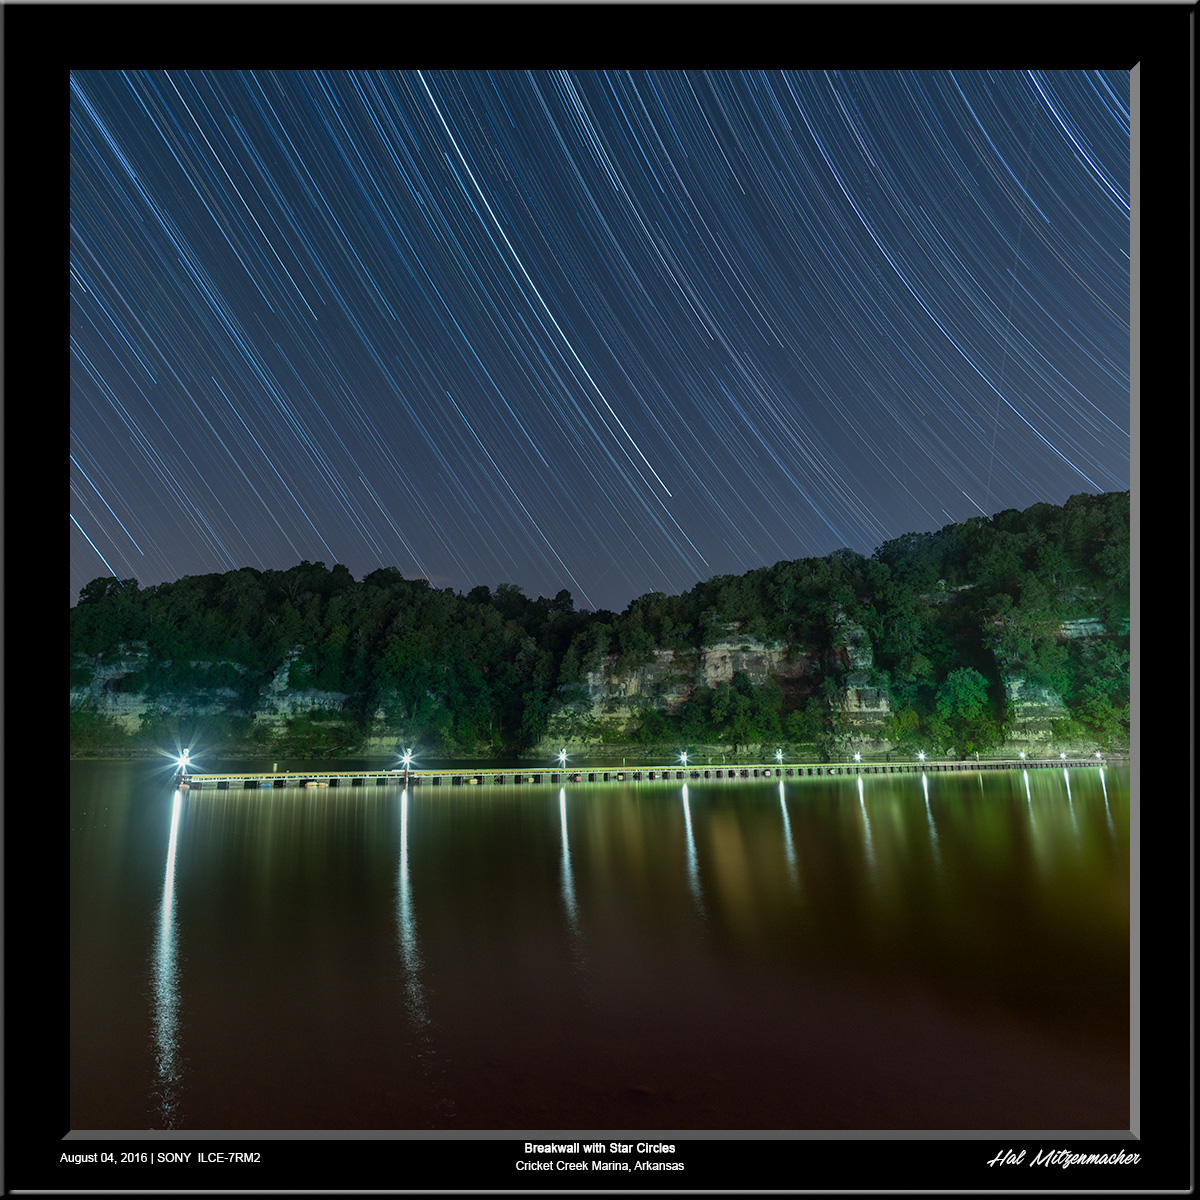
This is an image I tried making before owning the Flare Buster. In my previous attempt, the image was rendered unusable due to a giant distracting flare that was created by the glare from the marina lights, just outside the frame on the right of the image. On my next outing to capture this scene, I was prepared with the Flare Buster Kit, and it did the trick. I was rewarded with this shot.

Conclusion


There are many types of lights that can be used in the pursuit of night images. Some are general purpose tools, used frequently by night photographers, and some are more specialized, coming out of the gear bag only occasionally. Whichever methods and devices you use to create your night images are limited only by your imagination, and the lighting equipment you have at hand. In any case, added lighting is a fun dimension to add to your night photography repertoire.

Sigma 20mm f1.4 Art Series Lens For Night Photography, An Alternative View

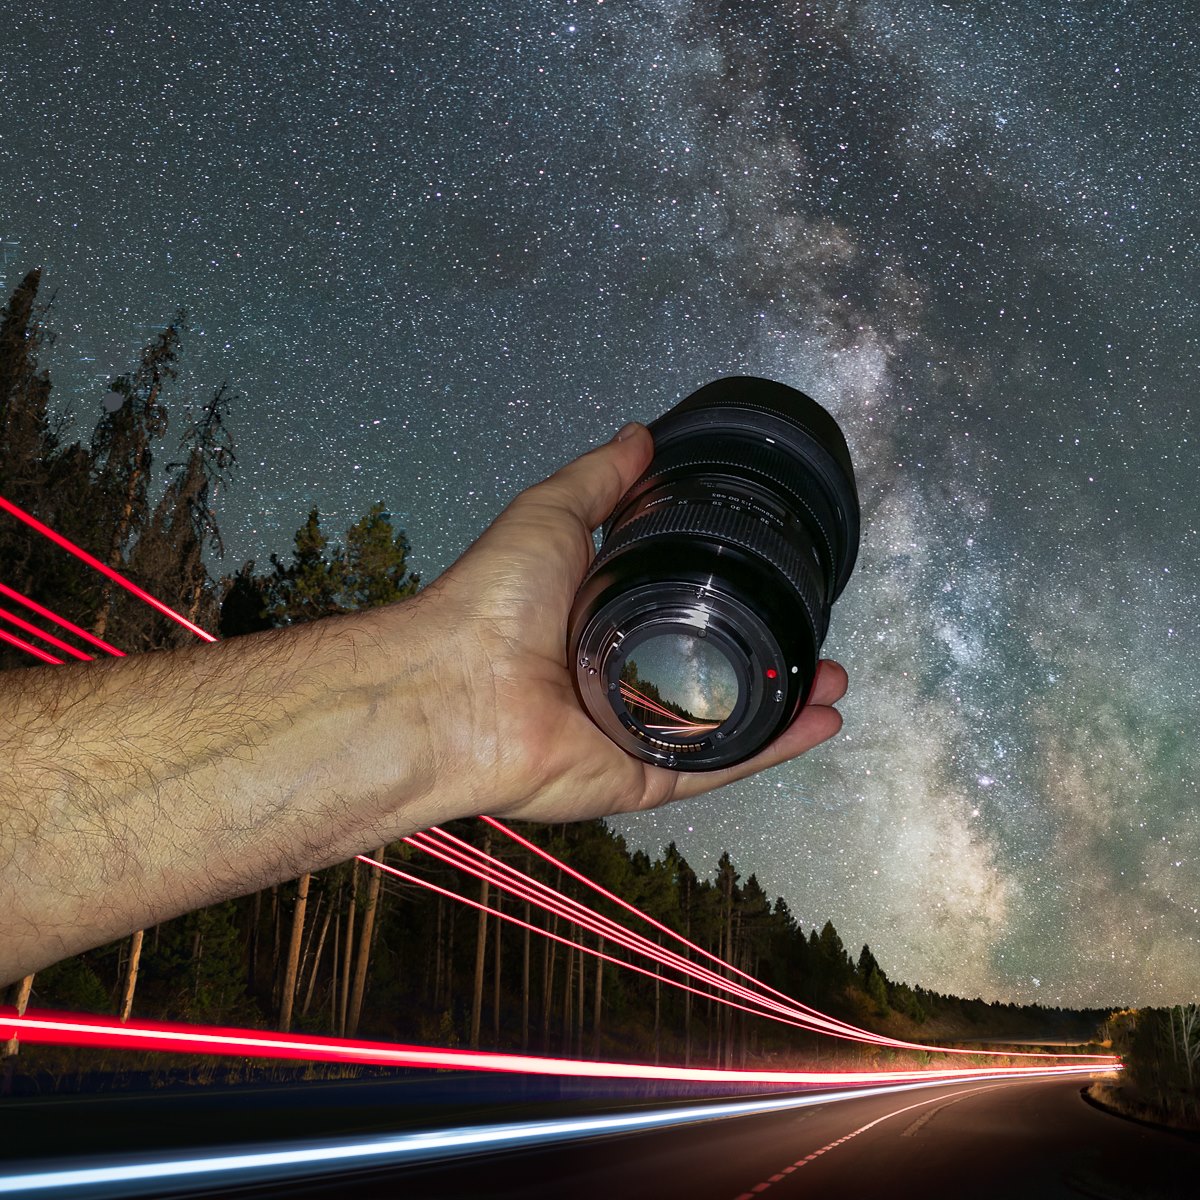
My “go to” lens for astro-landscape photography used to be a Rokinon 24mm f1.4 manual lens. It seems to be standard advice given out within various night photography groups and publications that the Rokinon 24mm f1.4, along with the Rokinon 14mm f2.8 are the standard for budget minded photographers who want to photograph the Milky Way. After using these lenses for a couple of years now, I have come to a different view, and have been updating my lens collection accordingly. The lenses I have been migrating toward are the Sigma series of Art lenses, specifically the Sigma 20mm f1.4, Sigma 24-35mm f2.0, and the Sigma 50mm f1.4. Since my switch, I have been asked repeatedly about my reasons for the switch, and my impression of the Sigma vs. Rokinon performance. Rather than responding with the same answers multiple times, I am writing this post so that I can simply send a link to the post, and all who ask will get the same uniform response. First, a disclaimer. I am, by no stretch of the imagination, an expert on lens performance, nor do I possess the necessary experience to opine generally on this topic. But I do feel I can contribute some constructive observations on the lenses in question based on my own particular usage and expectations thereof. So in this spirit, here are my thoughts. As always, YMMV. The first consideration is cost. Looking at Amazon or B&H, one quickly finds that the Rokinon series of lenses costs roughly half of what the Sigma lenses retail for, some slightly more, some slightly less. If cost were the only consideration (or perhaps the major consideration), the Rokinons would win hands down. On the other hand, if longevity is a consideration, the Sigma lenses come out ahead. The quality control of the Sigma lenses has proven to be excellent in real world use, while the Rokinon lenses are build to a less rigorous physical standard. Additionally, there are many Rokinon users that report having to return Rokinon lenses because of an issue of decentered lens groups, leading to half of the image being out of focus. I have had to return two copies of my Rokinon 24mm before receiving one that was not decentered. The Rokinon lenses are fully manual lenses, while the Sigma lenses are automatic. The standard story line is that we shoot in manual mode when doing night photography, so it does not matter that the Rokinon lenses are manual. Phooey!! Maybe for you it might not matter, but for me it has become a deal breaker, and here are my reasons why.

1) On a fully manual lens, the EXIF data recorded with the RAW image file (or JPEGS, for that matter) does not contain information on the lens that was used in the shot, nor the f-stop that was used to produce the image. Try going through images you took a month or year ago, and see if you can identify the lens used or the aperture. The same people who advise that a manual lens presents no problem for night photographers seem to contradict themselves, when in other contexts they recommend comparing coma testing results to see what settings are acceptable in actual use. How can you compare the results of two or more exposures, when the EXIF reads f(???) and f(???). Also, has anyone ever asked you what exposure settings were used to create an image, and you had to guess because there is nothing regarding aperture in the EXIF data? How about lens focal length? Are your observational skill sufficiently developed so at a glance you can determine whether an image was taken with a 14mm, 20mm, 24mm or 35mm lens just by examining an image? Mine certainly are not, and I do not like to guess about these settings when examining and critiquing past images.

2) On a fully manual lens the aperture must be set with a ring on the lens barrel. I shoot at night here in the Ozarks as a regular routine, and also in other locations where the temperature and dew point converge. To eliminate fogging, I must wrap the lens barrel with a dew heater or with hand warmers to prevent fogging. This means that I must unwrap the lens to make any aperture adjustment and then re-wrap the lens. Try doing this repeatedly in the course of a shooting session without disturbing the focus or camera positioning – it is difficult, if not impossible. An automatic lens solves the problem. Just adjust aperture using the control dial. No need to unwrap and re-wrap the lens any more!

And now to the main issue most people are asking me about – image sharpness and coma. The Rokinon lenses have a well deserved reputation for being lenses that minimize coma (I’ll use coma here as a proxy for coma and astigmatism). Even when shot wide open, the Rokinons perform exceedingly well in the coma department, much better than the Sigma lenses, which need to be stopped down to achieve the same coma performance. HOWEVER, the Sigma lenses have a well deserved reputation (confirmed on test benches) for incredible edge to edge sharpness throughout the Art Series lineup. Refer to DxO testing and MTF charts to compare the difference between the Rokinon and Sigma lenses. The Sigma lenses win hands down in this regard. While I admit to not having experience with many high-end lenses such as Zeiss or Sony GMaster lenses, I have been truly astounded with the overall sharpness of my Sigma lenses. The sharpness extends from edge to edge, not just in the center, as in the Rokinon lenses, which also appear to be softer in general than the Sigma lenses. With regard to the Sigma 20mm f1.4 specifically, I have a different view than most when comparing it to the Rokinon 24mm f1.4. When shooting a single frame image (non-pano), if I crop the image to the same field of view as the Rokinon 24mm, the coma affected stars are cropped away, but I gain the advantage of the stunning sharpness of the Sigma compared to the Rokinon, while achieving essentially the same field of view. When I shoot for a panorama, as long as I provide sufficient overlap (I overlap 50%) the coma affected stars are not included in the stitched image, except in the extreme outer edges, which is easy to correct in post processing. And my last observation regarding the Rokinon vs. Sigma debate. In daytime shooting, the Sigma lenses produce results that are rated among the best lenses. And they are fully automatic, to boot. By giving a little forethought to how I use the lenses at night, I can get the best of both worlds (daytime and nighttime) with the Sigma lenses. I believe that the photographer should take into consideration the type of night photographs they wish to create in making the decision on which lenses to acquire. My own style is evolving to emphasize the foreground, and reduce the sky as the main element of the image. In this regard, the Sigma lenses excel, especially as compared to images I have taken with my Rokinon lenses. Please feel free to comment with your own experiences with these, or other lenses. I’d love to hear from you!

A Scouting Trip To Kansas

  Night photography in the Ozarks can be difficult. The narrow, winding, dark roads are hazardous to drive at night, and the abrupt falloff from lane edges to drainage ditches means there is usually no shoulder to park alongside the roadways. While there are areas in the Ozarks with dark skies, most of these areas are quite inaccessible (there are good reasons why the Ozarks remained a “semi-arrested frontier” for generations, the ruggedness of the terrain being one of them). Combine this with the warm and humid air of the region, which creates lots of long exposure noise in images, and one can see why night photographers in the region are always on the lookout for alternate locations to shoot. That is why, when Darren White posted an invitation to his friends to join him on a photographic scouting trip in Kansas recently, I immediately jumped at the opportunity. Not only does Kansas have reasonably dark skies, it also features many wonderful foreground subjects with easy access and wide-open horizons. And shooting with Darren is always inspirational and educational. What could possibly go wrong? Besides the weather, which rained or created foggy skies most of the trip. Besides the electrical system going out in my RV. Besides the water pump in the RV dying. Besides the hundreds of pounds of mud I pressure washed from every nook and cranny underneath my truck. These were merely annoyances compared to what I gained by participating in this scouting trip. While I do not have many night images from this trip due to the weather, we did manage to explore a trove of locations that will provide many, many night images in the future. Meanwhile, the photography I did manage to get in turned out OK, so I thought I would share some of the images and locations through this post.

Day 1 (Wednesday) and Day 2 (Thursday)

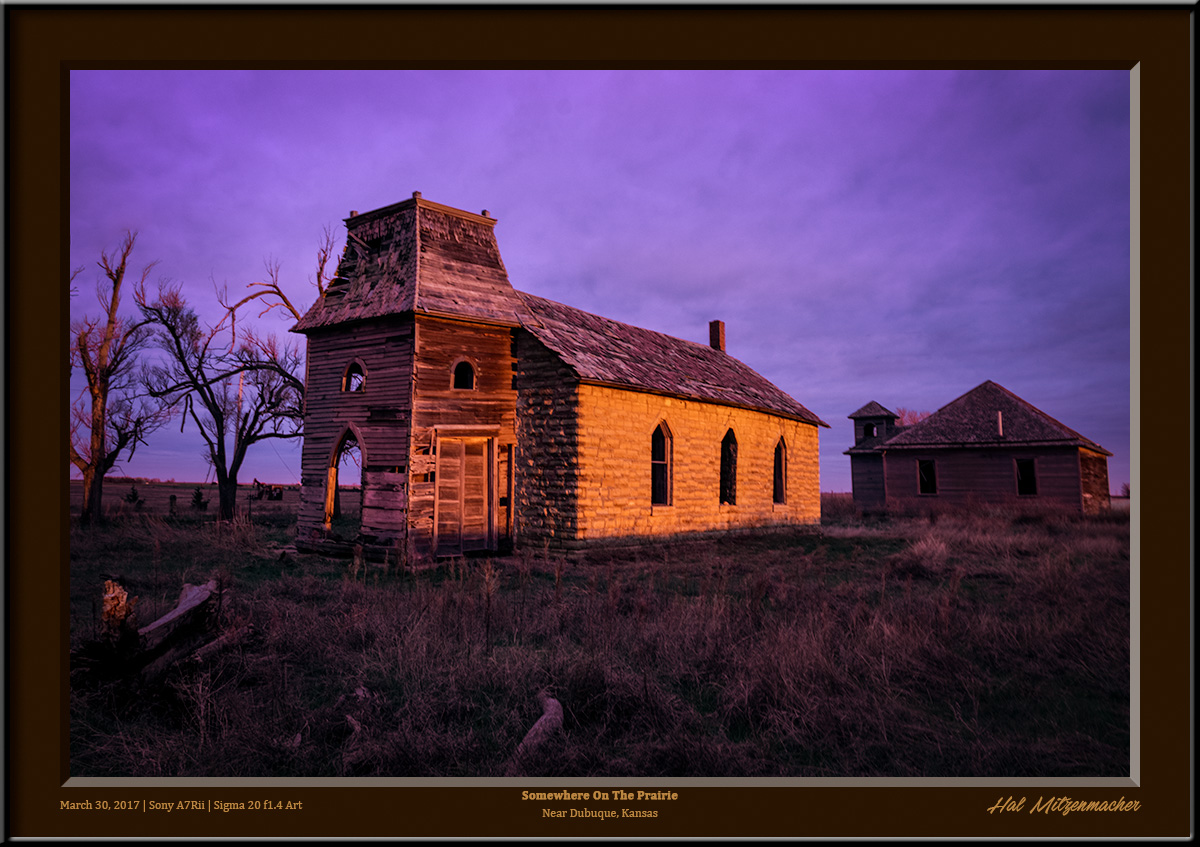
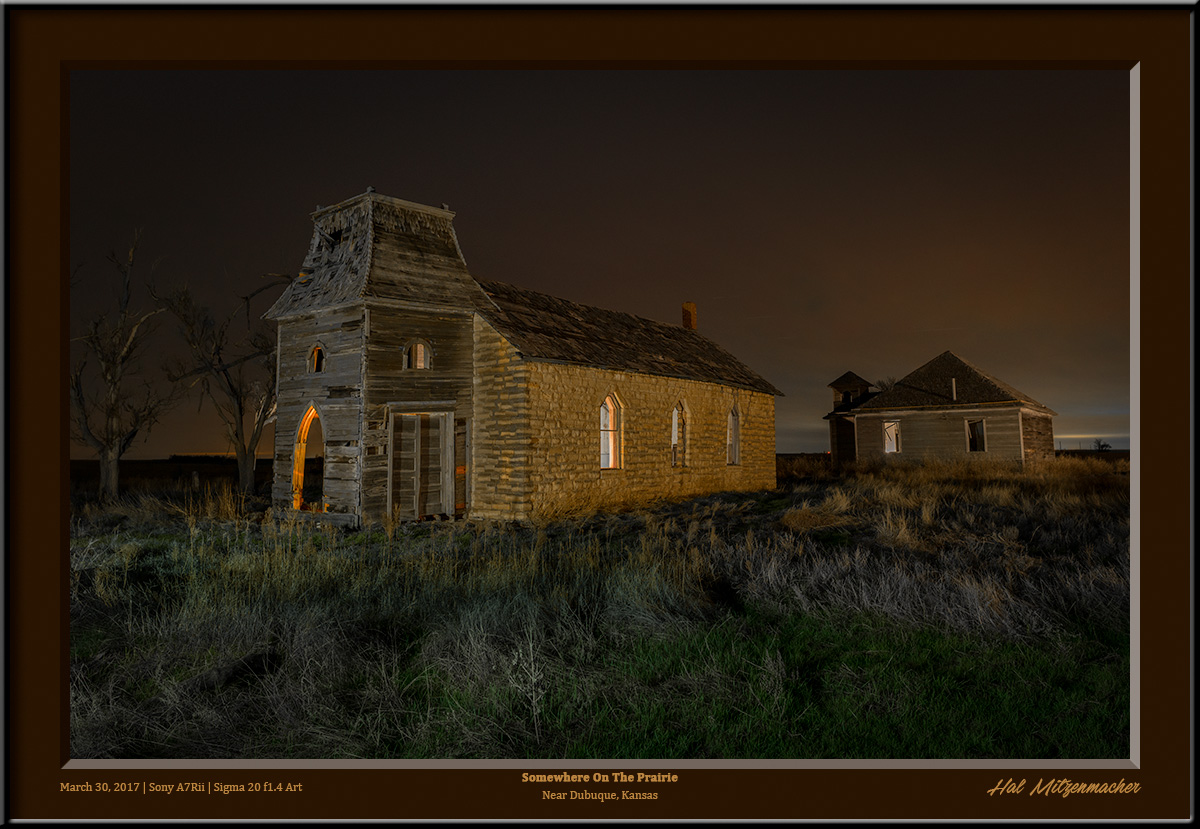
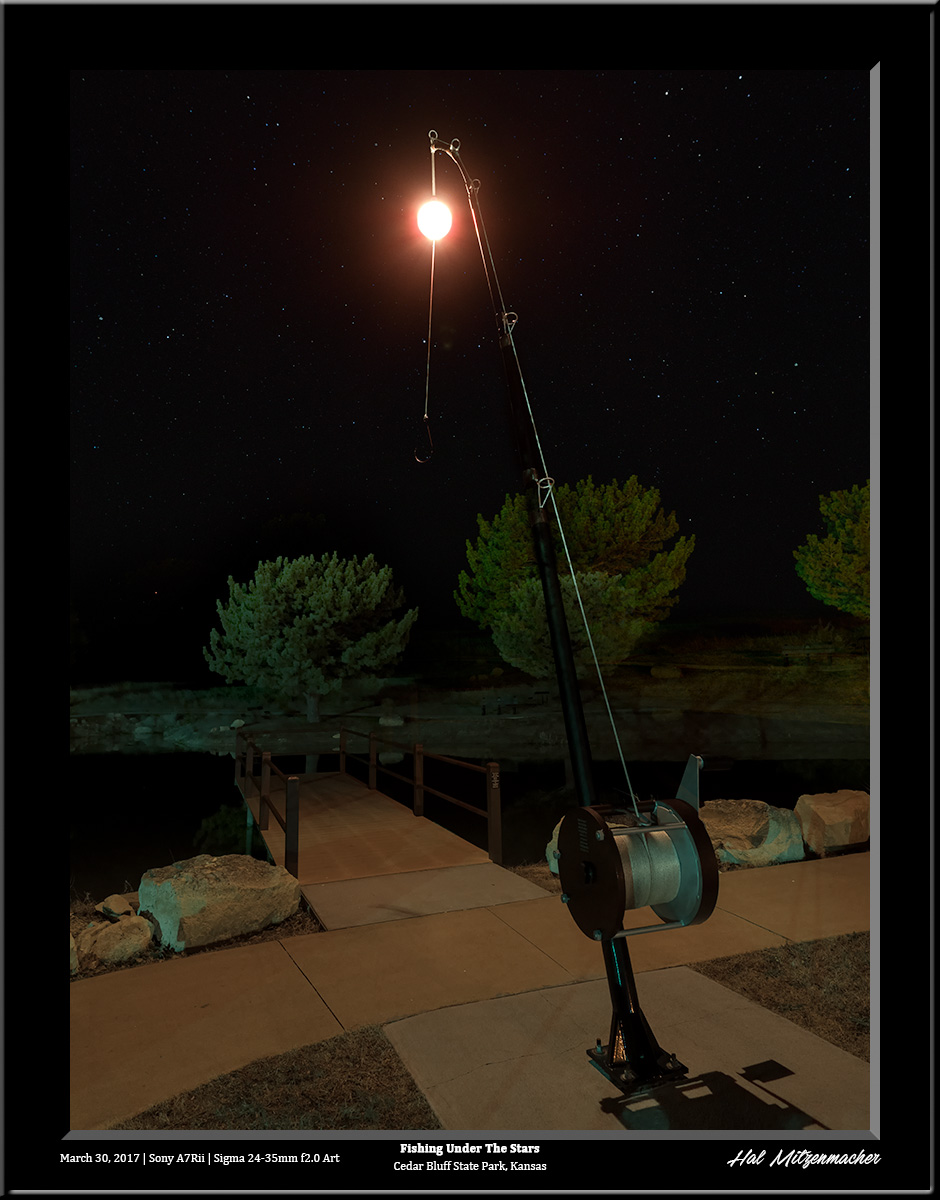
Day 1 was spent driving from the Ozarks to Cedar Bluff State Park, located at Cedar Bluff Reservoir in central Kansas. After a long rainy drive, I spent the night making repairs to the RV and resting up for the following day. On Day 2 I met fellow photographer Mike Spivey at a location near Dubuque, Kansas, where we awaited the sunset in order to photograph this old church and schoolhouse, The sunset did not disappoint, and we were rewarded with some rich, warm tones to work with. It was here that we met Derek Ace, a photographer from Wisconsin, who joined us in shooting these structures. Derek had just arrived in Kansas after a long drive from Wisconsin, so he departed immediately after sunset to catch up on some needed rest, while Mike and I continued to shoot the old abandoned church until about 11:00 pm. It was pretty apparent that the Milky Way would not be making an appearance early the next morning due to the clouds, so I made my way back to camp at Cedar Bluff State Park. The sky decided to play tease with me – when I arrived back in camp, the clouds had completely disappeared, so I set up the camera to take star circles around this giant fishing rod & reel for a couple of hours, while awaiting the Milky Way core, which would be rising in the wee hours of the morning. I settle down in the truck to take a nap, and when I awoke, the area was engulfed in fog. No Milky Way again.

Day 3 (Friday)

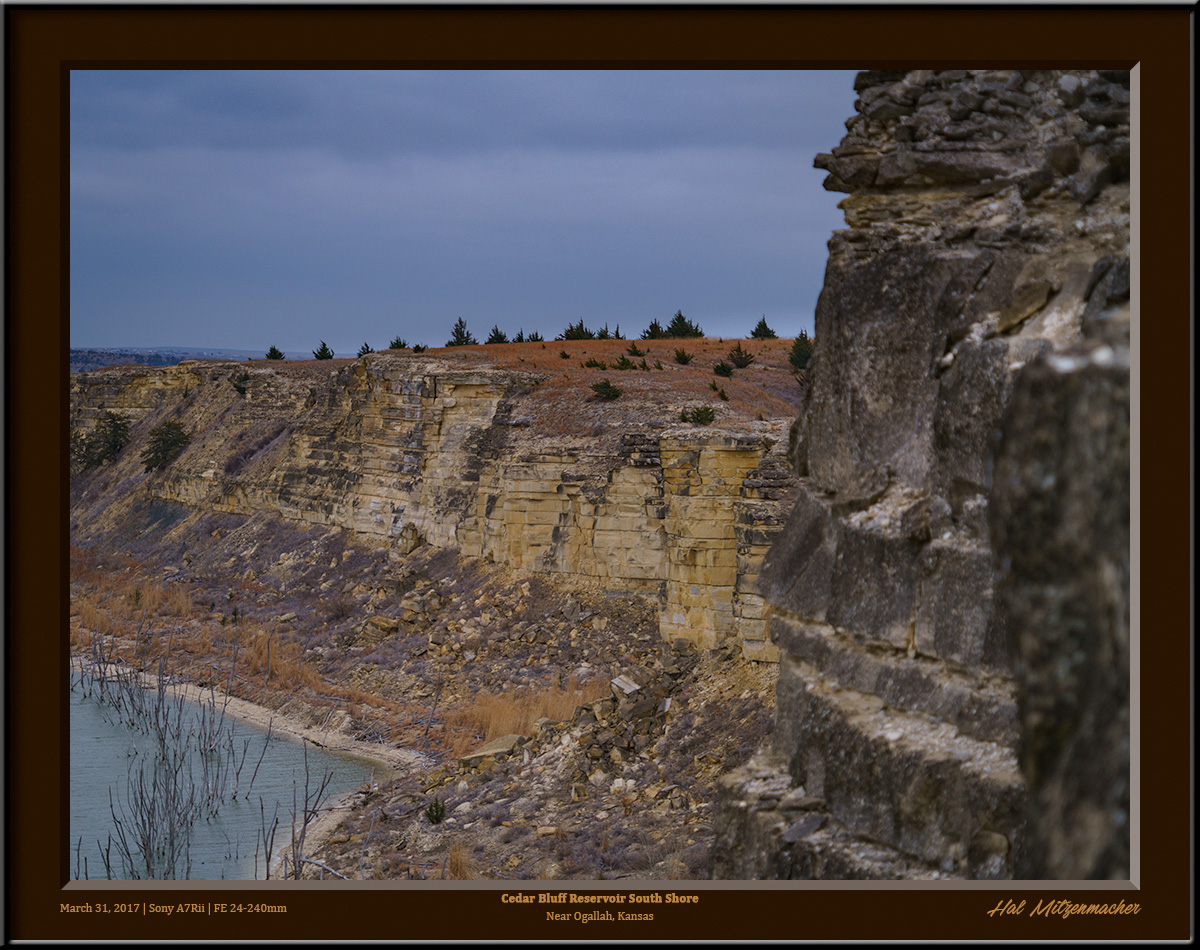
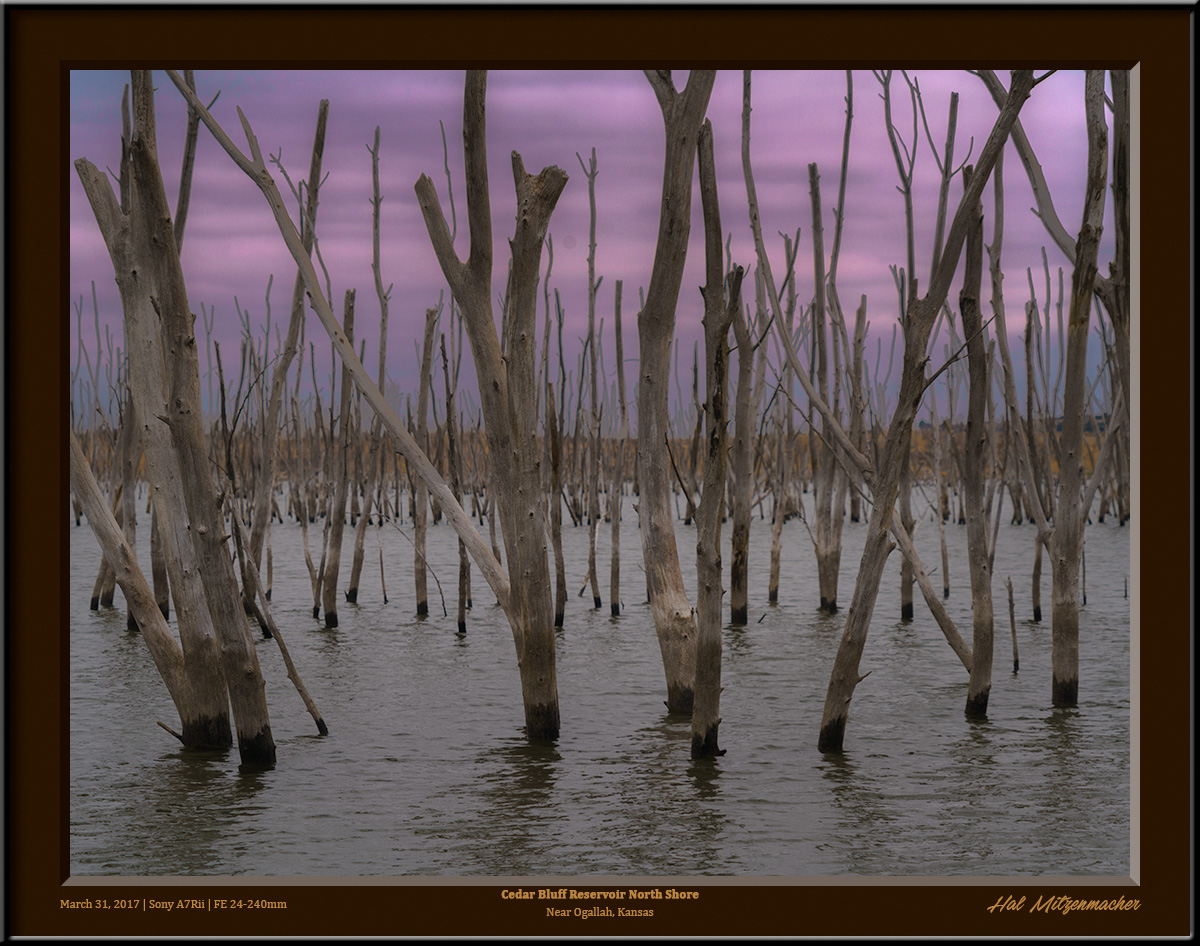
Several photographers met up on this, the first “official” day of the scouting trip, at 4:00 pm at Cedar Bluff State Park in central Kansas.. Included were Darren, Bob, Mike, Angie, Shari, and myself. Our first order of business, after getting acquainted, was to explore both the south and north shores of the Cedar Bluff Reservoir. The south shore is generally flat, but contains areas full of the trees that stick up out of the water. The north shore, on the other hand, has nice areas of rocky bluffs that are quite rugged and photogenic. I think that the Cedar Bluff area has great potential for night images when the sky and weather are cooperative.

Day 4 (Saturday)

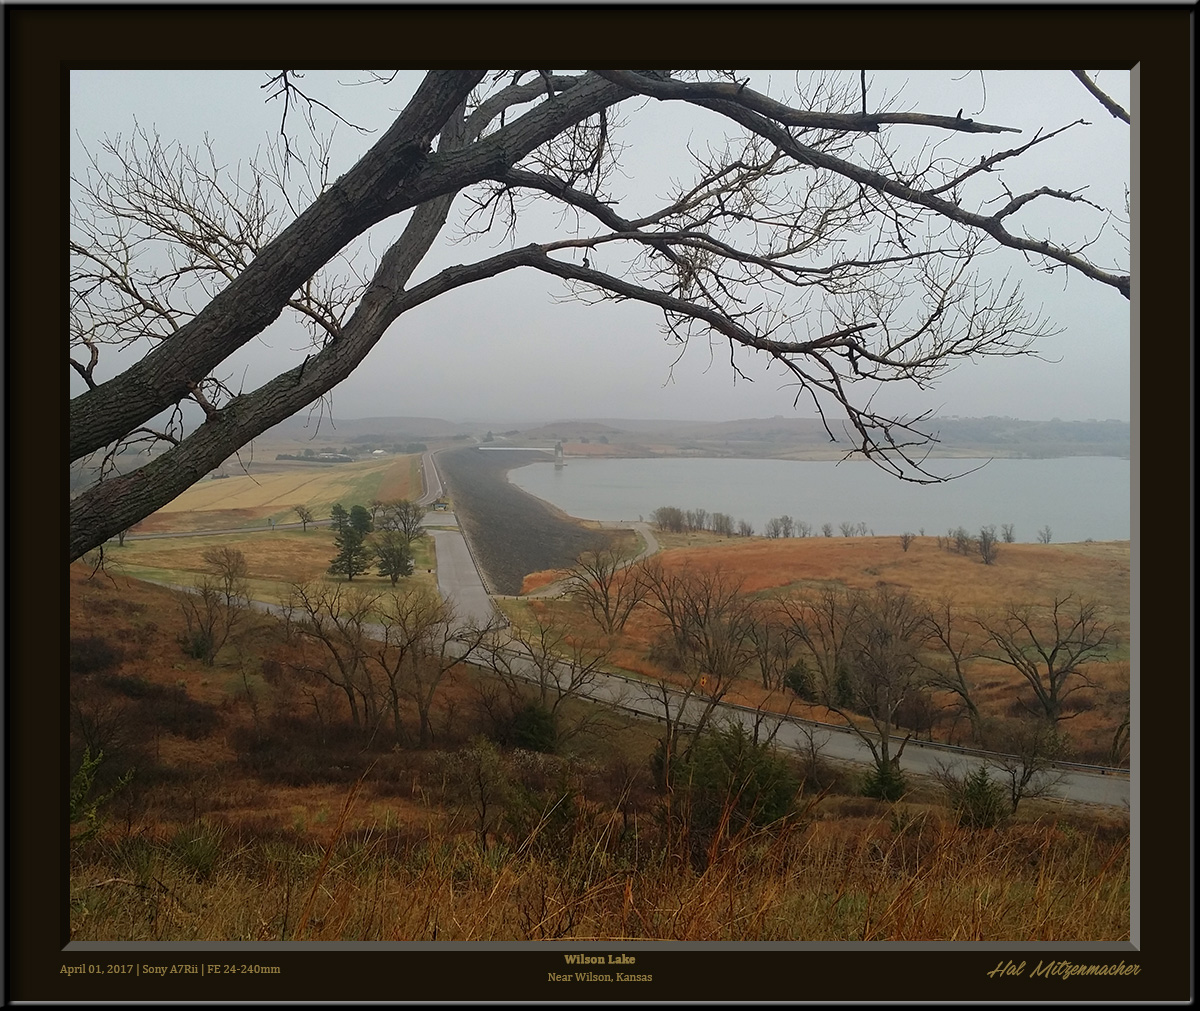
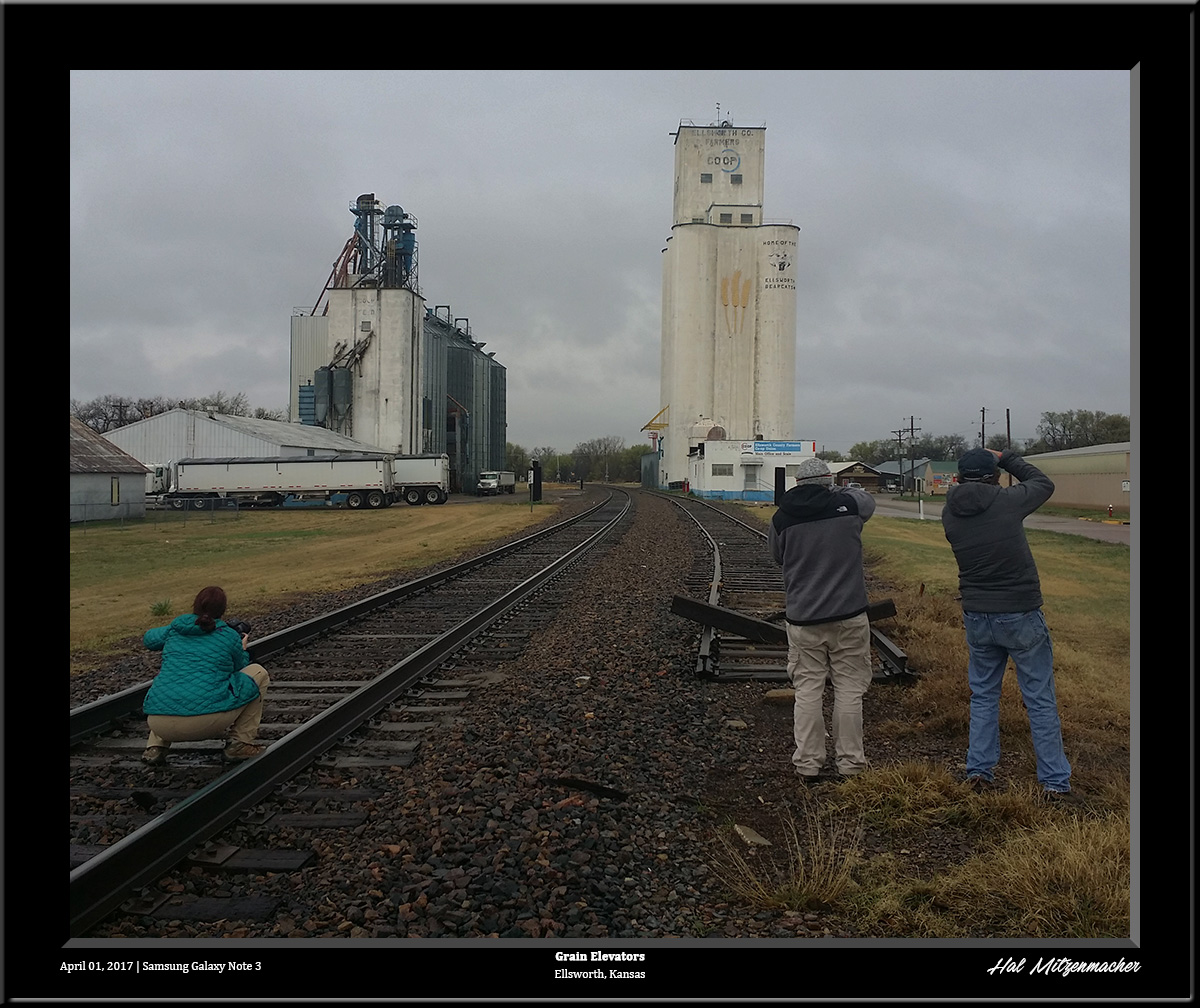
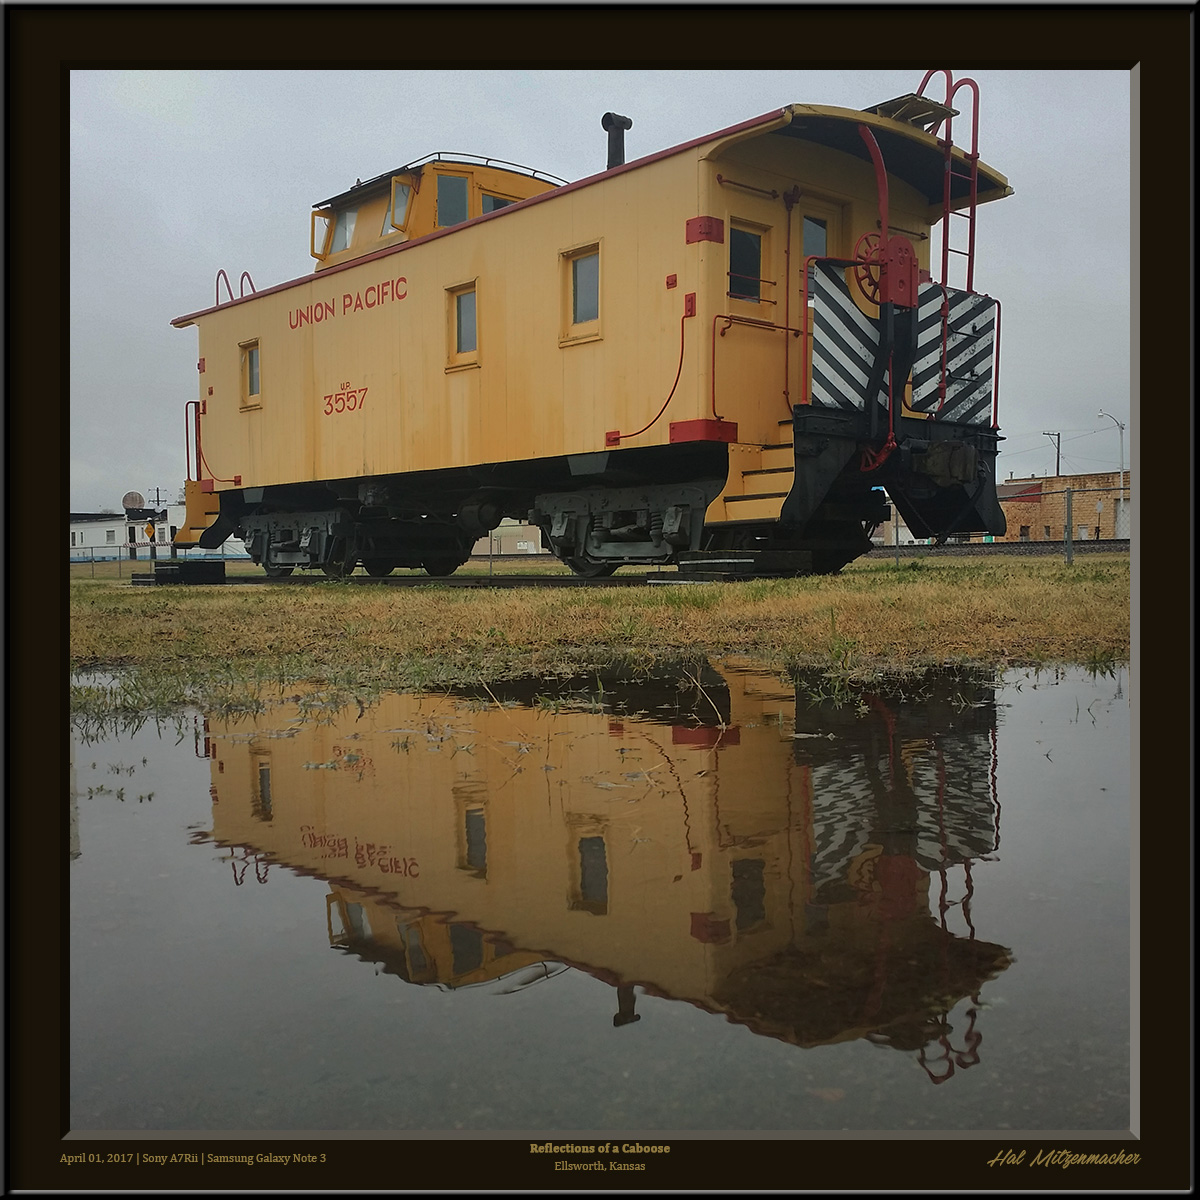
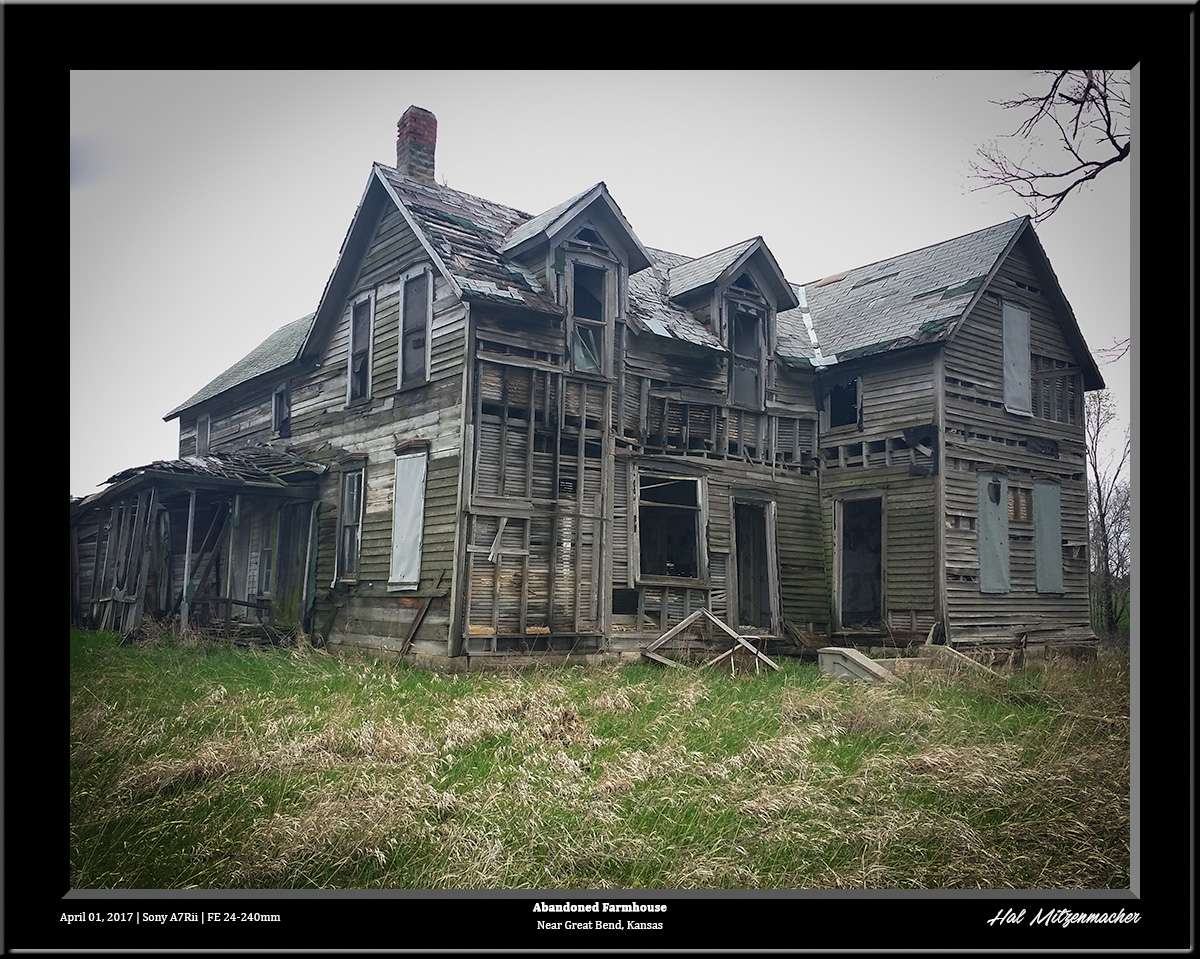
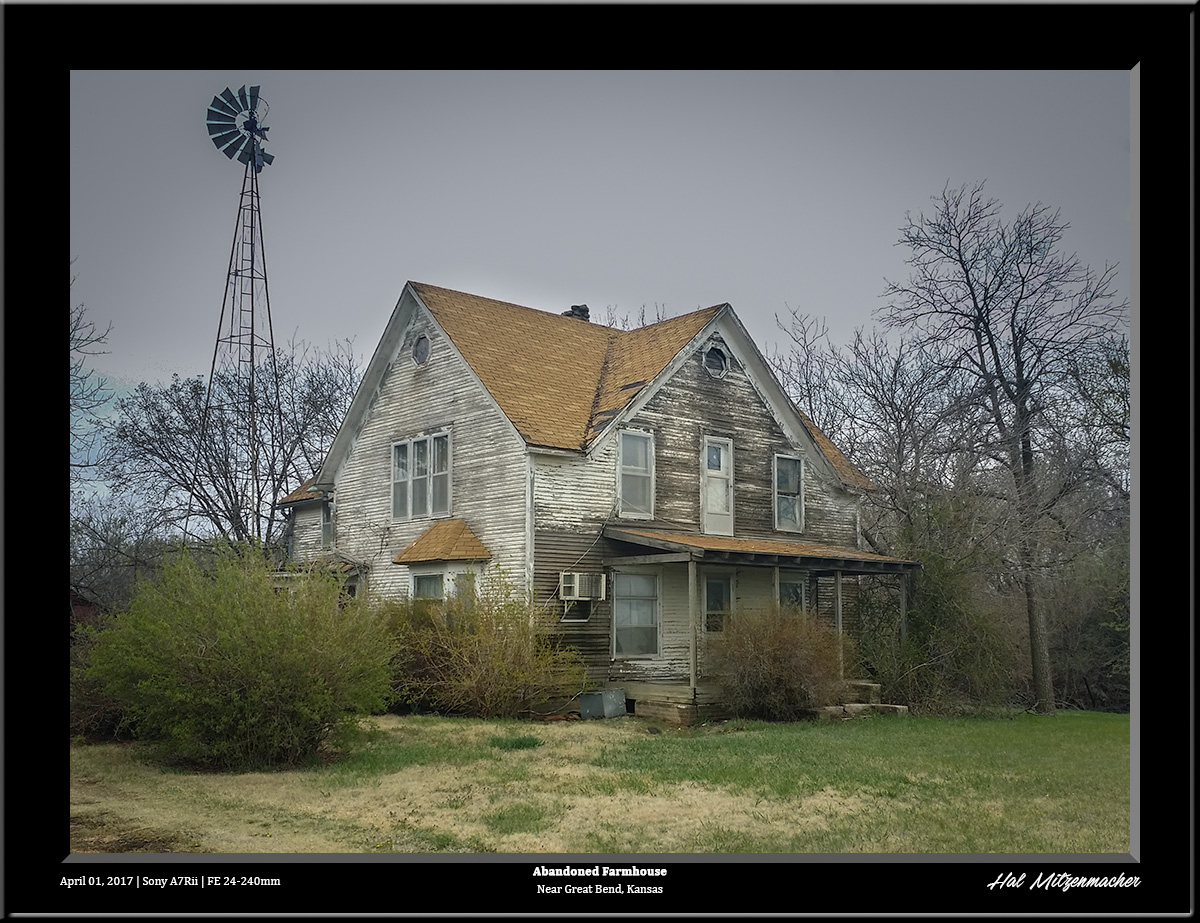
Our intrepid group of explorers departed camp at 5:00 am, hoping to catch the sunrise at the Excelsior Lutheran Church, a beautiful structure near Wilson, Kansas, located in the middle of the Smokey Hills Wind Farm. The rains of the previous night and that morning made the roads too muddy for some of the vehicles in our caravan, so we toured around the area instead. Some locals informed us of a couple of attractions nearby, so off we went to check them out. Above is a view of Wilson Lake, near Wilson, Kansas. It has a reputation as a great bass fishing lake, and appears to be a location where the Milky Way might be captured, given the right conditions. After visiting the towns of Lucas, Kansas (home of the wonderful Garden of Eden) and Wilson, Kansas, we headed over to Ellsworth, Kansas. Our group of photographers (now whittled down to four, as two opted to return home on account of the rain) explored around town, where it is apparently a thing to photograph grain elevators with leading lines from railroad tracks :) Because of the extensive rains that had occurred, there were puddles everywhere, so what better time to practice my puddleography skills using my cell phone camera. Continuing on from Ellsworth, we explored Fort Harker, Lyons, Ellinwood, Great Bend, and Ness City before heading back to base camp at Cedar Bluff State Park. There were several abandoned structures along the route, and I compiled a decent list of night photograph possibilities for future trips in my PlanIt! for Photographers Pro software.

Day 5 (Sunday)

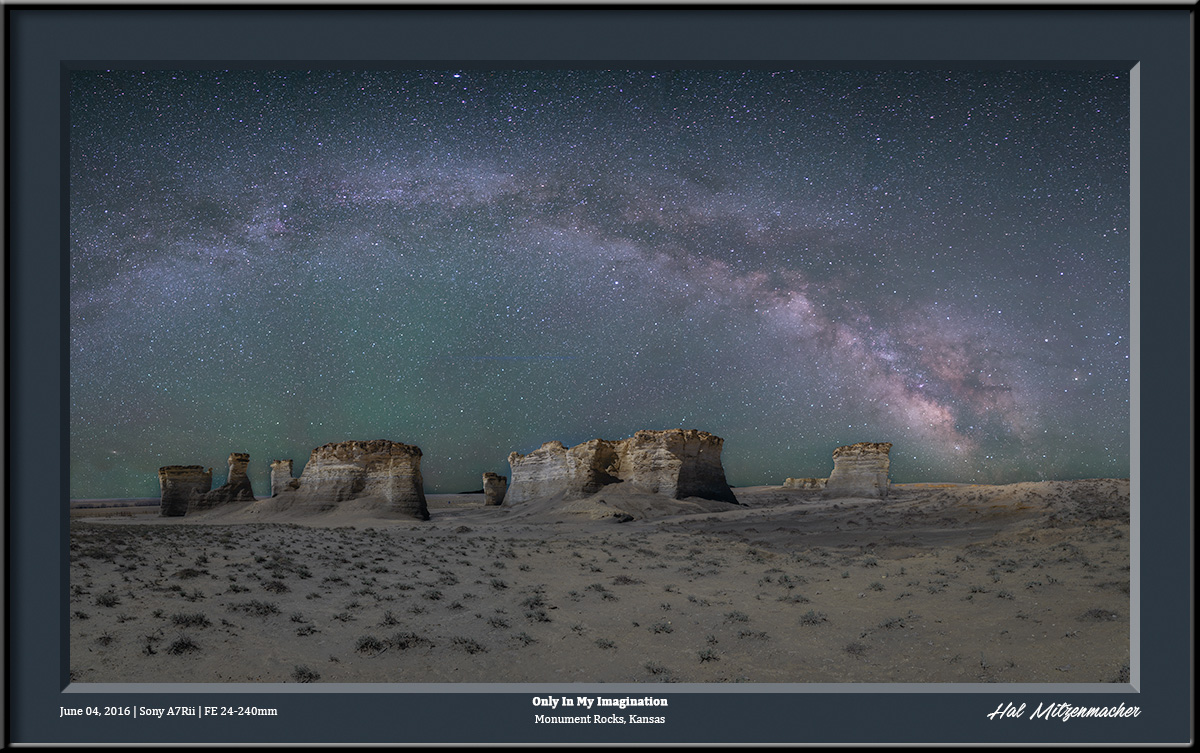
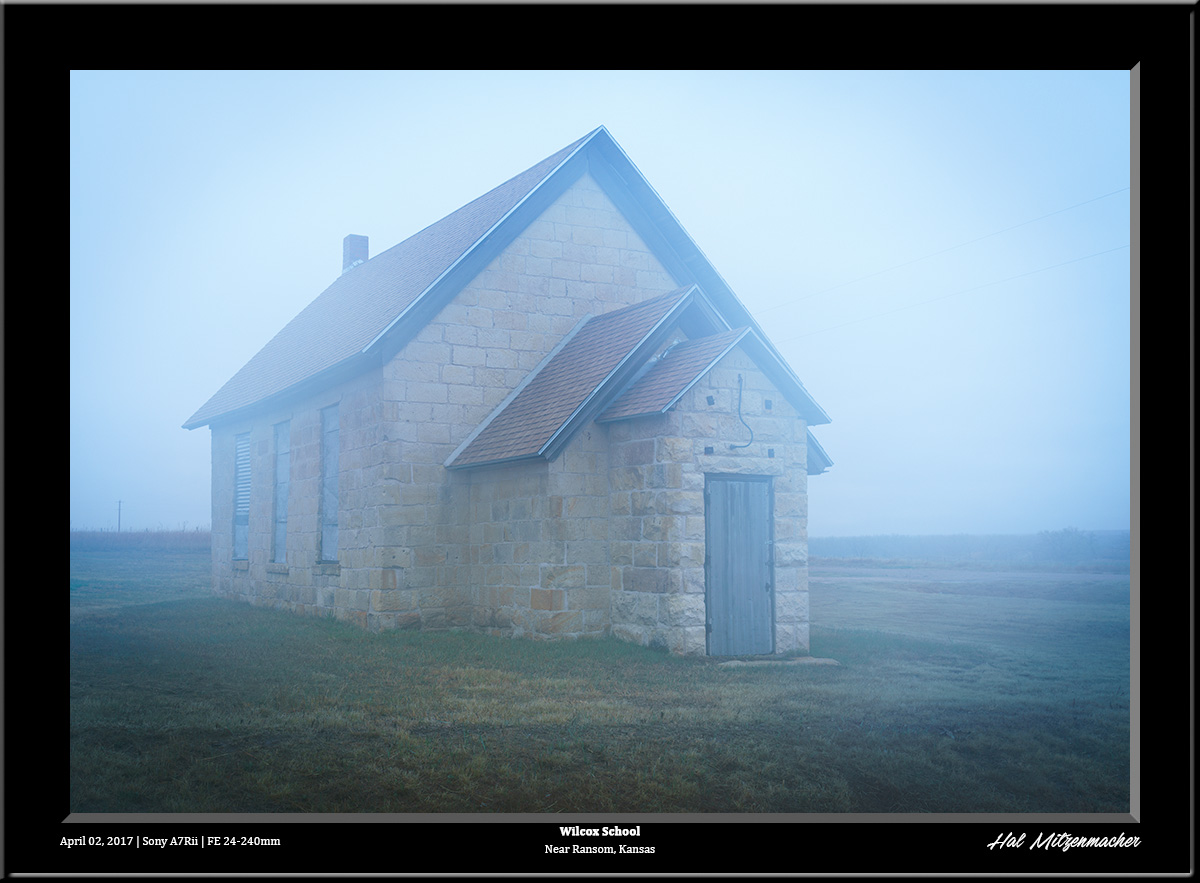
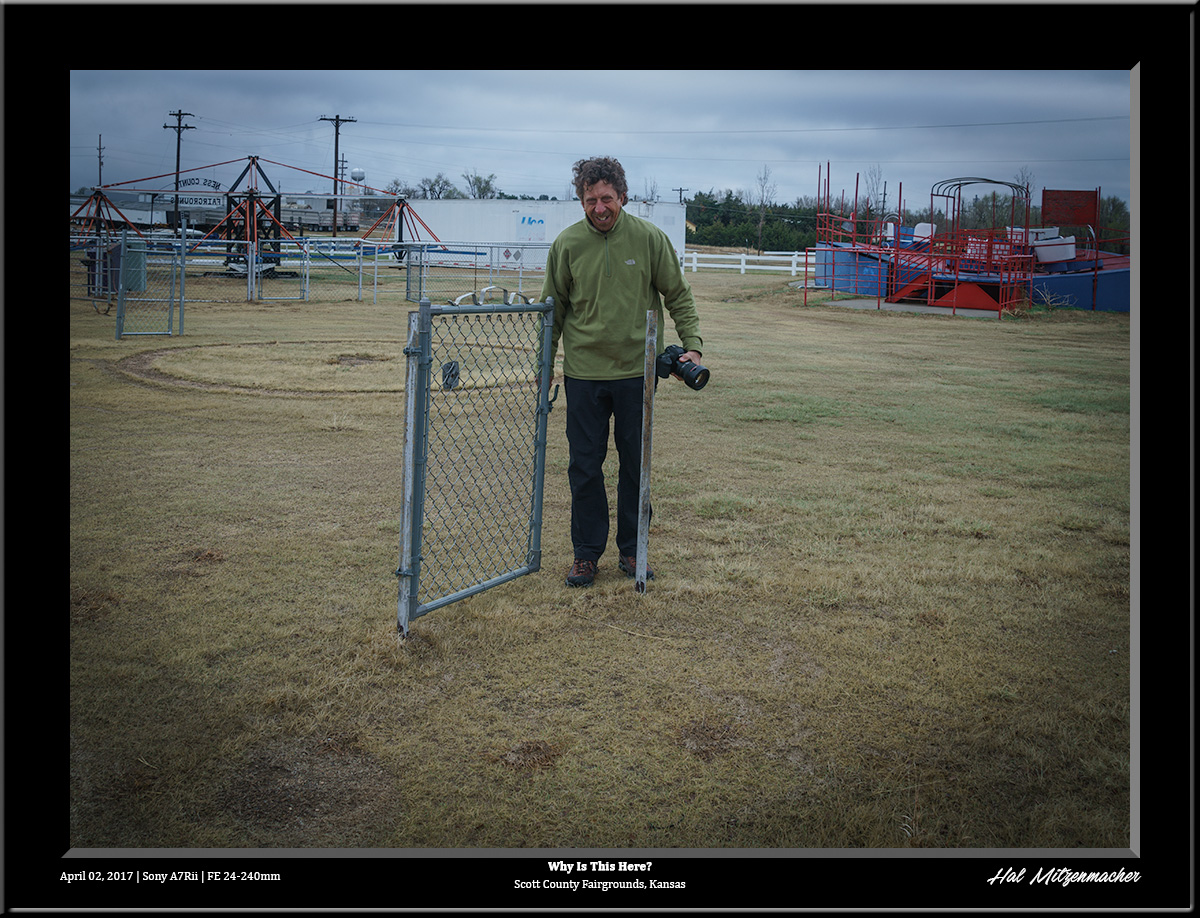
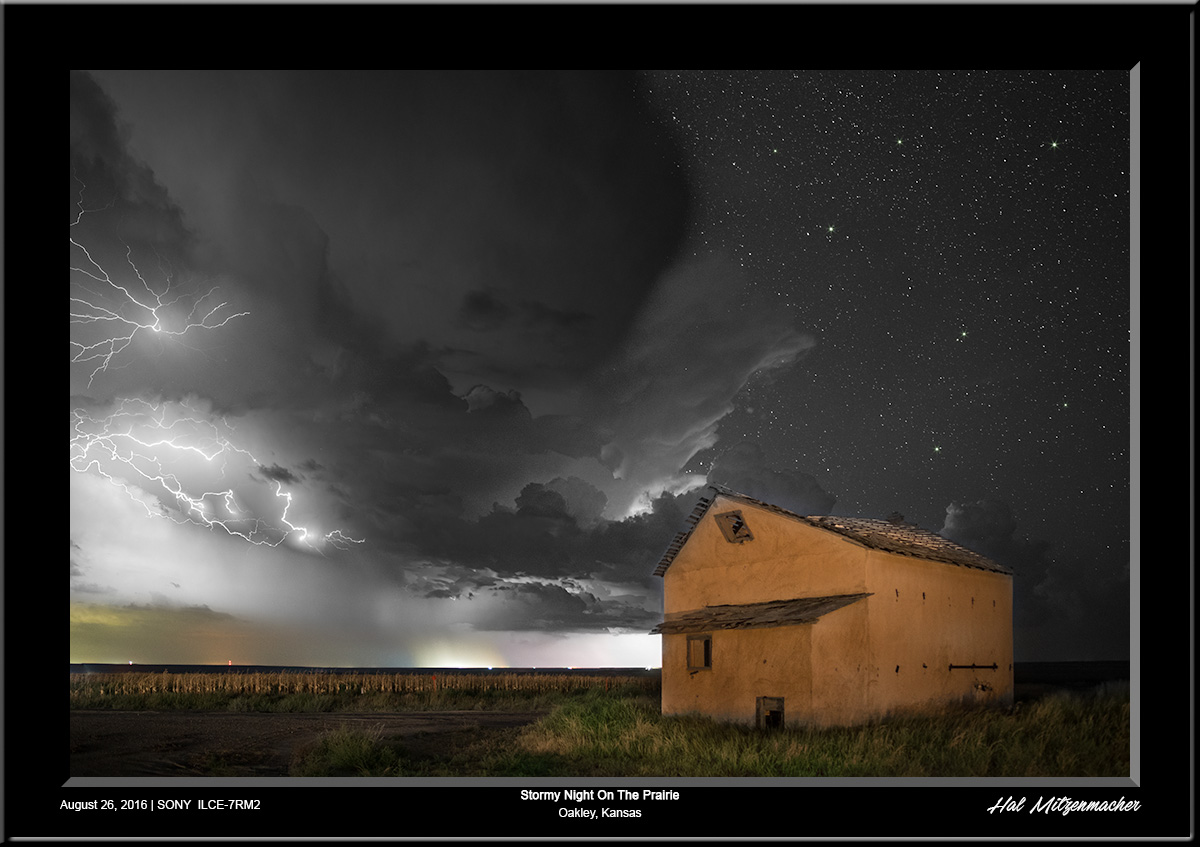
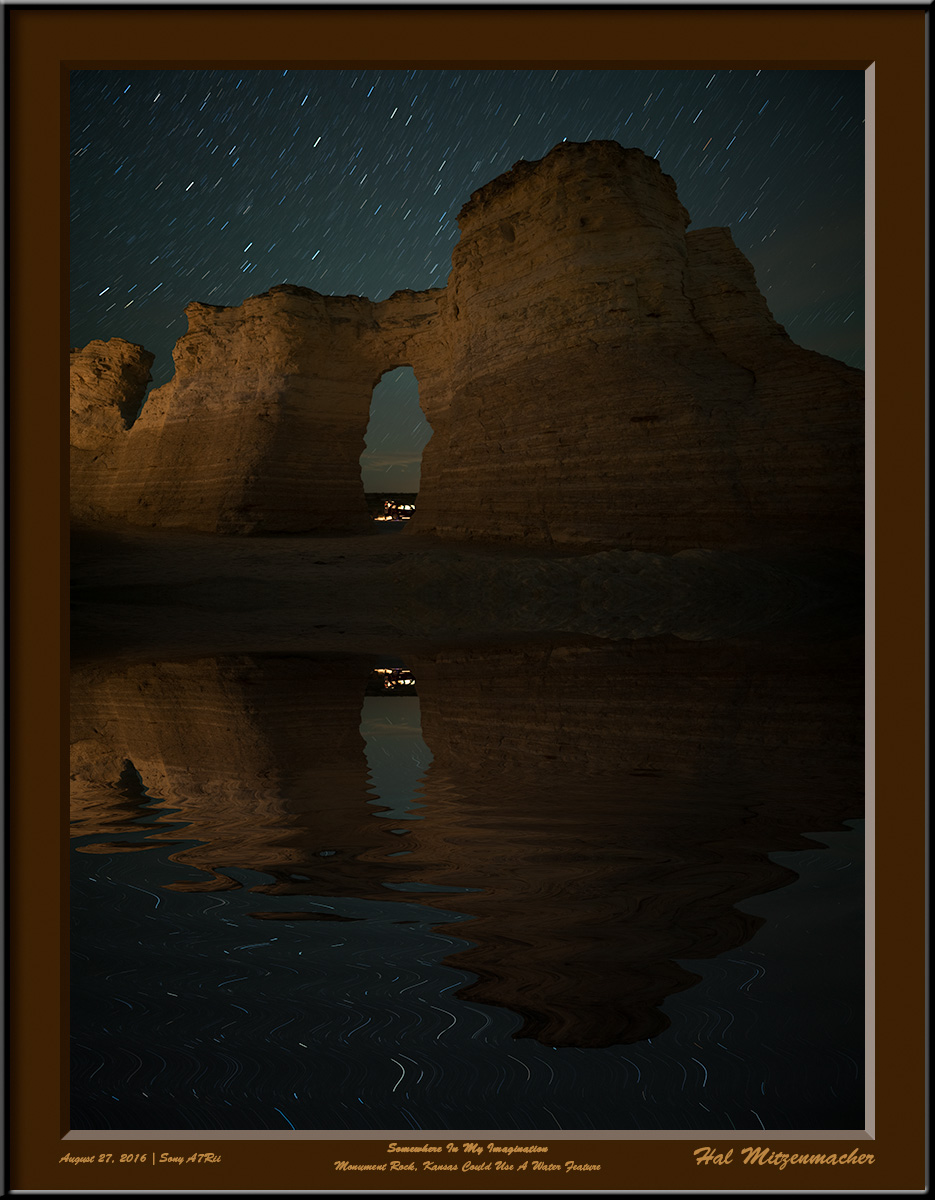
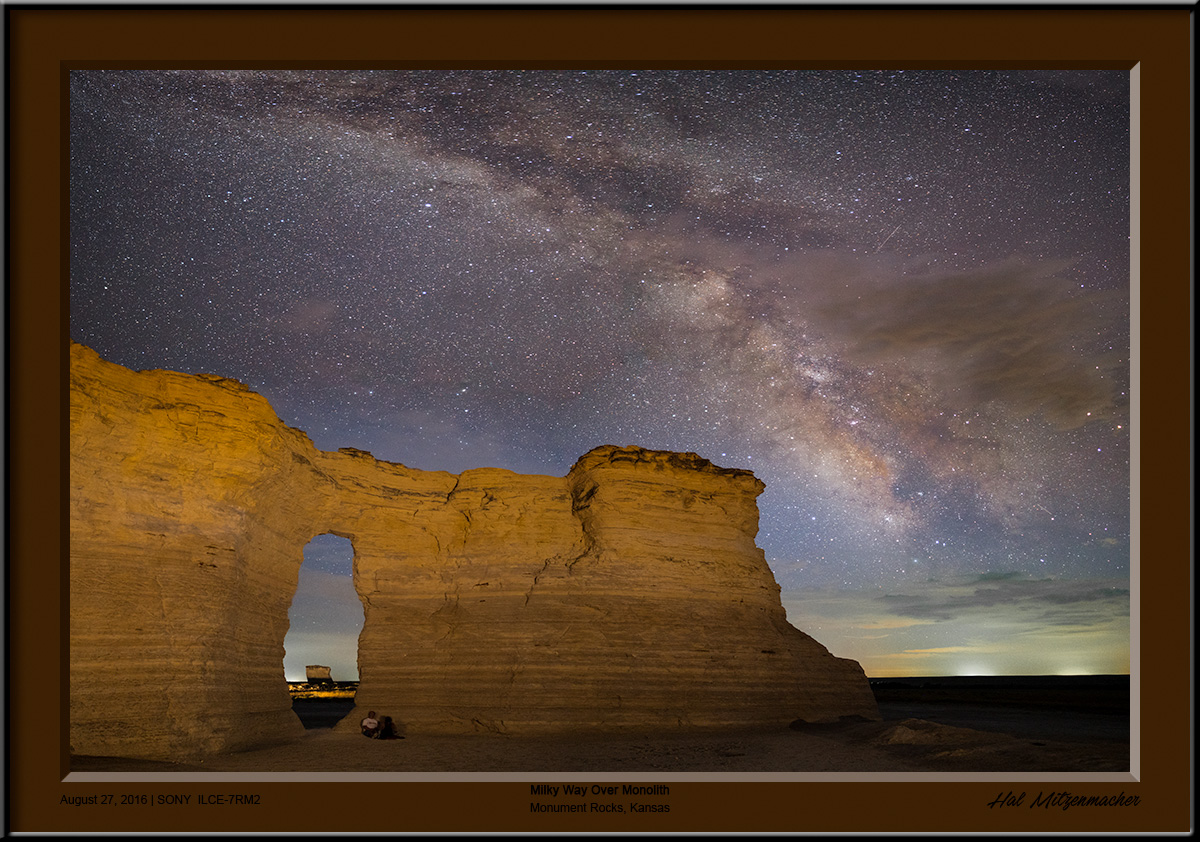
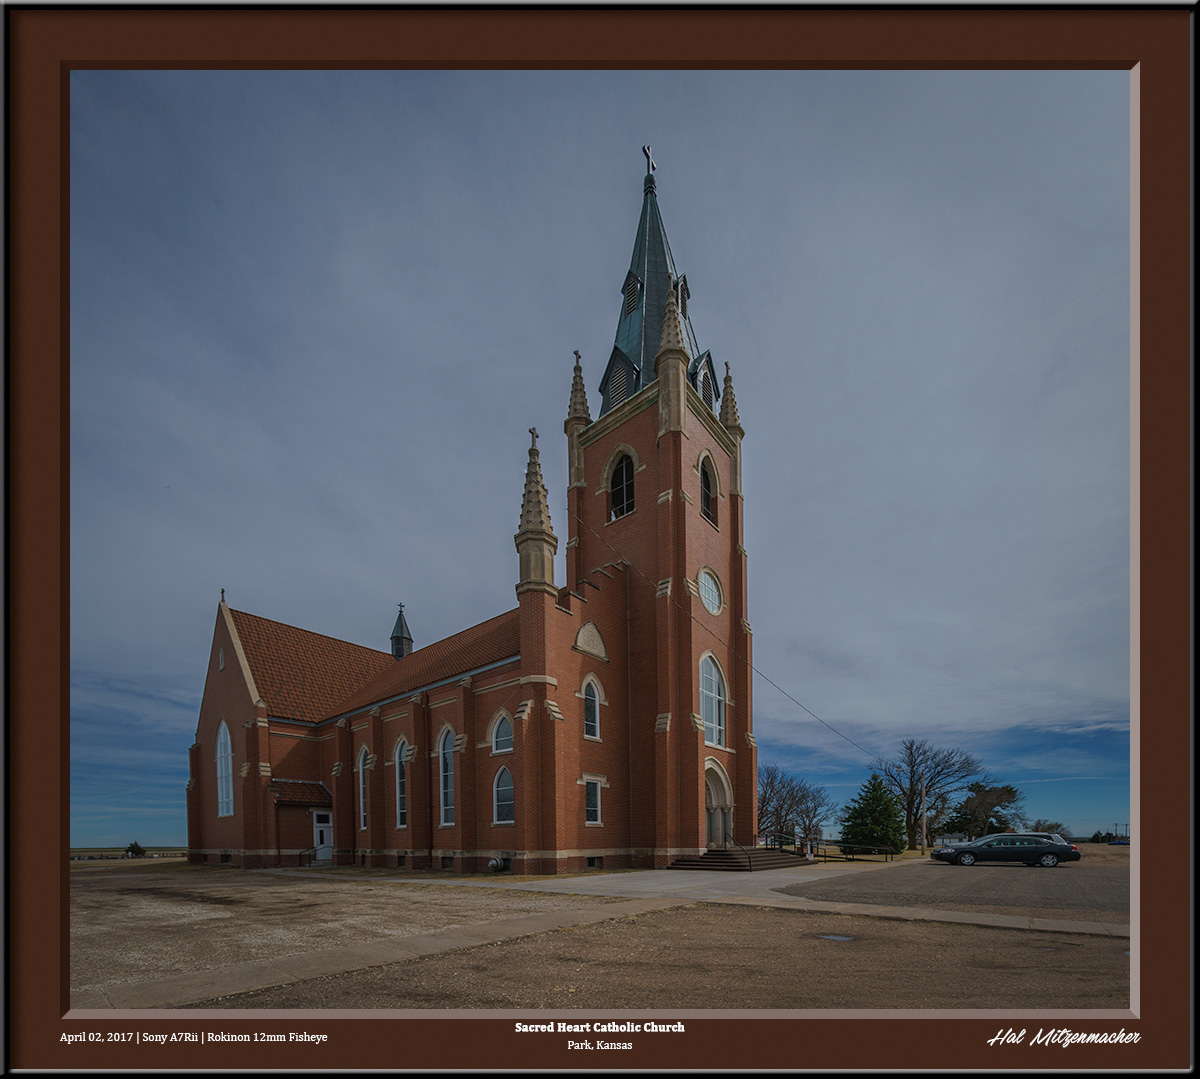
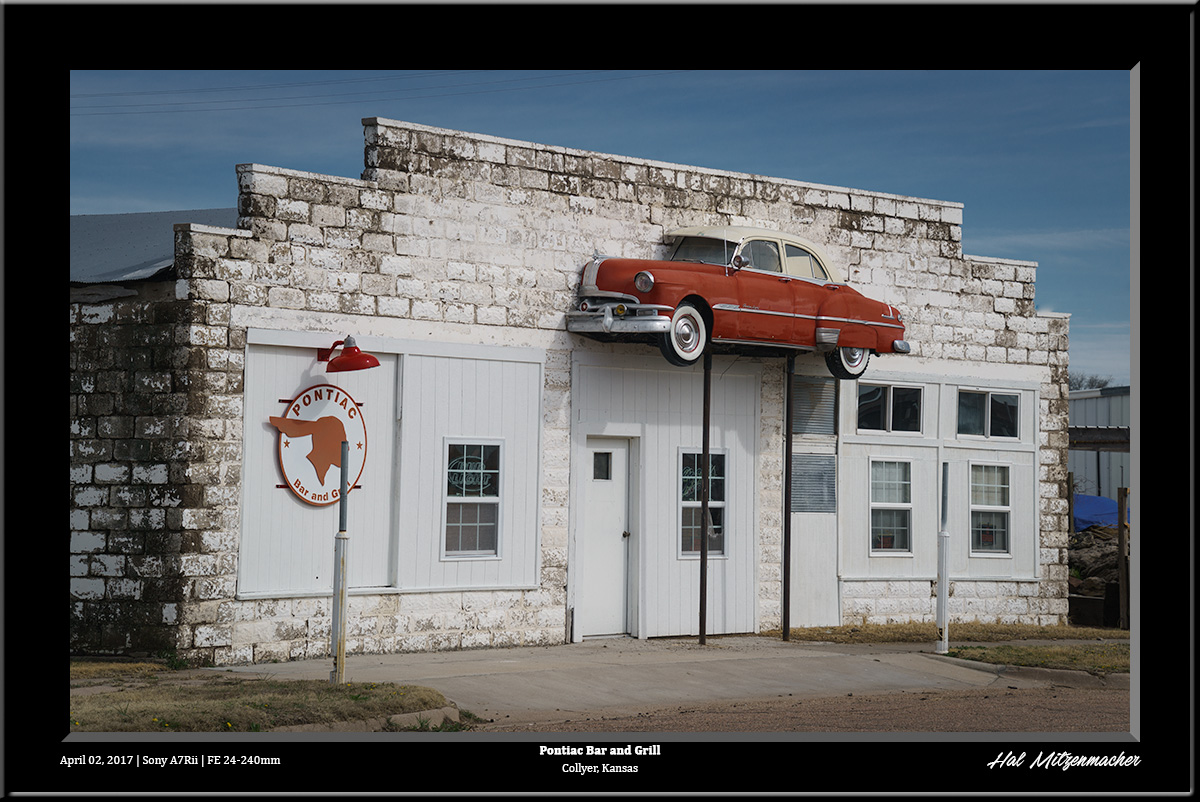
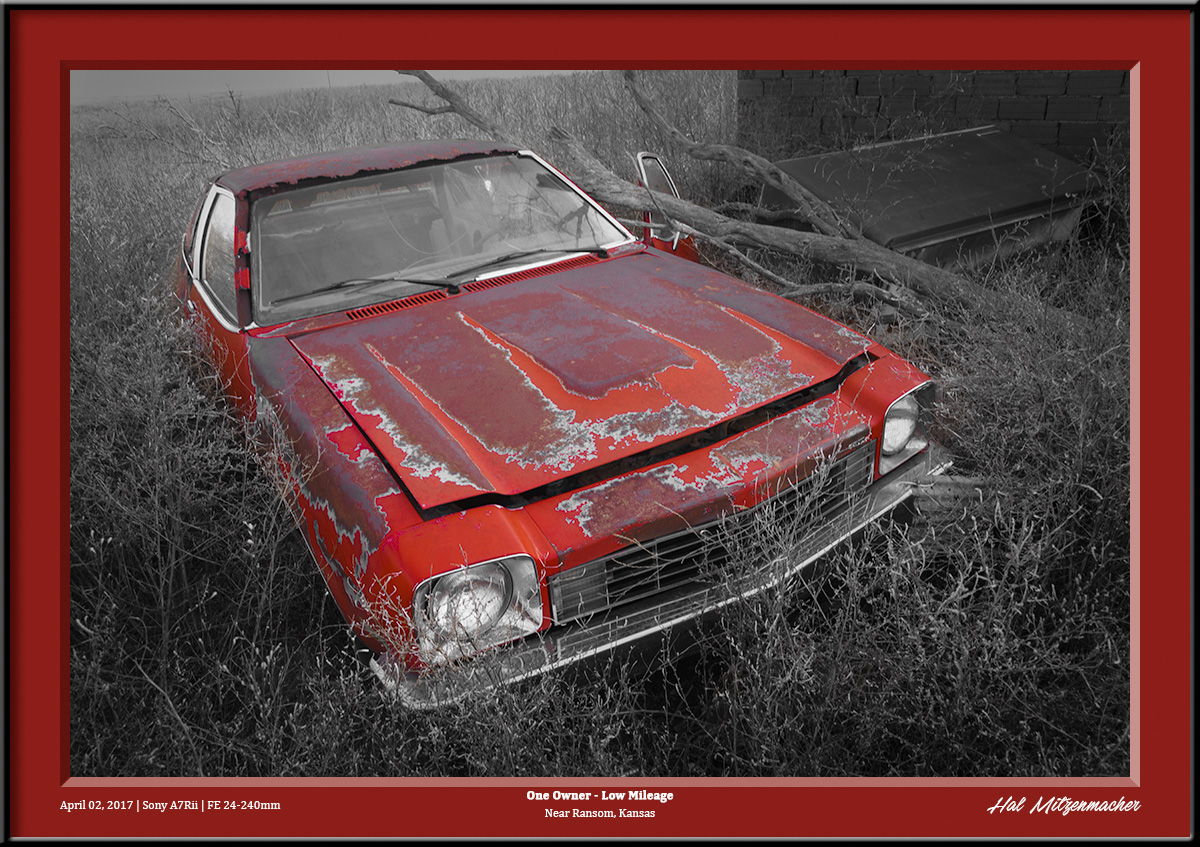
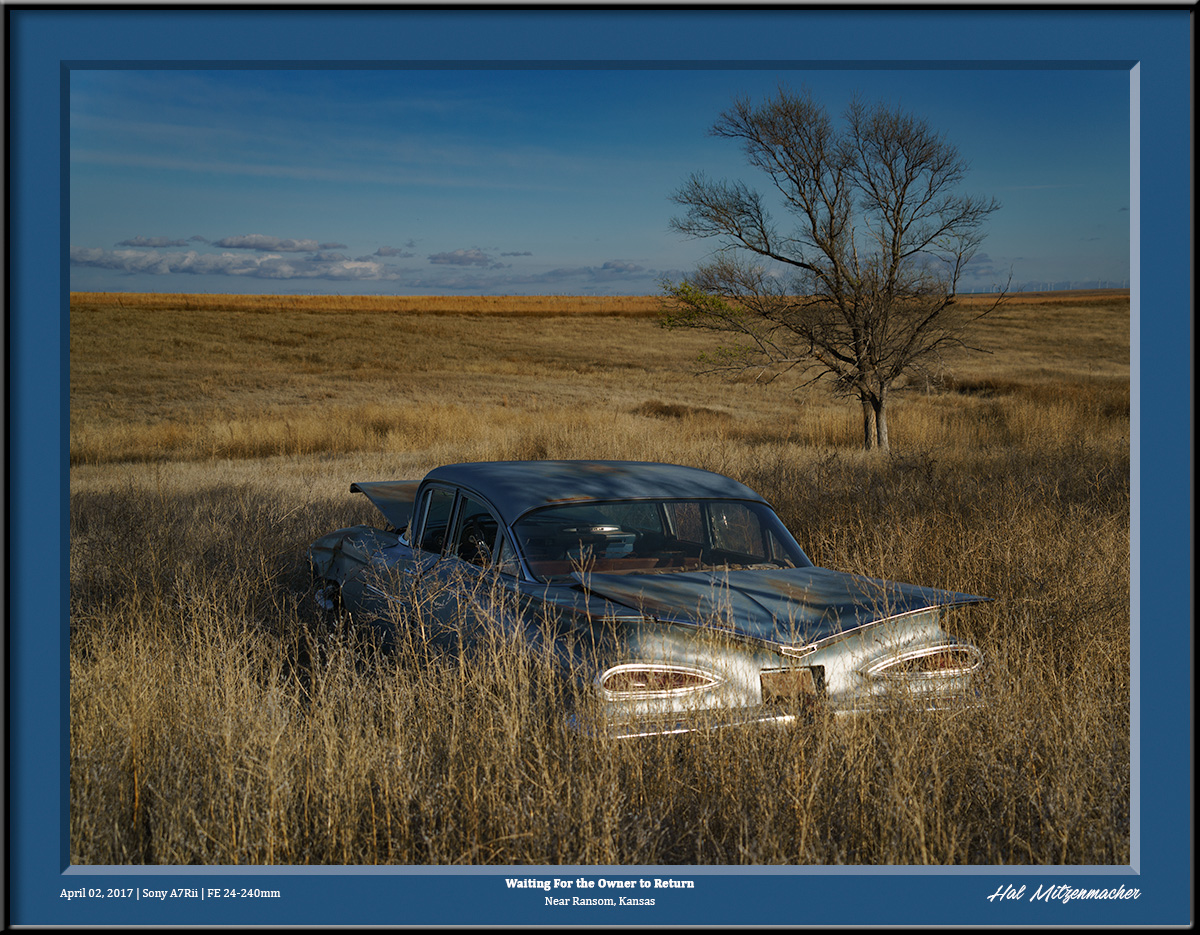
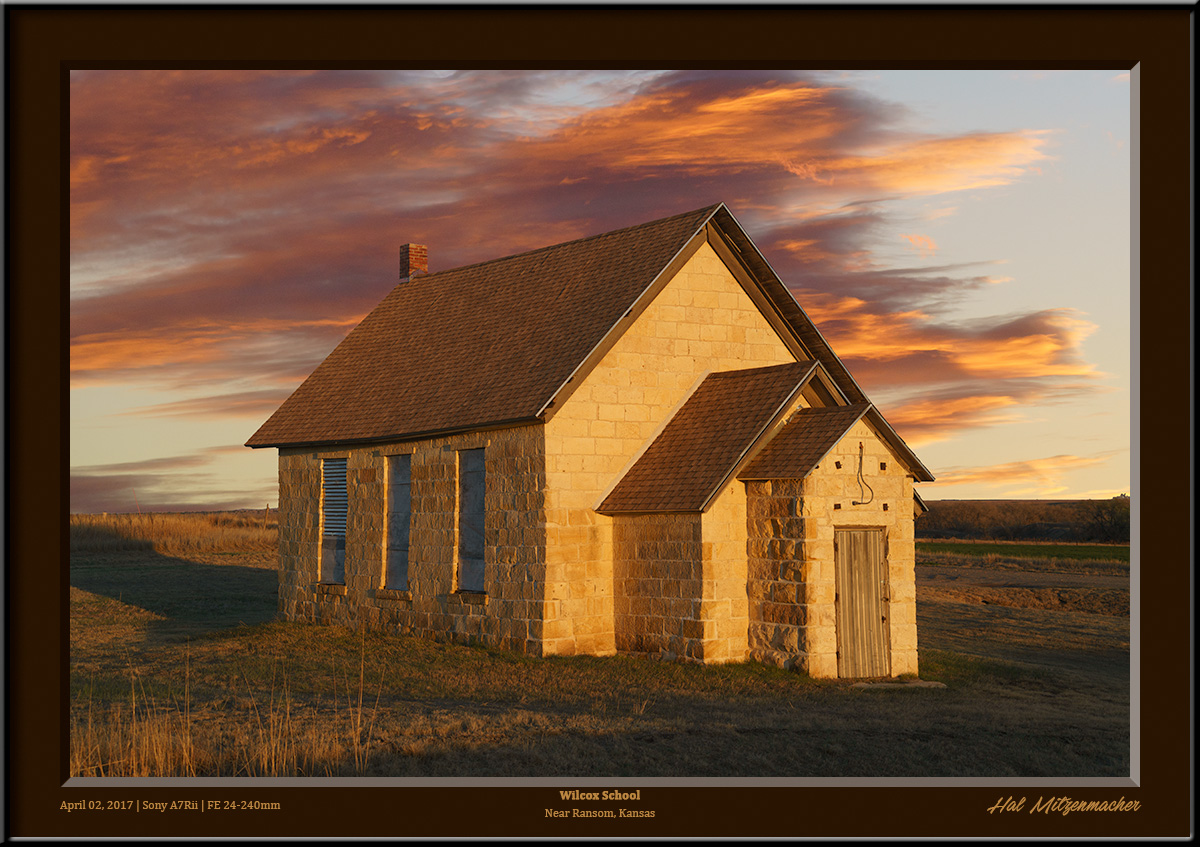
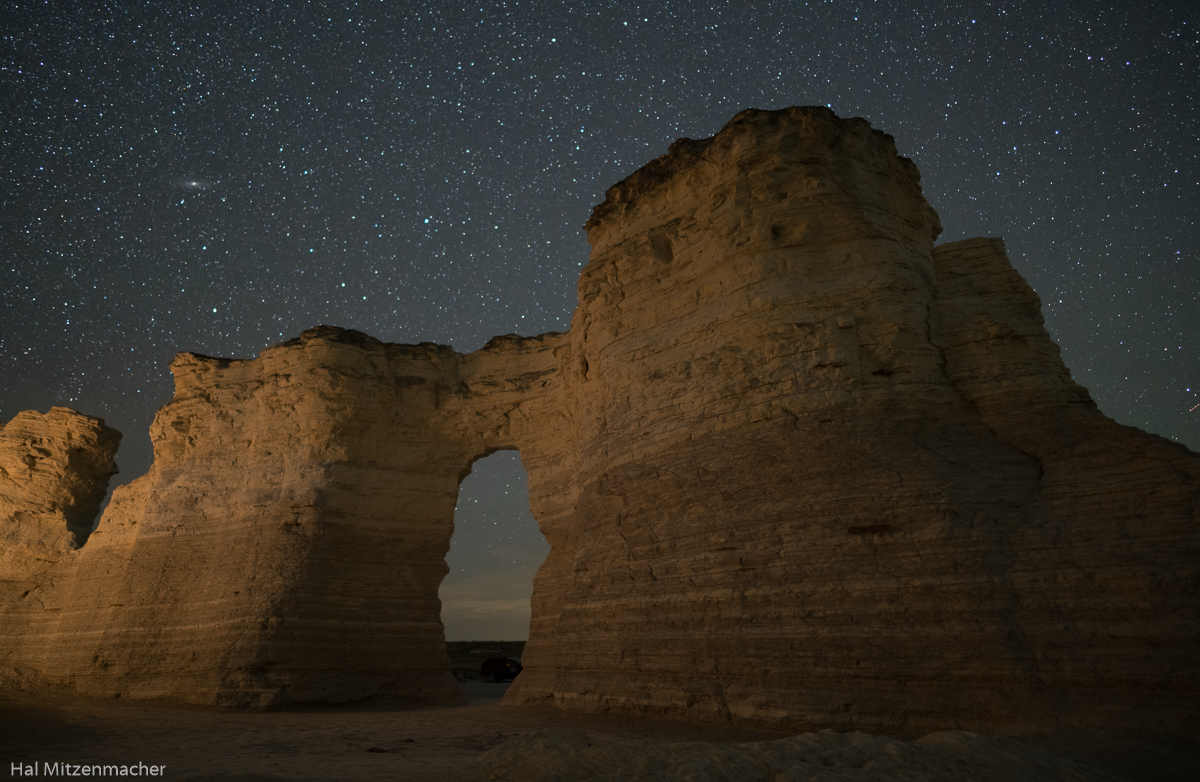
One more member of our group, Shari had headed home Saturday, so now there were just the three of us left, Darren, Bob, and myself. We decided to meet up for sunrise at 6:00 am Sunday morning to photograph the Wilcox School, about 15 minutes south of Wakeeney, Kansas. The sun was not very cooperative with our sunrise plans, so I attempted a few “faux fog” shots of the schoolhouse, which Darren had just taught me. What I learned is that I had wasted my money buying a Tiffen Double Fog 3 Filter. Just breathing on the front lens element provides a far better result, and you can look through the live view and snap the shutter when the fog effect is just to your liking. An interesting technique I will certainly employ from time to time in the future. It was now time to head over to Monument Rock and Chalk Pyramids for some daytime shots of the area, but not before stopping to look at some interesting sights along the way. At the Scott County Fairgrounds, in Scott City, Bob and I were at a loss to explain the reason for this gate. It reminded me of the scene in Blazing Saddles, where the army of bad guys stop in the middle of the plains to pay a toll at an isolated toll gate! As a reminder of how transitory some subjects can be, here is a shot taken on another of the trips to Kansas that Darren was so kind to organize in August of 2016. A group of four photographers (including myself) spent hours at this old abandoned grain shed located on Jayhawk Road as lightning storms raged all around us. The photo opportunities that night were beyond amazing, and while I know that was a stroke of luck not likely to be repeated, I was still looking forward to photographing from this location again. Alas, we discovered as we drove past this structure that the roof, with the beautiful overhanging eaves, had collapsed! Oh well, I’m just glad I had the chance to photograph this building when I did. At this point, I would like to have said that I took these images on this scouting trip to Monument Rock and Chalk Pyramids, but when Darren contacted them they informed him the area was unavailable for special permission to photograph at night, due to calving season. This wonderful geographic feature is located on private property, and the owners have been quite generous in allowing the public to enjoy the area. The rules that are posted are simple to comply with, and if you contact them beforehand, they will try to accommodate your visit request if at all possible. I urge you to do your part to help keep Monument Rocks available for all of us to enjoy in the future.  I was extremely hopeful to get a Milky Way panorama over Monument Rocks this trip, but due to circumstances beyond my control, I could not. So I faked one using a composite of a foreground panorama taken on this trip to Kansas, and a Milky Way sky taken last year in Wyoming. I’m allowed to imagine, aren’t I? After photographing Monument Rocks we headed off to explore some of the small towns along Old Highway 40. In the town of Park, Kansas (population 129) we discovered a Catholic Church that I’m sure could easily hold 10 times the population of Park. This seems to be a common feature in small Kansas towns – huge churches relative to the size of the town. From Park, Kansas we continued on to the town of Collyer, where the main attraction seems to be the Pontiac Bar and Grill, even though it is currently out of business. It must be sorely missed, because, as Darren has pointed out, four locals inquired (hopefully) as to whether we were there to buy the bar! In case you were wondering, the other half of the Pontiac (it looks to be vintage 1953) is mounted on the rear of the building. After finishing up in Collyer, we headed back to Ransom, Kansas to shoot sunset pictures of the old schoolhouse that we had visited earlier in the morning. Near the school was an old abandoned homestead, which included some interesting finds, such as the old vehicles scattered around the property. We enjoyed some nice glow from the sunset, and it provided us with some really nice light to work with the schoolhouse. After sunset we headed back to Cedar Bluff State Park, where we intended to nap and await the rise of the Milky Way core early in the morning hours. Rather than napping, I decided to try out a new (to me) light painting device called a Pixelstick. All was well, until this giant armadillo chased my into my camper for the night. When the alarm went off at 2:00 am to signal that it was time to go shoot the Milky Way, I popped my head out the door and discovered that fog had completely enveloped the area. Darren and Bob decided to start heading for home, and I decided to get a good night of sleep. The next morning I checked the weather forecast, and it wasn’t looking good, so I decided to head on back to my neck of the woods in the Ozarks.
Conclusion All in all, it was a successful trip. I did not get any of the Milky Way photographs that I had hoped for; in fact, I did very little night photography on account of the weather conditions. But the purpose of this trip was to scout out areas of Kansas that might be conducive to night photography at some future date, and on this count, the trip was very successful. I have shared some of the sites we visited, but have saved some of the best for later, when I can go back and photograph them the way I envision the scenes in my head. Meanwhile, it was a fun, if not tiring trip, and I met some interesting new friends to boot!  

How I Learned To Love NIK Dfine

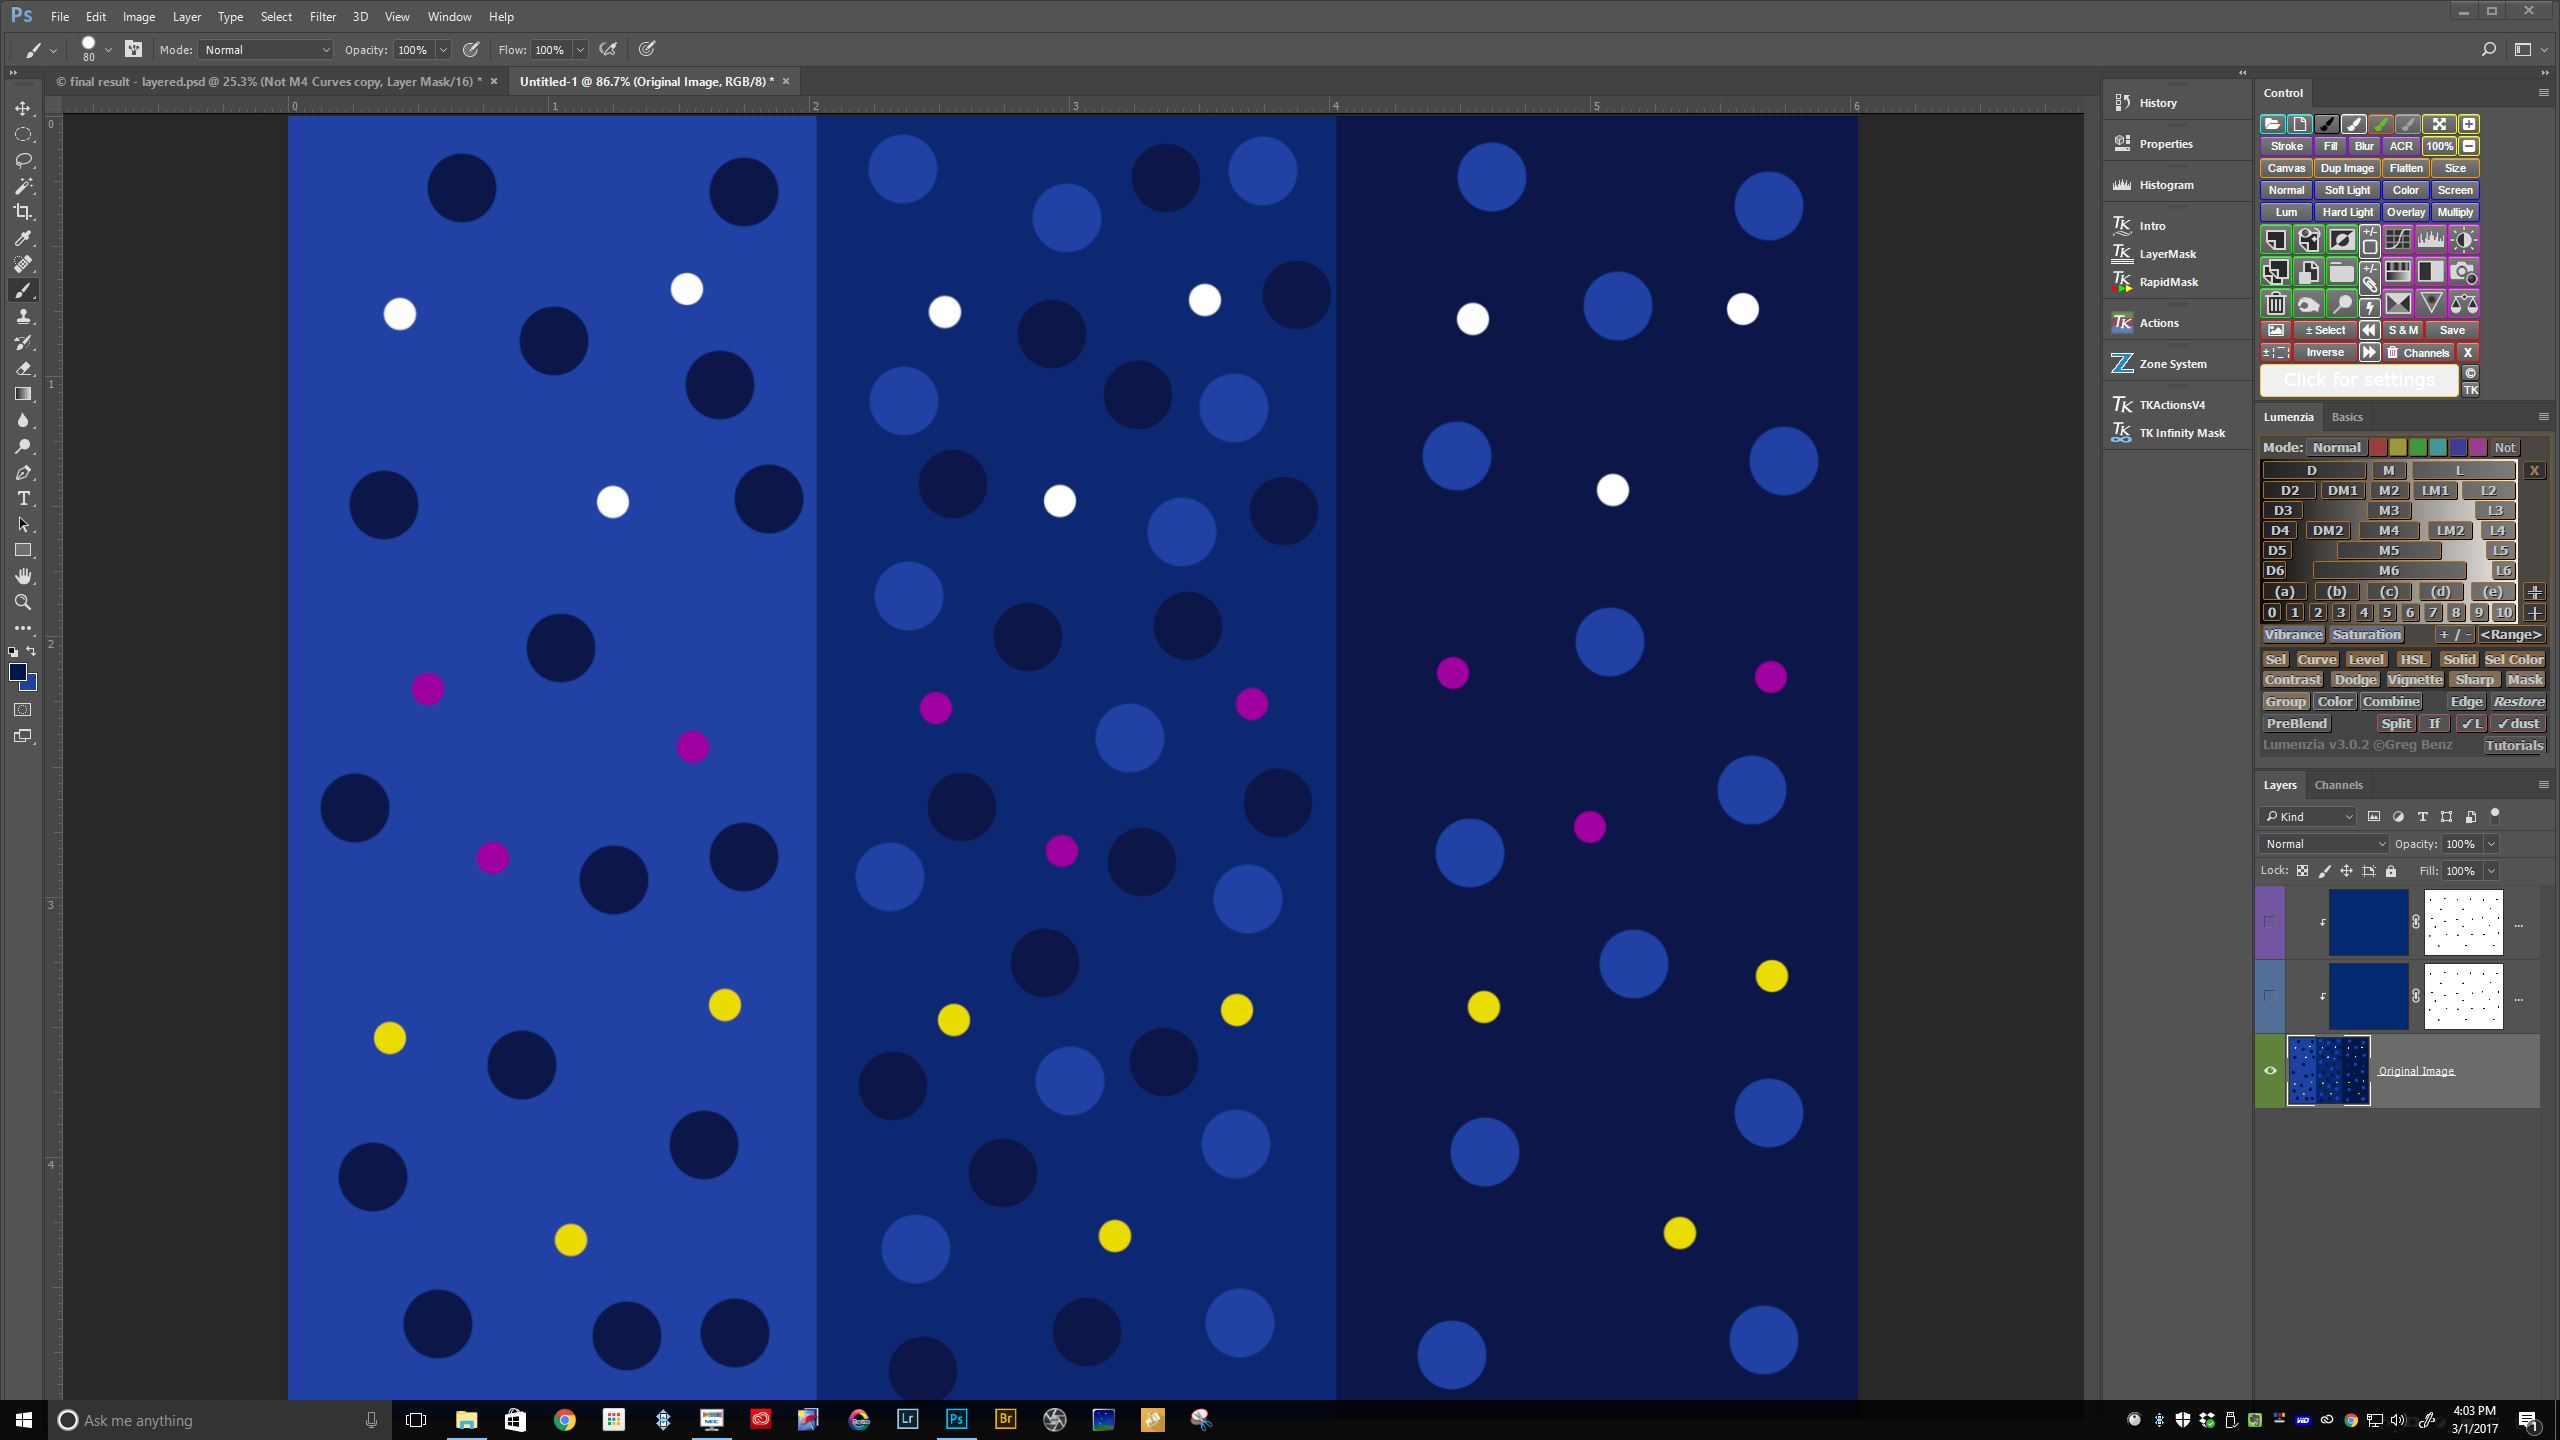
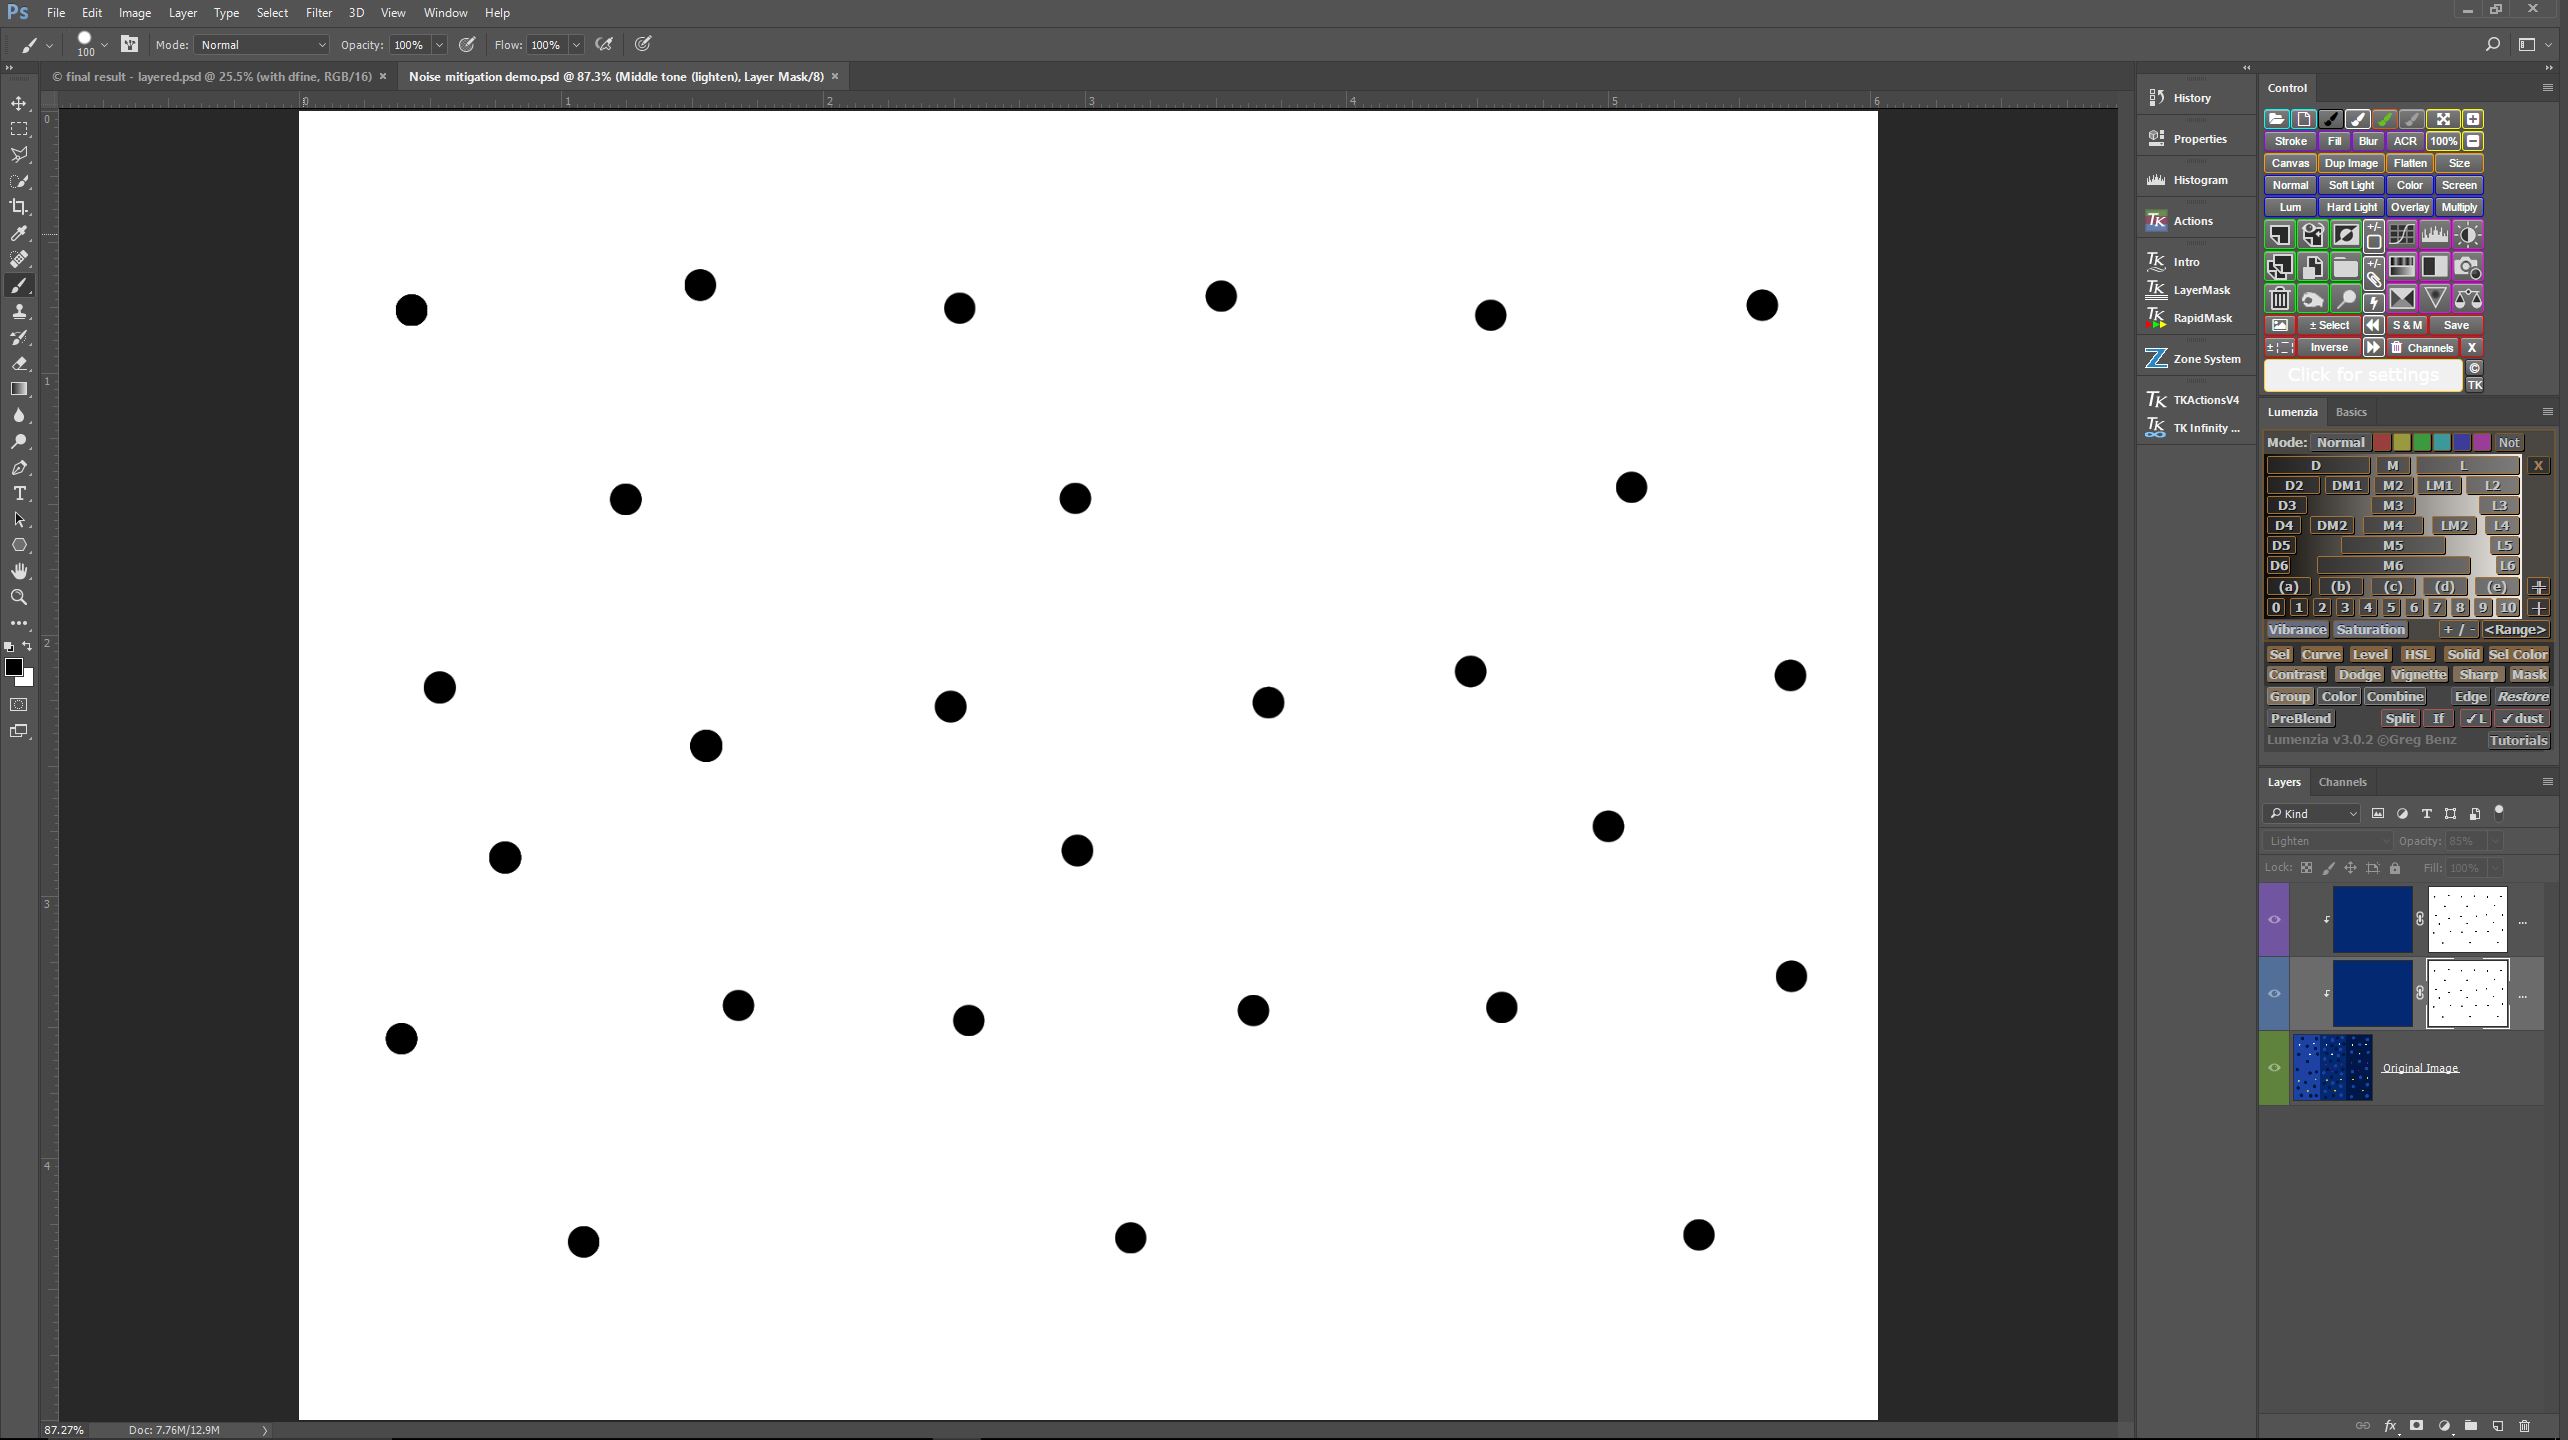
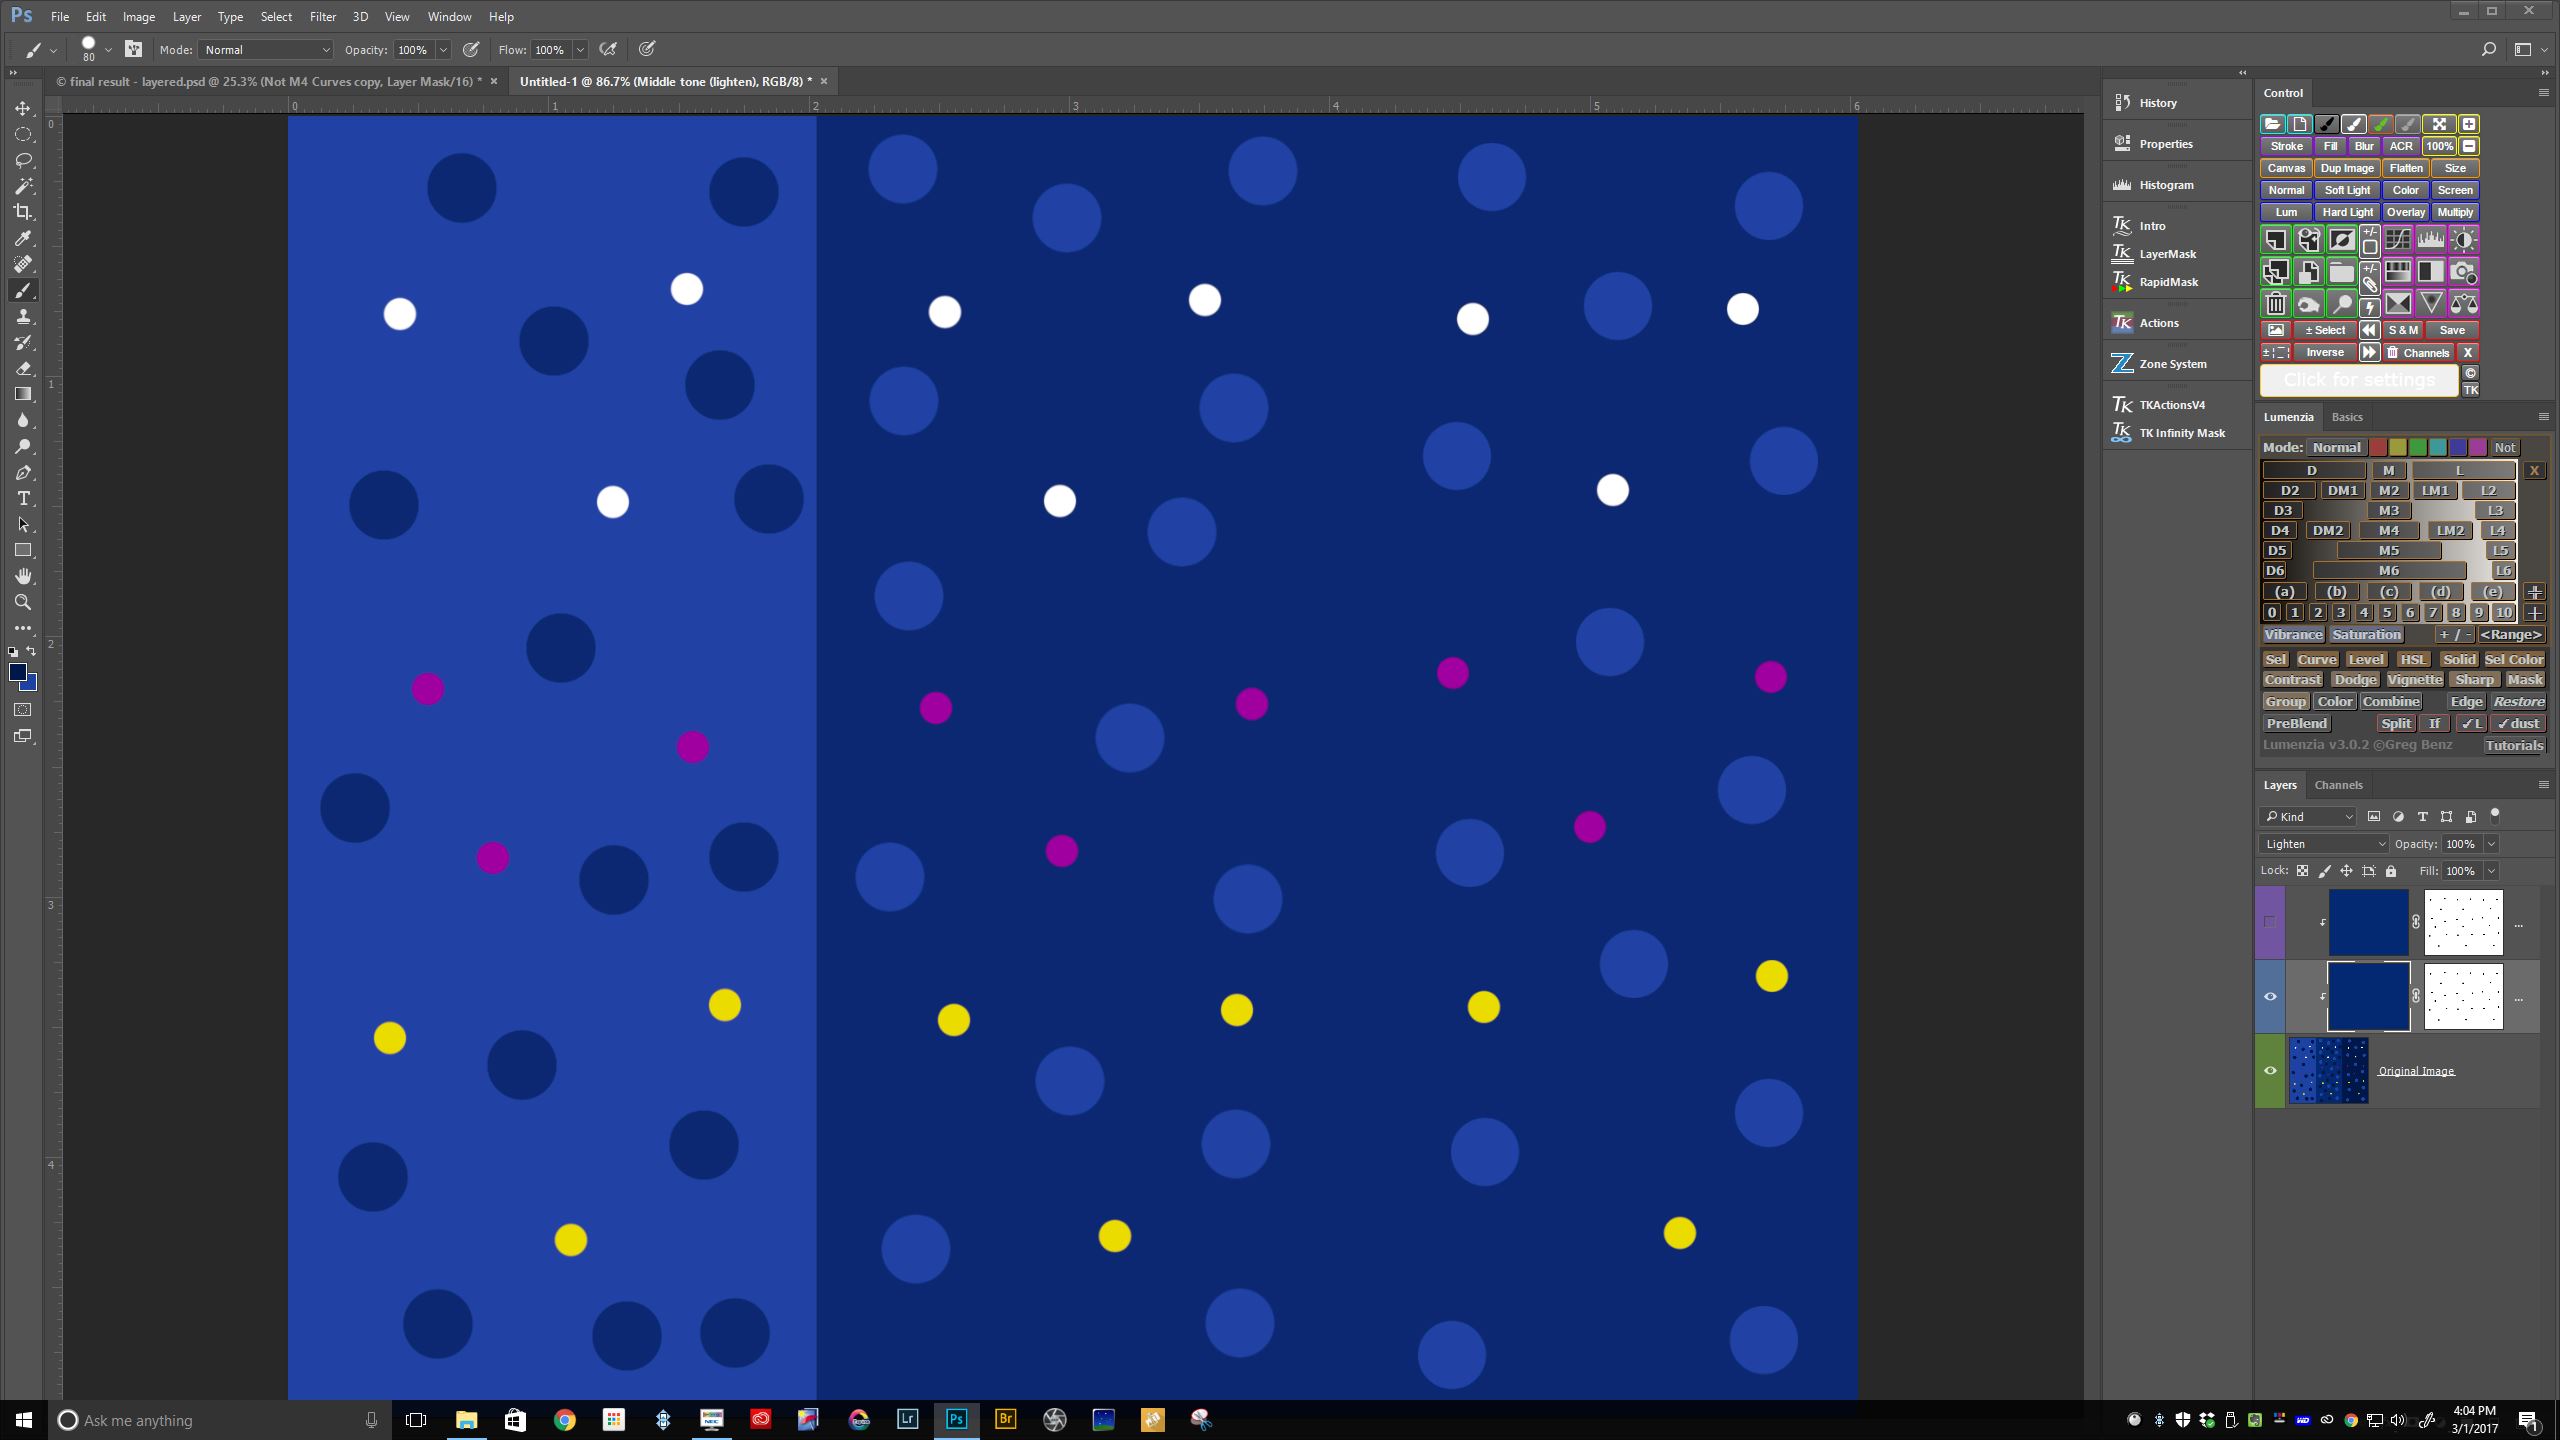
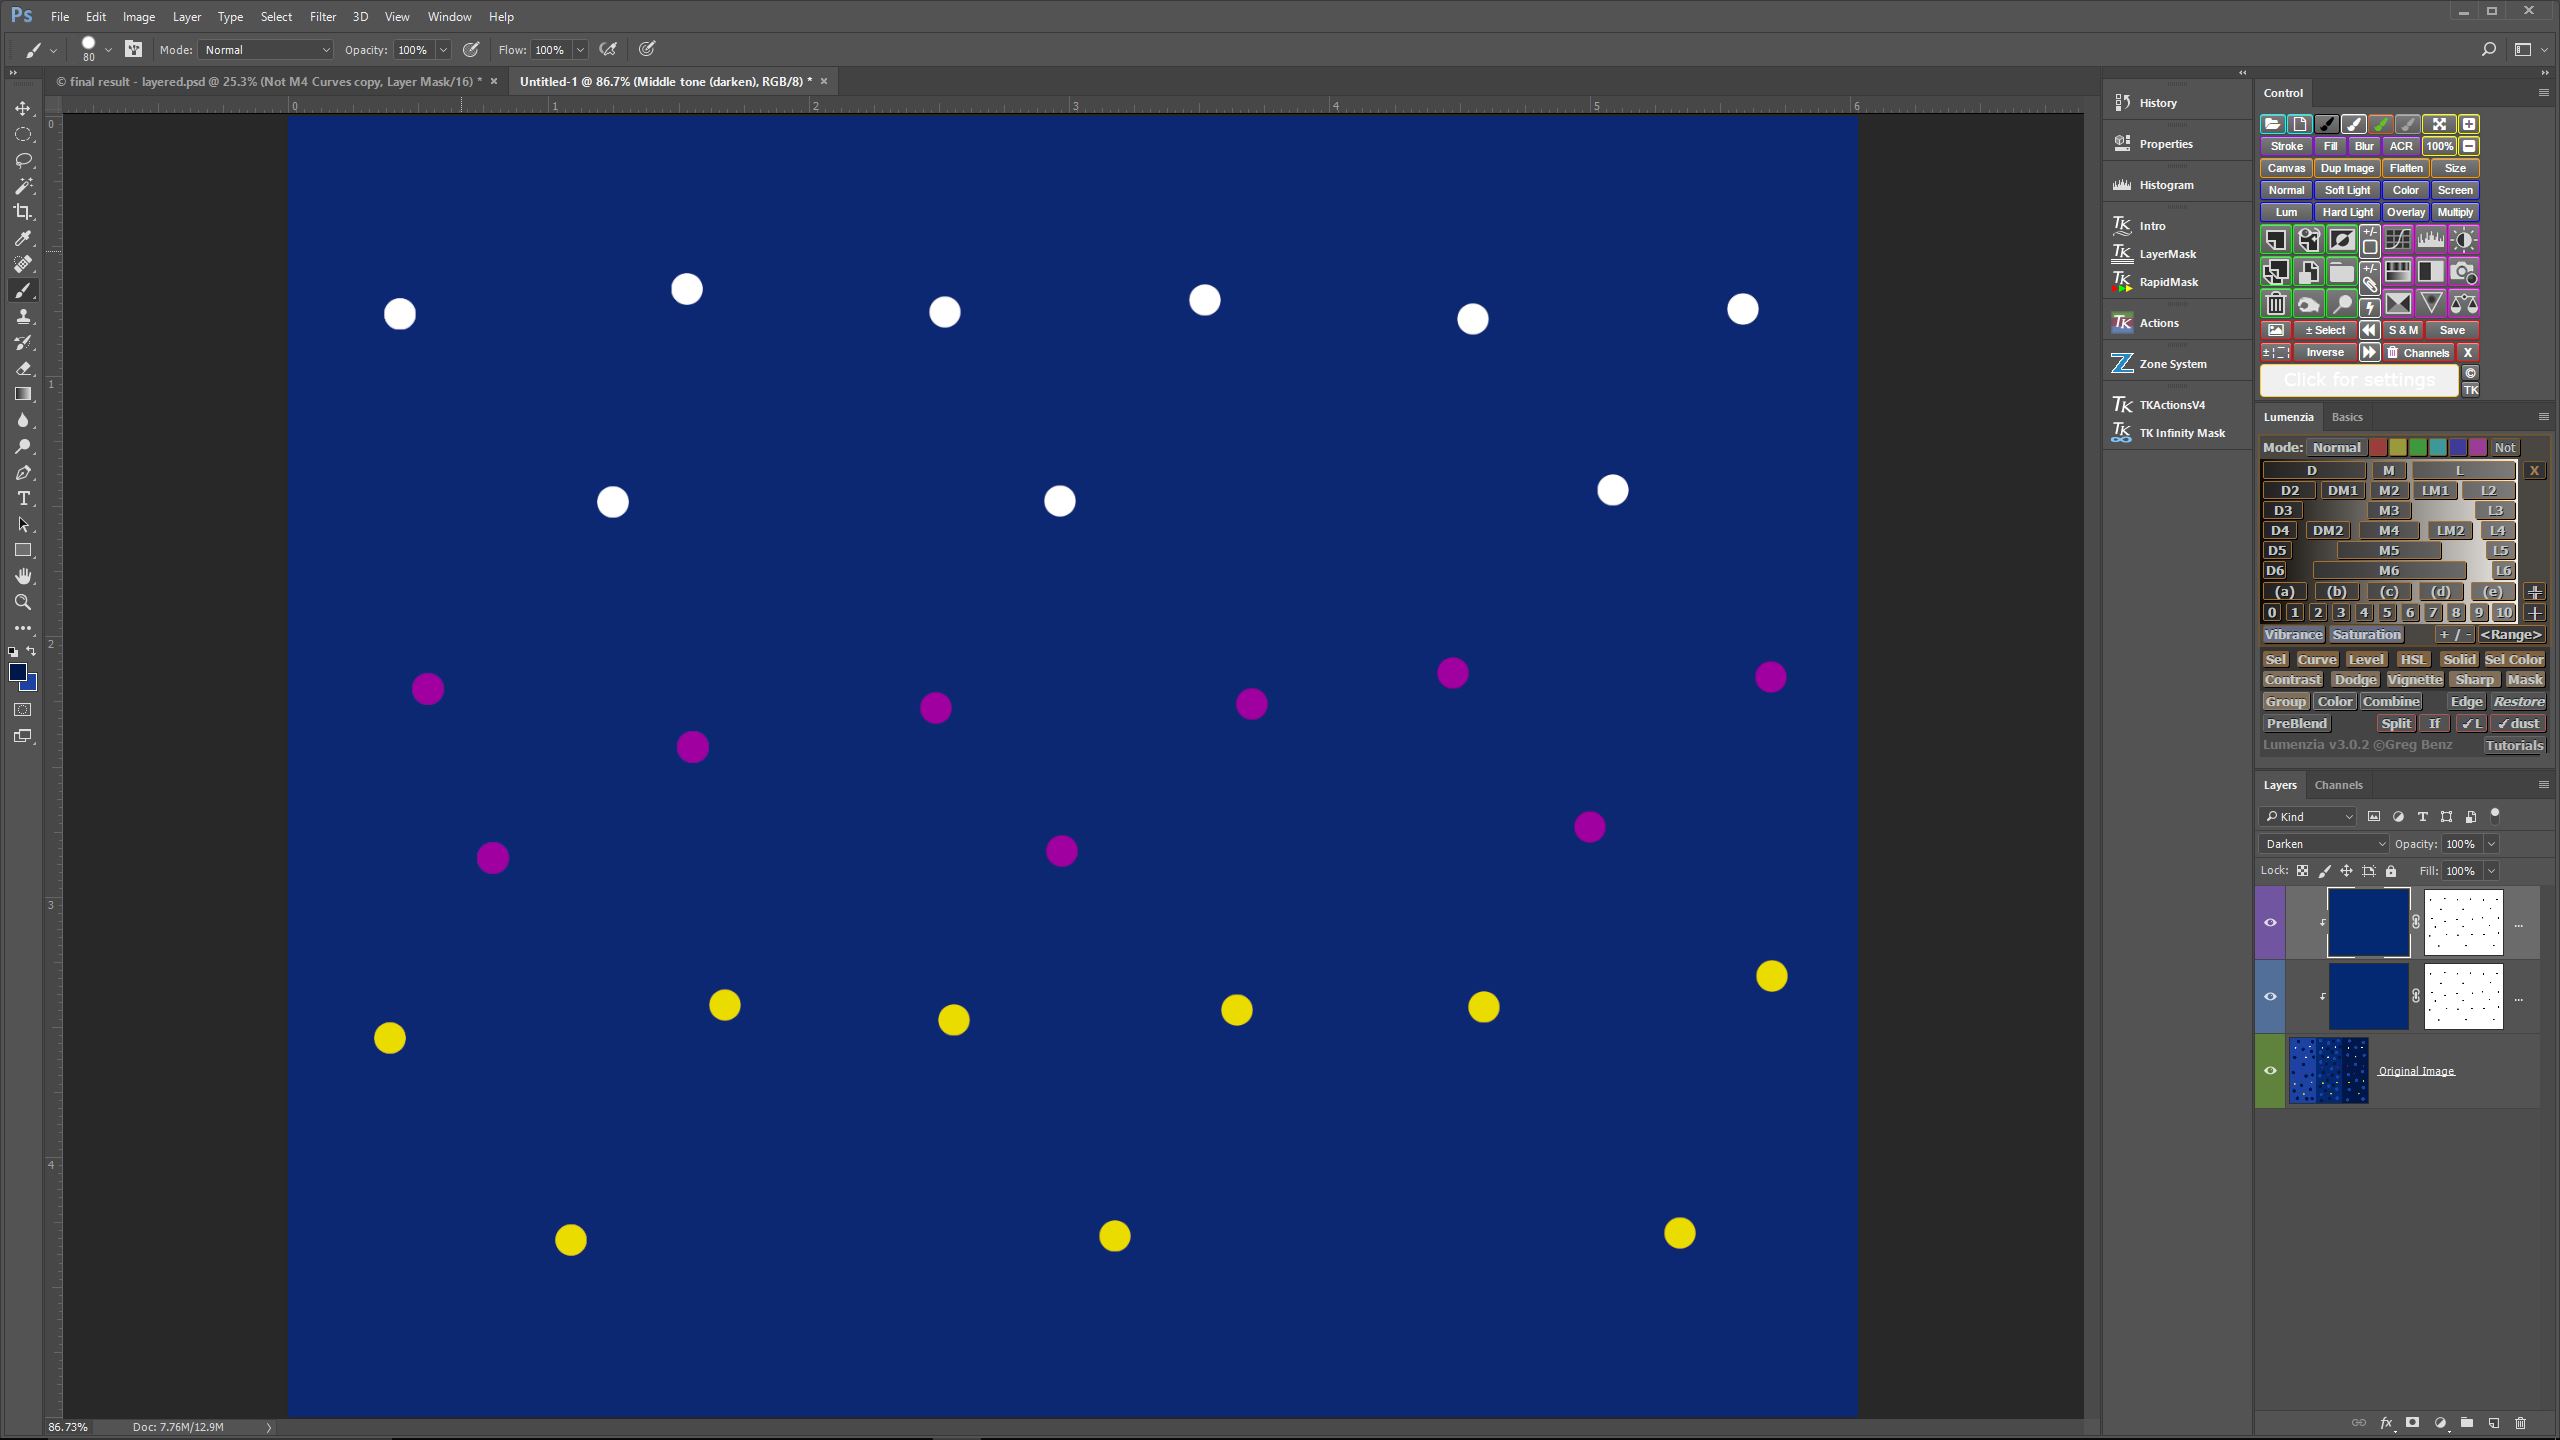
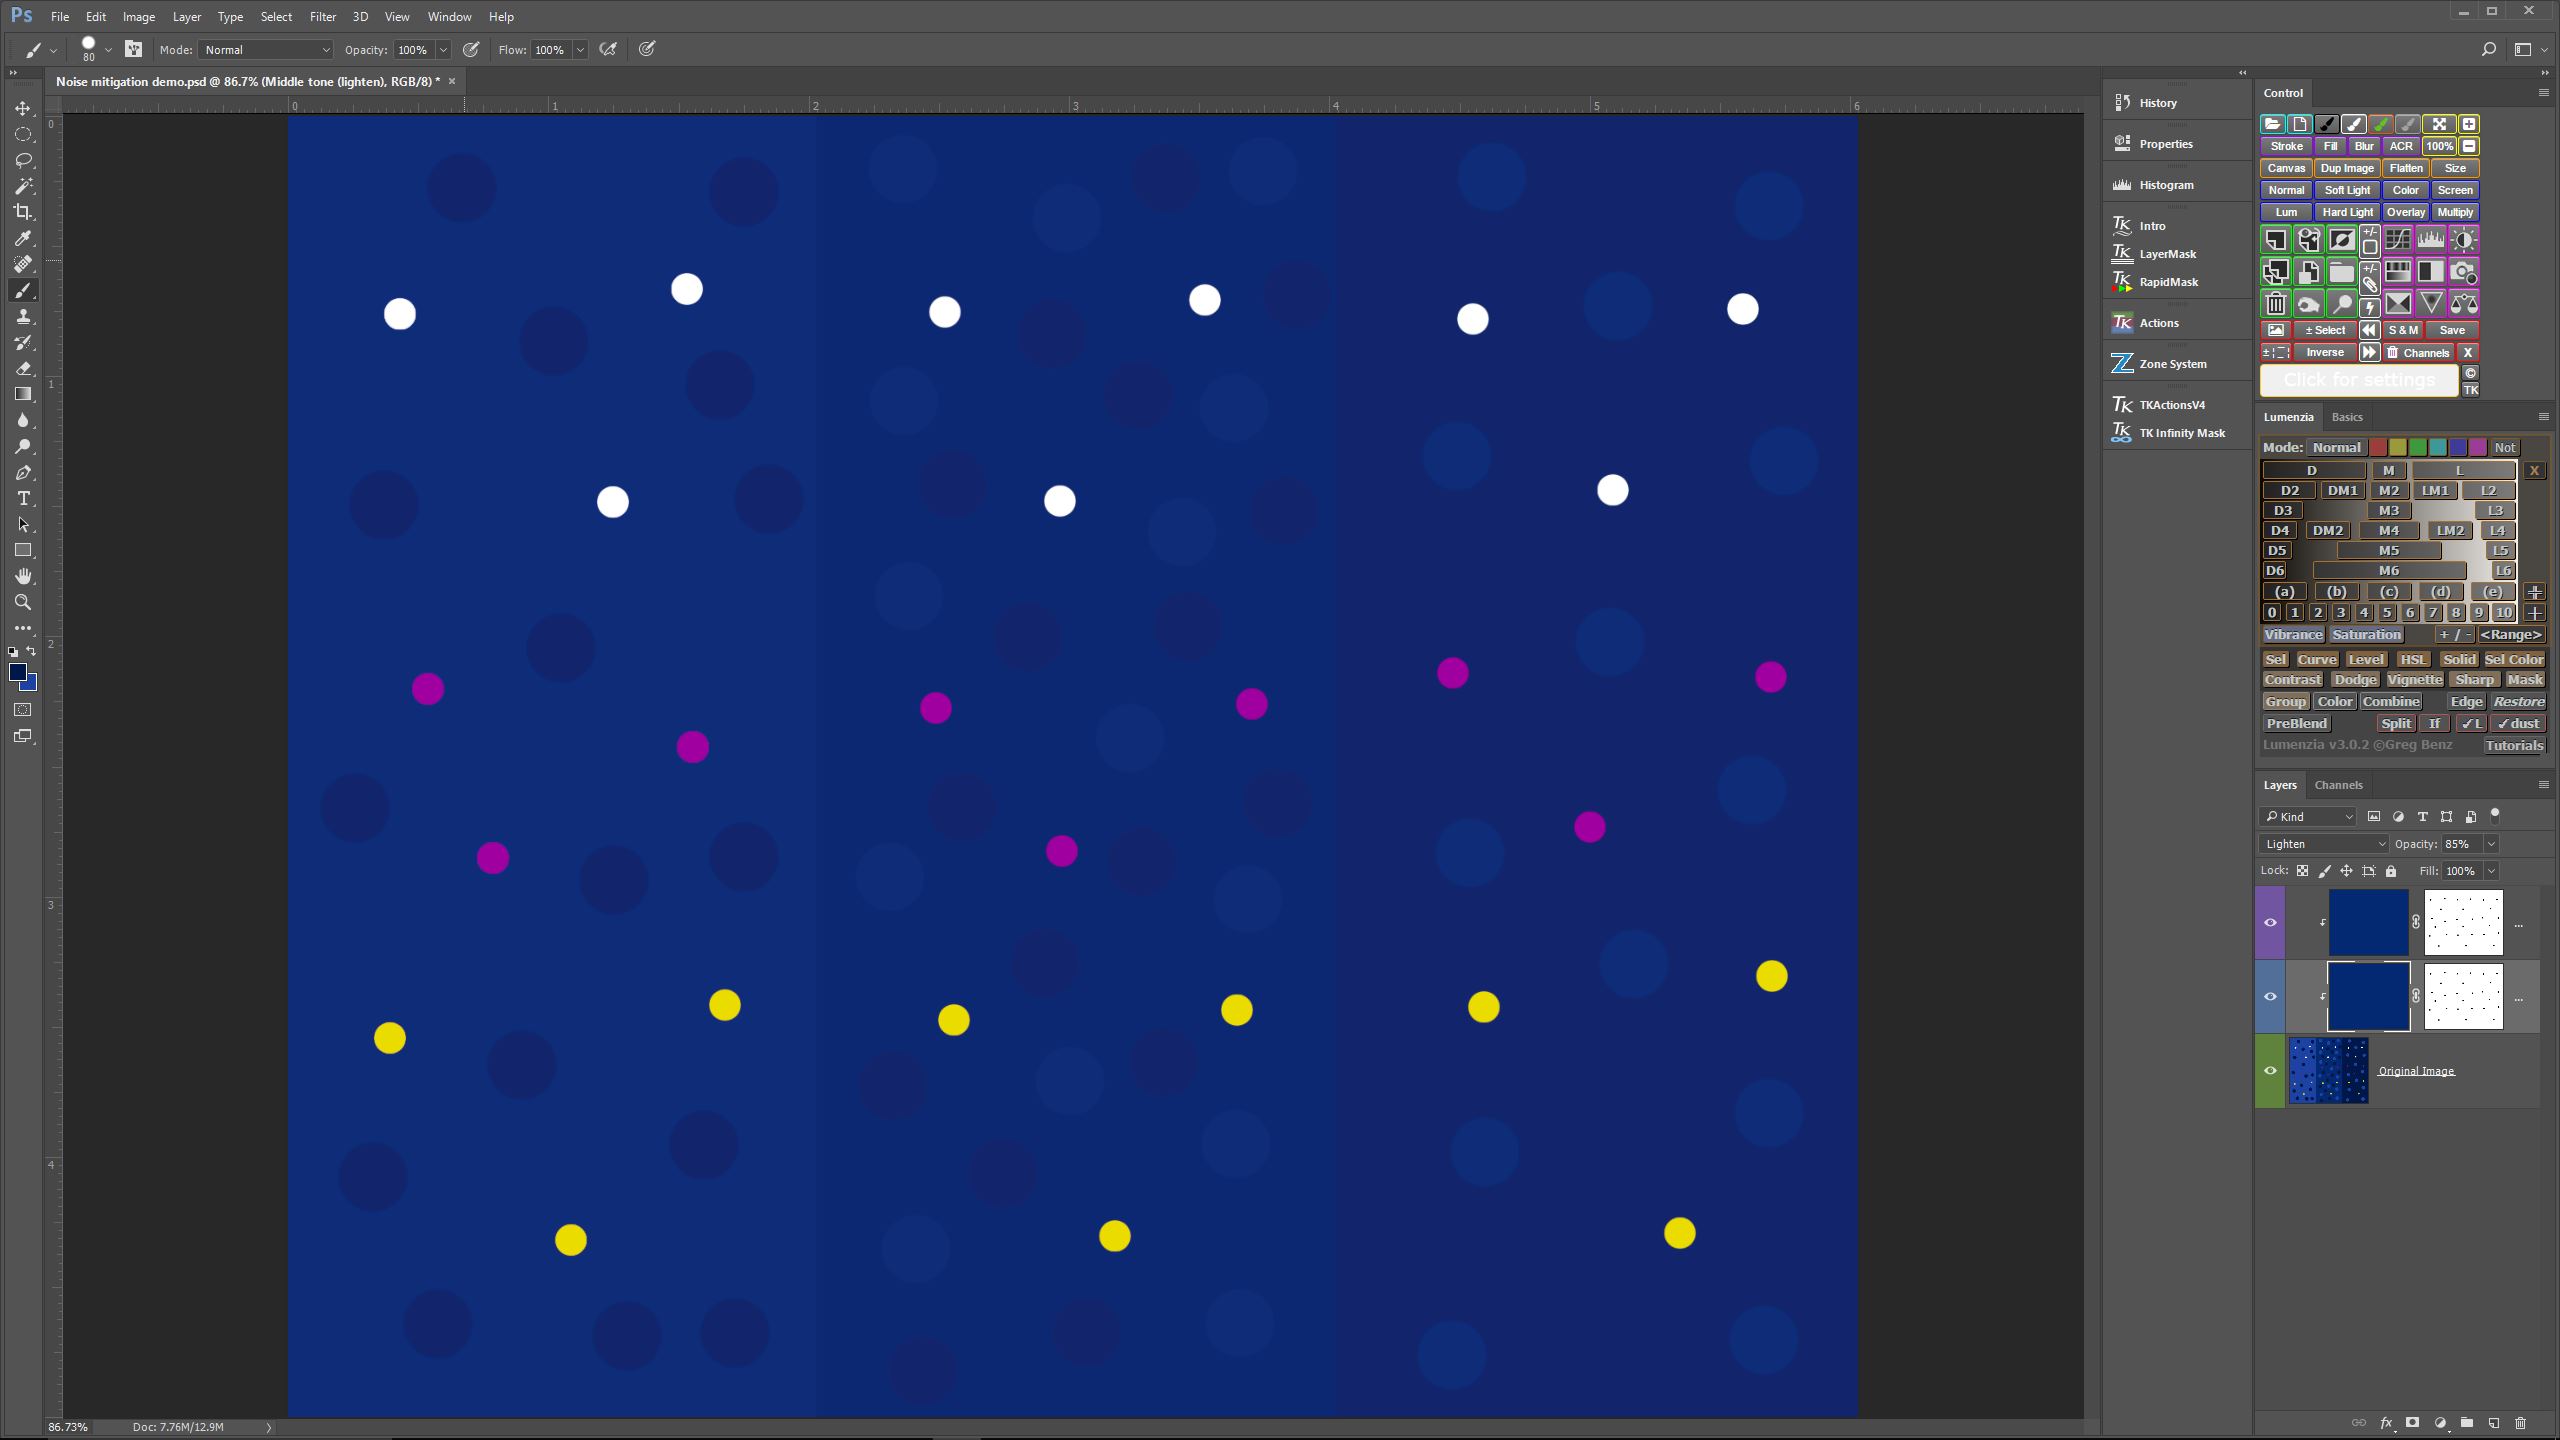
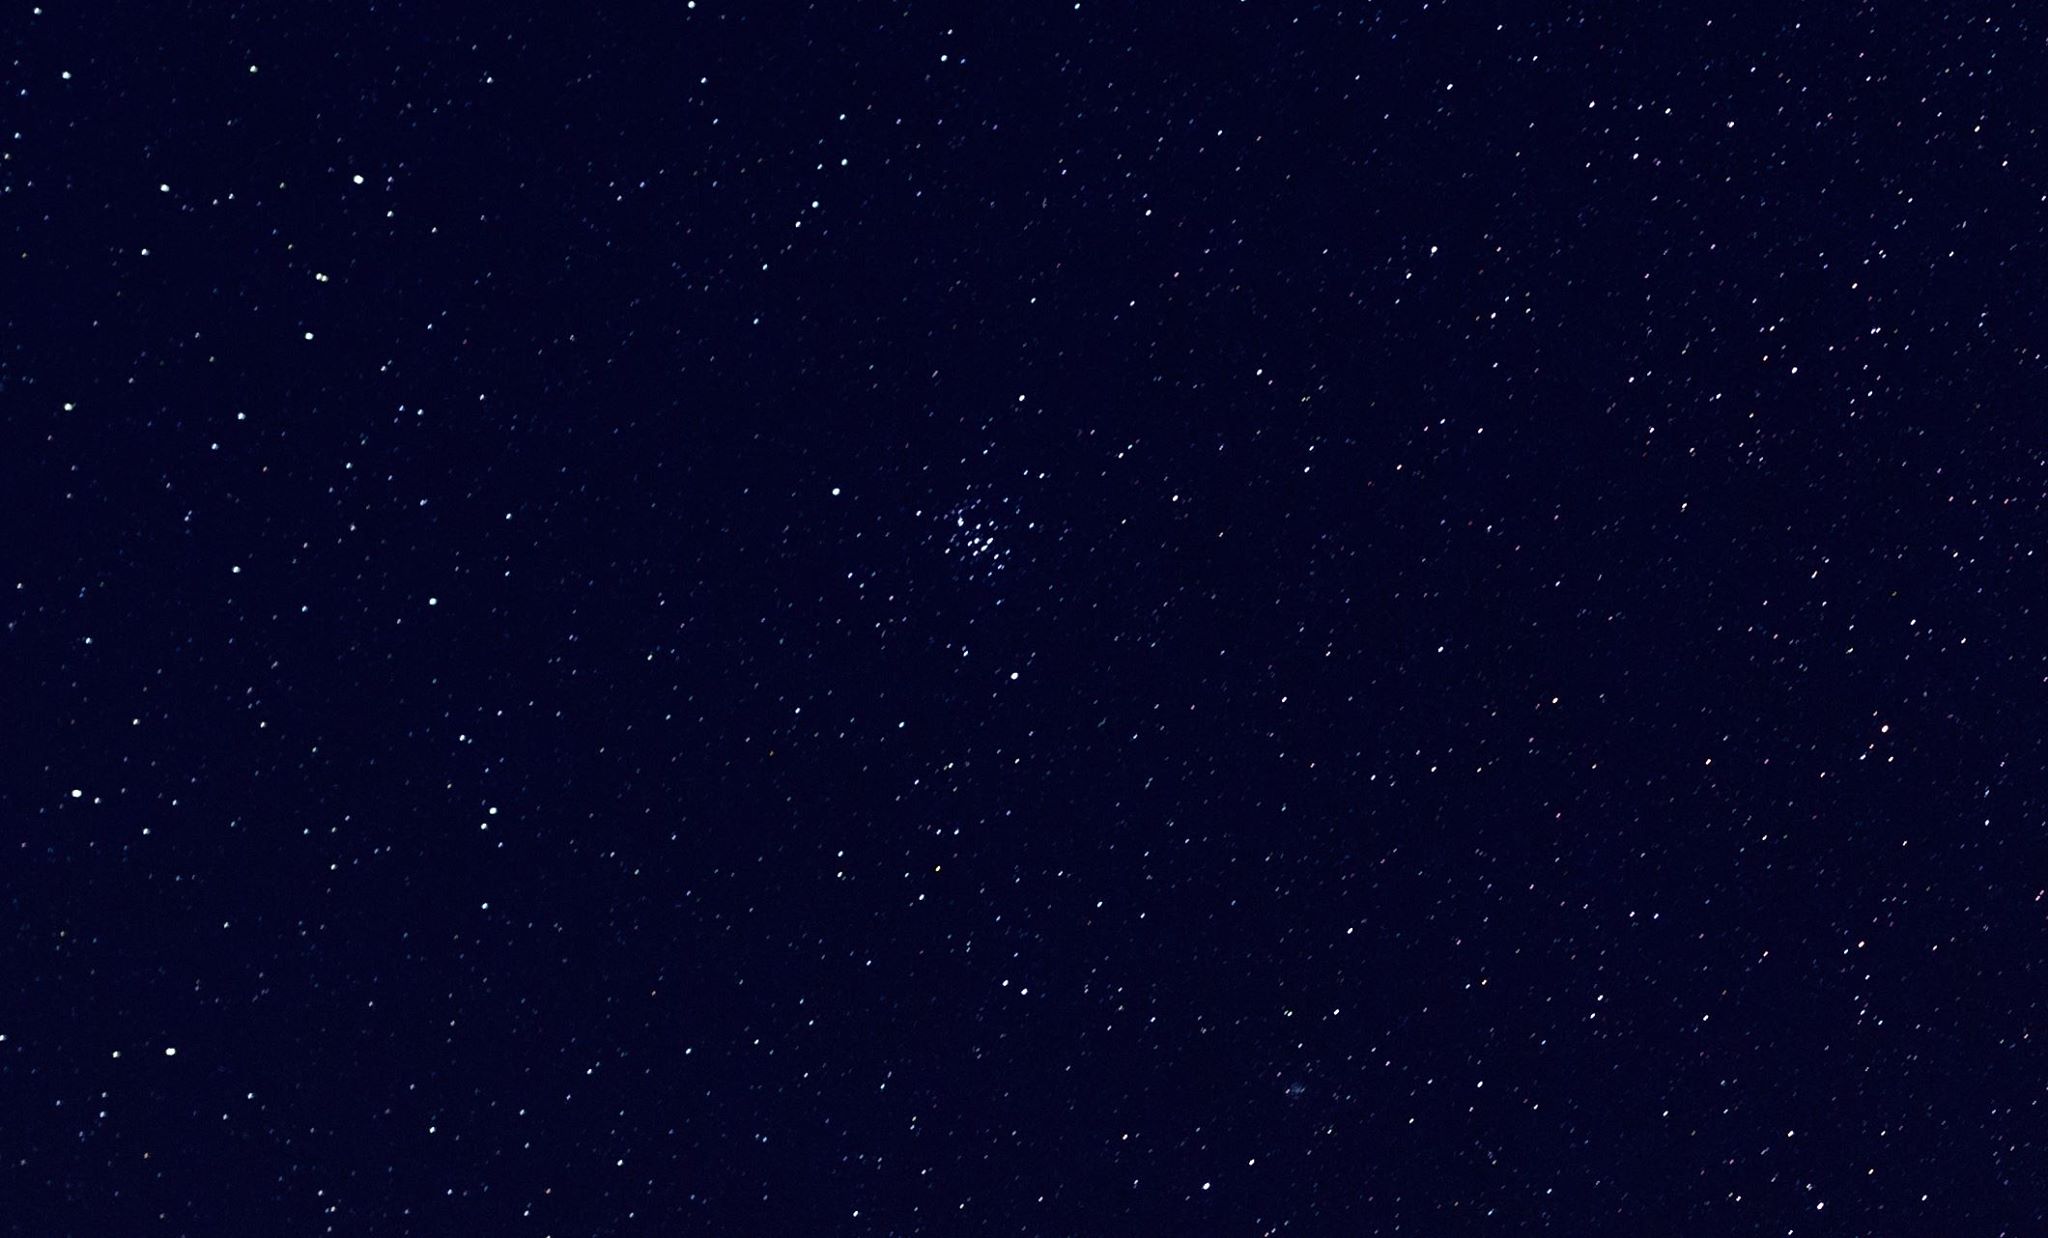
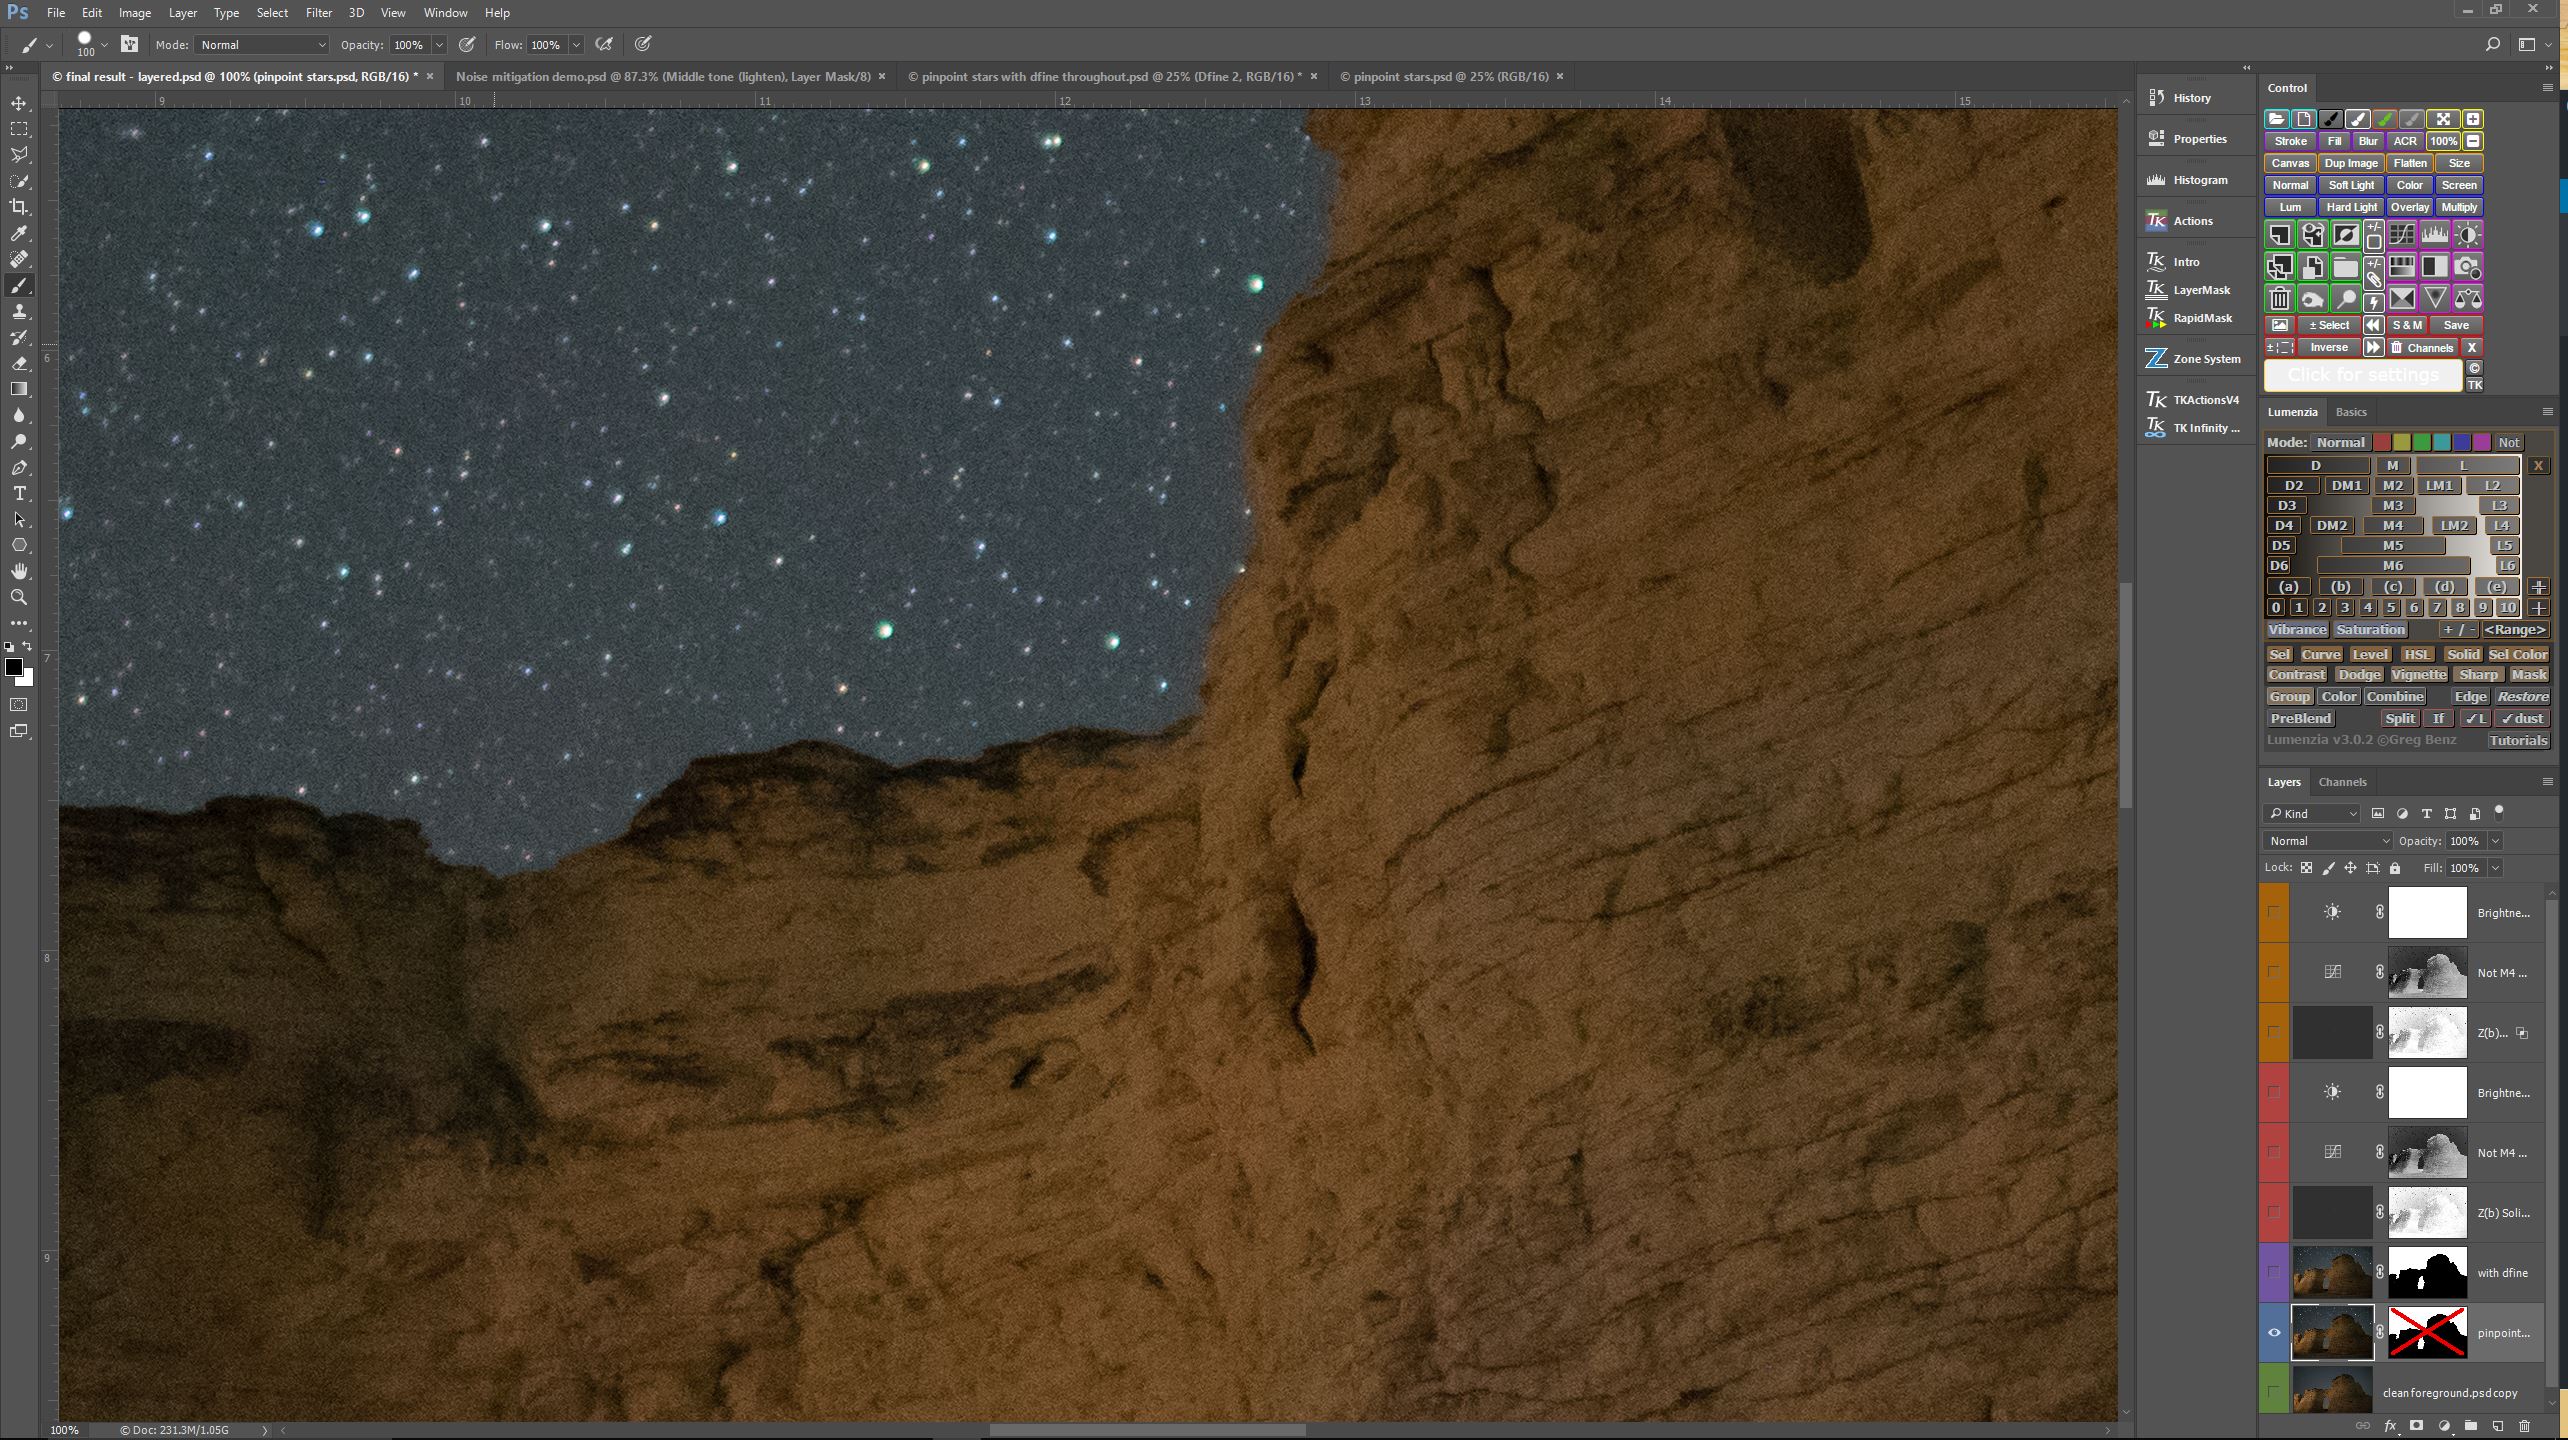
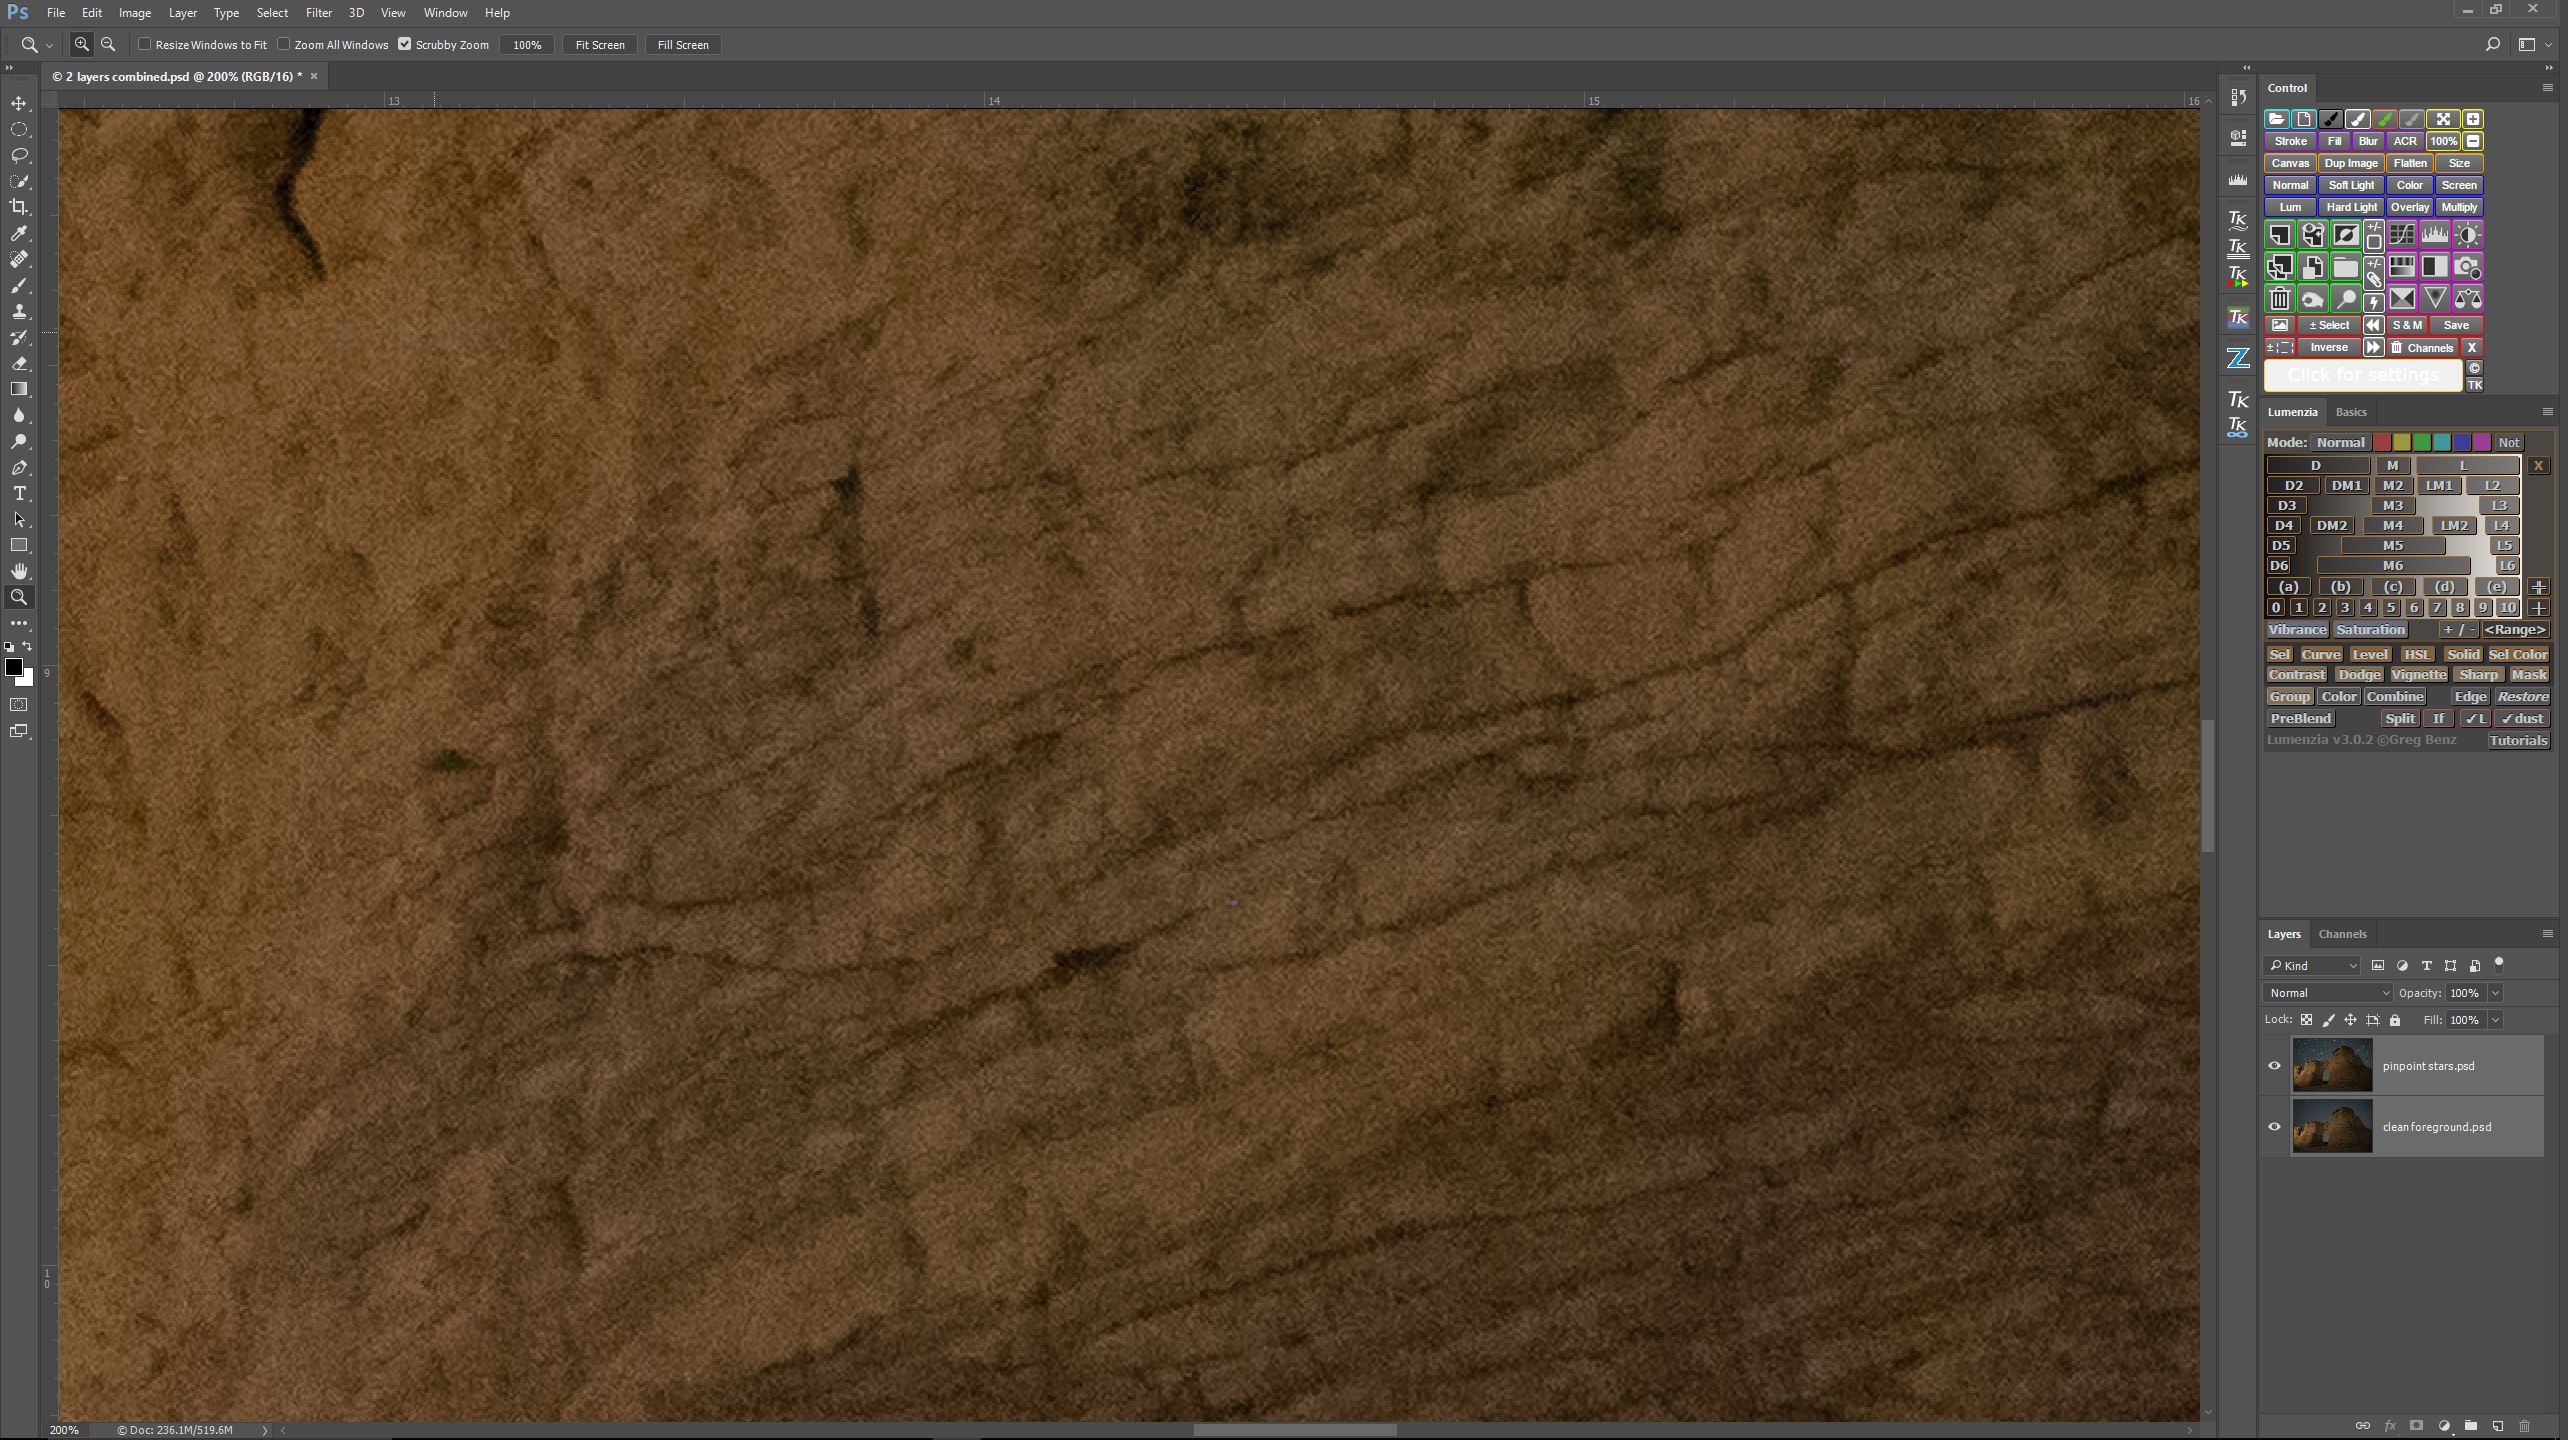
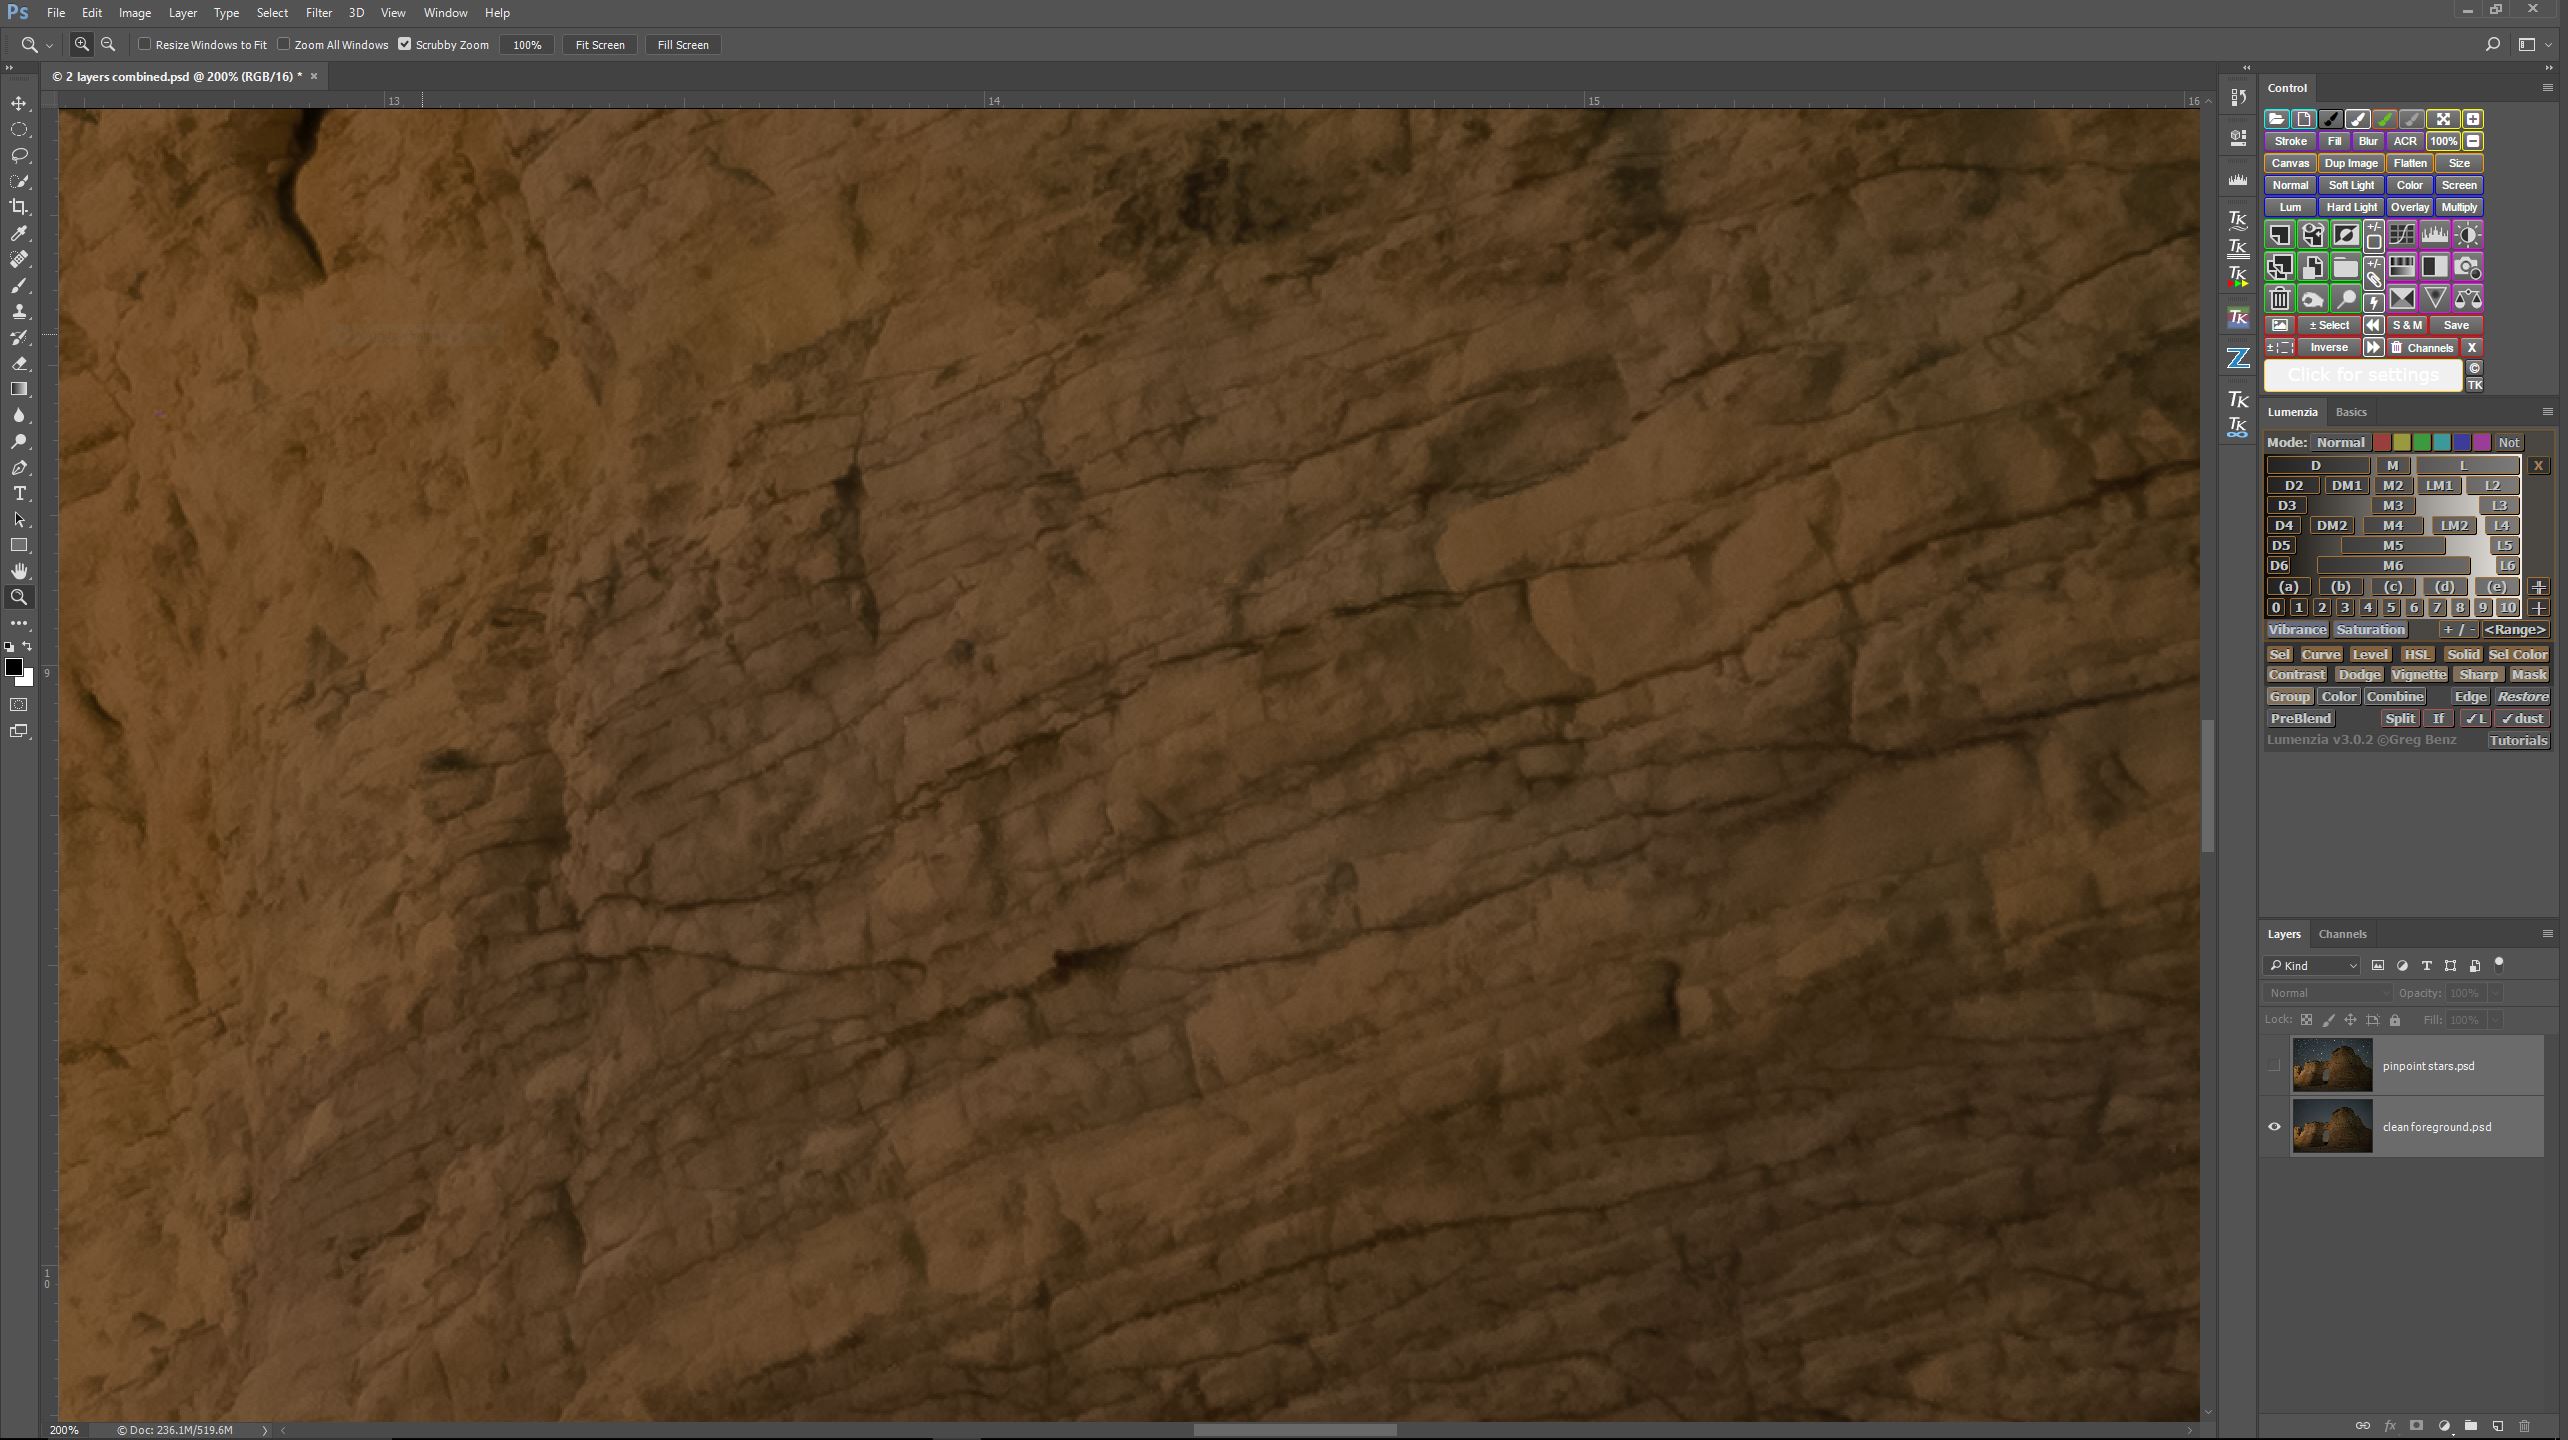
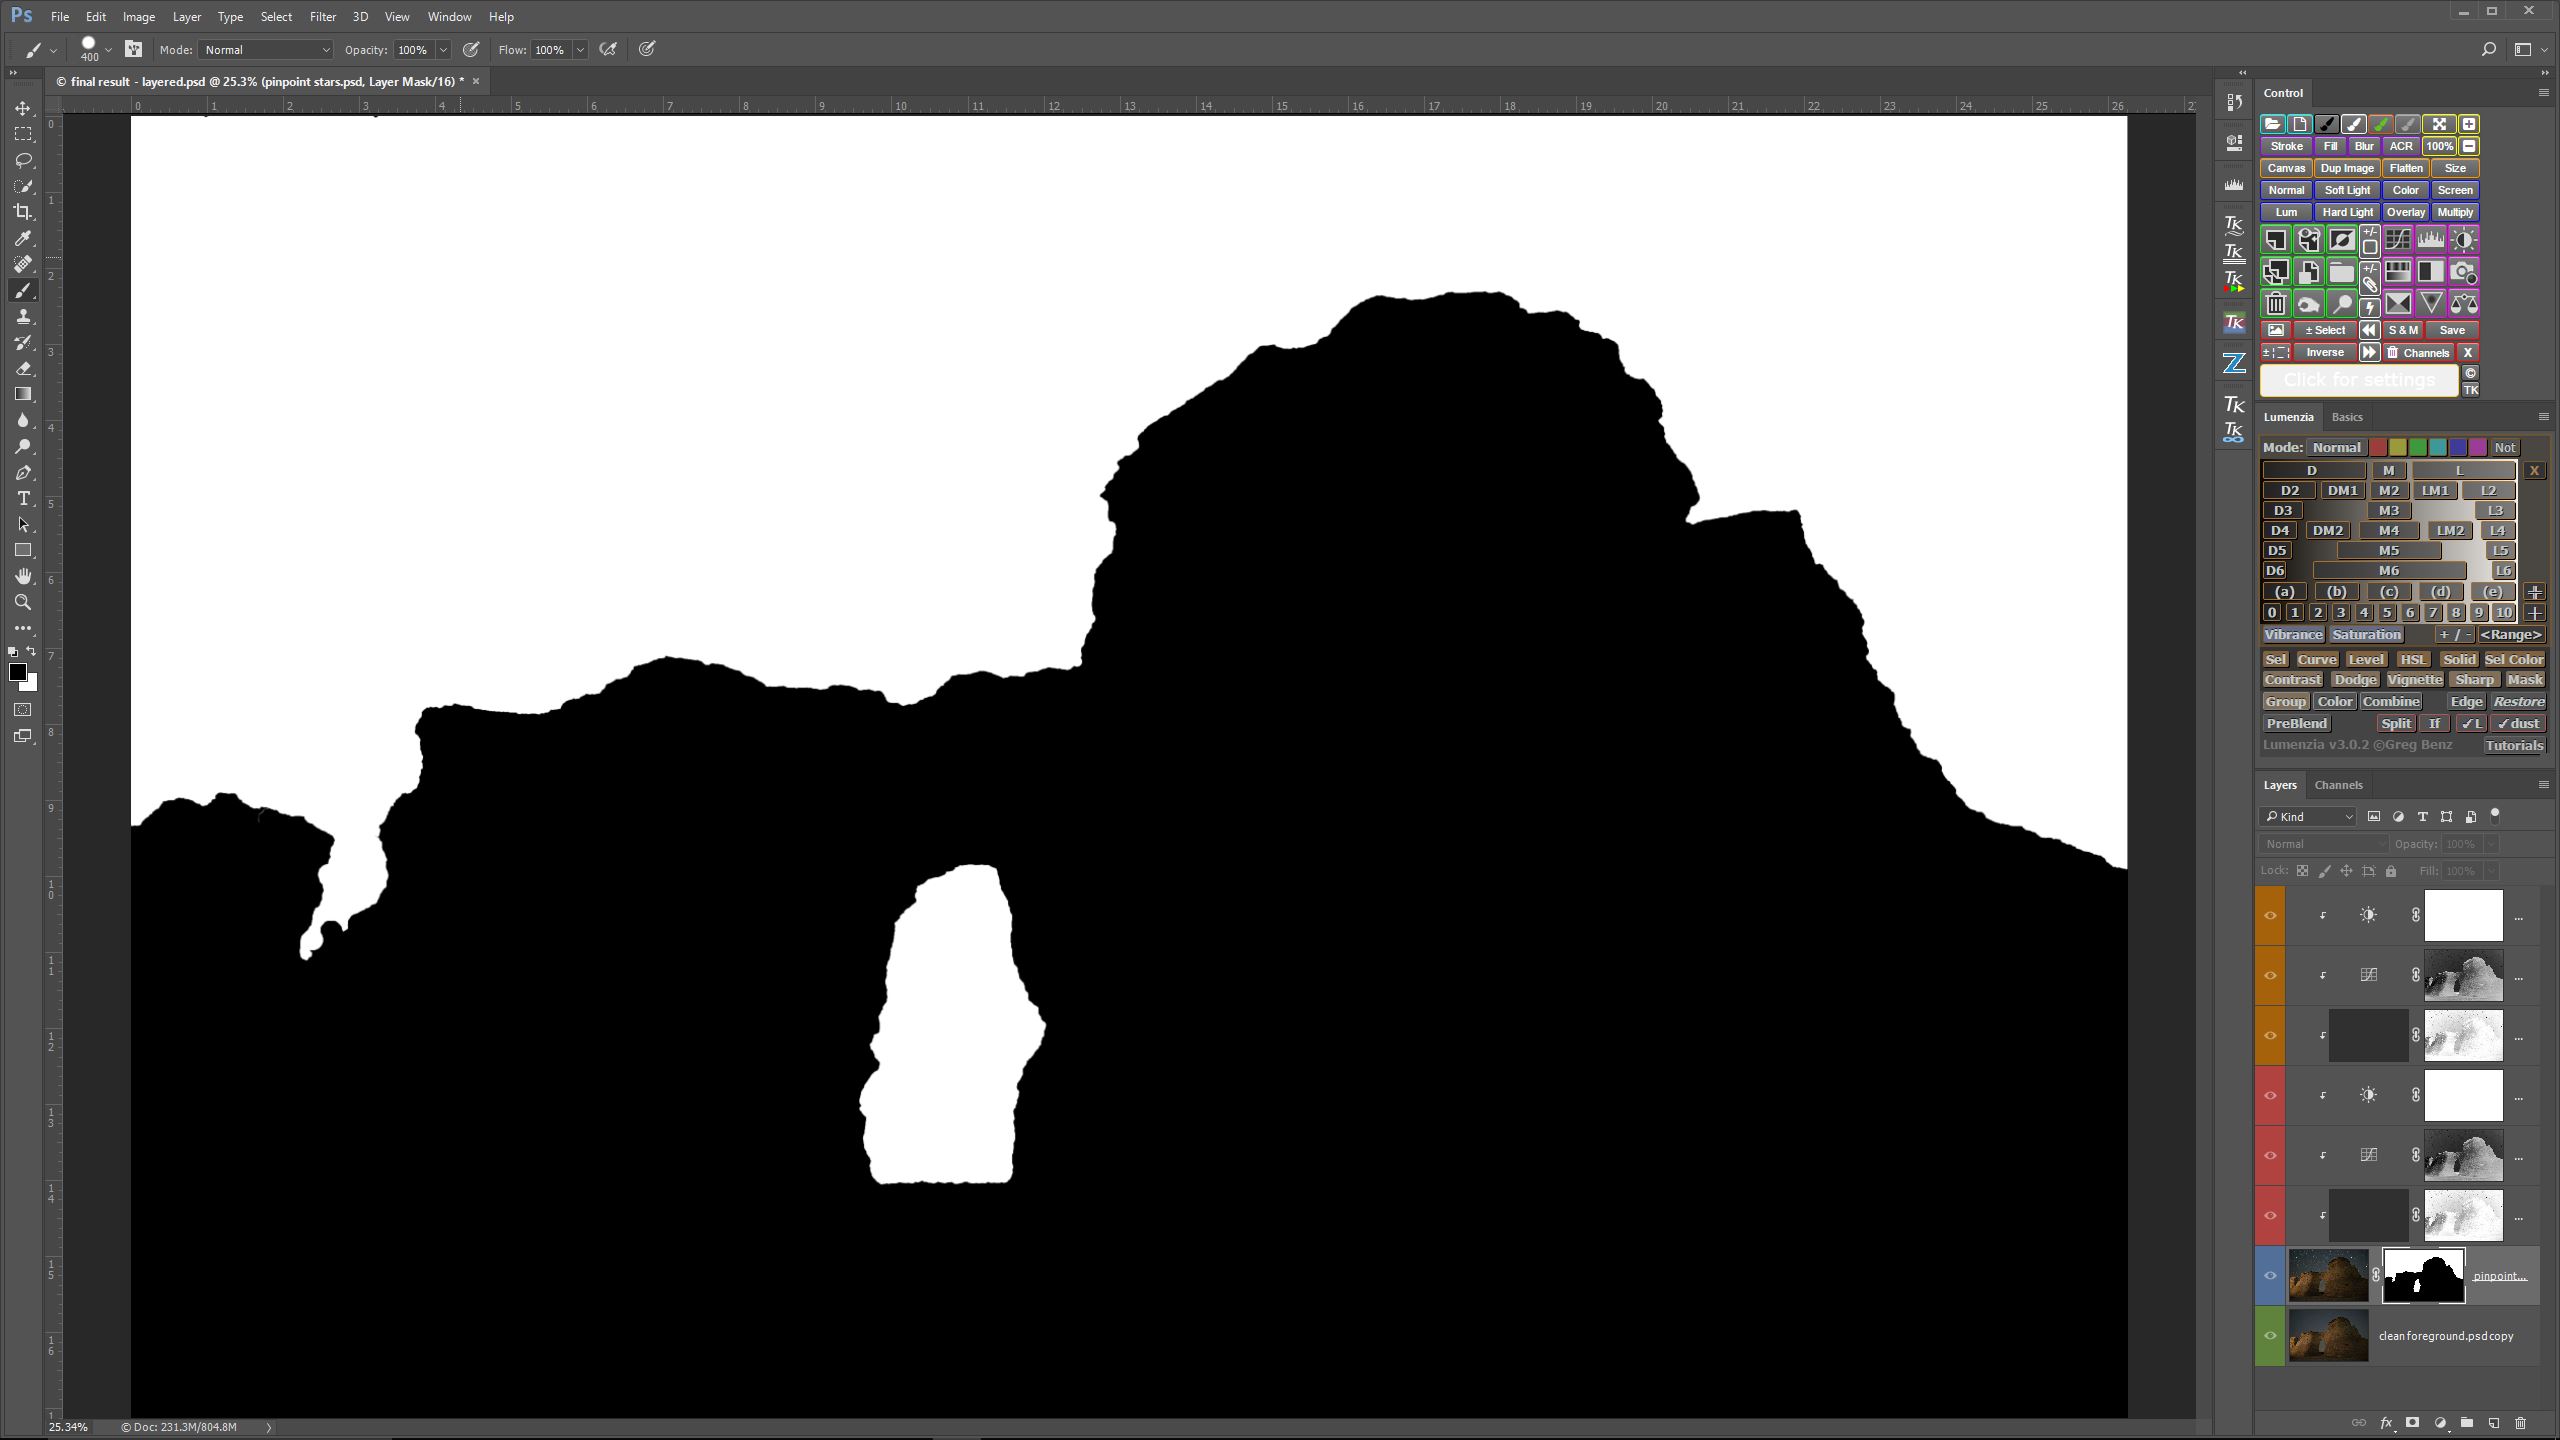
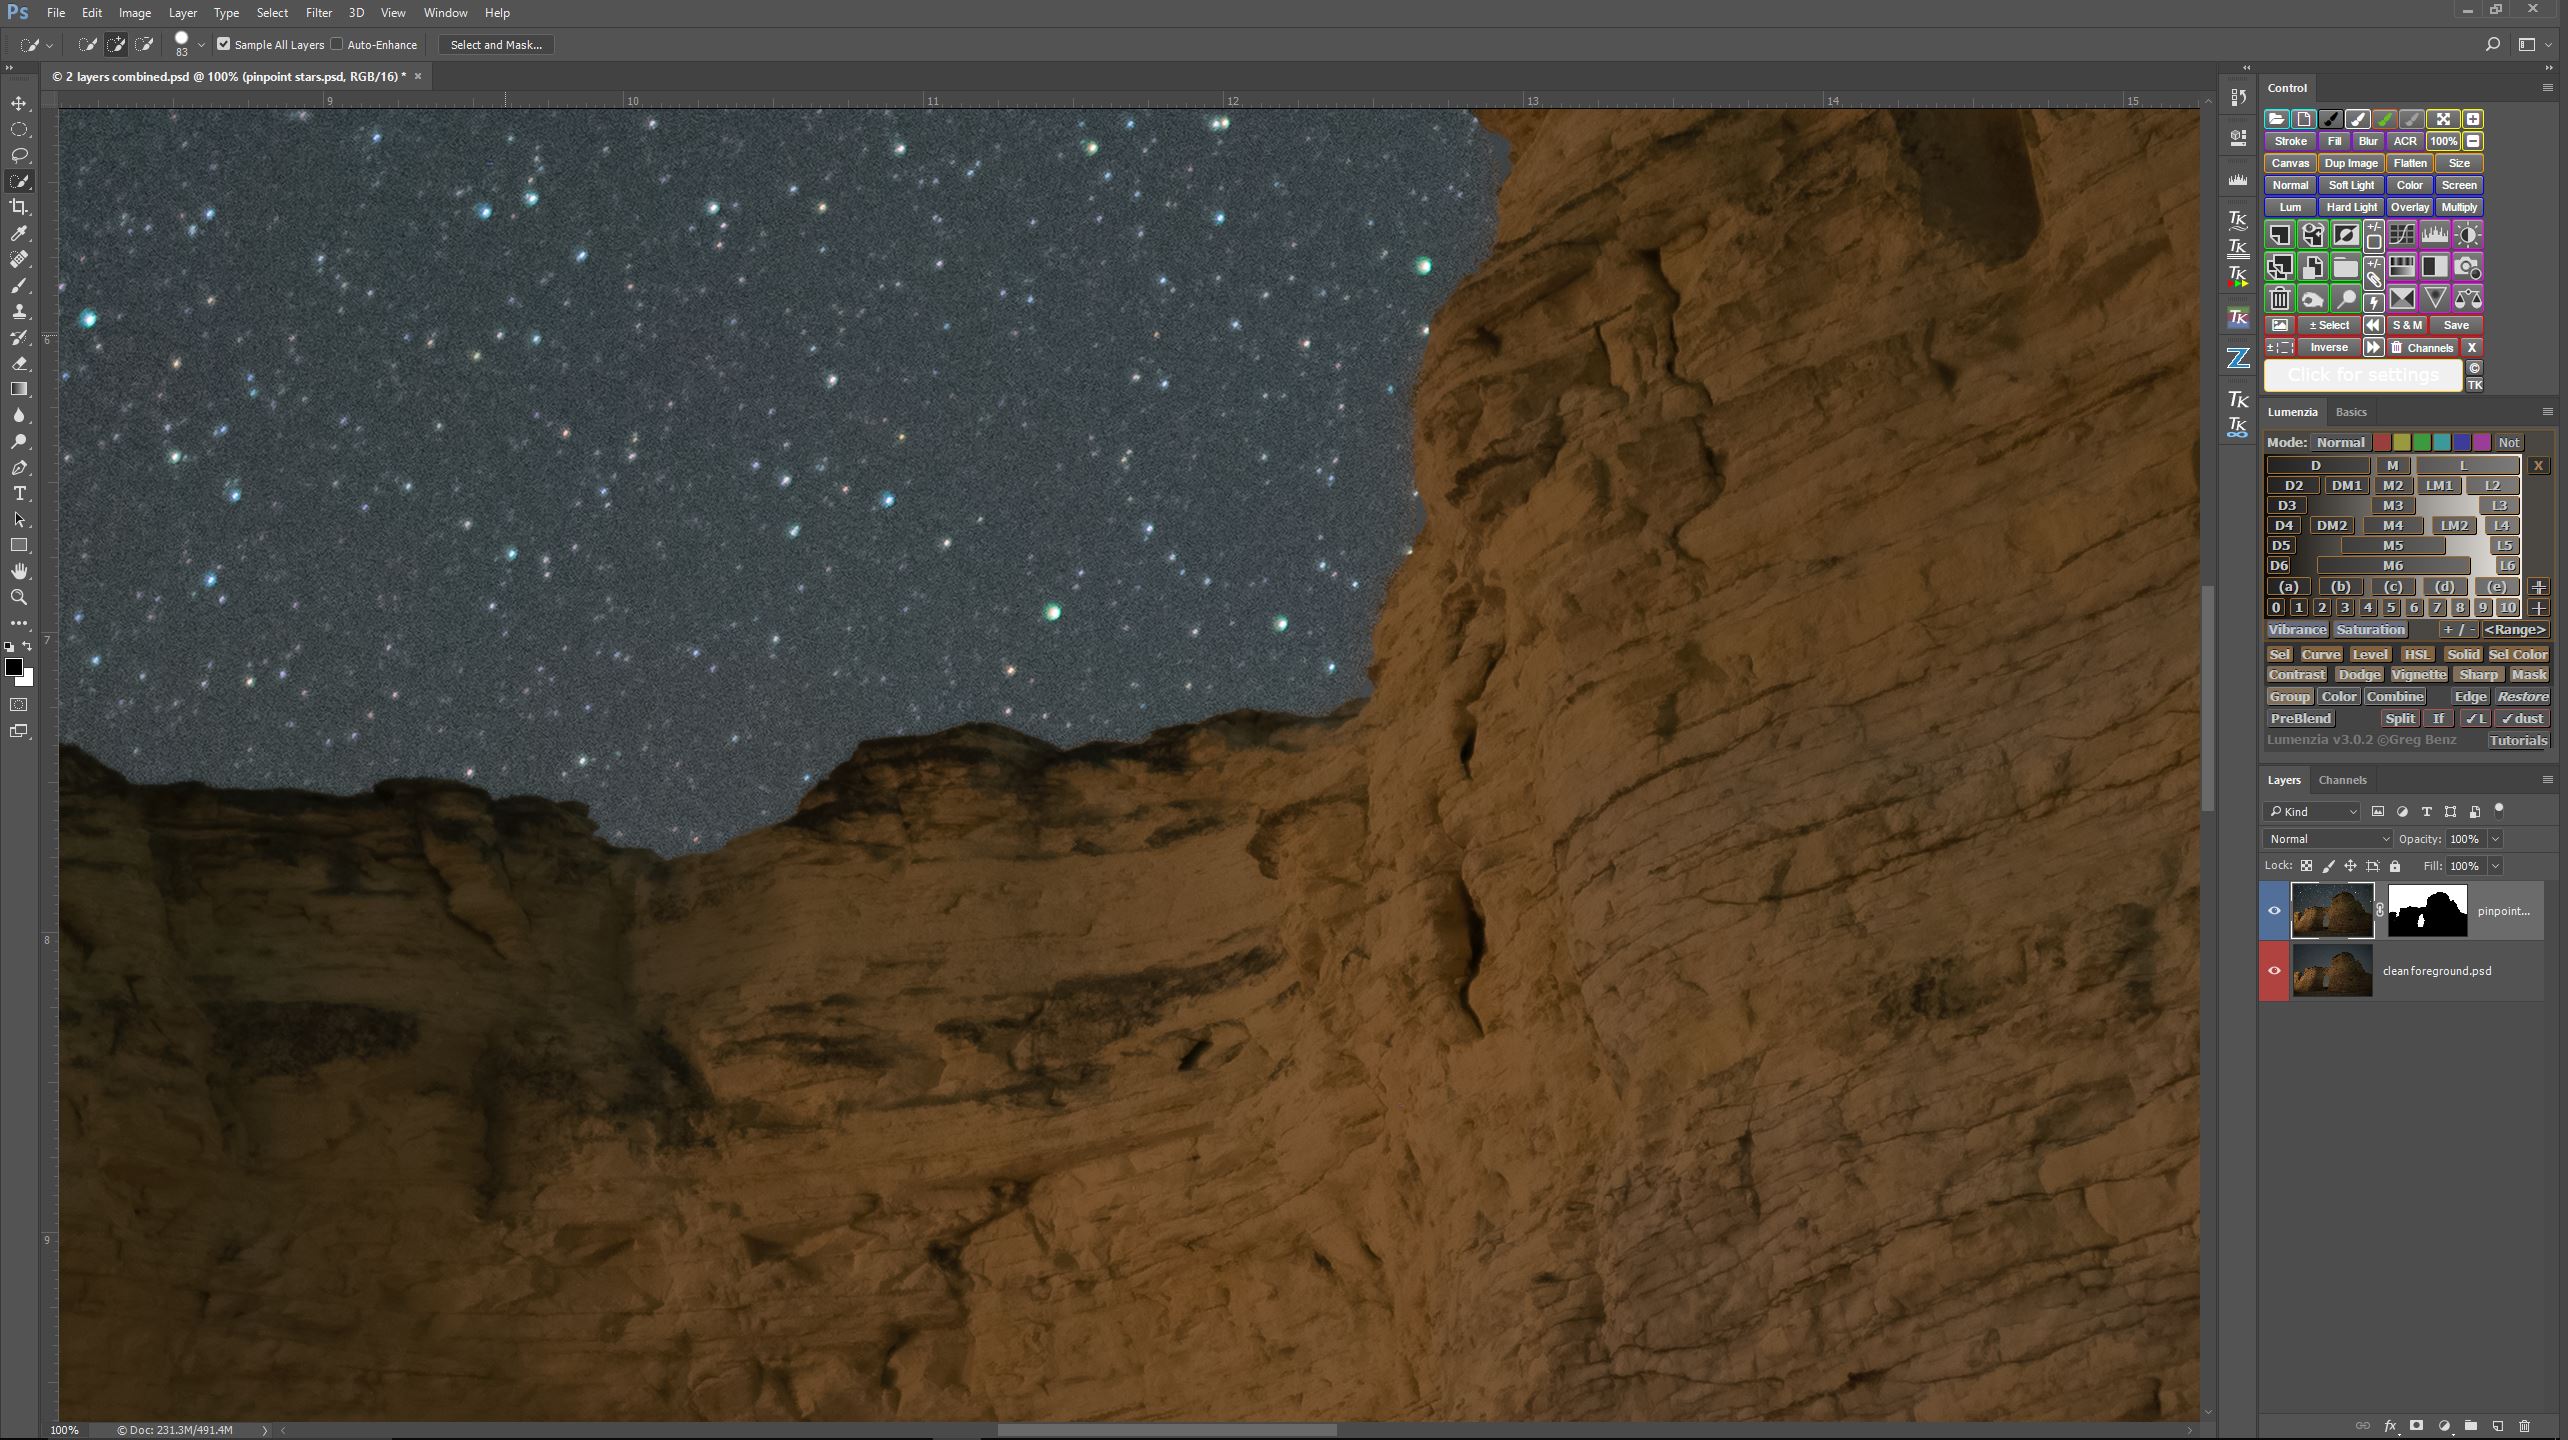
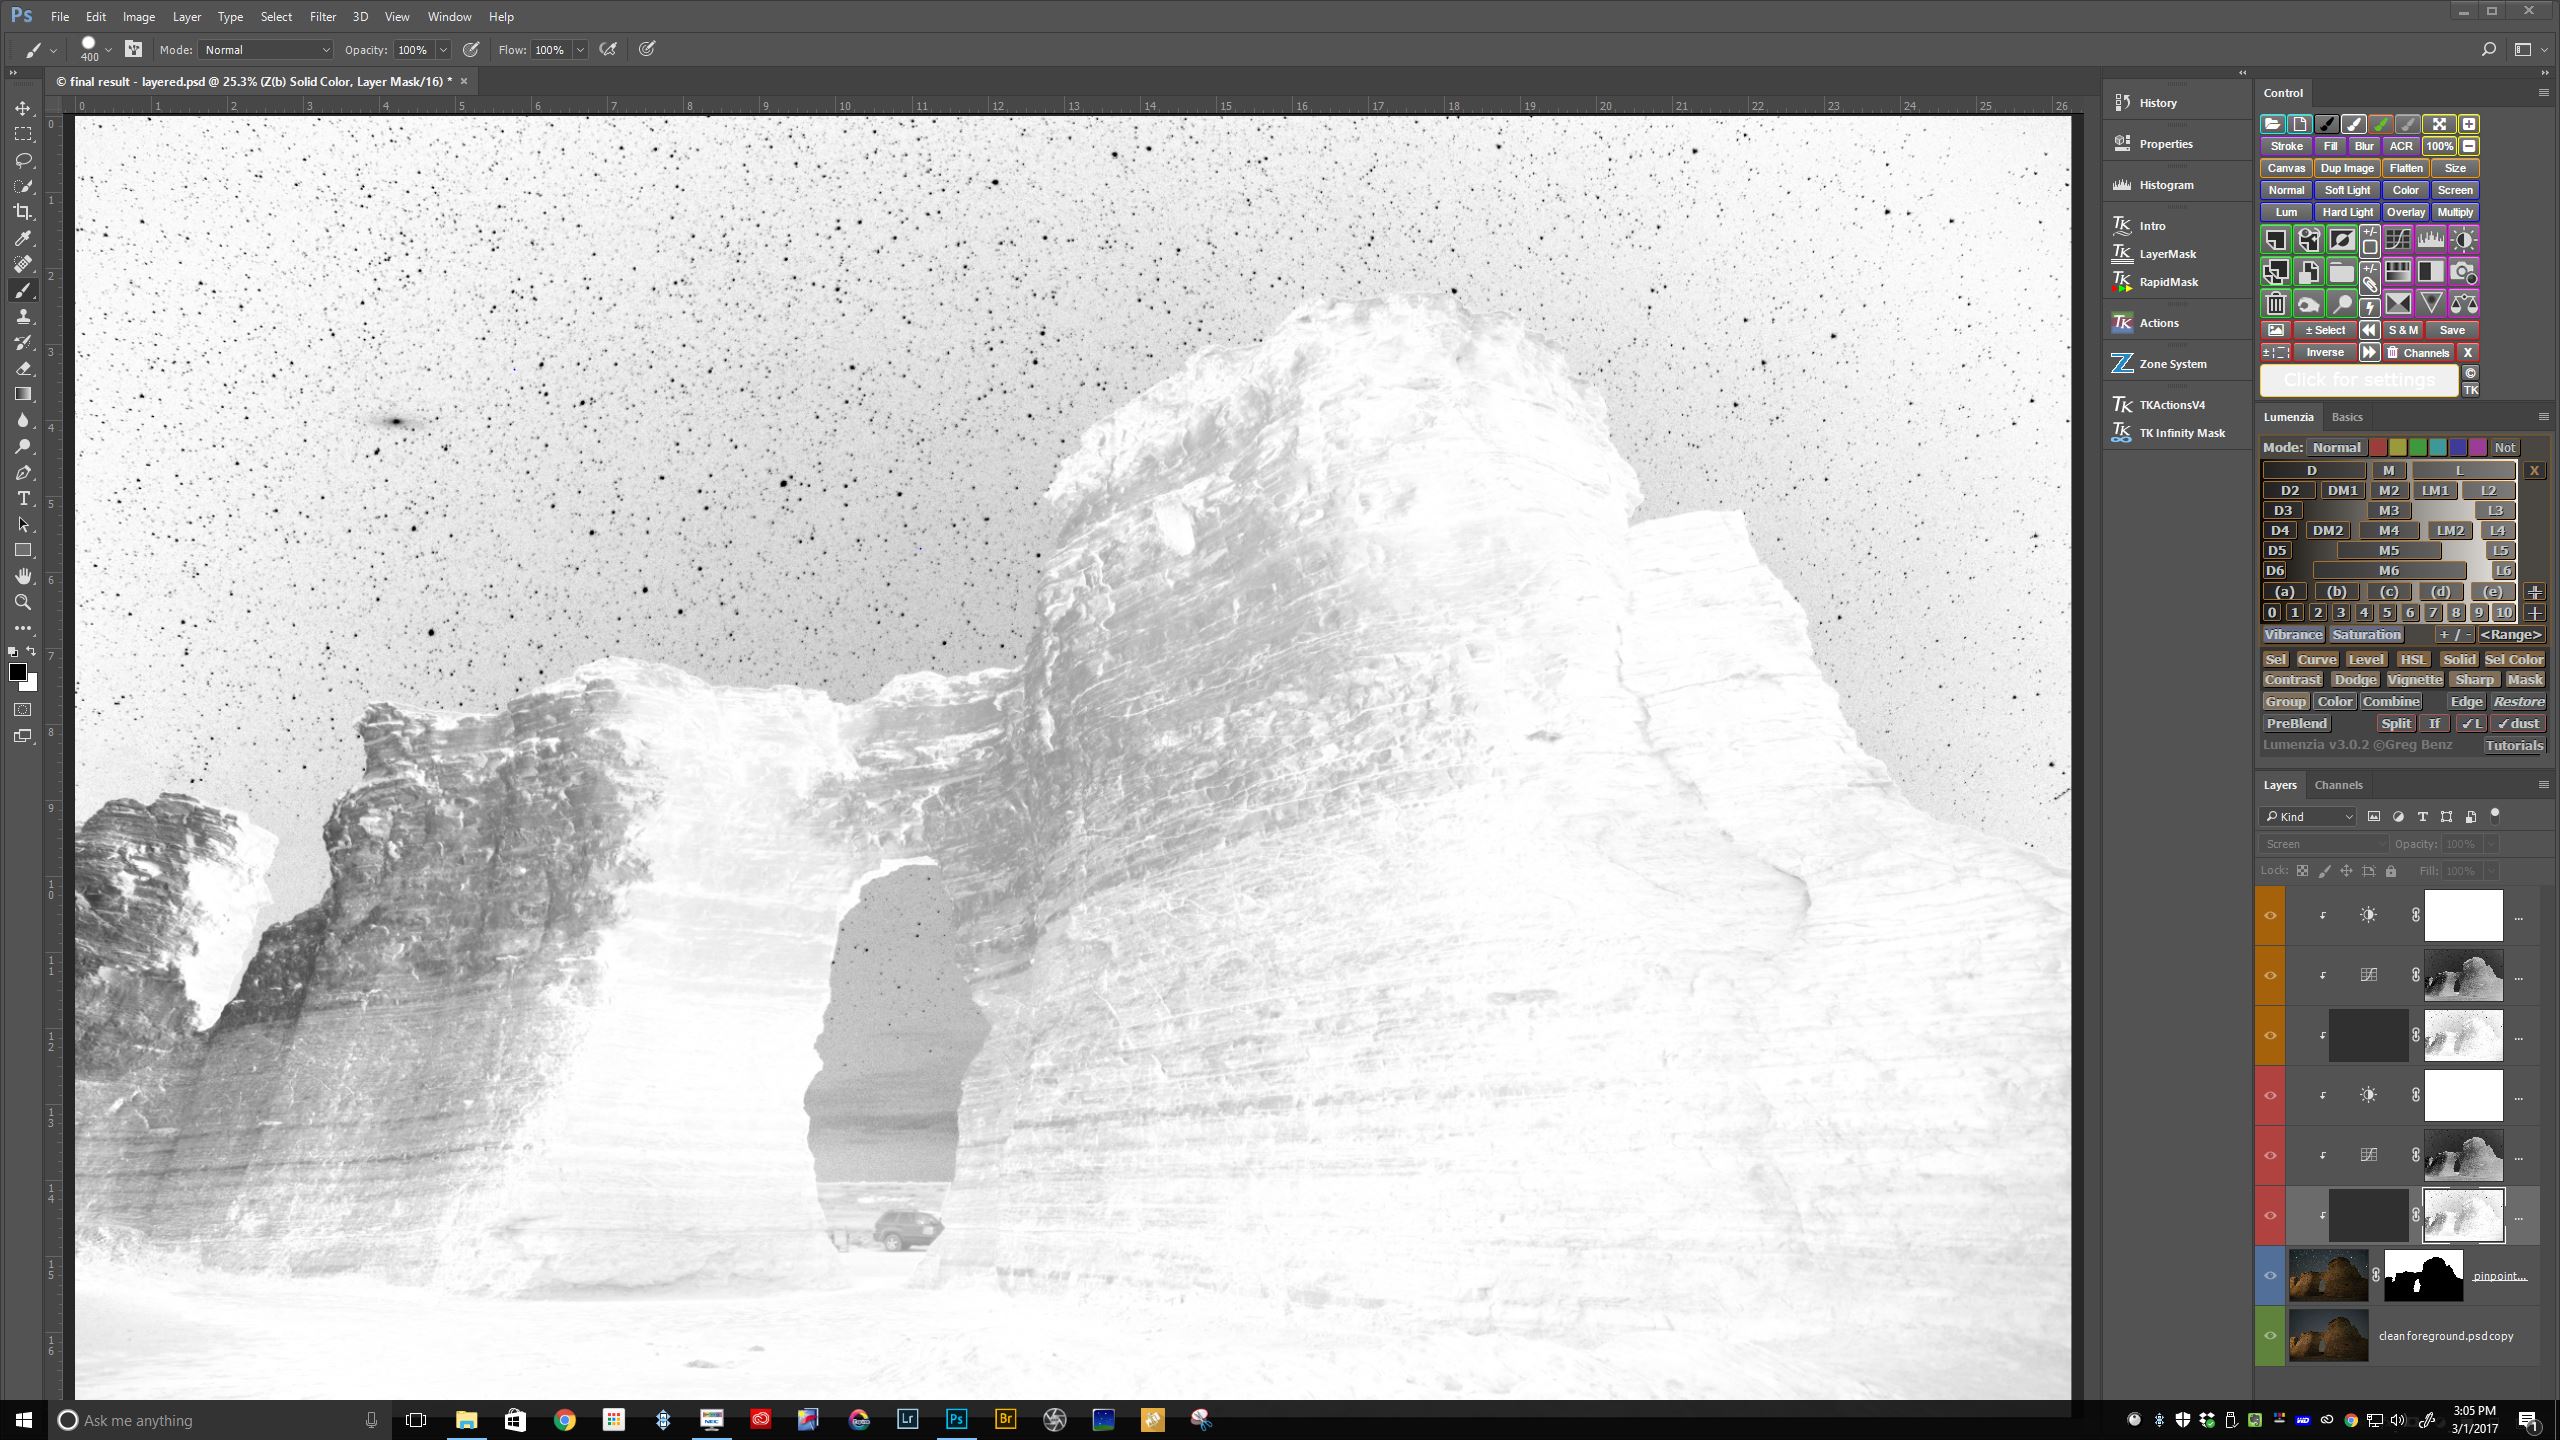
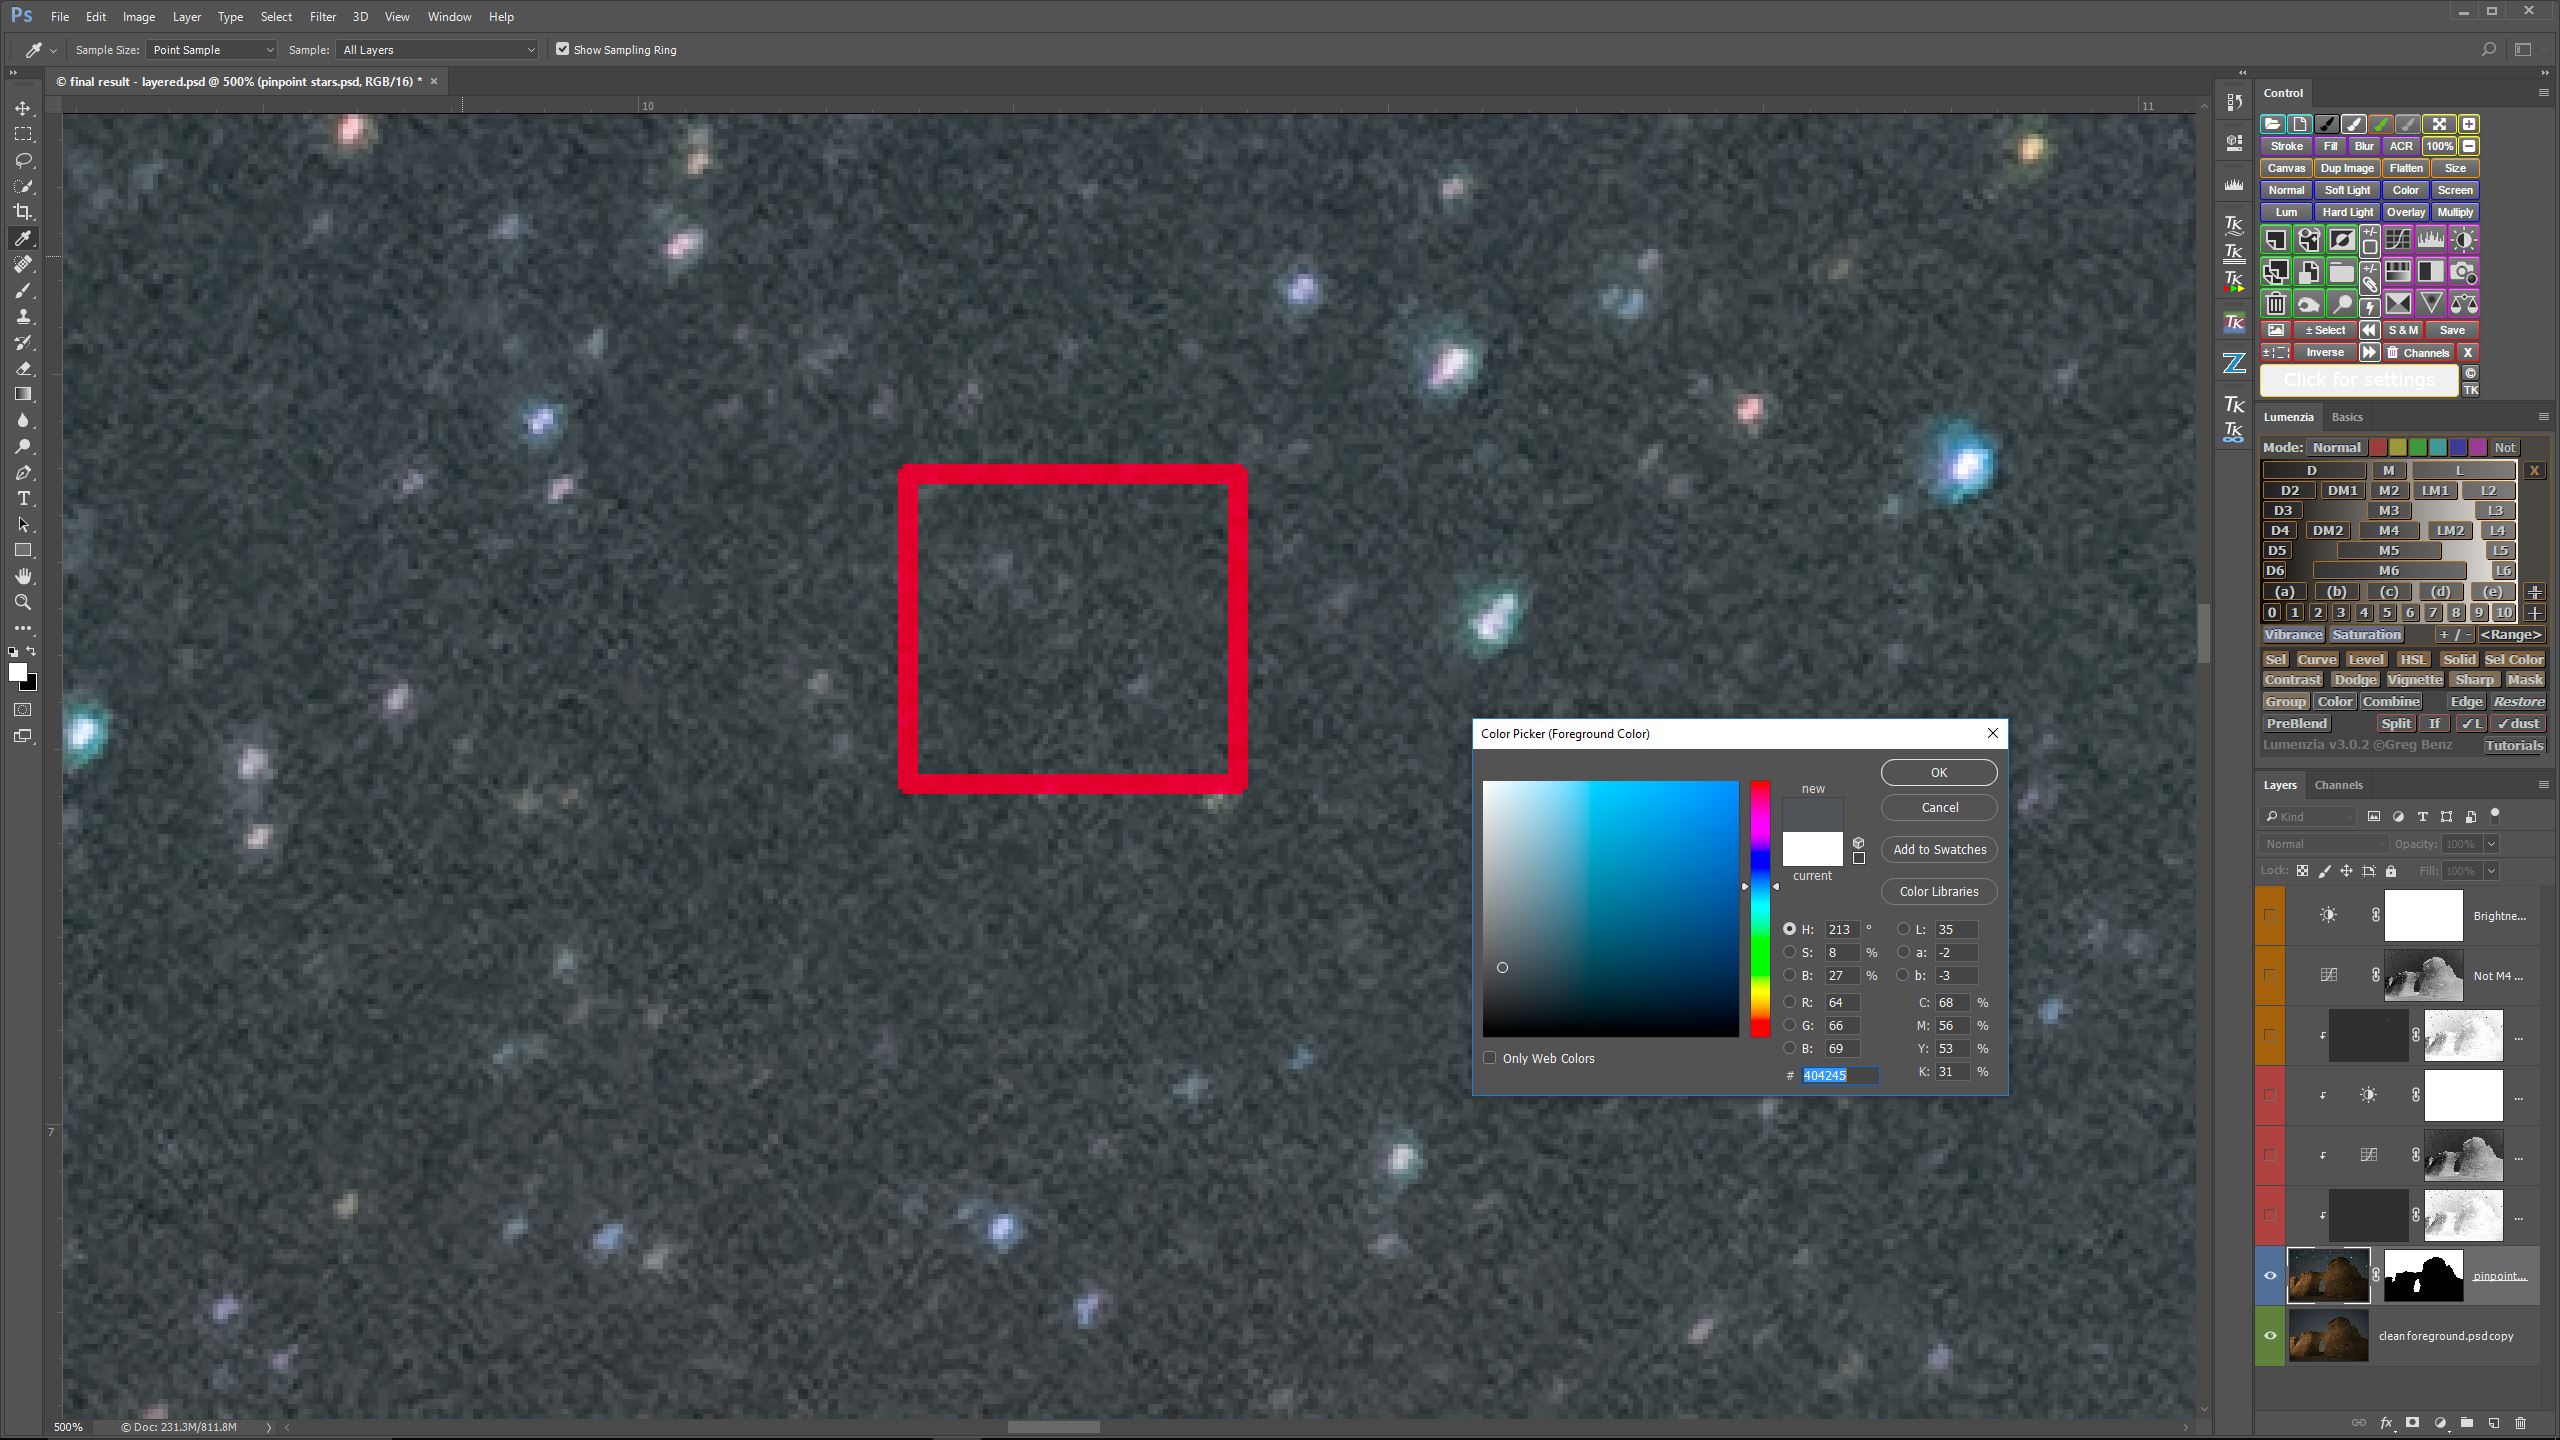
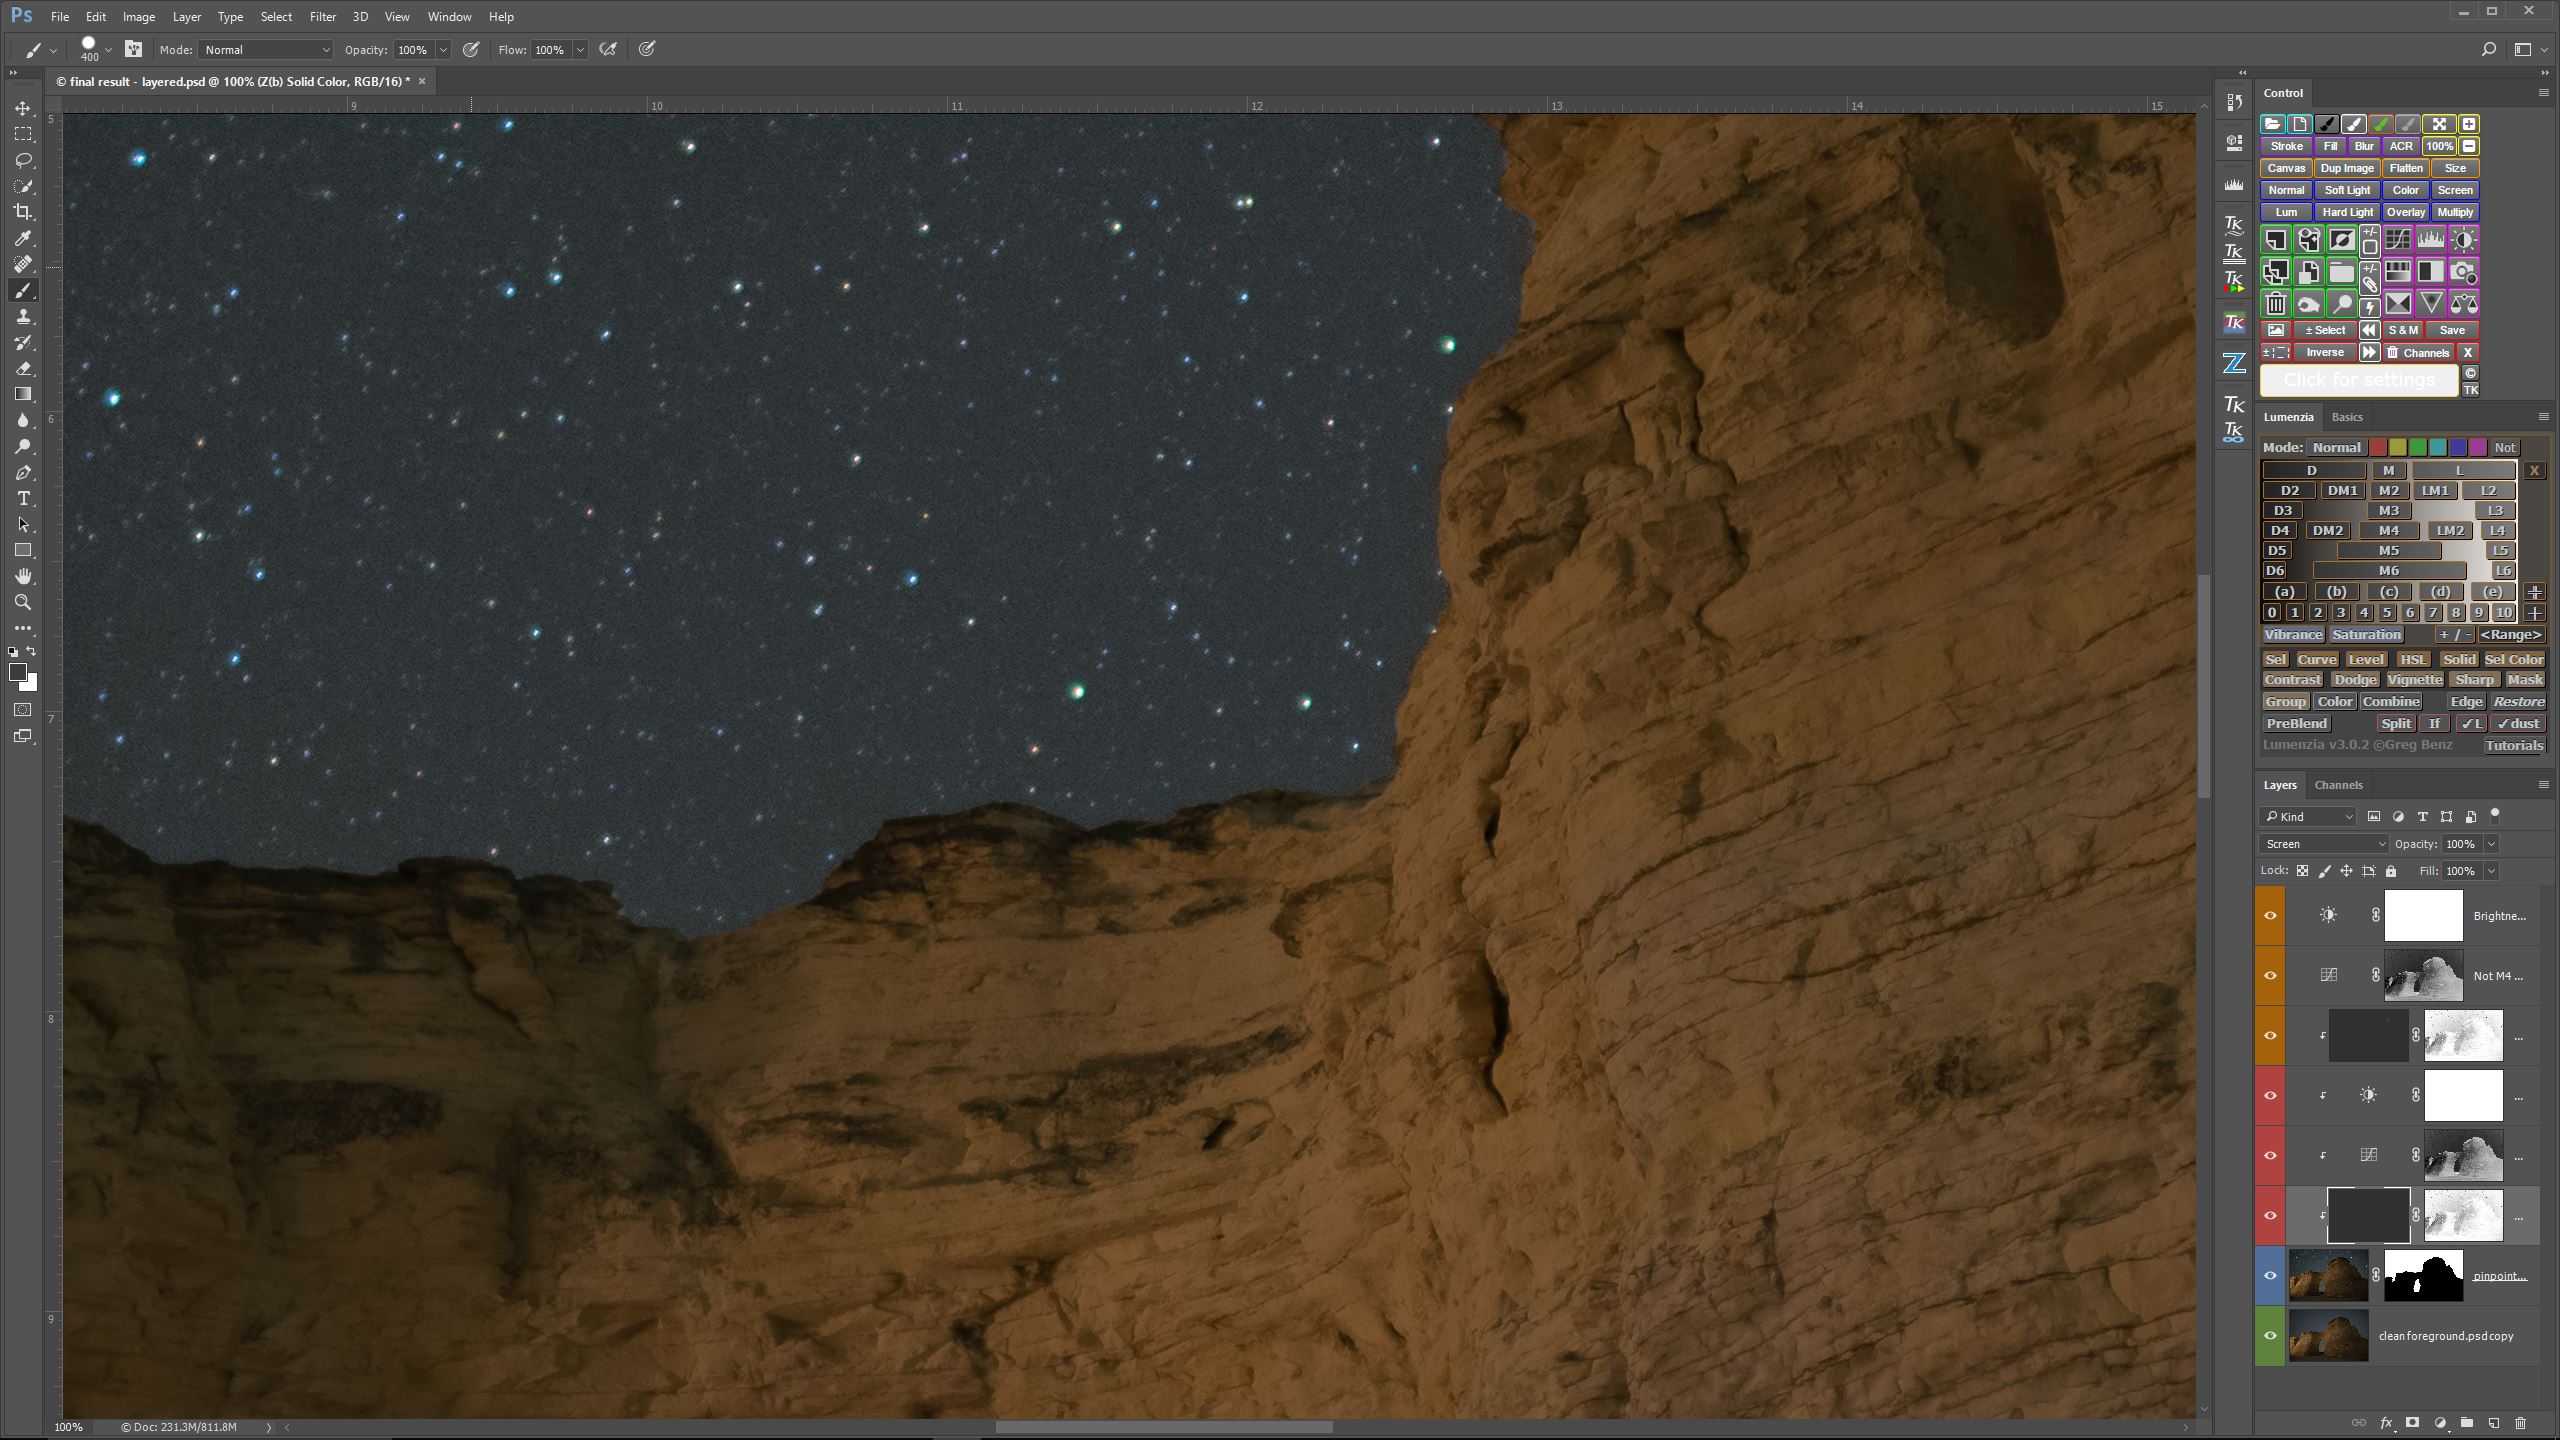
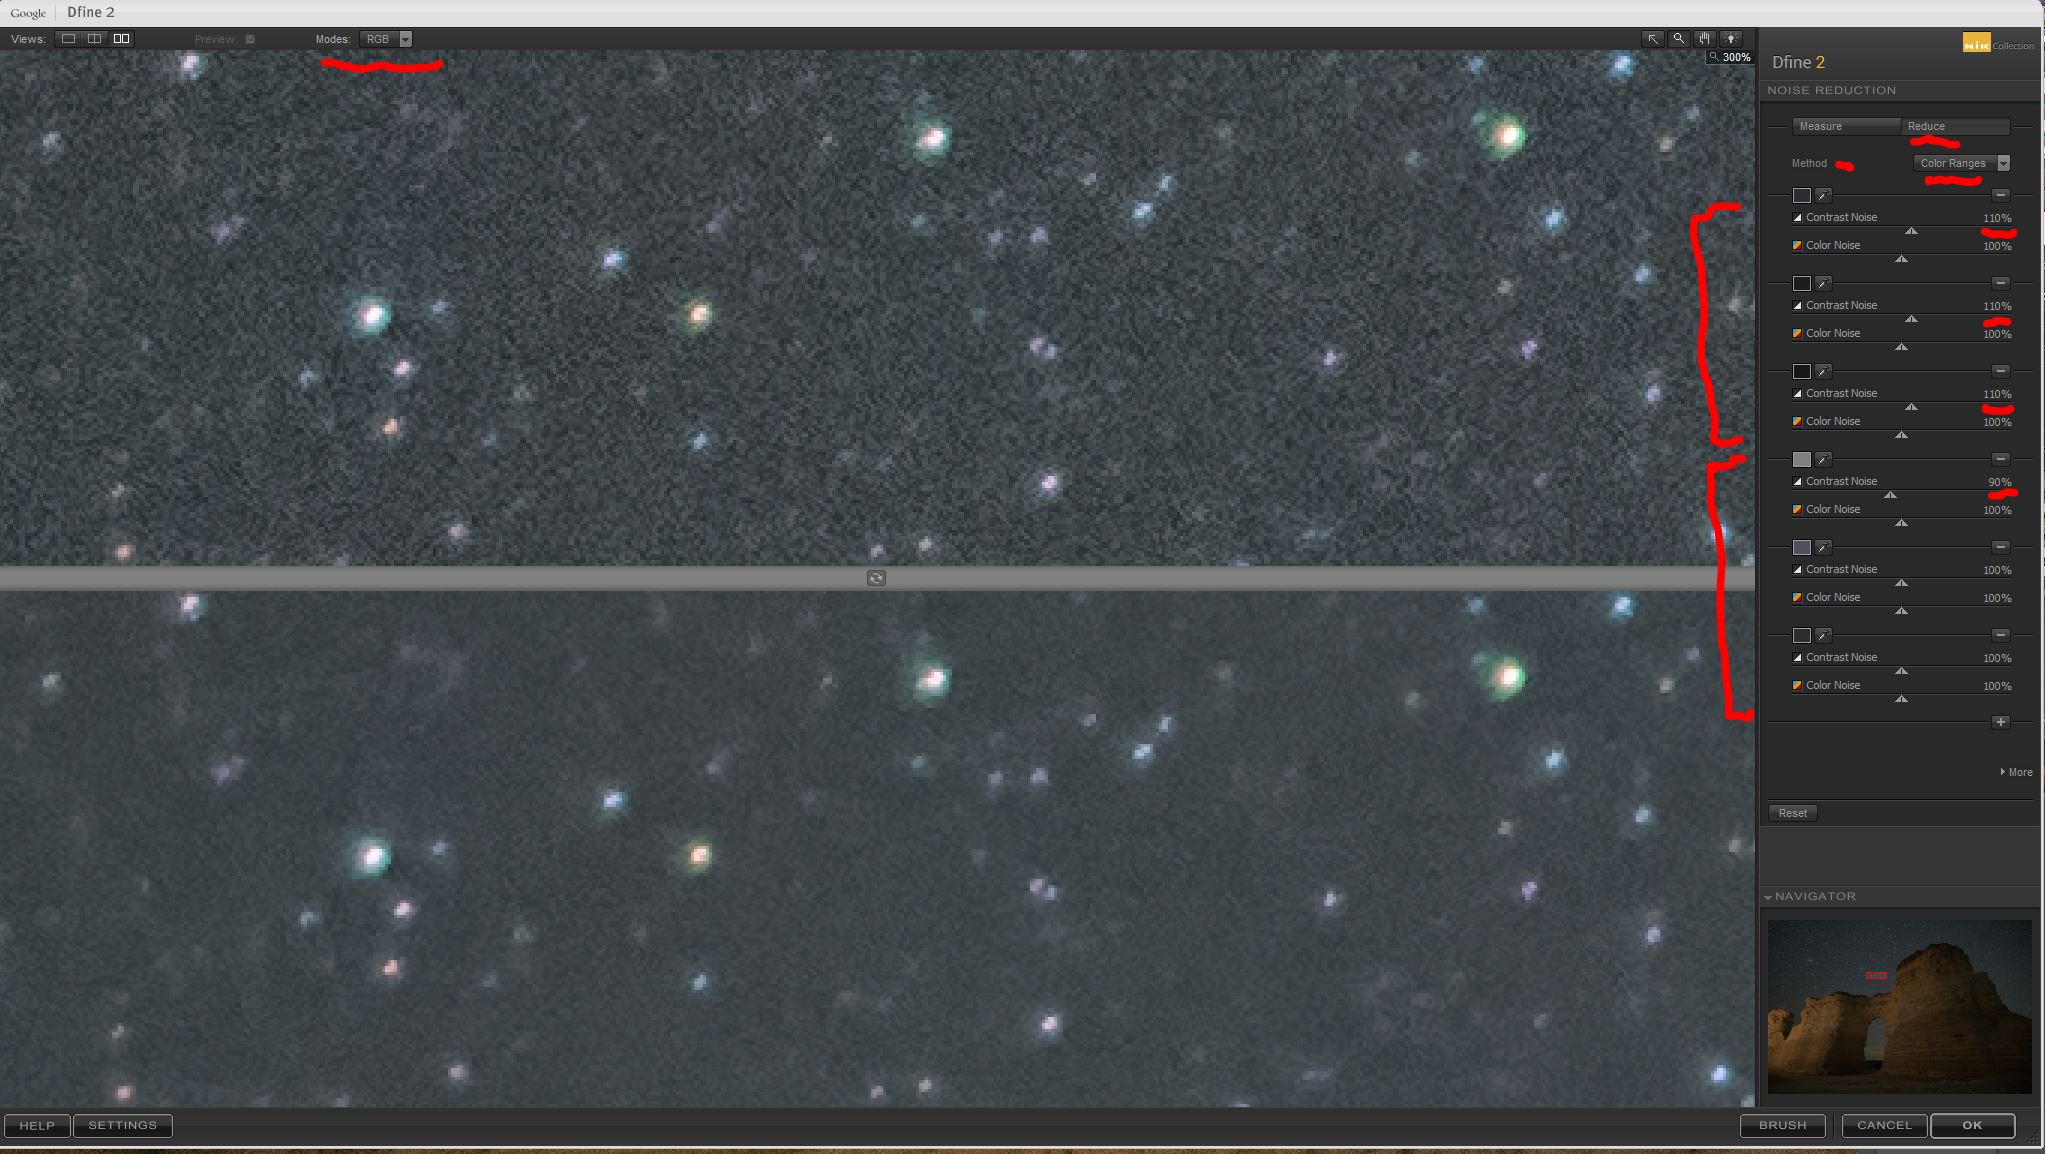
To my knowledge, there is no better way to reduce or eliminate high ISO random noise in a night sky image than to align and stack multiple exposures and apply noise reduction through some form of median stacking.  Having said that, I would like to reduce high ISO sky noise at times when I didn’t take multiple sky exposures, for whatever reason. I have used the noise reduction tools in Photoshop, Lightroom and NIK Dfine, and (in my hands, at least) found the results from each so similar that I would default to Adobe for noise reduction, either in Lightroom or Photoshop. In re-editing the photo above, I thought it would be fun to experiment with a possible noise reduction technique that had been bouncing around in my head for a few months. Here is the gist of what I wanted to accomplish. Suppose the small white, yellow and magenta dots represent the stars in the sky. Now imagine that the three vertical bars (light blue, medium blue and dark blue) represent the range of tones comprising the noise. As the first step I created a luminosity mask to mask out the “stars”. The second step is to create a solid fill layer (sampled to the medium blue bar), and set the blending mode to lighten. Since I have set this as a clipping mask, the “stars” are unaffected. Notice that the dark blue dots and dark blue vertical bar have disappeared. In this third step I have created another fill layer sampled to the same medium blue as before, but set the blending mode to darken. I have also set this as a clipping mask. Notice that the light blue dots and light blue vertical bar have disappeared.  Notice also, however, how flat the “sky” background has become without the “noise” to provide texture. In this fourth step I reduced the opacity of each of the two fill layers to 85%, just enough to allow some of the “noise” tones back into the image, so that it doesn’t look quite so artificial. Applying this technique to a somewhat noisy image of a pinpoint star field, I came up with results that looked pretty good for a first attempt. I posted this sample on Facebook to see what others might think, and got some positive, but mixed reactions. I decided to prepare a blog post to detail what I was working on for further comment, and it started like this: This is a single exposure of a spot near Oakley, Kansas taken at ISO 6400 for a duration of 10 seconds. It is a respectable image for screen viewing, but is not a great candidate to print at any appreciable size due to the amount of noise created at ISO 6400, even shooting with a Sony A7Rii, which performs very well at high ISO settings. At 100% viewing the noise problem becomes apparent, both in the sky and in the foreground. Here is the foreground in the ISO 6400 exposure magnified to 200%. Note the amount of random noise. If I were to reduce the ISO from 6400 to ISO 200, random noise would be reduced, but I would also have to lengthen the exposure time to compensate. Increasing the exposure time would cause the stars to trail in the sky. The solution to this problem is to blend two separate exposures, one taken to optimize the pinpoint stars (remember, we are not stacking sky exposures for the purposes of this post) and one taken to optimize the foreground. This is a 6 minute ISO 200 exposure magnified to 200%. Notice how clean the rocks appear. But the six minute exposure will not work for pinpoint stars, so I blended this clean ISO 200 foreground exposure with the noisy ISO 6400 sky exposure, in the hope of reducing the random sky noise later on in the process. By creating a layer mask in Photoshop I could blend the clean foreground with the noisy sky. As you can see above, this left me with a very clean foreground, but the sky is still quite noisy. As I was originally writing this post, this is where I was going to demonstrate my experiments with alternative noise “mitigation”. First, I created a luminosity mask to protect the stars from my manipulations. Second, I created two solid fill layers, each one sampled to a middle tone I chose from within the red square above. As in my demonstration with the blue dots and blue vertical bars, I set one layer to lighten blending mode, and one layer to darken blending mode, and set the opacity of both to 85%, to retain some graininess. This is the result, shown at 100%. I was pleasantly surprised when I saw how well this procedure worked, well beyond anything I had anticipated. The stars are still the same sharpness as before the process, their colors remained steadfast, and the noise significantly reduced. Before rushing to post the results of my experiment, I decided to try the technique out on a few of my other images, to see what would happen. OH, the HORROR, the HORROR of it all. I won’t torture you with the results. Let’s just say, any changes in coloration or tonality across the sky renders this process useless. Unless you want to purposely convert the beautiful nuances of the night sky into a uniform, flat, dull, lifeless…..you get the picture. For this procedure to have any hope of working, I would have to devise a way to apply fill layers though some type of gradient map that takes account of the tonality and coloration throughout the sky. Guess what? My research into creating the kind of gradient map I was looking for somehow led me right back to NIK Dfine. It came to my attention that NIK Dfine had already tackled this problem in a very elegant way, only I was unaware of this capability, or how to tap into it. Apparently, I was attempting to invent the wheel, except that Google had already invented it, plus provided it with shiny new hubcaps, as well! It turns out if you dig into NIK Dfine you can find some powerful functionality that does a far better and more comprehensive job of doing what I was attempting with my layer masking method of noise reduction. By tapping into the Manual mode, rather than the default automatic mode, and then choosing the Color Ranges mode, one can create customized noise control points specific to a particular image. If you examine the screen capture above, you will see two sets of Color Range controls I have created. For the upper three Color Range controls, I have used the eyedropper to sample dark, middle and light tones from the darkest region of the sky. For the lower three Color Range controls, I have created a set of controls to sample dark, middle and light tones from the lightest region of the sky. Notice that in the upper three Color Range controls, which represent the darkest region of the sky, I have boosted the intensity of the Contrast Noise slider to 110%, under the logic that I can be a little more aggressive with noise suppression in the darker ranges than I can in the lighter ranges. In the bottom three Color Range controls, which represent the lighter regions in the sky, I have reduced the intensity of the Contrast Noise effect to 90% in the lightest of the controls, under the logic that I want to be highly protective in the detail of the stars. Using the Contrast Noise Sliders attached to each control range, combined with the Luminance Viewing Mode (found in the upper left), allowed me to visually adjust the noise reduction that was being applied through each Color Range, and I could be as aggressive or conservative in the noise reduction as I wanted. Switching NIK Dfine back into RGB Viewing Mode (in the upper left) allowed my to verify that my adjustments did not degrade the color within the stars. This is the finished result using NIK Dfine with 6 custom Color Range controls set for the sky exposure. Discovering that Dfine has the ability to designate Color Range controls at will has allowed me to use it quite effectively to reduce high ISO noise in pinpoint star images. Stacking multiple exposures is my first choice to reduce noise in high ISO pinpoint star images, but when that is not possible, I will be turning to NIK Dfine frequently in the future. My next step will be to explore using Dfine with custom Color Range controls applied through a luminosity mask created with either TKv5 or Lumenzia. If the stars are protected by a good mask, I think I can be a little more aggressive with noise reduction in Dfine without sacrificing detail in the stars. So what did I learn from conducting this exercise? First, some experiments are successes, while other fail miserably. This one was a failure. Second, good things can come out of failed experiments. It was only when my experiment failed that I discovered the advanced features NIK Dfine had tucked away behind a user-friendly, simplified interface.

Creating Elliptical Star Paths in Adobe Lightroom – Part 2

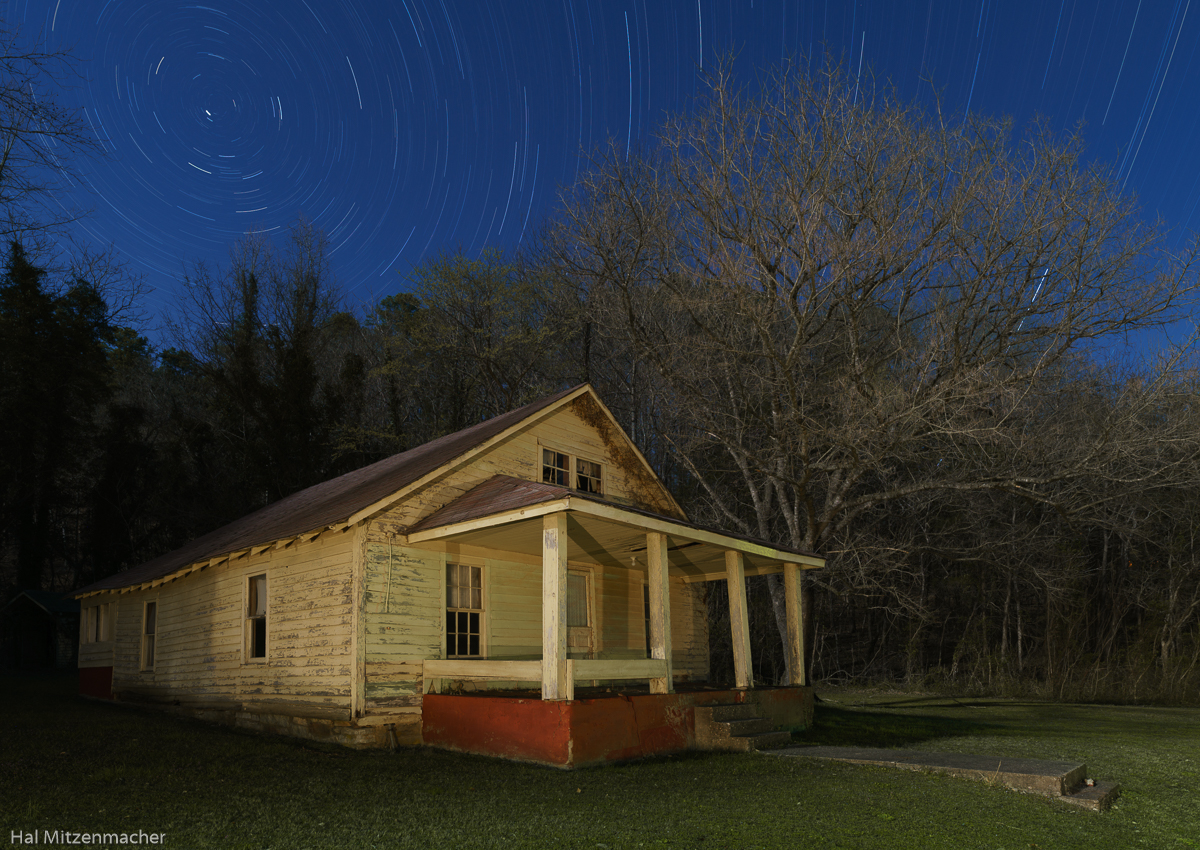
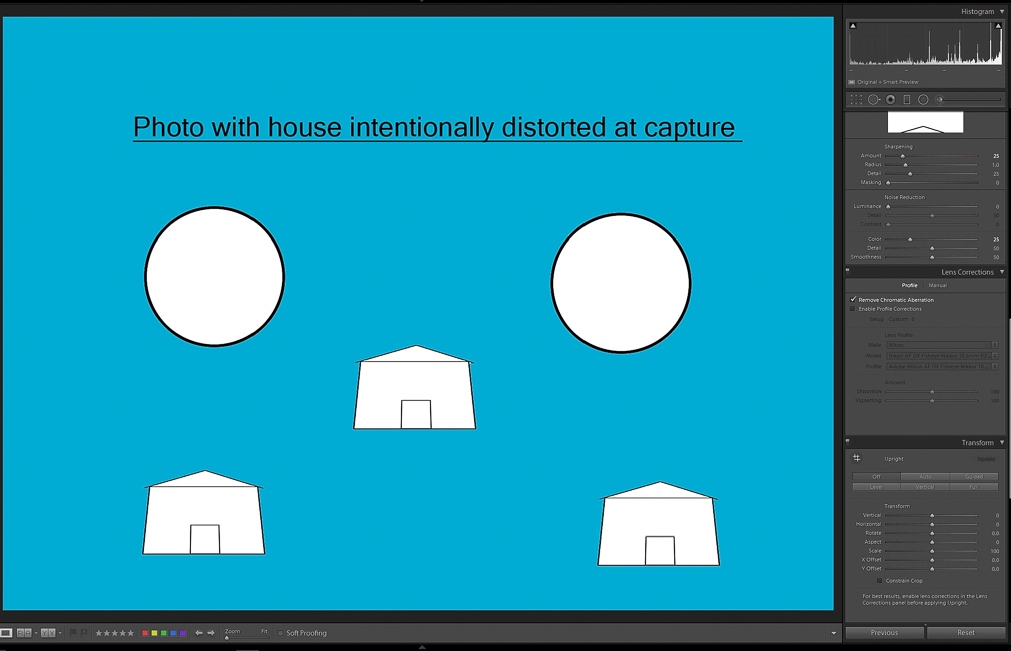
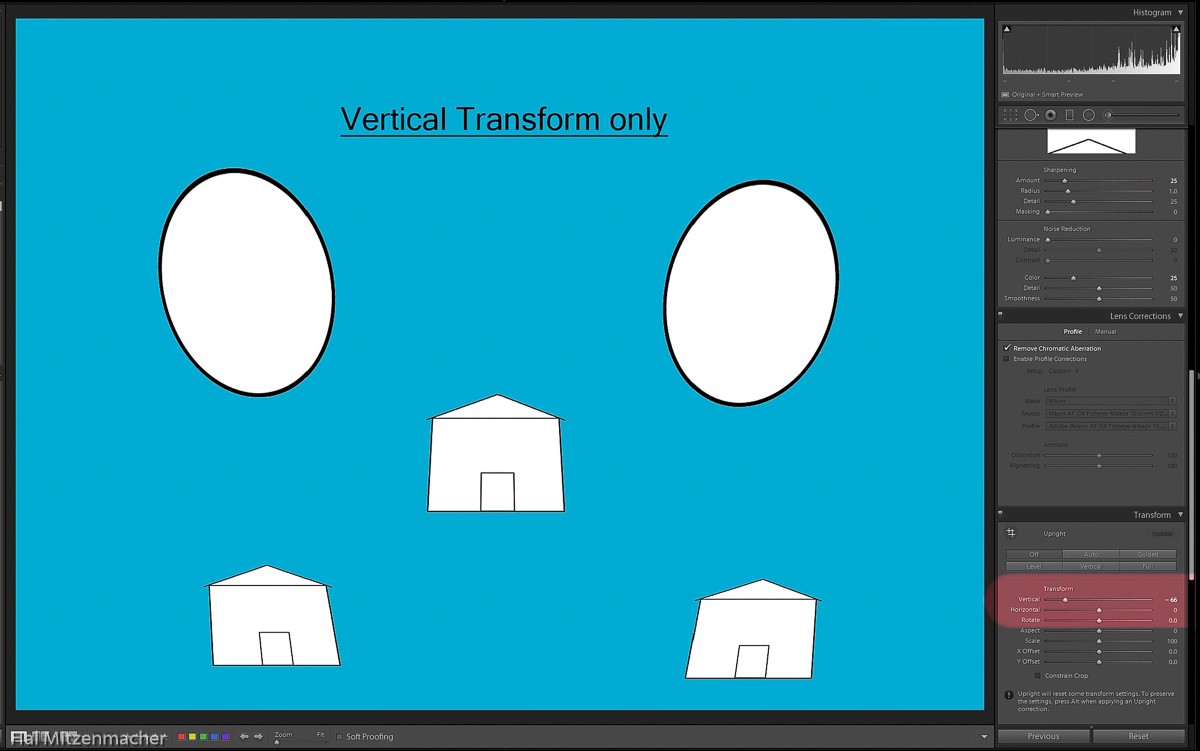
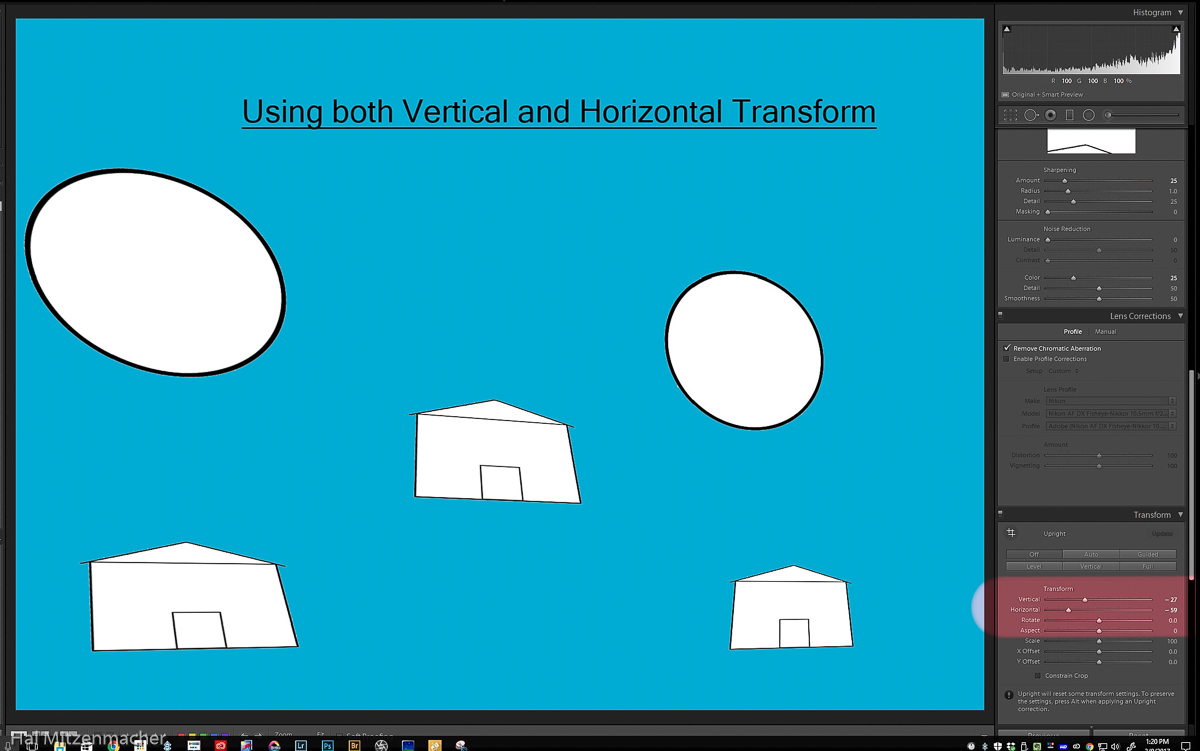
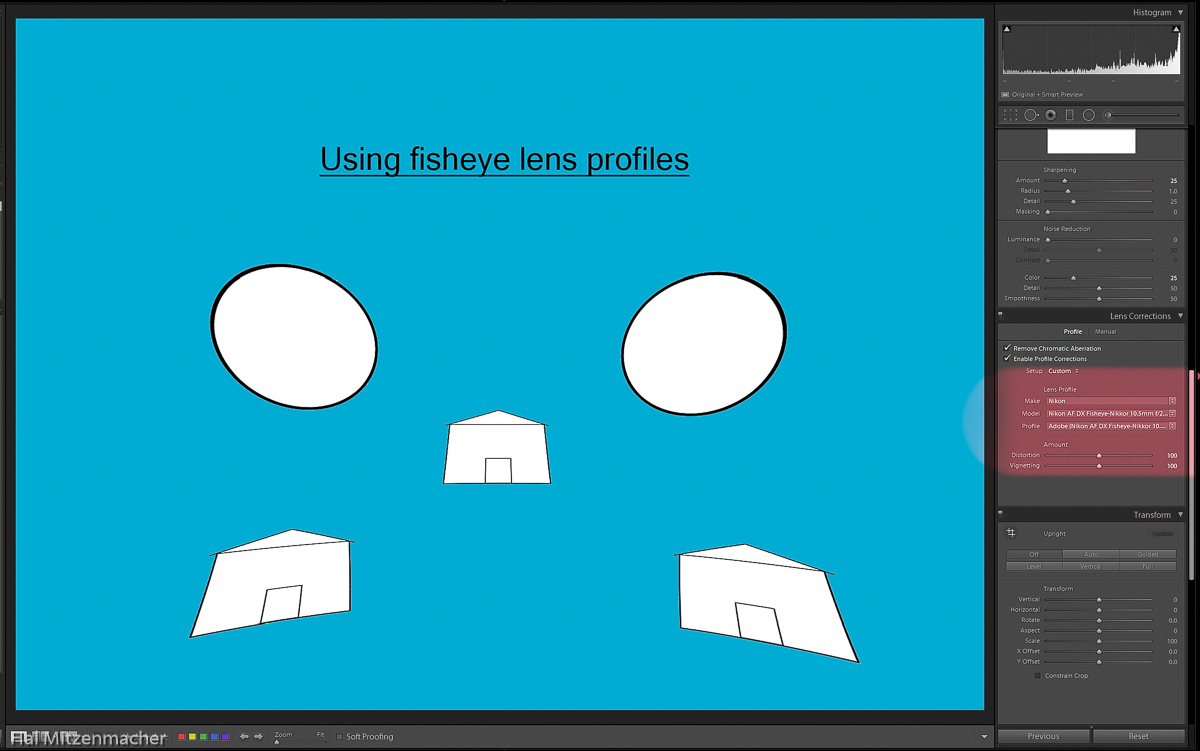
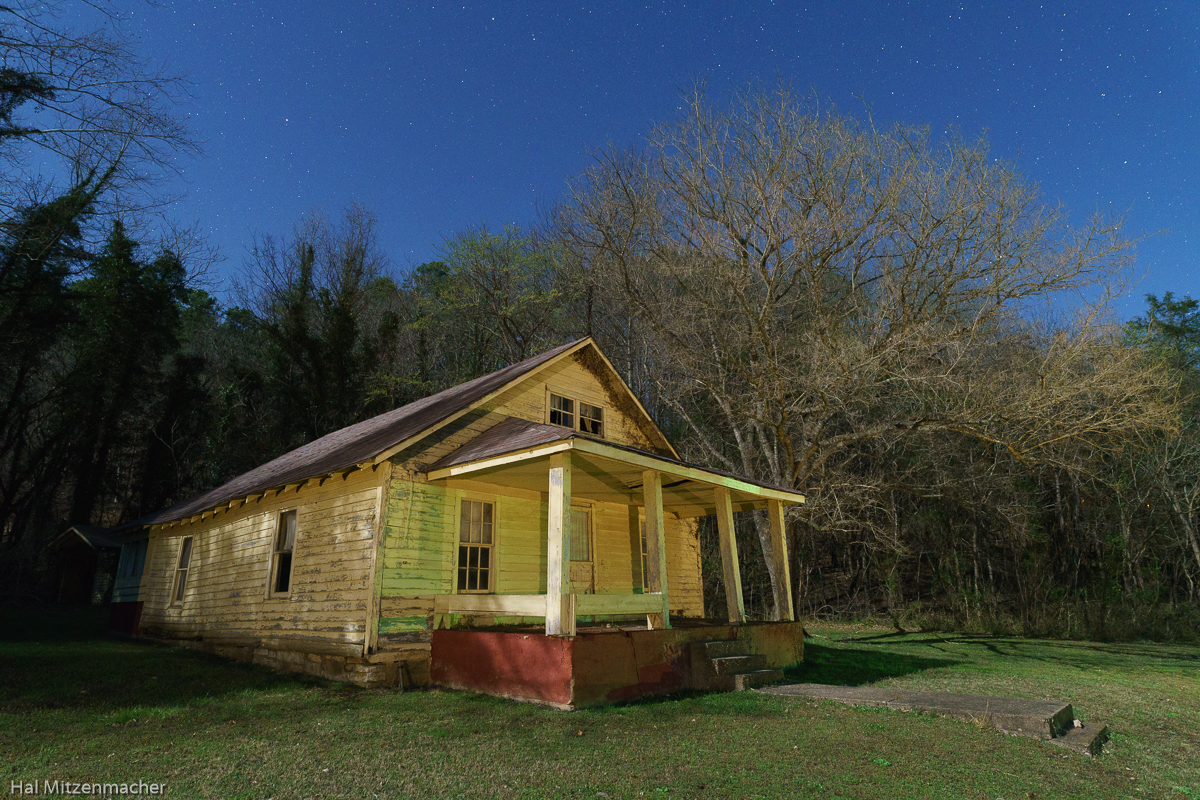
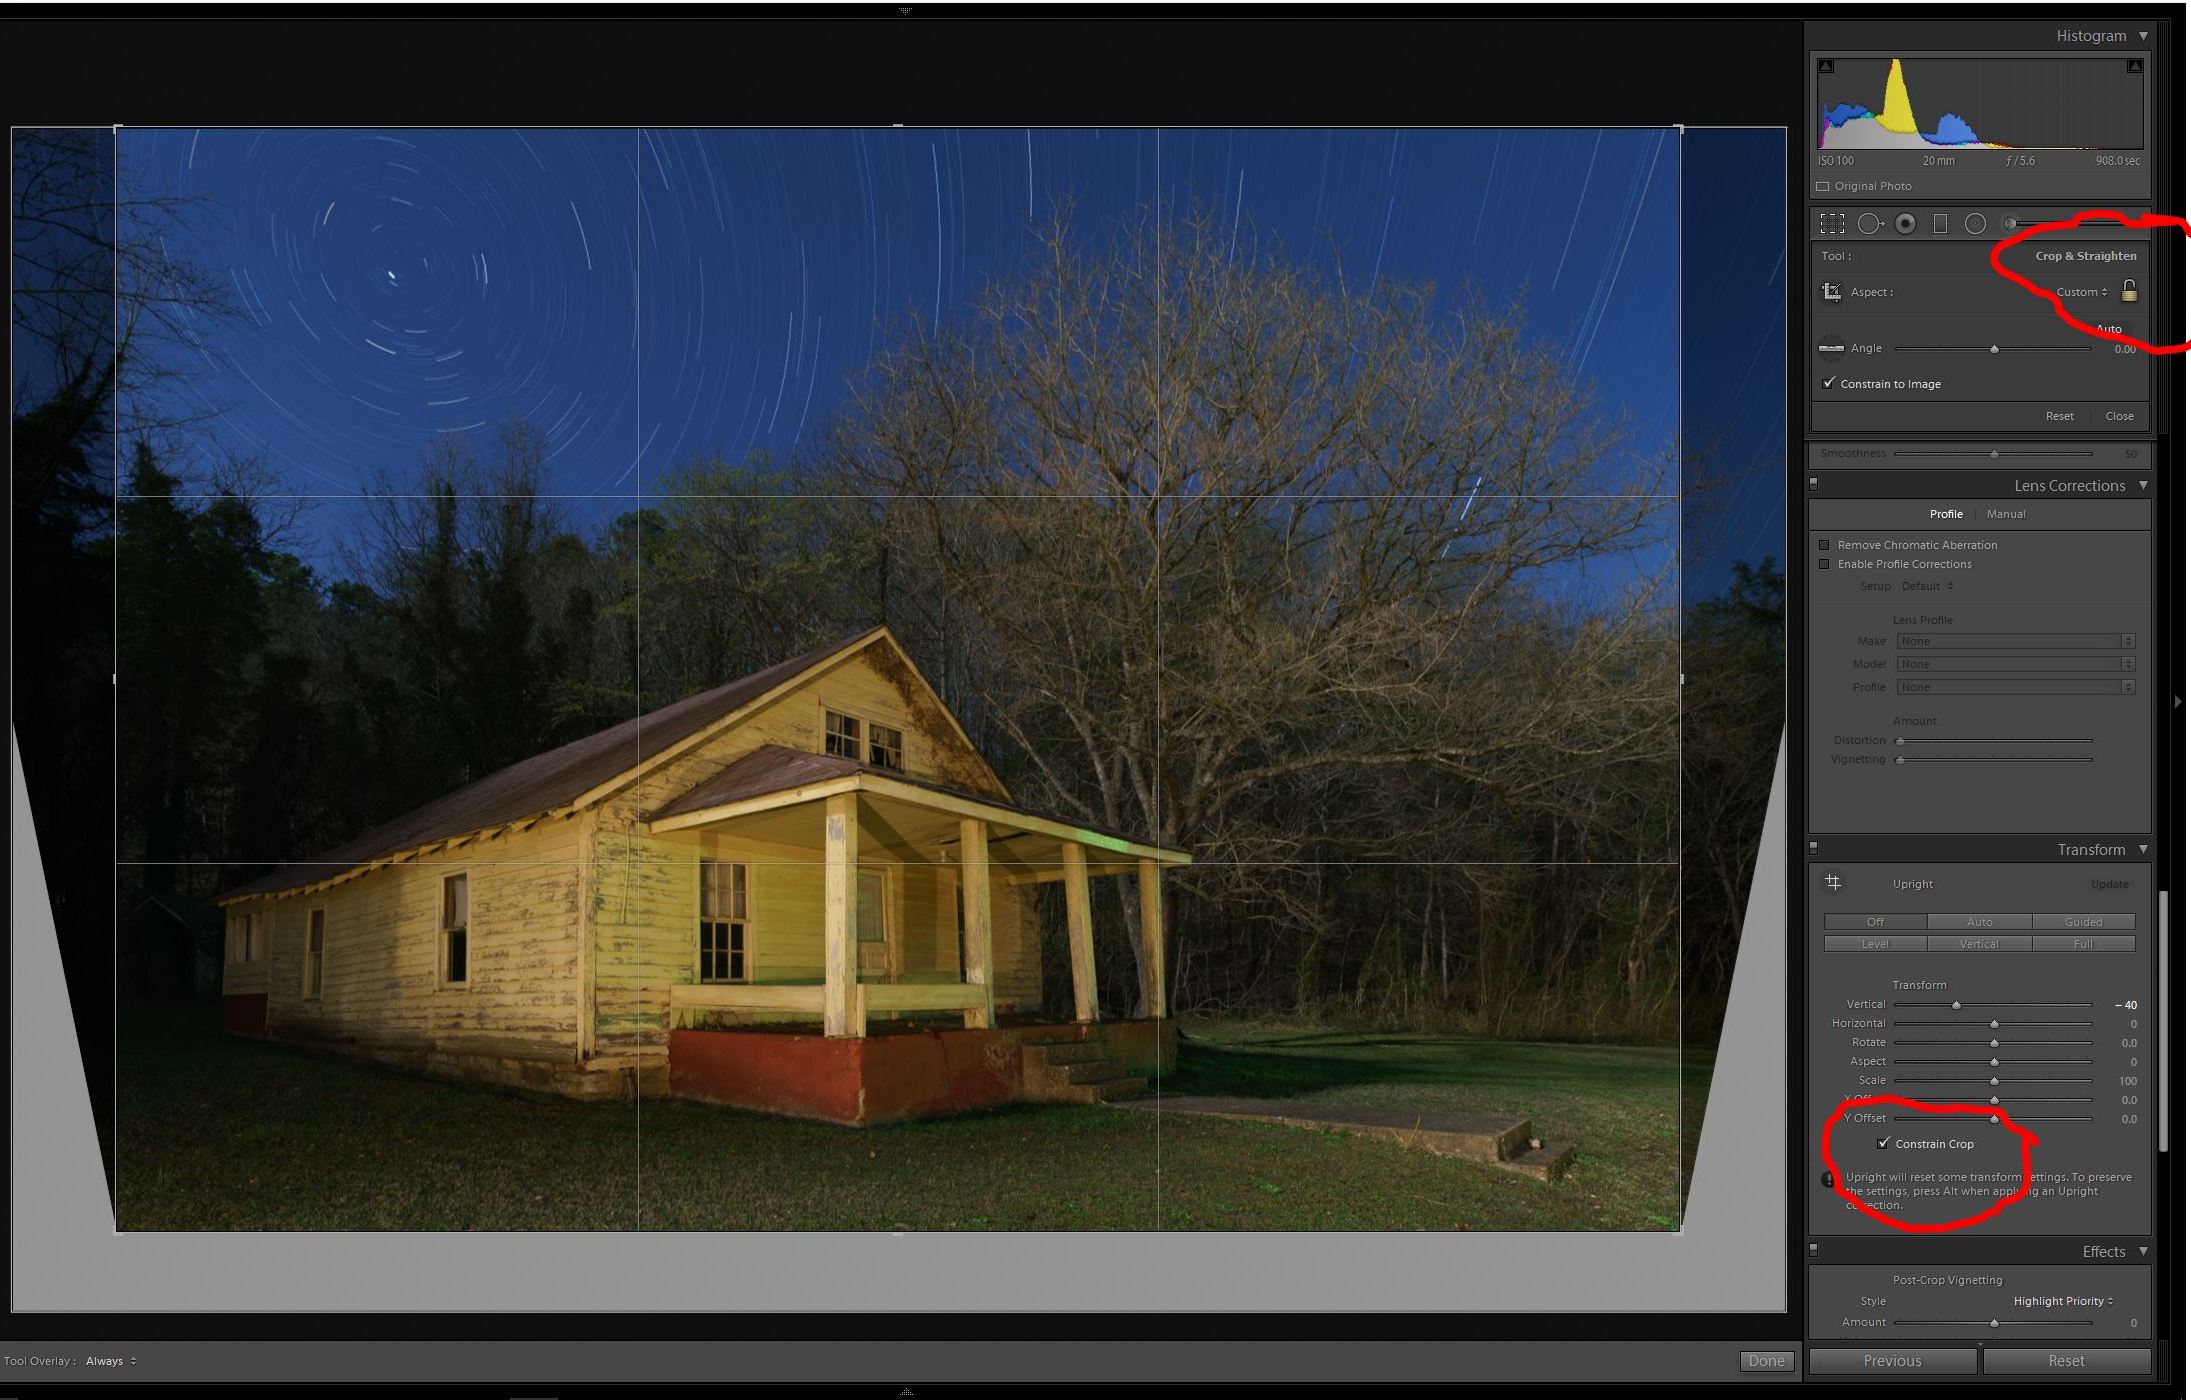
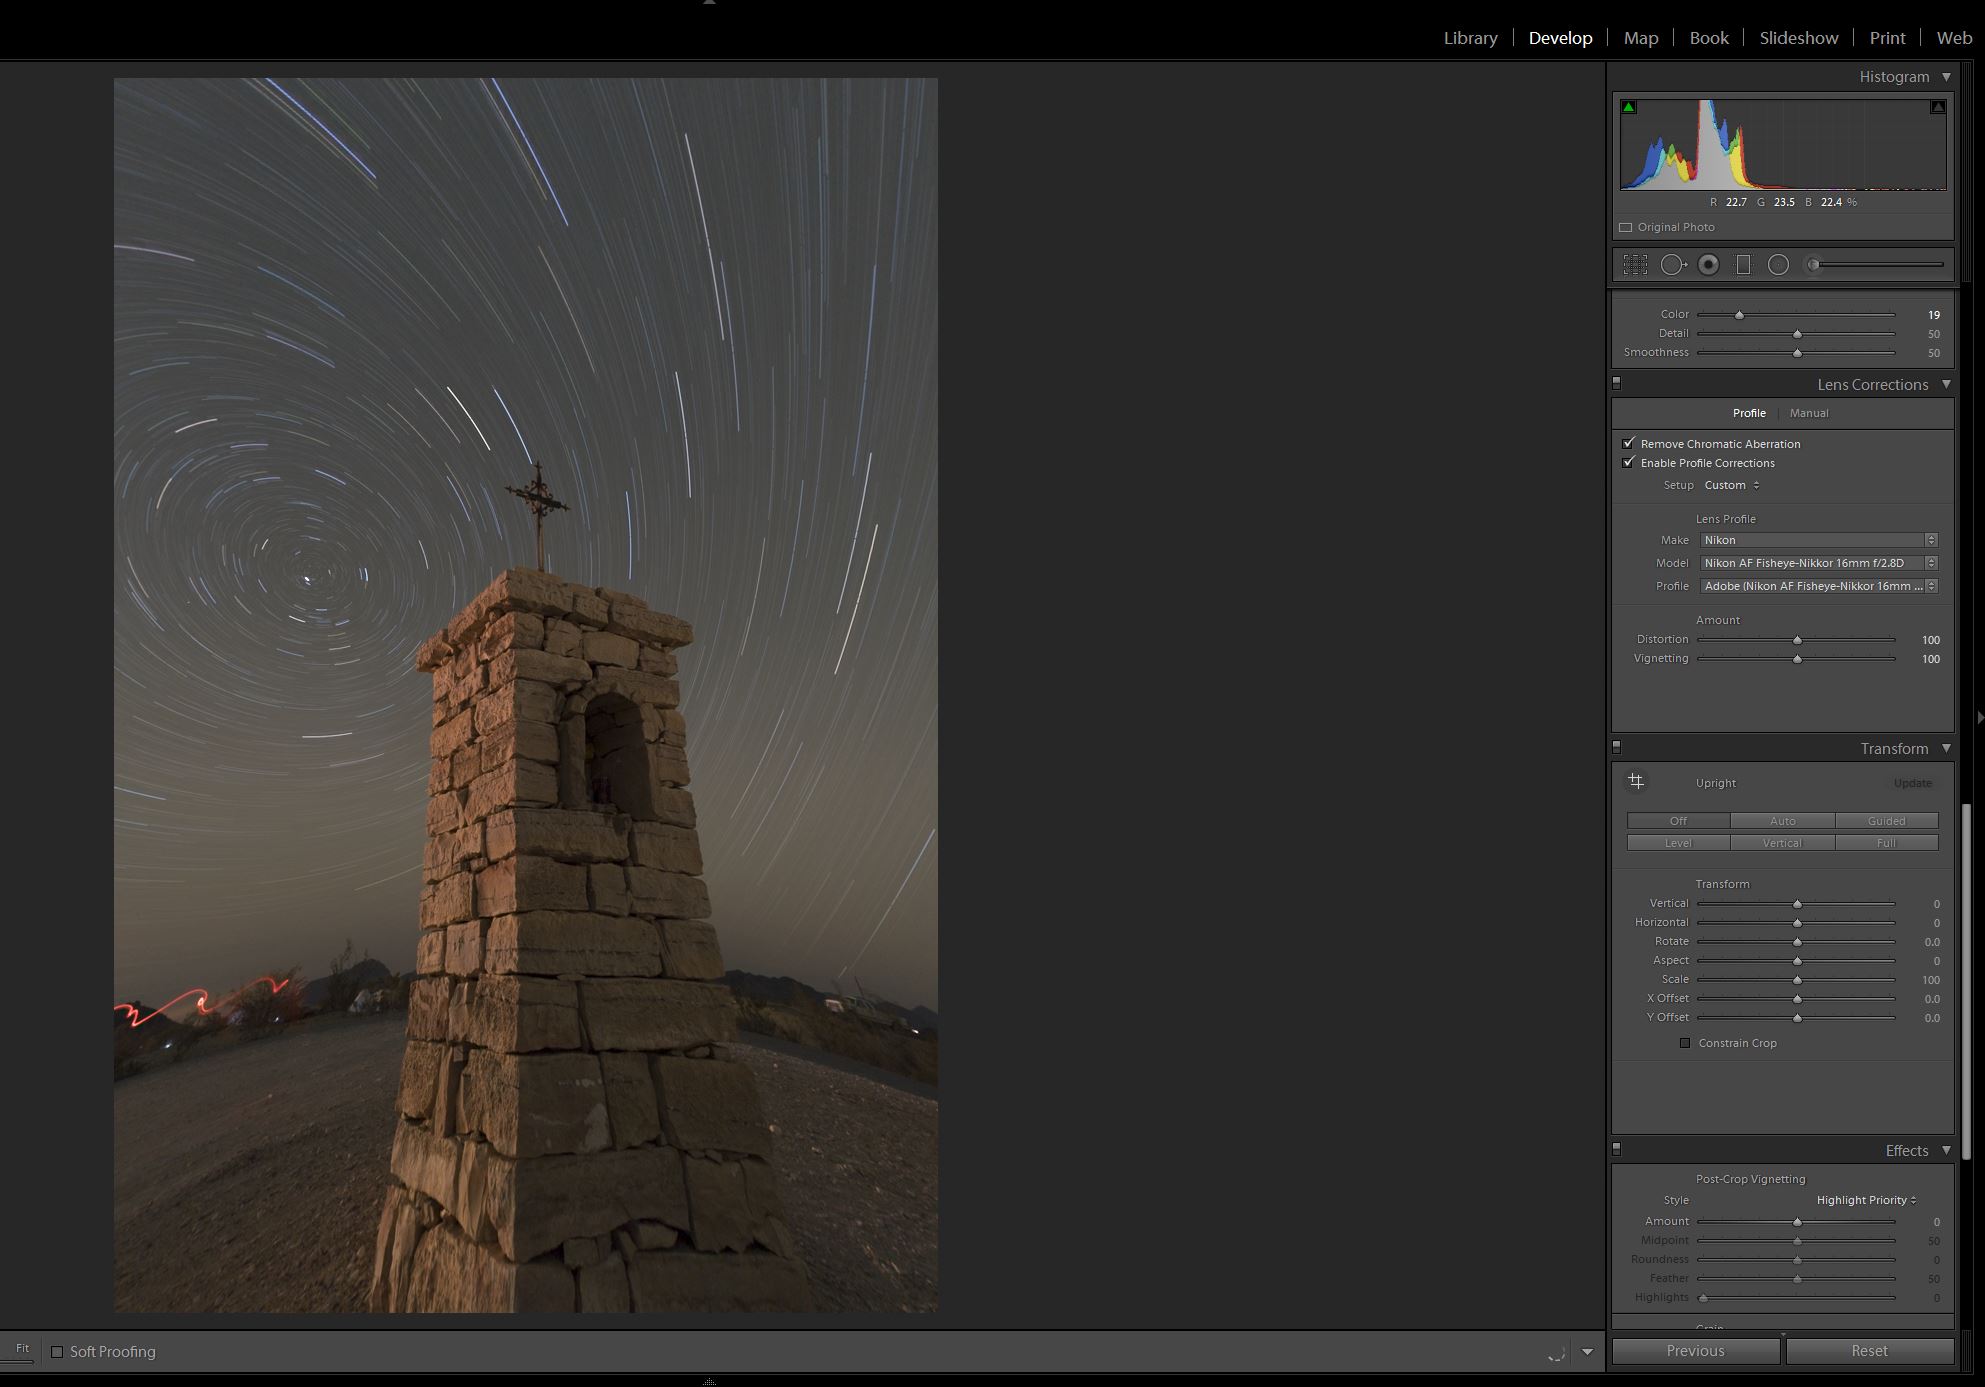
In the post Creating Elliptical Star Paths in Adobe Lightroom – Part 1, I demonstrated a technique for creating elliptical star paths using Lens Profiles in Lightroom. Here is a similar way to accomplish the same outcome using the Transform Panel in Lightroom. This technique uses perspective transformation controls within Lightroom to warp a circular shape into an ellipse. The Transform Panel in Lightroom is an equal opportunity transformer, in that it transforms, or distorts, every element contained within an image. Knowing this, we can set up a shot where the the effects of the distortion work to our advantage. This old abandoned farmhouse in Boxley Valley, Arkansas was a perfect candidate for the use of this technique. To photograph this structure I would usually shoot with at least a 35mm lens, to put enough distance between the camera and the house to minimize the effects of distortion. I would also try to shoot with the camera nearly level and on a high tripod, again, to help minimize distortion. If I were really exacting, I might try a tilt-shift lens to deal with the distortion. But for this technique to work effectively, I actually want to create a controlled amount of distortion on the house. Let’s take a moment to see exactly what I am trying to achieve here. This diagram depicts a distorted figure of a house in several locations within the frame, along with circles in the upper part of the frame. Now look at what happens when we go to the Transform Panel in Lightroom and adjust the Vertical Slider until the center house is nearly distortion free. The circles have now been transformed into ellipses. Notice, however, that the other house figures at the bottom also get distorted, along with the circles at the top. And if we were to go to the Transform Panel in Lightroom and adjust the Vertical Slider and Horizontal Sliders we will see distortion effects applied in a slightly different manner. Here, the house in the lower right appears near normal, while the other elements get warped. Similarly, if we go into the Lens Corrections Panel and try out different fisheye lens correction profiles we see that there are altogether different distortion correction patterns applied to the image, based on which lens profile is chosen. This is the method that was presented and used in the post Creating Elliptical Star Paths in Adobe Lightroom – Part 1. By setting up the shot initially with induced subject distortion, and then using various combinations of the sliders in the Transform Panel or Lens Profiles in the Lens Correction Panel, we can create interesting elliptical star paths from within Lightroom while ending up with a reasonably undistorted subject. Some combinations work with some images and not others, but with practice, you will soon get a feel for what subjects work within the constraints of this technique. Here is a high ISO test shot I took to set up the composition, gauge exposure and verify focus. I chose a 20mm lens, in order to get in close to the house, and set the camera low to the ground. Both of these choices created just the right amount of distortion in the house that I was looking for, knowing that correcting this distortion in post-processing would then morph my star circles into star ellipses. I shot five 15min@ISO100 exposures, stacked them in Photoshop to create the star circles, then returned to Lightroom (see note below). After experimenting with various settings in the Lightroom Transform Panel, I settled on -40 for the Vertical Slider, which seemed to yield the best results with this particular image. Notice that whenever using the Transform Panel, the resulting image will usually need cropping. I have found that it is good practice to overshoot the intended composition, in order to allow some breathing room for the inevitable crop. The cropping can automatically occur right within the Transform Panel if you check the Constrain Crop checkbox. If you then want to further adjust the crop to you liking, simply unlock the Padlock Icon in the Crop & Straighten dialog, as show above. With a little additional touch up work to get rid of some color cast, the image was finished to my satisfaction. It turns out this is an interesting, simple and fun technique to add just a subtle difference to the usual star circle images one usually encounters.

Note regarding single vs. multiple exposures for creating star circles

This technique can also be applied without the necessity to stack multiple exposures in Photoshop by merely taking one exposure with a duration long enough to create the star trails of the length you desire. I prefer to use multiple exposures for a variety of reasons, but there are two reasons that I find most compelling. Both involve automobile lights, but in opposite ways.

First, there is the serious risk of an unusable exposure due to automobile headlights intruding into the scene. Suppose you are 57 minutes into a 60 minute exposure, and a car drives by and casts its headlights directly into the scene. Most likely you will have to retake the image. On the other hand, if you had decided to capture ten 6 minute exposures and stack them to create an hours worth of star trail length, you could easily mask out the spoiled portion of the relevant exposure, and all would be well. In fact, the more exposures you take, the better your odds of having a successful star circle image.

Second, you never know when incidental automobile headlights will be your friend. I often hear photographers grumble about passing motorists. Not me! Once I learned that it is not extremely difficult to mask out unwanted lights in one of a series of multiple exposures, I was free to embrace automobile headlights as a creative tool. In many instances, automobiles have accidentily provided just the right lighting touch on the subject in a way I could not have created on my own.

Here is an example of a “happy accident” where I was shooting multiple exposures of the Milky Way in order to stack for noise reduction purposes. A passing motorist supplied the perfect lighting for the rubble ruins in the mid-ground in a way I could not have duplicated, and all quite by accident.


Moonrise Over Bodie – ISO Invariance In Actual Use

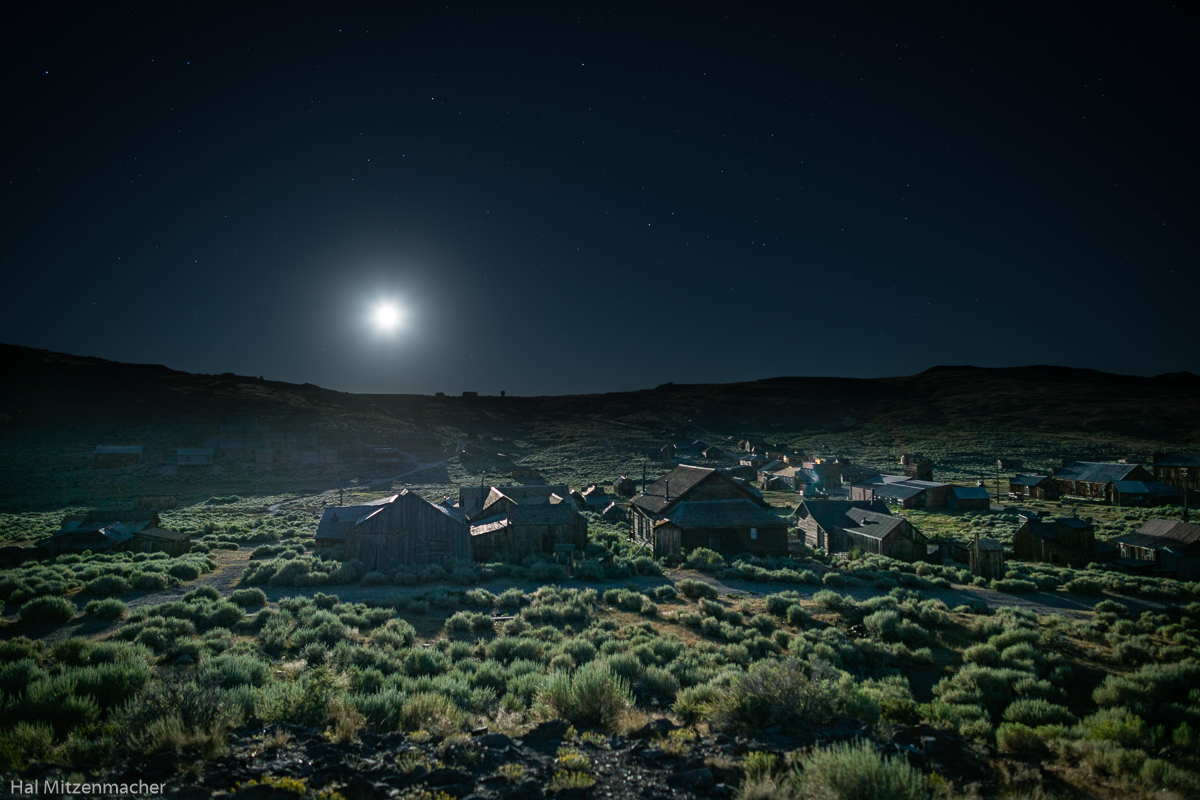
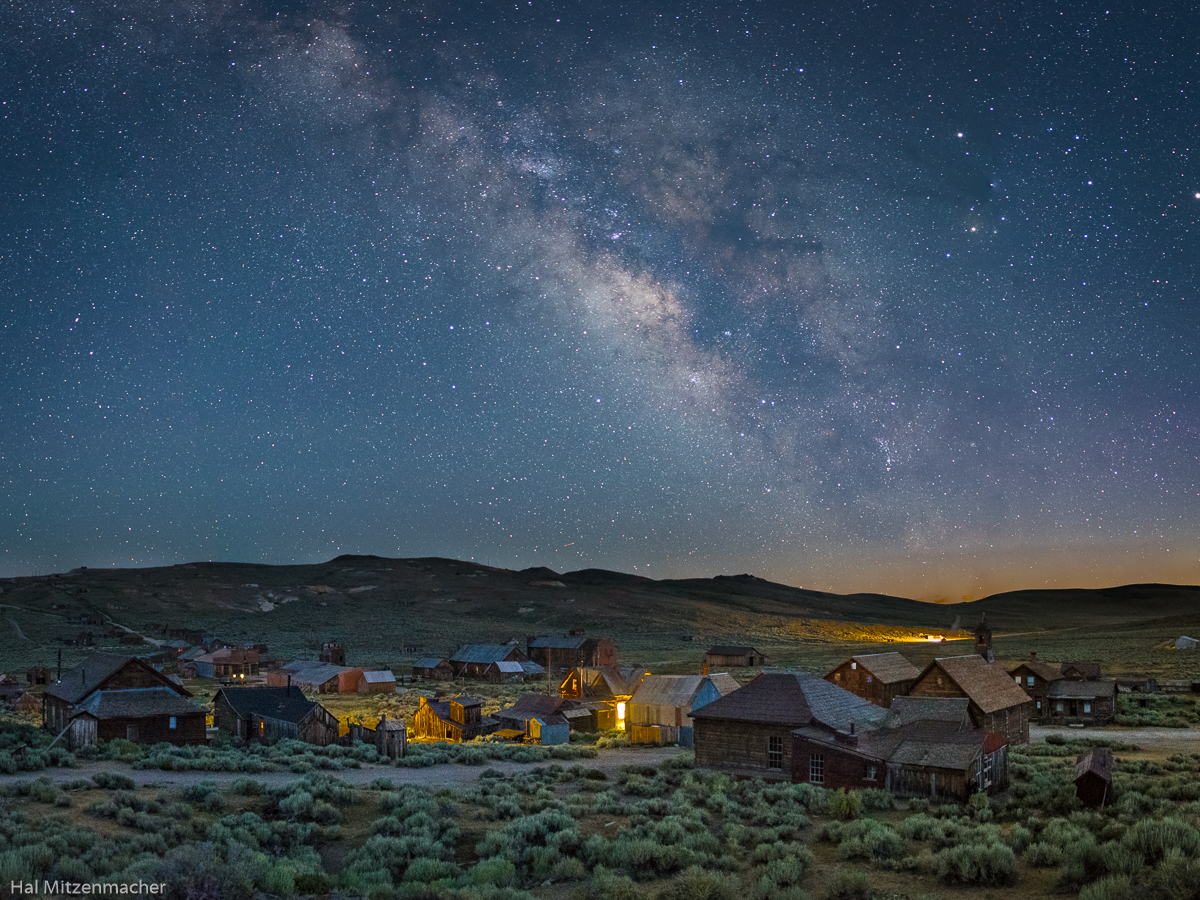
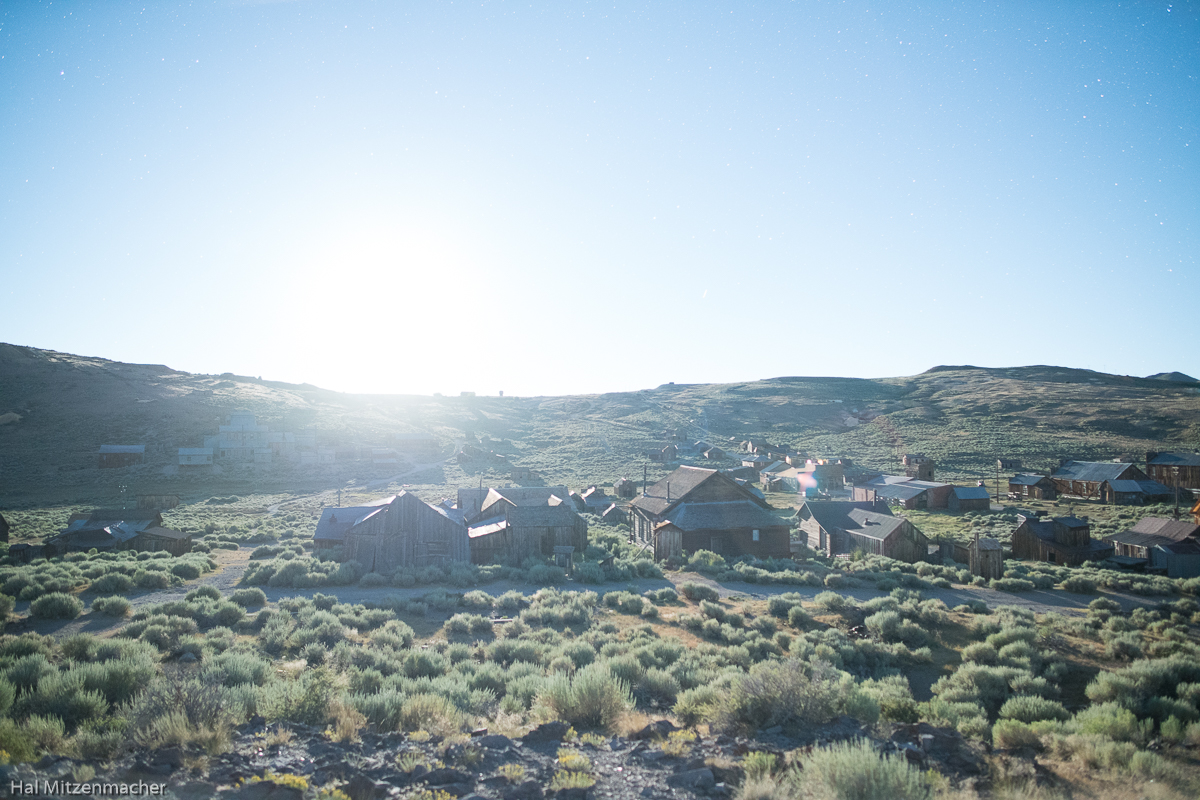
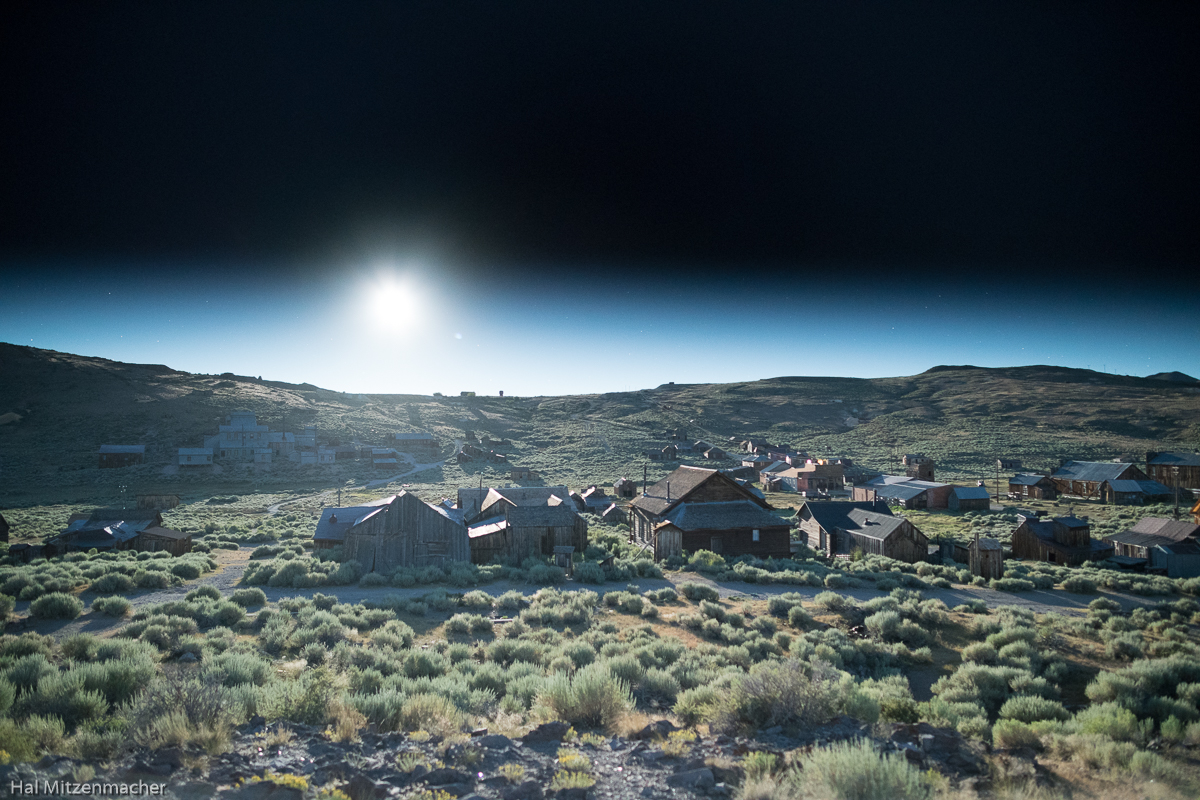
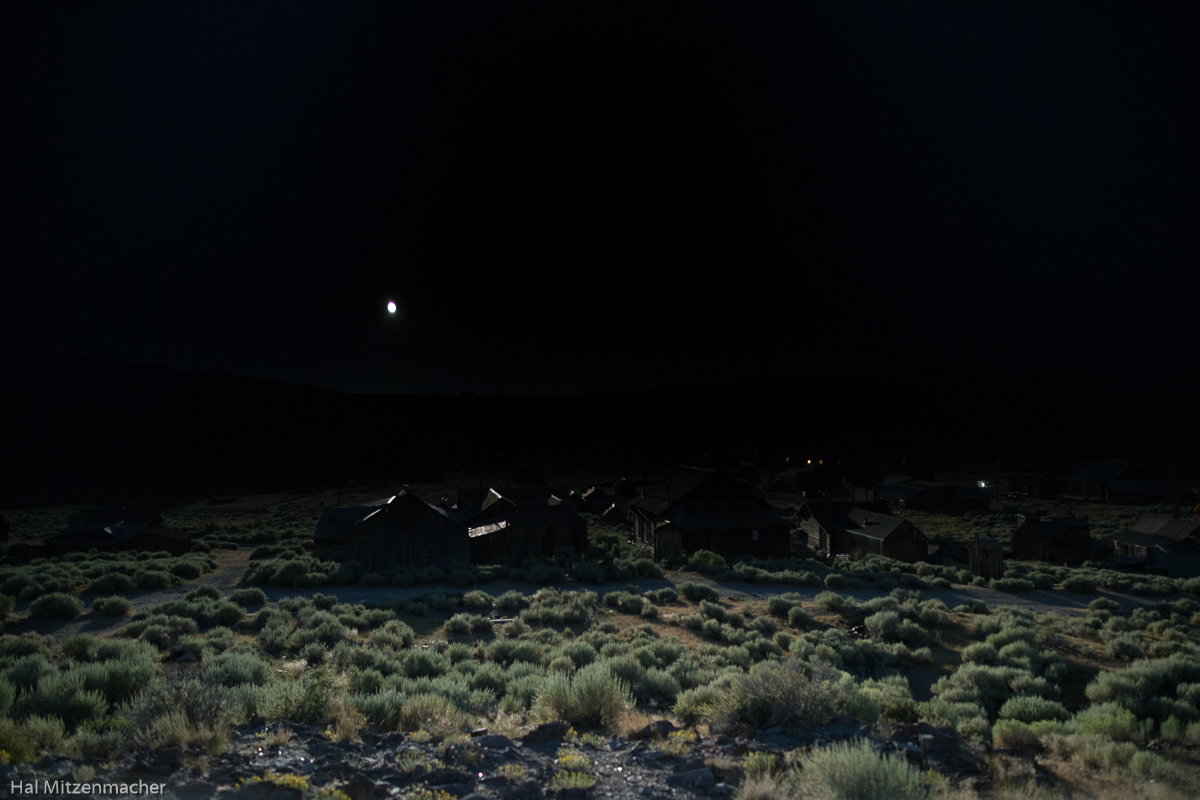
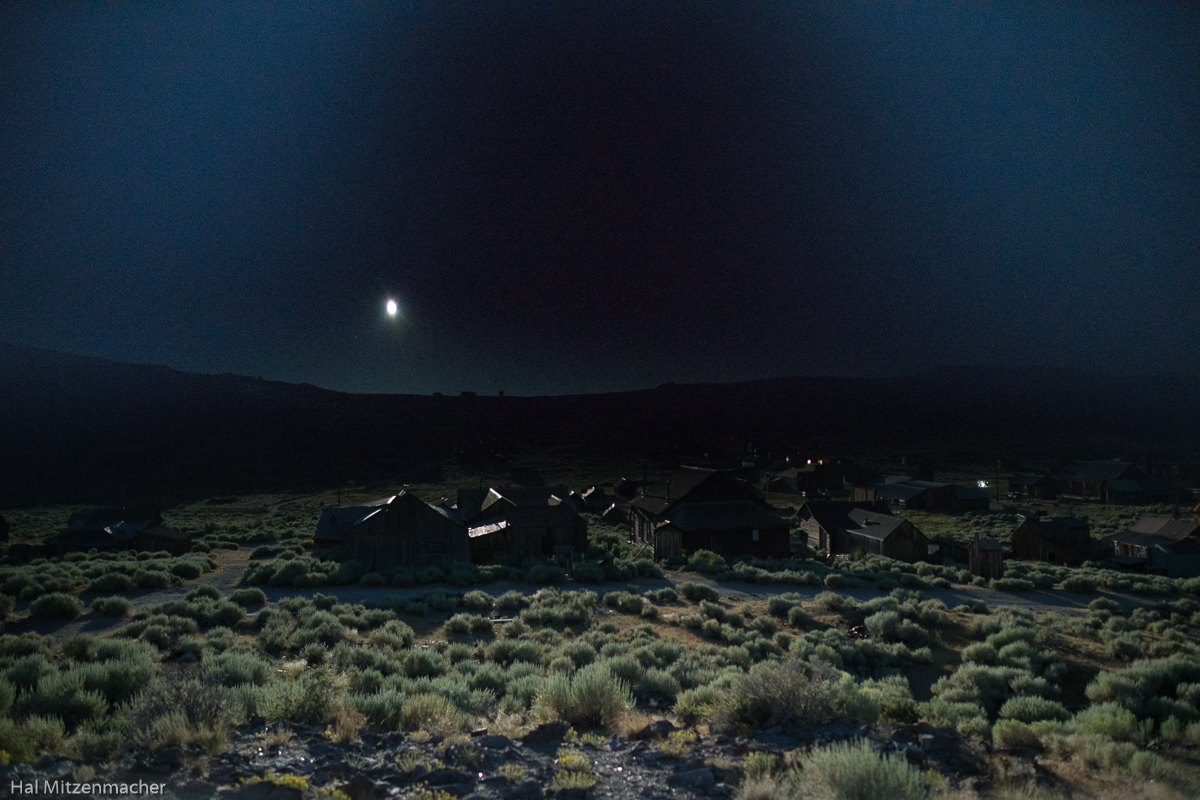
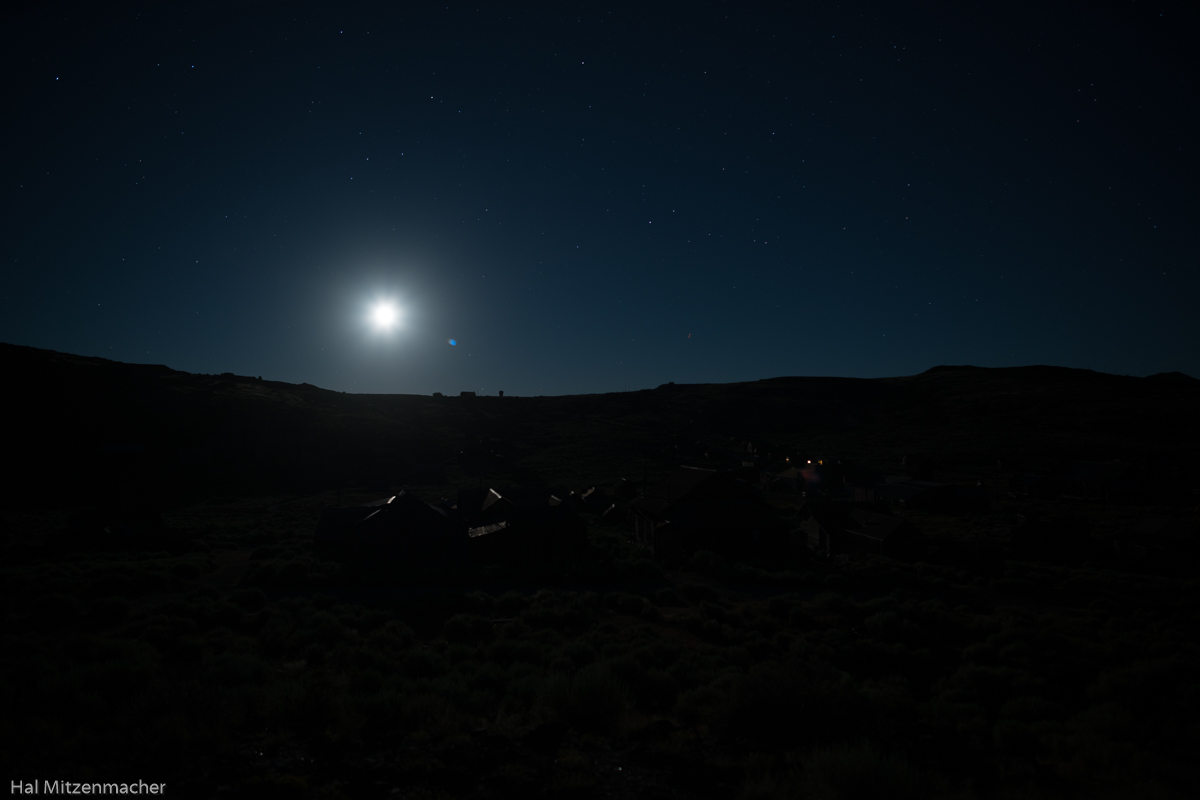
I have been experimenting with various ways that I might benefit from the ISO invariant nature of the Sony A7Rii camera. For those unfamiliar with the concept, ISO invariance is discussed in the DPReview article Sony A7Rii: Real World ISO Invariance Study published in August of 2015, where they did some daytime testing of ISO invariance (the comments are arcane and technical, but contain valuable information).

Important Update

Since writing this post, two important and informative articles have been published that are must reads for anyone interested in the topic of ISO invariance.

The first article, by Ian Norman of Lonely Speck, is entitled How to Find the Best ISO for Astrophotography: Dynamic Range and Noise

The second article is by Spencer Cox, and is entitled ISO Invariance Explained

Both articles, while highly technical (especially the second), do a thorough job of explaining the nuances of ISO invariance, and are well worth the time required to digest their contents.


The concept of ISO invariance arises from two different camera architectures in common use to record RAW files today. The image sensor is an analog device. Its pixel output is measured in voltage levels.  In a traditional architecture, the electrical signal will pass through electronics that control the gain, or amplification of the signal depending on the ISO set in camera. This gain, both the signal and the noise, will be applied uniformly across all pixels, which then get sent to an ADC (analog to digital converter) and from there are baked into the RAW file. The ISO invariant camera architecture differs in one respect. The analog pixel signals travel directly from the sensor to the ADC, and any “gain” applied via the ISO setting is actually accomplished in the camera software. At that point it is then baked into the RAW file. The theory is that since the ISO setting is applied in software, why not postpone the software boost until post-processing, rather than in camera. That way one can selectively boost exposure only in those areas that need the boost, and leave the rest of the image alone. Luminous Landscape wrote a brief post regarding ISO invariance, and the post ISO INVARIANCE: WHAT IT IS, AND WHICH CAMERAS ARE ISO-LESS appeared on the Improve Photography website, but neither provided any examples of ISO invariance in real-world use. The biggest critique I could find of using ISO invariance techniques appears to revolve around the idea that ISO invariance fails the test in Sony cameras because of the RAW lossy compression scheme originally implemented by Sony. Whether that is an issue or not is now moot, as Sony has updated firmware to allow uncompressed RAW files as an option. If that had been a problem in the past, it is now gone. Over the past year, as opportunities presented themselves, I played around with the ideas behind ISO-less shooting in my night photography, with some successes and some failures. The photograph Moonrise Over Bodie at the top of this post is one of the successes, and shares a common trait with the other successful exposures I made with this technique – very high dynamic range, combined with sufficient ambiant light to allow the sensor to record useful information in the deep shadow areas. In other words, my moonrise and moonset shots. Beyond that, I am continuing to explore other situations where this might be a benefit, but for now, it is the tool I turn to for images such as the Moonrise Over Bodie. Here is a description of how I captured and processed this image from one single exposure and approximately 10 minutes in Lightroom. So here is “backstory” number one. In July 2016 I participated in a Full Moon Night Photography Workshop presented by Lance Keimig in Bodie, California, While the focus of the workshop was light painting and night photography under full moon conditions, we were presented with a brief period during the last night where the Milky Way would be visible immediately prior to moonrise, which is when I took the shot above. As the moon began to rise, rather than head back into the ghost town, I decided to stay atop the knoll I was perched on and do some experiments involving the moon. Here is my first exposure, taken at ISO 6400 for 13 seconds.The sensor was gathering sufficient data in the foreground region, but clearly the highlights were blown out in the sky with the full moon now above the horizon. While I expected the sky to be blown out, I was pleased to see that ISO 6400 allowed plenty of detail to be recorded in the foreground. But how to tame the moon? In my usual workflow, I would take a series of bracketed exposures and either blend them manually in Photoshop or process them as an HDR image. Both methods can be difficult, time consuming, and prone to unnatural looking end results. I wanted to find out if there was a quick, easy way to capture the photograph I had envisioned in my head, and all with a single exposure. This is where “backstory” number two comes in. While participating in a workshop conducted by Mike Berenson and Darren White in the Grand Tetons, Mike taught the group an in-camera dodge/burn method he calls the “Magic Cloth” technique. The photo above gives the general idea behind the technique – use a black cloth (or card) to cover a portion of the lens for part of the exposure, thereby simulating the use of a graduated neutral density filter. After several attempts with the magic cloth I captured this RAW file, which is the best of all my attempts, but probably nowhere as good as I could have achieved if I were to have devoted more time to the process. But time was growing short, and our group’s chaperon was there to ensure we all vacated Bodie by a designated time. The best result I could get from the magic cloth technique is shown above. Clearly, my implementation of this technique failed. This is the result of pulling up the sky by just +3EV.  Not what I was hoping for, so on to the next test. This is an exposure I took specifically for use with the ISO invariance of the Sony A7Rii in mind. It is a thirteen second exposure @ ISO 100. If the ISO invariance theories hold up, then I should be able to selectively boost the shadow areas by +6 EV and see noise results similar (and no worse) than if I had shot in-camera at ISO 6400. Well, there’s only one way to find out - by trying! OOOPS!! Lightroom limits the exposure adjustment to +/-5 EV, but I needed to boost exposure +6 EV to make a comparison. There is a workaround, and one that actually forces us into a mode that benefits what I am trying to accomplish with this image. The trick is to create a virtual copy of the image file in Lightroom, then with the original and virtual copy selected, Merge to HDR. Leave the ghosting and toning options unchecked, and the resulting file that is returned is a file that has been converted internally from 16-bit to 32-bit floating point mode. Nothing else has changed in the file. Notice that Lightroom now allows up to a +/-10 EV adjustment to the 32-bit image, which gives Lightroom some additional mathematical breathing room to do its bit-banging magic. Now that Lightroom is using a 32-bit format, I can readily boost selected areas to my heart’s content, limited only by the noise that is produced by such actions. Notice that the sky has been tamed, there are pinpoint stars appearing along with the full moon, and the foreground is properly exposed. All from a quick, single exposure in the field and just a few moments in Lightroom. No composites, no blending, no bracketed exposures or HDR processing. The noise that the RAW files exhibit can be compared in the screen capture above, both of which are 300% crops of the images. On the left is the image shot at ISO 100, merged to HDR to produce a 32-bit file, and boosted +6 EV in Lightroom.  On the right is a RAW file taken at ISO 6400 in camera with 0 EV boost. As far as my eye can tell, the results are identical, or so close as to be negligible. It seems that there just might be something to this ISO invariance concept, after all. I will be testing the concept for other scenarios in the future, but for now, I intend to ALWAYS take a low ISO exposure when I am out shooting high dynamic range images at night, if only because they may become the best RAW files to use for a particular shot, once back at the editing workstation.
 

Sony A7Rii Menu and Custom Key Settings For Night Photography

The Sony A7Rii has proven itself to be quite popular in the field of night and astro-landscape photography, in part due to its excellent low light performance and high resolution 42 megapixel full frame sensor. But the camera has earned a fair share of criticism for its confusing and unwieldy menu structure. With hundreds of menu choices scattered among six top-level menu tabs and dozens of sub-menu pages, it can be a daunting task to find the specific settings you want to change. Making changes quickly is nearly impossible by simply wading through the cumbersome menu structure. Sony provides four methods to help overcome this problem:
  1. The Quick Navigation Menu (invoked with the [DISP] Button)
  2. The Function Menu (invoked with the [Fn] Button)
  3. Custom User Modes [1] and [2] on the Shooting Mode dial
  4. Custom Key assignments
Of the four methods listed above, the one most effective in simplifying use of the Sony A7Rii is item 4, Custom Key assignments. Unfortunately, many A7Rii owners do not take full advantage of the flexibility and speed the Custom Key settings can provide. In this post I will share my Sony A7Rii system settings and Custom Key assignments, along with the reasoning behind my choices. Because the majority of my photography occurs at night, I have chosen to optimize the Sony A7Rii settings for night imaging, while still allowing easy access to camera features I find important for daytime photography.

Quick Navigation Screen
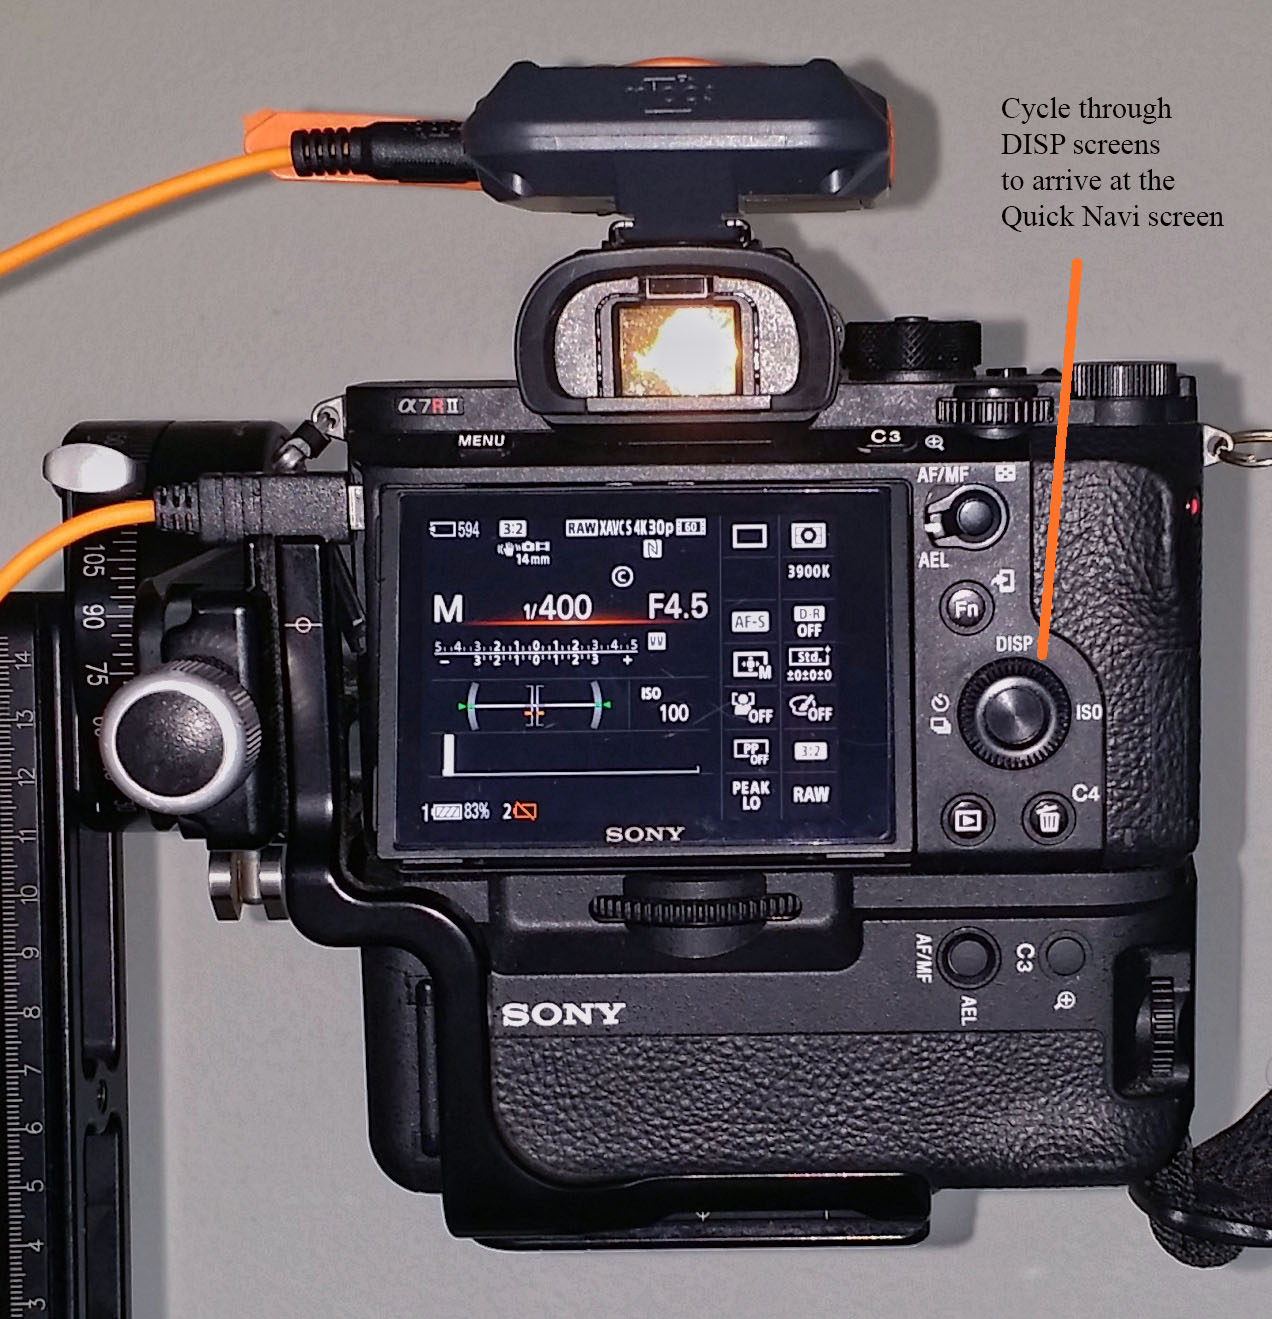
Sony includes the ability to cycle the [DISP] button to a Quick Navigation screen, shown above. From here you can access and adjust several shooting parameters, however you cannot select what predetermined settings appear on the screen. Sony has made that decision for you, and further, the task of adjusting settings via the Quick Navigation screen are neither intuitive nor easily accomplished. A touchscreen LCD would make this feature extraordinary, but as it stands today, it is not very useful and I rarely use it.

[Fn] Function Menu
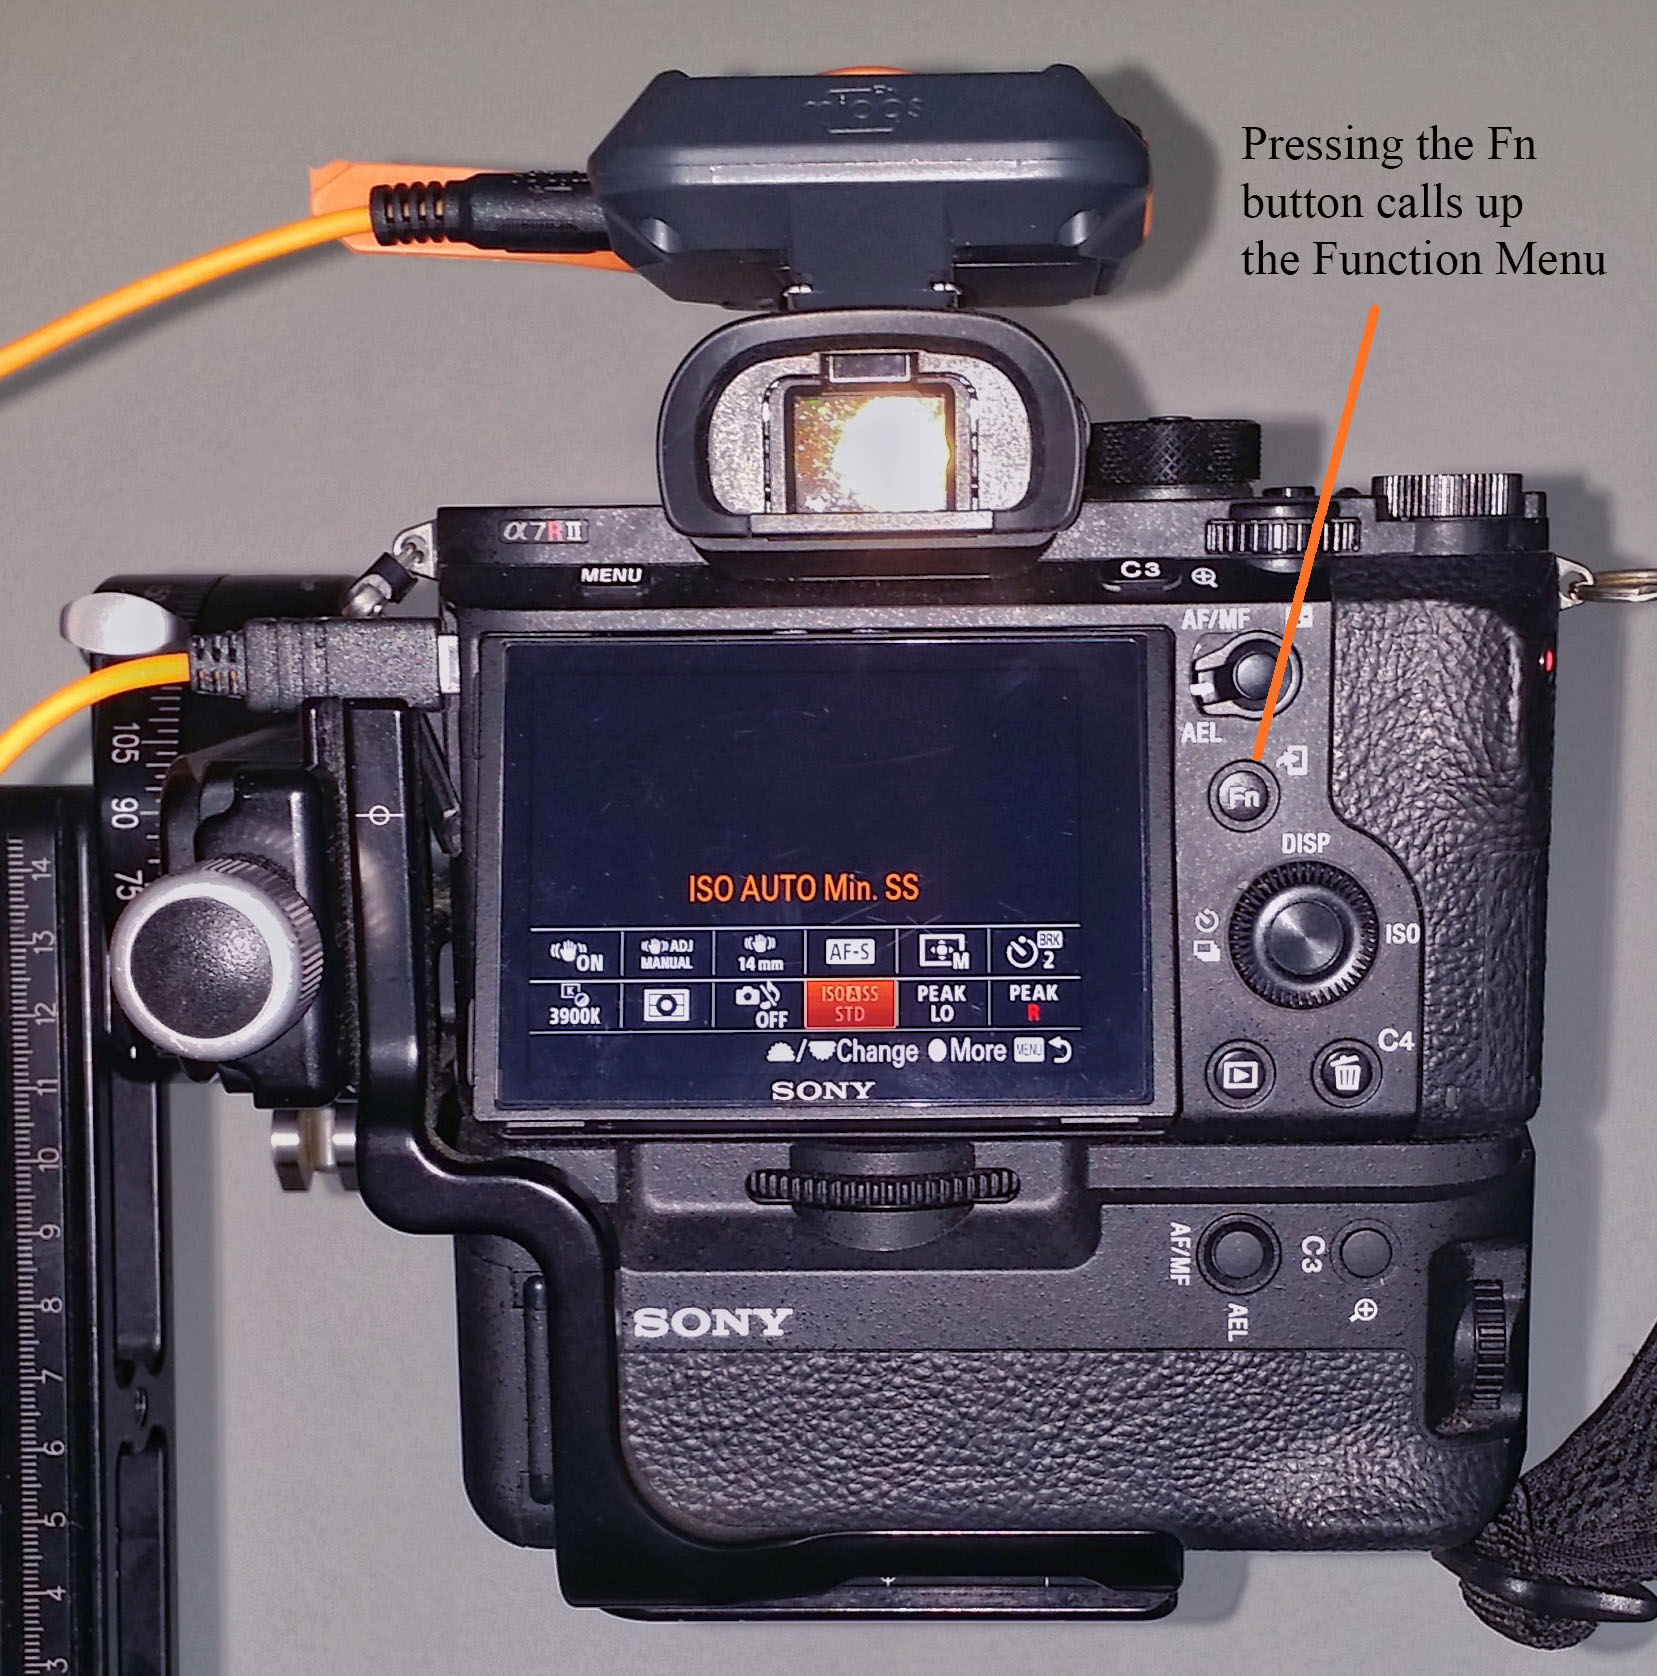
Sony also includes a Function Menu, where you can place twelve settings on a screen that appears at the press of the [Fn] button. The functions that can be placed in each of the twelve available slots is quite limited, however. It is a step in the right direction, but not an optimal solution regarding ease of use. I find the Function Menu to be a good location to place functions I use frequently in daytime photography, while reserving the Custom Key assignments for those functions I use most often at night.

Customized User Memory Banks on Mode Dial

Another feature Sony included in the A7Rii is a programmable User Mode [1] and User Mode [2] on the Shooting Mode dial. There are four additional user memory banks, called [M1], [M2], [M3] and [M4] available for each User Mode [1] and User Mode [2], making ten memory banks available to the photographer in all. It sounds good on paper and spec sheets, but the implementation by Sony leaves much to be desired. The User Memory Mode has so many limitations that I find it impractical to use. First, only a small number of menu parameters can be saved, namely, those that occur in the Camera Settings Tab. If you want to save parameters from the Custom Settings Tab or the Setup Tab however, you are out of luck. The net result is that you can never bring the camera to an exact “known” state by using the User Memory Modes. This pretty much defeats the purpose of custom User Memory Modes, in my opinion. Second, for some strange reason, Sony decided that the [M1] through [M4] Memory settings should be stored on the SD card, which means all the custom settings you assigned to these memory locations disappear each time you format the SD card. Compared to my Panasonic GH4 for instance, which saves the entire camera state into user memory for instant recall, the Sony system has proven itself ineffective for my needs. The main issue I have is that one can never be sure that all camera settings are as expected when switching to a User Memory bank.

Custom Key Settings To The Rescue

One way to cope with the clumsy menu interface, limited Quick Access Menus, and a useless User Memory system is to assign the most commonly used settings to Custom Keys on the camera body. This is the approach I have taken, and it is one feature of the Sony A7Rii that simplifies and speeds up camera usage considerably. It makes sense that a photographer would assign the most frequently used settings to Custom Keys and make menu selections appropriate for the type of imaging the camera is used for. Since I shoot primarily at night, I tailored my Custom Keys to fit my camera usage. The button assignments and menu settings I have arranged over the past two years reflect my usage of the Sony A7Rii, which is my night photography workhorse. While your assignments and settings will probably differ from mine based on your photographic requirements, I am sharing my settings, along with comments, so you can see the thinking behind my choices, and perhaps tweak my suggestions to suit your particular photographic needs. Before jumping into the Custom Key and Menu settings, let’s start with three important issues – back button focusing, power saving and Bright Monitoring, because all three of these issues directly relate to your Custom Key settings.

Back Button Focus

The auto focus system on most digital cameras is activated by default with a half-press of the shutter button. Back button focus reassigns the auto focusing initiation to a button or function key on the rear of the camera body, instead of the usual half-press of the shutter. The benefit of using back button focus are discussed at length here and here. While I do not use auto focus for my night photography, I use it frequently in daylight shooting, so I have set up my Custom Keys and menu choices to implement back button focus.

Power Saving

A major complaint photographers share regarding the performance of the Sony A7Rii is short battery life compared to Canon or Nikon DSLRs. Mirrorless systems are shrinking the size of the camera body, and with that comes smaller batteries with less capacity than their DSLR siblings. Additionally, the power hungry Electronic Viewfinders (EVF) in mirrorless systems are a source of power usage that DSLRs do not experience, since they are equipped with optical viewfinders.

I have mitigated the battery life issue in two ways. First, I added a battery grip to the Sony A7Rii, which instantly doubles the battery life. Second, much of the Sony A7Rii power drain photographers have been experiencing comes from menu settings that have been made without regard to energy usage. By making intelligent choices about camera settings that affect power consumption, the A7Rii owner can influence battery life significantly. For example, by changing the default settings for the LCD monitor and EVF behaviors, the battery life of the A7Rii can be extended dramatically.

The default behaviors of the finder (EVF) and monitor (LCD) on the Sony A7Rii presents a potential for rapid energy depletion if not carefully managed. In default mode the LCD is powered on and the EVF is off. When the photographer looks into the EVF, a sensor detects the proximity of the eye (or any other object) and turns off the LCD and turns on the EVF. The LCD will come back on and the EVF will shut off when the eye is taken away from the EVF eyepiece. After a predetermined interval of inactivity, the camera will go into power saving mode and shut down both the LCD and EVF.

Under most circumstances this system works well. The problem relating to energy consumption occurs when the eyepiece sensor detects the proximity of something other than the photographer’s eye, and switches to EVF ON mode. This can happen, for instance, by forgetting to switch off the power before placing the camera into the camera bag. The sensor detects the camera bag, and in response, powers ON the EVF. Because the camera bag is continually detected by the eyepiece sensor, the power saving feature of the Sony A7Rii never switches the EVF off, thereby draining the battery rapidly. Another common scenario for this system to go awry is when the camera is carried by a neckstrap or chest harness. The eyepiece sensor will continually detect the proximity of the photographer’s body, and the camera will not go into power saving mode, resulting in rapid battery drainage.

Another power drainage issue with the Sony A7Rii results from the default behavior of the LCD/EVF during camera usage. While the camera is in use, the default settings result in the LCD being on. Night photography often requires very long single exposures, or a large number of consecutive time-lapse exposures. With default settings, the LCD monitor remains powered on for the duration of the exposure(s). Both of these problems can be overcome with the settings I describe.

The Custom Key assignments and Menu Settings I recommend will result in the following LCD/EVF behavior. First, the automated eyepiece sensor switching is disabled during LCD use, so that the photographer makes the choice of which display to use. The camera will default to using the LCD monitor, and the camera will switch off the LCD after the power saving interval has elapsed. Pressing the [Down] Button toggles between the LCD and EVF. When the EVF is selected, the EVF will only turn on when the eye is in proximity to the eyepiece. So when the camera is idle, there is no power being utilized by the display system at all. This results in large energy savings during the course of a night.

Second, these settings now allow us to shut both the LCD and EVF off during long exposures or multiple time-lapse exposures. This results in tremendous energy savings during these types of exposures.

One more important setting that affects power usage is the Remote Control menu setting. This setting activates the IR sensor on the front of the camera, which will always be “looking” for an IR signal. As a result, the camera never goes into power saving mode when Remote Control is set to ON.

The specific settings required to achieve these battery saving objectives will be described in the relevant Menu settings and Custom Key assignments later on in this post.


Bright Monitoring

Bright Monitoring is one of the most important yet overlooked and/or misunderstood features of the Sony A7Rii for night photography. Perhaps this is because it does not even appear anywhere within the massive Sony menu system, and is covered by a mere sentence or two buried deep in the Sony A7Rii User Manual. In fact, the Bright Monitoring function is usually found by Sony owners by word of mouth, or by stumbling upon the function while assigning Custom Keys. Two highly respected guidebooks I own for the Sony A7Rii do not even mention Bright Monitoring at all! Here is what Sony has to say about Bright Monitoring, which sheds little light on what Bright Monitoring actually does, and when you should use it:
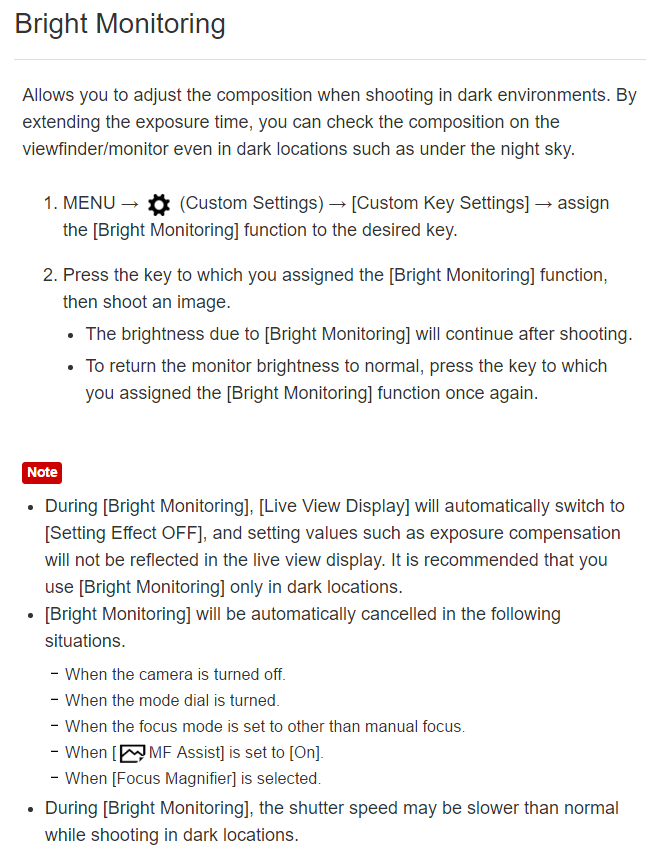
What exactly is Bright Monitoring? The name might suggest that Bright Monitoring simply boosts the brightness setting of the display, but this is incorrect. Bright Monitoring actually over-samples the usual Live View display, but at a much slower refresh rate. When Bright Monitoring is used in dark conditions (as in night photography), the display builds up the brightness of the image displayed on the screen by accumulating photons over a longer period of time than usual, offering a Live View image that seems to  “see in the dark”. Bright Monitoring is highly effective for composing the image in a dark environment. Many night photographers are citing Bright Monitoring as a valuable feature that soon becomes indispensable in their work. By including Bright Monitoring as a Custom Key assignment (which is the ONLY way it can be accessed), a very important night photography composition aid can be unlocked on the Sony A7Rii camera.


My Custom Key Settings For Night Photography

The Custom Key Settings can be assigned by navigating to Tab 2 (Custom Settings), Page 7 in the Sony Menu system. The Custom Key Settings are subdivided into Page 1 and Page 2. Here are my Custom Key assignments, with explanatory remarks.


Custom Key Settings – Page 1
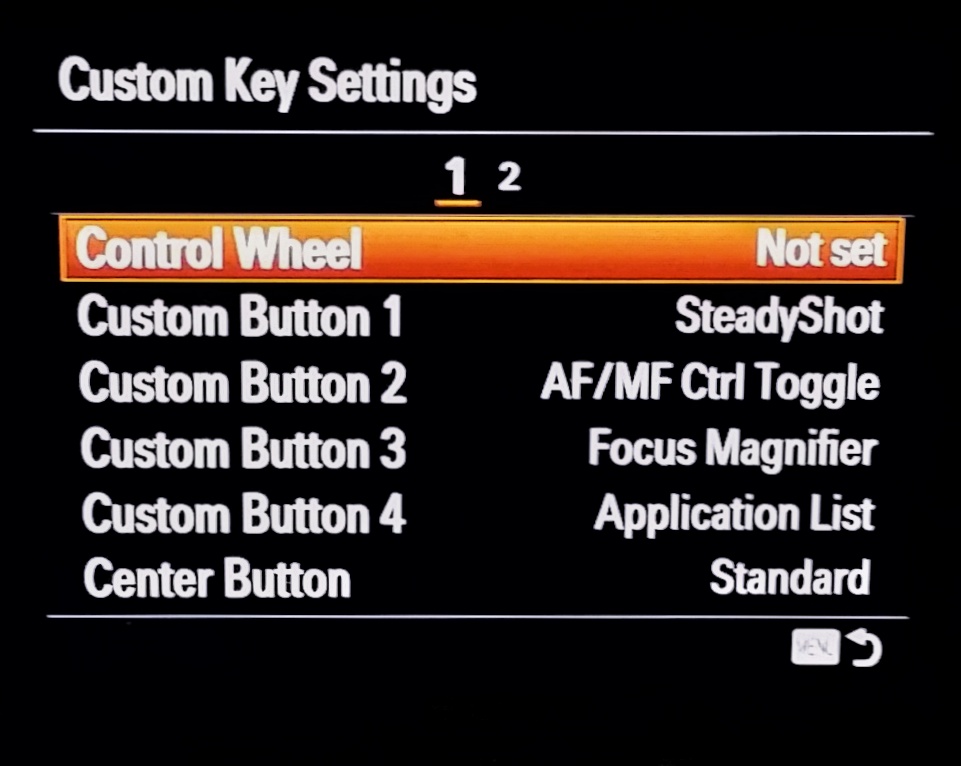
Control Wheel – Not Set

I do not customize the Control Wheel at all. I have found that it is easy to change settings by accident when the Control Wheel is inadvertently touched while using the camera in a dark environment, so I leave the default setting of the Control Wheel alone.

Custom Button 1 [C1] – SteadyShot

Although most of my photography is accomplished using a tripod, where using In-Body Image Stabilization [SteadyShot] can actually degrade an exposure, I still want to be able to shoot off-tripod quickly, without having to wade through menus to turn SteadyShot on or off. By assigning this fuction to [C1], I can immediately access the SteadyShot feature of the A7Rii.

Custom Button 2 [C2] – AF/MF Ctrl Toggle

For night photography I always use manual focus mode, but in daytime I switch between auto and manual focus often. Simply pressing [C2] instantly toggles between auto and manual focus.

Custom Button 3 [C3] – Focus Magnifier

An important skill in night photography is the ability to achieve sharp focus while operating in a dark environment. Precision focusing is aided by the ability to quickly magnify any portion of the composition to visually adjust focus. Assigning the Focus Magnifier function to the [C3] button allows the me to zoom in on the image at 5X or 12.5X  magnification, which greatly simplifies the task of attaining sharp focus.

Custom Button 4 [C4] – Application List

Sony has incorporated an API (Application Program Interface) into firmware on the A7Rii, which gives third-party developers some limited abilities to create apps that can be purchased and installed into the camera system. While I am excited about the potential of after-market apps, the implementation of the idea by Sony has been a disappointment. While some apps are better than others, I have generally found them to be of limited use. My hope is that the poor initial implementation of downloadable apps by Sony does not kill this wonderful concept before it has a chance to mature. Having said that, I do use the Sony Play Memories Remote Camera Control app often. Controlling the camera via WiFi and reviewing the images immediately after capture on a large, bright tablet device is a powerful tool that I turn to intermittently during a night of shooting. By assigning the Application List to the [C4] button, I can easily switch to using my tablet device for camera control.

Center Button – Standard

The button in the middle of the control wheel is called the Center Button.  I generally leave it unassigned, but use it occasionally when I would like to temporarily assign functions to a button for aiding in special projects or techniques.


Custom Key Settings – Page 2
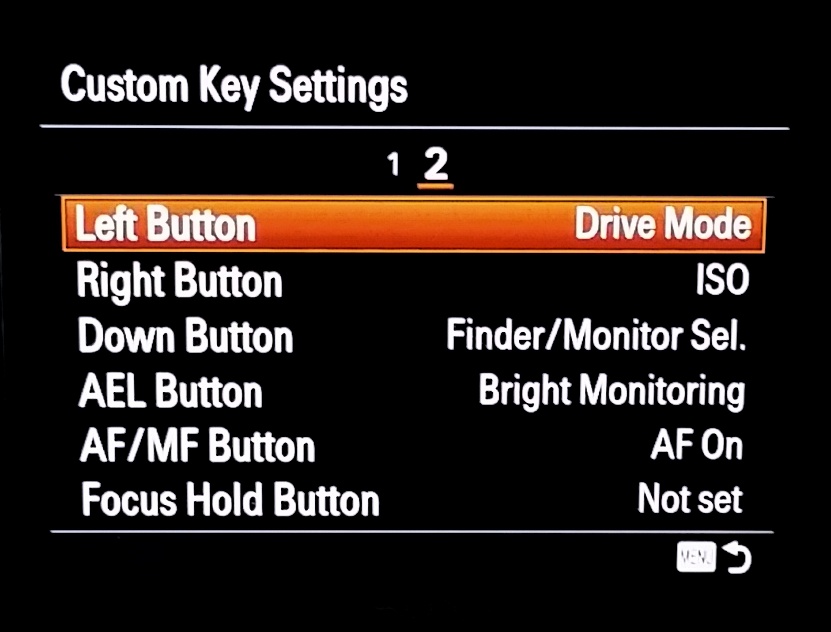
Left Button – Drive Mode

I change Drive Modes frequently during the course of the night, and since the camera body is labeled with a Drive Mode symbol next to the Left Button, I leave the default setting as is.

Right Button – ISO

I change the ISO frequently during the course of the night, and since the camera body is labeled “ISO” next to the Right Button, I leave the default setting as is.

Down Button – Finder/Monitor Select

By assigning Finder/Monitor Select to the [Down] Button, I can control which display I want to use, based on my needs at the moment.

AEL Button (switch in DOWN position) – Bright Monitoring

Refer to Bright Monitoring previously discussed for the details of Bright Monitoring.

AF/MF Button (switch in UP position) – AF On

See the previous discussion of Back Button Focusing.  This button is perfectly situated to press for auto focus, either while the camera is hand-held or when it is perched on a tripod.

Focus Hold Button – Not Set

The Focus Hold Button is found only on specific lenses, none of which I own.


Menu Settings


The menu structure used in the Sony A7Rii consists of six top-level menu tabs, with each tab containing numerous sub-pages. The top-level tabs are:

  1. Camera Settings
  2. Custom Settings
  3. Wireless
  4. Applications
  5. Playback
  6. Setup
Under each top-level tab are up to 9 sub-pages of menu choices. In describing my selections, I will use the form [2-5] for instance, which designates Tab 2 (Custom Settings) – Page 5. I have included only those menu settings that have a direct affect on night photography.

Tab 1 – Camera Settings

[1-1]  Quality – RAW

My color-managed workflow philosophy is simple – (1) capture as much useful data as possible in the field, at the highest resolution, greatest bit-depth and broadest color space offered by my equipment; (2) maintain the quality of this image data throughout the editing and printing process; (3) make my own decisions regarding image quality, color temperature, sharpness, etc. and not hand this over to a jpeg algorithm concocted by my camera’s manufacturer. Shooting in RAW is necessary to achieve this goal.

[1-5] White Balance – C.Temp – 3900ºK

Many photographers use [Auto White Balance] for normal daytime shooting, and are tempted to keep this setting for night photography as well. Although shooting RAW image files allows you to alter the white balance of an image in post-processing, there are advantages to designating a specific color temperature in camera at the time of capture, rather than changing it later in post-processing. The image displayed by the LCD monitor or EVF screen is actually a jpeg representation of the RAW sensor data, which uses the white balance setting to derive the jpeg image. By setting the color temperature in camera close to that which actually exists in the scene, the monitor image will more closely resemble the actual scene. Another reason to set a specific color temperature is so the initial image previews generated by the RAW processing software (Lightroom, ACR, etc.) closely match what existed in the scene, since the previews are also jpeg representations of the RAW data, as modified by the white balance set in camera. I set my white balance to 3900ºK for astro-landscape photographs, because I have found it consistently produces a sky color pleasing to my eye. For urban nightscapes, I will usually set the color temperature to 2700ºK if sodium vapor fixtures provide the predominant ambient light.

[1-5] RAW File Type – Uncompressed

The Sony A7Rii was originally introduced with only one RAW file type – 12-bit compressed RAW files. The compression algorithm Sony implemented is a “lossy” compression scheme, which means some of the RAW data gets thrown out with file compression.

With a Firmware 2.0 Update, Sony added an optional 14-bit uncompressed, “lossless” RAW file format. Why the change? It turns out the two-stage compression scheme used by Sony has a nasty side effect – problems with haloing and artifacts along high-contrast edges. While most photographs do not exhibit adverse effects from the compression algorithm, high-contrast edges are commonplace in night photography, and are seriously affected by Sony’s compression algorithm. Due to the outcry from the photographic community, Sony released the 14-bit uncompressed, lossless RAW file option in late 2015.

In a way, the inclusion of the 14-bit uncompressed RAW file type is a mixed blessing. On the one hand, the problem of compression artifacts has been eliminated, but at the cost of greatly increased file size:

  • 12-bit compressed “lossy” RAW file – 40MB file size
  • 14-bit uncompressed “lossless” RAW file – 80MB file size

The advantage of using the new, 14-bit uncompressed RAW format is tempered by the doubling of the RAW file size, which not only increases storage space requirements, but also the computational power required of the editing equipment in use, especially when considering that many astro-landscape techniques involve the layering of a large number of images within editing software.

There is a way to mitigate the problem of a doubled RAW file size, while still obtaining the benefits of a 14-bit uncompressed, lossless RAW file. It turns out that by converting the Sony 14-bit uncompressed RAW files into DNG format files on import into Lightroom, the resulting DNG files are half the size of the 14-bit uncompressed RAW files, so that we end up back at the 40MB per file. The compression algorithm used by Adobe in the 14-bit conversion is lossless, unlike the compression used by Sony for the 12-bit compressed RAW files. So by converting to DNG, we get the benefits of lossless compression and retention of all image data captured in the field.

  • 14-bit uncompressed, lossless native RAW file – 80MB
  • 14-bit compressed, lossless DNG file – 40MB

There are, however, costs and benefits to converting native RAW files to DNG. For Adobe’s take, see this article, and for Wikipedia’s article, see this entry.

[1-5] Creative Style - Neutral

There are various Creative Style presets available on the Sony A7Rii including Standard, Vivid, Neutral, Portrait, Landscape, B&W, Clear, Deep, Light, Night, Autumn, Sepia and Sunset. Each allow further +/- tuning for Contrast, Saturation and Sharpness. The factory default setting is Standard, but I have switched to Neutral instead, and here is why.

The Creative Style setting is used by the camera in two ways; 1) to adjust the jpeg image seen on the LCD / EVF, and 2) process the jpeg file (if shooting jpeg). If capturing RAW images, the Creative Style setting will be written to the EXIF data, but ignored when creating the RAW image file. So if I am shooting RAW files, why do I care which Creative Style is set? Because the camera applies the Creative Style to the LCD and EVF displays. Because I use the Sony A7Rii primarily for astro-landscape photography, where focusing (and confirming focus) on pinpoint stars is both vital and difficult, I want every advantage I can get. I have found that critical focusing at night is easier and more accurate with the Creative Style set to Neutral rather than Standard, perhaps because the camera software is not trying to sharpen or add contrast to out-of-focus stars before displaying the image on the LCD / EVF.

[1-6] Long Exposure Noise Reduction (LENR) – Off

I rarely set LENR to On. Heat buildup on the image sensor during long exposures causes the creation of LE noise, more commonly known as “hot pixel” noise. LENR uses a process called dark frame subtraction to remove hot pixel noise from a long exposure image, and while effective, it introduces limitations to the astro-landscape photographer.

Because the LENR process has the camera take a second shot of the scene, this time with the shutter closed, the camera is unavailable for use while the dark frame is taken and the image is processed. So a 30 minute exposure becomes 1 hour between shots, which is a lot of precious shooting time to sit by waiting for the camera to finish the LENR. Some of the techniques in use by astro-landscape photographers make the use of LENR impractical as well. To alleviate random (high ISO) noise from an image, many photographers have adopted a method of stacking up to a dozen sequential exposures, for the purpose of averaging out random, high ISO noise. Doubling the interval between each exposure increases the odds of failure in the stacking and aligning process. The successful stitching of panoramas can also be affected by the movement of the stars when there is a lengthy delay between shooting each panel of the panorama.

The good news is that there are great, simple methods of eliminating hot pixel noise from images in post processing, so there is really no need to use in-camera LENR.

[1-8] SteadyShot – Off

SteadyShot (Sony’s term for image stabilization) is designed for hand-held camera use, and may actually introduce image softness when active while shooting from a tripod. Since all my night photography is tripod based, I set SteadyShot to Off. To make it easy to quickly switch from hand-held to tripod use, I have assigned SteadyShot to Custom Button [C1]

[1-8] Color Space – Adobe RGB

My philosophy has been to capture the maximum amount of useful data my equipment is capable of, and maintain the quality of that data throughout my workflow whenever possible. The Adobe RGB Color Space is the widest gamut available with the Sony A7Rii, so that is my preferred choice. The wider gamut can always be rendered to a narrower gamut, such as sRGB as necessary later on.


Tab 2 – Custom Settings

[2-1] Zebra – 100+

The Zebra Pattern is a visual highlights warning system that shows a zebra stripe pattern on portions of an image that are exposed to the percentage specified in this menu option. The selection of 100+ means that the Zebra Pattern will overlay any overexposed portion of the image. It serves the same function as “blinkies” do in image review, but is active in the display prior to taking the exposure. It is a valuable tool used to identify exactly where clipping will take place. The histogram shows whether highlight clipping is occurring somewhere in the image, but highlight clipping is expected and desirable in some instances, such as in street lamps. Zebra Patterns help the photographer see where the clipping occurs in an image, and to make appropriate adjustments if necessary.

[2-1] Manual Focus Assist – Off

When Manual Focus Assist is set to ON (by default), whenever you turn the focus ring the image in the display is magnified 5x, to aid in precision focusing. At first glance this might seem useful, but in night photography it is not. When focusing at night I like to zoom in to maximum magnification (12.5X) at some exact spot in the frame. It is easier to start with the entire image on display and move the focus box to the desired position, then magnify, than it is to magnify first and try to scroll around hunting for the desired spot within the image. That is why I set Manual Focus Assist to Off.

[2-2] Auto Review – Off

I leave Auto Review off because much of my night photography involves taking many exposures in quick succession, either for image stacking, star circles, or stitched panoramas. In these scenarios, I do not want any delay between exposures. It is only a matter of pressing one button to review the image, so there is really no penalty for setting Auto Review to Off.

[2-2] Peaking Level – Low

I like to set the Peaking Level to Low to aid with focus. My primary use for focus peaking is with focus stacking situations, to visualize which zone is in focus at the moment.

[2-4] Finder/Monitor – Monitor (Manual)

See the previous section above regarding Power Saving. Setting this to Monitor (Manual), along with the assignment of Finder/Monitor Select to the [Down] Button, allows me to toggle the display from the LCD to EVF, or turn off the LCD during long or multiple exposures.

[2-4] Release Without Lens – Enable

Because some of the lenses I use are fully manual lenses, such as the Rokinon series of wide angle lenses, it is necessary to set Release Without Lens to Enable, otherwise the shutter of the Sony A7Rii will not operate.

[2-5] Auto Focus With Shutter – Off

I have implemented Back Button Focusing by setting [Auto Focus With Shutter] to Off here, and by assigning Auto Focus to the [AF/MF] Button in the Custom Keys Settings. See the previous section on Back Button Focusing for additional details.

[2-8] Movie Button – Movie Mode Only

When operating the camera controls by touch in the darkness of night, it is easy to press the red [Record] button on the side of the camera by mistake. Changing this to Movie Mode Only disables the [Record] button unless the Mode Dial is specifically turned Movie Mode.


Tab 6 – Setup

[6-1] Monitor Brightness – Manual (-)2

I turn the LCD Monitor Brightness to the lowest setting for three reasons. The monitor will more closely resemble what the camera will record, the monitor will consume less power, and the glow from the LCD is less distracting to those photographing near you. Lower LCD brightness might also help retain night vision, but I have not seen evidence of this from any other sources, so just call it a hunch of mine.

[6-1] Viewfinder Brightness – Manual 0

For the most part, I only use the EVF at night for critical focus, and for that purpose I want a bright display, but not blindingly so. The default setting of 0 seems to be ideal for night focusing with the EVF.

[6-2] Display Quality – High

Until some trusted source can provide me with a valid reason to set the Display Quality to Standard rather than High, I see no reason to accept anything less than the highest quality available in the Sony A7Rii.

[6-2] Power Save Start Time – 2 Min

I find that 2 minutes of idle time before the Power Saver kicks in is a good compromise between power savings on the one hand, and the convenience of the display remaining on for a usable duration on the other.

[6-3] Remote Control – Off

I use a wireless remote/intervalometer or WiFi connected Remote Control App to operate the camera, and therefore never have a need to use the IR Remote Trigger provided by Sony. I leave the Remote Control setting Off. Be aware that if you set Remote Control to On, the camera will not enter Power Saving mode, and your battery will drain quickly. Only set the Remote Control to On for the duration you intend to use the IR Remote, and turn it back Off afterward.

[6-4] USB Connection – PC Remote

I have discovered through trial and error that keeping the default USB Connection setting on Auto can lead to intermittent misoperation of several popular brands of intervalometers. Apparently, the multi-functional USB port provided on the Sony A7Rii can sometimes get confused when in Auto mode. The quick fix is to just set the USB Connection type to PC Remote, and the problem seems to disappear.


Conclusion

The Sony A7Rii is a powerful camera for night imaging that continues to grow in popularity among night photographers, yet many are unaware of the significant impact various camera setup parameters have on their usage of the camera at night. I have encountered owners of Sony A7 Series cameras who have shied away from customizing the various buttons and screens of the camera, particularly in the field of night photography. I wanted to share this post so you could see how I tailored the Sony A7Rii to my usage preferences, so that you might start thinking about how you could customize your own camera to reflect your usage habits.

Please feel free to comment with any tips and tricks you may know regarding the setup and configuration of the Sony A7Rii. Much of what I have learned has come from paying attention to lessons others have generously shared along the way.

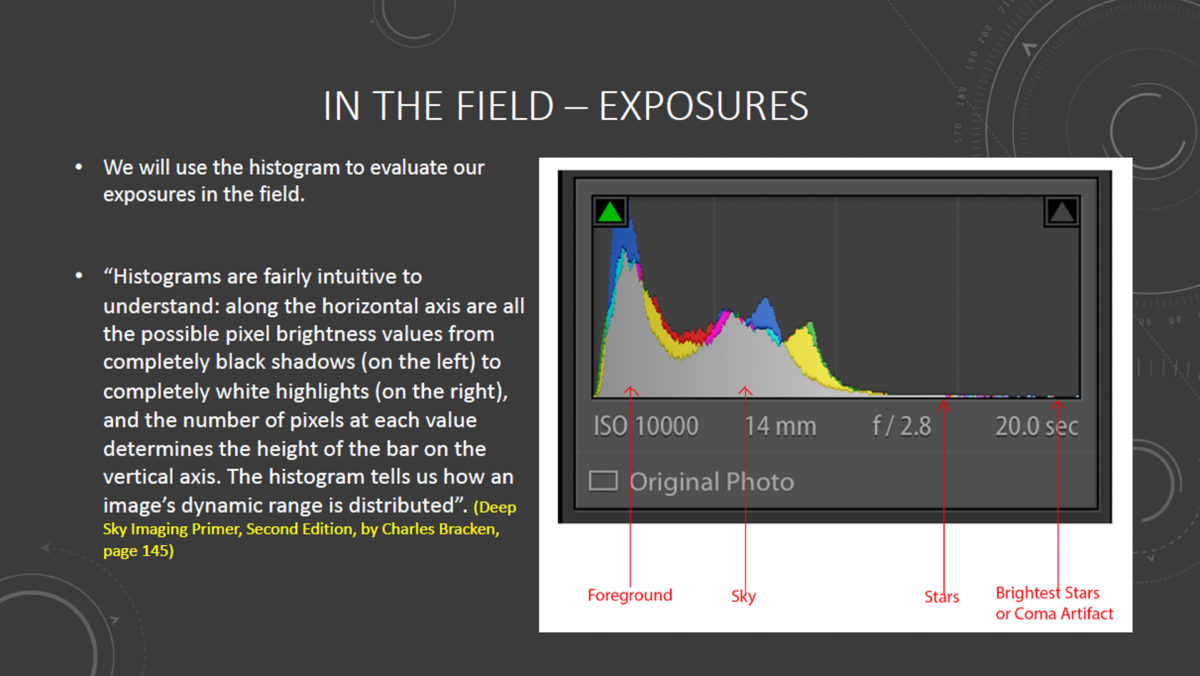
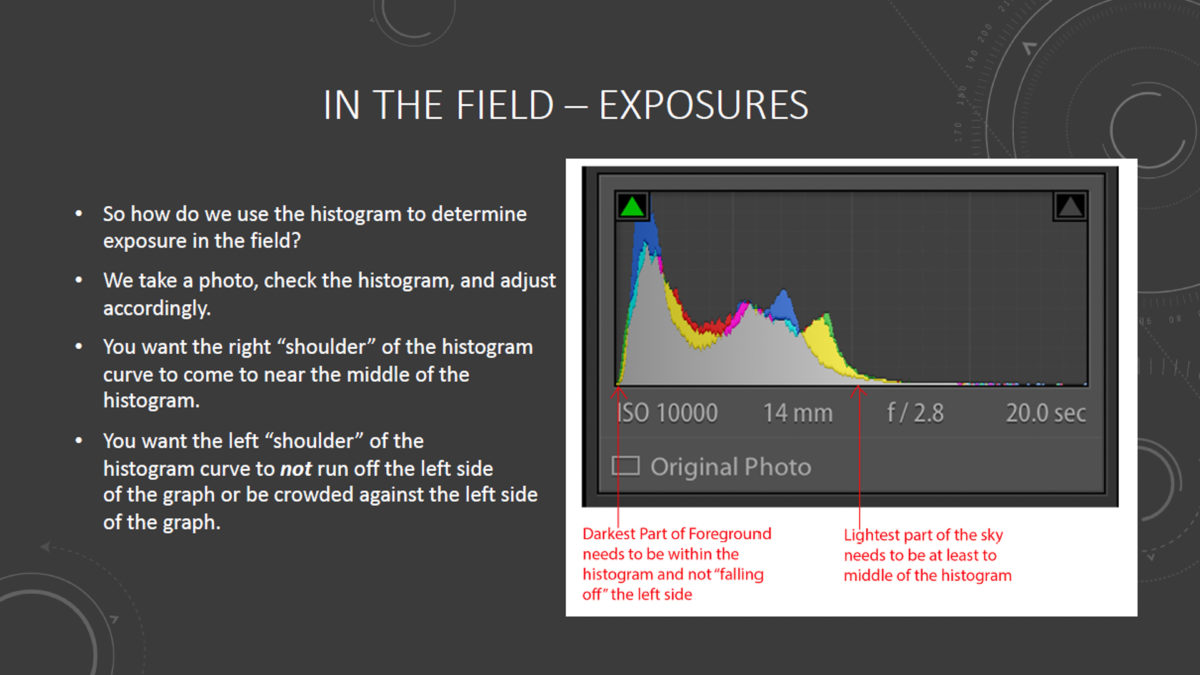
 

Low-Level Lighting (LLL) For AstroLandscape Photography

One of the things I find most interesting in my pursuit of nocturnal photographs is the challenge of incorporating varied light sources into a final, cohesive image. The image above, taken from the Jackson Lake turnout in Grand Teton National Park, is a blended image consisting of two exposures. The first exposure is a single capture of the Milky Way with the roadside trees lit using stationary low-level lighting (LLL). The second exposure (taken without altering the camera location) was the light trail caused by an RV passing on the road, which I blended into the first exposure to create the final image. The issue of low-level lighting has recently come up in regards to the recent change in policy within Arches and Canyonlands National Parks towards night photography workshops in general, and light painting in particular. Royce Bair has a post explaining the issue thoroughly in his excellent blog, Into The Night Photography.  While these issues are being sorted out by the affected parties, I thought it would be useful for those not familiar with low-level landscape lighting to see what it is, and how it can be used.

What Is Low-Level Lighting?

A common goal for astro-landscape photographers is to create an image that combines the beauty of the Milky Way with an interesting foreground subject. To capture an intense, dramatic Milky Way, one usually tries to find geographic locations away from sources of light-pollution, and typically around the time of the new moon. A proper exposure for the Milky Way under these conditions usually produces an image with a silhouetted foreground, as shown here: What we want is a way to illuminate the foreground in a Milky Way image, to add interest, context and scale to the photograph. This can be accomplished in several ways, one of which is through the use of low-level lighting. Low-level landscape lighting can be thought of as a foreground illumination technique that attempts to properly expose the foreground while the Milky Way is being photographed, using a dim, stationary, artificial light source that is kept on for the entire duration of the exposure. For those interested, a new informative website devoted entirely to the topic is lowlevellighting.org. Here is an example of one such light source that I use. It is a knock-off version of the F&V HDV-Z96 LED Light Panel.  I have been using three of them without problem for two years. Included with the panel is a clear diffuser and 3200K warming filter. The filters pop on and off easily with embedded magnets. While the specs claim the panel uses 800 LX @ 1-meter Super Bright LEDs, I always use them at their lowest power setting, with both filters attached. Even at that, I usually have to move the lights much further back from the subject than where I initially placed them, in order to balance the light intensity with the exposure required for the Milky Way. Here is a test exposure I made when setting up the light panels for the image that headed up this post. While the lights may look bright in this image, this shot was taken at ISO6400 for 15 seconds. To my naked eye, the added lighting was barely perceptible. Notice in the test shot above light has “spilled” down onto the roadway below the LED panels. Knowing this would become an editing problem later on, I decided to walk back down the road and fit each of my three LED light panels with a DIY barn door to block the spill. By sliding a piece of black foam core board between the LED light and the tripod, I created a barn door that allows me to cut out spill from the bottom of the panel. There are three ways to power this particular LED panel. There is a receptacle for a 12V power source, which I have no need for. I power my LED panels with these NPF970 Camcorder batteries, which usually allow me to utilize the lights for many long night sessions without having to bother with recharging. To save on space or weight, one can simply choose to use AA batteries instead of the camcorder style battery, at the expense of battery life.

Low-Level Lighting Is Not the Only Way to Illuminate the Foreground


Foreground Lit Only By The Moon

Low-level lighting is one way to illuminate the foreground, but not the only way, by any means. A great way to bring the foreground into prominence is to use moonlight to light the scene.  This image was taken overlooking the Bodie Ghost Town in the eastern Sierra of California. It was taken near the full moon, just as the moon was rising and beginning to cause the Milky Way to fade in intensity. In this case, the only artificial lights are the random fixtures located throughout the town.

Foreground Lit Exclusively By Flashlight

This image could be considered the exact opposite of LLL. A powerful hand-held flashlight was used Instead of a low-level LED light panel. Rather than using a low intensity light for a long duration, this image uses a high intensity hand-held flashlight to paint the scene, but only for a brief portion of the exposure. This gives the photographer the ability to create a high-contrast and visually textured image. The effect creates a totally different mood than the somewhat flat, low-contrast light produced with the LLL technique.

Foreground Lit Exclusively By Vehicle Headlights

Another way to light the foreground, and a technique I find exciting, is to use the headlights of random passing motorists to provide the lighting that brings the image to life.  When I hear other photographers grumble about passing automobile headlights ruining their images, I begin looking for a way to capitalize on the situation. Many “happy accidents” in night photography are not accidents at all, but merely the by-product of a perseverant photographer. In the image above, when I realized that the deluge of passing automobiles would not abate for hours, I simply found a composition where the vehicle headlights would enhanced the image, rather than degrade it.

Foreground Lit With A Combination Of Moonlight and Flashlight

The image above shows the result of combining a just rising moon with a bit of hand-held light painting with a flashlight..  While the exposure settings of the camera were set with the background Milky Way in mind, the foreground was painted by a brief use of the flashlight, while the midground was illuminated by the just rising moon.

Foreground Lit With A Combination of Low Level LED Panel And Flashlight

The image of the abandoned farmhouse and Milky Way above uses a LED light panel to provide a uniform low-level light for the farmhouse, balancing the exposure with that required for the Milky Way. As an addition however, to add interest and texture to the image, I used a high powered flashlight briefly during the exposure from off-camera right to add texture and depth to the grass.

Foreground Lit With Combination Of Vehicle Headlights and Flashlight

And finally, this image shows an exposure optimized for the Milky Way, with the use of automobile headlights to illuminate the bluff on the other side of the highway. A hand-held flashlight was used to add texture to the grass in the foreground.

Conclusion

Low-level lighting is a valuable tool in the arsenal of the night photographer. With changes to light painting policy that might be coming to public lands, it may become increasingly important to become proficient in various forms of nighttime landscape illumination. In future posts I will expand on the pluses and minuses of various astro-landscape lighting techniques, and see how they each fit into a future where light painting may be severely or completely restricted in our National Parks. In the meanwhile, you now know what the concept of low-level lighting is, and can go from there.
 

ShuttlePRO v2 – My Lightroom Experience Redefined

editing-workstation This is my image editing workstation. Unlike many photographers, I relish the hours spent in my digital darkroom, perhaps as much as I enjoy the hours spent capturing the RAW data that provides the basis for my final images. In examining my workstation, you might be tempted to ask “why four monitors?”  Because I couldn’t fit six on the tables! Being a photographer as well as a blogger, I often encounter days where I am editing images for a blog post in Lightroom and/or Photoshop, writing the blog post in Wordpress, and researching the content of the post on the Internet, all simultaneously. With plenty of screen real estate, it’s fun and efficient to be a multi-tasker, but it can become a headache trying to manage multiple monitors without becoming a monitor “monitor”. This is where the ShuttlePRO v2 shines with Lightroom. Additionally, moving between Lightroom and Photoshop can be annoying, in that many common functions are invoked in different ways or with different keystroke combinations, depending on which program you are using at the moment, a situation that can be remedied with the proper use of the ShuttlePRO.  I will expand on these ideas later in this post. ShuttlePro-mouse-keyboard The ShuttlePRO v2 by Contour Designs is the device sitting to the left of the keyboard. It is substantially larger than the mouse on the right, but since the ShuttlePRO is stationary it utilizes less of a footprint in use than the mouse.

As an aside, on the right side of the keyboard is a stylus for a Wacom Intuos Pro graphics tablet that I find myself using less and less in my image editing work. The nature of how I work with images in post-processing has changed so much over the years, and the software I use has evolved so much, that a graphics tablet impedes my workflow now, rather than aiding it. The necessity for me to have pinpoint drawing control today is nearly non-existant, as I use layer blending modes, luminosity masking, and blend-if functions, which are not helped much with the use of a graphics tablet. The abilities of the ShuttlePRO type device are much more suited to my editing style and the way I use my software.

Anyhow, back to the subject at hand, the ShuttlePRO v2. Here is a close up image of the device, so you can see what it is: ShuttlePro-v2 There are nine buttons across the top of the ShuttlePRO that are fitted with transparent key caps that pop on and off, so you can print custom labels for these buttons if you choose. There are four silver buttons towards the bottom of the ShuttlePRO, and in the center are two black buttons and two rotary dials. The center rotary dial rotates continuously in either direction, and the outer rotary dial is a spring-loaded jog/shuttle dial.  All of the buttons and dials are assigned keystrokes or functions of your choice, so the device can be tailored to the specific commands and keystrokes that are useful for your own particular workflow. The software driver that accompanies the ShuttlePRO v2 is well designed, easy to use and customize, and does a great job of simply making the device work as intended, without getting in the way of the creative process involved in editing photographs. The driver keeps track of which desktop window the cursor’s focus is located, and utilizes the button assignments associated with the program running in that particular window. For instance, when I am working in Lightroom the ShuttlePRO uses the button assignments I have created for LIghtroom, but the moment I move the cursor to a Photoshop window, the ShuttlePRO immediately changes to the button assignments I have created for Photoshop.

My ShuttlePRO v2 Configuration For Adobe Lightroom CC

Now that you know what the ShuttlePRO v2 is and what it looks like, I’ll show how I have tailored it to work within my Lightroom setup. One thing many users of Lightroom do not know is that Lightroom presents the photographer with two different user experiences, depending on whether it is being used on a single or dual monitor system. Lightroom utilizes a second monitor about as well as any software I have encountered, with many options available for either monitor at any given time. But getting the two monitors to display the information you want, in the format you desire can take many clicks of the mouse, in several locations on each screen, to achieve the desired results. Switching this around on the fly becomes cumbersome, so my first assignment for the ShutterPRO was to try and streamline and ease the use of the two display monitors. I have assigned the top two rows of buttons on the ShuttlePRO to control the display modes of the two monitors, with the top row of buttons controlling the left monitor, and the second row of buttons controlling the right monitor. Dual Monitor 01 The top row of button assignments are for the left monitor, which is where the main Lightroom operations take place. By assigning the top row buttons to [GRID], [LOUPE], [DEVELOP], and [PRINT], I can immediately jump to any of these modes from wherever I happen to be in the program at the moment. By assigning the second row buttons to the right monitor [GRID], [LOUPE], [COMPARE], and [SURVEY] modes, I can immediately switch the second monitor to the view that is most appropriate for the work I am doing at the moment. Each monitor can be set independently of each other, so you can make maximum use of each monitor for whatever task is at hand. The magnification of the image displayed on each monitor can be changed by rotating the jog/shuttle dial at any time. Sometimes I find the Filmstrip Panel useful, but mostly it just gets in my way. I have set the far-right button on the second row to [Show/Hide] the Filmstrip Panel, so it can instantly be accessed or dismissed as desired. Dual Monitor 02 When editing an image, sometimes it is helpful to work on the image zoomed in to 1:1, 2:1 or even greater, while being able to see the editing results displayed on the second monitor with the image at normal size. Other times it is useful to do just the opposite – with each monitor now controlled at any time by the push of a dedicated button on the ShuttlePRO, adjusting what you want to see on each screen is just a button push away,  As I have become accustomed to the button assignments and muscle-memory has taken hold, using the ShuttlePRO has become second nature. It is almost as if I just think about what I want each monitor to display, and it magically appears! A very powerful feature of the ShuttlePRO is the way it handles all the adjustment sliders in Lightroom. There are various MIDI controllers on the market today that work in conjunction with Lightroom, such as the Behringer BCF2000. These MIDI controllers use either rotary dials or mechanical sliders to manipulate the slider controls within Lightroom. Some of these MIDI controllers have as many as 18 rotary dials for working in Lightroom. Controllers of that sort are unwieldy, expensive, and take up quite a bit of desktop real estate. Additionally, MIDI controllers require the use of additional controller interface software to work with your computer system. The ShuttlePRO eliminates these problems by including the inner rotary dial on the device. Just hover the cursor over any Lightroom slider and rotate the inner dial – the slider in Lightroom will move either left or right, depending on the direction you rotate the dial on the ShutttlePRO. It couldn’t get much easier, and I find it much smoother to work in this fashion, rather than the mouse/slider combination I used to use in Lightroom, or using an expensive, unwieldy MIDI Controller device. As I mentioned previously, I have set the spring loaded jog/shuttle wheel to control image zoom. At any time on either display, jogging the wheel to the right zooms in on the image, jogging to the left zooms out. The two black buttons on either side of the center wheels have been assigned to [Undo] and [Redo], while two of the silver buttons on the bottom have been assigned to [Import] and [Export]. I have purposely left the very bottom two buttons unassigned.  Because it is so easy to program the buttons on the fly, I use these bottom two buttons for special projects, where it is convenient to have dedicated buttons to perform tasks, but only on a temporary basis. I mentioned in the opening of this post that the ShuttlePRO v2 could also address the problem of Lightroom and Photoshop having different ways of accessing the same functions. An example of this is changing brush sizes. In Lightroom I can instantly change the brush size by simply moving the scroll wheel on my mouse up or down. In Photoshop, however, the developers have decided that the scroll wheel should always increase/decrease image size, not brush size. Instead, one must use the bracket keys on the keyboard, or the drop-down brush palate along the top menu strip. This just drives me up the wall – why must Adobe use different methods to achieve the same result in these two programs? But with the use of the ShuttlePRO, problem solved! I simply programmed the Inner Dial of the ShuttlePRO to control the brush size, and now it is as simple to adjust my brush in Photoshop as it is in Lightroom.
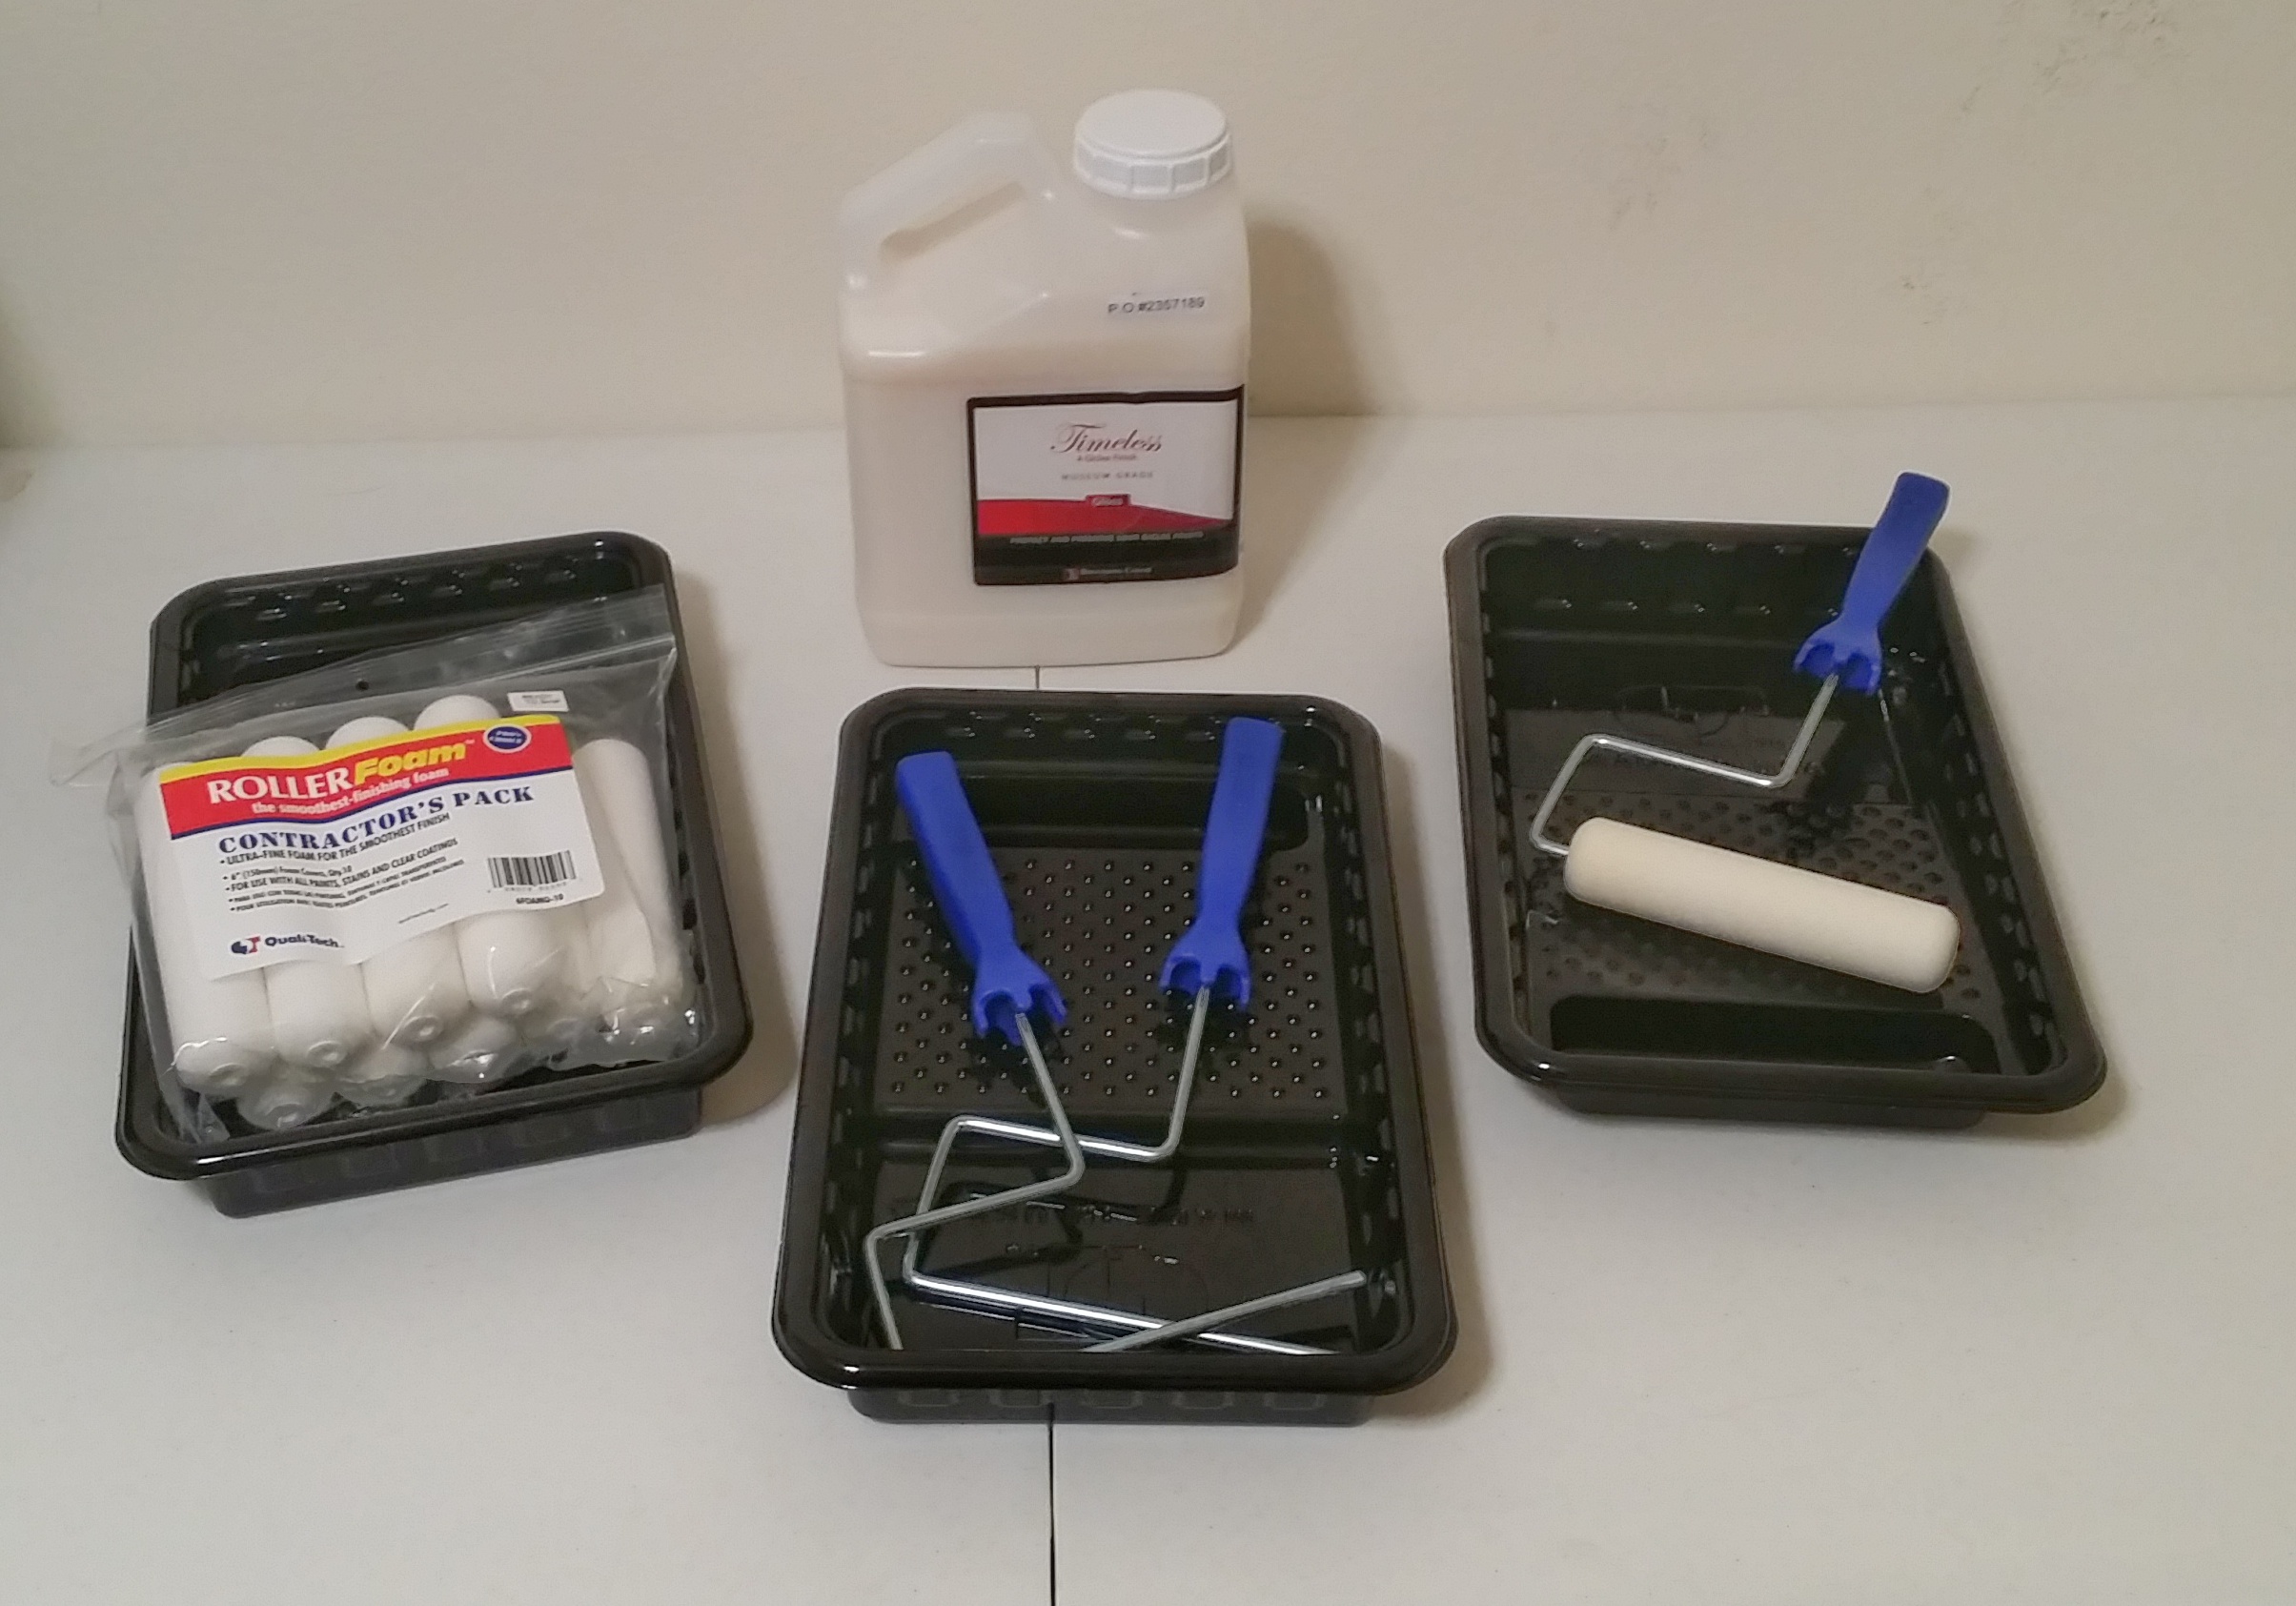
Conclusion

I have been amazed at just how useful the ShuttlePRO v2 has become in my editing routines. I have fully incorporated it into my Lightroom workflow, and am just beginning to explore the best ways to utilize it’s capabilities for my Photoshop usage. After that, I will see how it might integrate with other software I use on a regular basis. When I have settled on my ShuttlePRO v2 button settings for Photoshop, I will share them here. Many times products promise the moon, but fall far short in actual performance. I feel the ShuttlePRO v2 actually delivers. It has been quite a while since I have found a piece of hardware that has hooked me so quickly. Thanks, Contour Design!
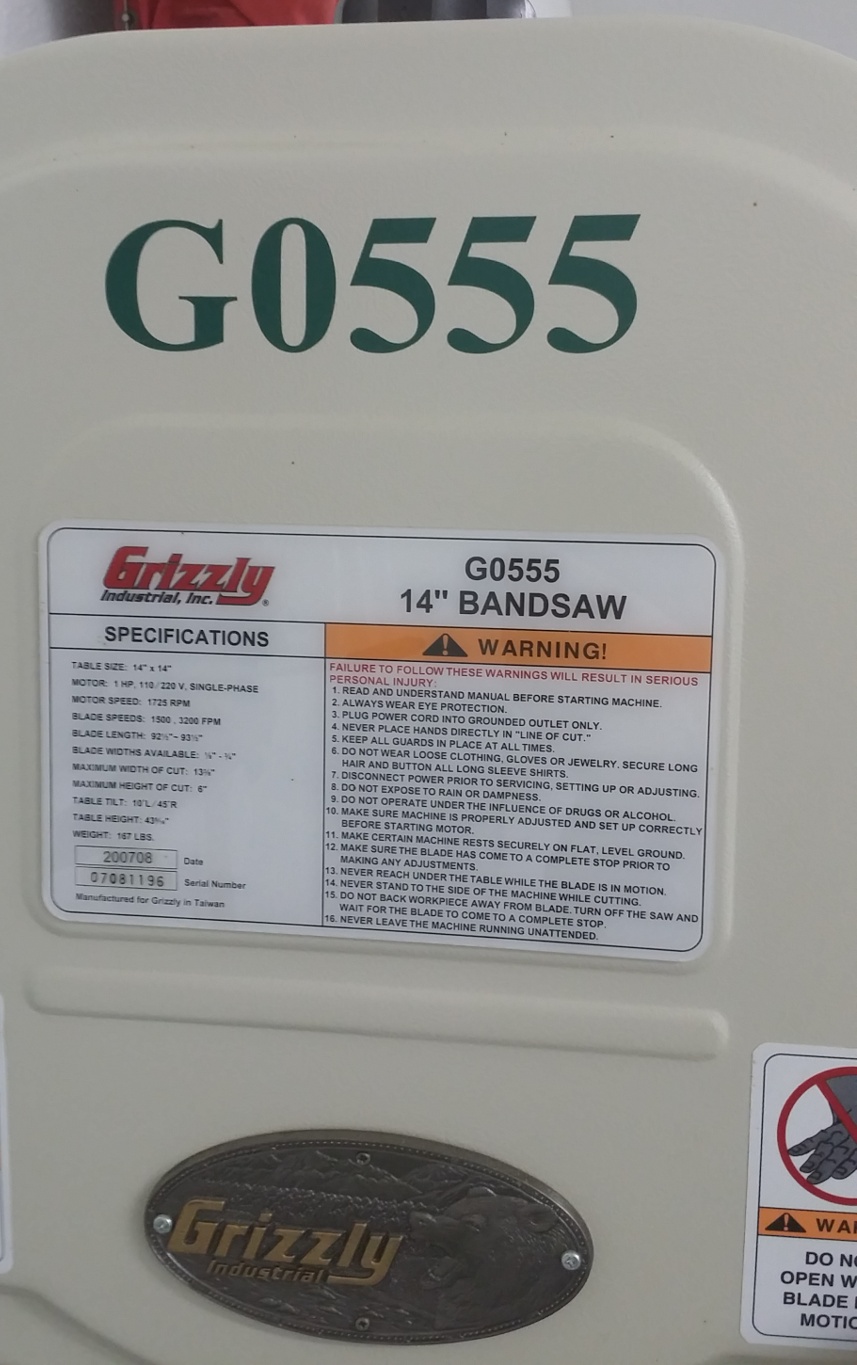
Note: The author has no relationship with, nor receives any compensation from Contour Design.
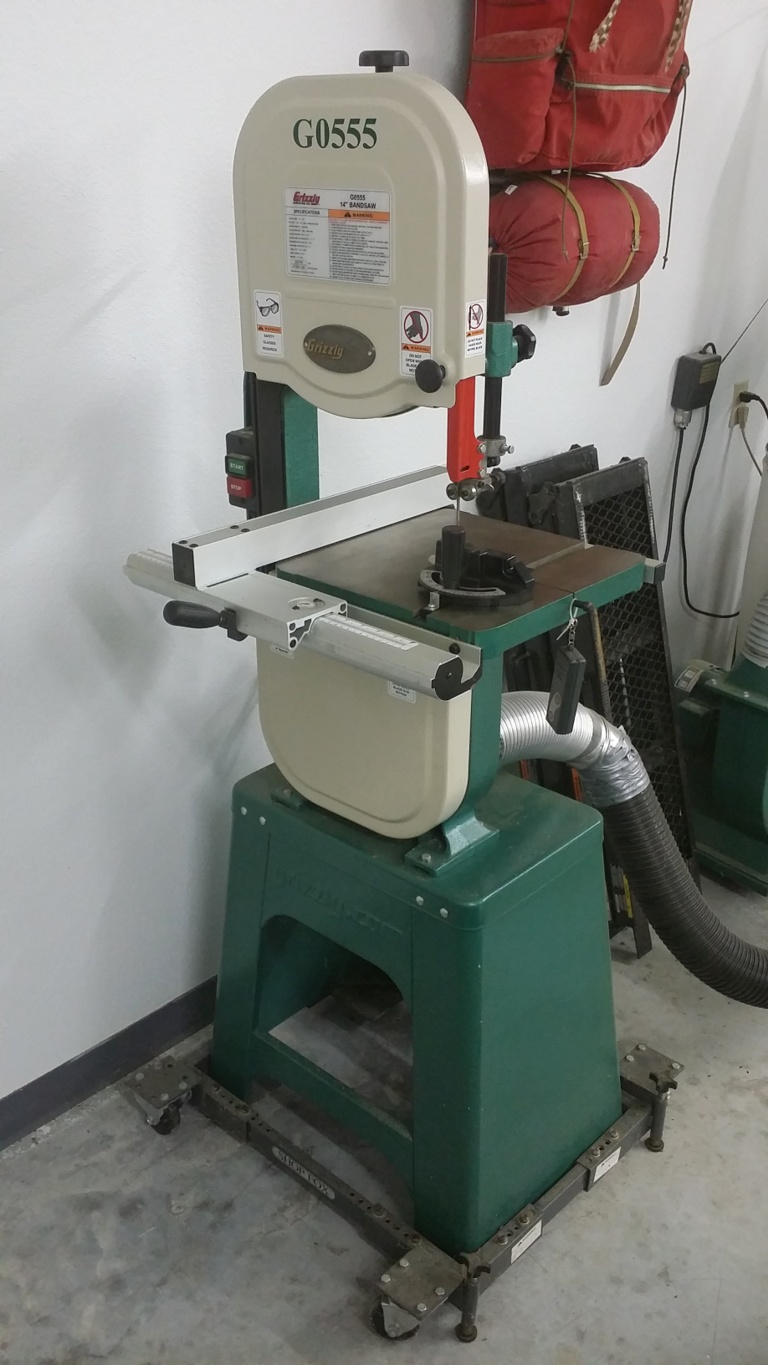
LED Bulbs Are NOT Created Equal – Three Bulbs Compared

cree-bulb-comparison It is often suggested that a complete light painting kit for night photography should include both incandescent and LED light sources due to the tremendous variation in color temperature between them. But what is equally important to understand is that LED bulbs have a great deal of variation within the LED technology itself. The image above shows the variation in color temperature between three Nitecore company products, each fitted with a different CREE LED bulb. The shots above were all taken from the same distance, with the three lights adjusted to the same approximate output. All three images were taken within moments of each other, using the same flat-white foam core board and x-Rite color checker device. nitecore-led-lights The CREE XP-G2 Cool White (as used in the Nitecore EC-21) appears to be the coolest of the three bulbs, with a strong bluish tint. The CRI (Color Rendering Index) of the cool white version of the XP-G2 bulb is 70. A high CRI number is good – the higher the Index, the more accurate the bulb can render the colors. In this case, a CRI of 70 is not a particularly good score for color rendition (for a discussion of the significance of the CRI Index, see here). The CREE XM-L2 Neutral White (as used in the Nitecore HC-90 Headlamp) moves away from the strong cool blue cast of the XP-G2, but shows an almost greenish tint to the subject. The CRI of the Neutral White version of the XM-L2 is 80, and while not great, is an improvement over the XP-G2 Cool White. The CREE MT-G2 EasyWhite (as used in the Nitecore P36) is the warmest of all three bulbs compared here. With this bulb, the blue color cast entirely disappears, with the bulb casting a rich warmth to the subject. The CRI Index of this bulbs jumps up to 90, which is considered a very good score. For color rendering accuracy, this bulb outperforms the other two in this article. There is more to a light than just a bulb, however. Each type of light functions differently, and has been designed for a specific purpose. This is why the major manufacturers each have such a dizzying array of products in their lineup, and why it can be baffling trying to determine which light might be best to purchase. In this regard, I will be reviewing these three LED lights, as well as other lighting equipment in the near future, pointing out those features I find important, and those that are not.  I thought it would be helpful, however, to establish the difference in LED bulbs before starting the specific light reviews.
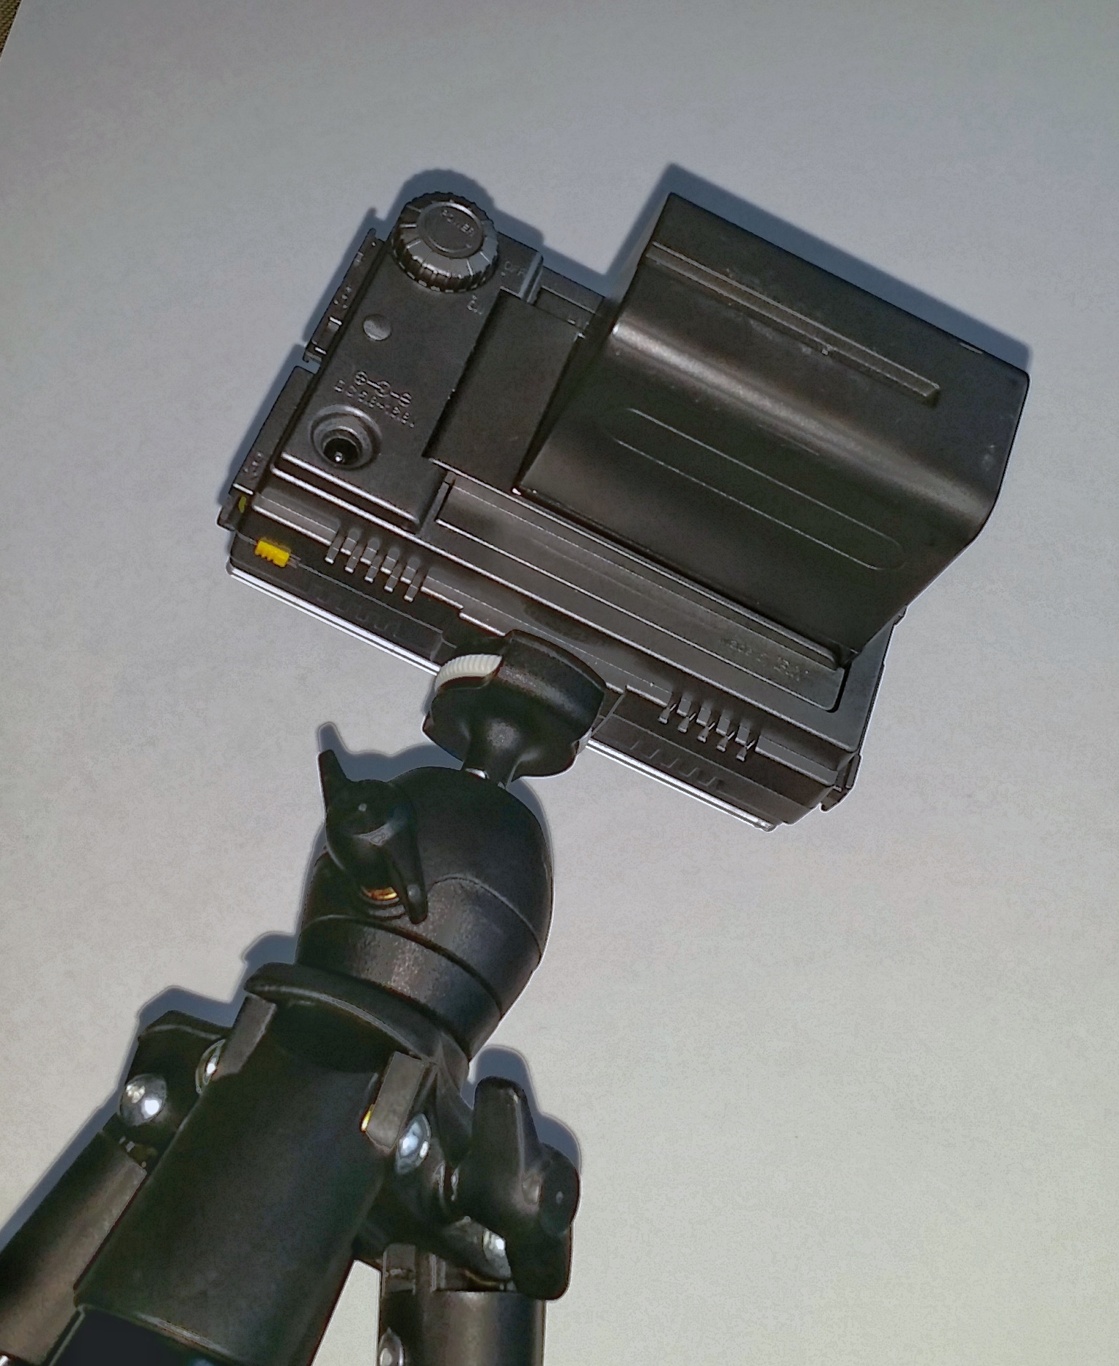
Creating Elliptical Star Paths in Adobe Lightroom – Part 1

Terlingua Cemetery Monument There are several techniques used to create this image, including a method of creating elliptical star paths that is easily accomplished from within Adobe Lightroom. I will walk you through the steps I used to create the image, leaving the elliptical star paths for last. Initial test shot This is the initial test shot taken of the cemetery entrance monument. I used this shot to confirm sharp focus and to verify that the composition was what I desired. The hand held lighting was used here simply to aid in focusing the monument in the dark, especially helpful as this image was taken on a moonless night. Once focus and composition were confirmed, it was time to begin light painting the monument. First layer of light painting This first light painting exposure was used to create the overall color I wanted to impart to the photograph. This was illuminated using a hand-held LED flashligt with the addition of a red gel held in front of the light. The light was cast from the side, giving some dimension and texture to the monument. The side lighting helps prevent the flat, one-dimensional look that front lighting usually creates. The interior of the monument was lit with a small tea lamp. Because of the side lighting, you will notice a distracting shadow being cast on the right side of the alcove above. Fill lighting layer I took another exposure, this time using my hand-held light as a fill-light to paint away the shadow on the right of the alcove. I was not concerned about over-exposing the alcove in this shot, because I was only going to be using the portion of this exposure that filled in the harsh shadow on the right side of the alcove. To recap, to this point I had three exposures, one test shot, one light-painted exposure, and one fill-light exposure. Now I needed to burn in some star circles. Star circle layer This is the exposure that was used to capture the star circles. This was a 1 hr@ISO200 exposure, which was enough time to capture star circles of the length I desired. There is no “right” or “wrong” length to star circles – whatever length works for your own artistic sensibilities is the length to use. Now that I had captured all of the data out in the field that would be necessary to produce the final image, it was time to get creative in front of the computer.  The first step was to stack all of the source images as layers in Photoshop. The second step was to blend my light-painted layers with the star-circle layer until I achieved the lighting I desired in the final image The third step is where the novel technique used to create elliptical star paths occurs. Lightroom Lens Corrections The magic occurs by simply instructing Adobe Lightroom to apply a Lens Correction Profile it has no business using (under normal circumstances). In the case of this image, the lens actually used to record the images was a Rokinon 24mm f1.4. I experimented with various lens profiles, and settled on using the lens profile for a Nikon-Nikor 16mm Fisheye.  You can see from the screen capture above, the application of this (incorrect) lens profile created distortion in the star paths – exactly the effect I wanted – with just 1 click!!! Now I finished the image by cropping the image to a pleasing dimension, touching up some hot pixels, and ended by performing some color corrections. Terlingua Cemetery Monument This is the final image, after cropping, blending, and color corrections. Notice that I chose to alter the color temperature of the sky from what I originally captured on location. Some viewers will like the color of the sky, some will not. Do what pleases you – you are the creative artist. Odds are, if you like the results, your audience most likely will also! If this interests you, please check out Creating Elliptical Star Paths in Adobe Lightroom – Part 2, which shows a different, but related, method of creating elliptical star paths using the Transform Panel in Lightroom, this time applied to an image taken in Boxley Valley, Arkansas.

Microsoft Surface Studio – Abundant Potential with a Beautiful Design

  Microsoft will begin shipping the new Surface Studio computer in early 2017. From what I see in the promotional materials and specifications, this could well be a game changer for photographic editing, particularly if Adobe gets on board by tweaking it’s editing lineup to take advantage of the surface disk that Microsoft offers. This is one gorgeously designed piece of hardware, something that you could easily imagine Apple having concocted.  One key to the success of the Surface Studio will be Microsoft’s commitment to evolving this product over time to meet the needs of graphic artists and photographers. If Microsoft takes this seriously, they could well replace Apple as the hardware of choice for graphic artists, as Apple seems to be much more focused on smartphones and music sales than computers these days. Microsoft has posted an informational page on the Surface Studio here, with specifications, features, and pre-ordering available.

Hello World….Again (for the third time)

Times change, interests change, and life circumstances change over time. It has been several years since selling La Esperanza, and during that time this Ranch Ramblins blog has been sitting idle. This post marks the relaunch of this blog, with the new name of Night Sky Ramblins. The focus will be all things pertaining to night photography, including sharing of my images, equipment and software insights, and experiences that arise in my quest for the ultimate night photograph. I thought about deleting all of my old Ranch Ramblins posts from the blog, but nostalgic impulses took over. The posts from Ranch Ramblins represent reflections from about 6 years of my life. Rather than purging them from the new Night Sky Ramblins, I’ve decided to retain them. After all, no one is forcing visitors to read old posts, and who knows- at some time in the future I might want to relaunch one more time, perhaps as Assisted Living Ramblins, but hopefully not Nursing Home Grumblings! Any comments you may have are always welcome (except for politics – apparently that is what Facebook is for). I don’t want to do politics here, OK? Thanks for cooperating :)