Elk City, Oklahoma – Old Town Museum Complex

Last month I took a road trip from Arkansas to California and back, which is a trip I have taken many times in the past.  In order to add a little more interest this time around, I decided to travel over as much of the original Route 66 as was reasonably possible, given the overall time I had alloted for this particular trip. Along the way, I sampled some of delightful places that this route took me near.

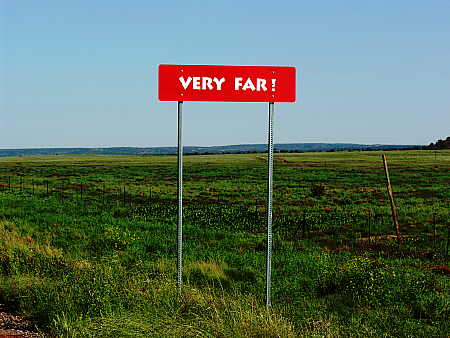
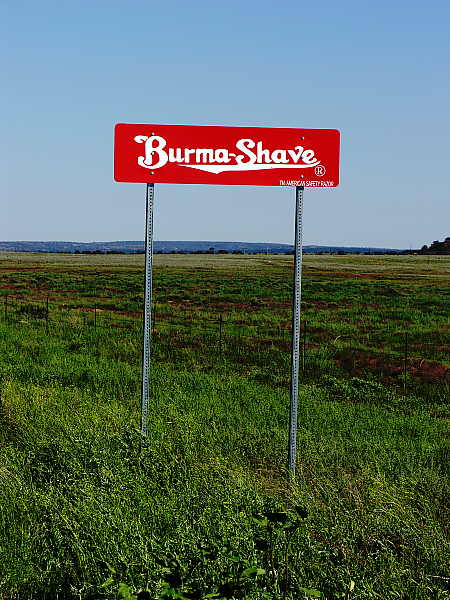
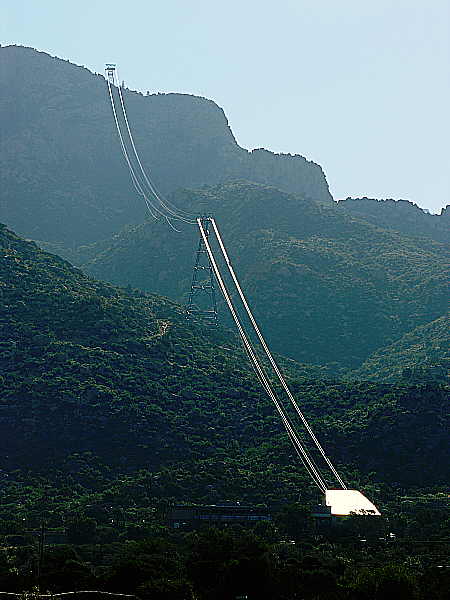
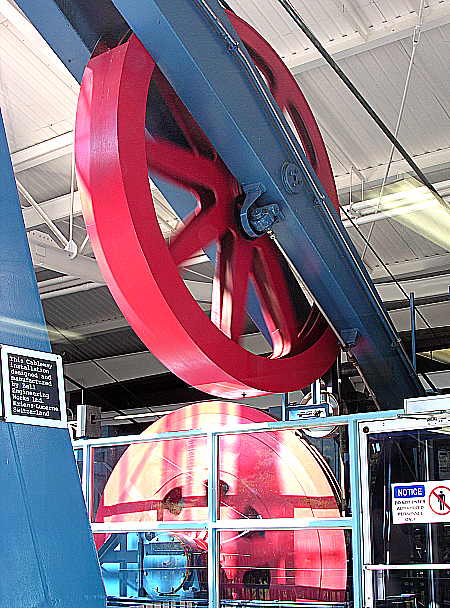
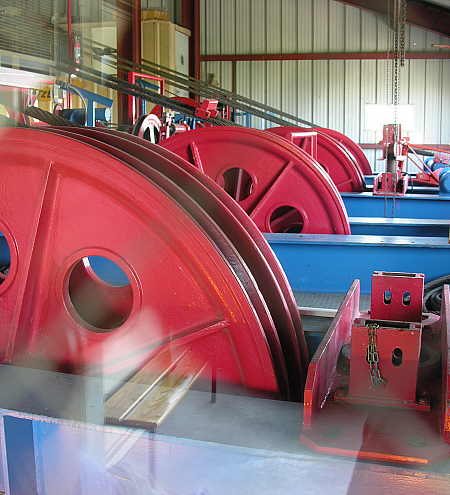
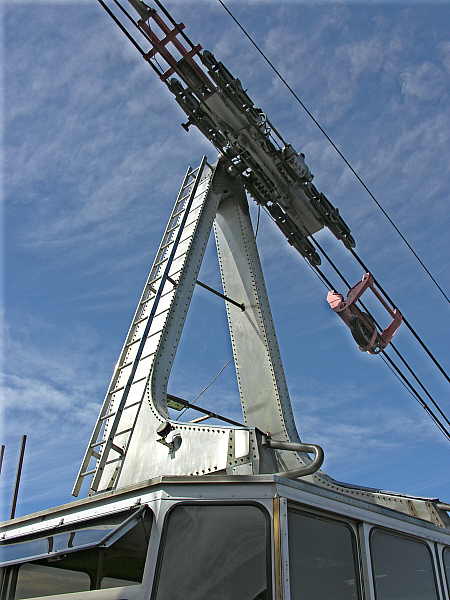
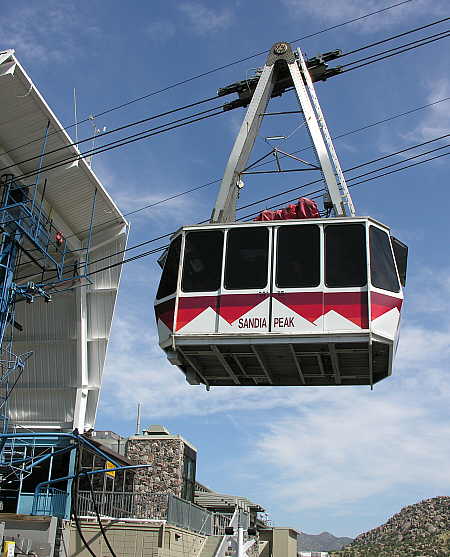
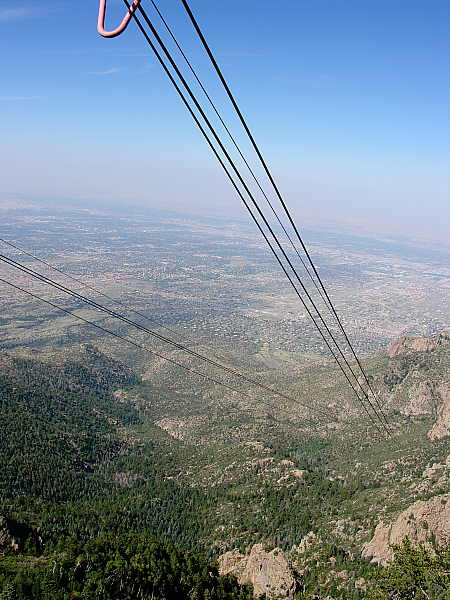
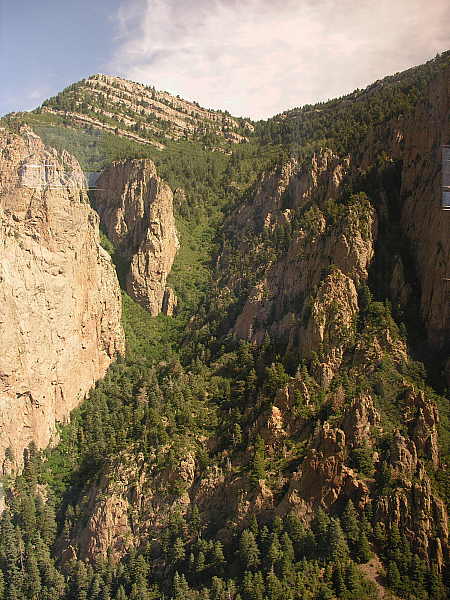
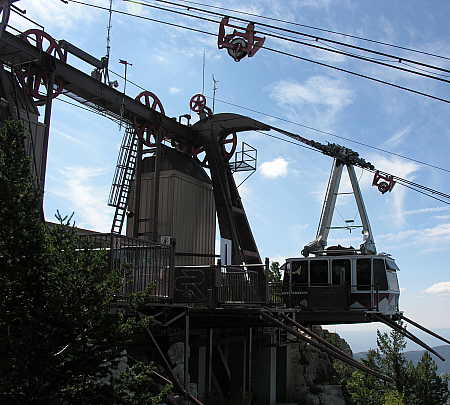
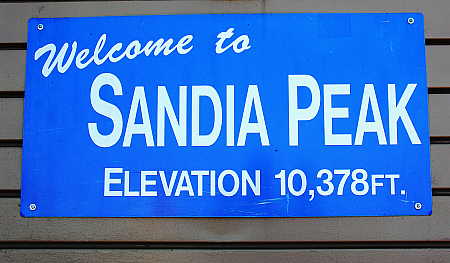
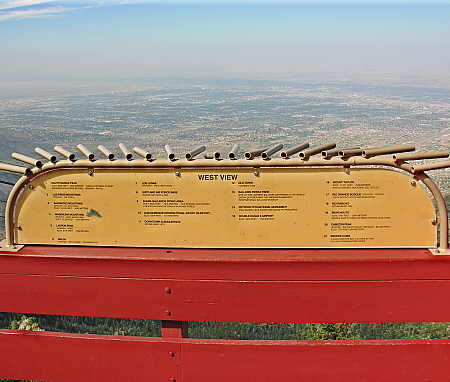
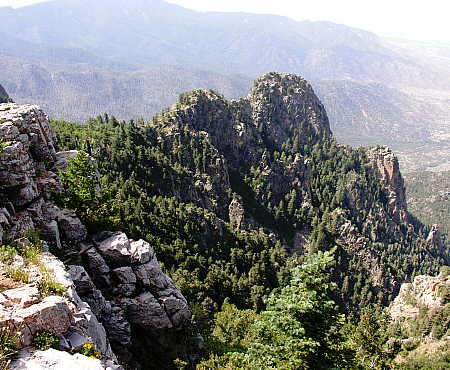
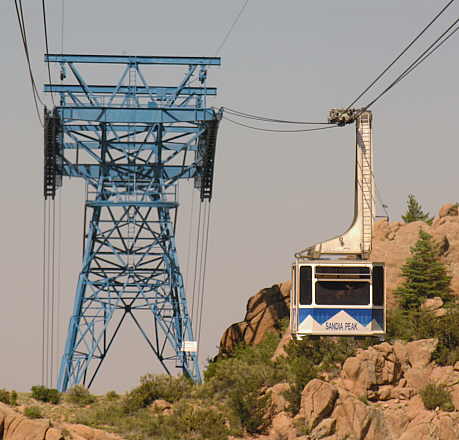
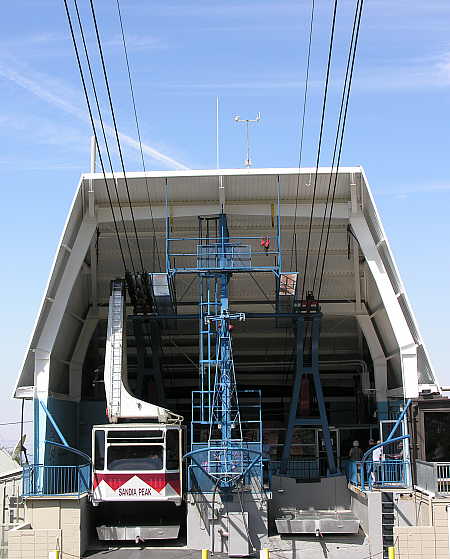
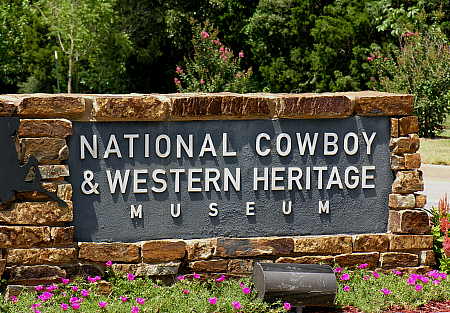
Since my camera is once again off traveling without me, I thought I would share some of the sights that I saw along Route 66 over the next few days.  In case you haven’t noticed, I have already posted about several of these sights already.  There was the post about the Nation Cowboy and Western Heritage Museum in Oklahoma City, Oklahoma.  And then the post about the Sandia Peak Tramway in Albuquerque, New Mexico, and of course the Burma Shave signs  I ran across while driving on Route 66 in western Arizona.

Today’s post is about the Elk City Old Town Museum Complex, located along Route 66 in western Oklahoma.  The museum complex was quite impressive, particularly considering the small size of Elk City (population – approximately 11,000).

The complex is comprised of a replica old western town, with all the types of buildings you would expect to see in such a town, along with several museums, some of which I’ll show you in a moment.  Above is the Opera House replica (which can be rented for weddings and other occasions).

Here is a bank and mercantile building that is located along one side of the park, which is home to the museum complex.

Inside the buildings are authentic antiques from days of yore, such as the surgical facility shown in the photograph above.

There is a replica train depot which you can visit, along with an authentic railroad caboose that you can walk through.

This is an actual old school house that was originally located in a nearby town.  It was dismantled and rebuilt at this sight, and contains the  furnishings and accoutrements you might expect to see in an old school house on the prairie.

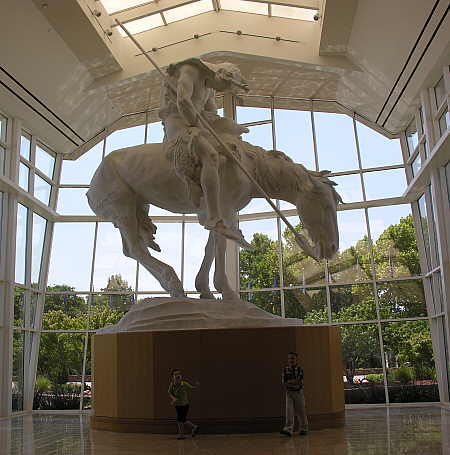
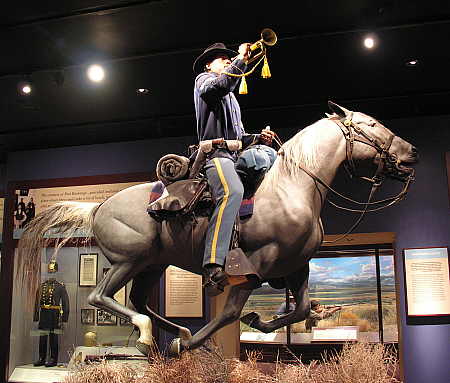
One of the museums contained in the complex is the National Route 66 Museum.  Visiting the Route 66 museum is the reason I sought out the Elk City Museum Complex in the first place.

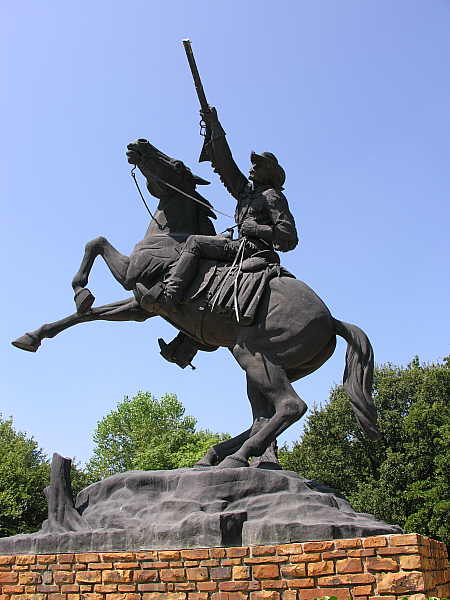
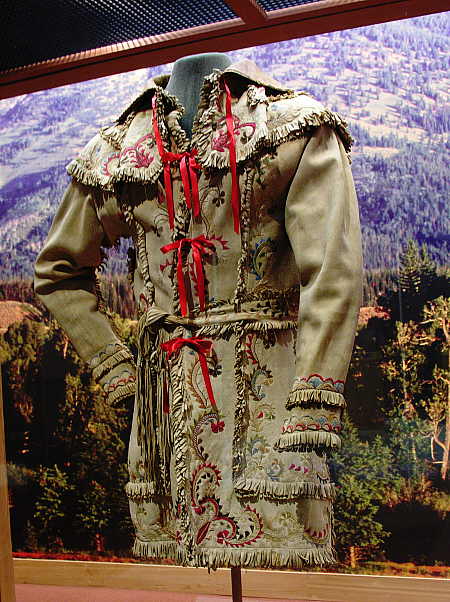
Within this museum are displays of the scenes you would be likely to see while traveling along Route 66, such as the Navajo peddler depicted above, or the old-time service station recreated in the photograph below.

This sailor, hitching a ride along Route 66 in the southeast corner of Kansas, is a very long way from any ocean.  I wonder if his destination is the Atlantic, or Pacific ocean?

Considering that the National Route 66 Museum was the reason for my visit, I felt a little let down with it’s contents and displays.  I found nothing on display that was particularly unique or compelling, and if it were the only draw to the Elk City Museum Complex, I would have been disappointed.

The portion of the complex that I found most appealing was the Farm and Ranch Museum, which is comprised of an outdoor display area, along with a large indoor facility (seen in the background in the photograph above).

The museum owns a collection of windmills, each one with some special pedigree or unique feature.  The style shown above, with it’s unusual blade structure, is designed to operate in, and withstand very high winds.

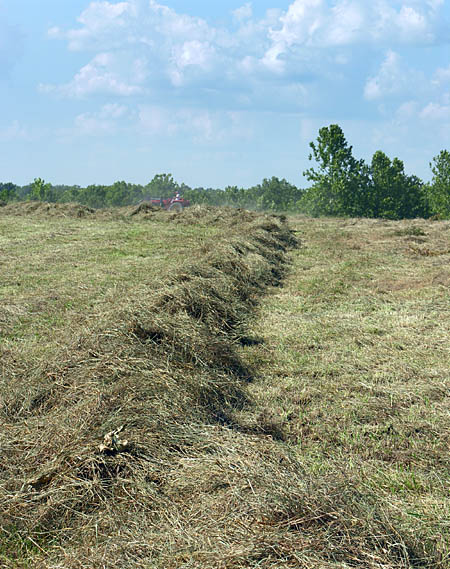
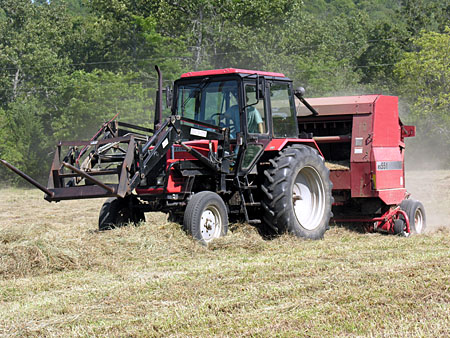
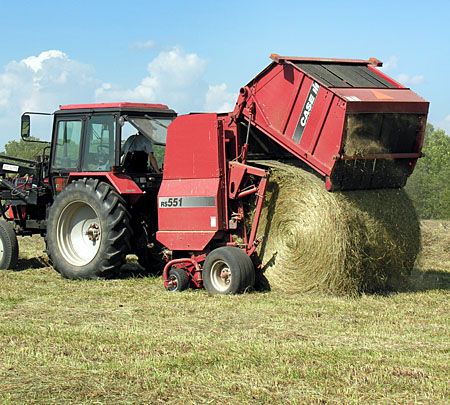
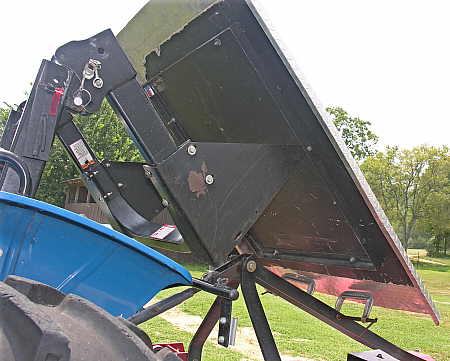
There are old and varied farm implements on display outside at the Farm and Ranch Museum, many of which have functions that are not immediately recognizable to the average person.  All are well signed and documented, however, so that the visitor can learn about these pieces of farm machinery during the course of their visit.

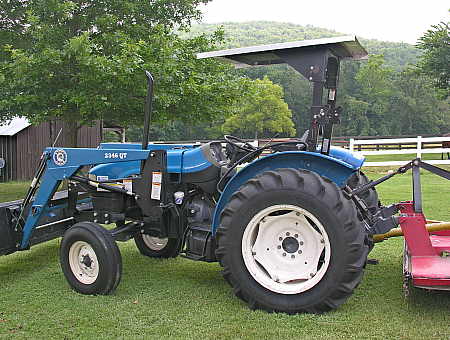
Here is an example of the kind of old farm equipment you will find inside the Farm and Ranch Museum building.  The building is quite large and hosts a great number of items – from large tractors and implements, to collections of tiny agricultural U.S. postage stamps, and everything in between.

The Farm and Ranch Museum offers exhibits of items that you may never have seen or heard about, such as the display of hog oilers seen in the photograph above.  Hogs would rub up against the oily wheels of the hog oiler, and the coat of oil on the skin of the hogs would help to protect the hogs against flies and ticks.

Here is a very colorful display of old, cast-iron tractor and farm implement seats.  There are many more on display at the museum, but these are the only ones that are painted so colorfully.

This wagon is just one of many on display at the Farm and Ranch Museum.  In fact, there are several that I saw that would make perfect “yard art” somewhere on our property :)

In conclusion, I would highly recommend a visit to the Elk City Old Town Museum complex.  Perhaps not for the National Route 66 Museum, which I found disappointing, but for the excellent re-creation of an old town within the complex, and for the outstanding Farm and Ranch Museum, which (to me) was well worth the time and (modest) cost of admission.


Momma Wolf Spider

Wolf spider carrying babies

This morning Retta saw a wolf spider taking a dip in the swimming pool, and Retta,  true to form, scooped up the spider with a skimmer net in order to save it from a possible drowning death.

Upon further examination, Retta discovered that this wolf spider was a momma.  Indeed, you can see from the photograph above that momma spider has a host of babies perched, papoose style, on her back.  I don’t think that I have ever seen this occurance before, or if I have, I did not know what I was witnessing at the time.

Bluebird Trail Beginnings

Established front-opening bluebird house

We have six well-established Eastern Bluebird nesting boxes spaced around our house, and it is a pleasure to be able to watch these wonderful birds go about their business.  Since the six boxes around the house have been well used, I thought it might be a fine idea to establish a trail of bluebird nesting boxes along some of the paths we hike along throughout our property.  I figure we might ultimately put up over 100 nesting boxes over time,  so I decided to build a few prototypes first, to work out the kinks and help select a decent design that was reasonably inexpensive and easy to build.

We currently have two types of established nesting boxes.  The nesting box shown above is designed so that the front panel opens for cleaning, while the type shown below has a hinged roof, to allow access from the top.

Hinged-top bluebird nesting box

But which style to use for my little project? 

A few prototype bluebird nesting boxes

Above are three prototypes that I built to help decide on a final nesting box design.  Two are front-opening,  while one is top-opening.

Top-opening bluebird nesting box

The top-opening nesting box (shown above) uses a section of piano hinge at the back of the lid, and is secured shut by a locking gate hook.   It was easy to cut and assemble, and it is reasonably decent looking (for a bird house in the woods).  The disadvantage of a top-opening nesting box becomes clear when it becomes time to clean it out.  Look at the following design to see why.

Front-opening bluebird nesting box

This is a front-opening nesting box.  Rather than having the roof swing up for cleaning, the front panel pivots at the top, and is secured at the bottom.

Nesting box (seen with the front panel open)

When the front panel is unlatched and swung open, as shown above, it is quite easy to simply “sweep” the nest debris out of the box.  With a top-hinged design, cleaning requires you to lift the mess out of the box for disposal, which isn’t the most pleasant of tasks.

Countersunk wood screw pivot

The way that the front panel pivots is very simple.  It merely consists of a large wood screw on either side of the nesting box.

Bottom detail of bluebird nesting box

You can see the locking gate hook that secures the front panel shut in this underside view of the nesting box.  Also, notice the drainage/ventilation gaps at the four corners of the floor.

Ventilation gap underneath roof eave

The length of the front panel is cut short enough to leave a ventilation gap at the top of the nesting box, as you can see here.

Because of the ease with which the front-opening box can be cleaned, and because it is quicker, cheaper, and easier to build than the top-hinged style, I have decided to go with the front-opening prototype.

I’m still debating about the type of wood, however.  Treated lumber is out of the question for this application, so cedar would probably be the most durable, as it is resistant to rotting.  The stumbling block is the cost.  I can buy pine for 1/3 the cost of cedar, so I am inclined to use it, as I have for these prototypes.  If I were just building a few nest boxes, then I wouldn’t hesitate, but for the number I want to build, the cost differential between pine and cedar is significant.

Decisions, decisions, decisions.

I Signed the Cast, Have You?

 Stephen Colbert’s wrist cast

Stephen Colbert’s cast was removed from his (now healed) broken wrist on August 23, live on his Comedy Central television show.  The cast, which has been signed by Michael Bloomberg, Mayor of New York; CBS Evening News anchor Katie Couric; Bill O’Reilly, host of FOX’s The O’Reilly Factor; Nancy Pelosi, Speaker of U.S. House of Representatives; Tim Russert, host of NBC’s Meet The Press; Tony Snow, White House Press Secretary,  and NBC Nightly News anchor Brian Williams, has been submitted for auction on e-Bay. 

The auction on e-Bay can be accessed here.  As of this posting, the bidding was up to $16,900.00, which would be ridiculous were it not for the fact that the proceeds are going to a fine charitable cause, The Yellow Ribbon Fund.

If you would also like to sign Stephen Colbert’s cast (as I have in the photograph above), you may easily do so by following the directions at this link.

Sandia Peak Tramway

Approaching the Sandia Peak Tramway facility

The Sandia Peak Tramway, just outside Albuquerque, New Mexico, claims the distinction of being the world’s longest aerial tramway.  Situated on the valley floor at an elevation of 6559′ above sea level,  the tram base station (seen in the photograph above) is the starting point for a tram ride which will take you to the top of the Sandia Mountains.  The journey entails a 2.7 mile long ride, which crosses two support towers on it’s way to the mountaintop station, where the elevation sign tells you that you have reached an elevation of 10,378′.

In the photograph above, while you can see both of the support towers, the mountaintop station remains out of sight.  The second tower, which you can see is perched atop a ridge, sits about halfway between the base and mountaintop stations.  So the stretch of cable that you see in the picture is actually only about half of the total length over which the tramway travels on it’s way to the top.

Drive cable flywheel

I don’t know about you, but when I contemplate stepping aboard a tram car which will be suspended up to 1000′ above the ground below, I think about the robustness of the machinery in which I will be entrusting my fragile body.  So it is with a keen eye that I survey the general condition of the tramway equipment.

Machinery above the cable counterweight pit

The two photographs above show some of the visible machinery that powers the tramway.  While a cursory visual inspection of the equipment (by an untrained and unqualified inspector such as myself) really provides no actual useful information, it still serves to quell my jitters about the impending ride I am about to embark upon ;)

Support aparatus for gondola

The tram gondola is suspended from a tri-cable system.  The two outer cables, which are stationary, actually provide the support for the car, while the third cable (in the center) serves to haul the gondola up the mountain.  The cables are designed in such a way that any one of them is capable of supporting the gondola if the need arose (or so I was assured by the gondola operator).

If you look closely at the photograph above, you will see a ladder that is affixed to the gondola support.  Every morning, before the public may board the tram, maintenance employees make an inspection run up and down the mountain.  One employee rides on the roof of the gondola, while another one stands at the top of the ladder pictured above, inspecting the cables along the entire length of the tramway.

Tram car departing the base station

Now that I have reassured myself that the round-trip journey on the tramway will not jeopardize life or limb, I am prepared to board the tram for the ride to the top of the mountain.  The tram car can be seen departing the base station above, beginning the approximately 15 minute trek to the mountaintop station.

Looking out over Albuquerque, N.M.

As the tram car rises in elevation, the city of Albuquerque appears smaller and smaller as each minute ticks by.

View on the way up the mountain

As spectacular as the view is looking down toward Albuquerque, you will find the scenery provided by the canyons along the steep mountainsides to be equally dramatic.

The tram will traverse four ecological life zones along the way from bottom to top: the Upper Sonoran Zone (6500′), the Transition Zone (7200′), the Canadian Zone (8500′), and the Hudsonian Zone (10,000′).  An information sign indicates that this is the equivalent to traveling from Mexico to Alaska, although I do not quite understand how zone changes as a result of elevation gain equate to a northward progression of latitude  (readers – please feel free to educate me on this point).

Mountaintop tram station

After a wonderfully scenic 15 minute ride, the tram car arrives at the mountaintop station, where passengers disembark to enjoy the activities available at the top of the mountain. 

Quite a climb!

As you may imagine, the views available from the mountaintop station, situated at 10,378′ are grand.

Sighting tubes

On a clear day, approximately 11,000 square miles of New Mexico landscape are visible from the top of the mountain.  There are several viewing platforms available, and each one has a clever viewing aid, as shown above.  Each of the steel sighting tubes are aimed at a particular landmark.  By keying each tube to a legend on the chart, it is easy to identify the prominent features that are visible to the viewer.

Rugged terrain near Sandia Peak

There are many activities available to those who arrive at the mountaintop.  There are 24 miles of mountain trails available to hikers and bike riders, which meander along the rugged terrain of the Sandia Mountains.

One of several chair lifts

In the winter, skiers can utilize the services of 4 chair lifts and 2 surface lifts.  In the summer, chairlift rides (along the back side of the mountain) are available on weekends, and mountain bikes can be rented for trail exploration.  The Four Seasons Visitor Center is located atop the peak, and is staffed May through November with Forest Service Rangers and volunteer interpreters.  Besides the Double Eagle II cafe, the High Finance restaurant, specializing in steaks, prime rib and seafood, is located at the top of the mountain.

Approaching tower #2

When you have had your fill of activities, you will board a tram car for the 2.7 mile journey back down to the base station.  As your tram car descends, it will eventually cross paths with the ascending tram car, which serves to mark the halfway point of the trip.  Each car travels at 13.5 MPH, so the closing speed between the two gondolas is 27 MPH.  When viewed from the perspective inside a tram car, 27 MPH is pretty speedy, especially if you are trying to take a photograph of the passing tram car.

Completion of tram ride

Reaching the base station, your trip has ended in a mere 15 minutes, but the memories will probably last a lifetime.  If you are traveling in the vicinity of Albuquerque, it is well worth the $17.50 (adult) fare to experience a ride on the longest aerial tramway in the world.  I highly recommend it, and don’t forget your camera and hiking boots.

National Cowboy and Western Heritage Museum

Are you ready for another field trip?

It is often said that anything relating to Texas is big, but be aware that the neighboring state of Oklahoma has something that even Texans would probably have to admit is grand, even by Texas standards.  I’m referring to the National Cowboy and Western Heritage Museum, located in Oklahoma City, Oklahoma.

National Cowboy and Western Heritage Museum campus

The first thing you will notice upon arriving at the Museum are the exquisitely designed buildings which house the exhibits and collections.

National Cowboy and Western Heritage Museum campus

No matter which way you look, you will see beautiful buildings and extremely well landscaped and manicured grounds.  The buildings are modern and airy, and contain well over 200,000 square feet of exhibition, office and auditorium space.

National Cowboy and Western Heritage Museum campus

It soon becomes apparent that the Museum collection contains many exhibits of truly grand stature, as you can see from the wing in the photograph above, which contains only one item, a massive sculpture called “The End of the Trail,”  a well known piece of art created by James Earle Fraser for the 1915 Pan-Pacific Exhibition held in San Francisco, California.

End of the Trail sculpture

The photograph above, taken from inside the building,  gives a good indication of the size of this sculpture.  The children do not come close to reaching even the top of the pedestal on which the sculpture stands.

Garden pond and sculptures

The grounds of the National Cowboy Museum are gorgeous, with man-made streams, waterfalls, and Koi ponds artfully placed throughout the beautifully landscaped gardens. 

Mare and foal sculpture

As you stroll through the gardens, you will see many varied sculptures, such as this piece depicting a mare and her foal.

Wild Bill Hickock

When you reach the spot where this giant (I mean HUGE) sculpture of Wild Bill Hickock Buffalo Bill Cody is located, you start to realize that many of the exhibits at the Museum were created without constraints on size.  I don’t know whether the buildings were designed to be large in order to house the massive exhibits, or whether the exhibits were selected to fill the massive buildings.  Whatever the case, it all seems to work together well.

Early western hunters

Inside the Museum are many different wings, each housing a varied collection of themed exhibits, such as this diorama of buffalo hunters contained in the Joe Grandee Museum of the Frontier West.

Mounted Cavelryman exhibit

The U.S. Army Cavalry is well represented in the displays, and again, the exhibits are massive and full scale.

American rodeo exhibit

Even the American Rodeo Gallery contains many life sized sculptures and displays, such as this bronc rider seen in the photograph above. 

Early western coat

This finely detailed coat is just one of the hundreds of pieces of cowboy and western apparel on display at the museum.  Each piece on display is of similarly high quality as the coat seen here.

Theater to view “oaters”

Because westerns, or “oaters” were such a large part of the American culture for those of us who pre-date Generation X’ers, the Museum contains a separate Western Performers Gallery.  Within this gallery is the theater shown above, where you can enter and watch an old western while you rest up for more exploration of the Museum’s many exhibits.

In addition to the galleries pictured in this post,  the Museum has a number of galleries which house a large and valuable collection of fine art relating to cowboys and western heritage.  Because of copyright concerns, the Museum (understandably) forbids photography in these galleries, so I have no photographs to include here.  Rest assured, however, that the quality of the art on display is on a par with the quality of the other exhibits that I have included in this post.

Also there are galleries and wings that are not conducive to casual photography, due to lighting and display considerations.  For instance, the Weitzenhoffer Gallery of Fine Arms contains a collection of artistic, historic and rare firearms, housed in glass display cases which cast reflections making photography challenging, at best.  So too for the Native American Gallery.  There is also a wing of the Museum called Prosperity Junction, which is an indoor re-creation of a typical frontier town.  It is well worth seeing, however the dim lighting makes casual photography difficult or impossible.  Additionally, the Museum includes the Children’s Cowboy Corral, where the little ones can wear western clothing,  build a fire and fix some “grub” at the chuck wagon for their parents.  It is a hands-on environment, and the kids can touch to their hearts content.

All in all, the National Cowboy and Western Heritage Museum is a wonderful place to visit when traveling to or through Oklahoma City.  Be sure to allocate enough time to see the Museum in it’s entirety, which could easily take several hours if you like to study all of the displays and enjoy all of the artwork.

Well done, Oklahomans.  This museum is a great asset to your state, and a real treasure for all of us.

Boosting the Average

5′ x 5′ round bale

Remember a previous post on this blog (It’s Time for Another Try) wherein I lamented a mere .500 success rate in getting our hay fields cut and baled over six growing seasons?  Well, the average has just been upped to .571 (four full cuttings over the past seven seasons).  Our neighbor Bill, along with his sons Craig and Matt, have been out here over the past several days cutting, raking and baling several of our hay fields, and will probably be continuing their activities here for the next few days.  I thought I would take this opportunity to briefly show how the process occurs here in the Ozarks, for those of you who may have never seen grass being converted to bales of hay.

The first step in the baling process is to cut the grass near it’s base.  There are several choices the farmer has in a mower.  Some use a sickle-bar mower, which resembles a giant hedge trimmer adapted to cutting grass.  Others use a hay mower/conditioner, which not only cuts, but also crimps the crop for faster drying, while still other farmers use a  forage macerator  to complete the cutting.

Disk mower

Craig and Matt are using an implement called a disk mower to cut the grass in preparation for baling.  It consists of a series of small rotary disks, each with two pivoting cutting blades attached to the disk via a shoulder bolt.

Persuasion

Unfortunately, besides hay, we also grow rocks prolifically here in the Ozarks, as you may remember from an old post (Dang Rocks).  In the photograph above, you can see Craig applying a little “persuasion” to a bent cutting blade, the result of an encounter with a rock that probably wasn’t there last year!

Cut grass left to dry before baling

When the hay is cut, it is allowed to dry in the field prior to being put up into bales.  The drying time is affected by many variables, including the type of forage crop, humidity and temperature levels, and procedures used in the baling process.  If a mower/conditioner or forage macerator has been used to cut the crop, drying time will be shortened.  Alternatively, a hay tedder can be used to turn the hay over in the field and fluff it up, thus allowing the hay to dry quickly.

Hay rake

When the hay is sufficiently dry,  a side-rake such as the one seen above is used to sweep the cut crop into wind rows, in preparation for the actual baling.

Raking grass into wind rows

In the photograph above you can see Bill pulling the side rake through the field.  First traveling in one direction, and then turning around and repeating the process from the other side produces a nice wind row of grass.

Completed wind row awaiting hay baler

This is what the wind row looks like after two passes of the side rake.  It is now ready to be swept up by the baling machine.

Hay baler sweeping up the wind rows of dried grass

In this photograph you see Craig operating a tractor pulling a large round baler over the previously wind-rowed forage.  The baler gathers the hay and rolls it into a tight, uniformly sized dense round bale, and when the bale capacity is reached, the baler wraps the round bale with a continuous spiral of baling twine.

Discharging the finished bale of hay

After securing the integrity of the bale with twine, the baler opens up to eject the finished bale from the rear of the machine, then closes back up again in order to repeat the process once again.

Size comparison

I included this photograph to illustrate the size of the bales that are being produced by this particular round baler.  This is a 5′ X 5′ bale.  Depending upon the crop the weight of each bale can range from about 1200-1600 pounds.  As you can imagine, it take special equipment to be able to handle these large round bales.

The next step in the process is to gather the bales of hay to transport them to their final destination, which, along with a final tally of this year’s hay production will be the subject of a future post.

Trial and Error Sometimes Works

Example #1 – Foiling the Rats

Perhaps you recall from a previous post (entitled In This Corner…) that over the past several years I have been engaged in an on-going battle of wits with a rat in my equipment barn.   This rat had found a good nesting spot in the engine compartment or behind the dash of our tractor,  and in the course of his day to day activities, took to chewing up the wiring harnesses that are located in these spots.

This became more than an annoyance, as the tractor would have to be trucked over to the local New Holland dealer for repairs, which became very expensive, very quickly.  I ultimately decided to try and discourage the rat from nesting in my tractor by placing rubber snakes at various points in the barn and on the tractor.

Snake guarding the engine compartment

After using the tractor, I store it in the barn with the engine hood opened up, and I place this rubber snake in plain sight to deter any pesky varmint from finding a warm, protected nesting spot within the confines of the diesel engine.

A snake in the tractor cab

This is a rubber snake that I place on the floor of the cab when I am finished using the tractor.  The purpose of putting the snake here is to deter any pests from climbing up into the dashboard of the tractor, where a massive tangle of electrical wires is located.

I purchased these rubber snakes in September of 2005.  Since that time, which has been nearly two years now, I have not had any repeats of the incidents like those referred to in the post entitled In This Corner… 

If you are interested in purchasing rubber snakes, there is a large selection available from the Nature Pavilion on-line store at reasonable prices.  This trick has worked for me for two years now, and maybe it can work for you too.


Example #2 – Foiling the Locust Thorns

Trecherous locust thorn

If you have locust trees on your property,  you will undoubtedly recognize this thorn as being the weapon of choice for these wicked trees.  And if you drive any kind of vehicle around where these trees are situated, you will most certainly have experienced the woe of having a perfectly good tire run flat due to a puncture from a locust thorn.

I battled frequent flat tires on my tractor due to these thorns for a few years before finding a solution to the problem.  My local tractor dealer was no help.  They insisted that I should be running my tractor with fluid filled tires that utilized inner-tubes.  The purpose of filling the tires partially with fluid is to provide increased traction and a lower center of gravity for the tractor.  To prevent the fluid (water) from freezing in the winter, a solution is formed by adding either alcohol, ethylene glycol, or calcium chloride to the water.

So my tractor had great traction, and was less likely to roll over due to the lower center of gravity caused by the fluid filled tires, but was a major headache when the inevitable encounter with a locust thorn occurred.  To repair such a tire, it was necessary to call for a mobile tire truck to visit the farm, where the technician would pump the fluid out of the tire, dismount the tire, patch the tire and put in a new inner tube.  The tire would then be remounted, and the inner tube refilled with the fluid solution that was previously pumped out.  About $100 later, the tractor tire would be good as new, but with flat tires coming about frequently, this became rather expensive.

As a possible solution, I investigated the use of foam-filled tires.  These are tires that have been filled with a poly foam filling and cured,  creating a puncture-proof tire.  This is a technique that is often used on military vehicles, where tire performance is critical.

No dampening suspension underneath the tractor

The problem with this solution is that the foam-filled tire is not very forgiving to the vehicle operator when traveling over rough terrain.  As you can clearly see from the photograph above, my tractor (and most every other tractor in existence) does not have any kind of sprung suspension between the wheels and the chassis.  In effect, the only shock absorbers are the tires themselves, and of course, the adjustable suspension seat found in the cab of the tractor.  If the tires are foam-filled, then the ride of the tractor would quickly take it’s toll on the operator’s back.

My local tire dealers all told me that this is just the way it is in the Ozarks – you live with frequent flat tires due to locust thorns and briers, and just have to get used to it!  I believed them too, that is, until I got to listening to two gray-haired, coverall clad old farmers talking to one another.  Without knowing it, they had divulged the secret to flat-free farm equipment in the Ozarks.

Slime

The trick was simple enough – ignore the tractor dealers, and ignore the tire dealers.  Instead of using fluid-filled tubed tires, as they suggested, switch to a tubeless agricultural tire and put a sufficient quantity of tire sealant into the tire.

Since making the change, as the old experienced farmers had talked about, I have not experienced one flat tire on the tractor as a result of a puncture.

Using the front-end loader as a jack

So if this works so well, why am I removing the front tires from my tractor, as seen above?

Cracked sidewall

Even though the tires have not been affected by punctures, the sidewall will still tend to crack over time, as you can see here.

Leeking sealant

Eventually, the cracks will progress to the point that the sealant will no longer perform its intended task, as it begins to leak out of the sidewall cracks.  When this happens, the tire will no longer hold pressure, and it is time to replace the tire.  But at least the tire has provided service for a decent amount of time, without the expense and hassle of constant thorn-induced flats.

My thanks to the anonymous old farmers who inadvertently let me in on the secret to tire longevity here in the Ozarks.

Deferred Maintenance

My workshop is now complete,  so there is no longer any excuse for putting off all the little maintenance chores that accumulate around here.  The past few weeks have found me busy setting up shop, which has become the center of activity for detailing each and every piece of equipment that we use on our grounds.  I am beginning to catch up on deferred maintenance chores, so my blog posting frequency will probably pick up now.

I am very good at performing necessary maintenance on our equipment according to the manufacturers’ schedules for things such as oil changes, lubrication, and critical adjustments.  But there are some tasks that are non-critical that I have been putting off, simply for a lack of a decent place to do the work.  That has now changed with the establishment of a workshop.

One job that needed to be done was to fix the sun canopy on the tractor.  In my never-ending quest to achieve grounds keeping perfection, I have several designated areas that I have been trying to keep “park-like” for recreational purposes.  In order to accomplish this, I find myself having to bush hog around numerous trees.  Tractor-hating trees, if you will.

Crumpled sun canopy

You can clearly see what damage these trees have wrought upon my tractor’s sun canopy in the photograph above.  I swear, I am a good judge of the height of tree limbs.  I am certain that many of the trees around here have it “in” for me and my tractor.  Just as I pass underneath their shade-producing limbs, the branch will suddenly (and without warning) drop down a few feet, intent on snagging the tractor canopy, if not my head!  The result is a crumpled-up canopy, as you can see above.

This is not the way a canopy should look!

Here is a closer look at the damage to the front of the canopy.  The rear, although not visible in this photograph, has about as much damage as the canopy’s front.  In addition to the bent metal on the canopy itself, the iron frame portion of the canopy has also been bent out of shape.  It’s off to the workshop, where a heavy sledge hammer, a three-foot long pry bar, and a pair of 4″x 4″ pieces of oak (used as dolly blocks) and a lot of sweat coerced the twisted metal back into a rough semblance of its former shape.

Canopy after preliminary straightening

Now that the canopy was fairly straight,  as seen above, all that remained was the finish hammering, which after much tedious work, made the canopy look almost as good as new.  But the most challenging task was getting the canopy installed back on the tractor.  Between the sheet metal, the iron frame, and the 1″ thick insulation material (which prevents the canopy from acting like a giant solar oven, ideal for baking brains), the assembly weighs in at about 150 pounds.  Getting it back up on top of the tractor could be a little tricky for someone such as myself, who had no help available (now I see why farm families are usually large – they need all the help they can get).

Using the bush hog to help reinstall the canopy

On the theory that “brains can overcome brawn,”  I examined the task ahead of me, and devised a plan of action.  The first step was to maneuver the canopy up onto the support rails of the bush hog.

Taking advantage of the folding ROPS

The next step required folding the ROPS (roll-over protection system) down to a level where I could reach the support brackets.  Using a couple of C-clamps to help align the canopy with the ROPS, I was able to install the front retaining bolts of the assembly.  Once this was accomplished, the rest of the installation job was a piece of cake.  Using a come-along style winch attached to the front-end loader, I was easily able to pull the canopy and ROPS back up into their proper position.

Finished, at last!

After a few minutes of adjusting, squaring and bolt tightening, the job was finished, and the tractor looked as good as new.  And now I won’t have to drive around looking like a dork on a tractor with a crumpled-up canopy anymore!Â